6 Gardening Habits to Break for a Healthier Garden
Break six common garden habits that waste water, weaken soil, or reduce habitat. Get practical replacements, exceptions, and a simple 30-day reset plan.
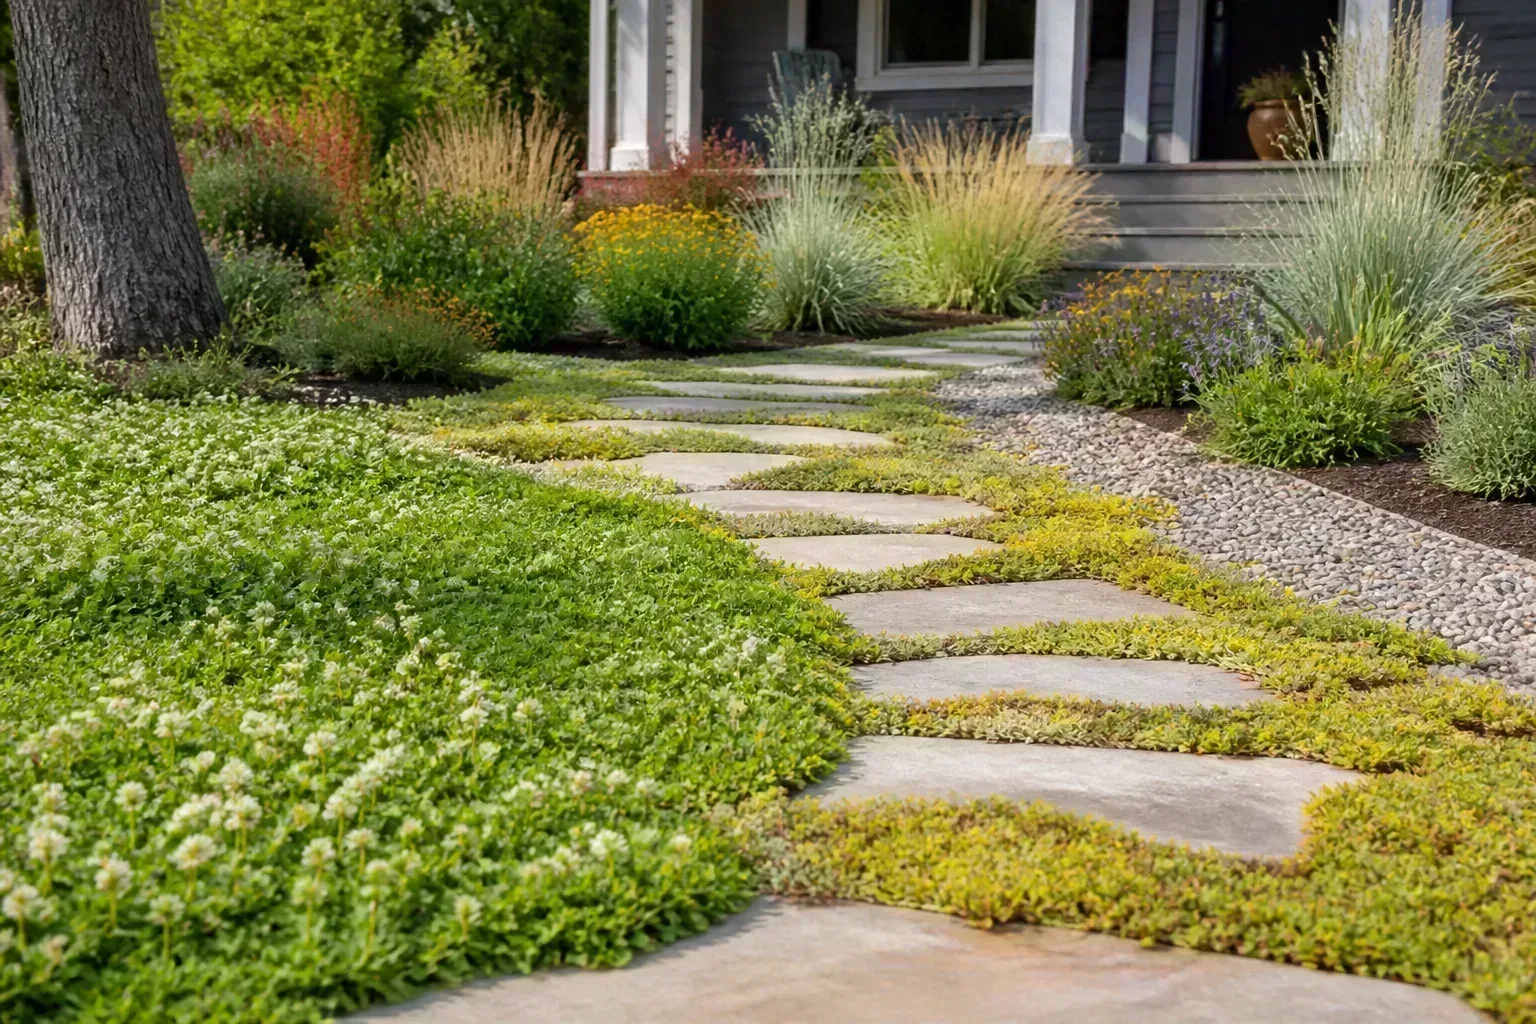
Gardening advice often arrives as a list of absolutes: never leave soil bare, always plant natives, never use a sprinkler, and never buy a double flower. Real gardens are more complicated. A vegetable seedbed is not a mature shrub border, a lawn used for play has a different job from a front-yard meadow, and a plant that is native in one region may be a poor fit—or even invasive—in another.
The useful question is not “Which gardening rules are bad?” It is which routine is creating a problem on this site, and what lower-impact habit can replace it? The six changes below focus on soil, habitat, pest pressure, and water use. Each includes a guardrail so you can make a smarter adjustment instead of swapping one rigid rule for another.
What to change first: a simple reset for this season
Walk the garden before buying anything. Look for the places where soil crusts after rain, water runs off, leaves pile against stems, the same pest returns, or irrigation lands on paths and foliage. Those observations tell you which habit is costing the most.
You do not need to renovate the whole property. Start with one bed, one problem area, or one irrigation zone. The National Wildlife Federation’s soil and water guidance connects compost, mulch, native plants, targeted watering, and rain capture because they reinforce one another. A bed that holds moisture better needs less emergency watering; a diverse bed with healthy soil often needs fewer rescue treatments.
1. Treating soil as an empty growing medium
The first habit to break is feeding plants as if soil were an inert bucket of nutrients. Soil is a living, changing system that stores water, exchanges air, houses roots, and supports organisms that decompose organic matter. When it is compacted, repeatedly tilled, left exposed, or overloaded with amendments, plants can struggle even if a fertilizer label promises a quick green-up.
That does not mean every garden needs a thick layer of compost every spring. Too much organic matter can create nutrient imbalance, raise salts, or bury a bed’s existing structure. The better habit is to diagnose before amending: observe drainage, dig a small inspection hole, and use a soil test when pH or nutrient problems are suspected.
Feed the system, not just the plant
Compost is useful because it contributes organic matter and supports aggregation, but it is not a universal cure. The NWF notes that composted organic material can create an aerated, less compacted base where roots take up water and nutrients. That benefit is most convincing when compost is mature and used as part of a broader soil-management plan, not dumped on top of a plant that is already drowning in heavy clay.
Research on soil–plant–water systems shows why this matters: soil structure, moisture, roots, microorganisms, and weather interact. A plant may wilt in wet soil because oxygen is missing, or wilt in dry soil because the root zone cannot hold enough available water. Adding fertilizer to either situation can distract from the actual cause. The peer-reviewed review of soil–plant–water interactions is a useful reminder that water and nutrients do not move independently through a garden.
Build soil gradually. Leave healthy roots in place when you can, avoid walking on wet beds, add a modest layer of finished compost to the surface, and cover the soil after planting. If you are creating a new bed, loosen only the area that needs it rather than pulverizing the entire profile. For established shrubs and perennials, surface applications and mulch are usually less disruptive than digging around roots.
How to reset a tired bed without overworking it
Start by identifying the limiting condition. If water stands for a day or more, improve drainage or change the plant palette before adding more organic matter. If water disappears immediately from a sandy bed, incorporate compost or leaf mold over time and use mulch to slow evaporation. If plants are pale but growth is otherwise strong, test before reaching for high-nitrogen fertilizer.
Then make one change and watch the bed. Spread mature compost in a thin, even layer, keep it away from crowns and stems, and let rain and soil life carry it downward. Avoid routine “soil turning” that breaks fungal networks and brings buried weed seeds to the surface. This slower approach can feel less productive than a dramatic dig, but it gives you feedback instead of hiding several changes inside one experiment.
2. Leaving every bed bare and every leaf “clean”
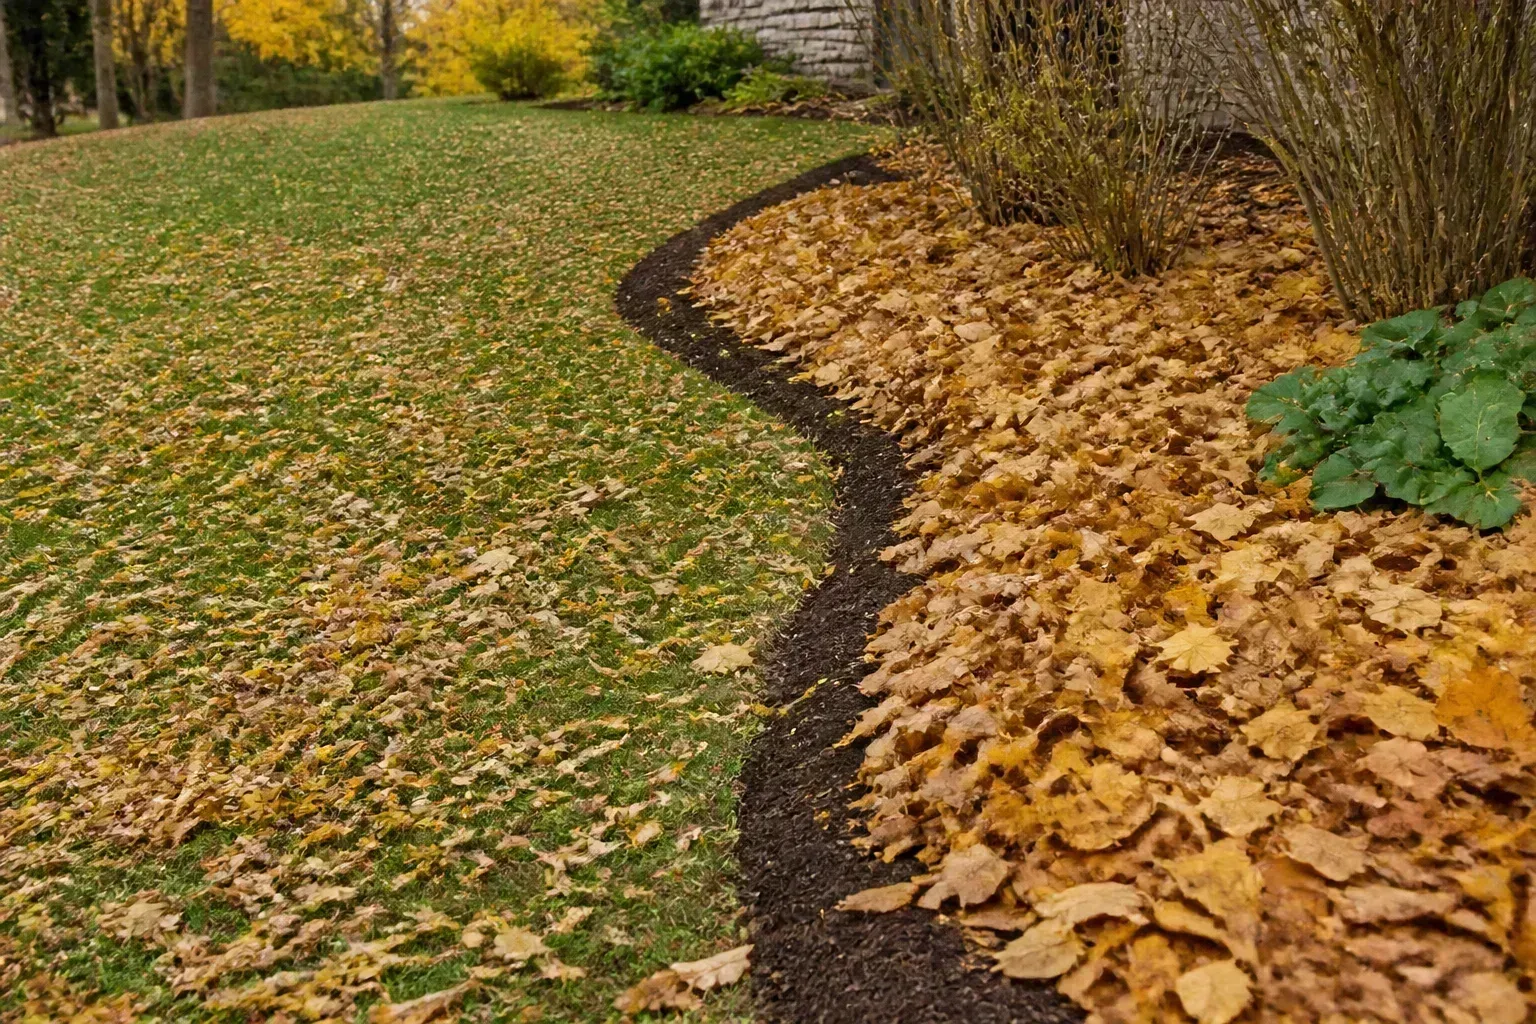
Bare soil is vulnerable to crusting, temperature swings, erosion, and rapid moisture loss. A cover of leaves, compost, straw, or suitable wood chips can buffer the surface while organic materials gradually return carbon to the soil. BBC Gardeners’ World’s mulch guidance describes mulch as a barrier against drying sun and wind, with some materials also supplying nutrients as they break down.
The habit to break is not “never see soil.” It is treating exposed soil as the default finish for every planting. Most established beds benefit from a deliberate surface cover, while a small number of places need open ground or a thinner treatment.
Match mulch to the bed
Use shredded leaves or leaf mold around woodland plants and established perennials, compost around productive beds, and coarse wood chips around shrubs and paths. Clean, dry straw can work around vegetables, but it may carry weed seed if the source is poor. Grass clippings are useful only when the lawn has not been treated with a persistent broadleaf herbicide, and fresh clippings should be applied in thin layers so they do not mat or heat up.
Depth matters more than the marketing name on the bag. The Savvy Gardening mulch guide recommends adjusting the layer to the texture: fine materials need less, loose materials can be deeper, and none should touch stems or trunks. A practical starting point is a moderate, even layer with a visible gap around the plant base. Pull mulch back if the soil remains saturated, slugs multiply, or new shoots cannot emerge.
Do not use plastic as a reflexive answer to weeds. Plastic or impermeable coverings can block air and water, heat the root zone, and create disposal problems. If you need sheet mulch for a new bed, use a permeable approach and finish with organic material; remove or open the barrier when the bed is ready for planting.
The exceptions: seedbeds, wet crowns, and nesting ground
Freshly sown seeds need contact with soil, light, and predictable moisture. A thick mulch layer can prevent germination or bury tiny seedlings, so keep seed rows open or use a very fine, breathable cover. Plants with crowns that dislike winter wet also need air and drainage, not a blanket piled over their centers.
There is another important exception: some native bees nest in bare soil. Covering every square inch with mulch can remove nesting habitat even while it helps roots. The peer-reviewed discussion of ground-nesting pollinators explains why soil itself can be wildlife habitat. Keep a few undisturbed, pesticide-free patches in quiet, sunny or lightly shaded locations, and cover the rest according to the needs of the plants and surface.
The same principle applies to leaves. Shred leaves that smother turf, mat against a crown, or clog a drain, but leave a layer under shrubs or in a low-traffic corner. “Tidy” is not the only measure of a well-managed garden.
3. Choosing plants for the label instead of the place
A plant tag can tell you a species name and a light preference, but it cannot tell you everything about your site. Choosing solely by flower color, trend, or a vague “low maintenance” label often leads to a bed that needs constant watering, pruning, staking, or pest rescue.
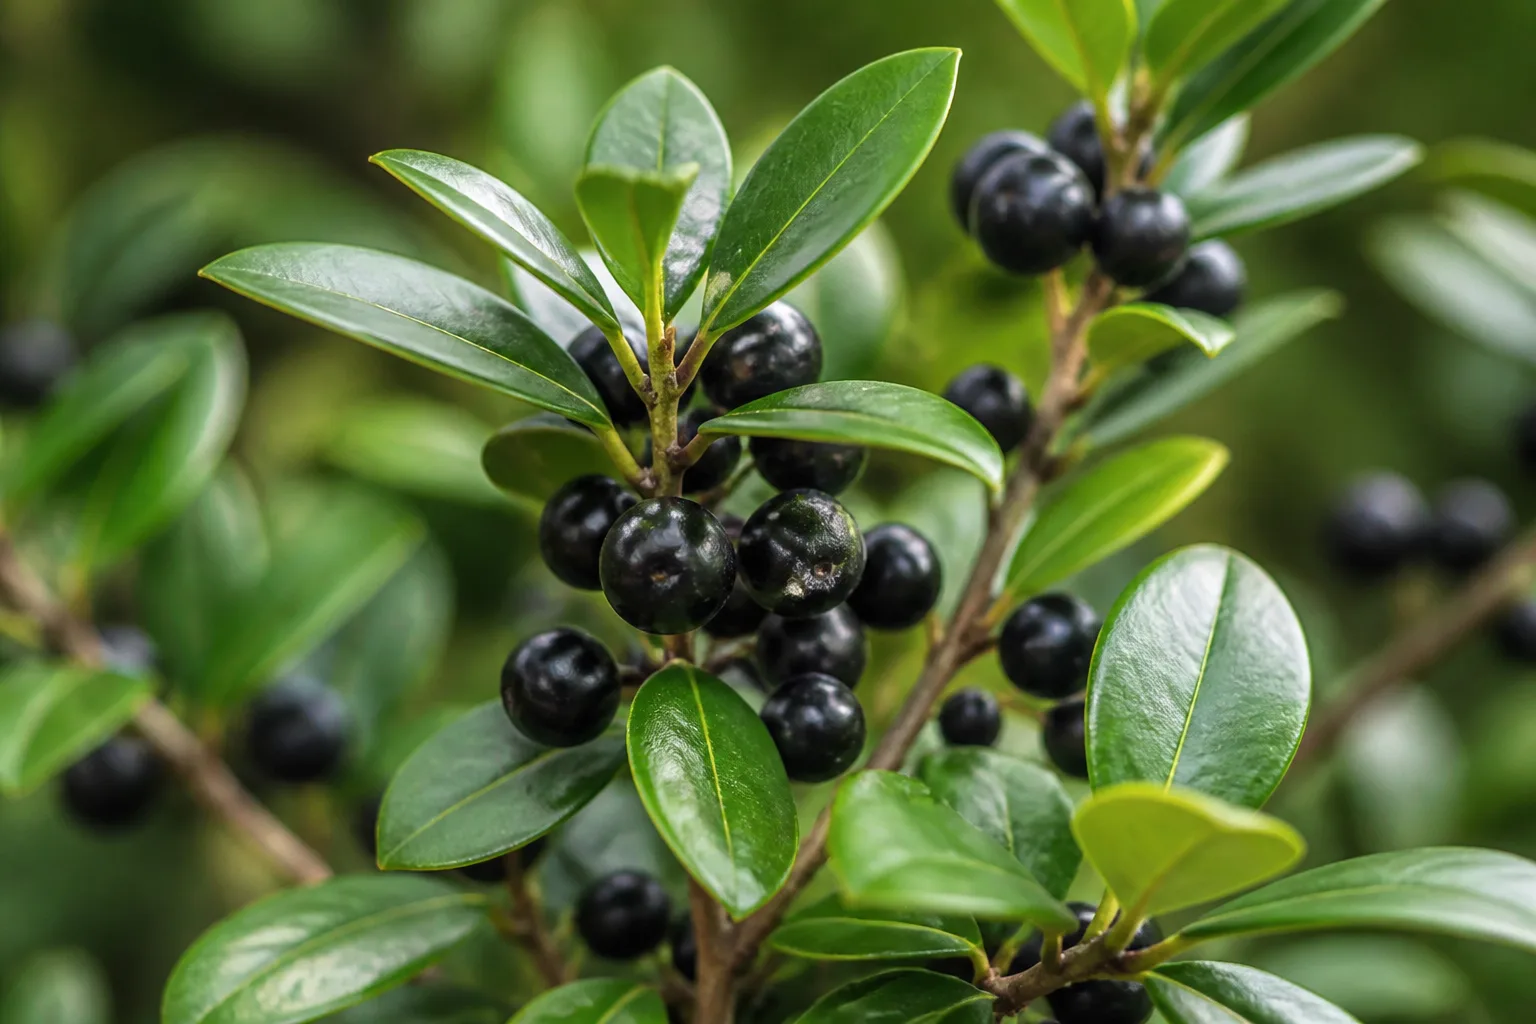
Native plants deserve a stronger place in garden planning because regional species are tied to local soils, weather, insects, and food webs. But “native” is not a magic word. A plant can be native to a large country yet poorly suited to your rainfall, soil pH, slope, or winter temperature. The best choice is a regionally appropriate plant matched to the actual site.
What “native” should mean in practice
First, map the conditions: hours of sun, soil texture, wetness after rain, wind, salt exposure, and how much water you are realistically willing to provide during establishment. Then consult a regional native-plant nursery, extension office, or ecoregional planting guide. The Pollinator Partnership garden cards are a useful model because their plant recommendations are organized by region and designed around resources across the growing season, not just a single attractive bloom.
Buy from a reputable source and avoid collecting wild plants. Look for diversity in height, flower shape, bloom time, and structure. A native shrub, bunch grass, and flowering perennial can provide more layers of habitat than a flat row of identical annuals. The goal is not to remove every non-native plant overnight; it is to stop making the entire garden dependent on inputs that the site cannot supply.
Give new natives a fair trial. A plant that needs weekly watering during its first summer may need much less after roots establish, while a drought-adapted plant in a wet clay pocket may fail no matter how “native” it is. Water new plantings deeply enough to settle the root zone, mulch without touching stems, and judge long-term fit after the establishment period—not after the first hot week.
4. Buying double flowers for a pollinator garden
Double flowers are not automatically bad. Some double cultivars still produce accessible pollen or nectar, and gardeners may choose them for a particular color, vase life, or long bloom display. The problem is buying every flower for visual fullness and assuming that more petals always mean more value to insects.
Many densely doubled flowers have extra petals where reproductive parts would normally be, or they make the nectar and pollen harder to reach. The result can be a bloom that looks generous to us but offers little usable food. If pollinators are a priority, flower structure deserves as much attention as color.
Read the flower, not just the color
Choose some open, single, or lightly doubled flowers with visible centers, and plant in clusters so insects can move efficiently between blooms. Add flowers with different shapes and bloom times, plus host plants and grasses that support larval stages. The Pollinator Partnership’s regional cards specifically encourage extending habitat with shrubs, trees, bunch grasses, sedges, woody debris, and leaf litter; a pollinator garden is more than a row of ornamental blossoms.
Watch what happens in your own garden. If bees repeatedly visit one open cultivar and ignore a nearby double one, let that observation guide future purchases. You do not need to remove a beloved double rose or peony. Simply stop using ornamental fullness as the only selection criterion, and make sure accessible flowers carry the food-supply job.
5. Reaching for pesticides and herbicides before diagnosing
A chewed leaf, yellow patch, or weed does not automatically call for a spray. Broad-spectrum pesticides can kill beneficial insects along with pests, while herbicides can injure nearby plants, contaminate runoff, or leave you fighting the same underlying problem. The first replacement habit is to identify what you are looking at and decide whether the damage is actually increasing.
Plants tolerate some feeding. A few holes in older leaves may be cosmetic, while a virus, root problem, invasive weed, or rapidly expanding pest population needs action. If you skip diagnosis, you can spend money on a product that cannot solve the problem and remove the natural enemies that were already helping.
Use an IPM ladder
Integrated pest management, or IPM, is a decision process rather than a synonym for “organic spray.” The U.S. Fish & Wildlife Service’s pollinator IPM guidance supports the basic sequence: prevent problems with plant choice and sanitation, monitor, identify the pest, use physical or cultural controls, and reserve a targeted treatment for situations where it is justified.
In a home garden, that ladder might look like this:
- Prevent: choose the right plant for the site, space plants for airflow, remove diseased debris when appropriate, and avoid overfertilizing soft new growth.
- Inspect: turn leaves over, check stems and soil, and note whether the damage is spreading or isolated.
- Confirm: identify the insect, disease, or weed before choosing a remedy; a photo or local extension diagnostic service can prevent a wrong turn.
- Intervene lightly: hand-pick, prune a small infested section, use a barrier or row cover, improve watering, or pull weeds while they are young.
- Treat narrowly: if a product is necessary, select the least disruptive option that fits the confirmed problem, protect blooming plants, avoid drift, and follow the label.
This is not permission to ignore a serious outbreak. It is a way to avoid turning a manageable problem into a chemical routine. Companion planting can add diversity, but it is not a force field; use it as one layer of prevention rather than a promise that pests will disappear.
Why vinegar is not a universal weed cure
Kitchen vinegar is often presented as a harmless weed solution, but it is a nonselective contact treatment: it can burn any green tissue it touches and usually does not remove a deep root system. Overspray can injure nearby ornamentals and soil-surface organisms, and a weed that regrows from the crown or roots will need another strategy.
Start with identification and the smallest effective method. Pull or dig annual weeds before they set seed, hoe shallowly on a dry day, mulch an established bed, and use a targeted product only where the label allows it. For cracks in paving, a physical tool may be more predictable than spraying a broad area. The habit to break is not “never use a treatment”; it is using a household recipe as though it were selective, permanent, and risk-free.
6. Watering by clock, spray pattern, or lawn color
Watering on a fixed schedule makes sense only when the schedule responds to weather, soil, plant age, and the irrigation system. A timer that runs after rain wastes water; a sprinkler that wets a driveway misses roots; a lawn that turns temporarily brown may be dormant rather than dead. The Savvy Gardening water-wise guide makes a useful case for reducing lawn pressure, collecting rain where permitted, using mulch, and accepting that some turf can go dormant during drought.
The habit to break is measuring care by how often the hose runs. Instead, check the root zone. Push a finger or a trowel into the soil, look at the plant’s growth and leaf posture, and consider the forecast. New plantings, containers, edible crops, and shallow-rooted plants need closer attention than established drought-adapted perennials.
Put water where roots can use it
For beds, soaker hoses or drip lines usually put water closer to the soil than overhead spray, reducing wet foliage and water lost to wind. Targeted watering is especially useful on slopes, narrow beds, and plantings surrounded by paths. Overhead irrigation still has a place for lawns, newly sown seed, and situations where a whole surface needs a gentle, even wetting; it is not automatically wrong, just less precise for many established beds.
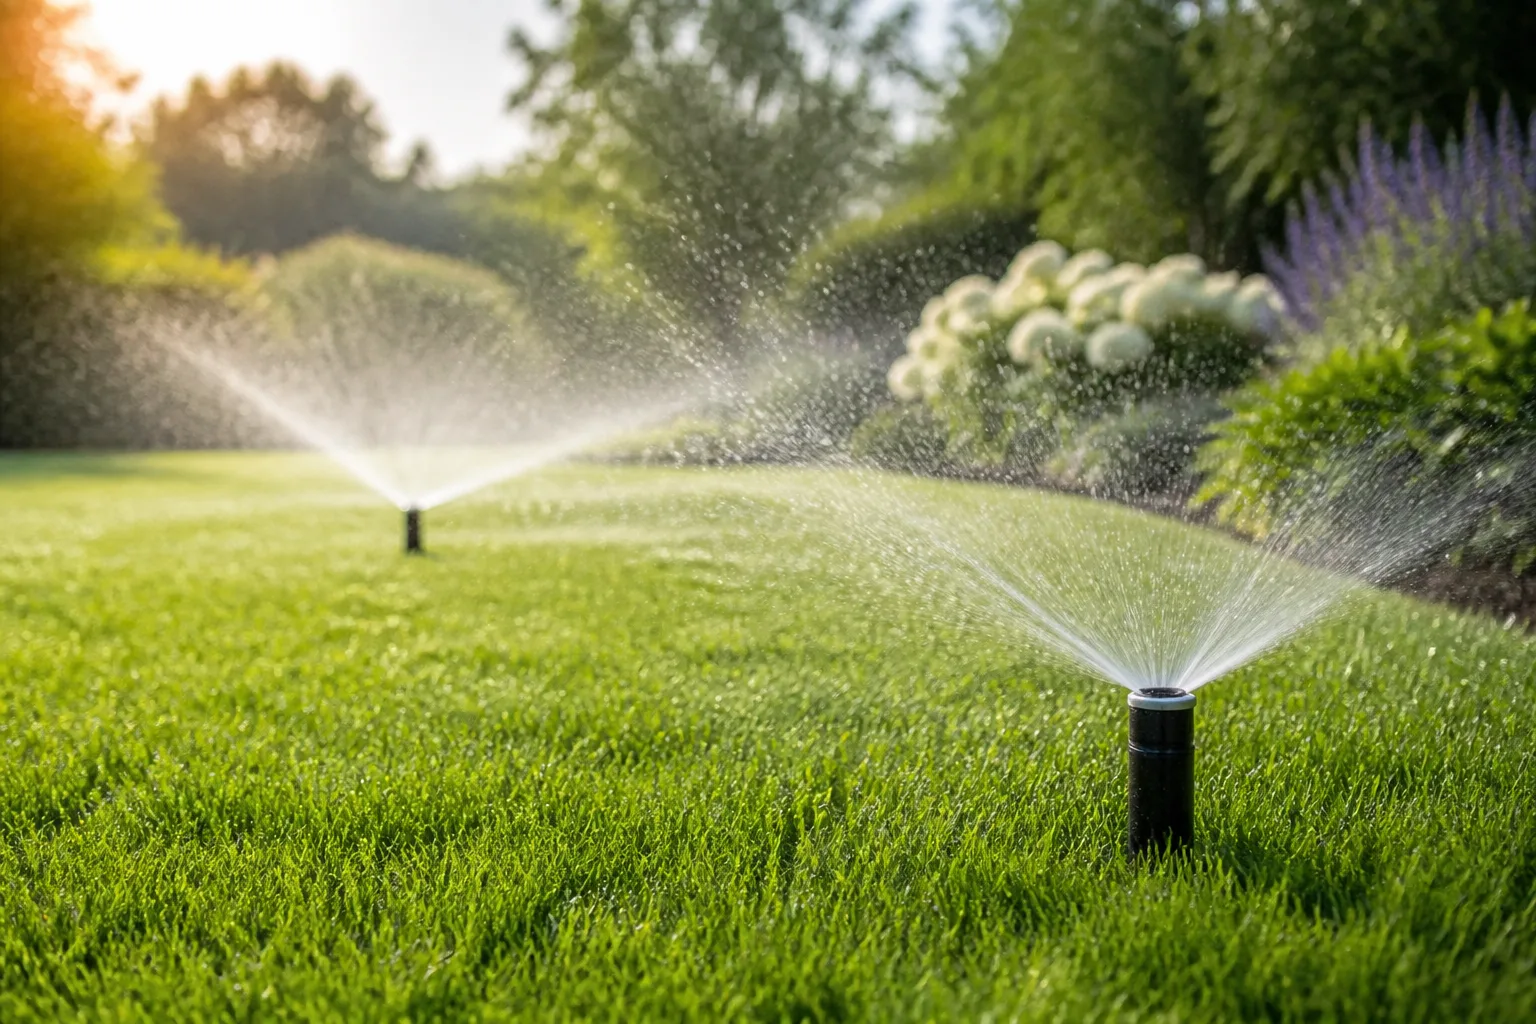
Run irrigation long enough to wet the intended root zone, then allow the surface to dry according to the plant and soil. Short, frequent sips can encourage shallow roots and create a cycle of daily wilting in hot weather. Heavy clay may need slower pulses so water infiltrates instead of running off; sandy beds may need shorter intervals because they drain quickly.
Mulch slows evaporation, but it does not replace water. Check that the soil under the mulch is actually wet, especially after installing a new layer that can shed light rain. If you collect rainwater, secure the container, screen it against debris and mosquitoes, and check local rules before designing the garden around it. A rain garden or planted swale can also slow runoff, but it must be located and sized for the site rather than dug wherever water happens to pool.
A 30-day habit reset for your garden
Make the changes in an order that creates information first and purchases second.
- Days 1–3: Map the site. Mark sun, shade, runoff, compacted paths, bare soil, irrigation overspray, and plants that repeatedly struggle. Take photos so you can compare later.
- Days 4–7: Inspect the soil. Dig a small hole, note roots and drainage, and arrange a soil test if plants show persistent nutrient or pH symptoms. Do not order amendments before you know what the bed needs.
- Week 2: Cover strategically. Shred leaves, add appropriate mulch, or plant a living groundcover where soil is exposed. Leave seed rows, crowns, and intentional ground-nesting patches open.
- Week 3: Choose one planting upgrade. Replace one high-input plant with a regionally appropriate option, or add a small cluster of accessible flowers plus a host plant or grass. Water it consistently while it establishes.
- Week 4: Audit pests and water. Walk the garden twice, identify damage before treating, and adjust one irrigation zone so it waters the root zone instead of the pavement. Keep a short note of rainfall and plant response.
At the end of the month, keep the changes that reduced work without creating new problems. If a bed is still wet, dry, pest-prone, or dependent on daily watering, revisit the site match. Sustainable gardening is not a purity test; it is the practice of making the garden need less rescue over time.
Conclusion: break the routine, keep the garden
The most useful gardening habits to break are the ones that separate a plant from its conditions: feeding without testing, covering without thinking, choosing without looking at the site, buying flowers without considering access, spraying without diagnosing, and watering without checking the soil. Replace those routines with observation, regional plant choices, moderate mulch, integrated pest management, and root-zone watering.
You can keep a lawn for play, a double flower for sentimental reasons, or a non-native plant that behaves well in your area. The goal is not to make every garden look the same. It is to make each part of your garden do its job with less waste, stronger soil, and more room for the living systems that make plants easier to grow.



