Fix 5 Gardening Pet Peeves Before They Hurt Plants
See five gardening pet peeves pros dislike—and get fixes for mulch rings, dyed mulch, trellis upkeep, pest removal, and squirrel damage with clear next steps.
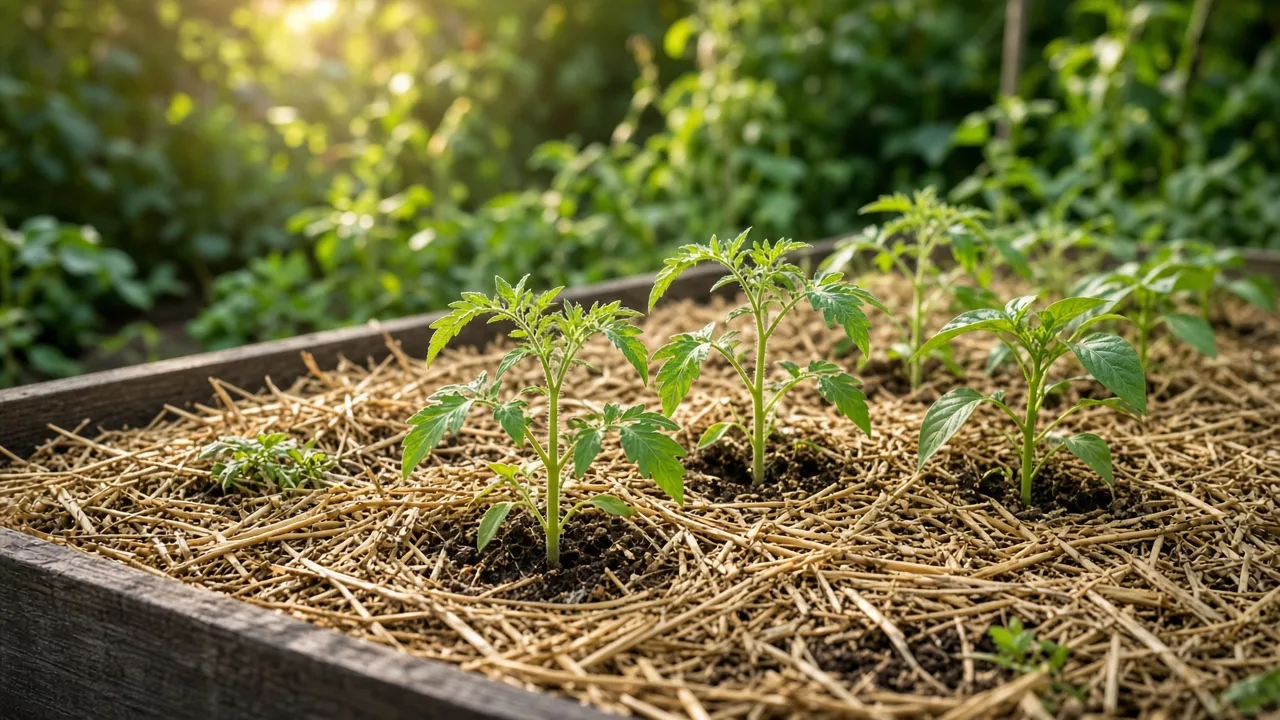
The garden habits professionals complain about most are often the ones that create the same extra work every week. A mound of mulch seems tidy until it keeps a tree trunk wet; an undersized trellis turns one installation into months of emergency tying; and grabbing the first insect you see can mean killing a helper while missing the pest doing the damage.
These are not five rules for making every yard look alike. Some are genuine plant-health problems, some are design choices, and some are simply chores that become exhausting when the garden is set up against you. The useful question is not whether a practice annoys a gardener. It is whether a small change can make the garden healthier, safer, or easier to maintain.
Turn a garden pet peeve into a useful maintenance rule
A pet peeve is most useful when it points to a fixable cause. If mulch is mounded against a tree, the issue is not that the bed looks untidy; the trunk and root flare are covered. If a gardener spends every visit untangling vines, the trouble may be a support plan that was too light for the crop. If fruit disappears, the first job is to identify the animal before buying a repellent that may not work.
That distinction keeps advice practical. We will separate a horticultural risk from a style preference, explain when the usual fix may not fit, and give you a simple first action. You do not need to rebuild the whole garden to solve any of these problems.
1. Mulch volcanoes bury the part of a tree that needs air
A deep cone of mulch around a tree trunk can look like careful landscaping, especially when a crew has used the same technique across an entire street. The problem is that a trunk is not a post that needs to be anchored. Tree roots spread outward from the trunk, and the widening base—called the root flare—should remain visible near the soil line rather than buried in a mound.
When wet mulch presses against bark, it keeps the trunk area damp and can encourage bark decay. A thick pile may also conceal the root flare and encourage roots to grow into the mulch layer instead of the surrounding soil. Colorado State University Extension advises keeping mulch off the trunk and warns that excessive depth can reduce air exchange; Penn State Extension likewise describes overmulching as a cause of tree-health problems. The risk grows over time, so the tree may look fine for a season even while the mistake continues.
The answer is not to remove all mulch from around trees. A correctly placed ring can reduce competition from turf, help moderate soil moisture, and keep mowers and string trimmers away from bark. The goal is a broad, shallow layer over the root zone with an open center—not a bare, compacted circle and not a cone climbing the trunk. Colorado State University Extension’s mulching guide explains that mulch can moderate soil temperature and moisture, but that excessive depth can limit air exchange; Penn State Extension details why wet mulch should not cover bark or the root flare.
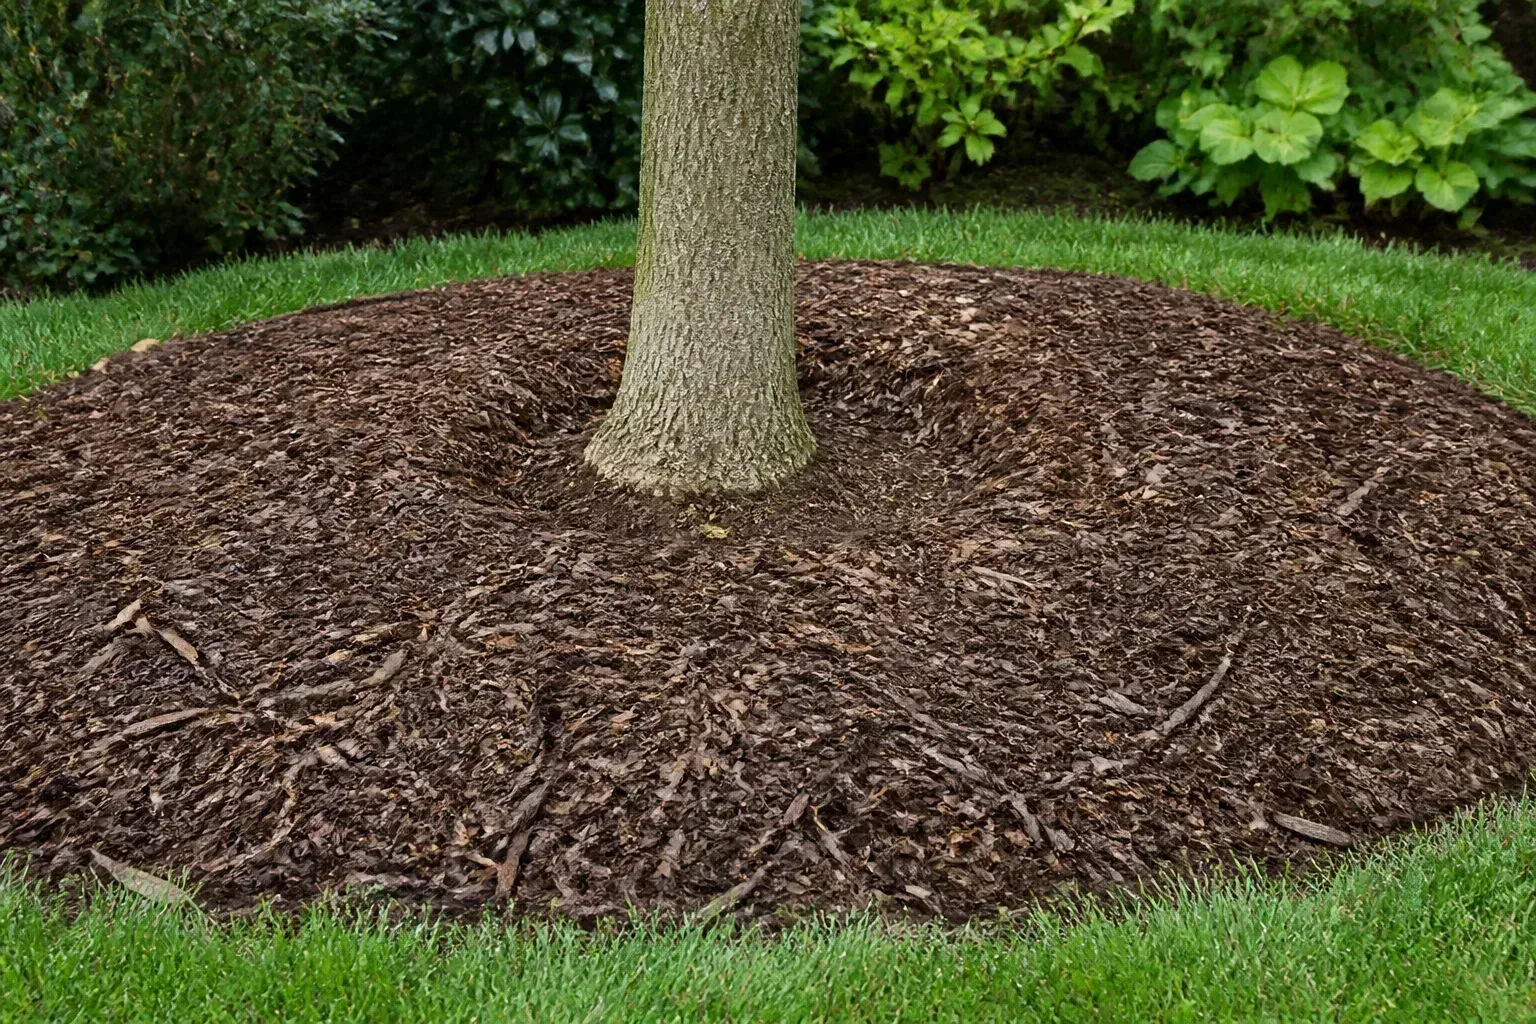
Make a level mulch donut, not a cone
Pull the mulch back until you can see where the trunk widens into the first structural roots. Keep that flare uncovered, and spread the mulch outward in a level ring. Extension recommendations vary with soil drainage and material: Penn State gives a general 2-to-4-inch range on well-drained soil and recommends less on poorly drained sites, while Colorado State describes a 4-inch depth for weed suppression in its general guidance and specifies a gap from the trunk. Use your local extension service’s range rather than treating one number as universal.
The gap matters as much as the depth. Colorado State recommends keeping mulch at least 6 inches from a trunk; Penn State gives a larger gap for mature trees than young ones. The shared rule is simple: no mulch should touch the bark, and the root flare should remain visible. Spread the extra material farther out if you have it, rather than piling it higher at the center. A ring that reaches toward the canopy edge can protect a wider root area, but do not excavate a trench or cut surface roots just to make the bed look perfectly circular.
Fix an overmulched tree without damaging roots
Start with a hand rake or gloved hands and remove only loose mulch until the trunk base is visible. If the trunk disappears below the actual soil level, or you cannot tell where the root flare should be, do not dig aggressively around the tree: it may have been planted too deep, and roots can be close to the surface. Ask a certified arborist to assess a buried flare or a tree showing decline rather than cutting roots to make the surface look right.
When refreshing an old bed, measure what is already there before adding more. Mulch settles and breaks down unevenly; a light rake can loosen a crusted surface, and some beds need only a thin top-up. Repeatedly adding a full new layer each year is how an ordinary ring quietly becomes a volcano. Penn State’s tree-mulching advice also notes that older material can often be redistributed rather than hauled away, which saves effort while restoring the proper shape.
2. Dyed mulch chosen for color alone
Bright red or black mulch is a strong visual choice, so it is unsurprising that gardeners have opinions about it. Color alone, though, does not tell you whether the material is a good match for your plants, soil, climate, or maintenance goals. Treat dye as an aesthetic feature—not a shortcut for judging mulch quality or a reason to assume every colored product is harmful.
The more useful questions are what the mulch is made from, how coarse or fine it is, whether it will be left on the surface or worked into a bed, and what you want it to do. Colorado State Extension’s mulch guidance notes that selection depends on the job: some organic materials break down and contribute organic matter, while other materials are chosen for surface coverage, moisture behavior, or appearance. That also explains why two products with similar colors can behave differently in a garden.
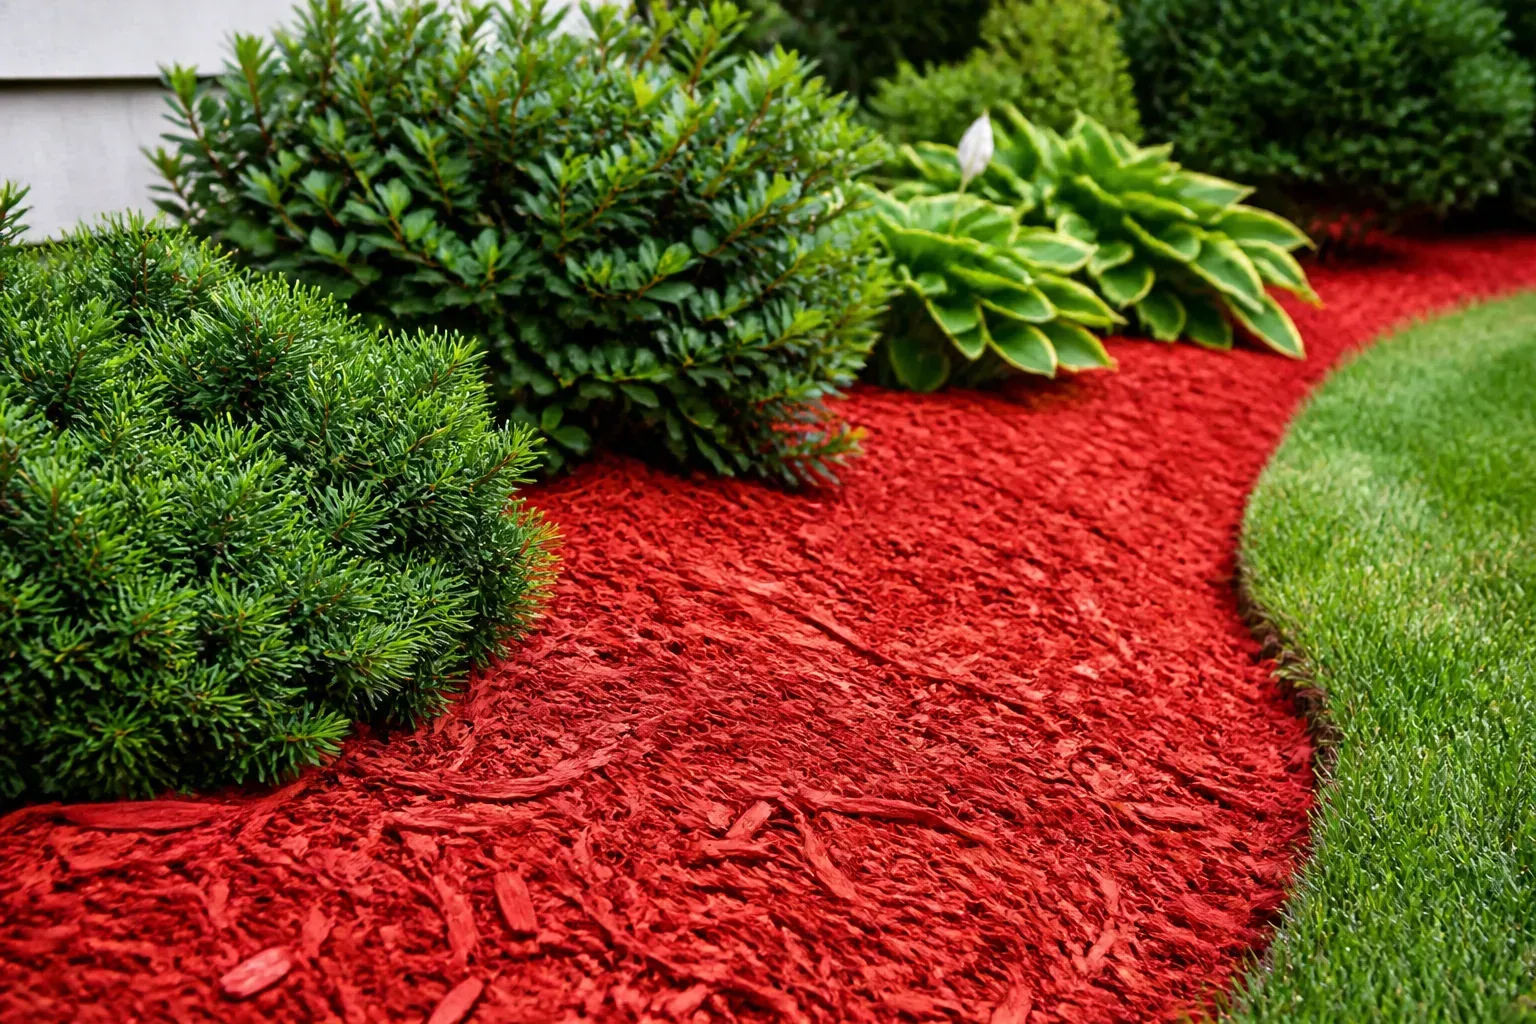
Choose mulch by job, material, and source
For a perennial bed where you want gradual organic matter, use a known, appropriate organic mulch and leave it on the soil surface. Wood chips can be useful on the surface, but mixing them into soil is different: microbes decomposing wood also use nitrogen, which can temporarily reduce the amount available to plants. In a frequently cultivated annual bed, a faster-decomposing material may be easier to move aside for sowing and replace later.
If you prefer dyed mulch, read the product label and ask the supplier what the base material is and whether it is intended for garden beds. Do not use unidentified demolition debris or material with an unclear source simply because the color matches the house. This is sensible sourcing, not proof that a particular dye is toxic. The CSU guidance notes that broad claims about “toxic mulch” are not strongly supported by evidence; it also emphasizes choosing materials for their actual properties and avoiding fresh or damp wood mulch against plant stems and trunks. For vegetable or annual beds that you cultivate, rake coarse wood mulch aside before preparing a seedbed instead of mixing it through the soil; the surface and incorporated uses are not interchangeable.
The other common annoyance is treating fading color as a signal to add another deep layer. Check the existing depth first, pull mulch away from plant crowns and woody stems, and top up only where it has thinned. A restrained, well-placed natural or dyed mulch is better than a vivid mound that buries the plants it is meant to frame.
3. Trellising that becomes a season-long chore
Trellising can save ground space and make crops easier to inspect and harvest, but support work does not end when the frame goes up. Vines grow, stems need guiding, clips migrate, and a support that felt sturdy for a seedling can bow when mature foliage catches wind or fruit becomes heavy. In a greenhouse, community plot, or home bed, the repeated handling—not the idea of growing vertically—is often what wears gardeners down.
You can reduce that burden by choosing a system for the crop rather than buying the tallest structure available. Bush cucumbers may not need a trellis at all; vining types can climb a fence, mesh panel, or frame. Savvy Gardening’s cucumber-trellis guide makes the same distinction and shows that supports can be simple, provided they are stable and sized for the plants. University of Minnesota Extension also stresses matching supports to the vegetables being grown and setting them up where they can be maintained.
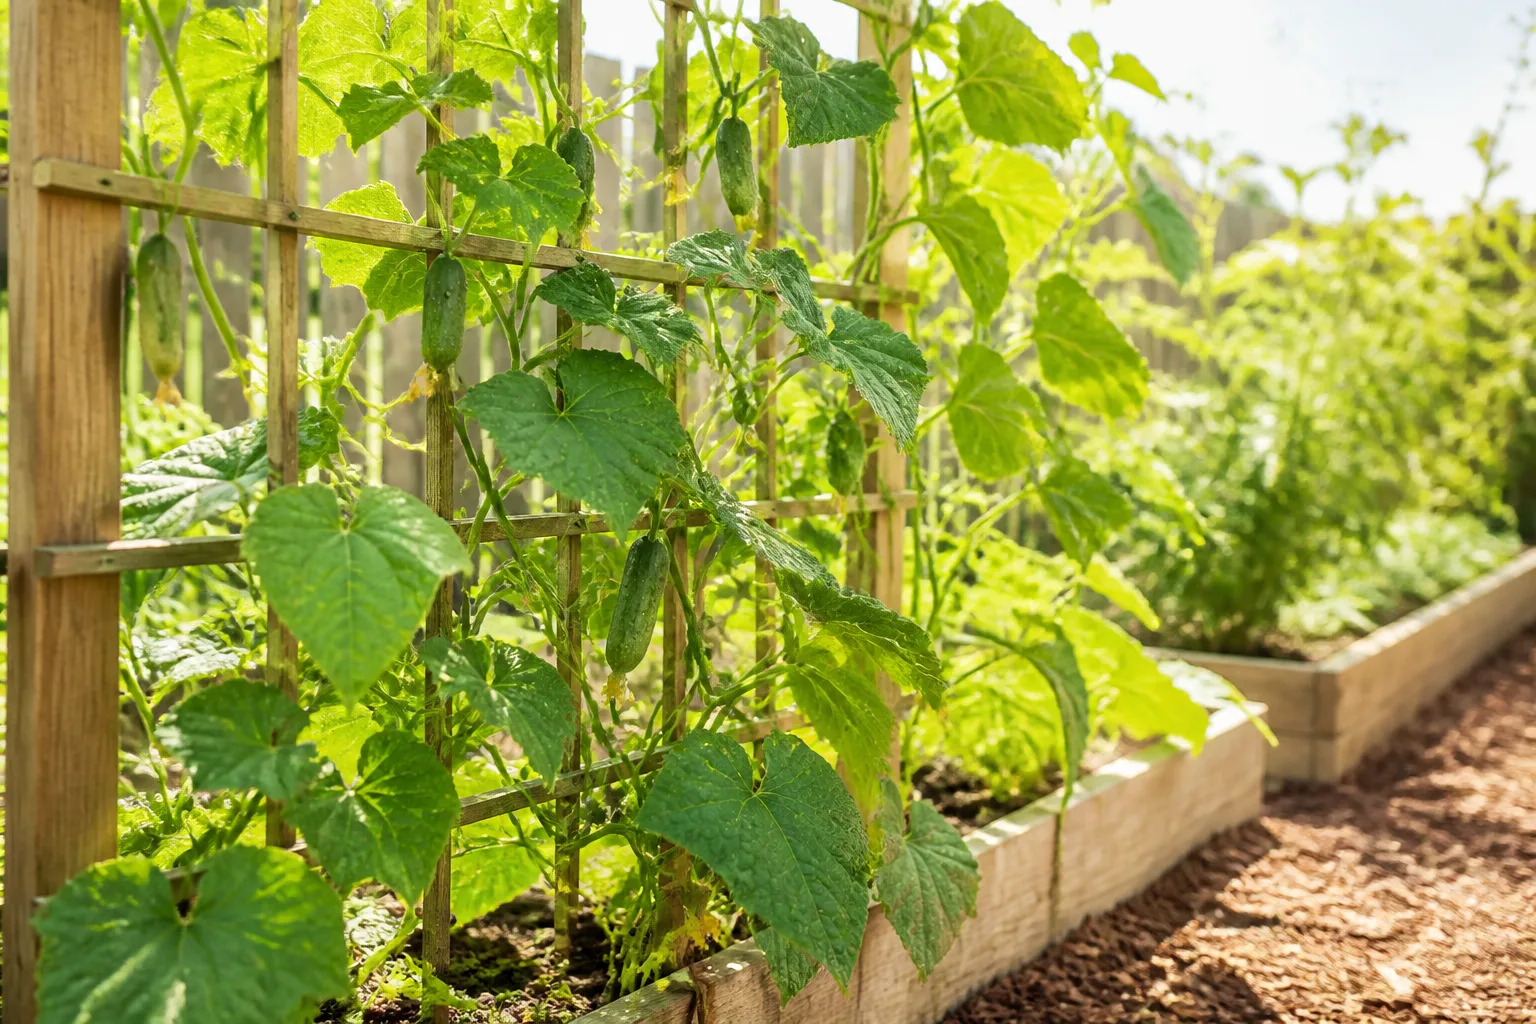
Choose and install support before planting
Check the mature plant’s habit and likely fruit load before you set posts or sow seed. A lightweight string may suit a small vine in a sheltered spot, while a long row of vigorous cucumbers needs a rigid, anchored frame. Consider wind exposure, access from both sides, the width of the path, and whether you will be able to reach fruit at the top without climbing on a bed edge or stretching over other plants.
Install the support before planting or transplanting. That lets you place it where the roots will not be damaged by later post-driving and gives seedlings an obvious direction to grow. Use crop-appropriate ties that are soft and loose enough not to constrict swelling stems; tendrils may grip mesh themselves, while tomatoes usually need deliberate tying. Heavy fruit such as melons may need individual slings or a different support strategy rather than being left to hang from a small vine. A useful test is whether you can inspect both sides, reach the top without unsafe climbing, and detach the plants at season’s end without dismantling the bed.
Make a short maintenance pass part of the routine
Once a week during vigorous growth, walk the row with pruners, soft ties, and a basket. Guide a wandering stem while it is still flexible, check that anchors and clips have not loosened, pick ripe fruit, and remove only foliage that is dead, diseased, or obstructing the support. Small corrections take seconds; a neglected vine woven through three neighboring plants can take a whole afternoon to untangle.
Do not force a plant to climb if its growth habit or the available structure makes that a poor fit. A sprawling squash or heavy-fruited vine may be happier on the ground with adequate spacing and clean fruit supports. The best trellis is not the most elaborate one; it is the least complicated structure that safely holds the crop you actually grow.
4. Killing garden pests by hand before identifying them
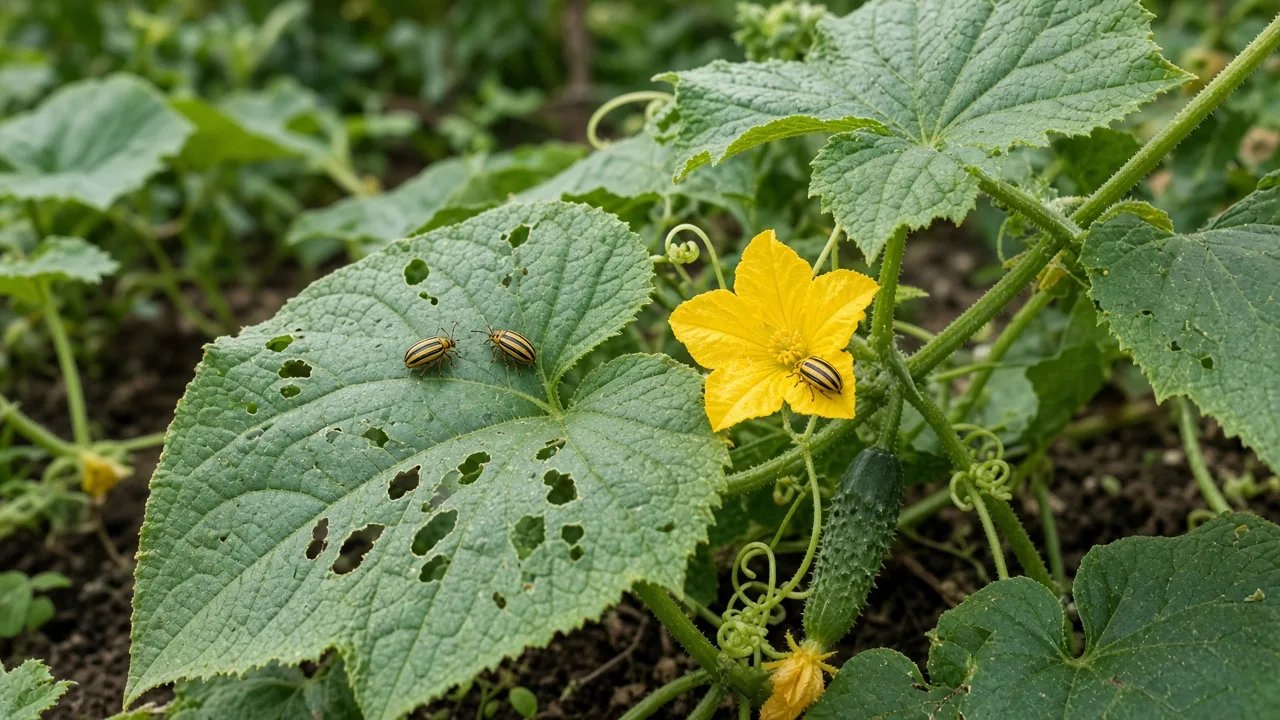
Hand-picking a pest is inexpensive and can be effective on a small planting. It is also a poor first move when you have not identified what is on the leaf. Lady beetles, lacewing larvae, pollinators, and other beneficial insects may be feeding, resting, or laying eggs near a plant; an unfamiliar insect is not automatically the cause of damage.
Start by inspecting the plant, not by crushing the first bug you see. Look for fresh feeding marks, eggs, frass, distorted growth, and whether the insect is present where the damage occurs. Take a clear photo, check a local extension identification resource, and revisit the plant in a day or two if the damage is minor. This short pause prevents needless killing and helps you choose a control that matches the pest’s life stage.
Decide whether the insect is actually causing meaningful damage
The same insect can be a serious threat on a young seedling and a minor visitor on a mature plant. Wisconsin Extension’s cucumber beetle guidance advises monitoring these beetles closely on vine crops because they can feed on leaves and flowers, interfere with pollination, and transmit bacterial wilt. Its guidance suggests checking cucurbits two to three times a week early in the season, when small plants are vulnerable, and weekly later. That crop-specific example is more useful than a blanket rule to kill every beetle in every garden.
Consider how much of the plant is affected and whether the population is increasing. A few holes on an established plant may not justify a broad treatment, while repeated feeding on tender seedlings deserves faster action. If you cannot identify the insect, avoid spraying a general-purpose pesticide “just in case”; broad treatments can affect non-target insects and may not reach the pest you have.
Use physical removal where it works—and stop when it doesn’t
For a small number of positively identified, accessible pests, remove them with a gloved hand or tap them into a container. Wisconsin Extension notes that in small plantings, cucumber beetles can be knocked into soapy water. That is a crop-specific option, not a reason to spray homemade soap mixtures over the whole garden; improvised sprays can injure foliage, and soaps or pesticides should only be used according to their product directions. Work during a calm part of the day when you can see the insects clearly, and avoid disturbing flowers or pollinators while you handle the plant.
Eggs need the same identification step. Scrape or remove a cluster only when you know it belongs to a damaging insect; many beneficial insects also lay eggs on leaves. If pests return daily, physical removal is not the whole plan. For cucumber beetles, row covers installed early can exclude adults, but they must be opened when flowers need pollination. Crop rotation, prompt end-of-season cleanup, and checking plants before damage builds can reduce the number of emergency hand-picking sessions.
5. Squirrels getting to the fruit before you do
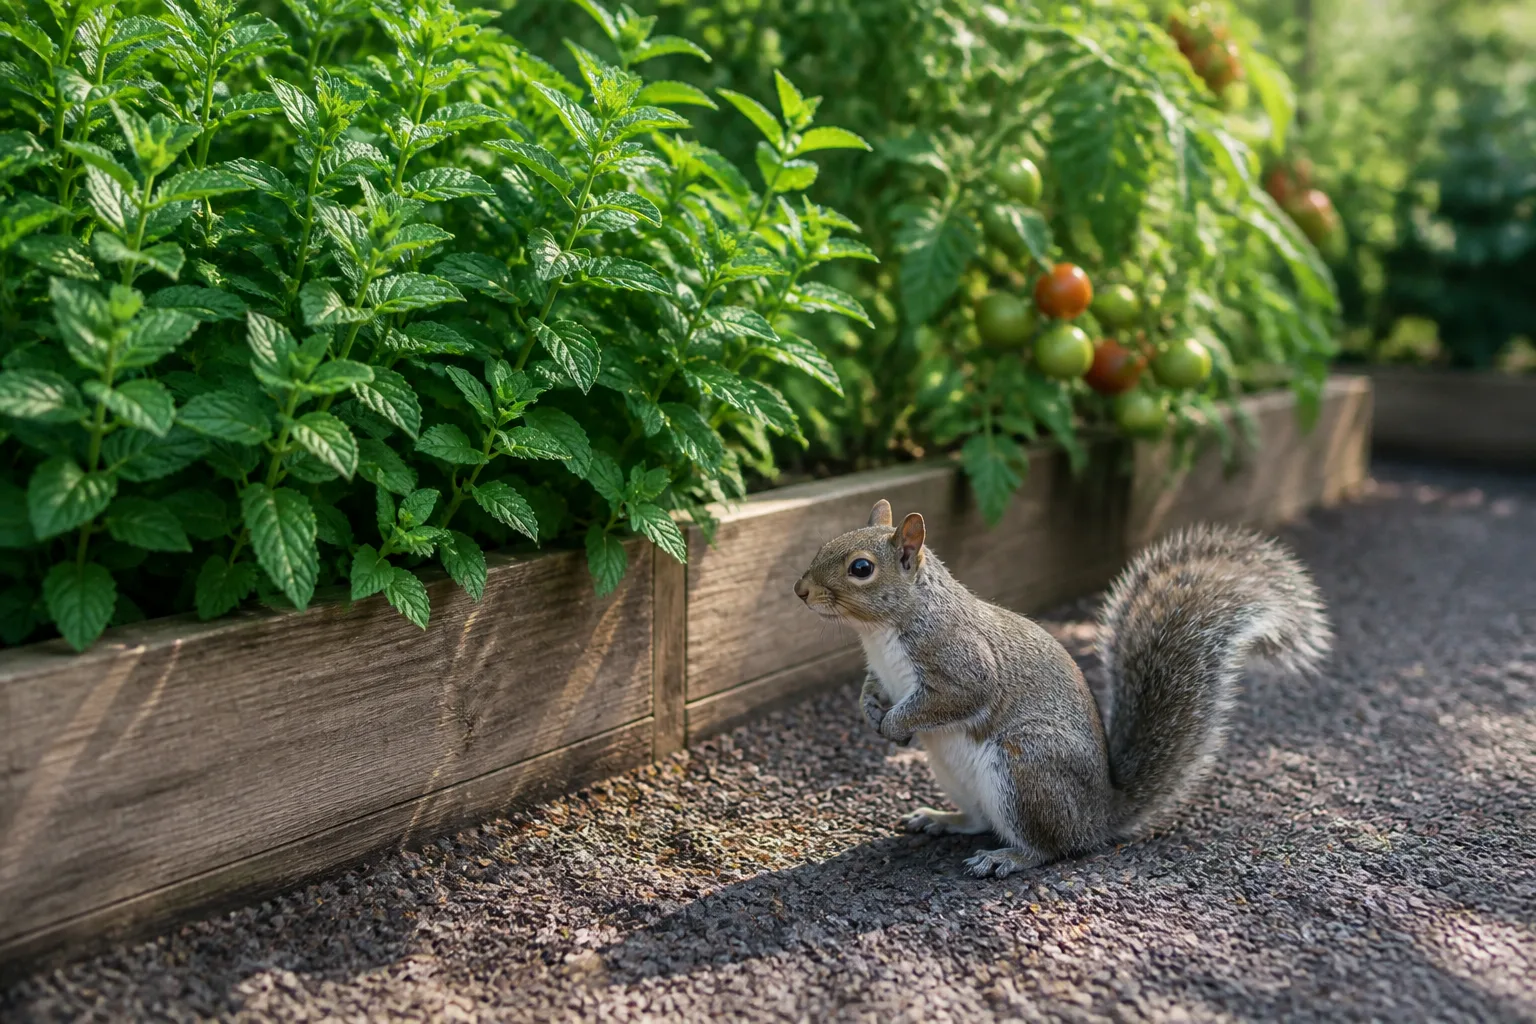
Few garden losses feel as unfair as finding a melon or tomato sampled just before harvest. Tree squirrels do eat fruit and other cultivated crops, but a missing or chewed fruit is not a reliable animal identification by itself. Birds, rodents, raccoons, and other visitors can leave different damage patterns, and animals may reach a crop at different times of day.
Before you redesign the bed, note the tooth marks, where the fruit was found, whether nearby leaves or seeds were disturbed, and when the damage appears. A simple camera can help if the culprit remains uncertain. Nebraska Extension’s guide to tree squirrel damage lists gardens, flowers, and ripe fruit among the places tree squirrels can damage, while also noting that local rules shape control options. Its publication is Nebraska-specific; check your own state’s wildlife guidance before trapping, relocating, or using any regulated method.
Confirm the culprit before changing the garden
Look for a repeated pattern rather than one dramatic bite. Squirrels may take small bites from a large fruit and leave it unusable for a gardener, but other animals can do the same. If only one crop is affected, focus protection there instead of trying to make the entire yard hostile to wildlife.
Repellents can wash off, lose effectiveness, or be ignored when a tempting food source remains. Fine Gardening’s advice on protecting a garden from hungry animals recommends physical barriers as a reusable option and cautions that animals learn to work around incomplete defenses. GrowVeg’s crop-protection guide similarly describes crop cages and covers as practical protection, while emphasizing that the material and fit matter: a barrier with gaps or weak mesh is easy to defeat.
Protect a crop with a real, pollinator-aware barrier
For a small bed, build a cage or cover that encloses the sides and top, secure its edges, and make it easy to open for harvesting. Use a durable mesh appropriate to the animal and crop; flimsy plastic netting can tear or entangle wildlife, while large gaps invite chewing and climbing. Inspect the barrier after wind and each time you harvest, because one loosened corner can undo the whole setup. If a full cage is too much, protect individual fruit with a breathable, secure sleeve or place a small frame over the single row most likely to be hit.
For watermelons or other fruits, protect the patch early enough that animals do not learn to return to it, and make sure the barrier still allows air circulation and routine care. If the crop depends on pollinators, plan how they will reach flowers before installing a cover; removable panels or timing the cover around flowering may be necessary. No open-yard method promises zero wildlife visits, so for a large garden the realistic goal is protecting the crop you value most and reducing losses—not eliminating every squirrel from the neighborhood.
A 20-minute check that prevents repeat garden frustrations
Once a week in the growing season, walk the garden with a small notebook or use your phone to record what changed. Start with trees: is the root flare still visible, is mulch touching the trunk, and has the layer thickened after another top-up? Then check beds and supports: are vines loose, are anchors stable, and can you reach the fruit without stepping into the soil?
Finish by looking for the earliest evidence of pests or wildlife damage. Photograph unfamiliar insects before removing them, check young cucurbits more often than established plants, and note which fruit disappears and from where. If you use a barrier, inspect the seams and the route you need for pollination and harvest. A few minutes of observation makes the next action more specific than a rushed spray, another bag of mulch, or a last-minute trellis repair.
Keep the fixes small and tied to a cause. Spread rather than add mulch when the ring is already deep; replace a weak trellis connection instead of rebuilding a sound frame; protect one bed rather than the whole yard; and leave an insect alone when it is not damaging the plant. That approach lowers maintenance without turning gardening into a checklist of chores.
Conclusion
The garden pet peeves worth acting on are the ones that reveal a preventable problem. Keep mulch off tree trunks, choose it for its material and purpose rather than color alone, install supports that match the crop, identify insects before removing them, and verify wildlife damage before investing in protection.
You do not need to make a garden perfect to make it easier to care for. A visible root flare, a stable trellis, a correctly identified pest, and one well-fitted crop barrier can eliminate more repeat frustration than a full weekend of cosmetic rework.



