Gardening Tasks to Skip Before Spring: 5 Smart Delays
These five gardening tasks to skip before spring protect next year’s blooms, pollinators, soil-test accuracy, and your time—plus the exceptions that should not wait.
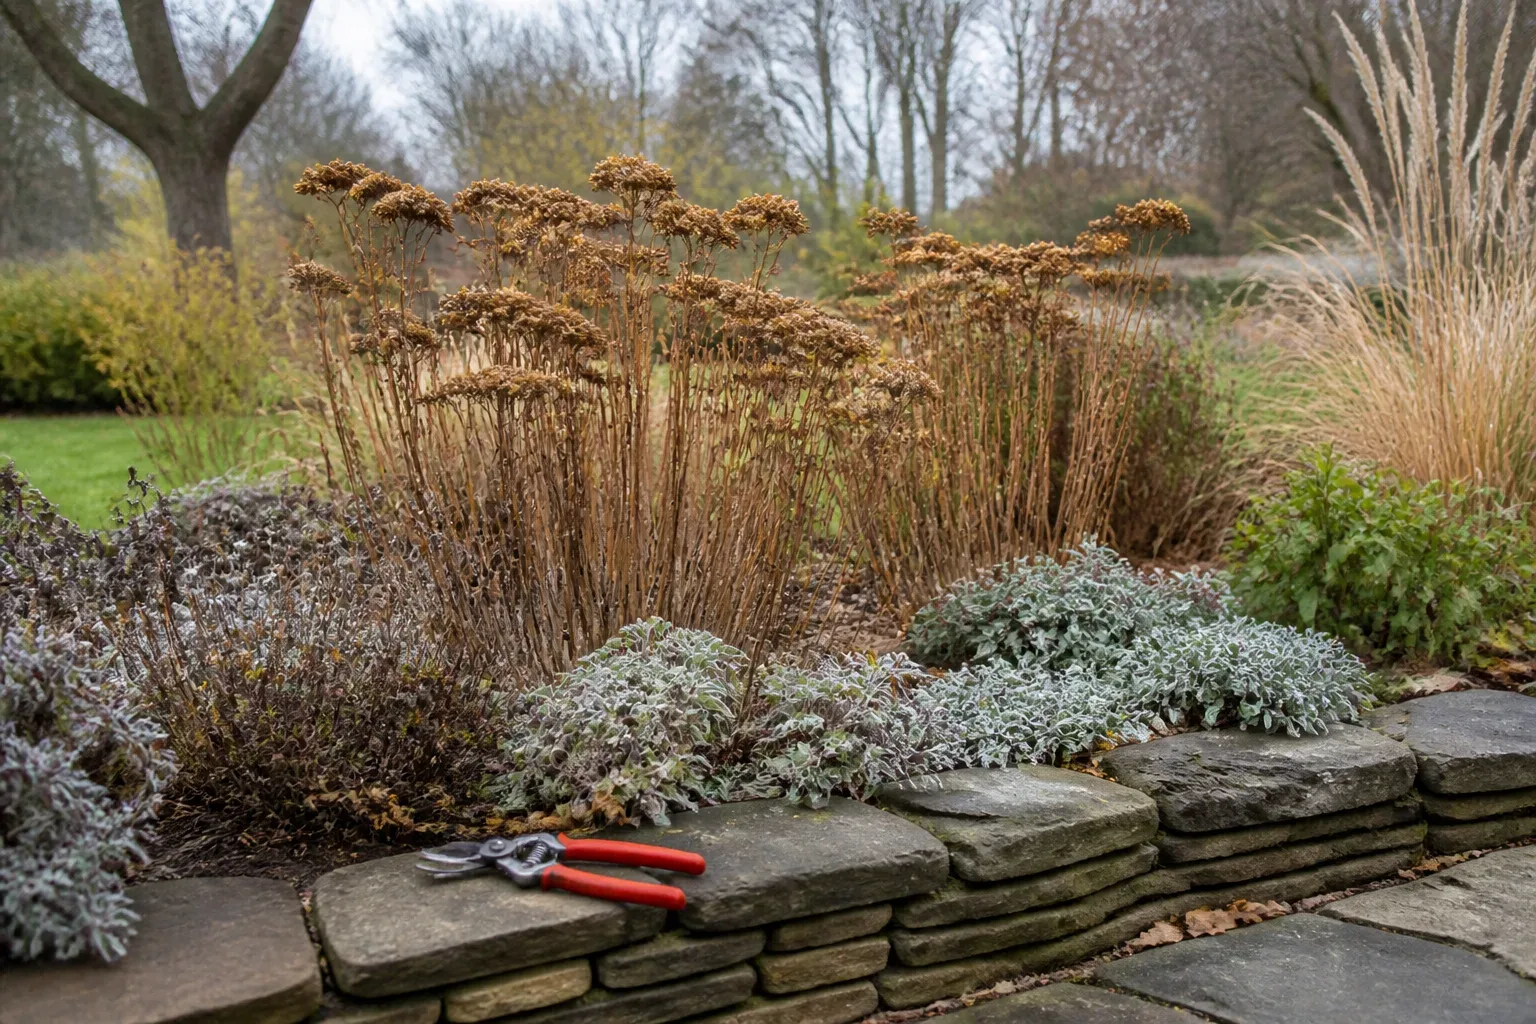
If a mild afternoon makes the garden look ready for a full cleanup, pause before you cut, rake, spray, or dig. A few chores are better postponed because they can remove next season’s flower buds, erase useful winter habitat, spread a problem, or produce a soil test that does not represent the bed.
“Skip” does not mean ignore the garden until a particular date. It means avoid doing a task automatically just because it is winter or because a calendar says spring is close. Plant identity, local weather, soil condition, and the reason for the chore matter more than the month.
What “before spring” means in your garden
Spring is not a single date that works across the country. In a mild coastal garden, shrubs may already be swelling into bud while inland soil remains frozen; in a warm climate, the useful pruning window may have passed before a northern gardener has put away a shovel. Use your local frost pattern, the plant’s growth stage, and whether the ground is workable—not a generic “spring cleanup weekend”—to decide.
The same restraint applies to hardiness zones. A zone describes the average annual extreme minimum winter temperature, not the date your soil thaws, the week a shrub blooms, or whether the next warm spell will be followed by a freeze. If a decision depends on flowers, watch the plant. If it depends on soil, feel the soil. If it involves a pesticide, read the product label and seek local guidance.
The five jobs below are common candidates for a pause. In each case, there is still something useful to do: identify a plant, leave a patch of stems, move a leaf mat, mark a hazard, or plan a soil test for the first dry, workable day.
Use this as a decision guide, not a new list of chores to finish in one weekend. A plant that is healthy and in the wrong pruning window can wait; a broken limb or diseased foliage may need attention now. A bed can keep useful cover while its path stays clear. And you can prepare for a soil test without digging into frozen ground. The point is to match each action to the actual condition in front of you, rather than to the appearance of a tidy garden or a date on a calendar.
1. Don’t cut every dormant perennial and grass to the ground
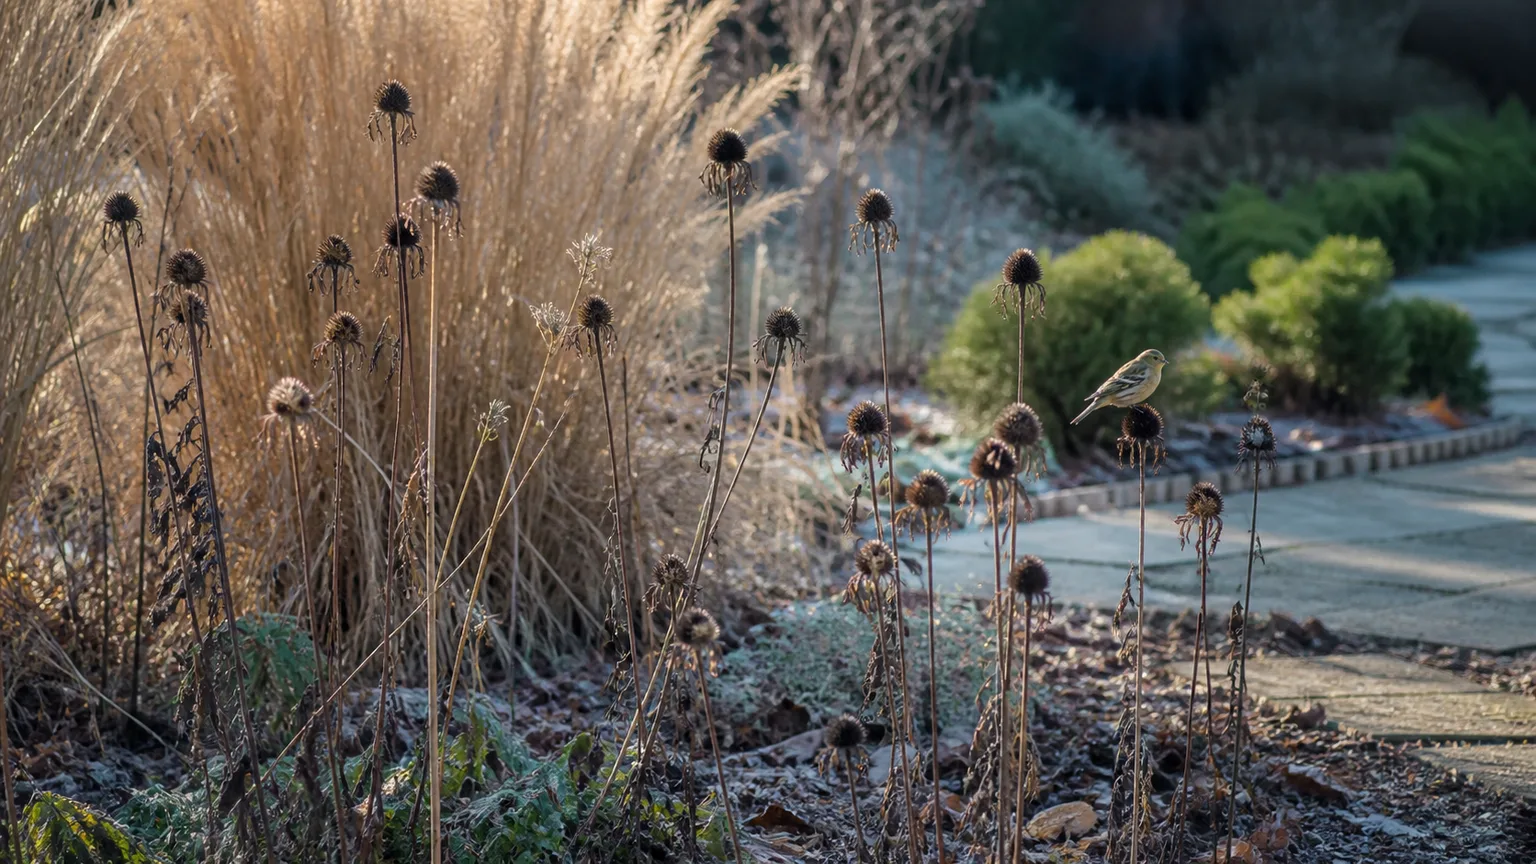
A dead-looking perennial is not necessarily useless. Standing stems can hold seed for birds, add structure to a winter bed, and become nesting material for some native bees. Cutting every plant short in fall or late winter removes those functions at once, even where a lighter, selective cleanup would make the garden easier to manage.
But “leave every stem untouched until late spring” is not a universal pollinator rule, either. NC State Extension sampled nearly 3,000 stems from 20 gardens across 10 North Carolina counties and found a seasonal pattern: intact stems in their first winter were not occupied by bee nests in that study, while older stems became more likely to contain nests after weathering opened access. The research supports managing stems by age rather than treating every stem as interchangeable. See the NC State Extension study and its research summary.
That distinction changes the practical advice. Instead of shearing an entire border to the ground, decide which stems are current-season growth, which were cut or broken earlier, and which have stood through another growing season. A few intact clumps left in a quieter corner can preserve winter structure while you clear paths, remove diseased material, and make the front edge neater.
First-winter stems and older stems are not the same
If your garden contains sturdy stems that grew and flowered the previous summer and stayed intact, NC State’s guidance is to consider trimming them during their first winter, after the first fall frost and before the last spring frost. Leaving about 12 to 24 inches of stubble creates entry points for stem-nesting bees in the following season while making a border look tidier. That recommendation comes from North Carolina gardens and should be adapted to your region and the plants you grow.
Do not apply the rule to every stem in the bed. A stem cut, split, or damaged during the growing season may have been available to nesting insects earlier; older stems may already contain a nest. If you cannot tell which is which, leave a portion standing rather than clearing the whole patch. You can also leave seedheads until birds have used them, then make a selective cut on a dry day.
Some perennials do benefit from cleanup sooner, especially when leaves are diseased or collapsed foliage is smothering new growth. The practical middle ground is to remove material that is clearly diseased or blocking the crown, leave healthy stems where they add habitat, and avoid chopping every plant at the same height for appearance alone. BBC Gardeners’ World Magazine’s perennial cleanup guide also distinguishes plants that can be cut back from those with useful winter structure.
If you have many kinds of perennials, work in small groups instead of cutting the whole border in one pass. Leave a few marked clumps standing, particularly where seedheads remain useful or where stems are intact and hollow; clear only the plants whose foliage is diseased, mushy, or obstructing emerging growth. Ornamental grasses can also provide winter shape and seed, so decide whether their dry foliage is still serving the bed before cutting it. When you do cut, use clean, sharp pruners and avoid crushing crowns or slicing through new shoots that are already appearing. A selective approach makes the timing easier to adjust next year: note which plants stayed attractive, which became a maintenance problem, and when you finally cut them back.
2. Don’t prune every shrub because it is dormant
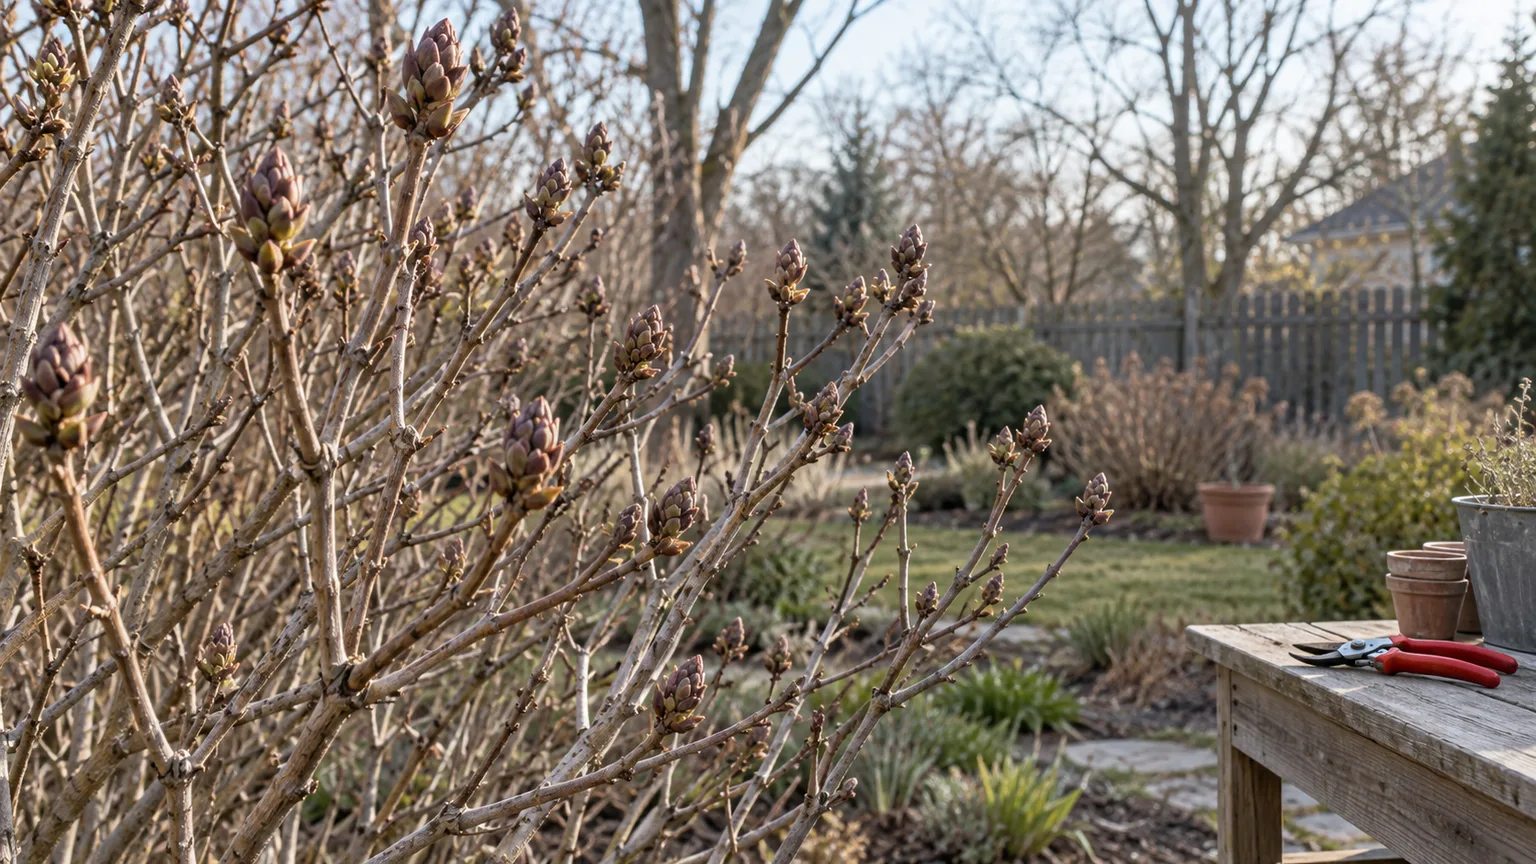
Leafless branches are easier to see, which makes winter feel like the obvious time to prune everything. The risk is that a shrub’s flower buds may already be sitting on those branches. If you remove the previous season’s growth from an early-flowering shrub, you can remove the flowers that were forming for the coming spring.
The key question is not simply “Is this shrub dormant?” Ask when it blooms and where it makes its flower buds. Many spring-flowering shrubs—including lilacs, forsythias, azaleas, and some viburnums—flower on older wood. A winter haircut can therefore trade a neater outline now for fewer blossoms a few weeks later.
This is not an argument against all winter pruning. Some shrubs that flower on new growth can be pruned in late winter or early spring before that growth begins, and dead or broken branches may need attention for safety or plant health. The problem is pruning by habit before you know which category the shrub belongs to.
Use bloom season and wood age to set the date
For most spring bloomers on old wood, wait until flowering finishes, then prune promptly enough for the shrub to set next year’s buds. Penn State Extension’s flowering-shrub guide lists common spring-flowering shrubs and explains why late pruning can remove the next bloom. For shrubs that flower on new wood later in the season, late winter or very early spring is often the better window.
Hydrangeas show why a one-line rule can fail. Bigleaf and oakleaf types generally carry flowers on older stems, while smooth and panicle hydrangeas flower on new growth; reblooming cultivars can complicate the picture further. If the plant label is gone, identify the species or cultivar before making a major cut. Penn State Master Gardeners’ shrub-pruning guidance recommends using the botanical name and growth habit rather than relying on a common name alone.
Make a note of what you have instead of trying to memorize every shrub. A phone photo of the plant, its label, and the month it blooms is usually enough to check its pruning window later. When you do prune, start with dead, broken, or crossing wood and remove only what serves a clear purpose; a shrub does not need to be reshaped merely because its branches are visible.
For an unknown shrub, wait through one flowering cycle before doing substantial shaping if it is safe to do so. Photograph the flowers and leaves, check the nursery label or a reliable local plant-identification resource, and record whether blooms appeared before or after the new leaves. That observation narrows down the pruning advice and gives you a reference for the following year. If the shrub is overgrown, spread corrective work over more than one season when appropriate instead of cutting it back hard on impulse; the right renewal method still depends on the species and its growth habit. For a recently planted shrub, prioritize removing dead or damaged wood and let it establish before making appearance-driven cuts.
3. Don’t remove every fallen leaf
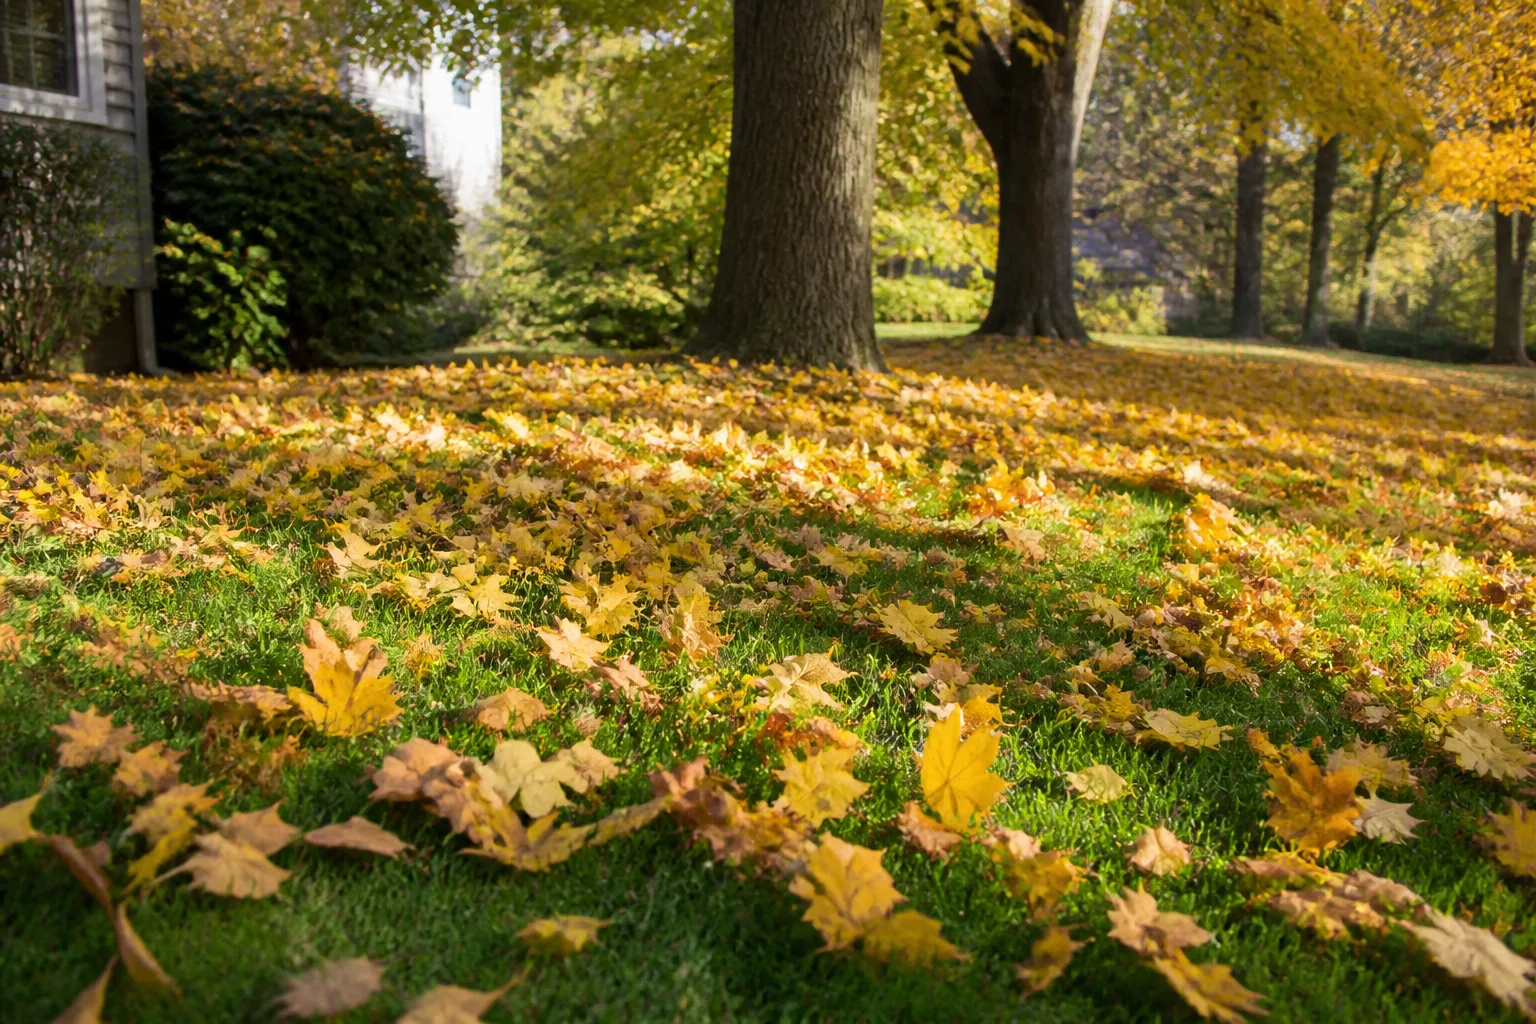
Leaves are not automatically garden trash. A thin layer can cover bare soil, break down into organic matter, and provide shelter for small wildlife. Raking every last leaf out from beneath shrubs and along a bed’s quiet edge can create more work without improving the plants.
The useful question is where the leaves landed and what condition they are in. A light, loose covering in a perennial bed is different from a wet, compacted blanket over a lawn, plant crown, drain, or walkway. Leaving leaves everywhere is as indiscriminate as removing them all.
Keep useful leaves; clear harmful mats
On garden beds, keep a modest layer where it does not bury crowns or smother small plants. You can rake surplus leaves into an out-of-the-way pile or turn them into leaf mold; avoid piling wet leaves tightly against woody stems or evergreen foliage. BBC Gardeners’ World Magazine’s autumn-tidying advice recommends leaving some leaf piles for wildlife while removing leaves from lawns, paths, and places where they can smother plants.
On a lawn, shred a light fall of dry leaves with a mower if the pieces settle between the grass blades. If leaves form a thick mat, stay wet, or block light from the turf, rake or collect them instead. Leaving a dense layer until spring does not “feed the lawn” if the grass underneath is yellowing and flattened.
Paths and steps deserve a quick sweep because wet leaves can become slippery. Remove leaves from gutters, storm drains, and ponds before they clog or decompose where they create a maintenance problem. In a bed with a known disease issue, do not preserve infected leaf litter simply for habitat; University of Wisconsin–Madison Extension’s winter garden guidance specifically separates pollinator-friendly cleanup from the removal of diseased plant tissue.
The best approach is selective: retain healthy leaves where they function as cover, move excess leaves to compost or a designated pile, and remove material that is diseased, matted, or in a place where it causes a real problem. That gives soil and wildlife some of the benefits without sacrificing turf or plant health.
You can make the decision bed by bed. In a naturalized area, a loose leaf layer or a small pile tucked away from paths may be useful and require little work. In a formal border, rake leaves off low-growing evergreen plants and small crowns if the cover is pressing them down, then redistribute the leaves under larger shrubs or compost them. On a lawn, check after mowing: if the shredded pieces disappear among the grass rather than forming a continuous layer, they are less likely to block the turf. If you cannot tell whether leaf spots indicate disease, identify the plant and problem before saving that material as mulch; a general wildlife benefit does not override a known sanitation need.
4. Don’t apply herbicide by the calendar
“No herbicides before spring” sounds like a safe universal rule, but it can mislead gardeners dealing with invasive woody plants. Some targeted dormant-season control methods are used precisely because the plants are easier to identify when surrounding vegetation is down. Other treatments work poorly at certain stages, and some plants resprout if the chosen method does not reach the parts that matter.
That does not mean a cold day is automatically a good day to spray. A treatment’s performance depends on the target species, method, active ingredient and formulation, site, and directions on the specific product label. Advice for one tree, region, or formulation should not be turned into a universal temperature cutoff for a different plant.
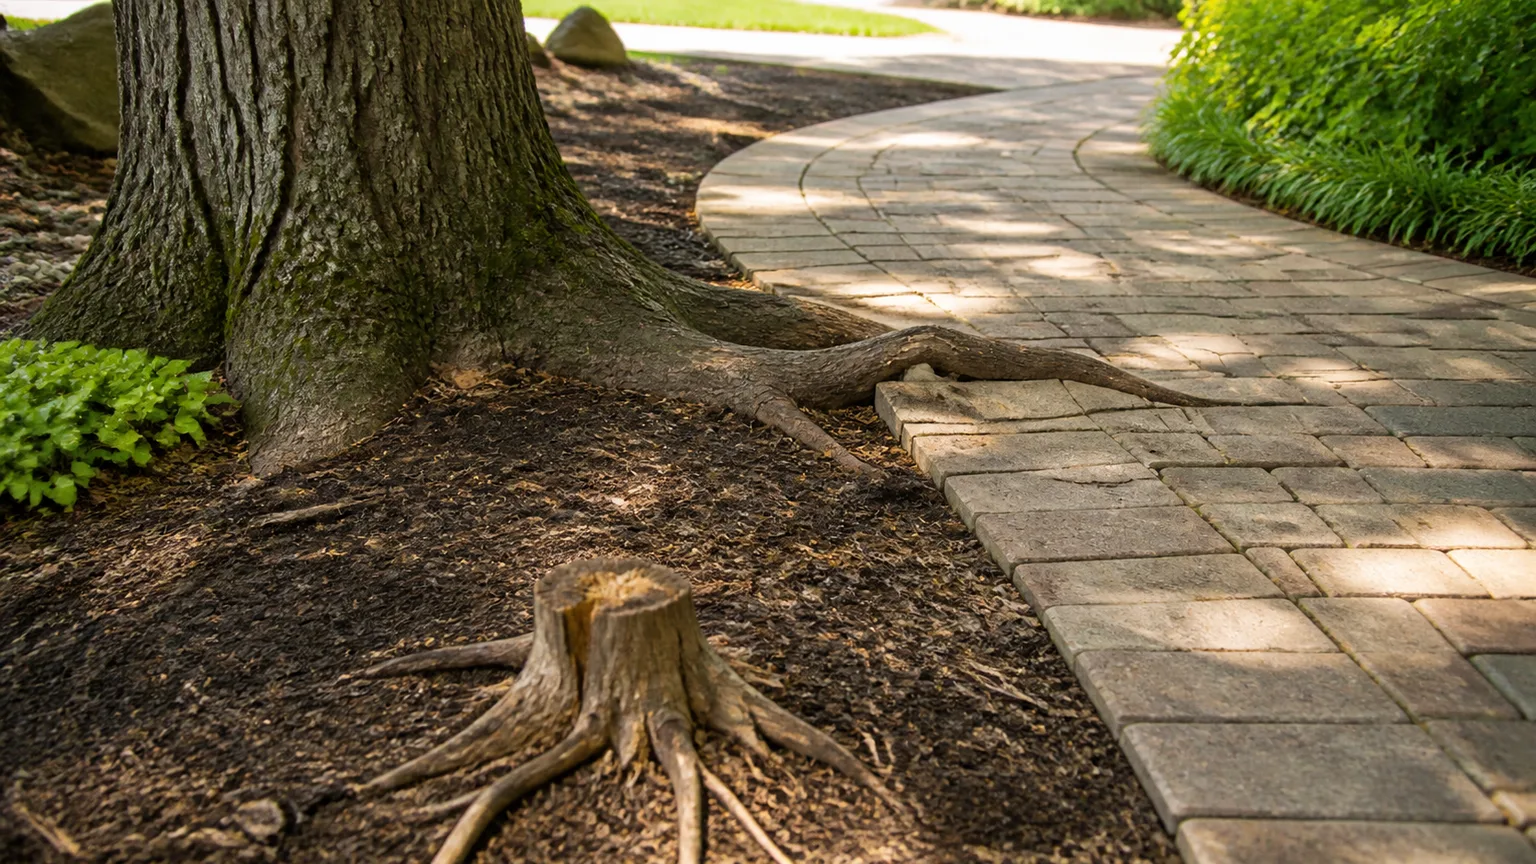
Winter control can be targeted—but not generic
If you are managing a confirmed woody invasive, first identify it and decide whether removal is necessary. For some plants, hand-pulling, repeated cutting, or carefully targeted stump treatment may be appropriate; for others, a stump method may not control the root system. Penn State Extension’s cut-stump guidance explains that effectiveness depends on the plant and treatment timing, while Alabama Cooperative Extension’s cut-stump guide discusses site suitability and label-specific directions.
There is a real seasonal nuance here. Penn State describes late-summer and fall timing as preferable for some cut-stump treatments and notes that spring sap flow can reduce effectiveness, while Alabama Extension describes treatments as possible across much of the year with species-specific exceptions. A horticulture team at Holden Forests & Gardens also documents winter protocols for its own sites. Those differences are exactly why a single “below 40 degrees” rule is not reliable.
Use a product only when its label allows that plant, site, season, and method. Do not apply herbicide near water, desirable roots, or public areas unless the product directions and local guidance explicitly cover the situation. If you cannot confidently identify the plant or follow the label, postpone the treatment and ask a local cooperative extension office or licensed applicator. If you prefer not to use herbicide, plan for repeated mechanical removal and monitor for regrowth rather than assuming one cut finishes the job.
Before treating, write down the plant’s common and botanical name if you know it, where it is growing, and whether nearby plants should be protected. Confirm that the label permits the intended use and application technique; directions for foliar spraying are not interchangeable with directions for a cut surface. Weather restrictions can include more than air temperature, so check the actual label for wind, rain, water, protective equipment, and re-entry instructions. Never increase a concentration or improvise a mixture to compensate for a poorly timed application. If the target is a non-native invasive, local extension or land-management guidance can also help determine whether treatment is worthwhile and how to prevent regrowth or spread. These checks may make the job take longer, but they reduce the chance of harming desirable plants or applying a product outside its permitted use.
5. Don’t sample frozen or waterlogged soil
A winter soil test can save time before planting, but the calendar does not make frozen ground sample-ready. If a trowel cannot reach the intended depth or the sample comes out as icy chunks, you cannot combine comparable soil from across the bed. A sample collected from one thawed patch may not represent the area you want to amend.
The same caution applies to saturated soil. It is difficult to collect and mix a consistent sample when the ground is waterlogged, and walking on it can compact the bed. Wait until the soil is thawed and moist enough to dig but not so wet that it smears into a dense lump.
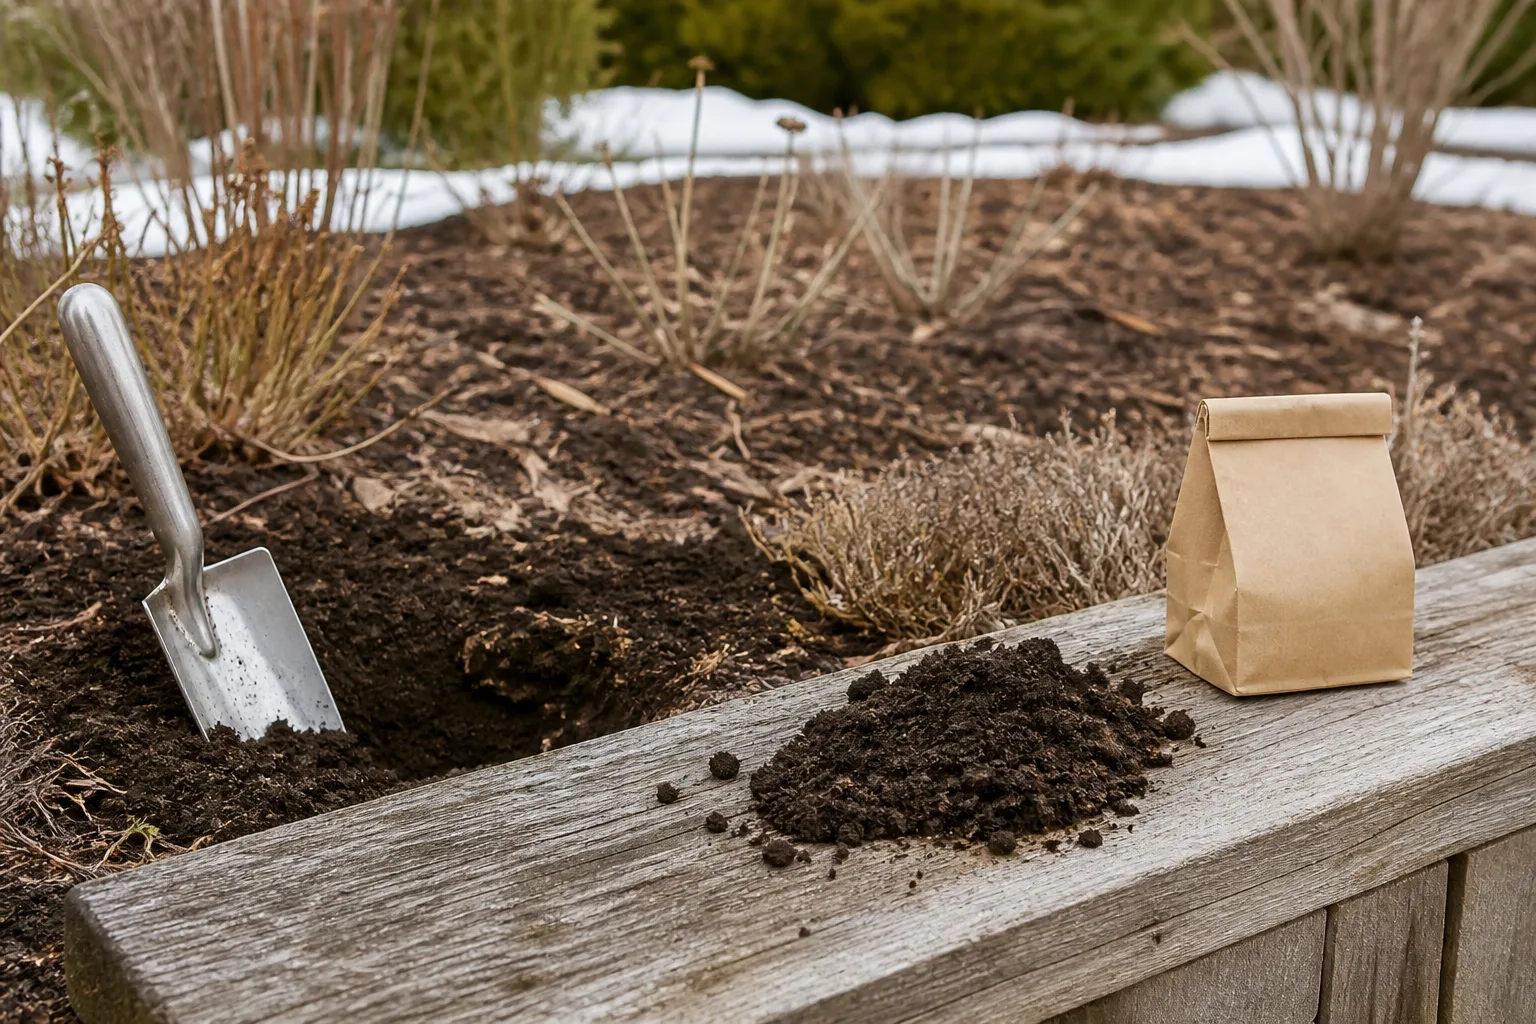
Take a representative sample when the ground is workable
You do not have to wait for warm weather if the soil is thawed, drains normally, and can be sampled cleanly. For a typical garden bed, Penn State Extension’s sampling instructions use multiple cores from different spots, combined in a clean container and mixed before a portion is sent to a lab. Their video demonstrates eight to ten locations at a six-to-eight-inch depth for a garden sample, but the receiving laboratory’s current instructions should take precedence because depth and sample handling can vary by site and test.
Keep unlike areas separate. Do not mix a vegetable bed with a lawn, a new planting area with an established perennial border, or a spot with unusual drainage into one bag; each can have different soil needs. Use a clean plastic bucket and tools, remove stones and debris, and follow the lab’s directions for drying, bagging, and labeling the sample.
Most important, test before adding lime or fertilizer just because the season is approaching. A soil report can tell you whether an amendment is needed and how much; adding products first can make the next measurement harder to interpret. If the ground is still frozen, use the waiting period to locate your lab, mark the sampling zones, and gather the clean bucket and probe.
Think of the sample as a small composite portrait of one consistent area, not a scoop from the most convenient spot. Avoid mixing in material from a compost pile, a recently fertilized patch, a burn site, or a location with visibly different soil unless that specific spot is what you intend to test. If a bed has distinct sections with different histories or plants, collect and label them separately. Remove surface mulch before taking each core, keep the depth consistent, and combine only cores from the same sampling zone. Those habits improve the usefulness of the lab’s recommendations; the lab’s own submission sheet remains the authority for exact depth, quantity, and preparation.
What should not wait for spring
“Delay these chores” should not become an excuse to leave every problem alone. Remove diseased foliage or stems when the disease is known to persist in debris, and dispose of it according to local guidance rather than adding it to a compost pile that may not reach a reliable treatment temperature. If you are unsure whether a plant is diseased or merely dormant, identify the issue before stripping the bed.
Safety also beats the calendar. A hanging branch over a path, a cracked limb near a roof, or a tree threatening a power line is not routine cosmetic pruning. Avoid climbing or attempting large cuts yourself; contact a qualified arborist, and contact the utility for branches near lines.
Diseased debris and safety hazards need separate decisions
Separate necessary sanitation from a full-scale tidy. Remove only the material needed to address an active disease or hazard, then leave healthy stems or leaves elsewhere if they are not causing harm. This reduces risk without turning “cleanup” into a blanket removal of everything that looks brown.
Also keep paths, drains, and water features clear when fallen leaves create a slip or blockage risk. Those are practical maintenance jobs, not reasons to strip every bed. A useful winter garden can look somewhat untidy and still be safe, accessible, and healthy.
A low-regret late-winter checklist
Before picking up tools, walk the garden once and answer four questions: What plant is this? What is the actual problem I am trying to solve? What would be lost if I did the task today? What condition would tell me that the timing is right? That brief pause prevents a lot of preventable pruning and cleanup.
Then choose the smallest useful action. Leave some intact stems; label shrubs whose bloom timing you need to check; move a matted leaf pile off the lawn; photograph and identify an invasive before selecting a treatment; and wait for a thawed, workable day to sample soil. These actions prepare you for spring without pretending every task must be finished before it arrives.
It can help to make a short “wait / do / check” note as you walk. Put spring-blooming shrubs on the wait list until flowering ends; put slick paths, blocked drains, and confirmed disease debris on the do list; and put unidentified plants, uncertain disease, or invasive-control questions on the check list. Take a few photos and revisit the list after a change in weather or plant growth. This simple record prevents repeat work and gives you a more useful schedule for next year than a generic monthly cleanup chart.
If the next warm spell is followed by a hard freeze, do not assume it is safe to force tender new growth with pruning or cleanup. Conversely, if a plant is actively swelling or blooming early in your climate, its biological stage may matter more than the date on a calendar. The garden gives better cues than a generic regional checklist.
Conclusion
The most useful pre-spring gardening task is often deciding what not to disturb yet. Delay blanket perennial cutbacks, unplanned shrub pruning, indiscriminate leaf removal, calendar-based herbicide use, and soil sampling when the ground is frozen or saturated.
Do the work when the plant, site, and weather make it appropriate—and make the necessary exceptions for disease, hazards, and access. A selective cleanup leaves you with less to redo, more control over bloom and habitat, and a better starting point when spring growth begins.



