5 Vegetable Gardening Mistakes and How to Fix Them
Spot vegetable garden mistakes early. Choose a better site, test soil, space crops well, water by root-zone moisture and diagnose problems before acting.

A vegetable garden can look busy and still be set up to disappoint. The usual causes are decisions made before planting—choosing a site by eye, amending soil by guess, crowding seedlings, or following a watering routine that ignores weather and soil. When trouble appears later, a broad spray or another scoop of fertilizer can make it harder to see what is actually wrong.
The useful question is not just “What did I do wrong?” but “What is the first condition I can check?” Sunlight, soil, spacing, moisture and plant timing interact. A tomato that wilts in saturated soil needs a different response from one in dry sand; flowers dropping in a heat wave call for a different diagnosis from flowers that never open.
How the Five Mistakes Connect
These five errors share a pattern: gardeners often commit to a solution before observing the site or plant. A calendar says water today, so they water despite rain; a leaf turns yellow, so they add fertilizer; a flower appears, so they expect fruit regardless of the crop, temperature or growing conditions. A short check before each intervention saves time and prevents a small problem from becoming several.
The sequence matters. First match the crop to the space and season; then test and prepare the soil; then plant at mature spacing; and finally adjust water and pest response as the garden changes.
A plan is not a promise that nothing will fail. It is a way to make each setback easier to diagnose.
Mistake 1: Choosing a Plot Before Checking Its Growing Conditions
A convenient corner is not automatically a productive vegetable site. Observe it at several times of day before building beds or buying starts: nearby buildings, fences and deciduous trees can cast seasonal shade that is hard to notice during one quick visit. Fruit-producing crops such as tomatoes and peppers usually need stronger light than leafy crops. As a practical benchmark, University of Minnesota Extension recommends at least six to eight hours of sun for full-sun crops such as tomatoes, peppers and eggplants; lettuce, baby kale, scallions, radishes and beet greens can grow with much less. Use the needs of your crop and variety as the guide, since afternoon shade may help leafy crops in especially hot summers. Raised-bed light and crop guidance
Sun is only one part of the site check. Look after a heavy rain: does water stand in the proposed bed, run toward it from a roof or slope, or drain away?
Check whether a hose can reach without dragging through paths and whether you can step around the beds without compacting their soil. A plot that is reachable and easy to water is more likely to receive the regular care young plants need.
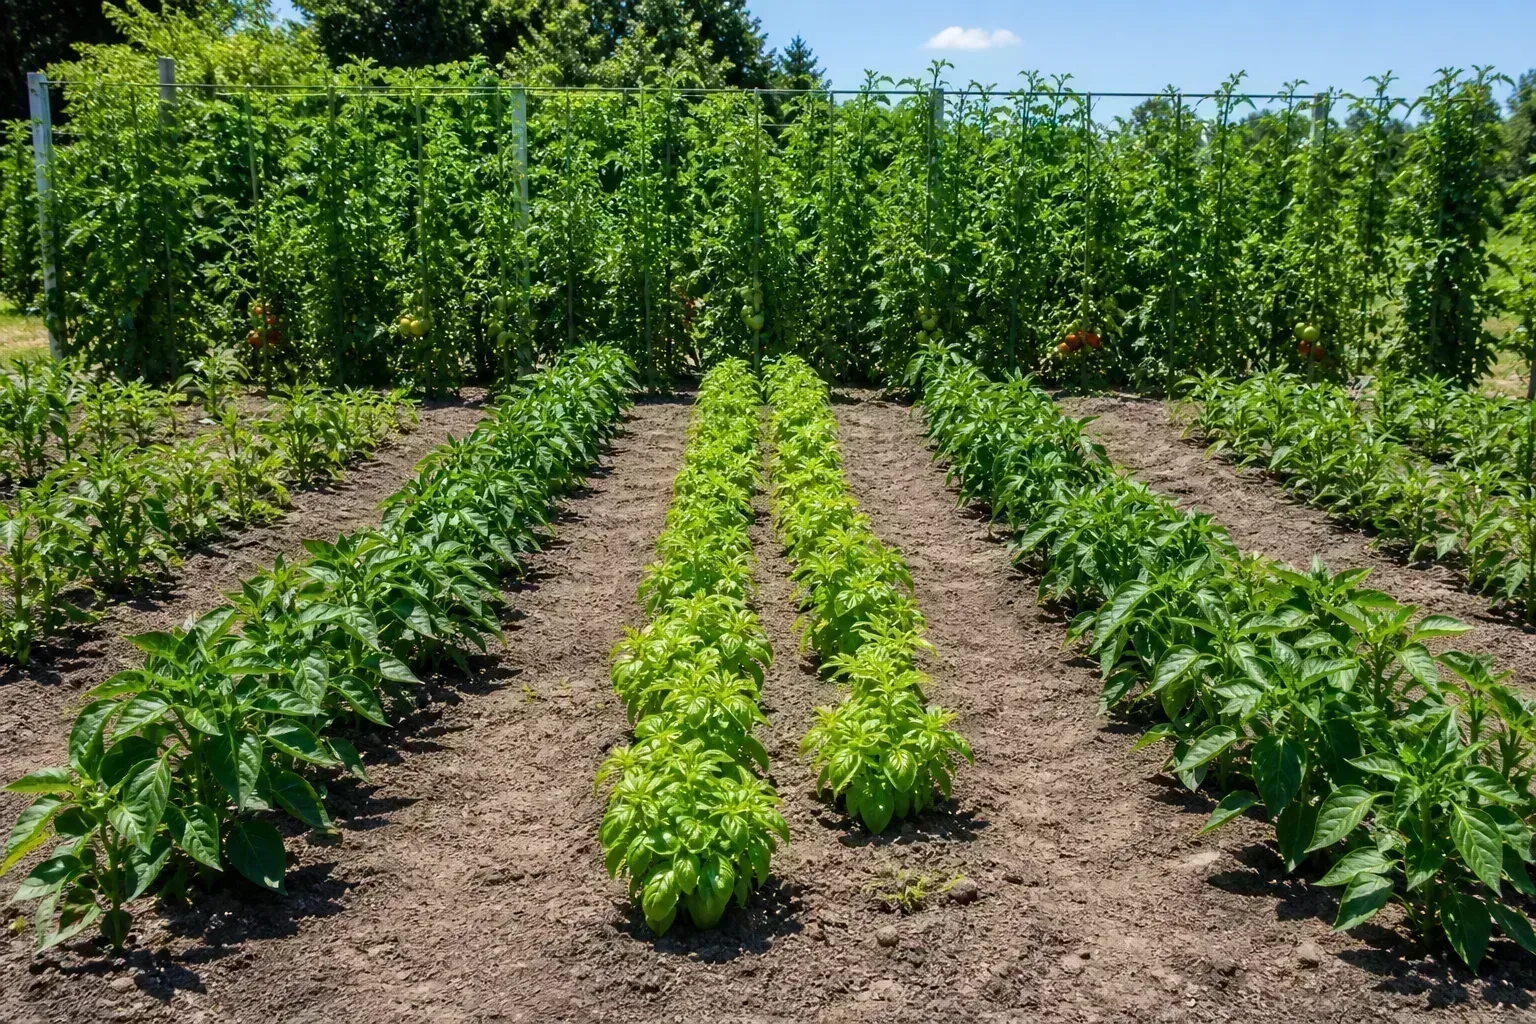
Map Sunlight and Daily Access
Instead of guessing whether a spot gets “full sun,” make a simple observation map. On a clear day, note when direct sun reaches each part of the bed and when shade begins; repeat the check as nearby trees leaf out if you are planning before spring. Compare those observations with the needs listed for each crop and variety, not a generic vegetable rule.
Tall crops and trellises can shade plants behind them, so put them where their mature height will not block lower crops. In many northern-hemisphere gardens, that means placing tall crops toward the north side, but the exact layout depends on slope, structures and the direction of strongest seasonal sun. A garden map can also show whether a path is wide enough for a watering can, harvest basket or wheelbarrow.
Check Drainage and Water Access
Do not assume raised beds cure every drainage issue. They may help where native soil drains poorly, but a bed placed in a low basin can still receive runoff, and a tall bed in a hot, windy location may dry quickly. If the ground remains saturated or the plot floods, correct the site or choose containers with reliable drainage rather than trying to solve standing water with extra mulch or more frequent watering.
Trees create a second hidden problem: shade aboveground and competition from established roots below. If you cannot move the bed, choose crops that fit the light and root conditions, use a contained growing mix where practical, and keep expectations modest. Practical raised-bed advice also puts access and careful placement on the planning list; shape the bed around your reach, watering route and crop plan as well as the yard. Raised-bed planning guidance
Mistake 2: Treating Soil as a Bagged-Product Problem
A dark, fluffy mix is not automatically right for vegetables, and a clay or sandy soil is not automatically unusable. Gardeners often buy fertilizer, lime, compost and soil conditioners before finding out whether the soil needs them. More nutrients are not a substitute for good drainage, suitable pH, healthy roots or enough light; heavy feeding can produce lush leaves without the fruit or roots you hoped to harvest.
Start by distinguishing soil texture from fertility: sand, silt and clay affect drainage and how quickly soil dries, while a laboratory test can identify pH and nutrient conditions and offer locally calibrated recommendations.
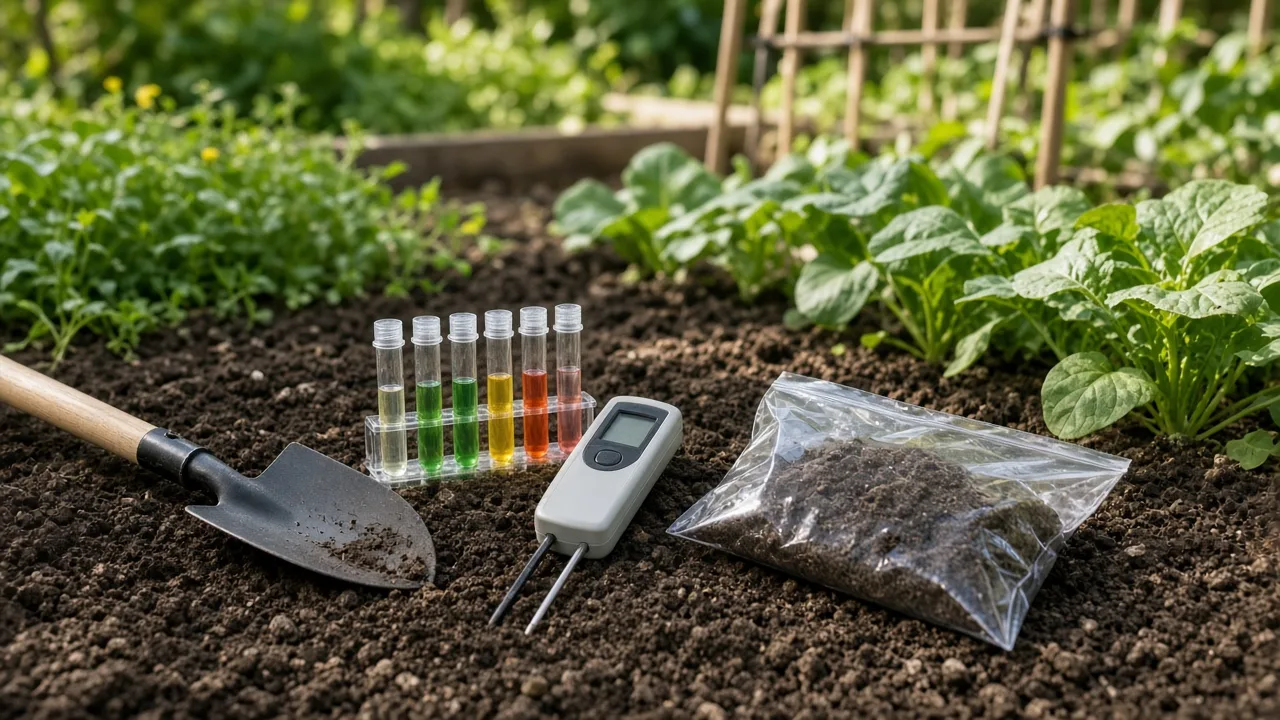
A practical vegetable-garden checklist recommends testing through a local Cooperative Extension rather than guessing at fertilizer. University of Georgia Extension likewise includes soil testing among the preventive practices for vegetable problems. Vegetable-garden troubleshooting checklist University of Georgia Extension
Test Before Adding Lime or Fertilizer
Use the sampling method and timing specified by your local extension lab. For an in-ground plot, take several small samples from the area you actually intend to grow, mix them as directed, and submit the composite sample.
Keep separate beds or areas separate when their history or soil differs; combining them can hide a problem in one section. Follow the lab report rather than applying a universal amount from a garden-center label.
If plants are already growing poorly, a soil test is one piece of the diagnosis, not a substitute for checking the roots and water. Yellow leaves can result from nutrient shortage, pH-related availability, waterlogged roots, drought, pests or normal aging.
Before adding a quick-release fertilizer, check whether the soil is too wet, whether the crop has enough sun, and whether the affected leaves are old or new. Change one likely cause at a time so you can tell whether the plant responds.
Match Soil Structure to the Crop
Vegetables need a root zone that drains after rain but holds enough moisture between waterings. If soil is compacted, avoid digging or walking on it when wet; that can squeeze out air spaces and create dense clods. Add mature compost when it fits the soil test and the bed’s needs, then maintain organic matter over time instead of burying plants in repeated heavy doses.
Raised beds and containers can be useful when native ground is contaminated, compacted or impractical, but they are not mandatory for every garden. A raised bed needs an appropriate growing mix, enough root depth for the crops, and a plan for faster drying.
A bed should be sized so you can reach its center without stepping into it; this is a practical soil-protection measure as well as an accessibility one. If you are growing carrots or other root crops, remove stones and break up compacted layers before sowing, or select a shorter-rooted variety suited to the available depth. Raised-bed planning guidance
Mistake 3: Planting According to Seedling Size, Not Mature Size
A tray of young plants looks small, so it is tempting to fit every seedling into the same bed. That calculation stops working once tomatoes branch, squash vines spread, or beans climb into neighboring rows. Crowded leaves compete for light and air, make it harder to find fruit or inspect leaf undersides, and can keep foliage wet longer after rain or overhead watering.
Spacing is crop- and variety-specific. Check seed packets or transplant labels for both in-row spacing and row spacing, and remember that a compact determinate tomato and a sprawling indeterminate type do not occupy the same footprint.
If you use intensive or square-foot layouts, still follow the variety’s mature habit and provide support where needed. Seedlings placed too close together rarely become a “more productive” bed simply because more starts went into the ground.
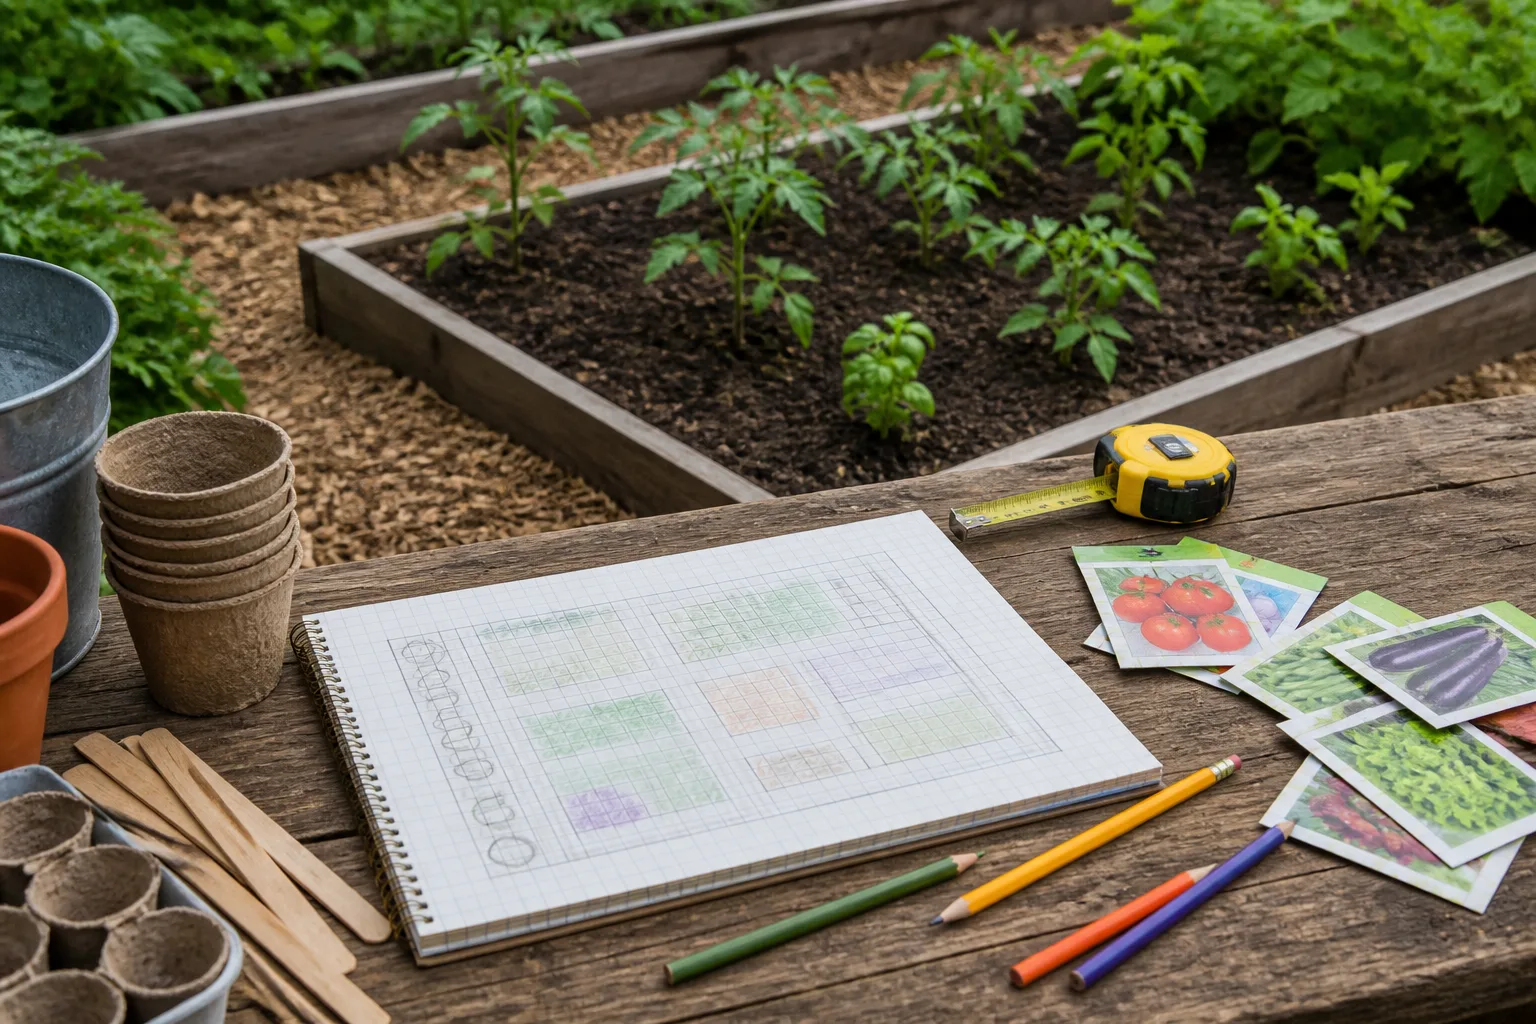
Give Crops Room for Their Full Canopy
Before planting, sketch each bed and mark paths, trellises, tall crops and expected mature widths. Leave enough access to harvest without stepping on the soil or brushing through wet foliage. In a small plot, growing beans or cucumbers on a sturdy vertical support can free ground space, but the support must be secure and positioned so it does not shade crops that need more sun.
Thin direct-sown crops when the seedlings reach the stage recommended on the packet, even when removing healthy plants feels wasteful. A carrot row that is never thinned can yield many small, forked roots; crowded lettuce can form loose heads; and a dense tomato canopy can conceal fruit and damaged leaves. Use the thinned seedlings if they are edible and clean, but do not leave every plant in place just to avoid the cut.
Grow What You Can Tend and Eat
A first garden does not need to supply every vegetable at once. Choose a few crops you already enjoy, estimate how often you can water and harvest, and add varieties with different harvest windows only if you can manage them. One well-tended bed can teach you more about your local frost dates, sun and soil than a large garden planted with more crops than you can track.
Containers and grow bags can make sense for herbs, compact tomatoes, peppers and greens where in-ground space is limited. They do dry faster than a bed, so factor in the extra checking and watering rather than treating a small container garden as a lower-maintenance version of a field. Checking the site and matching crops to soil are useful habits here; adapt them to your own time and meals instead of planting a long list because the packets looked appealing. Vegetable-garden planning checklist
Mistake 4: Watering by Habit Instead of Root-Zone Conditions
“Every day” and “once a week” are not reliable watering plans by themselves. Water demand changes with crop size, heat, wind, rainfall, soil texture, mulch and whether plants grow in the ground or a container. A brief sprinkle can wet the surface without reaching established roots; repeated watering of already saturated soil can deprive roots of oxygen and make a plant wilt even though it is surrounded by water.
Utah State University Extension advises consistent moisture for tomatoes, peppers and eggplants and notes that irregular water can contribute to poor vigor, flower drop, sunburn and fruit cracking. Its commercial guidance is not a home-garden schedule, but the principle carries over: adjust irrigation to the crop and soil, and monitor conditions instead of setting a timer and forgetting it. Utah State University Extension
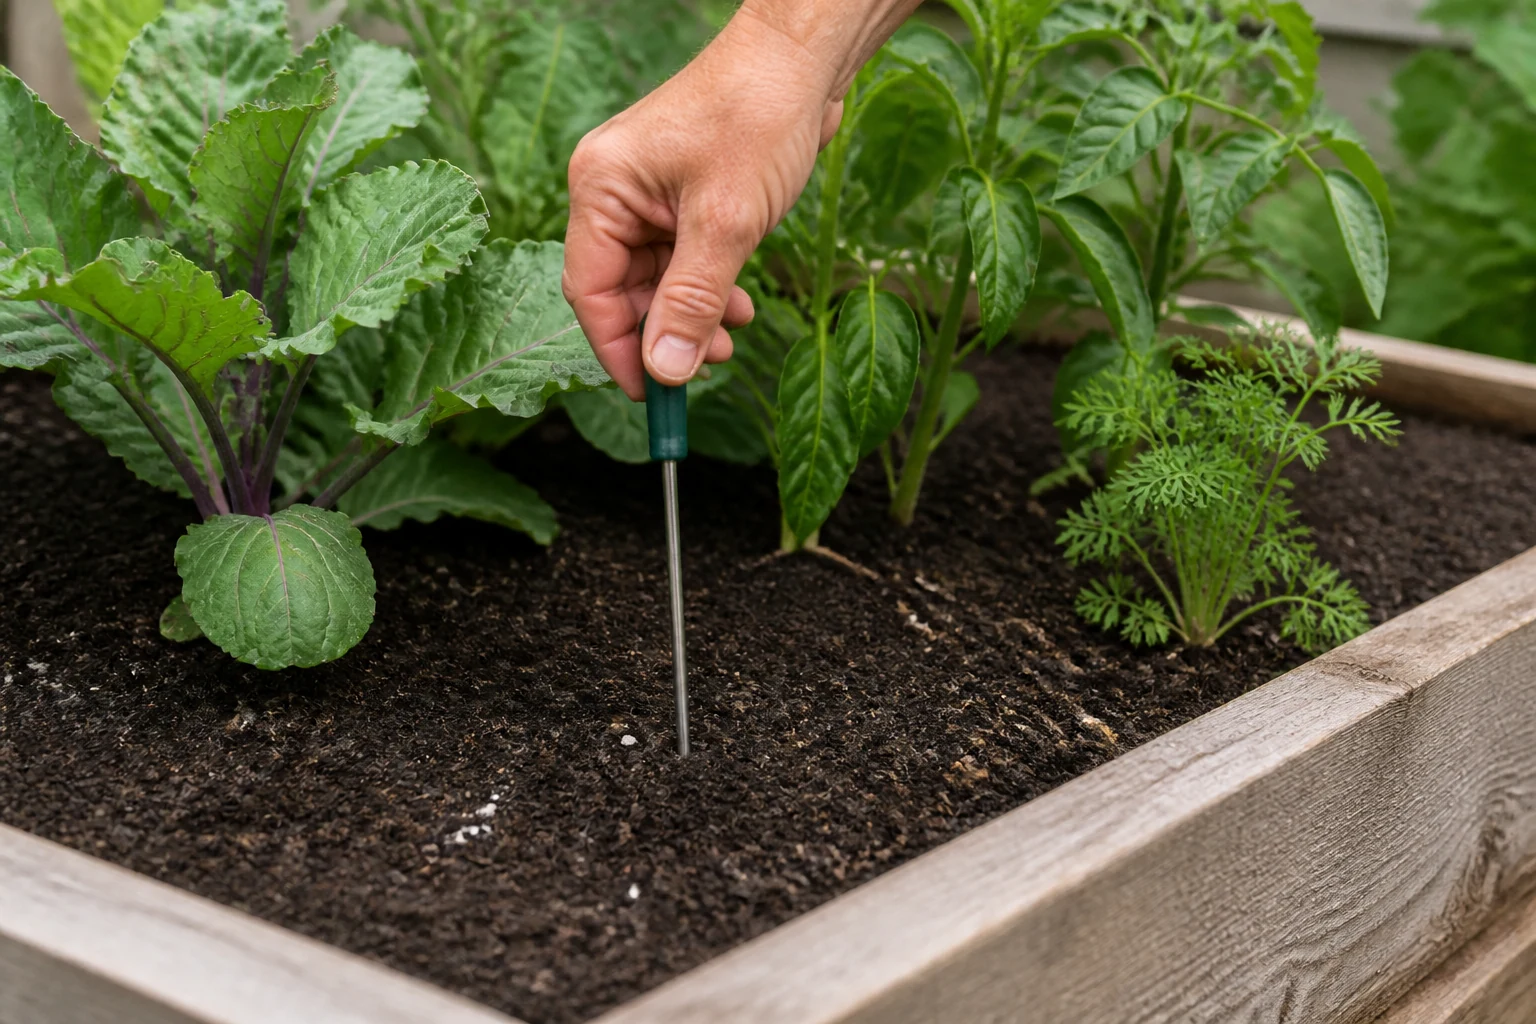
Check Moisture Below the Surface
Check the soil where active roots are, not just the dry crust at the top. Push a finger or small trowel a few inches into the soil near a plant; if the root zone still feels moist, wait and check again later.
If the soil is dry where the roots are growing, water slowly enough to soak that depth, then recheck. A simple rain gauge can help you learn what your sprinkler applies, while a soil probe can reveal whether water has reached below the surface.
Read symptoms with context. Midday drooping in intense heat may improve by evening and does not always mean the bed needs water. A plant that remains limp early in the morning, with dry soil several inches down, is more concerning for drought stress.
If the soil is wet and the plant still wilts, stop adding water and inspect drainage and roots instead. In a Georgia clay garden, UGA Extension recommends watering deeply and less frequently and cites about an inch per week as a local rule of thumb; sandier soil, rainfall and crop stage can change what is appropriate, so do not copy that number blindly. University of Georgia Extension
Put Water on Soil and Adjust With Weather
Water at the base of plants when possible, especially if disease-prone leaves are already spotted. A soaker hose or drip line can deliver water near the roots; if you use an overhead sprinkler, morning watering gives foliage more time to dry.
UGA Extension warns that shallow daily watering can encourage shallow roots and that persistently wet clay can cause root problems. Its advice is local to a clay-soil region, but the broader practice—check soil, account for rain, and keep foliage dry when possible—is useful in many gardens.
Mulch can slow evaporation and reduce soil splash, but apply it after the ground has warmed enough for the crop and keep it from pressing against stems. Mulch does not remove the need to inspect moisture, and thick mulch can keep cool-season crops or wet soil too cold and damp. During a heat wave, check containers and shallow beds more often; during a rainy spell, skip planned irrigation until the root zone actually needs it.
Mistake 5: Using Quick Fixes Before Diagnosing the Cause
A product or planting trick can sound like a shortcut to a healthier harvest, but the wrong treatment may waste money, stress plants or remove helpful insects. “Organic” does not automatically mean harmless, and a fertilizer, insecticide or home remedy cannot fix inadequate light, waterlogged roots or a plant that is out of season. Start with the damaged part of the plant, the pattern of damage, recent weather and the crop’s normal growth stage.
Prevention tends to be less dramatic and more dependable: use disease-resistant varieties where available, space plants for airflow, keep notes on crop families and rotate them when the garden allows, remove clearly diseased material, and inspect plants regularly. University of Georgia Cooperative Extension recommends regular scouting, soil testing, drip irrigation, crop rotation, and avoiding unnecessary pesticide applications to conserve pollinators and beneficial insects. These are not guarantees that pests will stay away; they help reduce repeated problems and make early intervention more specific. UGA Cooperative Extension vegetable-problem guidance
Identify the Pest or Disease Before Treating
Look at both sides of leaves and at the stems, blossoms and soil line. Ragged holes, stippling, curling, sticky residue, spots and sudden wilt point to different possible causes; none of those clues alone identifies a pest or disease with certainty.
Photograph the pattern, check whether the damage is spreading, and compare it with an extension diagnosis resource before using a product. If the problem is severe or keeps returning, a local Cooperative Extension office can help identify a sample.
When a treatment is warranted, follow the product label for the crop and target pest, and avoid blanket spraying while flowers are open or pollinators are active. Hand-pick large visible pests when practical, remove badly diseased leaves with clean tools, and protect young plants with physical barriers when the target pest and crop make that approach suitable. Do not spray merely because an insect is present: some are pollinators or predators, and some leaf damage does not threaten the harvest.
Make scouting a repeatable five-minute job rather than a crisis response. Walk the row in a consistent direction, look under a few leaves on every crop, note whether damage is new, and check soil in different parts of the bed; this can show whether a problem is isolated, spreading, or tied to one wet or shaded corner. Take a photo before removing damaged tissue so you can compare it a few days later and see whether the cause has stopped.
Separate Pollination From Weather and Plant Stress
Flowers without fruit are frustrating, but adding a border of flowers is not a universal cure. Pollination requirements differ among crops, and fruit set also depends on temperature, light, plant vigor and water. A vegetable’s flowers may be present before the plant is mature enough to set well, or heat and drought may cause blossoms to drop even when pollinators visit.
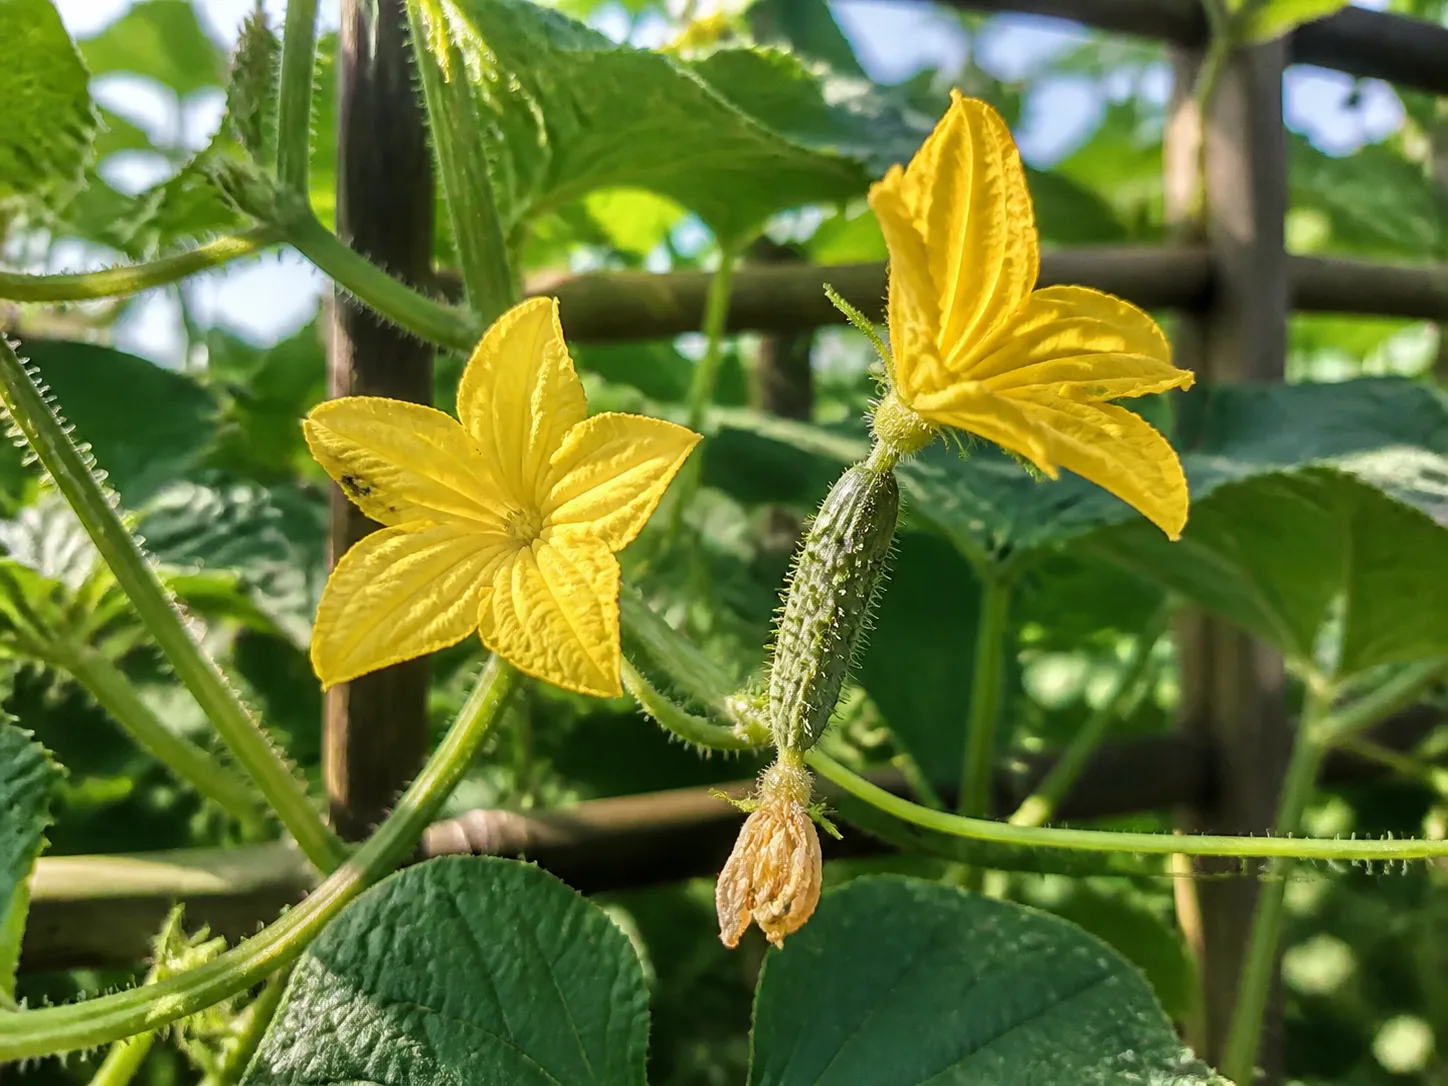
Tomatoes are a useful example of why simple rules mislead. Their flowers can self-pollinate when pollen is moved by wind or vibration, and Purdue University reporting describes research in which bee visits can improve tomato fruit set or fruit weight in some production systems.
That does not mean every home tomato needs a bee, nor that adding one pollinator plant will fix every dropped blossom. If flowers fail to set, check weather, sunlight, moisture and the variety’s maturity before blaming pollinators; flowering plants nearby can support bees, but they are one part of a functioning garden, not a guaranteed yield hack. Purdue University Vegetable Crops Hotline
What to Do After a Season Goes Sideways
Choose one bed or crop and record what happened while the details are fresh. Note planting dates, variety, hours of sun, soil-test results, watering changes, pest symptoms and harvest dates. At the end of the season, compare the notes with the plant’s needs: a late tomato with abundant leaves may have received too much shade or nitrogen, while bitter or bolting greens may have met hot weather before you harvested them.
For the next planting, change the most likely limiting condition first. Move a sun-loving crop, thin the row, adjust the irrigation, or choose a variety with a maturity window that fits your frost-free season.
If several problems happen together, change only a couple of things you can track rather than rebuilding the entire garden. That makes it easier to learn whether the fix helped.
If symptoms spread quickly or you cannot distinguish disease from nutrient or water stress, take clear photos and a sample to your county extension office. Include the plant name, when symptoms began, recent rain or watering, and any fertilizer or pesticide used. Specific context helps an expert narrow down the cause and can prevent a second round of guesswork.
Conclusion
The most expensive vegetable garden mistakes often begin with assumptions: a sunny-looking spot is sunny enough, dark soil must be fertile, more seedlings mean more food, a schedule fits every bed, or a spray will solve whatever looks wrong. Check the site through the day, test soil before amending, plan for mature plant size, inspect moisture below the surface and identify the cause before treating it.
You do not need a perfect garden or a large plot to harvest vegetables. Start with a few crops that fit your light, soil, season and available time; keep a short record; and adjust one condition when the evidence points to it. A smaller, observed garden is easier to improve than a crowded one built around guesses.



