How to Grow Brussels Sprouts: Planting to Harvest
Learn when to plant Brussels sprouts, how to space and feed them, and when to harvest firm sprouts. Get clear advice for pots, pests, frost, and storage.
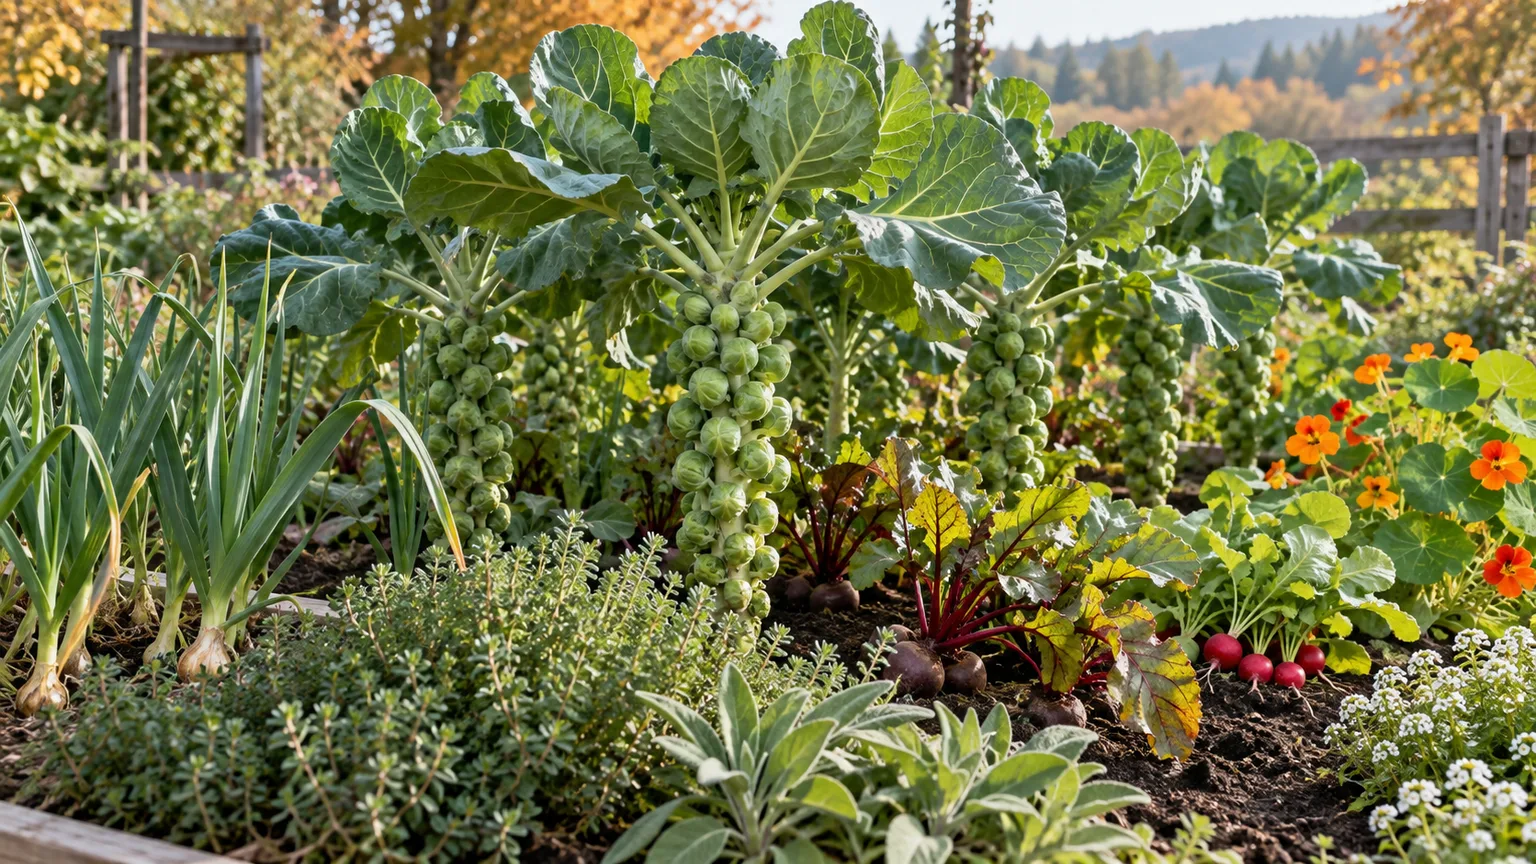
Brussels sprouts are a long-season crop with a simple rule behind most successful harvests: the plants need time to grow, but the sprouts need to mature in cool weather. A planting date chosen for your first fall frost is more useful than a calendar date copied from another region. If the stalk gets established before autumn and the soil stays evenly moist, it can produce a steady series of firm, marble-to-walnut-sized buds along its stem.
The crop is technically biennial, but home gardeners usually grow Brussels sprouts as an annual and harvest the first year. You can start from seed or buy transplants, grow a single plant in a large pot, and harvest the lowest sprouts first while upper ones continue developing. The guidance below explains how to time that sequence, avoid the most common causes of loose or undersized buds, and decide when a plant is ready to pick.
Start With Timing: Aim for Cool Weather
Brussels sprouts (Brassica oleracea var. gemmifera) are in the cabbage family and mature slowly. Many varieties take about 80 to 100 days after transplanting; growing from seed adds the seedling period, so a full seed-to-harvest schedule can run roughly 100 to 120 days. Those are estimates, not promises: cultivar, heat, water, and whether the packet counts days from sowing or transplanting all affect the finish date. Utah State University Extension recommends early-summer planting for a fall crop, while the University of Georgia describes fall and early-spring windows for its warmer region (USU Extension, UGA Extension).
For most U.S. home gardens, plan backward from autumn rather than planting as soon as the bed is free. You want the crop to form its buds as days cool; prolonged summer heat can slow growth, make buds loose, and reduce eating quality. A light frost is usually tolerated and may improve flavor, but a forecast of sustained hard freezes is a reason to harvest remaining sprouts rather than leave them indefinitely.
Build the date from your first frost. Start with your seed packet’s days to maturity and confirm whether it counts from transplanting or direct sowing. If the label counts from transplanting, subtract that period from your average first fall frost date, then add a safety buffer of about two to three weeks so the main harvest does not depend on perfect weather. To start seeds indoors, count back another four to six weeks for seedling growth; seed packets and extension schedules may use different starting points, so do not add that period twice.
In a cool-summer area, an early spring planting may work if the plants can mature before hot weather; spring crops are less dependable where summer heat arrives early (Harvest to Table). In a hot-summer area, a late-summer or early-fall harvest is usually the better target, but seedling production may need shade and careful watering while the weather remains warm. In mild-winter climates, gardeners can often shift planting later and harvest through winter. The local frost calendar is a planning aid; your variety’s maturity information and actual seasonal temperatures should make the final call.
| Crop stage | Practical cue | What to do |
|---|---|---|
| Seed starting | About four to six weeks before transplanting | Sow in clean cells and keep mix damp, not saturated |
| Transplanting | Seedlings have several true leaves and sturdy roots | Harden off gradually and plant on a cool, cloudy day if possible |
| Stalk growth | Plant is established and adding leaves | Maintain moisture, mulch, weed shallowly, and inspect for caterpillars |
| Sprout formation | Small buds appear in leaf joints, usually from the bottom upward | Stop routine nitrogen feeding and keep water consistent |
| Harvest | Lower buds are firm and near 1 inch across | Pick bottom sprouts as needed or harvest the stalk for a concentrated crop |
Choose a Variety for Your Season
Look for a variety whose stated maturity fits the cool period in your garden, then check disease resistance and whether you want an open-pollinated seed or hybrid. ‘Jade Cross E,’ ‘Long Island Improved,’ ‘Diablo,’ and ‘Royal Marvel’ appear in extension recommendations, but published maturity estimates differ among seed sellers and locations. Use the packet from the seed lot you actually buy rather than assuming every listing for the same cultivar uses the same clock (USU Extension, UGA Extension).
Compact plants can be easier to manage in windy gardens or large containers; a longer season or better cold tolerance can matter more than maximum yield where autumn arrives early. If you want to save seed, choose an open-pollinated variety and remember that Brussels sprouts flower in their second year. Most gardeners do not overwinter plants for seed, so seed saving is a separate project from producing a first-year food crop.
Pick a Site and Prepare the Soil
Choose a spot with at least six hours of direct sun, fertile soil, and drainage that prevents roots from sitting in water. Brussels sprouts tolerate some variation in soil, but they grow more evenly in a bed rich in organic matter. A soil test is the best way to decide whether the bed needs lime or fertilizer; UGA Extension gives a preferred pH range of about 6.2 to 6.8. Add mature compost to improve soil structure, but do not treat compost or a fertilizer label as a substitute for a soil test when pH or nutrient problems are suspected (UGA Extension, USU Extension).
Because the plant becomes tall and carries many heavy buds, avoid a low spot that stays waterlogged or an exposed site where wind repeatedly rocks the stem. Raised beds can help where drainage is poor, while a stake installed at planting is useful in a windy yard. Rotate Brussels sprouts away from cabbage, broccoli, kale, cauliflower, and other brassicas; changing the bed each year makes it harder for crop-specific soil pests and diseases to build up. A companion planting scheme cannot replace that rotation or a physical pest barrier.
Start Seeds or Set Out Transplants
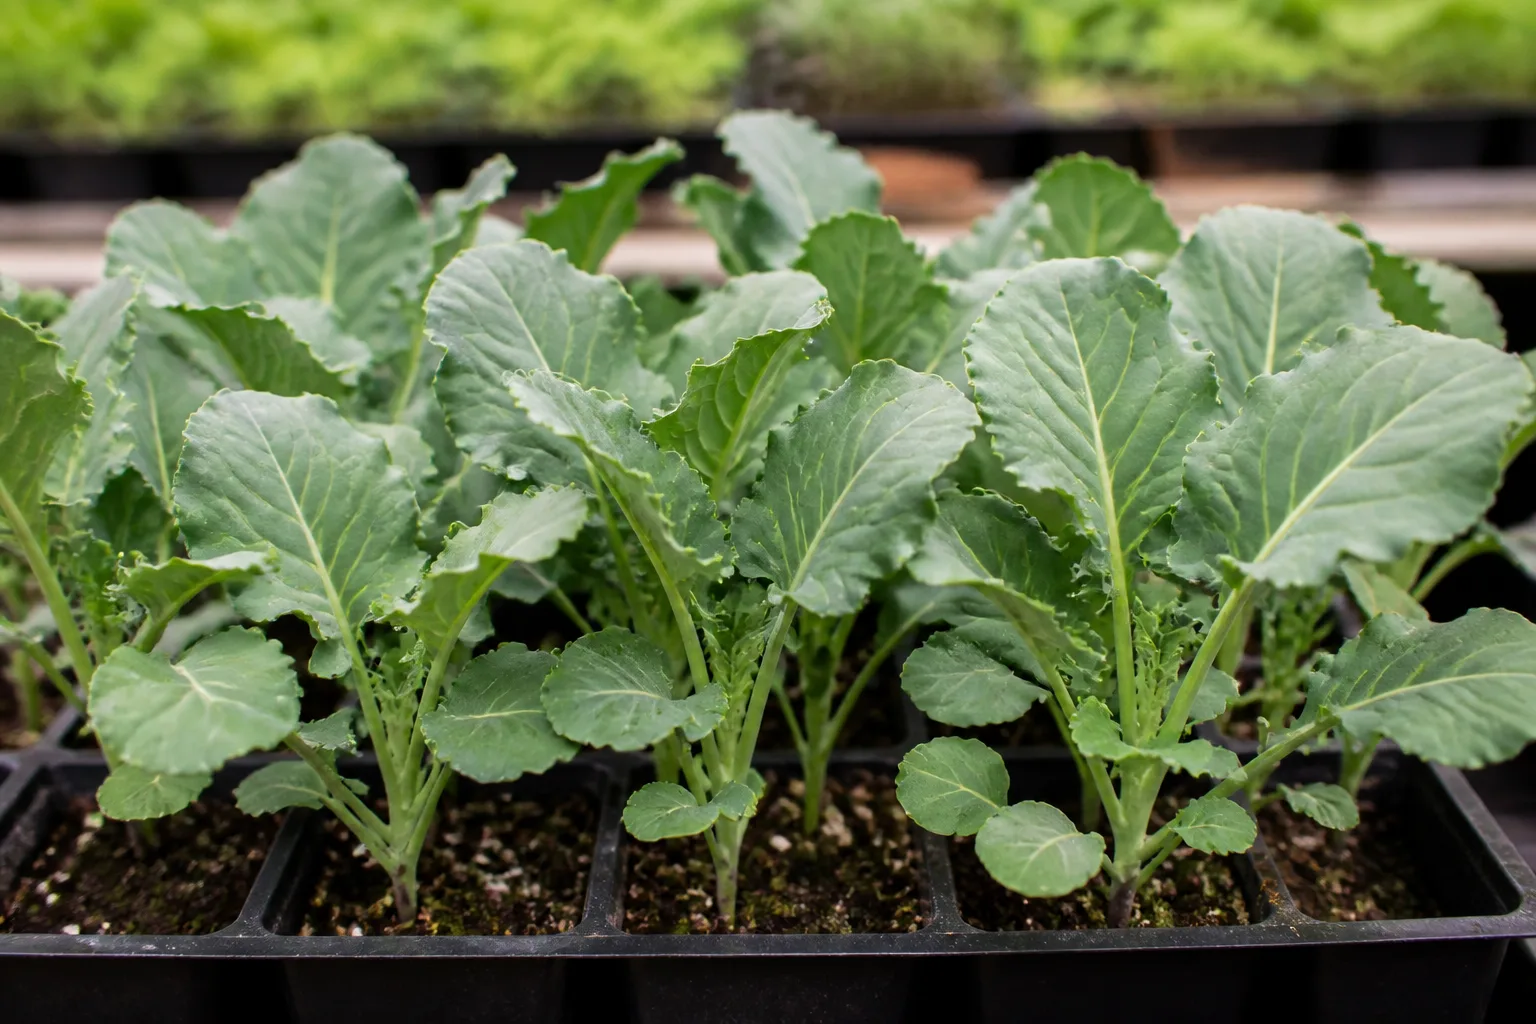
Transplants are the straightforward choice if the season is short or you have already calculated a narrow planting window. Choose young, compact seedlings with a strong central stem and healthy green leaves. A root-bound or leggy transplant can struggle after planting, so inspect the root ball and avoid seedlings with wilt, chewed leaves, or discolored stems.
Direct sowing avoids transplant shock and can work where summers are mild and the season is long enough. Place seeds about a quarter to half an inch deep in moist soil, then thin seedlings to the final spacing instead of leaving a crowded patch. Crowded plants compete for light and water, and the center of a dense row is harder to inspect for caterpillars.
Start indoors and harden seedlings off
Use a seed-starting mix and cells with drainage holes. Sow one or two seeds per cell, then thin to the stronger seedling after emergence. Keep the mix evenly damp and provide bright light as soon as seedlings come up; a sunny window may not provide enough light, especially indoors in summer. Warm conditions speed germination, but seedlings that grow hot and leggy are more difficult to establish.
Start seeds roughly four to six weeks before the planned transplant date unless the variety or local extension calendar advises otherwise. Before planting outside, harden seedlings over about a week: begin with a few hours in a sheltered, shaded spot, then gradually increase time and morning sun. This gradual change helps leaves adjust to wind and direct light. Water the cells before transplanting, plant at the same depth or slightly deeper if the stem is sturdy, firm soil around the roots, and water the bed thoroughly.
Space, Stake, and Protect Young Plants
Set plants about 18 inches apart in the row, with roughly 2 to 3 feet between rows if you have room to move and harvest. Smaller varieties and intensive raised beds may use the closer end of a recommended range; larger plants benefit from extra spacing for airflow and access. Utah State University Extension lists 12 to 18 inches between plants, while UGA Extension recommends 15 to 18 inches and wider rows. Follow the seed supplier’s mature plant size when it differs (USU Extension, UGA Extension).
Firm the soil around each transplant and set a stake close to the stem before it becomes top-heavy. Tying loosely with soft garden twine lets the stem thicken without being constricted. Keep weeds down while they are small, but cultivate shallowly: Brussels sprouts have roots near the surface, and deep hoeing can damage the feeding roots you are trying to protect.
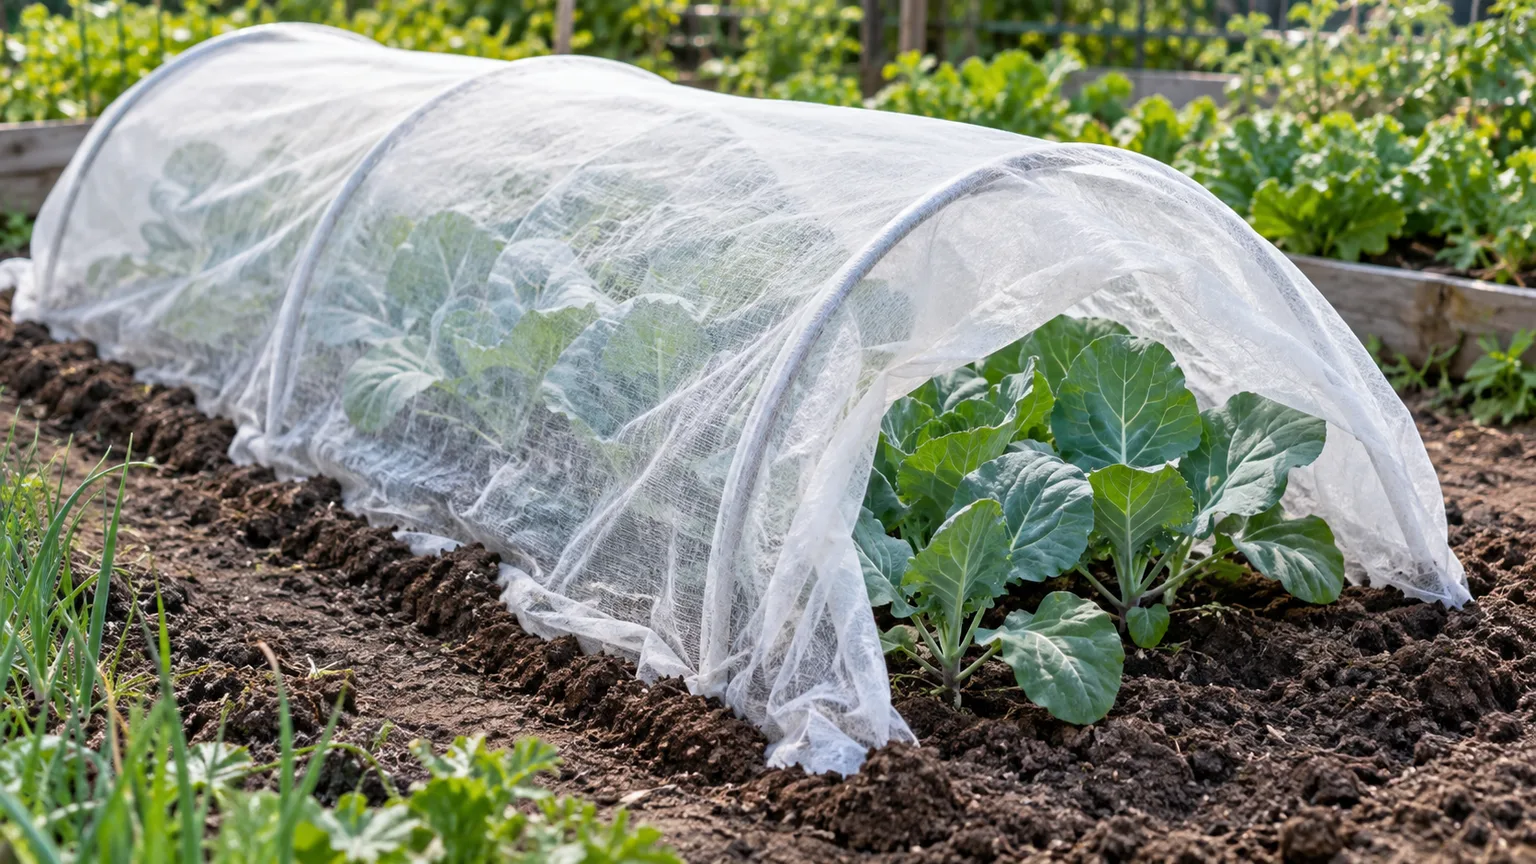
Cover young plants as soon as they go into the bed if cabbage butterflies, moths, or flea beetles are a regular problem. A supported insect net or floating row cover blocks many egg-laying adults before caterpillars start chewing. Secure the edges at soil level and make sure the material has room to rise with the stalk. In hot weather, check plants under the cover and uncover them temporarily if temperatures climb or the plants show heat stress.
Water and Mulch for Even Growth
Give the bed about 1 to 2 inches of water per week from rain and irrigation, adjusting for heat, wind, and soil type. Water deeply enough to wet the root zone rather than sprinkling a little every day. A rain gauge helps distinguish a dry week from a wet one; in a container, check the mix with a finger because pots dry faster than garden beds. Utah State University Extension recommends roughly 1 to 2 inches weekly, and Alabama Cooperative Extension advises consistent moisture without saturation (USU Extension, Alabama Cooperative Extension).
The goal is not soggy soil. If water pools, improve drainage or reduce irrigation frequency; if the root zone dries between waterings, buds may develop unevenly or split as they swell. Apply water at the soil line, ideally in the morning, so foliage dries during the day. After the soil has warmed and seedlings are established, add a few inches of clean straw or leaf mulch, keeping it slightly away from the stem. Mulch slows evaporation, limits weeds, and protects roots from sharp temperature swings.
Feed Early, Then Ease Off
Brussels sprouts need fertile soil to build a tall leafy stalk before the buds form. Mix in finished compost before planting, and use a balanced vegetable fertilizer only if the soil test or product directions indicate it is needed. If you side-dress, keep fertilizer away from the stem and water it in according to the label. The exact formula and amount depend on soil already present, so a generic “heavy feeder” label is not a reason to add repeated handfuls.
Nitrogen is most useful while the plant is building leaves and stem. Once the lower sprouts begin to form, stop routine nitrogen applications unless a soil test or local extension recommendation says otherwise. Excess nitrogen late in the season can favor leafy growth over tight buds; Utah State Extension cautions that fertilizing during sprout formation can lead to loose, soft, or split sprouts. Avoid applying borax or other micronutrients as a routine treatment: boron has a narrow useful range, and an unnecessary application can injure plants. Ask your Extension office or use a soil test if hollow stems or internal browning recur (USU Extension).
Prevent Pests and Disease Before They Spread
Brussels sprouts share pests with other cabbage-family crops. Cabbageworms and loopers chew ragged holes and can hide among the leaf joints; aphids cluster on tender growth; flea beetles leave many tiny holes, especially on young leaves. Inspect the plant once or twice a week, including the undersides of leaves and the tight spaces where buds meet the stem. Early checks let you remove a few caterpillars by hand or correct a cover gap before damage spreads.
Use covers and inspect leaf undersides
An insect barrier works best when installed before pests reach the crop. Use hoops so the netting does not rub on the leaves, close the edges, and remove the cover only when you need to weed, inspect, or harvest. Check inside the barrier after windy weather because even a small opening can admit butterflies or moths. If caterpillars are already present, hand-pick them first; where a treatment is needed, identify the pest and follow a product label that specifically allows use on edible brassicas, including its harvest interval.
Rotate crops and keep foliage dry
Black rot, downy mildew, and clubroot are among the diseases that can affect cabbage-family plants. Start with clean transplants, remove badly diseased material, avoid working among wet plants, and rotate brassicas to a different bed for several years when space allows. Drip or soaker irrigation keeps leaves drier than overhead watering, which can reduce conditions that favor some leaf diseases. UC Statewide IPM recommends cultural practices such as site selection, soil preparation, planting, and watering as part of Brussels sprout pest management (UC IPM, UGA Extension).
Should You Top the Plant?
Topping means removing the growing point at the top of the stalk. It is optional. If you want the lower and upper sprouts to size up over a shorter window, you can pinch or cut the top only after the lower buds have formed and are visibly swelling. That interrupts vertical growth and can make the crop easier to harvest together, but it also ends the plant’s upward growth and reduces the option of picking fresh sprouts over a longer stretch.
If your goal is a rolling harvest, leave the top intact and pick the lower sprouts as they mature. Do not top a small plant to “force” sprouts before it has built a healthy stalk; it still needs leaves to supply energy. GrowVeg describes topping as a late-season timing choice, and Utah State University Extension similarly connects removing the top bud with more uniform sprout development (GrowVeg, USU Extension).
Grow Brussels Sprouts in a Container
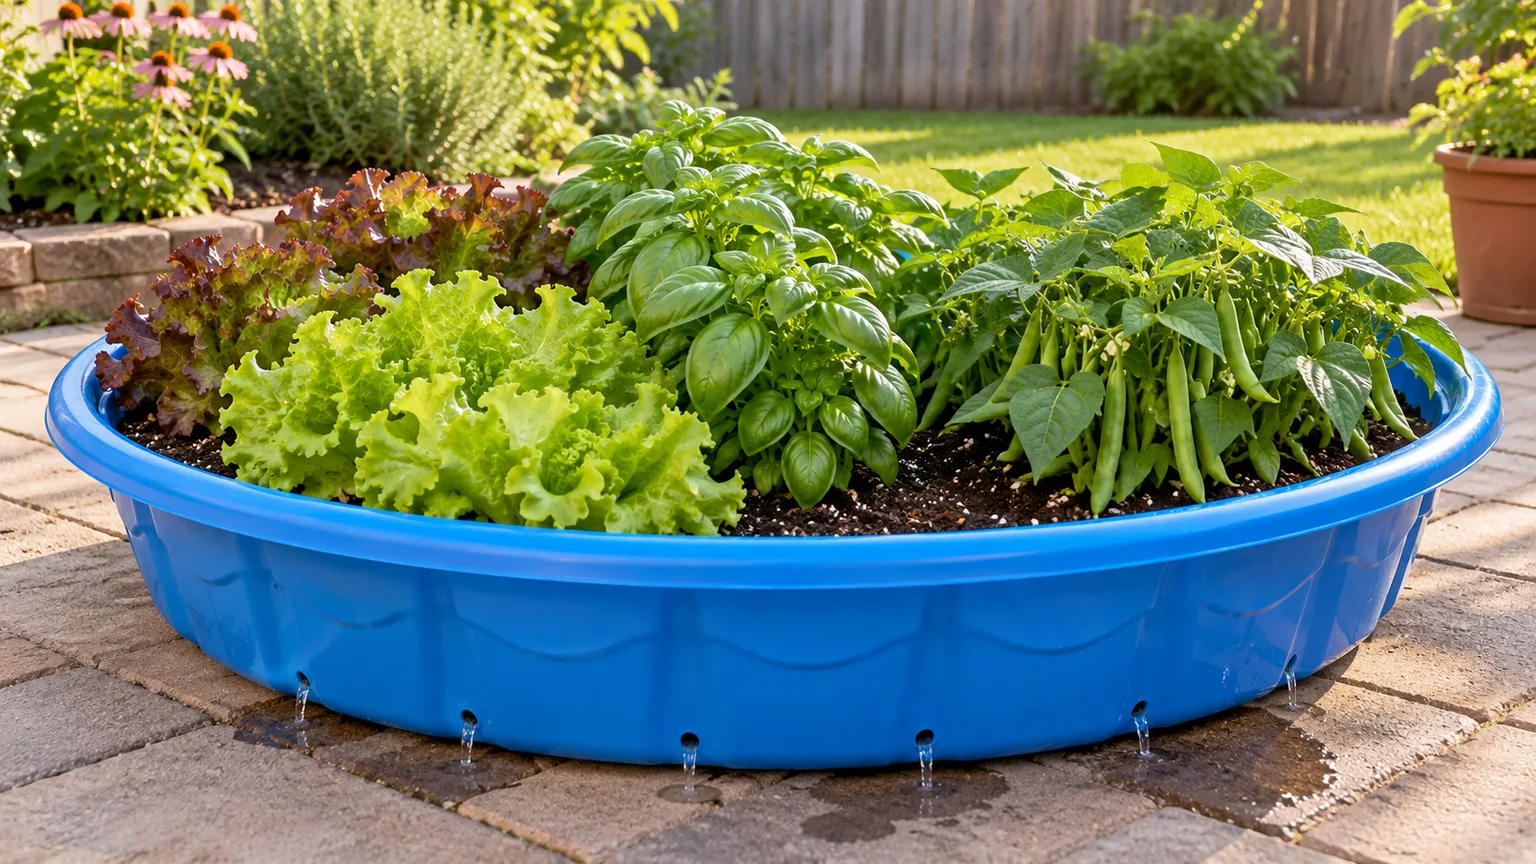
Choose one plant for a container of at least 5 to 7 gallons, with ample drainage and room for a sturdy stake. Alabama Cooperative Extension recommends one Brussels sprout plant per 5- to 7-gallon container. A larger pot holds moisture more steadily than a small nursery pot, which matters because the plant can grow tall and needs even water through bud formation (Alabama Cooperative Extension).
Fill the pot with a fresh, quality vegetable potting mix rather than dense garden soil. Put it where the leaves receive six or more hours of sun, and check moisture more often during heat or wind. Water until excess drains freely, then empty any saucer so roots do not sit in water. A stake or sheltered position prevents the plant from rocking, while a measured, label-directed fertilizer is safer than repeated guesswork in a finite volume of mix. If you cannot give the pot enough sun, water, and root space, a shorter-season leafy crop may be a more reliable choice.
Harvest from the Bottom Up
Sprouts form in the leaf joints, usually beginning low on the stalk and maturing upward. Start picking when a sprout is firm, tightly closed, and around 1 inch across; some varieties produce larger usable buds. If the leaves around the bud are still loose or the sprout feels soft, wait and check again in a few days. Pick before the outer leaves open or the sprout begins to split. Utah State University Extension recommends harvesting firm sprouts at about 1 inch, while UGA’s larger size estimate reflects a different regional recommendation and harvest preference (USU Extension, UGA Extension).
Twist each ready sprout downward and away from the stalk, or use clean pruners if it resists. Remove only the leaf directly below a harvested bud if it blocks access; keep the top crown and healthy leaves in place. Picking the bottom first leaves the upper sprouts time to grow and gives you a longer harvest window. If cold weather is approaching and you want to bring in the crop at once, cut the whole stalk near the base and strip the remaining buds indoors.
Cool weather can make the flavor milder and sweeter, but you do not need to wait for frost if the buds are already mature. A light frost is different from prolonged freezing weather: harvest before severe cold if buds are exposed or the plant is no longer protected by the garden’s microclimate. For a steady supply, check plants every few days once the lower buds begin to size up.
Store the Crop and Freeze the Surplus
Keep freshly picked sprouts cool and unwashed until you are ready to cook them. Trim away damaged outer leaves, refrigerate in a breathable or perforated bag, and use the crop promptly for best texture. If you need to store them longer, leave the sprouts attached to the stalk until use where refrigerator space allows; keeping them cold and humid slows wilting. Avoid sealing damp sprouts in an airtight container, which traps moisture and encourages decay.
For freezing, wash and sort by size, then blanch small, medium, and large sprouts for different lengths of time using a tested extension preservation guide. Cool them quickly in ice water, drain thoroughly, pack with as little air as practical, and freeze. Blanching inactivates enzymes that otherwise shorten frozen quality; the University of Minnesota Extension explains the freezing and blanching steps for vegetables (UMN Extension: Freezing, UMN Extension: Blanching Vegetables).
Troubleshoot Slow or Poor Sprout Formation
When a plant is large but has few buds, check the calendar and growing conditions before adding fertilizer. Brussels sprouts may delay bud formation until the stalk is near mature size; high summer heat, late planting, shade, crowding, or a long interruption in water can push the harvest beyond the useful cool-weather window. A healthy plant can still produce later if frost is not imminent, but a late sowing cannot be repaired by more nitrogen.
Loose, split, or bitter buds
Loose sprouts most often point to warm conditions, excess nitrogen after buds form, or a plant that has not had time to finish. Splitting can follow a dry spell and sudden heavy watering, so keep moisture more even and harvest ready buds before they become oversized. Heat can make flavor harsher; cooler fall weather often improves it. If the plant is otherwise healthy, stop feeding, maintain a steady root zone, and pick each firm sprout on time rather than waiting for the whole stalk to match.
Small buds or brown interiors
Small buds can reflect a short season, insufficient sun, spacing that is too close, or stalled growth during heat or drought. For next season, choose an earlier variety, start seeds on schedule, and give plants more room. Brown or scorched tissue inside a bud may be tipburn related to stress and poor calcium movement within the plant, not proof that the soil needs calcium. Utah State University Extension links tipburn with stress from heat, water, or nutrients and recommends consistent irrigation and moderate fertilizer use. Correct the growing conditions first; do not add calcium or boron without a soil-based reason (USU Extension).
Conclusion
To grow Brussels sprouts successfully, plan the crop backward from cool fall weather, allow for the variety’s full maturity period, and keep the root zone evenly moist as the stalk grows. Give plants sun, fertile drained soil, enough space, and early protection from cabbage-family pests; feed while they build leaves, then stop routine nitrogen once buds form. Harvest firm sprouts from the bottom upward, and use topping only when you prefer a concentrated crop over a longer picking window.
The most useful adjustment after a disappointing season is usually earlier timing or steadier moisture, not extra fertilizer. A frost-date plan, a quick weekly pest check, and a few harvests before buds split can turn one tall stalk into a useful succession of fall vegetables.