43 Hardscaping Ideas to Structure Your Outdoor Space
Explore 43 hardscaping ideas for paths, patios, walls, and outdoor rooms, with practical notes on drainage, access, materials, maintenance, and safe planning.
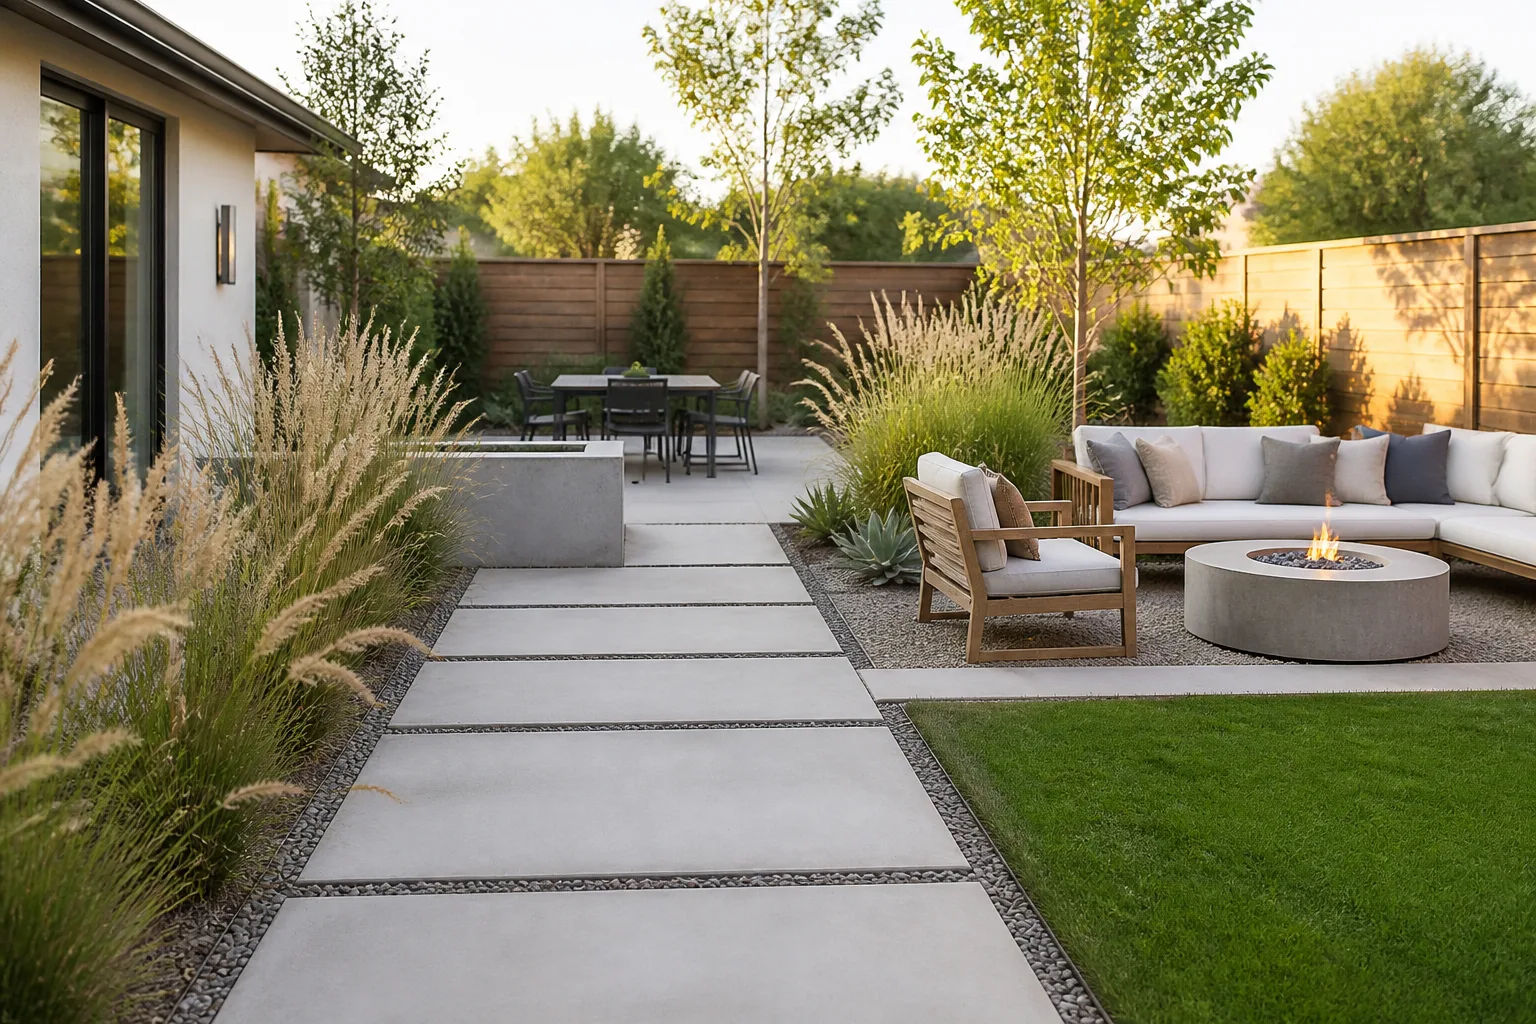
Hardscaping is a landscape’s built framework: paths, patios, walls, steps, decks, fences, pergolas, and other durable features. It solves problems such as mud at the back door, an awkward slope, a cramped patio, or rainwater flowing where it should not.
Before choosing stone or a fire pit, watch how people cross the yard and where water moves after rain. Decide which activities need permanent surfaces and which can stay planted. University of California Agriculture and Natural Resources recommends sizing hardscape around household use, studying the site, and choosing materials after location and scale are clear. (UC Agriculture and Natural Resources; UF/IFAS Extension: Basic Principles of Landscape Design)
Start With Use, Movement, and Water
Sketch the house, doors, trees, existing paving, downspouts, gates, slopes, and wet areas. Add the places you need to reach: entry, bins, shed, play area, dining spot, or a quiet chair. Existing footpaths are evidence of where a new route should go.
Mark proposed areas with a hose or temporary chairs. Measure furniture with chairs pulled out, then observe runoff during rain. A permeable surface can help water infiltrate, but only if the subgrade and stone reservoir suit the soil and the pavement is properly designed; porous-looking joints do not automatically make an entire patio a drainage system. The EPA and University of Maryland Extension describe permeable pavement as a system that includes suitable underlying layers, not simply gaps between stones. (U.S. EPA: Permeable Pavement; University of Maryland Extension: Permeable Hardscapes)
Use these ideas selectively; repeating one material or edge detail helps separate areas feel related.
Ideas 1–8: Make Entrances and Paths Easier to Navigate
Paths direct movement and frame views. A route should work with a stroller, garden cart, cane, and wet shoes—not just on a dry day.
-
Give the front door a clear approach. A direct walk from driveway or gate to entry removes guesswork and keeps feet off planting. Align the final stretch with the door rather than sending visitors toward the garage by default.
-
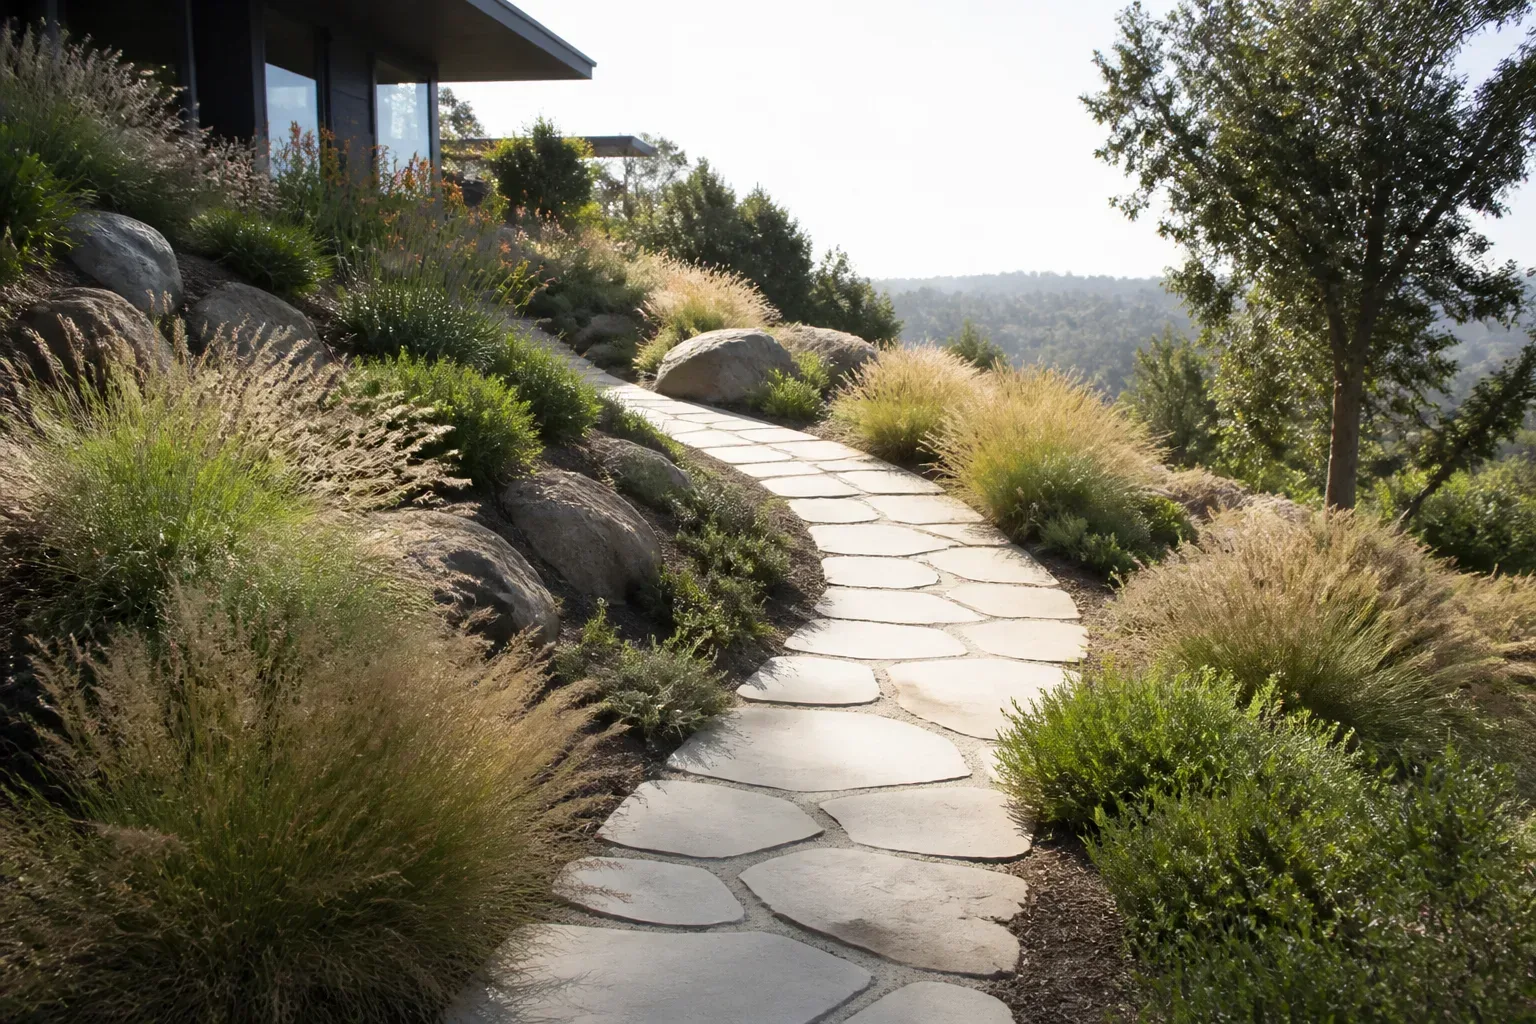
Use a gentle curve to reveal a destination. A path that bends around a tree or planted bed can make a short garden feel more exploratory. Keep the curve broad enough for a wheelbarrow and avoid hiding steps or changes in level.
-
Add stepping stones through a low-traffic bed. Spaced slabs preserve more planted ground than a continuous walk and can make a route feel informal. Set them level and at a comfortable stride; widely spaced or wobbly stones are poor choices for mobility devices or frequent use.
-
Pave a narrow side passage. A stable strip between house and fence makes bins, hoses, and tools easier to move. Leave access to utility meters and outdoor equipment, and plan where roof runoff will go instead of directing it toward the foundation.
-
Build a generous landing at a door. A level area gives people room to turn, set down bags, and open a gate without stepping directly into a bed. Keep drainage away from the threshold and coordinate its height with the door sill.
-
Choose a compacted gravel path for a casual garden route. Gravel is relatively simple to install and allows water through, but it needs edging and occasional raking. Pea gravel can shift underfoot and may be difficult for wheels; a compacted angular aggregate or stabilized surface is often firmer. (Gardenista: Pea Gravel)
-
Set a brick path in a repeating bond. Running bond or herringbone can echo brick on the house and visually connect front and back spaces. A compacted base and restrained edges matter more than a complicated pattern; keep joints even so small wheels do not catch.
-
Use a short boardwalk over a persistently damp section. A raised timber or composite route can cross ground that is difficult to pave conventionally. It needs a stable structure, safe transitions, and enough clearance for water and vegetation below; check for slippery surfaces and seasonal movement.
Ideas 9–16: Build Patios That Fit Everyday Use
Place each patio near its activity: dining usually belongs near the kitchen, while a reading nook can be smaller and more secluded. UF/IFAS Extension describes outdoor rooms as distinct uses connected by paths or visual cues. (UF/IFAS Extension: Basic Principles of Landscape Design)
-
Create a small bistro patio. Two chairs and a small table need less paving than a full dining set and can fit beside a kitchen door or in a sunny corner. Keep the walking route clear and choose a surface level enough for chair legs.
-
Place a dining terrace just off the kitchen. A short path reduces trips with food and dishes. Measure the table with chairs pulled out, then add room for people to pass; a beautiful patio that crowds the door is awkward to use.
-
Make a courtyard out of a narrow side yard. Enclose a small paved area with a low wall, fence, or planting to create a sheltered pause between house and garden. A focal pot, bench, or small tree is often enough; avoid filling the whole courtyard with furniture.
-
Lay a gravel patio with a firm furniture zone. Gravel can be an economical surface, but chairs and tables may wobble on loose rounded stone. Use a properly prepared, compacted base and consider a stable paved pad beneath dining furniture, with gravel as a permeable border.
-
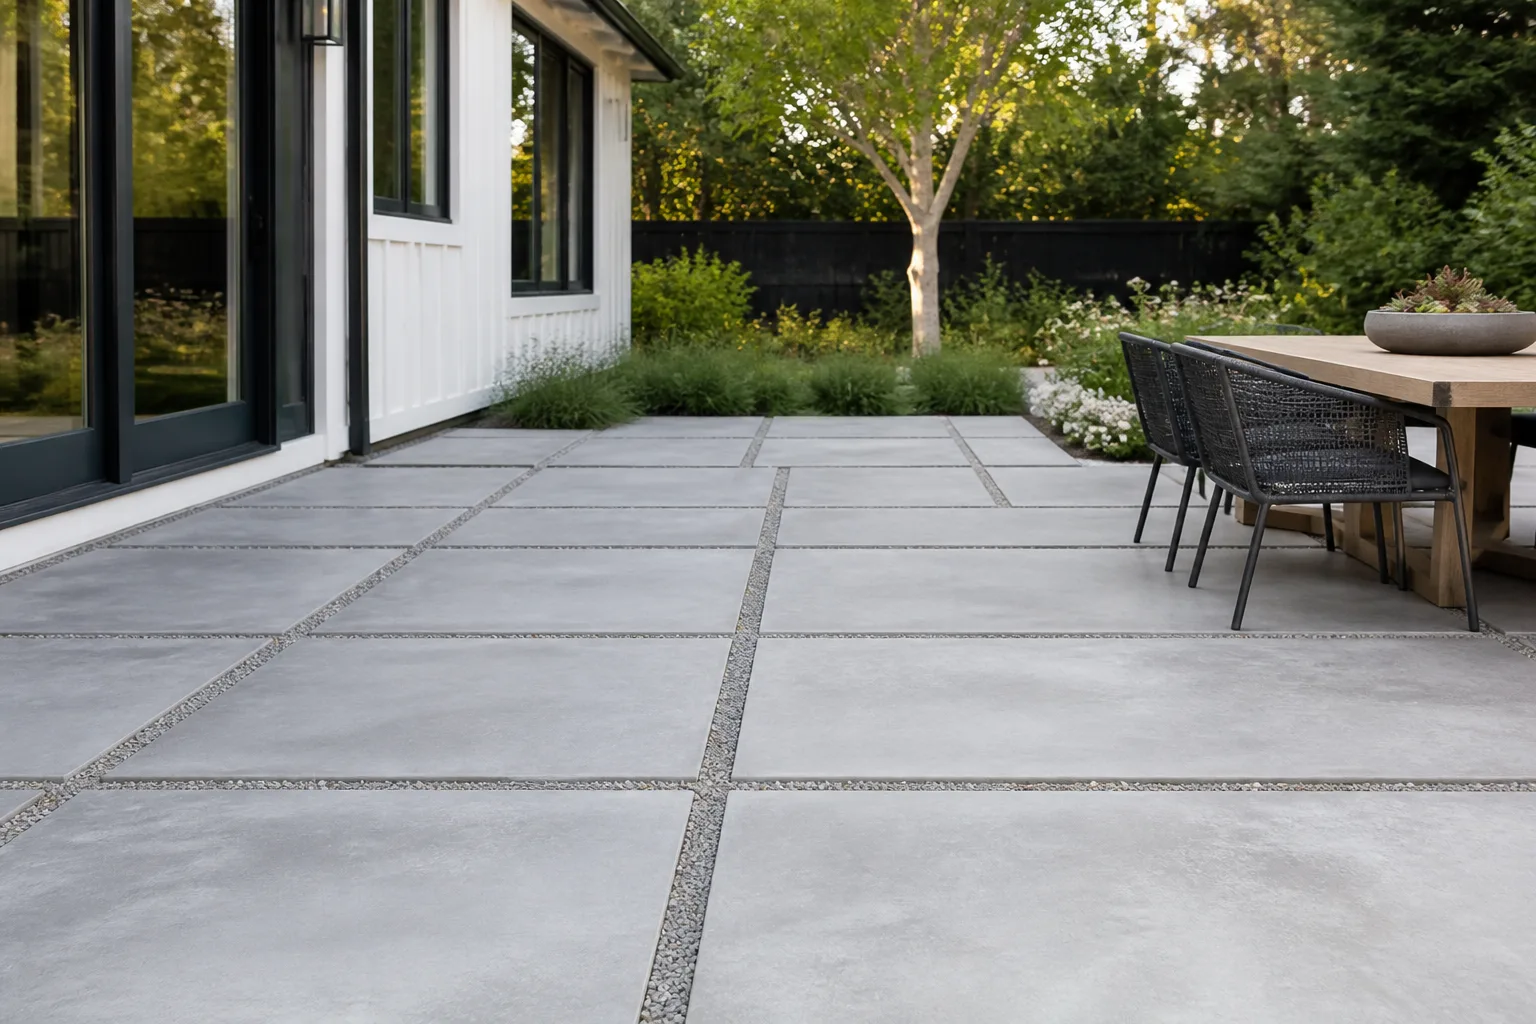
Mix large pavers with gravel joints. Wide slabs separated by aggregate create a modern grid while leaving space for rain to reach the ground. The gravel joints only function as part of a drainage strategy when the base, soil infiltration, and overflow route are designed for it.
-
Use a brick patio for a warm, traditional transition. Brick suits cottages and older homes, and individual units can be repaired. Choose a pattern that does not fight the house’s lines; watch for uneven settling, moss, and slippery algae in shaded climates.
-
Let a patio wrap one corner of the house. An L-shaped terrace can connect dining near the kitchen with a lounge in a quieter spot. Keep the walking corridor legible and leave planting gaps where a full slab would make the yard feel hard and hot.
-
Set a small terrace into a garden room. A tucked-away paved pad gives a bench or pair of chairs a destination. Position it to catch the time of day you will use it, and use shrubs, a screen, or a change in paving to make it feel distinct without blocking airflow.
Ideas 17–23: Make Slopes and Edges Work Harder
On a slope, water and soil are part of the design. A wall creates level space but also changes runoff and carries soil pressure. Identify its drainage route and any loads from a driveway, building, or fence before building. Illinois Extension notes that drainage changes and steep slopes may call for an engineer or landscape architect; do not copy a generic wall detail onto a site with different soil or water conditions. (Illinois Extension: Landscape Drainage for Homeowners)
-
Use a low dry-stacked wall to edge a bed. Natural stone can hold a small grade change and create a crisp planting edge. Keep the wall’s height and load within a design you understand; “dry stack” is not a substitute for a stable base or suitable drainage.
-
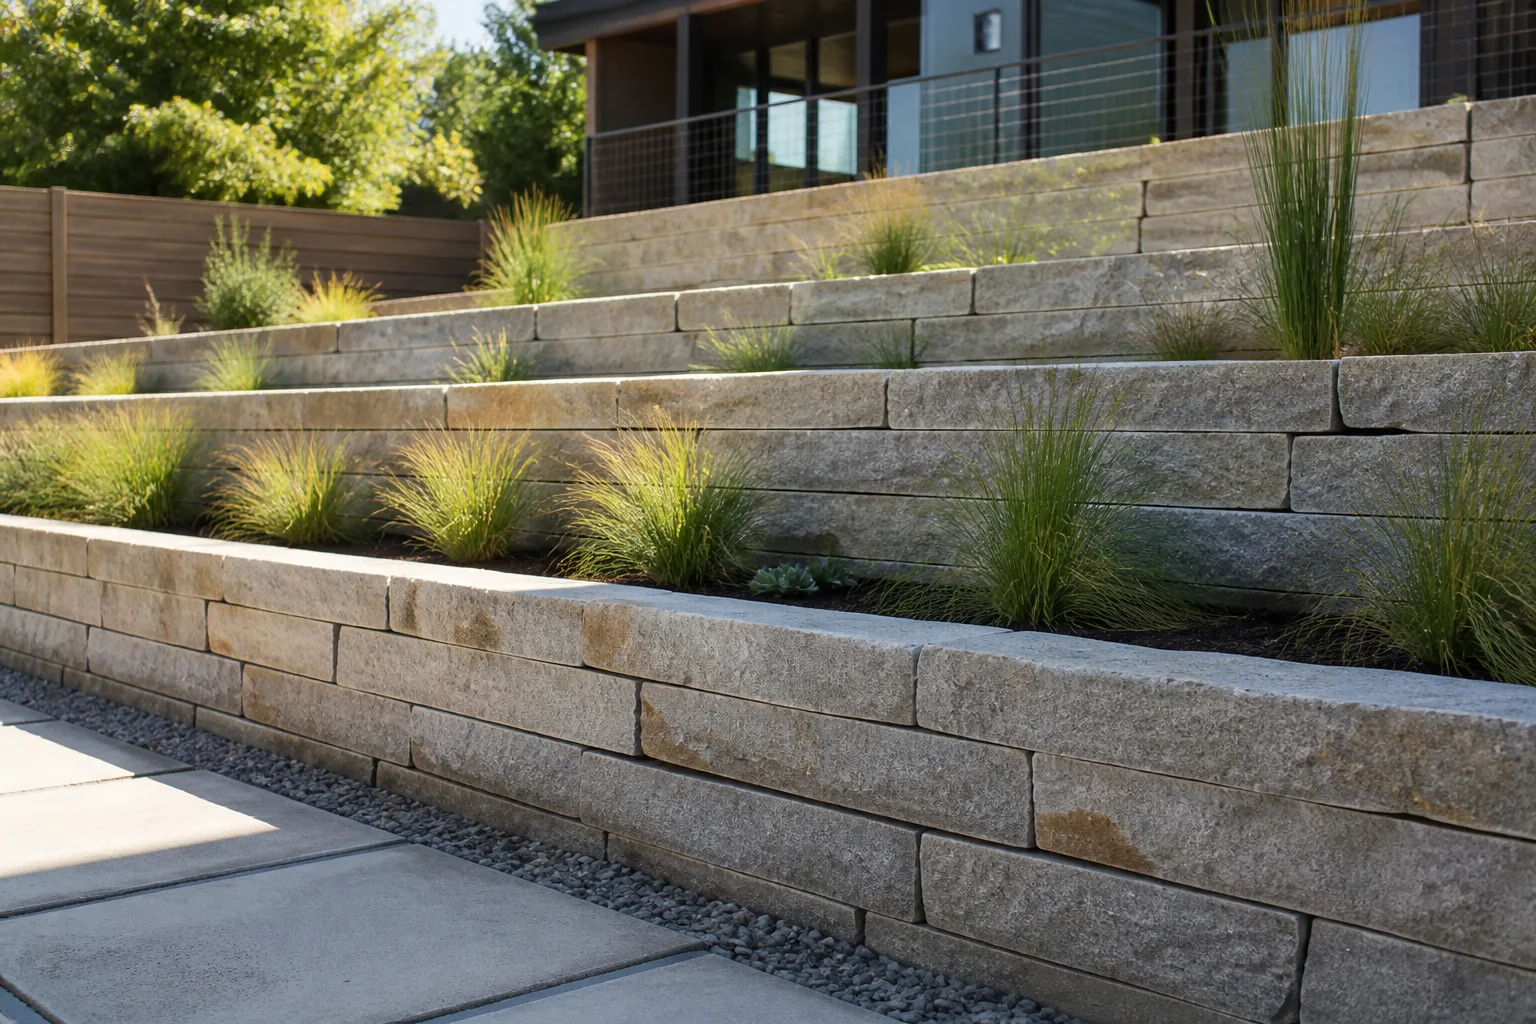
Terrace a steep yard into smaller levels. Several modest terraces may create more usable garden space than one tall wall. Plan how each level drains, how people move between levels, and whether the retaining structures need professional design.
-
Cap a low retaining wall with a sitting surface. A broad, comfortable cap can double as informal seating along a patio or fire area. Make the top stable and smooth, avoid sharp edges, and do not count a seat wall as a guard where a fall hazard requires a compliant barrier.
-
Build a planted retaining edge. Recessed pockets or a bed above a retaining structure can soften the wall and reduce its visual mass. Select plants for the light and moisture at that exposure; do not put roots or irrigation where they undermine drainage or structure.
-
Use a gabion basket as a robust garden edge. Stone-filled wire cages can suit a rustic or contemporary landscape and may let water pass through the face. Their size, foundation, fill, and corrosion resistance must suit the site; large or load-bearing installations are not a casual weekend detail.
-
Turn a slope change into wide, shallow steps. Broad treads make a transition feel more like a sequence of landings than a steep stair. Keep risers consistent, provide secure footing, and add a handrail where required by local rules or the users’ needs.
-
Add a landing where a long stair changes direction. A flat pause improves comfort, creates room to turn, and can connect to a bench or path. It also helps break up a large grade change; protect the landing from runoff and avoid placing it where a gate swings into it.
Ideas 24–29: Add Shade, Seating, and Outdoor Rooms
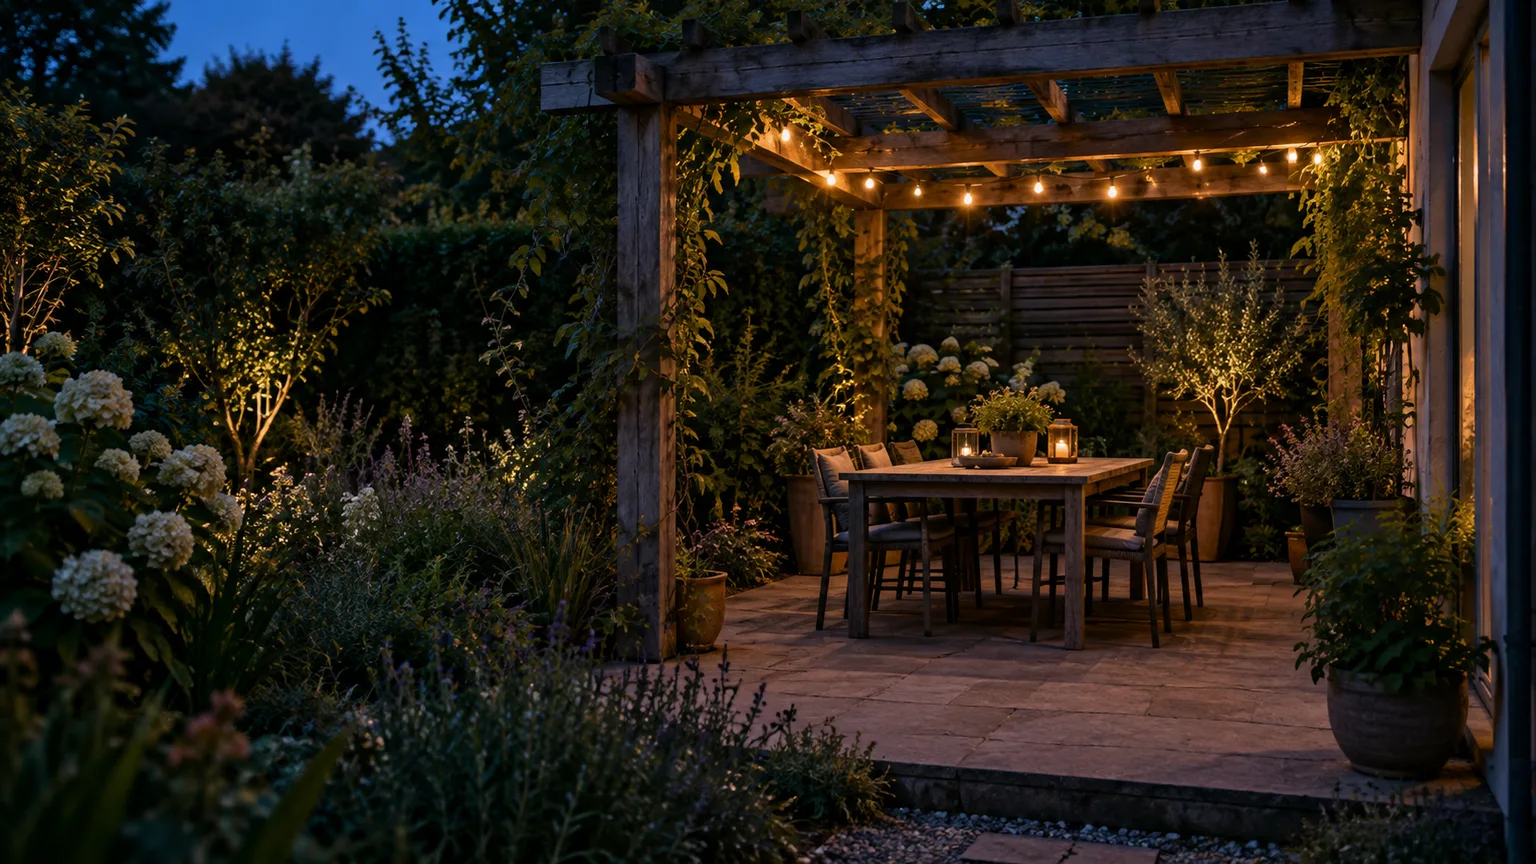
Overhead structure and defined edges provide shade, enclosure, and a comfortable scale for outdoor use.
-
Cover a dining patio with a pergola. A pergola gives a defined ceiling and can support shade cloth or climbing plants. It does not provide reliable rain protection unless designed with a roof, and its posts and connections need appropriate foundations and local approval.
-
Use a shade sail over a compact seating zone. A tensioned sail can be less visually heavy than a permanent roof and can shade a space that needs seasonal flexibility. Anchor points carry real loads; use rated hardware and professional installation where structure or wind exposure warrants it.
-
Build a small deck landing to meet a high threshold. A deck can bridge a modest change between house and yard without extensive masonry. Protect wood from ground moisture, provide safe stair geometry, and check for required guards and permits.
-
Make a built-in banquette along a patio edge. A bench can fit more people into a small footprint than loose chairs and define the room’s boundary. Set its height and depth for comfort, leave access for cleaning, and use materials suited to rain and sun.
-
Add a privacy screen that still lets air move. Slatted wood, a trellis, or a partially open masonry panel can screen a dining nook without boxing it in. Check wind loading and property-line rules, and avoid blocking a neighbor’s drainage or sightline at a driveway.
-
Frame a garden entrance with an arbor or gate. A simple threshold can signal the move from utility space to a more private garden. Secure posts in the ground, make the opening wide enough for equipment, and choose a climbing plant that suits the local climate and structure.
Ideas 30–34: Use Fire and Water Features Carefully
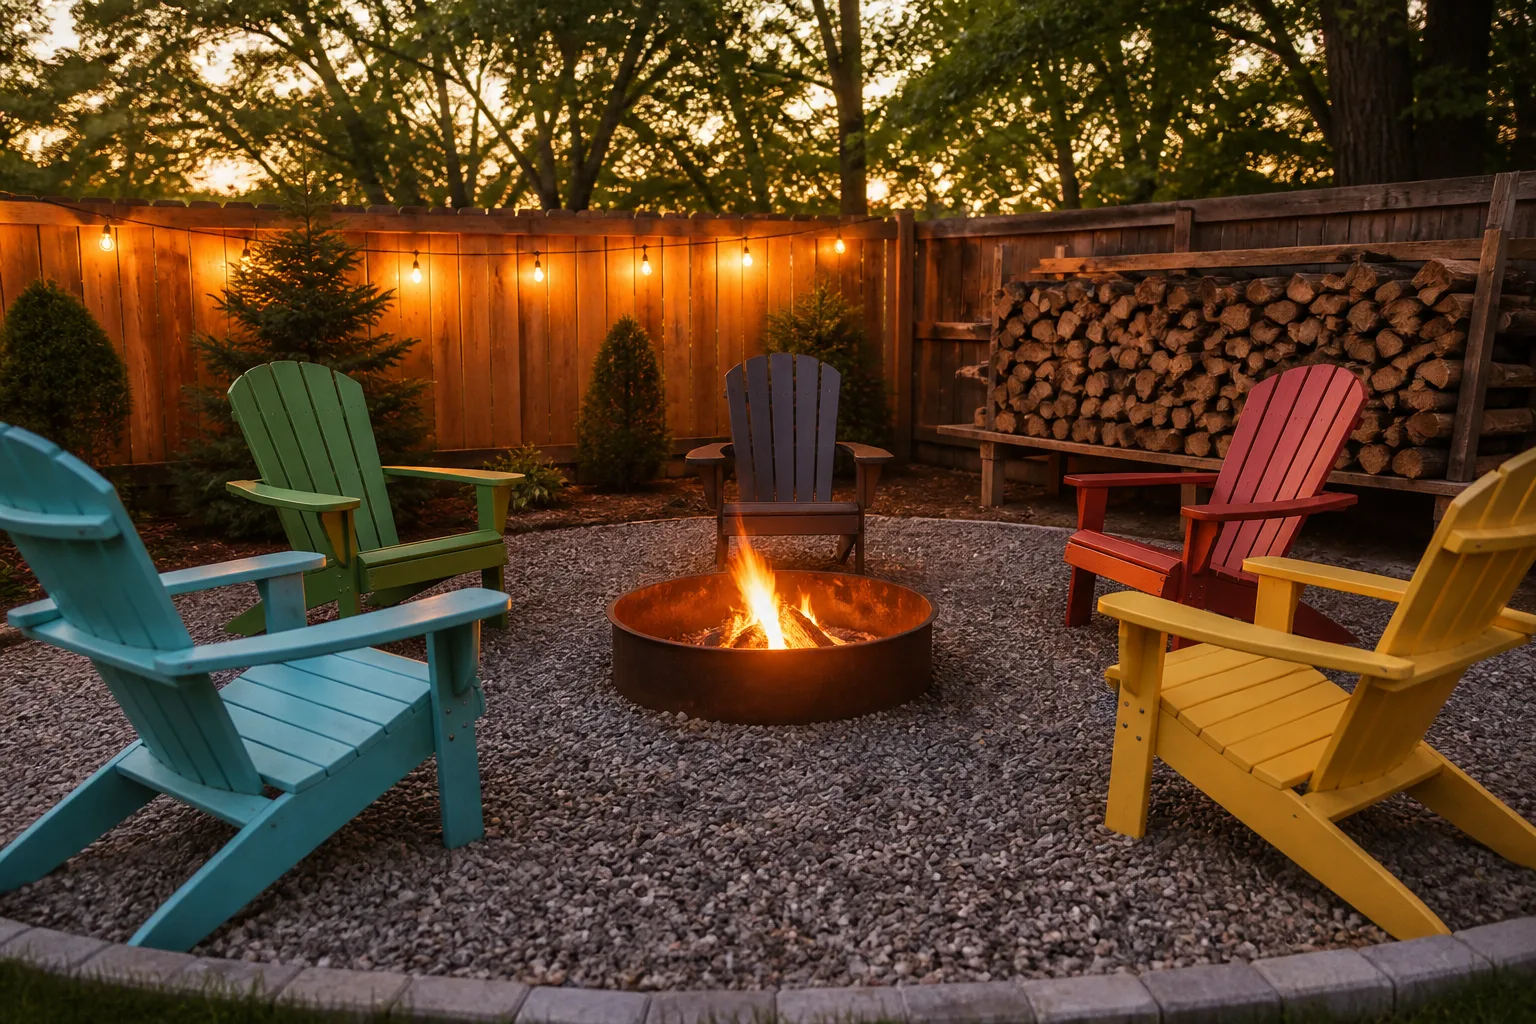
Fire and water features bring clearances, maintenance, utilities, and possible local restrictions; plan them as systems, not leftover-space decorations.
-
Set a portable fire bowl on a noncombustible surface. A gravel or stone pad makes the gathering point legible and protects nearby paving from heat and ash. Follow the unit’s instructions, keep it away from structures and anything combustible, and check local burn restrictions before use.
-
Build a permanent fire-pit conversation circle. Use the pit’s actual clearance envelope to size seating rather than squeezing chairs around a small ring. The U.S. Fire Administration advises keeping fire pits at least 10 feet from a home or anything that can burn; local rules can be stricter, so verify before construction. (U.S. Fire Administration: Outdoor Fire Safety)
-
Add a recirculating bowl fountain. A compact basin brings sound to a courtyard without a large pond. Provide a level foundation, accessible pump, safe electrical connection, and a way to empty or winterize it in freezing climates; prevent stagnant water and check local mosquito guidance.
-
Create a dry creek as a visible drainage feature. A stone-lined swale can make a runoff route feel intentional while slowing and directing water. Its grading and outlet must match the site; never aim a new channel at a neighbor, foundation, or public walkway.
-
Integrate an outdoor kitchen counter with a paved work zone. A durable counter beside the grill creates prep space and reduces trips indoors. Keep combustible structures clear of cooking equipment, plan gas or electrical work with qualified trades, and select a surface that cleans easily without becoming dangerously hot.
Ideas 35–39: Choose Permeable and Lower-Impact Surfaces
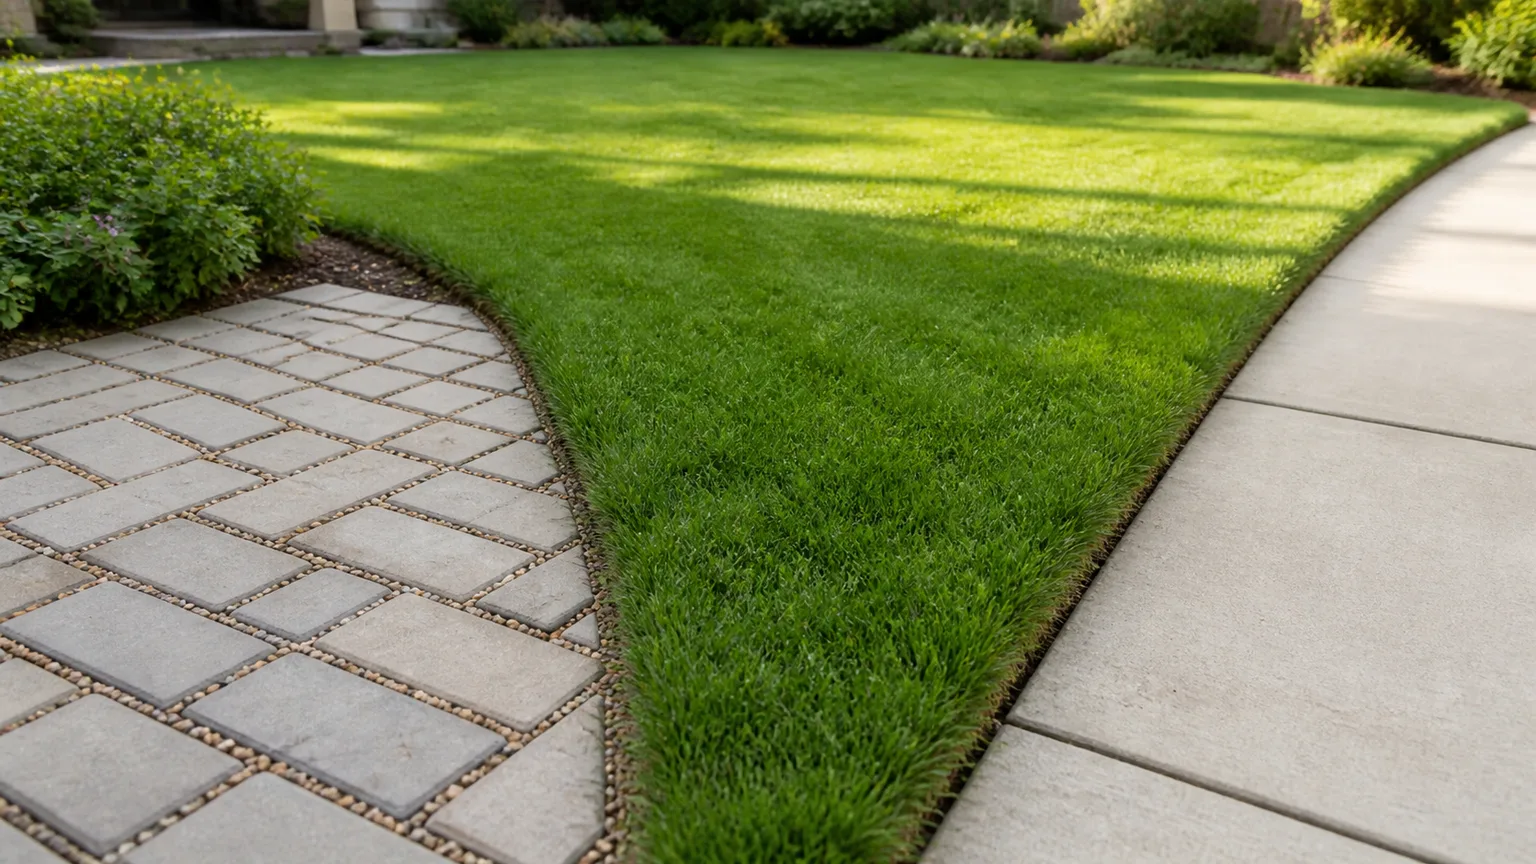
Impermeable paving sends runoff elsewhere unless a drainage system captures it. The EPA explains that permeable pavement uses a surface and underlying soil and gravel layers; performance depends on design and maintenance. Compacted clay, steep slopes, high groundwater, or sediment may require another solution. (U.S. EPA: Permeable Pavement; RHS: Permeable Paving)
-
Install permeable interlocking pavers where the site can infiltrate. These units use open joints and a permeable aggregate base. They are not just conventional pavers spaced apart; use a system designed for the expected load, soil, and rainfall, and keep sediment from clogging the joints.
-
Stabilize a gravel driveway with a load-support grid. A cellular grid can help contain aggregate under tires and reduce rutting. Choose a product rated for the vehicle load, install its base to specification, and plan a snow-removal method if your region gets winter weather.
-
Replace a full-width walk with stepping slabs and planted joints. Larger stones with low-growing groundcover between them retain more living space and create a relaxed transition. This suits light foot traffic; keep the route firm and predictable if people need to push carts or use mobility aids.
-
Send a small amount of patio runoff toward a planted rain garden. A shallow planted depression can capture runoff and let it soak in when the soil and site allow. Place it away from foundations and utilities, verify infiltration and overflow, and use regional Extension guidance before building one for a large roof or paved area. (U.S. EPA: Types of Green Infrastructure)
-
Use locally available or reclaimed stone for a path. Reusing sound stone can reduce hauling and give the project a sense of place. Inspect thickness and surface condition, sort pieces before laying, and avoid irregular pieces on a route that needs a smooth, stable tread.
Ideas 40–43: Finish With Lighting and Useful Details
Plan conduit and drainage before paving; adding them later can mean cutting or lifting finished surfaces.
-
Light the route rather than spotlighting every feature. Low, shielded path lights help reveal edges and turns while reducing glare into windows. Place fixtures where they illuminate a change of level, not in a regular line that competes with the garden.
-
Add stair lighting at the riser or adjacent wall. A gentle wash of light makes steps easier to read after dark. Use outdoor-rated fixtures and wiring installed to local electrical rules; avoid bright point sources aimed at faces.
-
Set a linear drain at a threshold only when it has a real outlet. A channel can collect water where a patio meets a door, but it must connect to an approved discharge or soakage system and be maintainable. A grate with nowhere for water to go simply hides the problem.
-
Finish the patio with a raised planter edge. A low planter can contain soil, soften a paved border, and provide a visual seat-height boundary. Keep its drainage separate from the house, leave enough root volume for selected plants, and use an edge height that does not create a trip hazard.
Choose Materials for Climate, Use, and Upkeep
Start from performance, then settle on color and pattern. UC ANR points out that loose materials can be less expensive to install but harder to maintain, while more complex masonry work generally requires more skill and labor. Prices vary sharply by region, access, excavation, base depth, disposal, and labor, so compare installed estimates for the same measured area and specification rather than shopping by surface material alone. (UC Agriculture and Natural Resources)
| Surface or material | Best fit | Tradeoff to plan for |
|---|---|---|
| Gravel or crushed aggregate | Informal paths, sitting areas, and some driveways | Needs containment and replenishment; loose rounded gravel shifts underfoot and wheels |
| Concrete | Continuous patios, steps, and contemporary lines | Cracking and runoff need thoughtful joints, base, and grading; repairs can be visible |
| Concrete pavers | Repairable paths and patios with repeated shapes | Base quality and edge restraint affect settlement; joints need maintenance |
| Brick | Traditional paths and patios | Can become uneven or slick in shade; reclaimed units vary in thickness |
| Natural stone | Informal paths, terraces, and focal areas | Cost and installation vary; irregular faces need careful fitting for safe walking |
| Decking or boardwalk | Elevated transitions and damp areas | Needs structural support, safe transitions, and periodic inspection |
| Permeable paver system | Runoff-conscious paving where soil and design permit | Requires a compatible base and periodic joint maintenance; not suitable for every site |
In freeze-thaw climates, choose products and installation methods designed for that exposure, and plan snow removal before committing to loose gravel or delicate pavers. In hot sunny regions, dark stone and concrete can become uncomfortable under bare feet; lighter surfaces or afternoon shade may work better. Near salt air, select corrosion-resistant metal and fasteners. In wildfire-prone areas, ask local fire officials how patios, fences, decks, and stored firewood interact with defensible-space guidance.
Keep a balance between built and planted areas. Hard surfaces can make a garden more usable, but paving the whole yard can increase runoff, heat, and the amount of water that needs to be carried away. RHS advises minimizing paving and using permeable surfaces where hardscape is needed; exact legal requirements vary by place, so check local rules rather than relying on advice from another country. (RHS: Permeable Paving)
Plan for Safe, Comfortable Access
Think about who will use each route. A stepping-stone path can be charming but difficult for someone using a cane, wheelchair, or stroller. Loose pea gravel shifts, especially when wheels turn; the Gardenista guide notes that it may not support furniture or wheeled movement well. If a route needs to be reliably accessible, choose a firm, stable surface, limit abrupt level changes, keep the path clear of overhanging plants, and plan turning and resting areas early. The U.S. Access Board’s outdoor-area guidance emphasizes early planning and firm, stable surfaces for covered recreation routes; those technical requirements are not a universal residential-yard code, but the design principles are useful. (Gardenista: Pea Gravel; U.S. Access Board: Outdoor Developed Areas)
For stairs, make risers consistent and treads generous enough for the intended users. Add lighting and a handrail when appropriate. Avoid narrow ledges, projecting pavers, and glossy finishes where water or ice could collect. If young children use the yard, avoid trapping points in railings and design retaining walls or water features with supervision and local safety rules in mind.
Solve Drainage and Utility Questions Before Building
Water should leave the house safely, not flow toward a foundation, basement, neighbor, or public sidewalk. Hard surfaces need a deliberate grade and an outlet. Before changing a slope, adding a wall, connecting drains, or redirecting downspouts, look up local stormwater rules and ask a landscape professional to review the plan if the site has steep grades, recurring flooding, clay soil, or nearby structures. Illinois Extension warns that drainage alterations can create problems downstream and recommends professional input when the hydrology is complex. (Illinois Extension: Landscape Drainage for Homeowners)
Locate underground utilities before digging. In the United States, contact 811 or the applicable state locate service; elsewhere, use the local utility-marking service. Check setbacks, easements, permits, homeowners’ association requirements, historic-district rules, and building permits before ordering material. The requirements for a retaining wall, pergola, outdoor kitchen, pool-adjacent surface, fire feature, electrical lighting, or driveway depend on jurisdiction and site conditions. A single height threshold from an online article is not a substitute for the authority having jurisdiction.
Set a Budget and Phase the Work
Hardscape costs are driven by more than the visible surface. Excavation, removal and disposal, retaining, base preparation, drainage, access for equipment, and labor can dominate the project. Ask contractors to specify the area, base, edge restraint, slope, drainage outlet, material thickness, and what happens to excavated soil. Make sure the quote includes transitions at doors and paths; those are common places where a design that looks fine on paper becomes awkward on site.
If funds are limited, complete work that prevents damage or solves daily friction first: drainage correction, a safe route, a durable landing, or a useful patio. Keep planted areas that manage water, and show the eventual layout so today’s path, conduit, or wall does not block a later phase.
Know When to Hire a Landscape Professional
A small stepping-stone route or a simple, ground-level gravel pad may be within a confident homeowner’s skills. Bring in a qualified landscape designer or contractor when the plan involves substantial excavation, a retaining wall, a steep grade, drainage changes, heavy loads, a fire feature, outdoor plumbing or gas, or electrical work. Permeable hardscape also depends on its base and soil; University of Maryland Extension recommends experienced, certified installation for these systems. (University of Maryland Extension: Permeable Hardscapes)
Ask potential contractors for local references and examples of comparable work. Confirm who is responsible for permits, utility marking, drainage, disposal, and inspections. On walls or other structures that retain soil or support loads, ask what design and engineering documentation applies in your jurisdiction. A clear scope is more useful than an attractive rendering alone.
Conclusion
Good hardscaping makes outdoor movement easier, gives everyday activities a place, and helps a garden feel organized without replacing all of its living ground. Start with the route, gathering space, slope, and runoff problem you need to solve. Then choose the smallest effective build, match the surface to its users and climate, and plan the base, drainage, access, and rules before installation. The most successful idea is the one that works for your yard after the photo moment is over.



