The 7-Day Holiday Home Prep Plan That Actually Works
Get your home ready for holiday guests with a calm seven-day checklist covering high-impact cleaning, gifts, decorations, party flow, and cleanup.

Give yourself one week and a finish line for each day. The goal is not a show-home transformation; it is a home that feels calm to enter, works for the number of people you invited, and does not create avoidable fire, fall, or cleanup problems.
This holiday home preparation checklist starts with decisions, then moves through clutter, high-impact cleaning, decorating, gifts, guests, hosting logistics, and the final reset. If your gathering is smaller than the plan assumes, stop when the home is comfortable and safe. Extra polish is optional.
How to Use This Holiday Prep Plan
Treat each day as one focused work session, not a demand to clean continuously. Before you begin, put a trash bag, donation box, laundry basket, microfiber cloths, a vacuum or broom, and a notepad in one place. The basket is for items that belong elsewhere; it keeps you from turning decluttering into a tour of every room.
At the end of each day, write down the next physical action rather than a vague task. “Buy more candles” is less useful than “measure the mantel and check the light-string cords.” A small handoff note makes it easier to resume when holiday errands, work, or family obligations interrupt the plan.
Choose Your Hosting Level Before You Start
Choose the version of your home you actually need. A drop-in gathering needs a clear entry, usable bathroom, safe paths, and somewhere to set a drink. A sit-down meal needs tableware, seating, serving space, and a kitchen route. Overnight guests add clean bedding, towels, a place for luggage, and enough privacy to sleep well.
Make three lists: must work, would improve comfort, and not this year. “The guest bathroom has soap and a clear floor” belongs on the first list. “Every baseboard is dust-free” belongs on the second or third. This decision prevents the familiar holiday mistake of spending two hours on a hidden corner while the entryway still has nowhere for guests to put coats.
Day 1: Triage Clutter and Create Landing Zones
Start with movement, not decoration. Walk the route a guest will take from the front door to the bathroom, seating area, kitchen, and any guest room. Anything that narrows the route, steals a usable surface, or is likely to be knocked over goes into a temporary basket, closet, cabinet, or clearly labeled “decide later” box.

Do not use the holiday deadline to make permanent decisions about sentimental items. The useful question today is not “Should I keep this forever?” It is “Does this need to be in this room during the next two weeks?” Temporary relocation is a valid holiday solution, provided the box has a home and is not pushed in front of a furnace, electrical panel, exit, or stairway.
The 15-Minute Declutter Rule
Set a timer for 15 minutes in each high-traffic zone: entry, living room, kitchen counters, dining surface, guest bath, and guest room if needed. Remove obvious trash first, then items that belong elsewhere, then excess objects that make the room harder to use. Stop when the timer ends and move to the next zone; consistency beats getting trapped in one drawer.
Create landing zones while you work. Use one basket for incoming gifts, one tray or box for keys and small items, an open section of the coat closet for visitors, and a clear mat or rack for shoes. If you have children or pets, move breakables, edible decorations, small ornaments, and dangling cords out of their likely reach now rather than discovering the problem during the party.
Finish Day 1 by measuring the space where a tree, extra chairs, or a folding table may go. A tree that fits the ceiling height can still be too wide for the walking route. BBC Gardeners’ World recommends deciding where the tree will go and measuring before shopping, which is a simple check that saves a great deal of rearranging later (BBC Gardeners’ World tree-care guide).
Day 2: Clean the Surfaces Guests Actually Notice
Today is not a whole-house deep clean. Clean the surfaces that affect smell, touch, visibility, and comfort: bathroom fixtures, kitchen counters and handles, dining and coffee tables, seating, mirrors, entry flooring, and the floor paths guests will use. If a room will stay closed, it can wait.
Work high to low and dry to wet. Dust shelves and light fixtures before wiping tables, clean mirrors before the floor, and vacuum upholstery before you place throws or pillows. In the kitchen, clear enough counter space for the actual menu and serving plan; a spotless counter that cannot hold a cutting board or platter is not helping the host.
The guest bathroom deserves a practical check rather than decorative staging. Clean the toilet, sink, mirror, and floor, then put out hand soap, a clean hand towel, toilet paper that is easy to find, and a small wastebasket. If the bathroom has a lock that sticks, a burned-out bulb, or a slippery mat, fix that before adding seasonal objects.
Build a Fast, Repeatable Cleaning Route
Use one route every time: entry, bathroom, living and dining surfaces, kitchen touchpoints, floors, then the guest room. Carry the basket with you and remove it only when the route is finished. This prevents the common failure mode of cleaning around objects that should have been moved first.
Do a smell check at the end. Empty food scraps, take out recycling, wash damp cloths, and look for the source of any musty odor rather than covering it with fragrance. Strong scents can bother guests with sensitivities and compete with food, so ventilation and a clean source are better than layering air freshener over a problem.
This is also the day to wash the linens that will be used later. Launder guest towels, throws, table linens, and spare blankets, but store them where they will stay clean. Count plates, glasses, flatware, and chairs before you need them. If something is missing, choose a low-stress substitute now: a mixed set can look deliberate when grouped by place setting, while a last-minute scramble turns the kitchen into a storage problem.
Day 3: Make Decorating Safe and Intentional
Decorate after the main clutter and cleaning pass, but before the last day. Start by choosing one visual anchor in each shared space: a tree, mantel, table arrangement, wreath, or a bowl of seasonal greenery. Repeating two or three materials—such as evergreen, wood, and warm metal—usually looks more finished than filling every surface with unrelated objects.

Safety is part of the decorating plan. The American Red Cross advises using flame-resistant or flame-retardant decorations, checking that lights are rated for their location, replacing worn cords or loose connections, using clips instead of nails, and following the manufacturer’s limit for connected light strands (American Red Cross holiday decorating guidance). Keep paths and exits open even if that means moving a display to a smaller surface.
Check Trees, Lights, Candles, and Cords
If you are bringing home a cut real tree, choose one with fresh green needles that do not fall easily when touched. Before it goes into the stand, make a fresh cut across the base of the trunk, secure it upright, and keep the stand filled according to the tree’s needs. Check the water daily; a dry stand is a maintenance failure, not a cue to add a special additive.
Heat matters more than fragrance or placement symmetry. Keep a real or artificial tree at least three feet from fireplaces, radiators, heat vents, candles, and other heat sources, and make sure it does not block an exit. Turn tree lights off when leaving home or going to bed. Those are not aesthetic suggestions; they are the basic safety gates before you style the branches.
For a living, container-grown tree, the indoor window is shorter. The Royal Horticultural Society’s Christmas-tree guidance recommends bringing a pot-grown tree indoors as late as possible, keeping it in a cool room, and not leaving it in the house longer than about 12 days unless the tree is clearly coping. A small tree that can return outdoors after the celebrations is a different project from a cut tree, so label the plan before you buy one.
Inspect every light string before hanging it. Discard or set aside anything with cracked insulation, bent plugs, scorch marks, exposed wire, or loose bulb connections. Route cords along edges with approved clips or cord covers, never across a doorway or under a rug where they can be crushed. Place candles on sturdy, uncluttered surfaces at least one foot from anything that can burn, and use flameless candles where children, pets, or sleepy guests make an open flame a poor trade-off.
Do a final safety walk with the lights on and the room dimmed. Look for hot bulbs touching fabric, a cord creating a trip loop, a tree leaning toward a heat source, or an ornament that would fall if someone brushed past. Test smoke alarms according to the manufacturer’s instructions and confirm that every exit remains usable. ESFI’s holiday safety material also highlights the seasonal risks from falls, extension cords, decorations, and unattended cooking, so a ladder task should happen in daylight with a stable setup and another adult nearby when the height or location warrants it (Electrical Safety Foundation International holiday safety information).
Day 4: Finish Gifts Without Taking Over the House
Create one gift station instead of letting parcels, bags, tissue, tape, and scissors migrate around the house. A folding table, cleared desk, or section of the dining table works. Put wrapping paper in a container that can stand upright, keep tape and scissors in a small tray, and place finished gifts in a labeled tote or closet shelf away from heat, moisture, pets, and curious children.
Use a simple status system: to buy, arrived, to wrap, wrapped, and to deliver. The labels can be on paper; the value is seeing what still requires action. Check cards, batteries, gift receipts, and delivery timing while the store or courier can still solve a problem. If a gift is delayed, decide whether the recipient needs a note, a substitute, or a later handoff rather than carrying the uncertainty in your head.
Do not let gift wrapping consume the only surface needed for food or guests. Once the station is finished, fold the paper, remove scraps, and return the table to its hosting job. You can keep the supplies together for the rest of the season, but the work area should not become another obstacle in the guest route.
Day 5: Make Overnight Guests Comfortable
Prepare for the person who will actually sleep in the space, not an imaginary hotel reviewer. Clear a landing surface for glasses and a phone, make the bed with clean linens, leave room for a bag, and check that the door, window covering, light, and outlet are usable. If the room is also your office or storage area, move the few items that block those functions instead of trying to empty every cabinet.
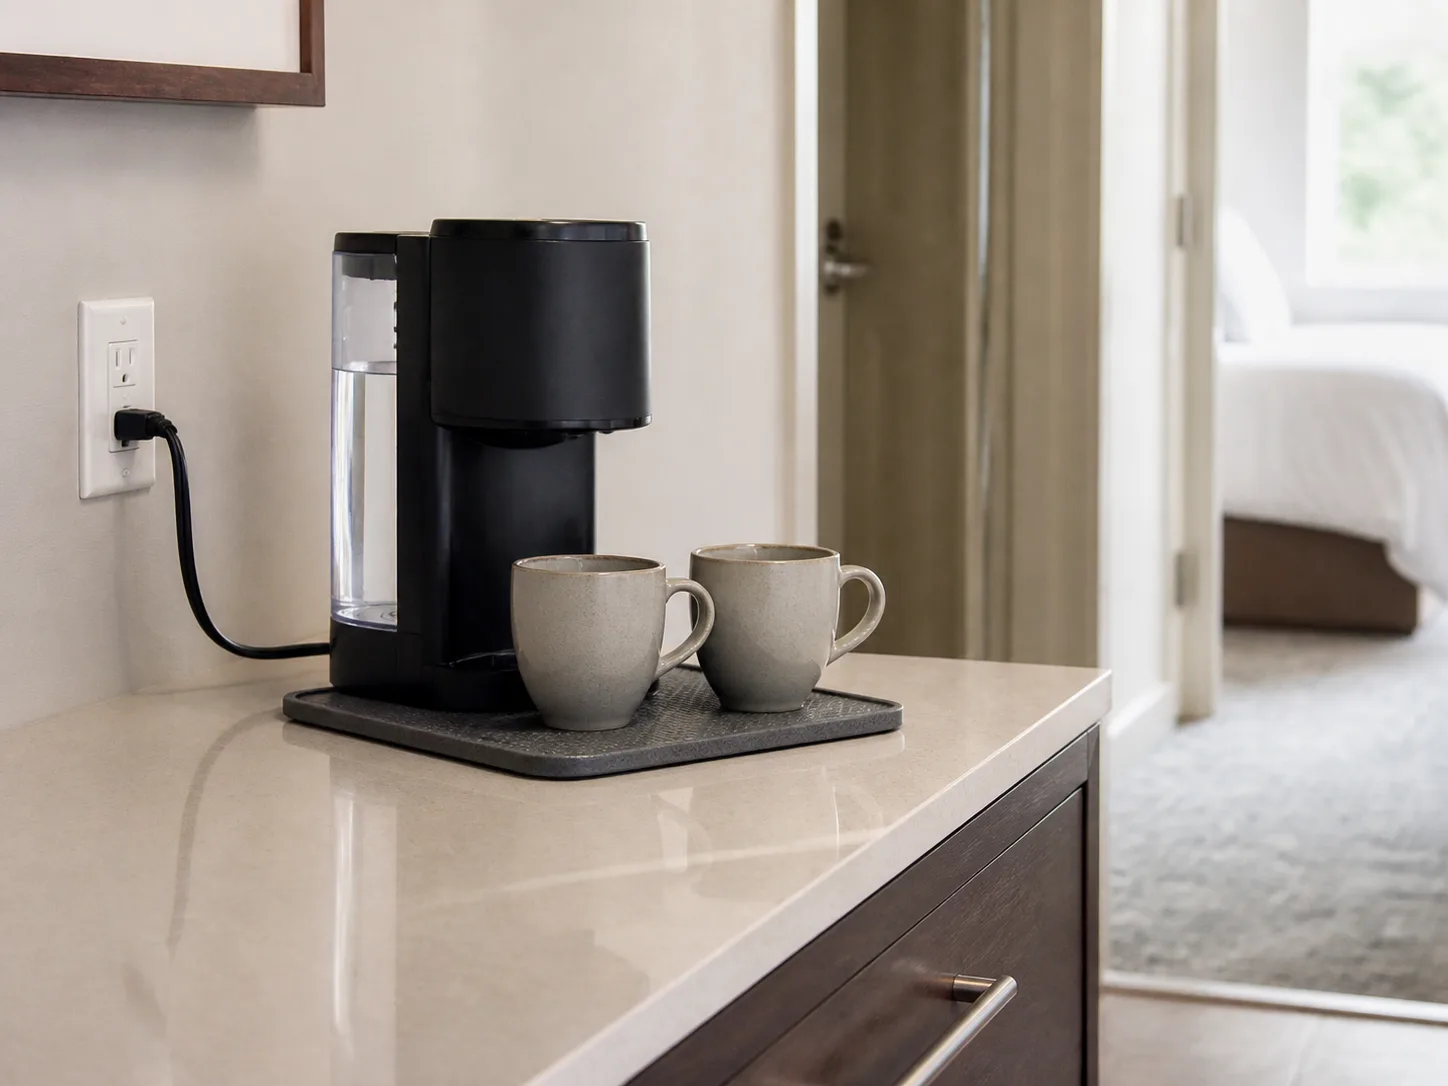
Send a short practical message before arrival: parking or transit notes, whether shoes come off, the Wi-Fi name and password, the approximate meal schedule, and anything they should bring. This prevents your home from having to answer logistical questions while you are carrying a hot dish or greeting other guests.
The Guest-Room Minimum
The minimum is clean bedding, one pillow choice that suits the guest, a blanket, two towels, toilet paper, a working light, a place to charge a phone, water, and enough empty space for a bag. Add a small wastebasket and a clear path to the bathroom. If there is no private guest room, say so plainly and make the shared arrangement comfortable with a screen, a defined storage area, and a morning plan.
Check temperature and noise at the time your guest is likely to sleep. A room over a loud appliance or beside a bright seasonal display may need a small adjustment. Keep cords, candles, and portable heaters out of sleeping areas; if a space heater is genuinely needed, use the manufacturer’s clearance and shutdown instructions rather than leaving it unattended.
For homes with pets, make the boundary explicit. Decide which room is pet-free, move food and water bowls out of the walking path, and keep potentially irritating or unsafe seasonal plants and decorations where the animal cannot chew them. A guest who is allergic or nervous around animals will be more comfortable when the rule is visible and consistent.
Day 6: Set Up a Party That Runs Itself
Design the party around movement. Put coats and shoes near the entry, drinks where people can refill without crossing the cooking zone, food where the serving line will not block the oven, and waste and recycling where guests can find them. Keep a clear route between the door, bathroom, seating, and food; the room will feel calmer even if the decor is simple.
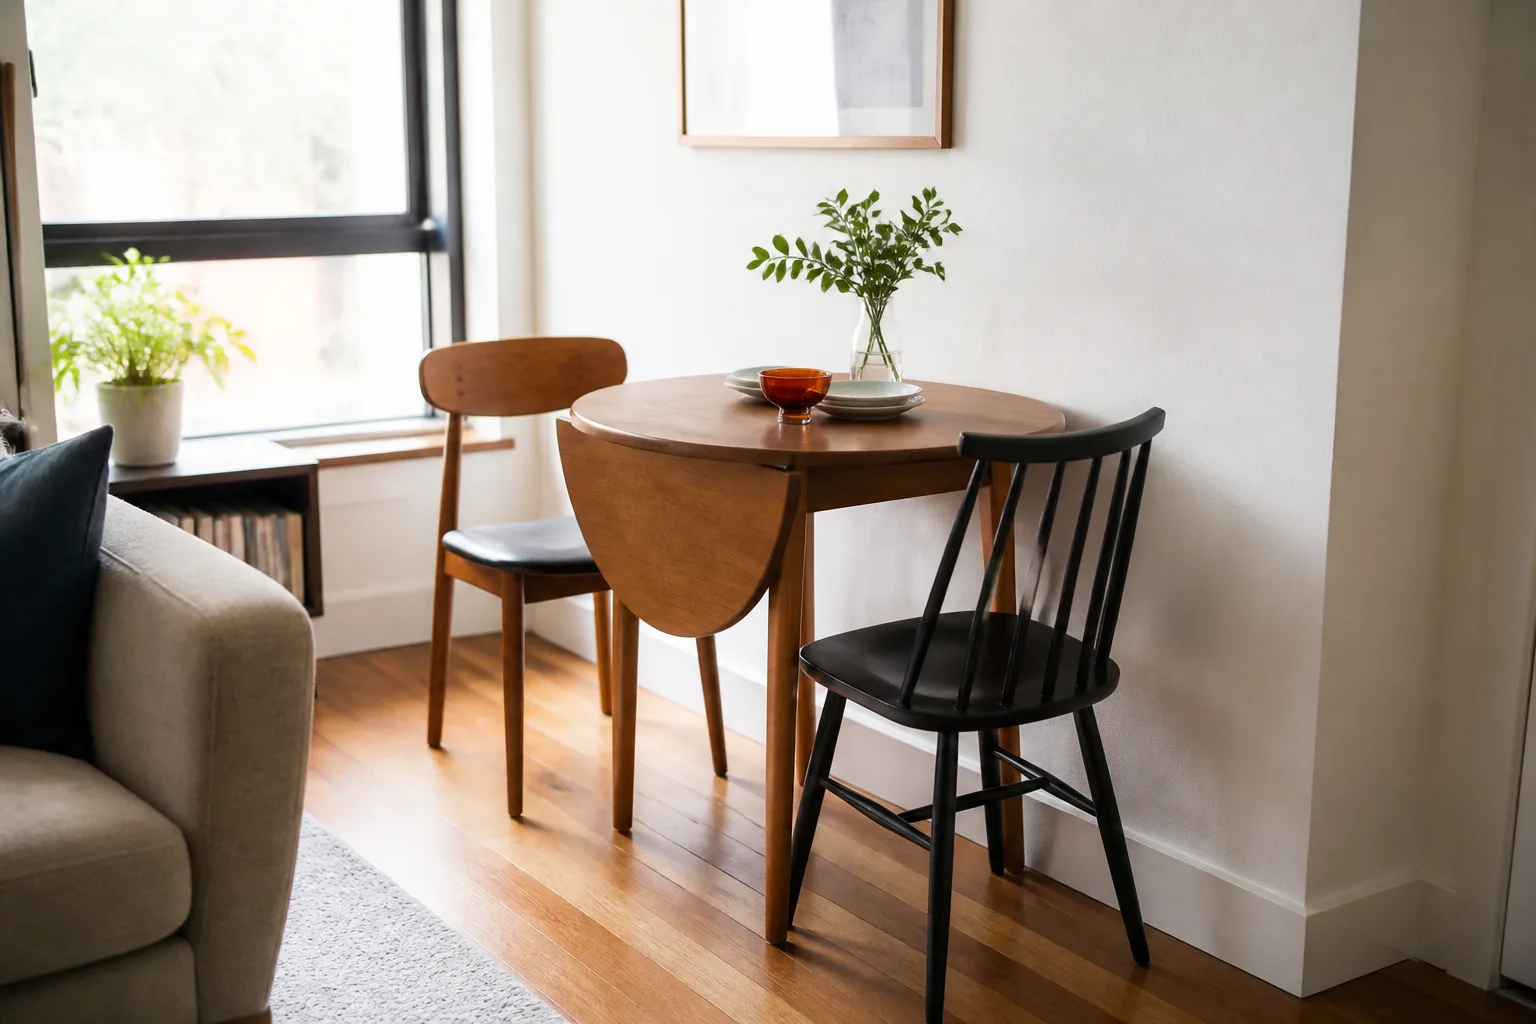
Plan the menu around your actual equipment and help. A balanced menu can include make-ahead, room-temperature, and last-minute items so one oven or one person is not responsible for everything at once. Real Simple’s party-planning guidance similarly recommends working backward from the event, checking oven capacity, and doing as much cooking and cleaning ahead as possible (Real Simple party-planning checklist).
Write a one-page run sheet: when the table is set, when chilled items come out, when the oven is needed, when the music starts, and who can refill water or collect glasses. This is not about running a formal event; it is about making the next action obvious when a guest is at the door.
Food, Drinks, Coats, and Cleanup Stations
Set out the serving dishes and utensils before cooking day. Put a small tray beside the drinks for bottle openers, napkins, and a marker if guests need to identify glasses. If people bring food, reserve one surface for arrivals so a hot dish does not get balanced on the edge of the stove or crowded beside a cutting board.
Create a quiet cleanup station with cloths, a small bowl for used spoons, stain-treatment supplies appropriate for your surfaces, extra trash bags, and a place to set empty glasses. Salt, club soda, and a cloth are common spill helpers, but the more important preparation is knowing which fabrics or finishes should not be scrubbed aggressively. Treat a spill early, then return to your guests.
Make the party safe at the edges. Secure rugs, move low furniture out of the narrowest route, tape or cover cords properly, and keep matches, lighters, sharp tools, and cleaning products out of reach. If you are serving alcohol, put water and substantial food in an equally visible place and never make driving home depend on a guest’s optimism.
Day 7: Stage the Final Walk-Through
The last day is for staging and verification, not for starting a new cleaning project. Walk the home as a guest: open the front door, hang a coat, find the bathroom, sit down, set down a drink, and move to the food area. Anything that makes those actions awkward gets one small fix.
Refresh only what changes the experience today: wipe the bathroom sink, vacuum the visible floor paths, empty full bins, chill drinks, place fresh towels, and set the table or buffet. Put the gift station away if it is not part of the gathering. If you are using fresh greenery or a wreath, check whether it has dried out or is shedding; replace it or move it away from heat and open flame rather than hoping it will last through the evening.
Turn on lights and decorations for a timed test. Look at the room from the entry and from the seats. Remove one item if the display feels crowded. Check that exits, vents, radiators, and the tree stand remain accessible. The Red Cross recommends turning tree lights off before leaving or going to bed, so decide who owns that job before guests arrive rather than assuming someone else will notice.
Finish with a host kit: phone charger, stain cloth, extra toilet paper, trash bags, serving utensils, medication or allergy information you may need, and a written contact number for an overnight guest. Put it somewhere accessible but not on display. Your final task is to stop. A host who is rested and present is more welcoming than a host still polishing a baseboard when the doorbell rings.
If Guests Arrive Tomorrow: The 90-Minute Version
Compress the plan by protecting the safety and comfort sequence. Spend the first 20 minutes clearing entry and walking paths, the next 20 cleaning the bathroom and kitchen touchpoints, 15 setting coats and shoes, 15 staging food and drinks, 10 checking lights, cords, candles, tree placement, and smoke alarms, and the final 10 minutes changing towels, emptying bins, and opening windows briefly if weather permits.
Do not attempt a full declutter, new decor project, complicated menu, or high ladder task in the compressed version. Close doors on low-priority rooms, move loose items into one labeled basket, and ask one specific helper to take one specific job. “Can you make the guest bathroom ready?” works better than “Can you help me clean?”
If there is no time to address a genuine safety problem, remove the hazard. Unplug damaged lights, retire a candle arrangement, move a tree away from heat, take a trip-prone rug out of the route, or change the menu so the cooking area is manageable. A smaller celebration is a successful celebration when the room works.
After the Holidays: Reset and Store
Reset in the order that prevents damage: food and rubbish first, borrowed items and gifts second, textiles third, decorations last. Photograph a display before dismantling it if you want to recreate it, but do not keep every accidental arrangement. Store the things you used together in clearly labeled containers: tree lights with spare bulbs if the manufacturer provides them, table linens with the table decor, and gift supplies with cards and tape.
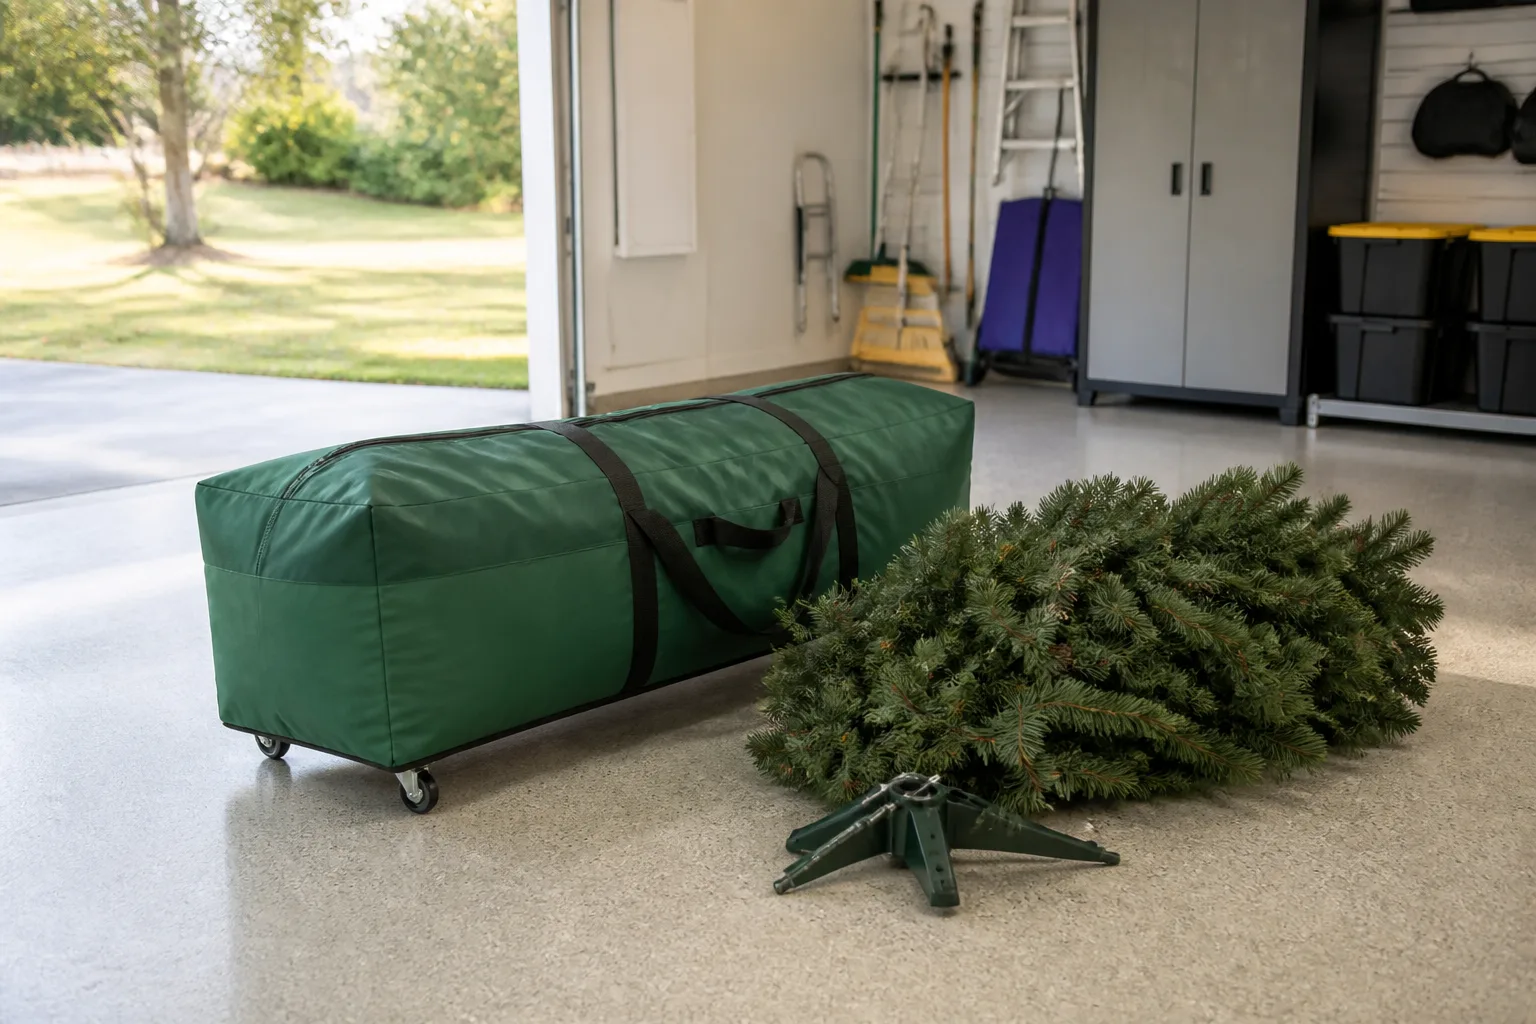
Inspect each item as it goes away. Recycle or discard broken ornaments, dried greenery, frayed cords, and packaging that no longer protects anything. Keep sentimental objects, but do not let “maybe useful” become a category that fills the next season’s storage space. A small repair or replacement note on the lid is more helpful than relying on memory eleven months later.
Give a real tree a responsible second job where local rules allow. The RHS describes options including chopping and stacking it in a quiet garden area for wildlife, shredding it for suitable mulch, or using a local collection scheme. Remove every ornament, light, ribbon, wire, and sprayed product first, and never assume an animal facility or municipal program accepts trees without checking its current requirements (RHS guidance on reusing an old Christmas tree).
If you used a container-grown tree, move it back outdoors according to its needs rather than leaving it in a warm room. The RHS notes that living trees are not naturally suited to indefinite pot cultivation, so a tree you hope to reuse needs an honest plan for watering, acclimation, space, and eventual planting or continued container care. A cut tree and a living tree can both be good choices; they simply need different endings.
Conclusion
The most useful holiday home preparation checklist is one that protects your time as well as your rooms. Clear the routes first, clean visible and high-touch surfaces, make decorations safe, contain gifts, prepare the guest minimum, design the party around movement, and leave the final day for a calm walk-through.
You do not need every room to look finished. You need the front door, bathroom, seating, food route, sleeping space, lights, and exits to work. Once the celebration is over, store the system—not just the decorations—so next year begins with fewer decisions and more time to enjoy the people who came through the door.



