12 Hosta Garden Design Ideas for Any Shady Yard
Plan a hosta garden that looks intentional as it matures, with layout ideas, spacing guidance, companion plants, and fixes for common site problems.
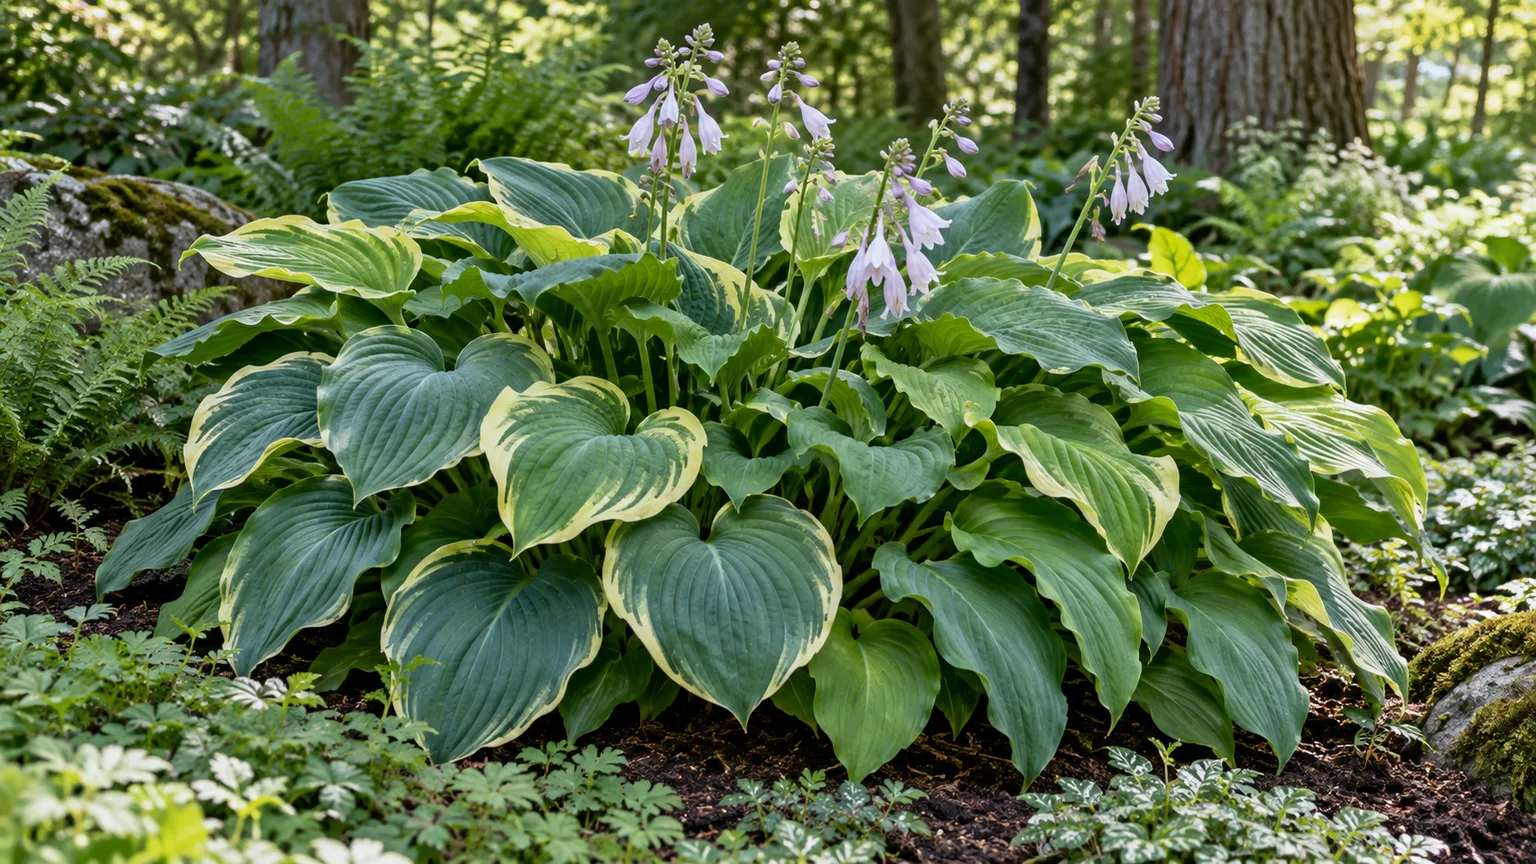
Hostas can make a shady corner look deliberately planted, but filling it with whatever catches your eye at the nursery often produces a crowded patchwork. A stronger design starts with the site: notice where the shade falls, how dry the soil gets beneath trees, and how much room each cultivar will need at maturity. Then use hostas as foliage structure and add color, flowers, or movement where the bed needs them.
The ideas below range from a single dramatic specimen to a layered woodland bed. You can borrow one or combine several; the best arrangement is the one that fits your light, soil, view, and maintenance routine.
Read the shade and soil before choosing a layout
“Shade” is not one uniform condition. A north-facing foundation bed may stay cool and evenly moist, while the ground beneath a mature maple can be bright but thirsty because tree roots compete for water. Photograph the area in the morning, around midday, and late afternoon, and check again as tree canopies leaf out. WSU Extension recommends watching how light changes through the seasons because plantings and growing trees can alter a garden’s exposure over time.WSU Extension
Hostas generally perform well in morning sun or dappled shade in moist, organic-rich, well-drained soil. Blue-leaved types usually benefit from more shade, while leaf color and sun tolerance vary by cultivar; hot afternoon exposure can scorch foliage, especially in warm climates.NC State Extension For a bed under trees, dig a small test hole and check moisture after a dry spell before choosing companions. If the soil is dry at the root zone, either plan for reliable irrigation and mulch or select plants suited to dry shade instead of expecting a hosta-heavy bed to thrive on rainfall alone.
1. Make a giant hosta the focal point
A large hosta earns its space when the bed needs one clear anchor. Set it where its mature outline can be seen from a window, porch, or path, then keep the strongest surrounding shapes lower or finer-textured. This gives the eye a place to land and lets the hosta’s broad leaves read as a deliberate feature rather than one plant in an undifferentiated mass.
Treat the plant’s expected width as part of the design, not an afterthought. A specimen sold in a small pot can eventually cover several feet, depending on cultivar and growing conditions; NC State lists dwarf through giant size classes and illustrates how dramatically mature spread differs among named hostas.NC State Extension Leave room for the clump to expand, and avoid wedging it against a walk where wet leaves will brush passersby or where later division would be difficult. One well-placed large plant is often more effective than several oversized cultivars competing for attention.
Use a strong backdrop to make the focal plant legible. A dark evergreen, fence, or shaded wall can sharpen the outline of a gold or pale-edged hosta, while a blue-green hosta may read better in front of lighter stone or mulch. Keep the immediate ring around the specimen simpler than the rest of the bed so its scale stays obvious.
2. Use miniature hostas to finish a small edge
Miniature hostas are useful where a standard-size clump would swallow a narrow border, rock garden, or the front edge of a shaded bed. Their small leaves reward close viewing, so place them beside a path, low wall, or container where visitors can notice the detail. A short run of one miniature variety can make a small garden feel finished without turning it into a crowded collection.
Keep these smaller plants out of the shadow of a giant hosta’s mature canopy. If a large leaf will eventually cover the miniature from above, the design may look balanced in year one and disappear by year three. Use the cultivar’s stated mature width to set spacing; NC State’s plant profile, for example, lists ‘Blue Mouse Ears’ at about 19 inches wide, showing why even a “small” hosta needs more room than its pot suggests.NC State Extension A gravel or stone edge can frame the planting, but leave enough open soil around the crown for watering and cleanup.
Small cultivars also help scale a bed to its surroundings. Beside a narrow front walk, they look proportional where a giant specimen would feel crowded; in a deep border, they can lead the eye from the lawn toward taller foliage. Resist using miniatures as living filler between larger plants—the gap may be temporary, but the shade and competition from expanding leaves are not.
3. Repeat a restrained foliage palette
Hostas come in green, blue, gold, and many variegated patterns. Instead of buying one of every color, choose two or three related tones and repeat them in separate groups across the bed. Repetition links distant parts of a border and makes a collection of different cultivars feel like a composed garden.
For a quiet scheme, combine blue-green foliage with deep green and a few silvered or cream accents. For a brighter look, repeat chartreuse or gold leaves at intervals rather than clustering every bright plant in one corner. The goal is not to eliminate variety; it is to give the eye a pattern to recognize. A simple color plan also makes future additions easier: a new hosta has to support the palette instead of introducing a disconnected accent.
Sketch the palette with three swatches before you shop: the dominant foliage color, a supporting color, and one accent. Repeat the accent at least twice in the bed, perhaps once near the entrance and again at the far end. This repetition matters more than exact symmetry, particularly in an informal woodland planting where the clumps can be different sizes.
4. Place gold and variegated leaves where they can shine
Gold and variegated foliage can brighten a dim bed, especially when it catches gentle morning light. Use a gold-edged hosta near a dark evergreen, a deep green shrub, or a shaded wall to make the contrast visible. Variegated leaves also work well at a turn in a path, where the brighter pattern can draw someone into the garden.
Match exposure to the cultivar rather than assuming that every light-colored hosta wants full sun. NC State notes that hostas differ in their light preferences and that southern sites may call for full or dappled shade to protect foliage from leaf burn.NC State Extension Bright color does not compensate for heat stress: if the bed receives hot afternoon sun, choose a more tolerant cultivar only after checking its label, or move the focal point to a cooler exposure. Repeat the same variegation elsewhere in a small echo; too many unrelated margins and centers can make the bed visually noisy.
Use the brightest foliage near a transition point where people naturally look: at the end of a path, beside steps, or just inside a gate. In deeper shade, a light leaf can act like a visual lantern, but it will not illuminate the whole bed; use several small repeats instead of one isolated white-centered plant. If a leaf pattern fades or burns in its current position, treat that as evidence about the microclimate and move the plant during a suitable replanting window.
5. Contrast leaf shapes for movement
A hosta bed can have movement even when every plant is rooted in place. Combine broad, heart-shaped leaves with narrow, lance-shaped or rippled foliage, then add an upright companion whose stems rise above the hosta canopy. The contrast makes the planting readable from a distance and gives it detail at close range.
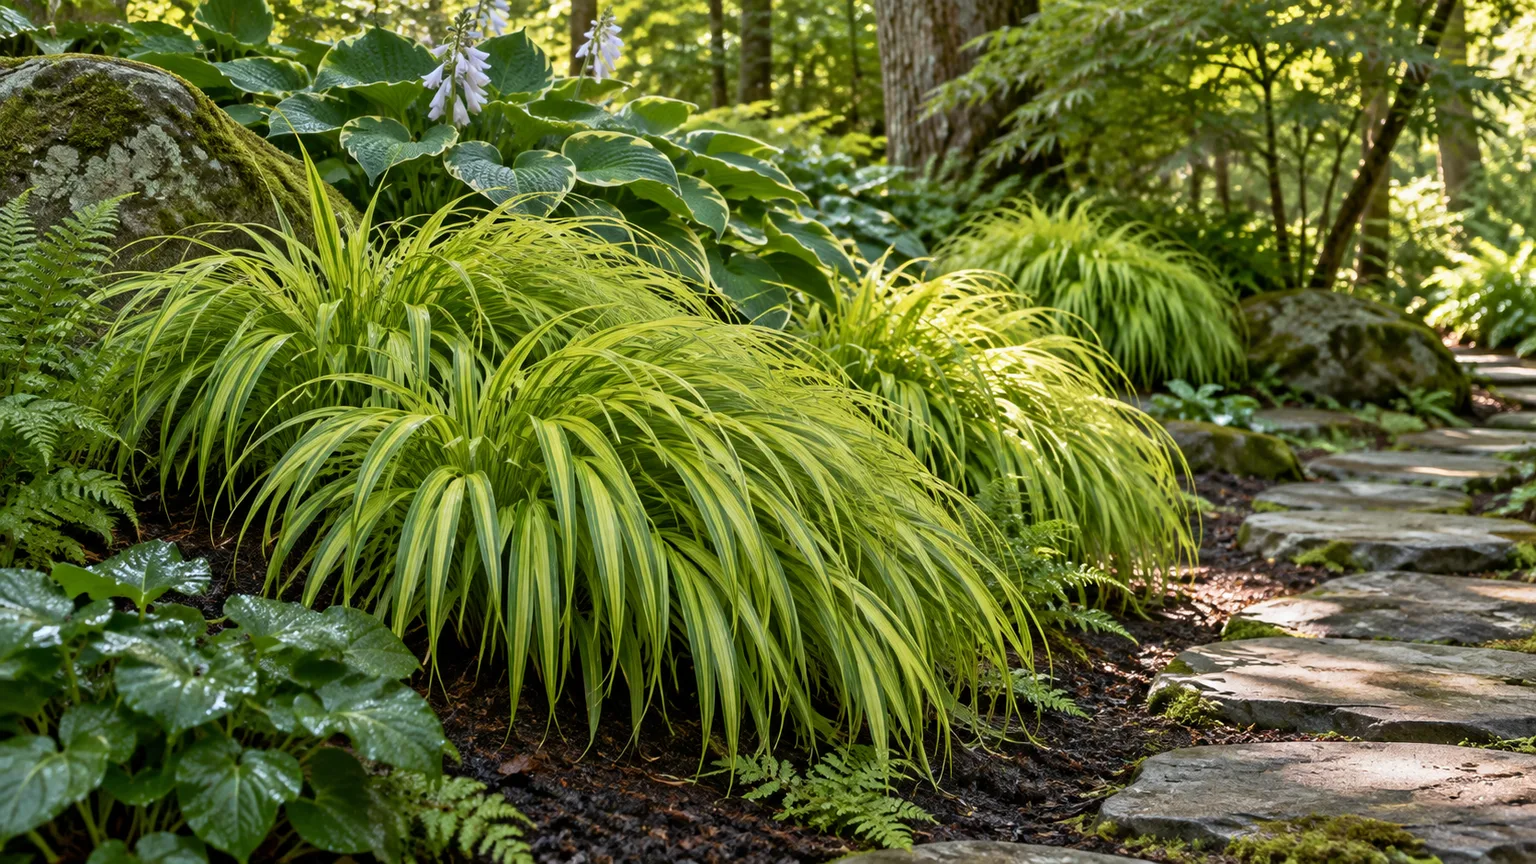
Try a broad-leaved hosta beside the arching stems of Solomon’s seal, or use fern fronds to interrupt a run of rounded leaves. The latter works especially well along a curved path: the hosta leaves establish a broad rhythm while the finer fronds soften the edge. Better Homes & Gardens describes Solomon’s seal as a useful contrast to neighboring large-leaved hostas, and recommends matching companion plants to compatible shade and moisture conditions.Better Homes & Gardens Give each shape enough breathing room; if foliage overlaps completely, the contrast that motivated the pairing disappears.
You can also use repetition in shape to connect separate beds. Place the same narrow-leaved accent near the patio and at the far end of a border, then let the hostas between them vary in size. The repeated shape creates a visual bridge, so the design feels related without requiring every plant to match.
6. Build a texture-first garden
A monochrome shade bed can still feel rich if its leaves differ in surface and structure. Pair a smooth, glossy hosta with a puckered or deeply veined variety, then add a matte fern or a spotted lungwort. The shifting surfaces catch light differently after rain and keep the planting interesting when few flowers are open.
Texture is most effective when you edit the number of elements. Use one bold, corrugated hosta as the tactile centerpiece, repeat smoother foliage around it, and reserve the most delicate leaves for the foreground. Thick-leaved cultivars may be less vulnerable to slug feeding than thinner-leaved ones, but no hosta should be treated as slug-proof; inspect the bed after damp nights and use appropriate control methods if damage appears. Choose leaf texture for visual contrast first, and treat pest resistance as a possible bonus rather than a guarantee.
Try to view the planting in more than one kind of light. A raised vein or rippled margin may disappear under dense midday canopy but stand out when low morning light grazes across it. If the bed is mostly viewed from indoors, place the most distinctive textures in the line of sight from the window rather than hiding them behind a retaining wall or a chair.
7. Arrange hostas in clear height layers
A layered planting can make a small bed feel deeper. Put the tallest hostas toward the back or center of an island bed, medium clumps in the middle, and smaller plants near the front. For an island viewed from all sides, place the highest point near the center and let the planting step down toward the lawn. NC State describes large and giant hostas as background plants, while smaller and medium hostas can serve as groundcover or edging.NC State Extension
Avoid creating a rigid wall of leaves. Offset the clumps so the viewer can see individual forms, and use a lower companion or mulch gap between groups where the bed needs visual rest. If the planting sits against a house, keep foliage from covering vents, windows, or the foundation inspection strip. The back-to-front rule is only a starting point: the best placement depends on the direction people approach and the view you want to preserve.
For a bed viewed from a window, think about leaf height and sight lines from a seated position as well as standing height. A short hosta near the front can frame the view without hiding flowers or a garden ornament behind it. For a slope, stagger groups along the contour rather than making one row straight across; this usually looks less formal and makes the change in elevation part of the composition.
8. Pair hostas with companions that solve a design need
Choose companion plants for a job, not simply because they tolerate shade. Ferns provide a finer texture; astilbe adds upright flower plumes in moist soil; coral bells offer a compact mound and contrasting foliage; and Siberian bugloss can provide spring flowers with heart-shaped leaves. These plants create different heights and seasons while keeping the bed from relying on hosta foliage alone.
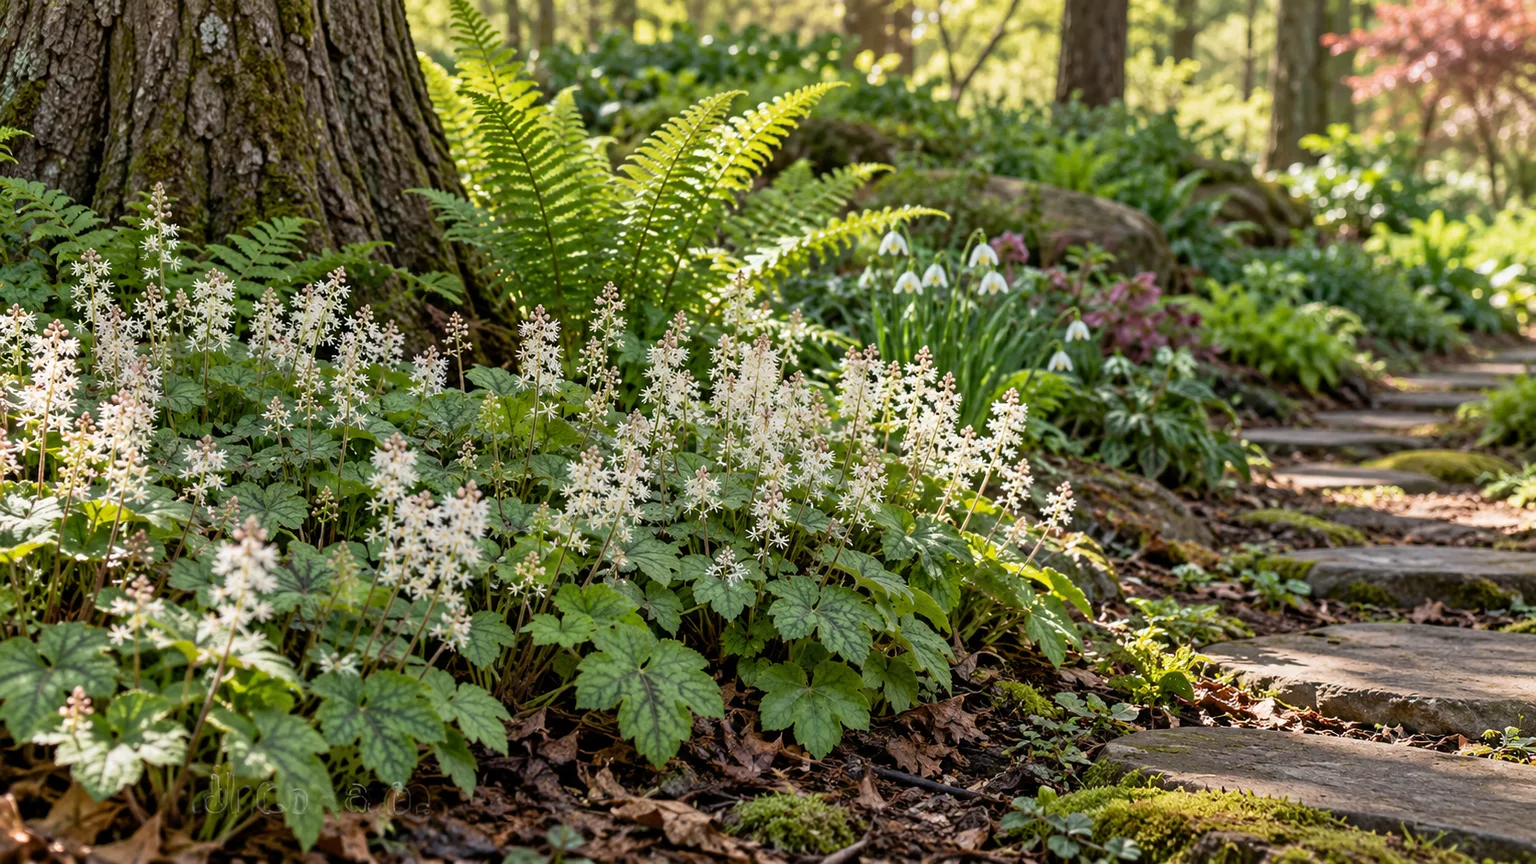
Match the conditions carefully. Better Homes & Gardens lists shade perennials such as foamflower, lungwort, Solomon’s seal, coral bells, and astilbe alongside hostas, but their preferences are not identical: foamflower can be overtopped by larger plants, and some companions need more consistent moisture than a dry tree-root bed provides.Better Homes & Gardens Use a plant label or local extension guidance to confirm hardiness and mature dimensions in your region. If you want a more natural woodland character, favor regionally appropriate native companions and allow their mature spread to shape the spacing, rather than forcing a uniform hosta carpet.
Let bloom time fill a gap rather than compete with the main foliage display. Spring-flowering companions can carry the bed before hostas reach full size, while summer plumes or late-season flowers add height after the foliage has settled. Better Homes & Gardens’ small-space shade plan combines hostas with astilbe and foamflower, showing how a modest bed can use different flowering periods and foliage forms instead of relying on one plant to provide every kind of interest.Better Homes & Gardens In a dry site, choose drought-tolerant shade companions rather than copying a moist-bed combination.
9. Turn a path or border into a green ribbon
A hosta border can guide the eye along a walk, retaining wall, or the edge of a lawn. Repeat a small number of cultivars in loose groups—perhaps a low-growing variety at the front and a medium one farther back—instead of placing a different hosta at every step. The repetition makes the path feel intentional, while occasional companion plants keep the rhythm from becoming monotonous.
Design the edge for the way people use it. Keep mature foliage clear of the walking surface, especially beside a narrow path, and leave a practical strip for mowing or edging if the bed meets lawn. At a gate or bend, use a larger clump as a punctuation point rather than an obstacle. A curved border often looks more natural under trees than a sharp line, but the curve should follow the space and not make routine maintenance awkward.
Where a bed borders a path, repeat the same variety in several short drifts rather than one continuous line. The gaps let the soil show and reduce the impression of a hedge, while a companion fern or flowering perennial can mark a turn. Keep the path edge easy to trim; groundcover that creeps into the route may look soft in a photo but can quickly become a maintenance chore.
10. Group containers as movable shade accents
Containers let you bring hostas to a shaded patio, porch, or balcony without digging into a bed full of tree roots. Group pots in three different heights or widths, repeating one foliage color so the collection reads as a single composition. A miniature hosta can sit near the front, with a larger cultivar behind it and a fern or other shade plant softening the edges.
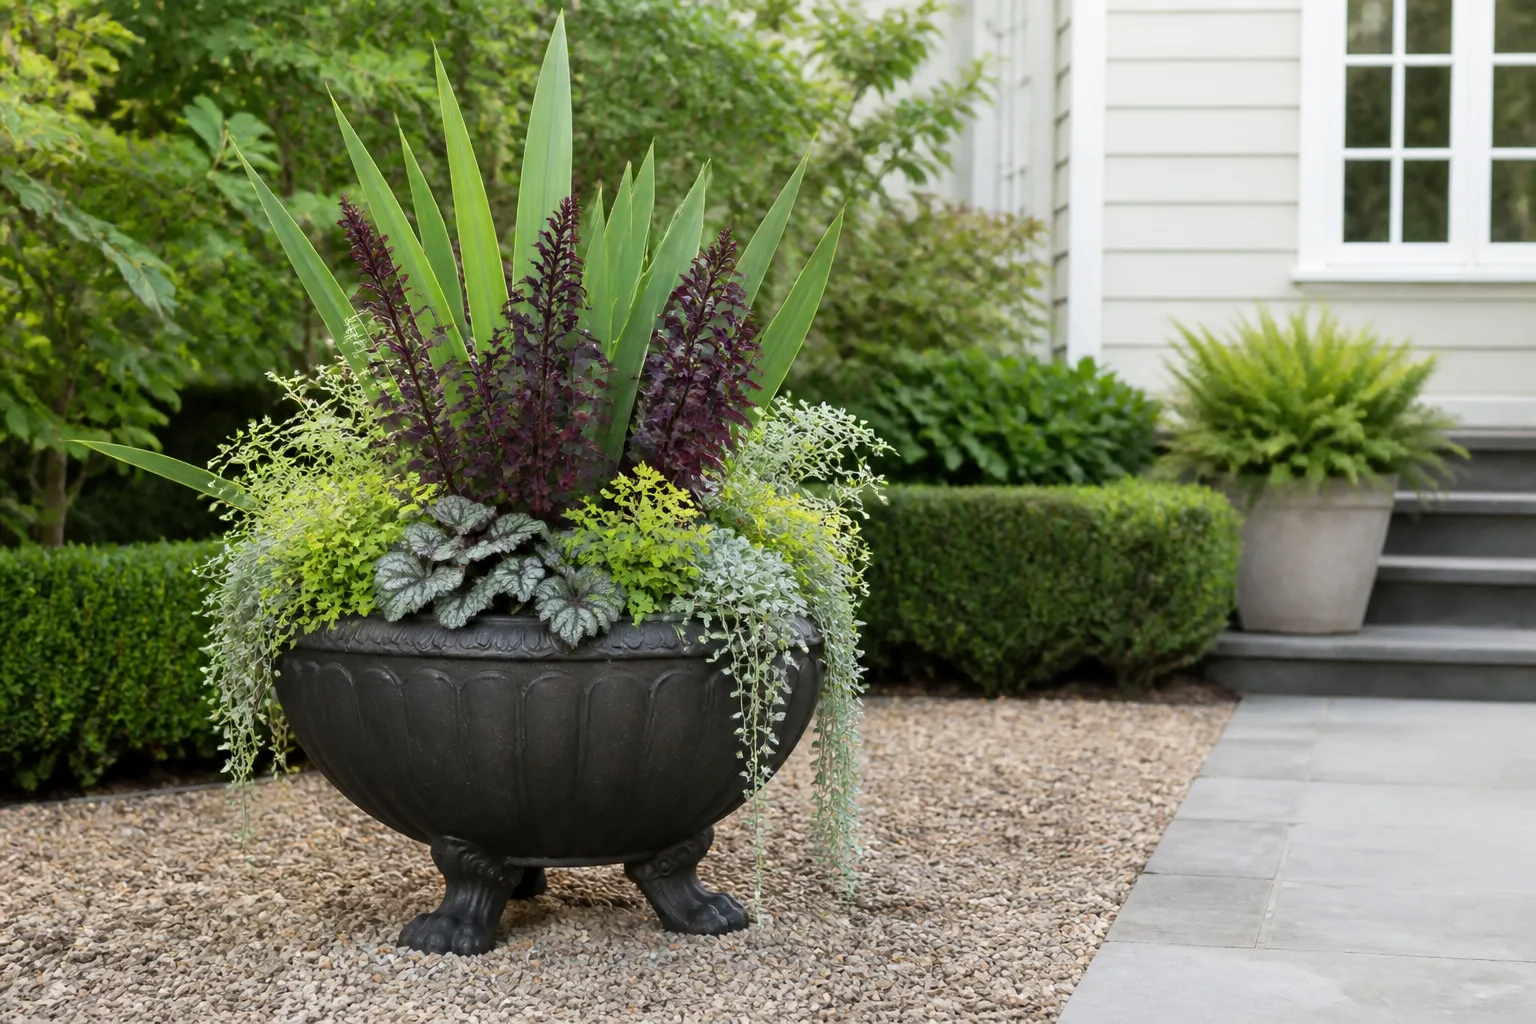
Choose pots with drainage holes and enough room for the roots; standing water can cause problems even though hostas like consistent moisture. Container soil dries faster than garden soil, so check it more often during hot or windy weather. A pot is also a way to test a color or cultivar before committing it to a permanent bed. In climates with hard freezes, consider the container’s winter exposure and protect or move it as appropriate for the plant and pot material; a container’s roots experience colder conditions than roots insulated in the ground.
Make the container grouping look intentional by repeating a material or finish, even if the pots have different shapes. Place the largest pot behind the others where it is visible, not tucked into a corner where its leaves press against a wall. If the grouping sits on a patio, leave a clear route for chairs and foot traffic and set saucers where overflow will not stain or puddle on the paving.
11. Frame an entrance or patio with repeated clumps
Hostas can soften the transition between a house and a shaded yard. Use repeated clumps to frame a front walk, the side of a porch, or a patio edge, keeping the entry itself open and visible. A low, bright-edged variety near the approach can catch the eye, while larger leaves farther back create a fuller green backdrop.
Think in views, not just planting holes. Stand at the door, sidewalk, and seating area before placing plants; a hosta that looks attractive from one angle may block a window or disappear behind a railing from another. For patio beds, avoid crowding the place where chairs move or where people need to step. A few generous drifts with clear gaps usually feel calmer and are easier to maintain than a tight ring of unrelated plants around every hardscape edge.
Use a framing pair only when the entrance has enough width for both clumps at maturity. If the walk is narrow, offset the hostas on one side and balance the other with a lower companion or a simple hardscape detail. This keeps the entry legible and avoids turning the front door into a leafy tunnel.
12. Make a woodland pocket garden under trees
A shady nook beneath deciduous trees can become a small woodland scene with hostas, ferns, spring bulbs, and a few stones or a seat. Let the hostas provide broad foliage after they emerge, while early bulbs carry the display before the canopy closes. Add a flowering perennial for a later season so the garden changes rather than reaching its peak in a single month.
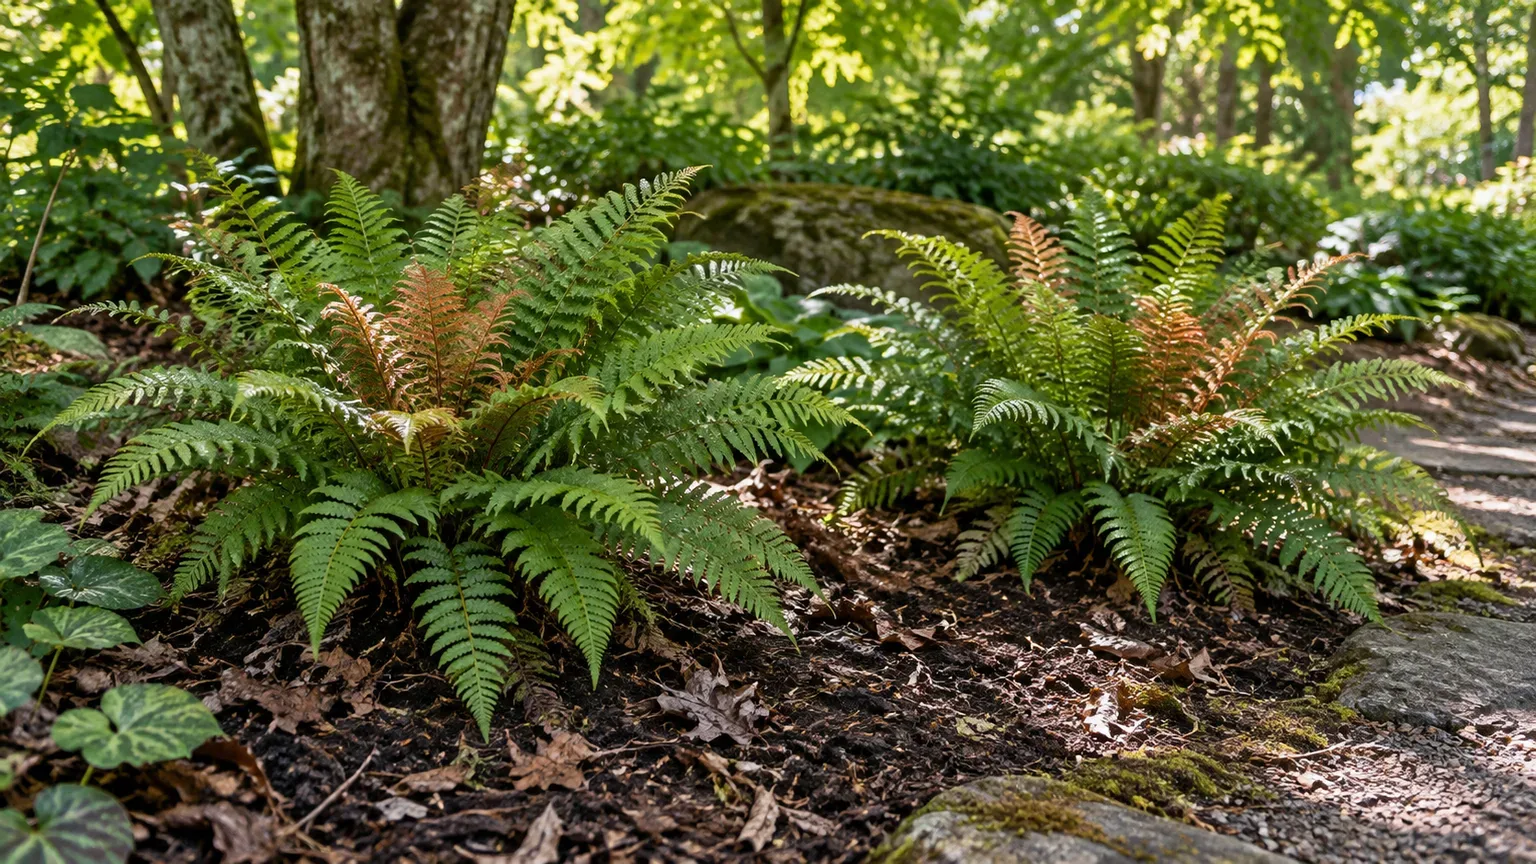
The design only works if the site can support it. Tree roots compete with shallow-rooted perennials for moisture, and digging aggressively can damage roots; begin with small planting pockets between major roots and avoid raising soil over the trunk flare. In dry shade, use plants suited to those conditions or plan measured supplemental watering. King County’s native-plant guidance distinguishes deep shade from dry shade and treats site conditions as a plant-selection decision, a useful principle even when you are building a more ornamental bed.King County Native Plant Guide Keep stones and mulch away from tree trunks, and leave enough access to remove fallen leaves without crushing the clumps.
An easy arrangement is to place a small seat or flat stone where the shade is comfortable, then curve the bed around it with a low foreground and taller hostas at the outer edge. A few spring bulbs or a flowering native perennial can make the pocket feel alive before and after the hosta canopy is at its fullest. Choose those extras for local climate and wildlife value; a woodland look does not require copying a plant list designed for another region.
Measure mature spread before planting
A layout looks different in a nursery pot than it does after several growing seasons. Before digging, find the expected mature width for each cultivar and mark its center on the ground. If two plants have similar mature spreads, begin by placing their centers roughly one mature width apart for a near-touching drift; increase the gap for distinct specimen clumps or reduce it only when you deliberately want foliage to merge. Follow the cultivar label when it gives a more precise recommendation.
This spacing rule is a design starting point, not a universal horticultural number. Hostas vary widely, and shade, moisture, soil, and competition affect how quickly they fill a bed. BHG’s small-space shade plan uses a measured plant list and layout rather than treating the number of plants as arbitrary, a useful model for planning a compact space.Better Homes & Gardens Leave a route to reach the back of the bed, give small plants enough light to remain visible, and resist filling every empty patch in year one. Open soil now can be the room a mature clump needs later.
If you are planting a drift, mark each plant’s approximate mature circle with string, a garden hose, or a temporary pot. Step back from the main viewing points and look for repeated clusters, obvious gaps, and places where one cultivar would hide another. You can adjust the composition before roots go in, when moving a pot takes seconds instead of shifting an established clump.
Keep the design healthy through the season
A beautiful layout depends on steady conditions more than frequent feeding. Water newly planted hostas deeply as they settle in, then adjust established-plant watering to rainfall, soil, and heat; check beneath the leaf canopy because the surface can look damp while the root zone is dry. A light organic mulch helps moderate soil moisture, but keep it off the crown and do not pile it against tree trunks. Hostas prefer moist soil that drains; a low spot that stays waterlogged is a poor place for a large collection.
Plan for the wildlife and pests that actually visit your garden. Deer and rabbits may browse tender leaves, and slugs or snails often feed in cool, damp conditions; NC State lists these and root problems among hosta concerns.NC State Extension Place treasured specimens where you can monitor them and choose local, responsible deterrents if needed. Hostas are toxic to cats, dogs, and horses, according to NC State, so avoid planting them where a pet is likely to chew foliage and contact a veterinarian if an animal eats the plant.NC State Extension The best design is one you can keep healthy without fighting the site every week.
Recheck the planting after heavy rain and during the first hot stretch of summer. Water that pools around crowns, foliage that scorches on one side, or a miniature disappearing under a larger neighbor all point to a layout or site mismatch. Correcting one plant’s position early is easier than redesigning the whole bed after everything has filled in.
Conclusion
Hosta garden design works best when you treat foliage as structure and plan around the plant’s eventual size. Choose one focal point, repeat a limited palette, use contrasts in shape and texture, then add companions that share the site’s actual light and moisture conditions.
Before planting, watch the shade, test the soil, and mark mature spreads on the ground. Those few checks prevent a common disappointment: a garden that looks perfect at planting and crowded, dry, or uneven a few seasons later. Start with one idea that solves a real problem in your yard, then let the garden grow into the rest.