5 Houseplant Humidity Mistakes to Stop Making
Misting, wet leaves, and overfilled pebble trays can backfire. Use this practical guide to match humidity fixes to your plants and room.
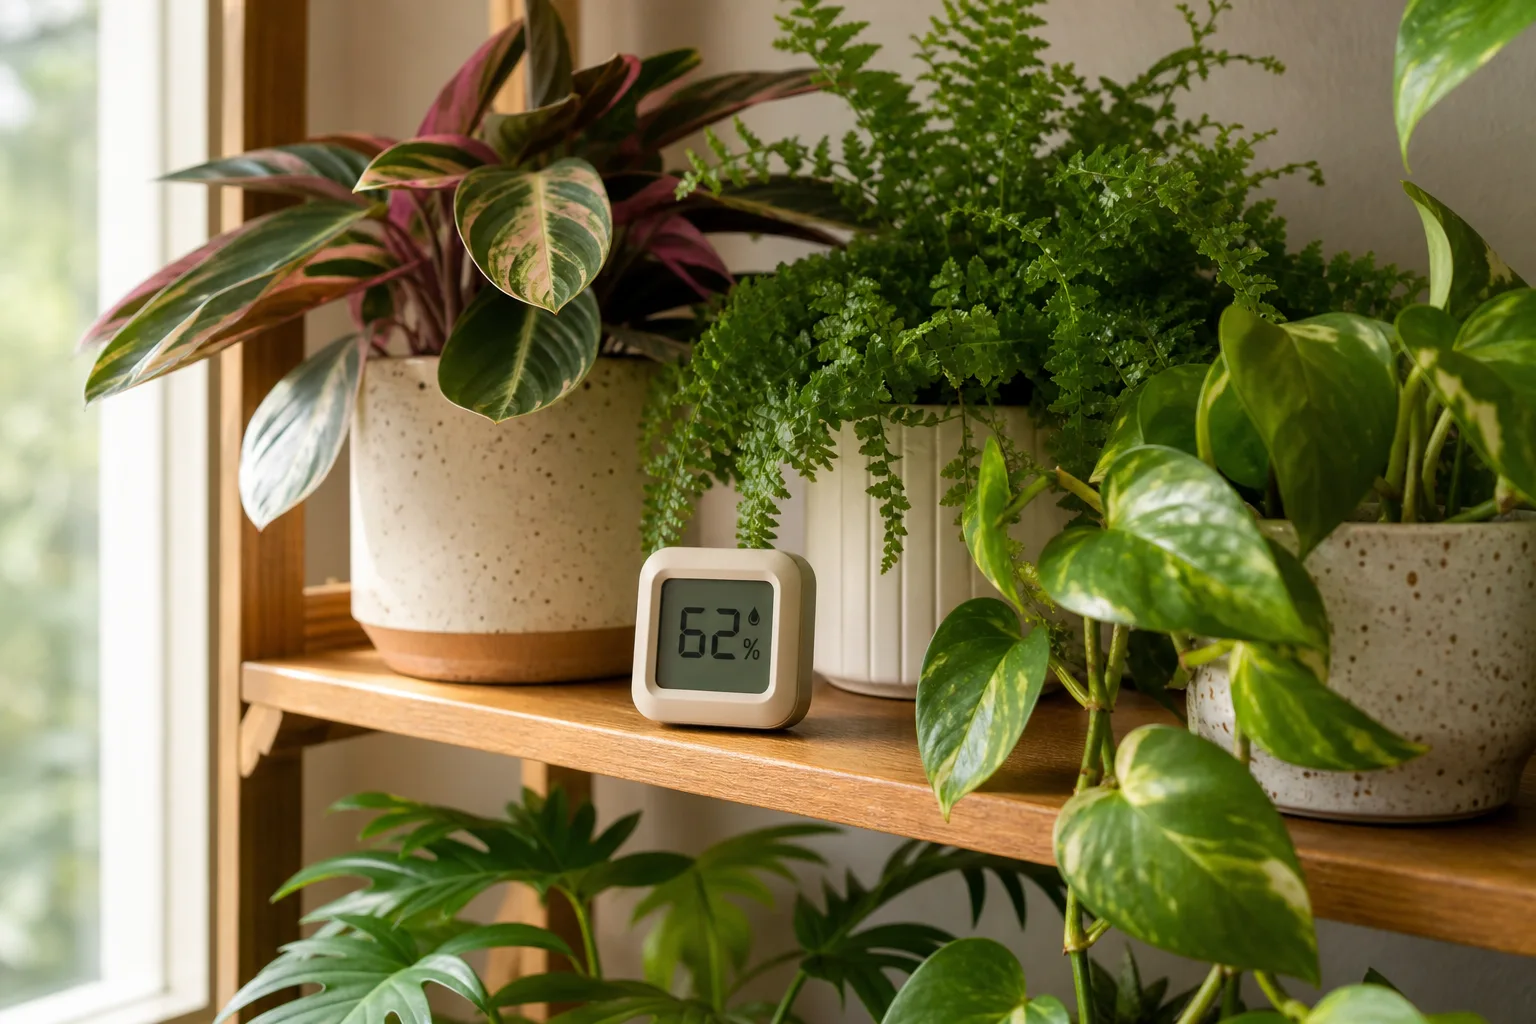
If you are misting every morning, keeping a plant on a water-filled tray, or running a humidifier until the windows fog, you may be working harder than your plants need. Humidity matters, but the helpful goal is not “as much moisture as possible.” It is stable air at the leaf, root, and room scale your particular plant can handle.
The professional-level shift is simple: measure first, change one variable at a time, and treat wet foliage as a separate problem from dry air. The RHS’s plant profiles show why a bird’s nest fern, anthurium, monstera, and adaptable kentia palm should not all be managed by the same number. Meanwhile, MedlinePlus recommends controlling home humidifiers around 40% to 50% and cleaning them daily because excess moisture and stagnant water create health risks.
The quick answer: humidity should be measured, not guessed
The five mistakes are misting for a lasting humidity boost, keeping leaves wet, treating all plants as humidity-loving tropicals, expecting a pebble tray to change a whole room, and using a humidifier or enclosed cabinet without monitoring it. Each mistake confuses a small, temporary moisture event with a stable growing environment.
The practical fixes are equally specific. Put a hygrometer near the plant’s leaves, check the pot before adding water, move plants away from heating and cooling blasts, use a humidifier only when the reading justifies it, and keep air moving whenever humidity rises. If the room is already near 50% and the plant has brown tips, humidity may not be the cause.
Before you change anything, check the air and the plant
Humidity changes how quickly water leaves a leaf through transpiration, but it does not replace light, healthy roots, or correct watering. A plant can have adequately moist soil and still lose water too quickly in a dry, hot draft; it can also sit in a damp room and decline because its roots lack oxygen.
Measure relative humidity where the leaves are
A small digital hygrometer is more useful than a “this room feels dry” judgment. Put it at roughly leaf height, close to the plant but out of a humidifier’s direct plume, and leave it there long enough to see the normal range across a day. A reading on the opposite side of the room can miss the conditions the foliage actually experiences.
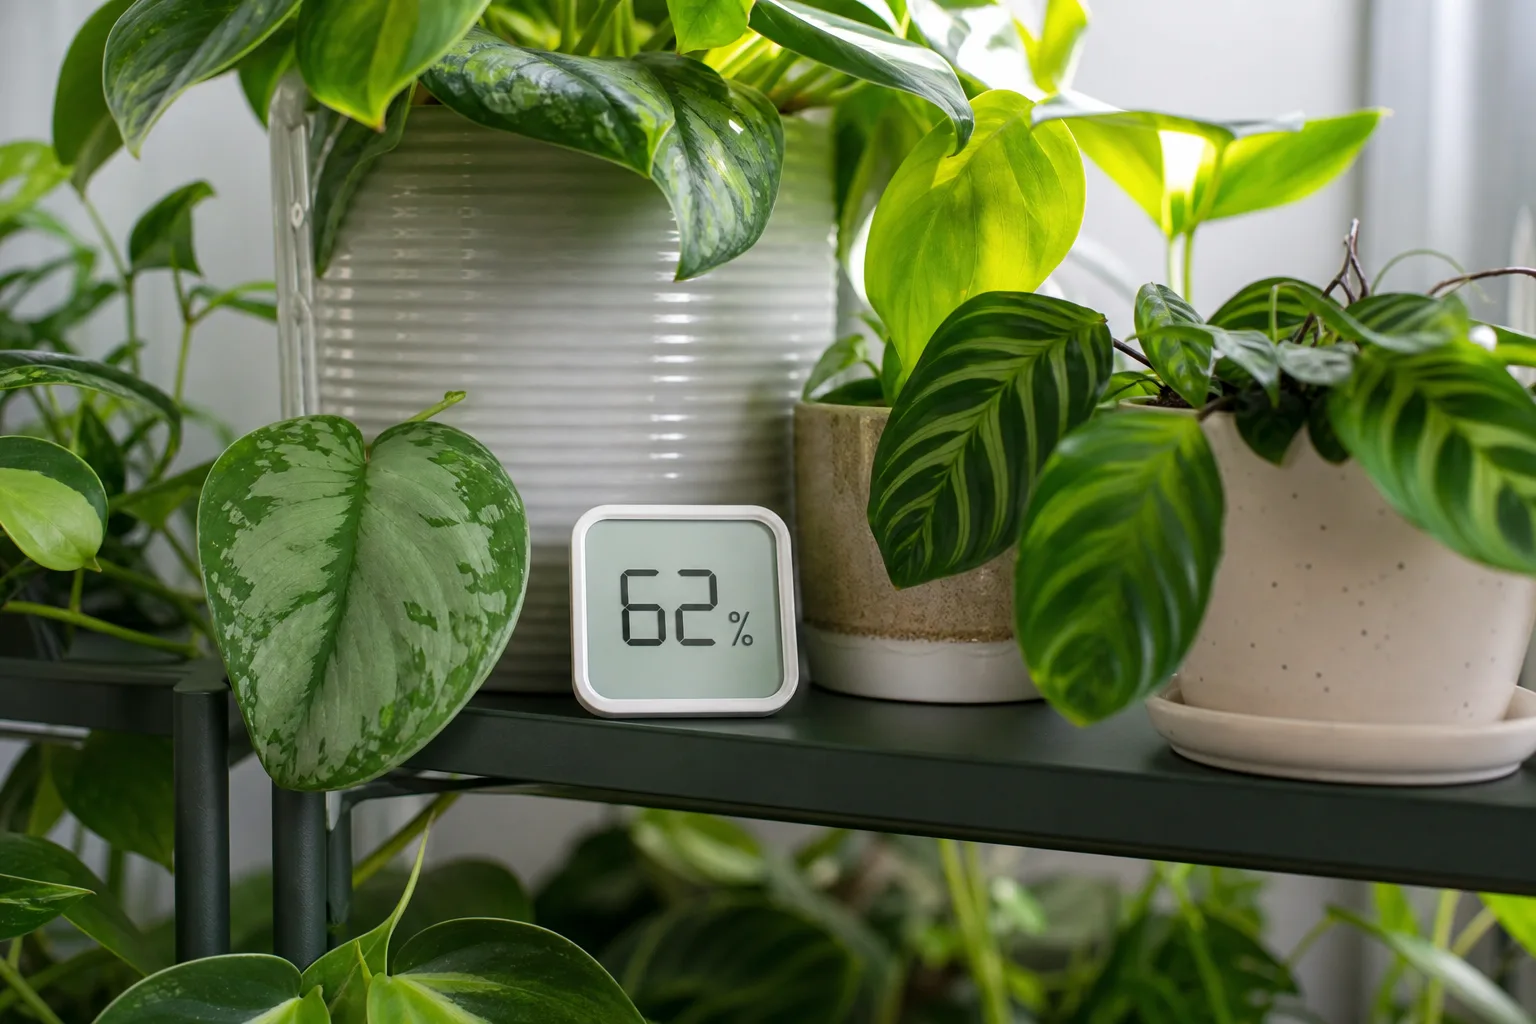
As a starting point, many adaptable foliage plants tolerate roughly 40% to 60% relative humidity. Humidity-loving ferns, calatheas, anthuriums, and some alocasias often grow more comfortably toward 60% or higher, while cacti and many succulents generally do not need a tropical setup. These are working ranges, not universal prescriptions: temperature, light, air movement, acclimation, and the plant’s own care history change how it responds.
Do not chase a single perfect number. Look for a stable range and a plant that is producing healthy new growth. A brief reading of 70% after a shower is not the same as maintaining 70% all day, and a winter night at 35% is a different stress than a continuously dry, hot airflow from a vent.
Separate dry air from dry soil and other stress
Before increasing humidity, check the top layer and the root zone. If the potting mix is bone dry, water the plant according to its species and drainage rather than trying to make up for it with a mister. More water in the air cannot hydrate roots that are sitting in dry mix, and more water in the pot cannot reliably raise room humidity.
Brown tips can also follow fertilizer salt buildup, a hot window, cold glass, a draft, damaged roots, pests, or inconsistent watering. Compare newer and older leaves, inspect the undersides for mites or scale, and look at the soil before you label the symptom “low humidity.” This diagnostic pause is one of the most important habits in plant care because it prevents a humidity fix from masking the actual problem.
Mistake 1: Treating a hand mister as a humidity system
Misting can make a plant look refreshed, but it does not create a lasting humidity zone in an ordinary open room. The droplets evaporate quickly, disperse, and stop changing the air around the plant. Homes & Gardens quotes horticulturist Justin Hancock describing misting as a very short-term increase that disappears once the moisture is dispersed.
That does not make a spray bottle useless. A gentle rinse can remove dust from sturdy foliage, and a targeted spray can be part of a carefully researched pest-treatment label. Neither use should be confused with meeting a plant’s ongoing humidity requirement. If your routine depends on misting several times a day to keep a calathea or fern from crisping, the room needs a more stable solution or the plant may not be the best match for that location.
When misting is useful and when to skip it
Use a mister only when the job is temporary surface cleaning, a species-specific propagation routine, or a treatment that explicitly calls for it. Use room-level humidity control when the hygrometer stays below the plant’s workable range for hours at a time.
Skip leaf misting on fuzzy or easily spotted foliage, tightly packed crowns, and plants that remain wet in a dim room. Gardening Know How notes that hairy leaves can hold water and encourage disease or spotting. If you do rinse leaves, do it early enough for them to dry, provide gentle circulation, and never leave water pooled in a crown or leaf joint.
The better replacement is usually a small hygrometer and a placement change. Move the plant away from a heat register or air-conditioner, group compatible plants, or use a controlled humidifier if the measured gap is large and persistent.
Mistake 2: Making the leaves wet instead of making the air humid
Humidity is water vapor in the air. Wet leaves are liquid water on a surface. Those conditions can overlap, but they are not interchangeable. A leaf that stays damp for hours in low light may be more vulnerable to spotting or fungal problems even though the room’s average humidity is still too low.
This is why “more spray” can produce the frustrating combination of crispy edges and black or yellow spots. The leaf surface is getting wet, while the plant is still losing water rapidly through a draft, a heater, or dry room air. The treatment is not reaching the cause.
Pair higher humidity with airflow and dry foliage
When you raise humidity, also improve the path for air to move gently around the leaves. Do not point a fan directly at the plant, but avoid packing foliage against a wall or crowding pots so tightly that the center stays stagnant. Wipe up condensation and keep leaves from touching a cold window.
Airflow matters even more above 60% relative humidity. Watch for persistent droplets, a musty smell, fuzzy soil mold, or new spotting after a humidity change. Those signs mean the setup is too wet, too still, too dim, or some combination of the three. Lower the output, increase spacing, improve light, or move the plant before you start treating a disease you created with the humidity routine.
If a plant needs high humidity to grow well but your room cannot provide it without wet surfaces, choose a smaller managed enclosure for that plant rather than turning the whole room into a greenhouse. The goal is a healthy leaf-drying cycle, not a permanently glossy leaf.
Mistake 3: Assuming every tropical plant needs the same humidity
“Tropical” describes a broad origin, not a single care setting. A rainforest-floor fern, an epiphytic anthurium, a tough pothos, and a drought-adapted succulent experience different air movement, light, root conditions, and seasonal patterns. Even two plants of the same genus can arrive acclimated to different nursery conditions.
The RHS profile for humidity-loving houseplants gives examples rather than one blanket rule: bird’s nest fern is listed at 60% or higher, anthurium around 70% or higher, while kentia palm can adapt to average household humidity and benefits from extra moisture when air is dry. That range of advice is more useful than treating every brown tip as proof that you need an 80% room.
Match the target to the plant, season, and room
Start with three buckets:
- Adaptable foliage: Pothos, many philodendrons, dracaenas, and similar plants often manage average indoor humidity if watering, light, and temperature are consistent.
- Humidity-sensitive foliage: Ferns, calatheas, stromanthe, anthuriums, and some alocasias usually benefit from a steadier, higher range and protection from drafts.
- Dry-climate plants: Cacti, many succulents, and caudex plants need excellent drainage and should not be placed in a permanently wet, poorly ventilated corner just because another plant likes it.
Group plants with similar needs rather than forcing the whole collection into one climate. A fern and calathea may share a humid shelf, while a snake plant or cactus belongs where the air is drier and the pot can dry more completely. Grouping is useful because foliage can create a modest local microclimate, but Salisbury Greenhouse also cautions that groups are less effective with only one or two plants and should contain plants with similar light and temperature needs.
Recheck the range when seasons change. Heating can reduce indoor humidity in winter; air-conditioning and a sunny window can dry the leaf boundary layer in summer. If the same plant succeeds at 45% in a warm, bright room but struggles at 45% beside a heater, the reading is not the only variable to fix.
Mistake 4: Expecting a pebble tray to humidify an entire room
A pebble tray can be a tidy way to catch drainage and may create a small, local moisture effect. It is not a room humidifier, and it is not a guarantee against brown tips. Empress of Dirt explains why: evaporation from a small reservoir disperses through the room rather than staying concentrated around the leaves. Homes & Gardens makes the same practical distinction, noting that trays are more useful in an enclosed cabinet or terrarium than in a large open room.
Build a safe tray and know what it can realistically do
If you use one, treat it as a local experiment and a drainage safeguard:
- Choose a watertight tray wider than the pot, with enough depth to hold pebbles securely.
- Fill it with stable pebbles or gravel and add water below the top of the stones.
- Set the pot on the stones so its drainage holes and base stay above the waterline.
- Check the tray every few days, empty stagnant water when it becomes cloudy, and clean it before algae or odor develops.
- Keep the plant in suitable light with enough airflow for leaves to dry normally.
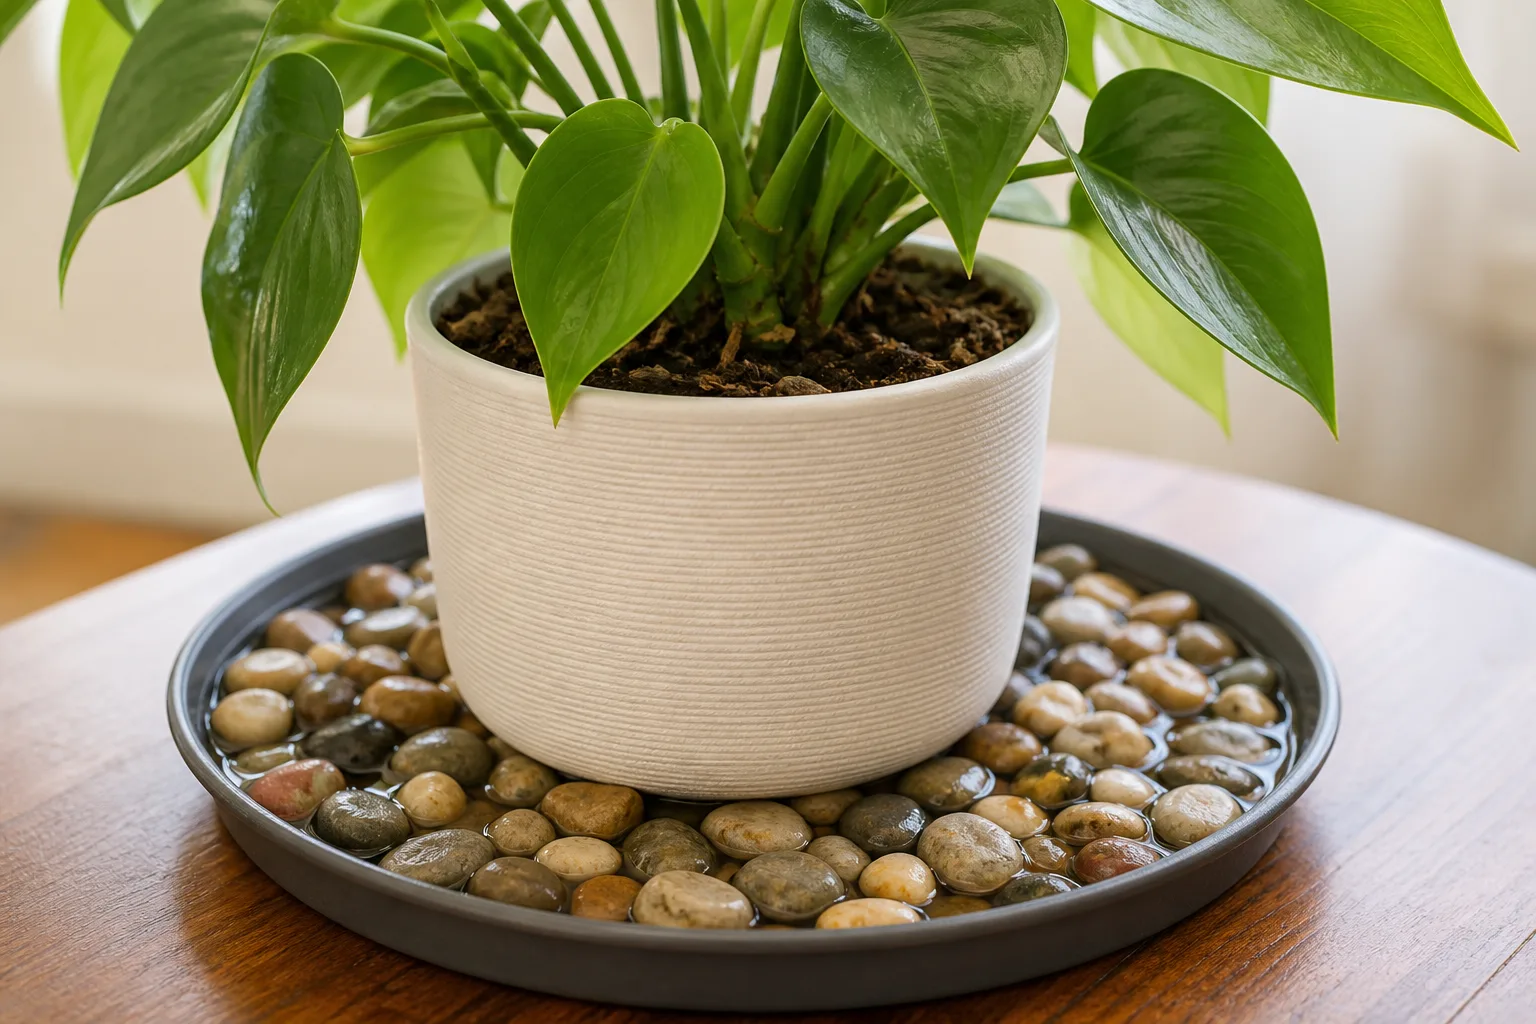
The waterline is the safety boundary. If the pot sits in water, you have created a root-wetting system, not a humidity tray. That can keep the potting mix saturated, reduce air around the roots, and invite root problems. Large stones that keep the pot high are safer than tiny stones that shift or allow the base to settle into the reservoir.
Use the tray when you like the setup, need a stable place for a pot after watering, or are working inside a small cabinet where evaporation is retained. Do not keep adding trays around a large room instead of addressing the actual reading. If the hygrometer still shows dry air at leaf height, the tray has told you its limit; it has not failed as a decoration or drain catcher.
Mistake 5: Running a humidifier or greenhouse setup without control
A humidifier is the most controllable way to raise room humidity, but “controllable” does not mean “run it constantly.” A strong unit pointed at foliage can leave leaves and furniture wet. An ultrasonic unit using mineral-rich tap water can create white dust, and a dirty tank can circulate microorganisms. MedlinePlus advises following the manufacturer’s instructions, draining and cleaning humidifiers daily, using distilled water to limit mineral buildup, and keeping the setting around 40% to 50% so surfaces do not stay damp.
Run a humidifier by readings, distance, and cleaning
Use this routine:
- Put a hygrometer near the plants but not in the mist plume.
- Set a reasonable target for the plants and room, then let the unit cycle rather than running at full power.
- Keep the outlet several feet away from leaves, walls, electronics, and anything that shows condensation.
- Aim the mist into open room air, not at a crown or a single leaf.
- Empty standing water when the unit is not in use and clean it on the schedule in its instructions; daily draining is a sensible baseline for many small units.
- Check windowsills, nearby walls, and the underside of leaves. Any damp surface is a signal to reduce output or improve ventilation.
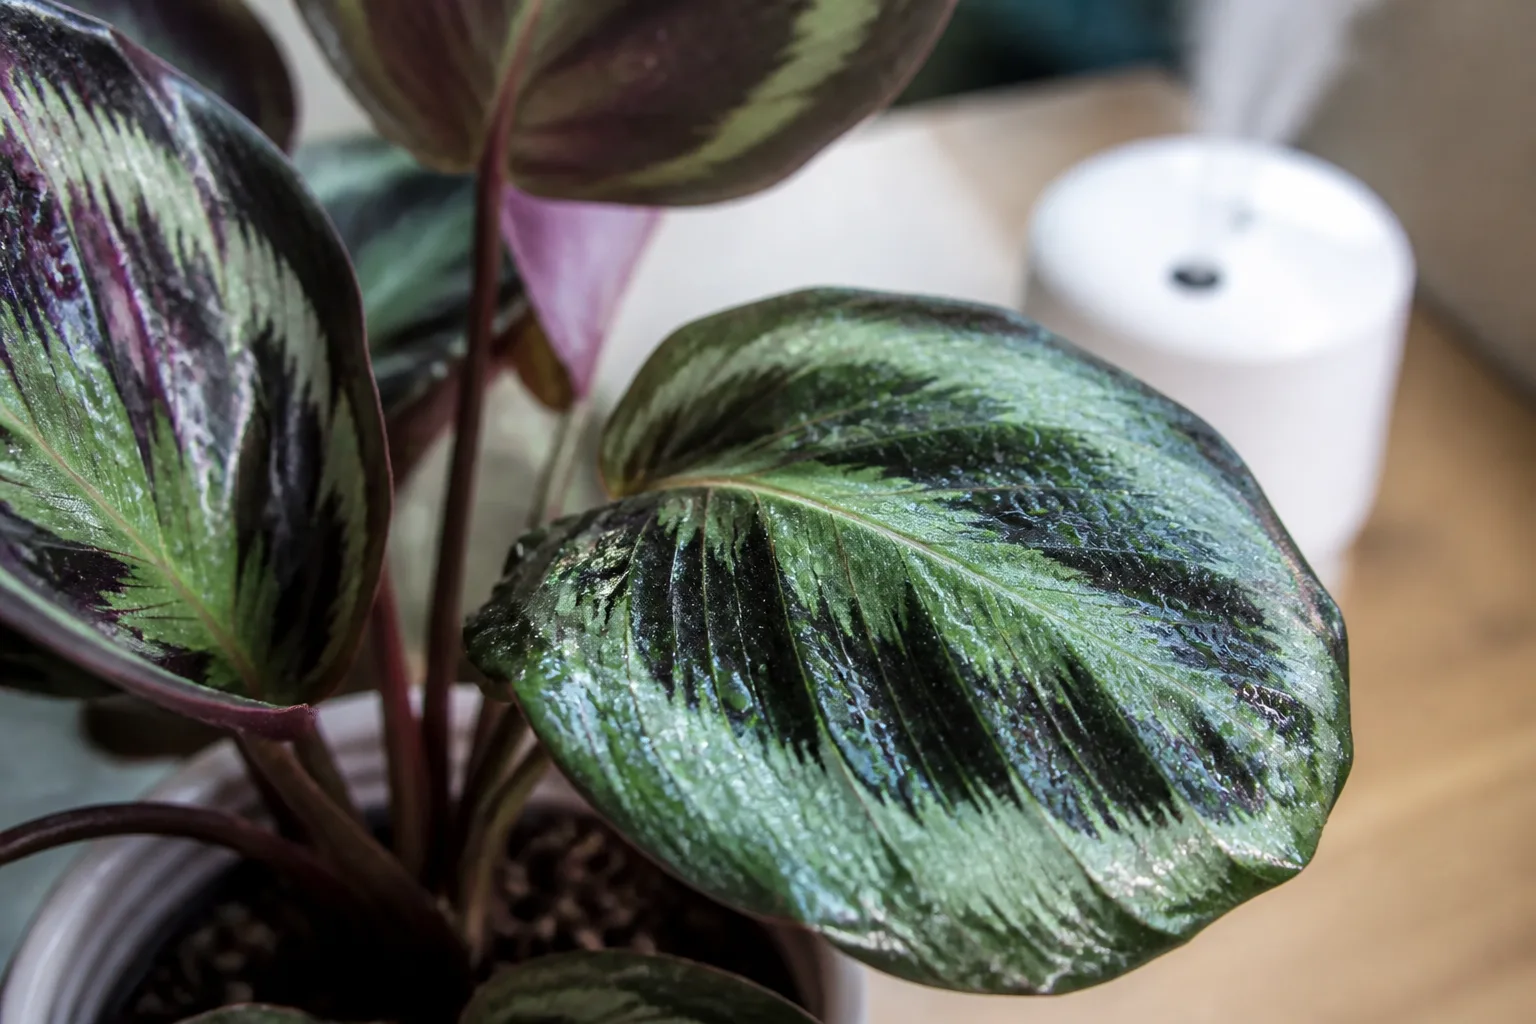
Do not add fragrance oils, fertilizer, or homemade additives unless the device’s manufacturer explicitly allows them. Plant-friendly sound is not the same as safe indoor air. A cool-mist unit also needs child and pet awareness; warm-mist models can burn someone who gets too close.
Treat cabinets and terrariums as managed microclimates
An IKEA-style cabinet, clear bin, or terrarium can help a high-need plant because a small volume of air retains moisture more efficiently than an open room. It also concentrates every mistake. A closed enclosure with wet leaves, dim light, and no ventilation can become a disease incubator; a bright enclosure can overheat quickly.
Use a cabinet only when you can monitor temperature and humidity, provide a way for excess moisture to escape, and keep foliage from staying wet. Open or vent the enclosure when condensation coats the walls, use a small fan for gentle circulation if appropriate, and check the potting mix separately. A high reading in the cabinet is not a substitute for healthy roots.
The same rule applies to a bathroom. Steam from a shower is a short-lived spike, not a stable growing plan. Keep a plant there only if the light, temperature, and ventilation suit it, then measure the actual conditions at the plant rather than assuming the room is humid enough.
A seven-day reset for a stressed houseplant
When humidity advice has become a cycle of spraying, watering, and moving the pot, stop changing everything at once. This seven-day reset gives you evidence:
- Day 1: Photograph the plant, record the room temperature and relative humidity at leaf height, and inspect the soil, pot, roots if accessible, leaf undersides, and nearby vents.
- Day 2: Move the plant out of direct heater or air-conditioner flow. Do not repot or fertilize unless the inspection found an urgent problem.
- Day 3: Water only if the plant’s normal moisture check says it needs water. Empty the saucer after drainage; do not use watering as a humidity substitute.
- Day 4: Group it with compatible plants or place it in a better-lit bathroom or kitchen only if the light and temperature are appropriate. Record the new humidity reading.
- Day 5: If the room remains below the plant’s workable range, set up a humidifier away from foliage or use a correctly elevated pebble tray as a small local aid. Change one method, not three.
- Day 6: Look for condensation, wet crowns, musty soil, pests, or new spots. Reduce humidity or increase airflow if any appear.
- Day 7: Compare the new growth point, leaf texture, and readings with Day 1. Keep the least complicated change that improved the environment without creating a new wetness problem.
This reset will not reverse dead tissue. It can stop the stress from spreading and reveal whether the issue tracks with humidity, watering, airflow, light, or pests. If the plant keeps declining despite stable readings and sound roots, stop adding humidity and reassess the species’ full care requirements.
When brown tips are not a humidity problem
Humidity is a common suspect because dry edges are visible, but it is rarely a complete diagnosis. Brown tips can follow a dry root ball, fertilizer salts, inconsistent watering, cold or hot drafts, direct sun, root damage, or spider mites. A plant may also keep old brown tips after the room is corrected; judge the next leaves, not the damaged tissue.
Use a simple order of operations. First inspect for pests and check soil moisture. Next check light, temperature, and drafts. Then review fertilizer and water quality, especially if pale crusts have formed on the soil or pot rim. Only after those checks should you increase humidity, and even then use the hygrometer to decide how far to go.
Livingetc makes the same important caution: raising humidity is not a cure for every dying leaf. A stable 45% room with good watering and no pests can be healthier for an adaptable plant than an 80% room with wet leaves, low light, and stagnant air.
Conclusion: fix the measurement before buying another gadget
The best humidity routine is usually quieter than the internet makes it seem. Measure at leaf height, match the target to the species, keep potting mix and air moisture in their proper lanes, and prefer stable control over repeated sprays. Misting, grouping, and pebble trays can have limited uses, but none excuses wet foliage, standing water, poor airflow, or a dirty humidifier.
If a plant is struggling, make the smallest change that answers the evidence in front of you. A hygrometer may tell you to move a plant away from a vent, to stop running the humidifier, or to accept that average room humidity is already adequate. That is a more useful result than chasing a tropical number your room cannot safely maintain.



