7 Household Items You Didn't Know You Could Use for Seed Starting
Household items for seed starting can work when you add drainage and match each pot to the crop. Compare seven options and learn when to transplant.
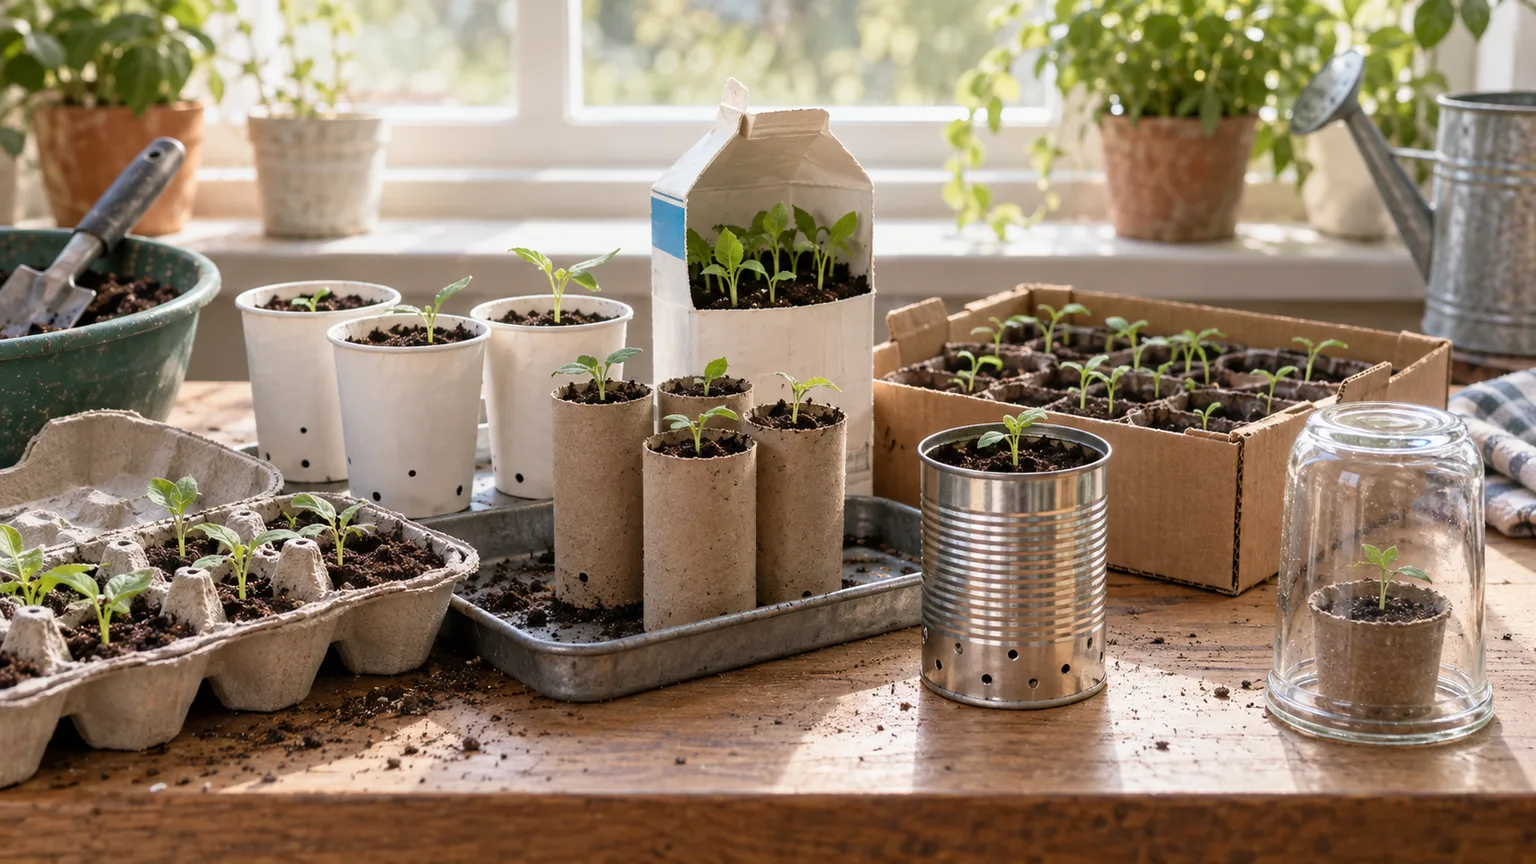
You can start seeds in several things already sitting in a recycling bin, but a container is useful only if it suits the seedling’s next few weeks. A cardboard egg carton is a quick option for tiny seeds; a deep paperboard tube gives peas or beans more root room; a washed milk carton can hold a larger seedling longer. A glass jar, despite looking like a miniature greenhouse, is not a good sealed pot.
The deciding factors are simpler than the container list: give excess water somewhere to go, use a clean container and suitable seed-starting mix, and move seedlings before roots run out of space. Here’s how each household item works, what it is best at, and where it becomes more trouble than it saves.
Start With Container Requirements
For a vessel that holds growing mix, look for a clean, sturdy base with drainage holes. Colorado State University Extension lists containers with bottom drainage—including paper milk cartons and tin cans—as common seed-starting options, but the holes are the important part. A beautiful jar with no drainage is still a poor seed pot; a plain food container can work well once it is clean, deep enough for the crop, and able to drain. (Colorado State University Extension)
The second question is how long the seedling will stay there. Small cells are fine for germination and a short first stage, but tiny compartments dry faster and give roots less room. Penn State Extension notes that smaller cells need to be transplanted sooner than larger ones, and that paper pots dry readily. That makes timing and daily checks part of the container choice, not an afterthought. (Penn State Extension)
Quick Comparison: Pick a Container by Job
| Household item | Best use | Main drawback | Plan for transplanting |
|---|---|---|---|
| Cardboard egg carton | A brief start for small seeds | Very shallow; dries quickly | Tear each cell open or pot up early |
| Paper cup | One seedling with more room | Some cups are coated; needs holes | Remove the cup if it stays firm or coated |
| Toilet paper roll | A deep, narrow cell for a young seedling | Paper can dry or wick moisture | Split the roll and loosen the base before planting |
| Milk or juice carton | A sturdier, larger pot | Lining may not break down; large volume can stay wet | Remove the seedling from lined cartons |
| Shallow cardboard box | Holding individual pots or short-term group sowing | Softens, leaks, and is hard to transplant from | Use as a carrier, or move seedlings individually |
| Aluminum can | A reusable pot if safely prepared | Sharp rim and difficult drainage holes | Reuse only with a safe rim and clear drainage |
| Glass jar | A temporary humidity cover over a draining pot | No drainage as a pot; can trap heat and moisture | Lift for airflow and remove when sprouts emerge |
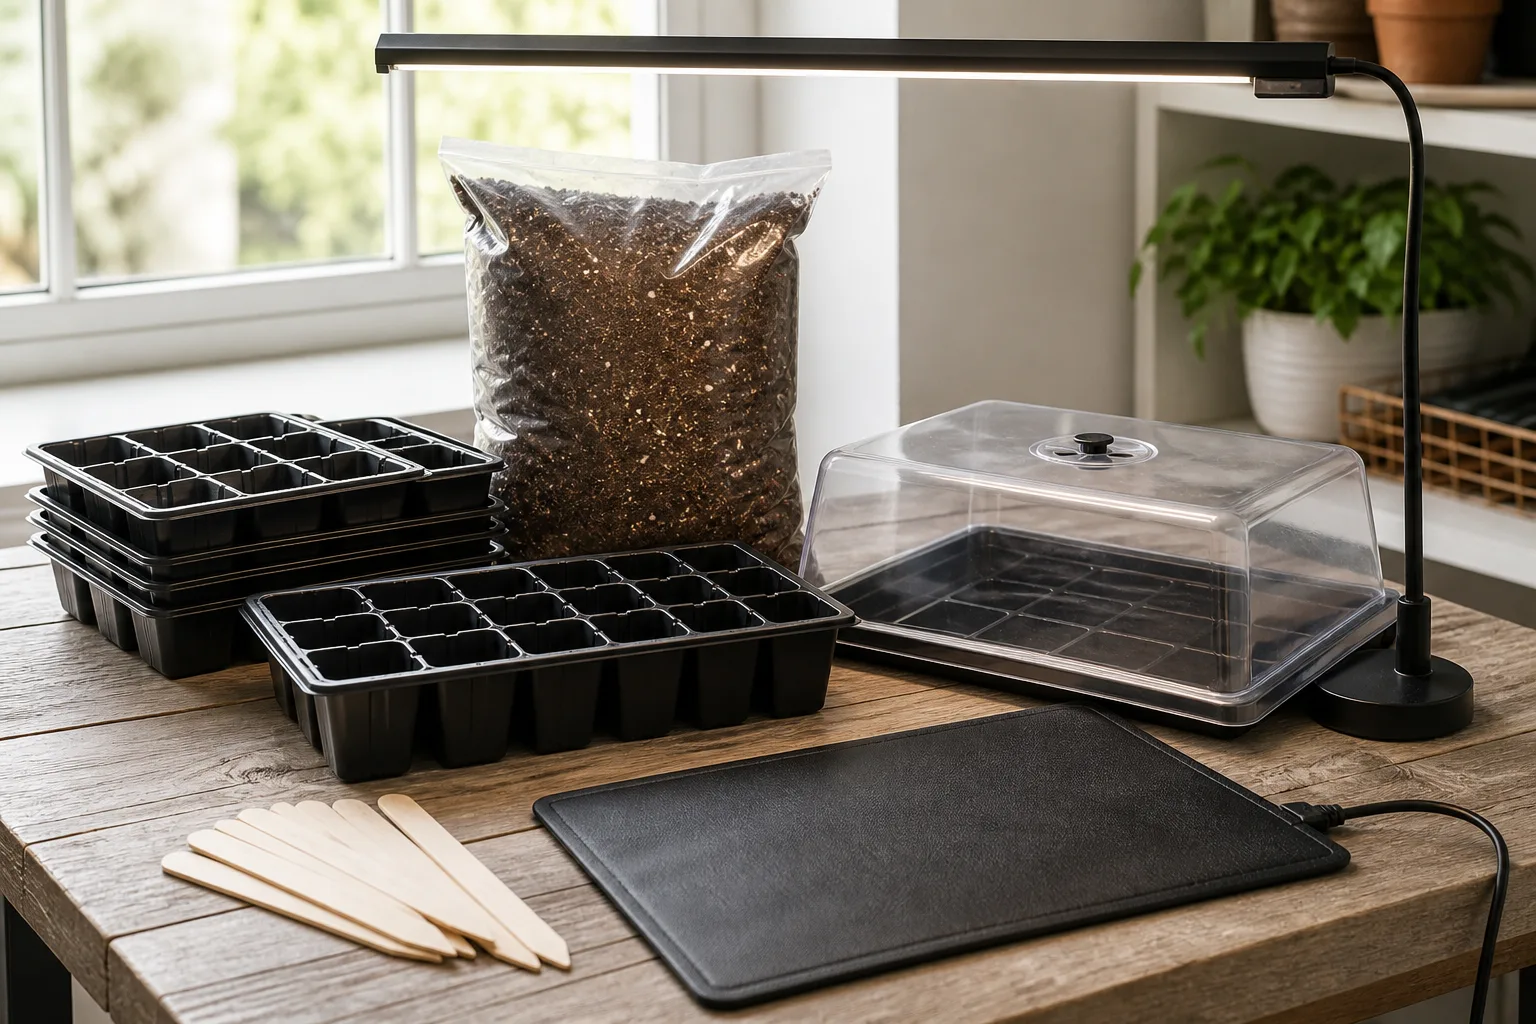
Treat the table as a quick filter, not a promise that every container suits every crop. Small seeds such as lettuce or many flowers tolerate a short stay in a shallow cell; large seeds and seedlings that will remain indoors longer need more depth and a plan for potting-on. A waterproof tray underneath also protects the shelf and lets you water without soaking a cardboard carrier.
1. Cardboard Egg Cartons: A Short-Term Start for Small Seeds
Cardboard egg cartons give you separate little cells, so it is easy to label a variety and keep small seeds from scattering. They work best for a small batch of quick-starting lettuce, herbs, or flowers that you can check every day and move on before the seedlings become crowded. They are a convenient germination container, not a season-long pot.
Cut or tear off the lid and set the bottom half in a shallow waterproof tray. Add moistened seed-starting mix, sow at the depth on the packet, and label the row before you forget what went where. If a cell has no open bottom, make a small drainage opening before filling it; otherwise, the lowest layer of mix can stay saturated even when the surface looks fine.
The small volume is the carton’s main limitation. It can dry in a sunny or warm room, while watering from above can wash tiny seeds into a corner. Check moisture daily, water gently, and pot the seedlings up once they have their first true leaves or roots begin to fill the cell. Horticulture recommends moving seedlings from cardboard egg cartons into larger containers before they are ready for the garden, which is a better expectation than assuming the carton will simply disappear in the soil. (Horticulture)
At transplant time, do not bury a stiff, intact cardboard cup and assume roots will pass through it immediately. Tear away the cell’s bottom and split the sides so roots can reach surrounding soil; set any remaining rim below the soil surface so it does not wick moisture away from the seedling. If the carton is already soft, moldy, or breaking apart, remove the plant and the paper rather than forcing the whole cell into the bed.
2. Paper Cups: A Roomier Single-Seedling Pot
A clean paper cup gives one seedling more depth than an egg-carton cell and is easy to move without disturbing its neighbors. Use a small cup for a single tomato, flower, or herb seedling that needs a little extra time before potting-on. Larger cups also use more mix and shelf space, so they are most helpful when you actually need the added root room.
Check the inside before planting. Many hot-drink cups have a water-resistant lining; that is useful for holding a drink but means the cup may not soften or break down readily in garden soil. Horticulturist Noelle Johnson describes cutting a wax-coated coffee cup open at planting time and removing it rather than leaving the coating around the roots. (Birds & Blooms)
Make one or more drainage holes in the base, fill with damp mix, and put the cup in a leakproof tray. If you want to plant the paper pot with the seedling, choose an uncoated cup and tear the bottom and sides at transplanting; if the cup is lined, still stiff, or merely convenient to remove, peel it away instead. Don’t let the cup sit in runoff—the paper can soften, and the mix can stay wetter than the top suggests.
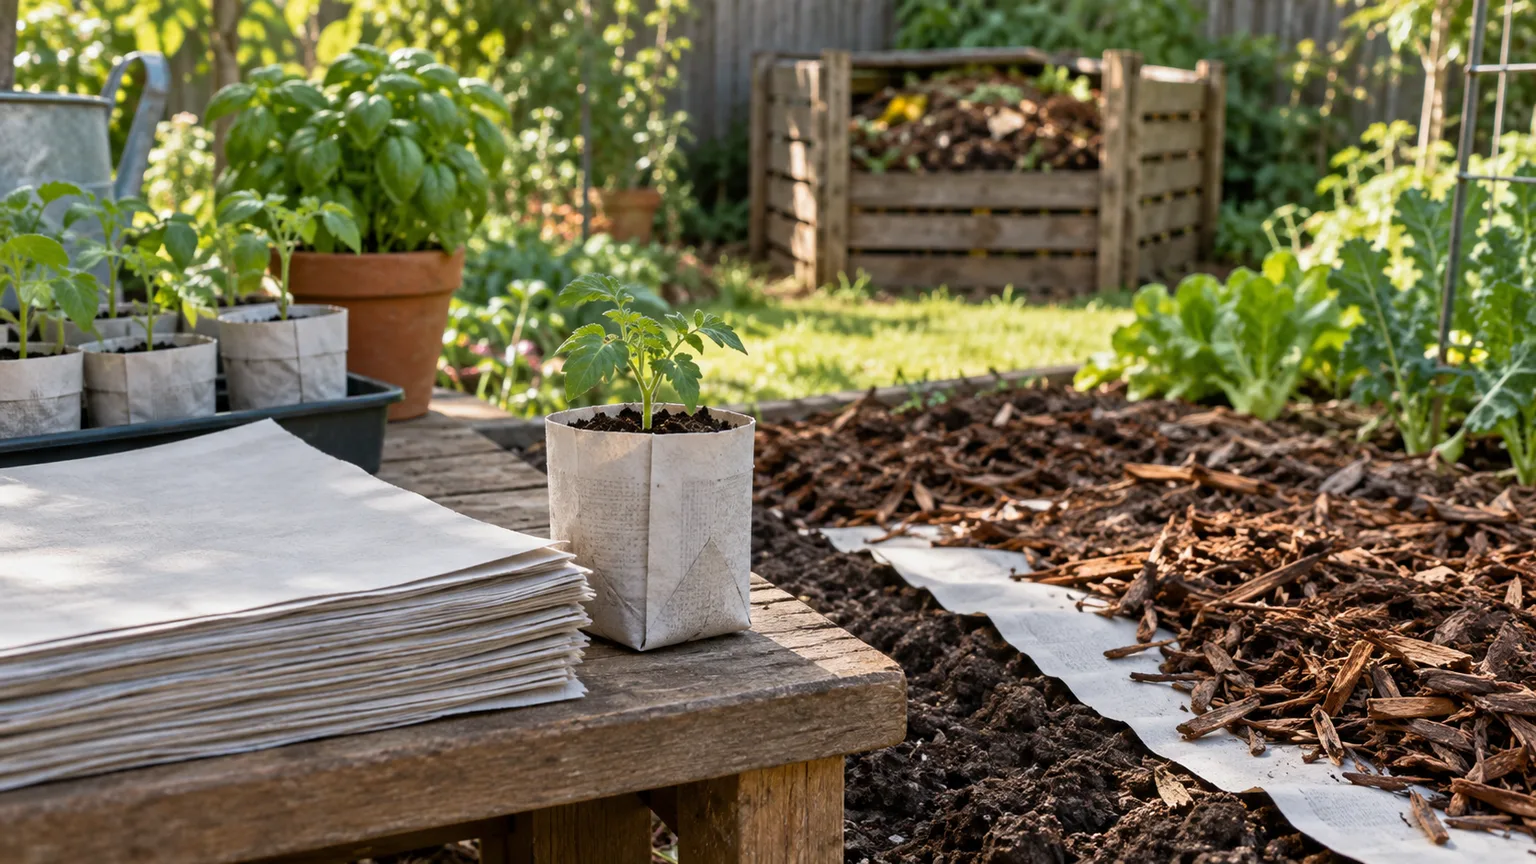
Folded newspaper pots work on the same basic principle as paper cups: a fiber wall holds mix temporarily, then needs to be opened or removed when the plant moves. The paper should not become an impermeable collar around the stem or a dry wick above the soil line. Choose the container based on whether you want a temporary pot you will remove or a thin paper wall you will tear open at planting.
3. Toilet Paper Rolls: Deep, Biodegradable Cells
Paperboard tubes are narrow but deeper than egg-carton cells, making them useful when a seedling needs a longer root channel than a shallow tray offers. They can be a practical choice for a small number of peas, beans, or other seedlings you plan to move while young. They are not a reason to start every crop indoors: peas and beans are often simplest to sow directly where they will grow, because that avoids disturbing their roots at all.
Stand each tube upright in a snug, waterproof tray so it cannot tip. Either leave the bottom open and pack the tubes close together, or make short slits at the bottom and fold the flaps inward to hold the mix. Moisten the mix before filling, sow to the packet’s depth, and water gently so the mix settles without washing through the bottom. The tube should stay upright and damp, not stand in a pool of water.
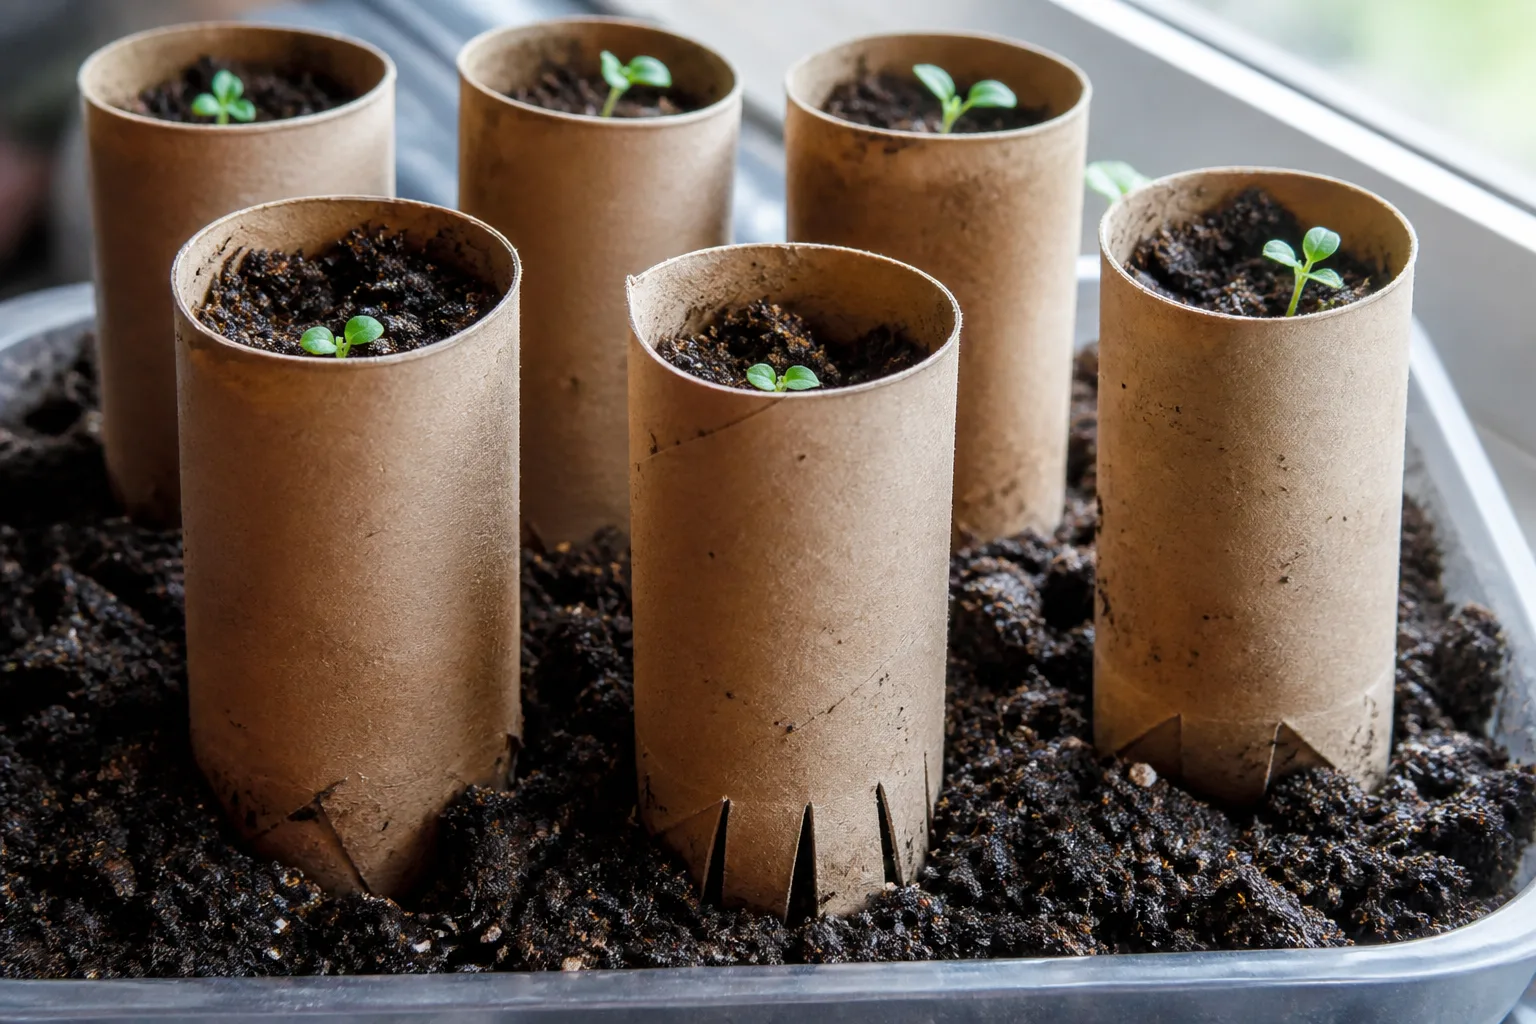
Paperboard absorbs water from the mix and can soften, so inspect the rolls rather than relying on a fixed watering schedule. Horticulture advises tearing the top edge away at transplant time because exposed paper can wick moisture from the seedling. Before planting, split the tube lengthwise or cut away its bottom; place any remaining paper below the soil line. If the roll is still rigid or roots are circling, remove it completely and handle the root ball gently.
4. Milk or Juice Cartons: Sturdy Pots With More Root Room
A washed milk or juice carton is useful when you want a more substantial container than a cup. Cut it to the height you need, leave enough depth for the crop’s early roots, and punch several drainage holes across the bottom. Set it in a tray that can catch runoff, and keep the cut edge smooth enough that it will not snag fingers or sleeves when you water or move it.
A carton is especially handy as a pot-up container: start a seed in a smaller cell, then move the seedling into the carton once its roots have filled that space. You can sow directly into a carton too, but a very large, mostly empty carton holds a lot of wet mix around a tiny root system. That can leave the medium wet for too long, so avoid oversizing and check the lower mix as well as the surface.
The carton’s lining is another reason not to plant the container whole. Paper cartons may be laminated or coated to hold liquid, and plastic cartons will not behave like thin, uncoated paper in the garden. Treat them as reusable pots: remove the seedling and root ball from the carton at transplant, wash the carton, dry it, and save it for another sowing if it remains sturdy. Colorado State Extension includes cut paper milk cartons among common containers when they have drainage holes. (Colorado State University Extension)
5. Shallow Cardboard Boxes: A Carrier or Temporary Seed Tray
A short, clean box can keep several little seed pots together and makes a lightweight carrier for moving them to a sink or window. In that role, it does not need to hold soil directly; set individual draining cups or tubes inside, and place the box on a waterproof tray if runoff could soften the cardboard. The box is then doing a job cardboard handles well—organizing and carrying—without asking wet paper to act like a permanent planter.
You can sow a group of small seeds directly into a shallow box for a brief start, but first check that the bottom is intact and can drain into a waterproof tray. Use only enough mix to cover the seeds at their recommended depth, keep the box level, and plan to separate or thin the seedlings promptly. Once the cardboard is continuously wet, the base can sag or leak; a shallow group-sown box is not a reliable way to raise seedlings for weeks.
Avoid planting a thick shipping box directly into the garden with seedlings inside. Dense or coated cardboard can outlast the young roots’ ability to push through, and an above-ground rim may pull water away from the root zone. If you sowed directly in the box, lift out each seedling with a small plug of mix or cut the box away from it instead of burying the whole package.
6. Aluminum Cans: Durable Only If You Can Prepare Them Safely
A short metal food can can serve as a durable individual pot, but it is among the least convenient choices on this list. It needs clean interior surfaces, a smooth rim, and drainage holes. If the lid left a sharp edge, the bottom is hard to pierce safely, or the can is too narrow to remove a root ball, choose a paper cup or carton instead.
Do not grip a sharp can in one hand while trying to punch its base with a nail or knife. Use a can that is already open with a rolled, safe rim, and make drainage holes only with a stable work surface and a tool intended for the job; if you cannot do that securely, skip the can. Rinse away all food residue and let the container dry before it touches seed mix.
Metal holds its shape better than wet cardboard, but a tall narrow can can be awkward to water and transplant from. Use it for one seedling only if the width allows you to ease the root ball out without pulling the stem. At transplant, slide the mix and roots out from the bottom if possible rather than tugging the seedling upward, and wash the can before reusing it.
7. Glass Jars: Use One as a Cover, Not a Sealed Pot
An ordinary glass jar has no drainage, and a layer of stones at the bottom does not solve that problem. Water still collects in the bottom of the jar below the growing mix, leaving the roots in a container that cannot drain. Keep the growing medium in a pot or cup with holes instead.
A clean, wide jar can sometimes serve as a short-term humidity cover over a small draining pot while seeds germinate. Set it loosely over the pot, keep the setup out of hot direct sun, and lift it regularly so air can circulate. Penn State Extension describes glass panes as temporary humidity covers and advises removing covers as soon as seeds germinate; the same caution applies to an improvised jar. (Penn State Extension)
Remove the jar when the first sprouts appear, or earlier if condensation is heavy, the air smells musty, or the mix remains soggy. A closed cover can trap heat and moisture, while emerging seedlings need light and airflow. If you cannot monitor it, leave the jar off and keep the mix evenly moist with gentle watering instead.
Match a Container to the Crop
Use the seed packet’s sowing depth and transplant directions first; the container is there to support that plan. Tiny seeds with short indoor starts can begin in shallow cells, while larger seeds and seedlings that will stay inside longer benefit from more depth. If your container is too small to meet the packet’s timing, plan a move to a larger pot rather than hoping the seedling will pause its growth.
Seeds That Need a Little Room
Large seeds such as beans, squash, and sunflowers can be awkward in tiny egg-carton cells because they need to be planted deeper and quickly produce a larger seedling. Use a deeper paper tube or a modest-size carton if you are starting one indoors; do not crowd several large seeds into a narrow container. If you have space outdoors and the seed packet recommends direct sowing, planting in the final location is often simpler than transplanting from a homemade pot.
For small seeds, sow only as deep as the packet directs and keep them from washing into the corners of a box or carton. A fine spray or careful bottom watering helps keep the seed in place. Once seedlings emerge, give them enough light and spacing; a perfect recycled pot cannot compensate for a dark windowsill or a crowded tray.
Seedlings That Dislike Root Disturbance
Some seedlings are less forgiving when their roots are pulled apart. A deep tube that can be opened at planting time gives you a way to carry the root ball intact, but direct sowing remains the lower-disturbance option when the crop and weather allow it. A paper wall that is still firm or coated can become an obstacle, so cut it open even if the package says “biodegradable.”
Start only as many seeds as you can monitor and pot up on time. Penn State Extension explains that seedlings in smaller cells need to be moved sooner than those in larger cells, and that damp paper pots can dry readily or support fungal growth. If you see roots reaching through the bottom, a seedling leaning as the cell dries, or mix that swings from soaked to bone-dry in a day, pot it up now rather than waiting for a particular calendar date. (Penn State Extension)
Prep Recycled Containers in Five Minutes
Preparation takes less time than rescuing a batch of seedlings from stagnant water. Keep containers that held food or drink, and discard anything that has held paint, cleaning products, fuel, or unknown chemicals. Rinse every food container thoroughly; if old mix or plant debris remains stuck to the walls, scrub it out and let the container dry before filling it.
Drainage Before Soil
For every container that directly holds seed-starting mix, look for a clear path for extra water to leave. Holes should sit at the lowest point, not only halfway up the side; after watering, tilt the container slightly and confirm that runoff can escape. Put a catch tray underneath, then empty standing water after the mix has had time to absorb what it needs.
Do not add gravel or stones to the bottom of a sealed jar or carton as a substitute for holes. The stones take up root space and do not make water leave the container. A separate waterproof outer tray can catch drainage, but the inner pot still needs an open bottom. If you want to bottom-water, set the pot briefly in a shallow amount of water, then lift it out and let it drain rather than leaving it submerged.
Fill, Sow, and Water
Use a fine, loose seed-starting mix or a commercial medium labeled for sowing seeds, not dense garden soil scooped from a bed. Fill the container without packing the mix tight, and pre-moisten it until it feels evenly damp rather than dripping. Colorado State Extension recommends following the packet for seed depth and using a fine spray so seeds are not washed out of place. (Colorado State University Extension)
Write the crop and sowing date on a label before you plant. Add only the number of seeds the container can support, then cover them to the packet’s depth and water gently. A loose clear cover can help hold humidity until germination, but remove it when sprouts appear; after that, give seedlings brighter light, some airflow, and enough space that leaves are not pressed against a lid.
Common Mistakes With Recycled Seed Pots
Using a container without drainage is the fastest way to turn a useful household item into a waterlogged pot. A jar can be a cover, and a cardboard box can be a carrier, but neither is automatically a draining seed pot. If the bottom stays wet after watering, stop adding water and move the seedling into a container with open drainage.
Choosing a pot that is too shallow or too large creates opposite problems. Egg cartons can dry out before you notice, but filling a large carton with mix for one tiny seed can leave excess moisture around the roots. Match the container to the seedling’s likely time indoors, then check its moisture each day instead of watering every container on one schedule.
Assuming every paper item biodegrades can leave a cup wall or coating around the root ball. Paperboard, folded paper, lined beverage cups, and laminated cartons behave differently when wet and in soil. Tear or remove the walls at transplant unless the paper is thin, uncoated, and already soft enough for roots to pass through.
Keeping humidity covers on too long traps wet air around new leaves. A jar or lid can help during germination, but remove it when sprouts appear and move seedlings into bright light. Penn State Extension cautions that glass or plastic humidity covers should come off at germination; leaving one on can overheat the young plants or keep the surface too wet. (Penn State Extension)
Reusing dirty or unsuitable packaging adds avoidable residue and mess. Wash containers that held food, and skip any material with a chemical history, persistent odor, mold, or a sharp cut edge you cannot protect. If preparing a container safely takes more effort than using a clean paper cup, use the cup.
Conclusion
Household containers can start seeds successfully when you give them the same basics as a purchased tray: a clean interior, the right amount of root space, suitable mix, and a way for water to drain. Egg cartons suit a short start for small seeds; paper cups and cartons offer more room; toilet-paper rolls provide a deeper cell; boxes are often better as carriers; cans require safe preparation; and a glass jar is most useful as a temporary cover over a draining pot.
Choose the easiest container that fits the crop and the time you can give it. Add drainage before filling, watch small cells closely, and open or remove the walls when you transplant. That is what turns a recycling-bin experiment into a practical seed-starting setup.