How to Grow Radishes: Planting, Care, and Harvest Tips
Grow crisp radishes with practical advice on soil, seed depth, thinning, containers, succession sowing, common problems, and harvest timing.
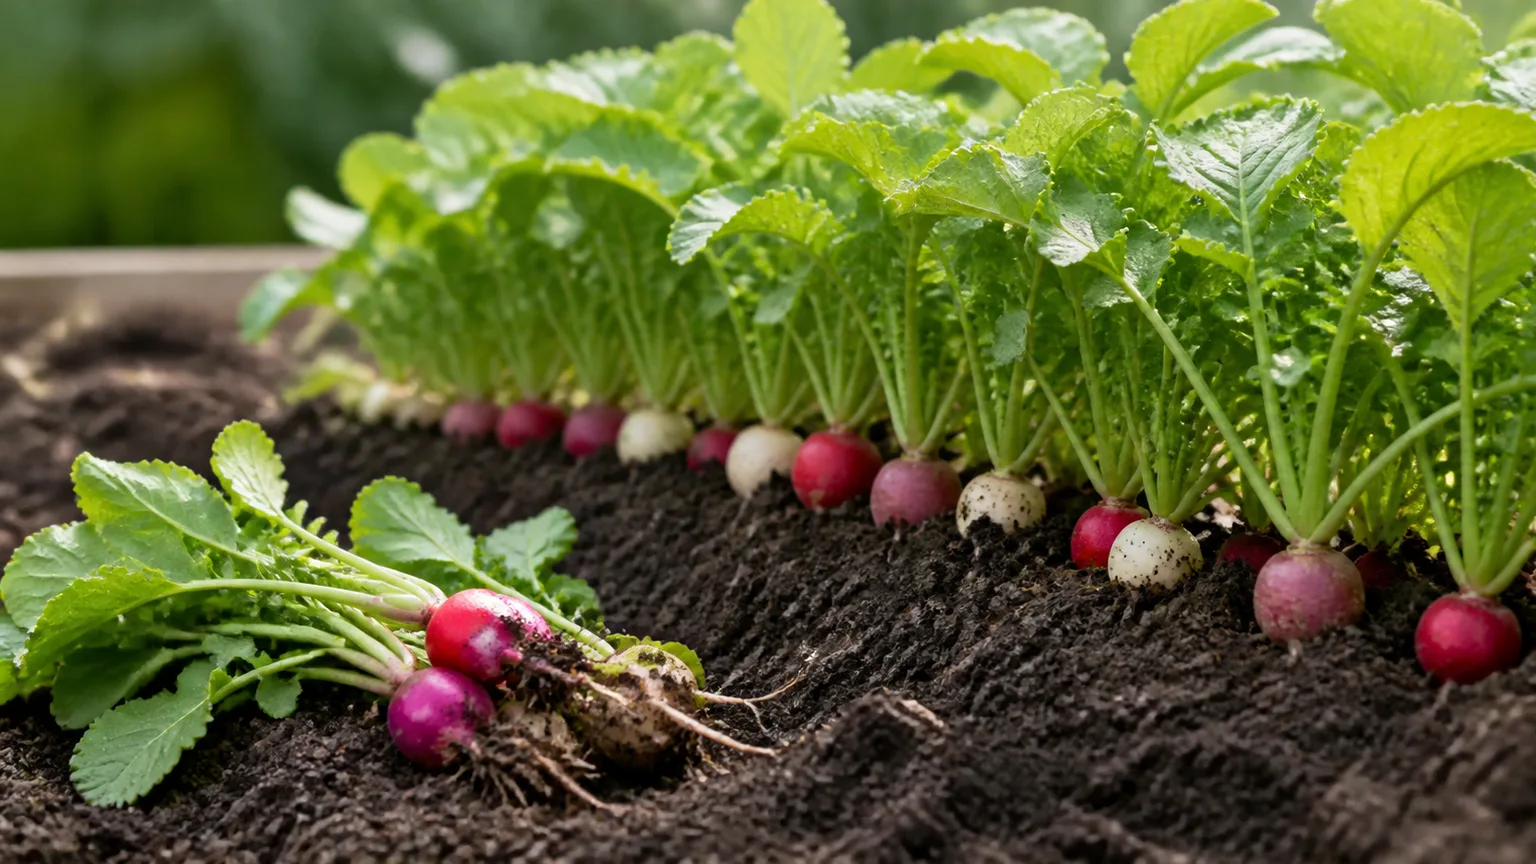
Radishes can be one of the quickest crops in a vegetable bed, but speed does not make them foolproof. A seed may sprout in a few days and still produce a thin root, a woody bulb, or a flower stalk if the soil dries out, seedlings are crowded, or spring suddenly turns hot. The reliable approach is to match the variety to the season, sow into a prepared bed while conditions are cool, and harvest promptly when the root reaches usable size.
Most familiar red, round radishes are salad types. They mature quickly and are best grown in short, repeated sowings during cool parts of the year. Larger winter radishes, including daikon and other long-rooted types, need more growing time and space; their planting window and harvest plan are different. Treating every variety as a four-week spring crop is a common reason gardeners are disappointed.
Choose Radishes for the Season, Not Just the Color
Radish seed packets often group varieties by shape or color, but the growing habit matters more. Look for the expected days to maturity, the recommended sowing season, and the final root size. Those details help you decide whether a variety fits an early spring bed, a late summer opening, a deep pot, or a longer cool season.
Spring salad radishes are quick; winter types need more room
Spring or salad radishes are the small, crisp roots commonly sliced into salads. Many are ready in roughly three to five weeks from sowing under favorable conditions, though cool weather, short days, and slow growth can stretch that window. Harvest them young; letting a quick variety sit in the ground after it has reached size can make it pithy or overly sharp.
Winter radishes grow larger and more slowly. Daikon and other oriental types may need eight weeks or longer, and round winter varieties also need more room between plants than small salad radishes. Their longer schedule makes late summer a useful planting period in many climates: the crop develops as temperatures cool and can often be stored or left in the ground longer than a quick salad type. The Royal Horticultural Society distinguishes these groups and gives separate spacing and sowing guidance for salad, winter, and oriental radishes. (RHS radish growing guide)
Some varieties are sold for edible seed pods rather than swollen roots. They can be useful in warmer weather, but do not expect the same round root harvest. Read the packet’s specific crop purpose instead of choosing only by a photograph. If your goal is a dependable salad crop, pick a variety described for spring or autumn sowing and plant it in small batches.
Time Sowing by Cool Soil and Your Frost Calendar
Radishes are cool-season vegetables. In many gardens, that means sowing in spring as soon as the ground is workable and returning to sowing in late summer or early fall. A calendar date alone is not a good signal: a wet, compacted bed may be unready in a mild region, while a sunny raised bed may warm and dry much earlier than nearby ground.
Use three local clues together: whether the soil can be worked without smearing, whether the next stretch of weather is likely to stay cool enough for leafy growth, and how many days your chosen variety needs before heat or a hard freeze is expected. The RHS vegetable crop planner is useful for translating the local growing season into sowing windows, but your bed and forecast should guide the final choice. (RHS vegetable crop planner)
Start spring sowings when the bed is workable
For a spring crop, wait until the soil is thawed and crumbly enough to prepare. It does not need to feel warm like summer soil; radishes can germinate in cool conditions, although emergence and root growth are slower at the cold end of the range. If the bed is waterlogged, frozen, or sticky when squeezed, give it time rather than pressing seeds into a surface that will crust or compact.
Sow a short row when the bed is ready, then check the forecast. If sustained heat is arriving before the crop can mature, choose a partly shaded spot for the next sowing, switch to a variety suited to warmer conditions, or pause and plan for fall. Light afternoon shade can help a spring crop in a hot microclimate, but shade cannot compensate for high heat, dry soil, or a variety that is already past its harvest window. Heat and drought encourage bolting—the plant sends up a flower stalk instead of continuing to swell a tender root.
Do not sow a whole packet at once unless you need a large harvest for preserving or sharing. A few feet of row can supply several meals, and a later sowing can mature after the first is harvested. Savvy Gardening’s radish-from-seed guidance also recommends repeat sowing for a steadier harvest rather than relying on one large batch. (Savvy Gardening radish guide)
Plan fall sowings by type and first frost
Count backward from the weather that is likely to stop growth, not from a generic “plant in September” rule. For a quick salad radish, use the packet’s maturity estimate and add a margin for shorter days and slower autumn growth. For a winter or daikon type, allow substantially longer. In a short-season area, an early-maturing winter variety may be a better fit than a very large type that needs more time than the season offers.
Late summer soil can be warm and dry, so prepare the seedbed and water it before sowing if it is dusty. Keep the surface moist until seedlings emerge. If the first frost is light and the crop is established, some varieties can continue growing; a severe freeze or frozen ground changes the plan. Harvest salad types before roots become oversized, while winter radishes can often stay in the bed longer or be lifted and stored in cool conditions. The right choice depends on cultivar, drainage, and local winter severity.
Prepare a Loose, Uncrowded Bed
Choose a sunny site with good drainage. Salad radishes tolerate some light shade, particularly when spring days begin heating up, but plants in deep shade often grow slowly and compete poorly. Avoid a spot where water sits after rain; consistently wet soil can damage roots and make it difficult to sow at an even depth.
Prepare the top several inches into a fine, crumbly seedbed. Pull out stones, break up clods, and loosen compacted areas so the developing roots can expand without bending around obstacles. This matters most for long varieties, which need a deeper, more even root run than small round types. If your soil is heavy clay, work in mature compost to improve structure over time; do not add a large dose of fresh manure or high-nitrogen fertilizer just before sowing. Excess leafy growth is not the goal, and freshly amended soil can be lumpy or uneven.
Radishes do not need a separate raised bed. They can fit along the edge of a larger vegetable bed, between slower crops, or in a narrow container. The important features are a loosened root zone, adequate light, drainage, and easy access for watering and harvest. Mark the row so you can distinguish the tiny seedlings from weeds.
Sow Seeds Directly at the Right Depth
Direct sowing is the simplest route because radish roots are quick to develop and do not need a head start indoors. Radish seedlings are also easy to disturb during transplanting. Use the packet’s spacing for the specific variety; for small salad types, sow seeds about 1 cm (½ inch) deep and roughly 2.5–5 cm (1–2 inches) apart, with rows around 15 cm (6 inches) apart. Larger winter or daikon types need wider spacing and often a deeper, better-prepared bed. (RHS radish growing guide)
Make a shallow furrow with a finger or dibber, sow individually if you have the patience, and cover loosely with fine soil. Water gently so the seeds are not washed into a clump. If you scatter seed more densely, plan to thin the row rather than leaving every seedling in place. Radish seed is inexpensive, but extra seedlings do not create extra roots when they are competing shoulder to shoulder.
A row cover or fine mesh can protect a new sowing from flea beetles and some root-feeding insects while allowing water and light through. Secure the edges so pests cannot crawl underneath. Covers are especially useful where small seedlings have repeatedly been chewed; they are less helpful if the bed is already infested or if the cover traps excessive heat. Lift it periodically to check growth and moisture.
Thin seedlings before roots compete
When seedlings have opened their first true leaves, thin them to the spacing recommended for the cultivar. For many small salad radishes, leave about 2.5–5 cm (1–2 inches) between plants; larger roots need more. Snip unwanted seedlings at soil level with clean scissors rather than pulling them if neighboring roots are close. Pulling can loosen the plants you intend to keep.
Thinning can feel wasteful, but a crowded row usually produces leaves without room for round roots. Keep the strongest, evenly spaced seedlings and remove the rest. Small thinnings may be edible if they are clean and sound, though they will not have a developed root. Once plants are spaced, keep the row labeled until the foliage is large enough to identify easily.
Keep Soil Evenly Moist While Roots Swell
Consistent moisture is one of the biggest differences between crisp radishes and fibrous, split ones. Water deeply enough to moisten the active root zone, then check the soil rather than following a fixed daily schedule. The surface can dry between waterings, but the soil around young roots should not swing repeatedly from dusty-dry to saturated.
During dry weather, inspect the bed with a finger. If the top inch is dry and the root zone below is also losing moisture, water slowly at the base. A thin layer of fine mulch can reduce evaporation, but keep it light around very small seedlings so it does not smother them. Containers may need daily checks in warm or windy weather because their limited soil volume dries faster than a garden bed.
A sudden heavy watering after a dry spell can contribute to splitting as the root takes up water quickly. Uneven growth also makes roots hotter, sharper, or woody. If rain is forecast after a dry period, harvest roots that are already near size and give the rest a consistent moisture level rather than trying to “catch up” with a flood. GrowVeg’s practical guide also stresses watering during dry spells and harvesting promptly to avoid woody roots. (GrowVeg radish guide)
Do not fertilize automatically every week. Radishes grow fast and generally do not need heavy feeding in soil that already supports vegetables. If a soil test or very poor bed indicates a nutrient problem, follow a balanced product label and avoid excess nitrogen. Big tops are not proof of a successful root crop; leafy plants with little root swelling often need better spacing, cooler conditions, or steadier moisture rather than more fertilizer.
Use Radishes as a Fast Gap-Fill Crop
Radishes are useful in small spaces because they mature before many slower vegetables need the same ground. Sow a short row beside carrots, lettuce, or other crops that take longer to fill their allotted space, leaving enough room that the mature plants do not shade the row. A radish crop can also mark a slower-germinating row, making it easier to see where you planted.
Intercropping works only when you plan the harvest. Radishes need their own light and space as roots swell, so remove them before neighboring crops close over the row. Do not plant them where a sprawling crop will shade them from the start or where harvesting would disturb shallow roots of another vegetable. Their quick growth makes them a temporary neighbor, not a permanent understory crop.
Succession sowing is the more dependable way to spread the harvest. Sow a small section every one to two weeks during a suitable cool-weather window, adjusting the interval if growth is very fast or slow. When the first row is harvested, sow into the newly opened space if weather still suits the crop. Stop starting new rows when the remaining season is too short for the chosen variety to mature, or when heat is likely to trigger bolting before the roots are ready.
Grow Salad Radishes in Containers
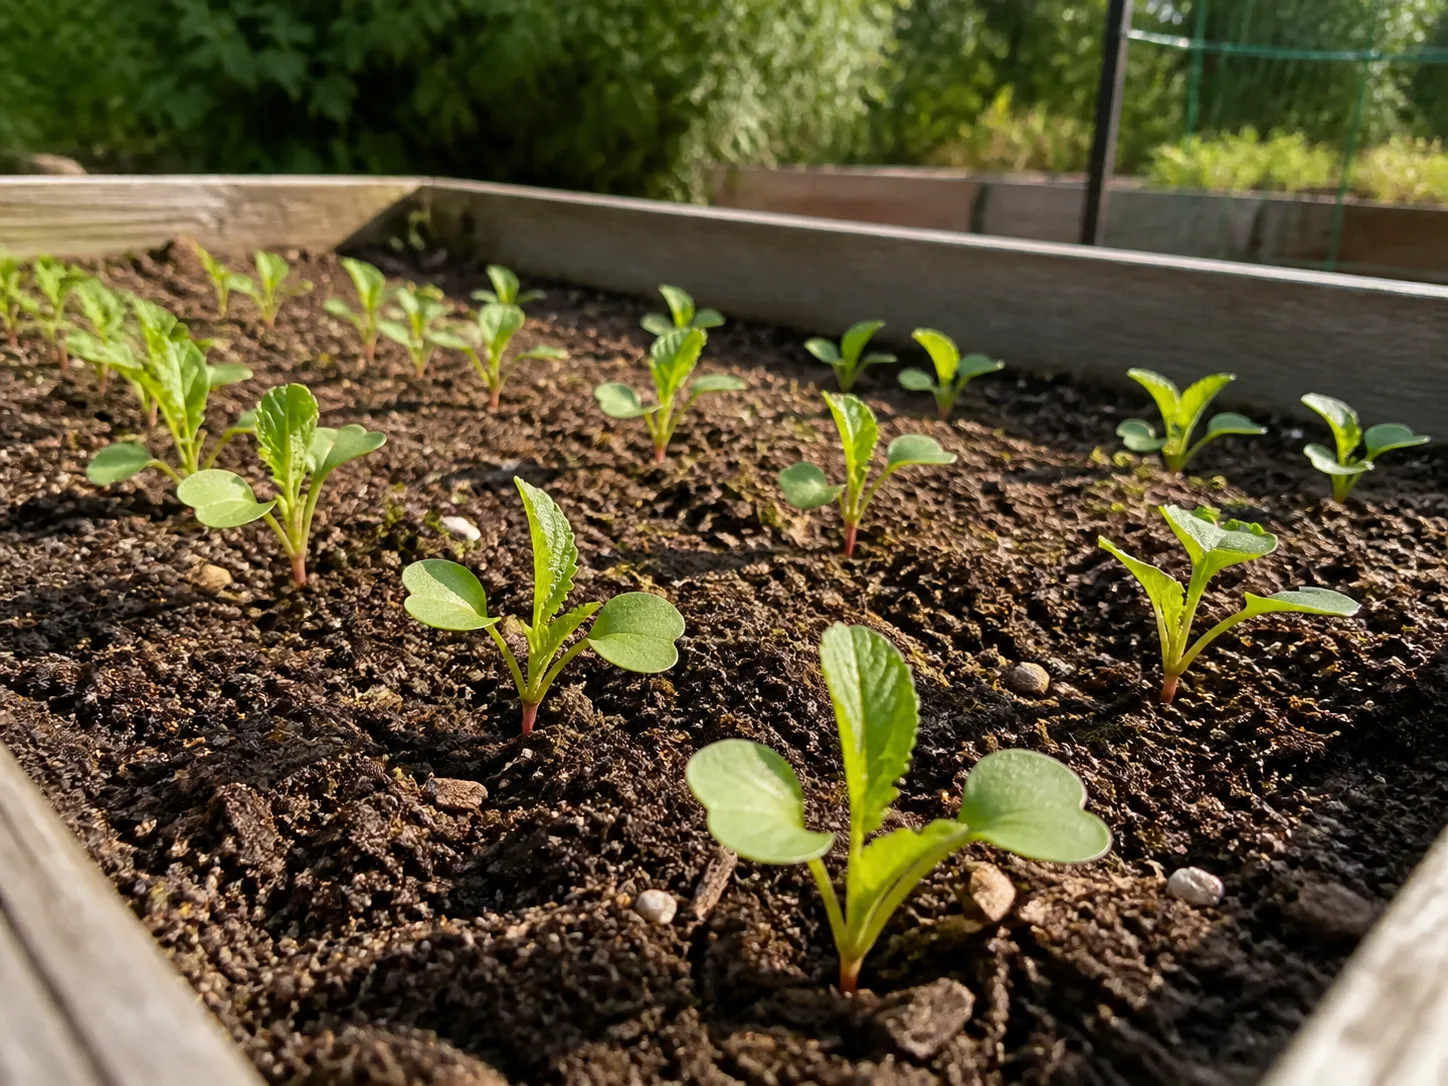
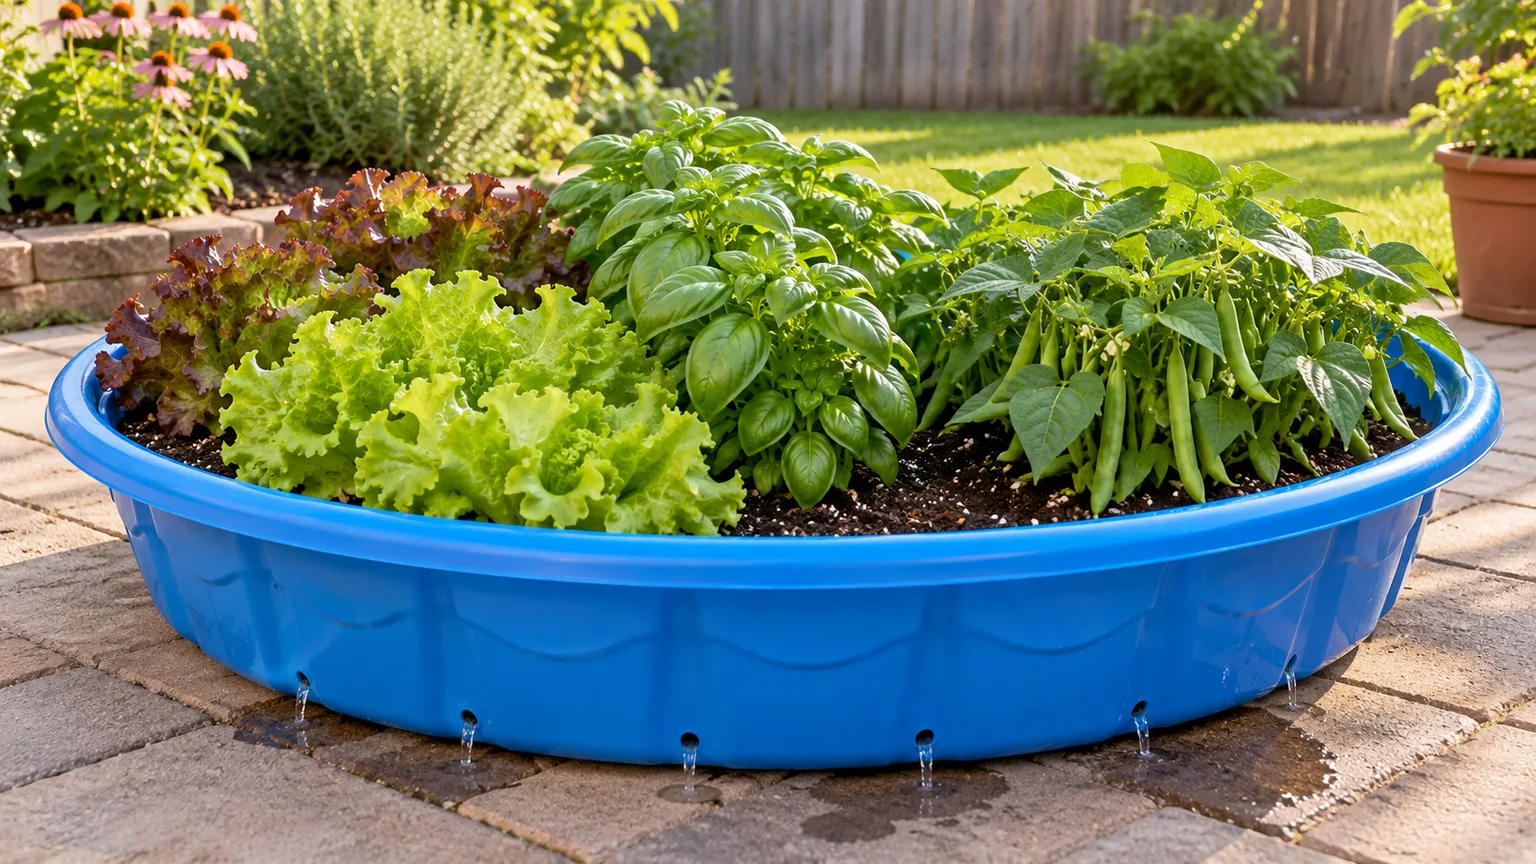
A container is a good option for salad radishes if it has drainage holes and enough depth for the variety. A pot around 15 cm (6 inches) deep can suit small round types, while long-rooted winter radishes need a deeper container. Choose a wide pot or window box so you can sow a short row rather than crowding several plants into a narrow cup.
Fill it with fresh, free-draining potting mix, leaving a little space below the rim for watering. Level the surface, sow at the recommended depth and spacing, and water gently. Set the container where it gets several hours of sun; in a warm climate, morning sun with some afternoon shade can help keep the mix cooler. A dark pot against a hot wall may overheat and dry out faster than the same pot in a more open spot.
Check moisture often. Container mix should stay evenly damp but never waterlogged, and excess water must drain freely. If the top dries rapidly, water slowly until moisture reaches the full root zone, then empty any saucer below the pot. Thin seedlings to the correct spacing even when growing in a box. If roots are small, first check crowding and harvest timing before assuming the container needs fertilizer.
Containers are especially handy for repeat sowing: start a fresh section after harvesting the first row. Reuse the potting mix only if it is healthy and has not been depleted or contaminated; refresh it with new mix or compost as appropriate for the next crop. Rotate crop families when possible, and remove old roots and foliage before replanting.
Harvest by Root Size, Not the Packet Date Alone
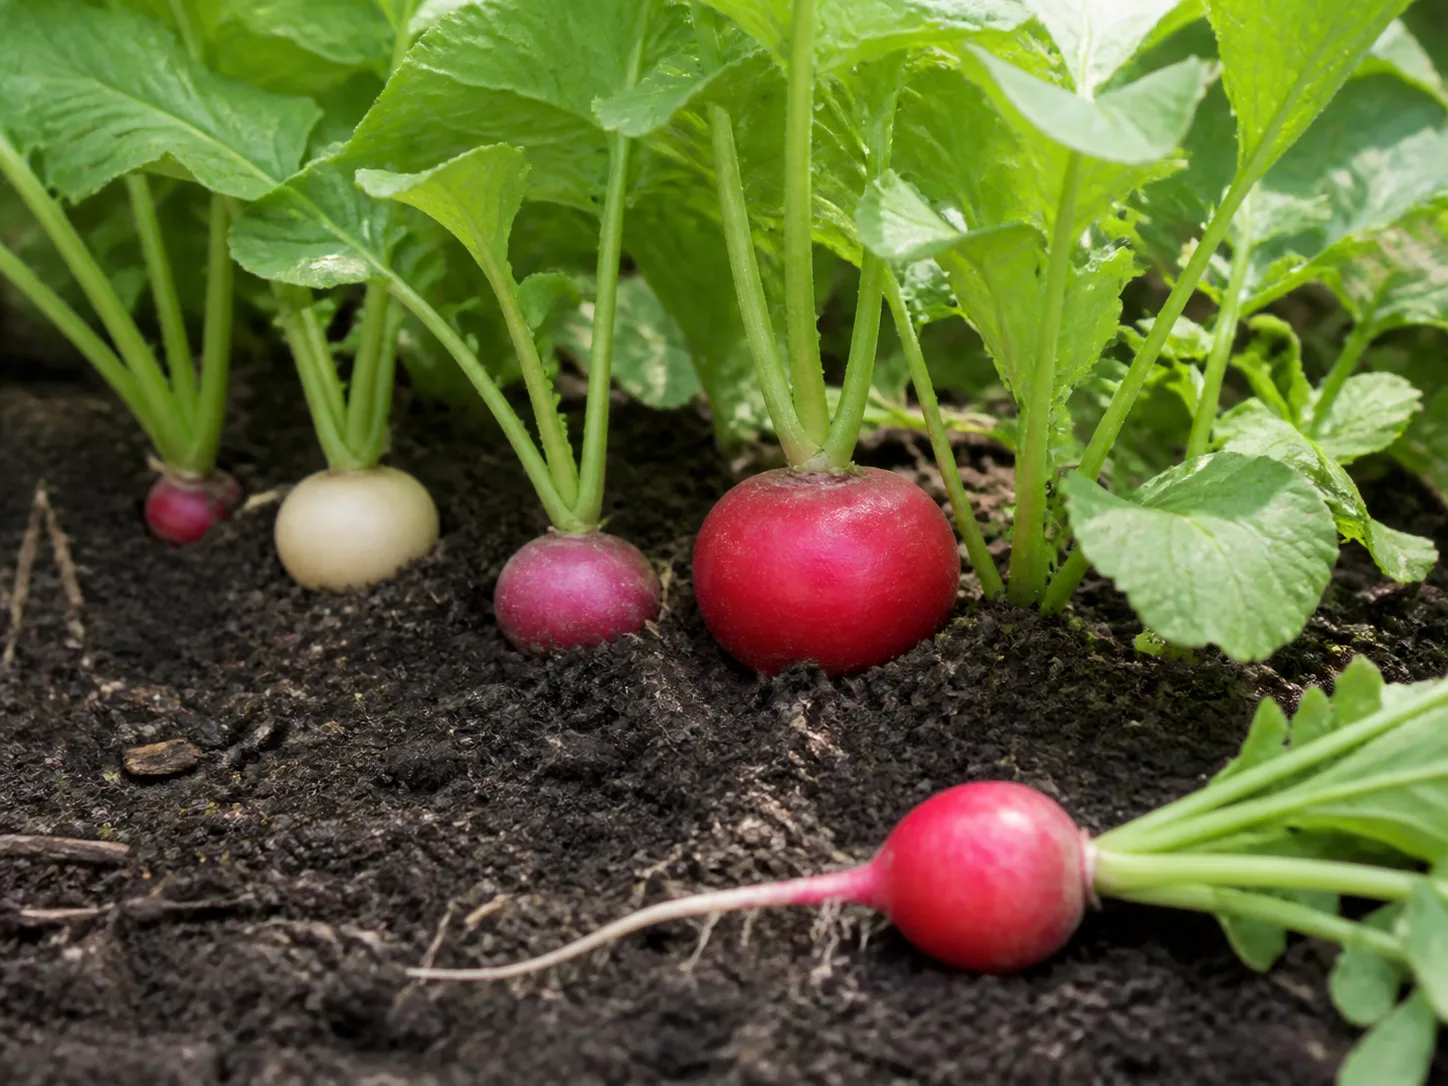
Start checking quick salad radishes before the packet’s estimated harvest day. Days to maturity are a guide, not a guarantee: variety, soil temperature, sunlight, moisture, and sowing depth all affect the pace. Brush soil away from one root’s shoulder or gently lift a test plant. Many round salad varieties are best when the root is around 2.5 cm (1 inch) across, but the packet’s recommended size is the better guide for that cultivar.
Harvest the largest roots first and leave smaller ones only if the weather remains favorable. Do not wait for every plant in a row to reach the same diameter. If roots have become oversized, woody, or pithy, pick them anyway if they are still usable, and clear the row for a new sowing. Pulling one test root is more informative than guessing from leaf size, which can look lush even when roots are still small.
Winter and daikon radishes require more patience. Their roots can remain in the ground longer, but inspect them as they approach the expected size and before the soil freezes hard. If the ground is prone to cracking, waterlogging, or deep freezes, lift mature roots and store them cool instead of leaving the whole crop exposed. Slow autumn growth means the same variety may need longer than its spring estimate.
Store roots and greens separately
Twist or cut the leaves off soon after harvest if you plan to store the roots. Greens continue to draw moisture from the root, which can make it soften sooner. Brush off loose soil, chill the roots promptly, and store them in a perforated bag or container in the refrigerator. Do not pack wet roots tightly; excess moisture and poor airflow encourage decay.
Radish greens are edible when young and healthy. Separate them from roots, wash thoroughly under clean running water, and use them soon in salads, soups, or sautés. Because radishes grow with the edible root in contact with soil, use potable water and clean hands and tools when preparing them. University of Maine Cooperative Extension advises washing soil-contact vegetables with clean water and notes that soaps and produce washes are not needed. (University of Maine Cooperative Extension food-safety guidance)
Troubleshoot Small, Split, or Woody Roots
Roots stay thin or do not swell: Check spacing first. Crowded plants devote room to leaves and compete for water and light. Next check whether the bed is compacted or rocky, and whether the variety needs a deeper root run. If foliage is strong but roots are tiny, adding nitrogen is unlikely to solve the actual problem.
Roots are small and sharply hot: The crop may have grown slowly through warm, dry weather, or the roots may have been left past their ideal harvest stage. Water steadily, choose a cooler sowing window, and harvest a test root earlier in the next row. Some cultivars are naturally sharper than others, so compare varieties if flavor is consistently too strong.
Roots split: Moisture has likely been inconsistent, especially if a dry period was followed by heavy rain or irrigation. Keep soil evenly moist as roots enlarge and harvest mature radishes before a major rain when practical. A split root can often be eaten after trimming if the interior is firm and sound, but discard roots that are soft, slimy, or rotting.
Roots are woody or pithy: This usually points to overmaturity, heat stress, or slow growth. Pick salad radishes while young, and sow another batch instead of leaving an old row in place. Winter types are bred to take longer, but they also have a recommended harvest size and can lose quality if ignored.
Plants flower before roots form: This is bolting. Hot or dry conditions, crowding, and delayed harvest can push the plant toward flowering. Once a stalk is rising, the root is unlikely to improve; harvest what is usable and wait for a cooler sowing window. Some pod-producing varieties are intentionally grown for flowers and pods, but root types are not.
Protect leaves and roots from common pests
Flea beetles make small round holes in the leaves, especially on young plants. A fine-mesh cover installed immediately after sowing can prevent many adults from reaching seedlings. Keep the bed weeded around the row and avoid leaving crop debris that shelters pests. Minor leaf holes do not necessarily ruin the root, but severe feeding can slow establishment.
Root maggots or cabbage root fly larvae can tunnel into roots, making them scarred or unusable. Rotate radishes and related brassica crops to a different bed when damage recurs, remove affected roots, and use a well-secured insect mesh cover before adult flies lay eggs. Slugs may clip newly emerged seedlings in damp weather; water in the morning, clear hiding places around the row, and protect small starts where slug pressure is persistent. Use controls labeled for the crop and follow their directions; identifying the pest first is more useful than treating every damaged leaf the same way.
Conclusion
To grow radishes well, choose a variety that matches the season, sow directly into a loose bed, and space seedlings so each root has room to expand. Keep moisture even, use small repeat sowings during cool weather, and check roots before the packet’s harvest date. Quick salad varieties reward prompt picking, while winter and daikon types need more room and a longer plan. When a crop disappoints, start with the conditions you can correct—crowding, heat, water swings, compacted soil, or harvest delay—before adding fertilizer or starting over.