Winter Houseplant Care: Water, Light & Cold Protection
Winter houseplant care starts with soil, not a calendar. Adjust watering, light, humidity and temperature, spot cold stress and catch pests early.
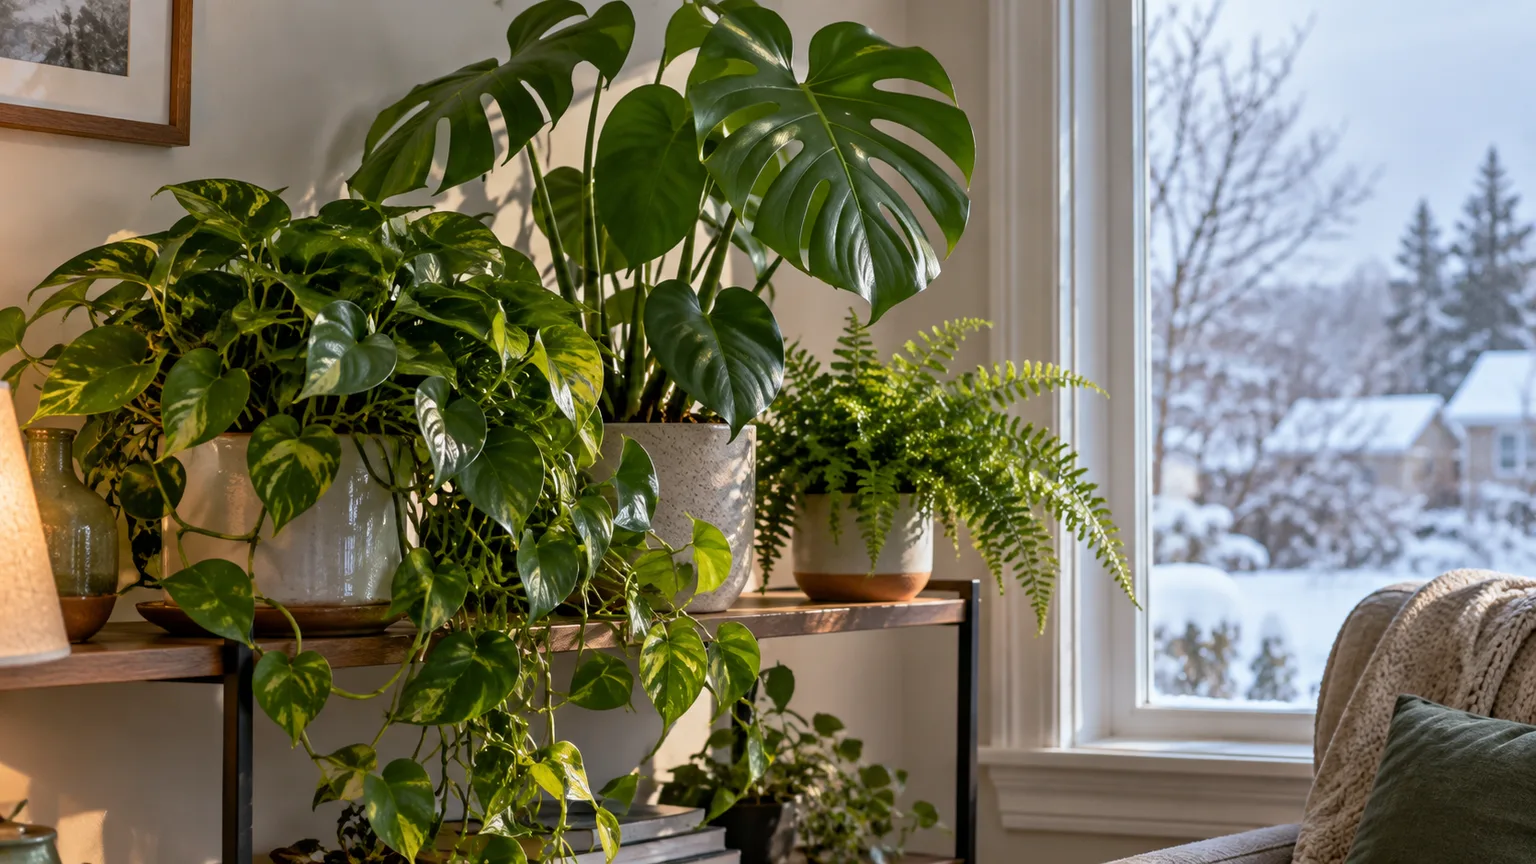
Most houseplants do not need a completely different winter routine. They need you to respond to what changed in the room: weaker and shorter daylight, cooler roots near windows, dry heated air, and slower growth that leaves potting mix wet longer. The safest adjustment is to check the plant and its growing conditions before watering, moving, feeding or treating it.
Start by protecting a tropical plant from cold glass and drafts. Then check how quickly its mix is drying, whether the light it receives has changed, and whether a real humidity problem or pest is present. A few small, evidence-based changes usually help more than moving every pot, misting every leaf or cutting every watering in half.
Why winter changes the way houseplants use water and light
Winter affects several parts of a plant’s environment at once. Shorter days and a lower sun angle reduce the light reaching many windows, while cool conditions around the pot slow root activity and water use. If the plant keeps receiving summer-sized drinks in a darker, cooler spot, its mix can stay wet for days longer than it did in August.
At the same time, a furnace or radiator can make the air around foliage warmer and drier than the air near the roots. This creates a confusing combination: the plant may lose water from its leaves quickly while its pot remains damp. A drooping plant is not automatically thirsty, and crispy tips do not prove that it needs more water.
Winter is also not the same as dormancy for every houseplant. Some tropical foliage plants slow down; some succulents and cacti rest; some orchids and holiday bloomers keep growing or flowering. N.C. Cooperative Extension’s winter guidance describes the seasonal pattern that matters most for ordinary indoor foliage plants: lower growth means less water uptake, while dimmer windows, dry heated air and temperature swings add separate stresses. Use the calendar as a reminder to reassess, not as a command to water less, stop feeding or move a plant.
Do a 10-minute winter room check before changing care
Before changing your routine, take one lap around the plants. Check each spot at the level of the leaves and pots, because the thermostat reading across the room may not describe a cold sill, a sunny pane or the hot air directly above a vent.
- Look at the light. Is the plant still getting the same usable daylight, or is it shaded by a lower sun angle, curtains or a nearby building? Notice whether the plant is leaning toward the window or producing longer, thinner stems.
- Check for cold and heat. Feel near the glass after dark and look for a draft at the window, door or floor. Find any heater, radiator, fireplace or forced-air outlet that blows directly on leaves.
- Test the mix before watering. Check the pot’s normal drying depth, lift it if you know what it feels like after watering, and look for water left in a cachepot or saucer.
- Inspect the foliage. Turn over leaves, check where stems meet, and look for speckling, webbing, sticky residue, cottony clusters or small bumps.
- Measure before solving a humidity problem. A small hygrometer placed at foliage height gives a more useful reading than guessing from dry skin or a brown leaf tip.
Write down a few observations if several plants are changing at once. If every pot beside one window develops damage after cold nights, placement is a stronger shared clue than a sudden need for fertilizer. If only one species is declining while nearby plants are fine, check its own care requirements and recent changes before adjusting the whole collection.
How to water houseplants in winter
There is no dependable winter watering calendar for a mixed collection. A small terracotta pot beside a warm window may dry quickly; a large glazed pot in a cool corner may stay wet much longer. Species, pot size, drainage, mix, root density, room temperature and available light all change the interval, so “every Sunday” and “half as often” are only guesses.
N.C. Cooperative Extension and Epic Gardening’s winter-care guidance both emphasize checking the mix because winter growth and water use often slow. Treat that as a change in how you decide, not proof that every plant needs less water by the same amount. The right time to water is when the root zone has reached the dryness level that suits that particular plant.
Check the root zone, then water thoroughly
Use a finger, an untreated wooden skewer or the weight of the pot to check beyond the surface. For many common foliage plants, the top inch or two drying is a useful first signal, but it is not a universal rule: a fern that dislikes drying out and a succulent that needs a dry cycle should not share one threshold. If the surface is dry but the lower mix is cool and damp, wait and check again rather than adding a small “just in case” splash.
When the mix is ready, water evenly until some drains from the bottom, then empty the saucer or decorative outer pot. This wets the root ball more consistently than repeated small sips and prevents salts from concentrating in a narrow part of the mix. Use water near room temperature if the pot is sitting in a cold room, and make sure the drainage holes remain open.
Cold, saturated soil is a particularly poor combination for roots. If a pot has no drainage, sits in water, or remains wet for an unusually long time, fix that condition before returning to a schedule. A plant that is wilting while its mix is still wet should not get another drink until you have checked drainage, root health and the room temperature.
Make exceptions for plants with different moisture needs
Succulents and many cacti generally need a drier root zone during a cool, dim rest than a leafy tropical plant does. Let their mix dry as their species requires, and do not keep watering simply because the foliage looks slightly less plump than it did in summer. Forest cacti such as Christmas cactus are not managed exactly like desert cacti, so check the plant’s own guidance rather than applying one “cactus” rule to all of them.
Ferns, fittonia and other moisture-sensitive foliage plants may still need more frequent checks, especially in a warm room. The goal is not to leave every pot bone dry; it is to avoid watering while the soil is already wet. Plants that are actively producing leaves or flowers under good light may also keep using water at a more typical rate than a dormant plant nearby.
If you are unsure, compare the plant with its own recent behavior. Note how long the pot takes to dry after a thorough watering, then shorten or lengthen the next interval based on that observation. This is more reliable than copying a frequency that was written for a different plant, pot and home.
Give plants enough light without putting foliage against cold glass
Most plants do not stop needing light just because growth slows. Winter daylight often arrives for fewer hours and at a different angle, so a spot that was bright in summer can become marginal. The RHS winter advice recommends moving houseplants out of dark corners during the low-light months, and N.C. Cooperative Extension similarly suggests a brighter window or supplemental grow light when natural light is not enough.
Move a plant a little closer to a bright window, open curtains during the day, clean the glass and wipe dust from broad leaves with a soft damp cloth. Rotate the pot occasionally if growth is leaning strongly toward one side. In the Northern Hemisphere, south-facing windows often provide the strongest winter sun, but buildings, trees, latitude and the plant’s own light tolerance matter more than the compass label alone.
Do not solve low light by pushing leaves against cold glass. Leave a small gap between foliage and pane, and pull plants back on very cold nights if the sill becomes chilly. A brighter location should still be free of drafts and direct blasts of hot air. Watch the leaves after a move: a plant accustomed to shade can scorch if it suddenly gets intense direct sun, even in winter.
If a suitable window is unavailable, a grow light can provide a more consistent source. Follow the fixture’s coverage and distance guidance, position the light so it reaches the foliage evenly, and use a timer to keep the day length predictable. A regular household bulb across the room may make the corner look brighter to you without supplying the plant with enough usable light.
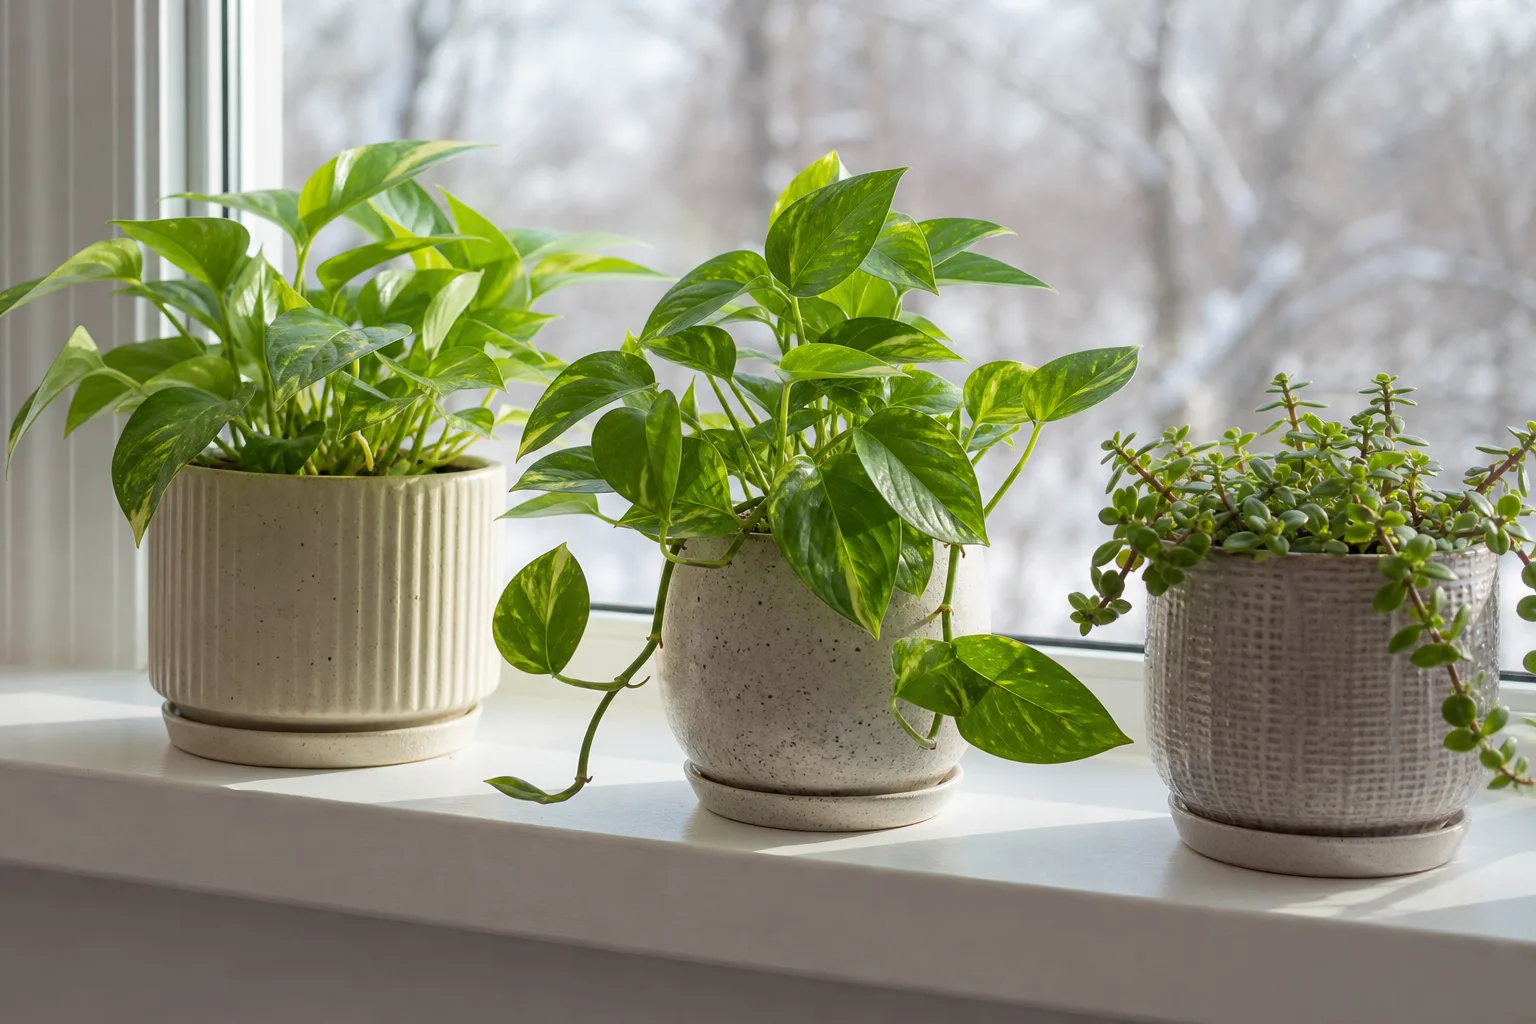
Keep roots and foliage away from cold air and hot vents
A comfortable thermostat setting does not guarantee a comfortable plant. Glass, exterior walls, drafty doorways and floors can create colder pockets, while a radiator or forced-air vent can heat and dry one side of a plant. Both rapid temperature changes and direct heat can stress foliage even when the average room temperature looks reasonable.
For many tropical foliage plants, a steady room around 65–75°F (18–24°C) is a useful conservative target; N.C. Cooperative Extension gives a similar typical daytime range and notes that a modest nighttime drop is generally preferable to a sharp swing. It is not a universal minimum for every species. Check the plant’s specific tolerance if you grow orchids, flowering plants, succulents or other types with distinct temperature needs. The RHS also cautions against cold windowsills, draughts and direct heat from radiators or fires.
Move pots away from direct drafts and heater airflow, and keep leaves from touching a cold pane. Curtains can trap cold air against a plant overnight, so pull the foliage clear before closing them. If several pots sit on a cold sill, raise them on a stable stand or move them to a nearby table that still receives good light.
If you suspect a cold snap is affecting a plant, move it to a stable, comfortably warm spot and let it recover before pruning or repotting. Cold injury may become more visible after the exposure, and damaged tissue will not turn green again. Remove tissue only after you can tell which parts are dead; avoid adding fertilizer or keeping the soil constantly wet in an attempt to push quick replacement growth.
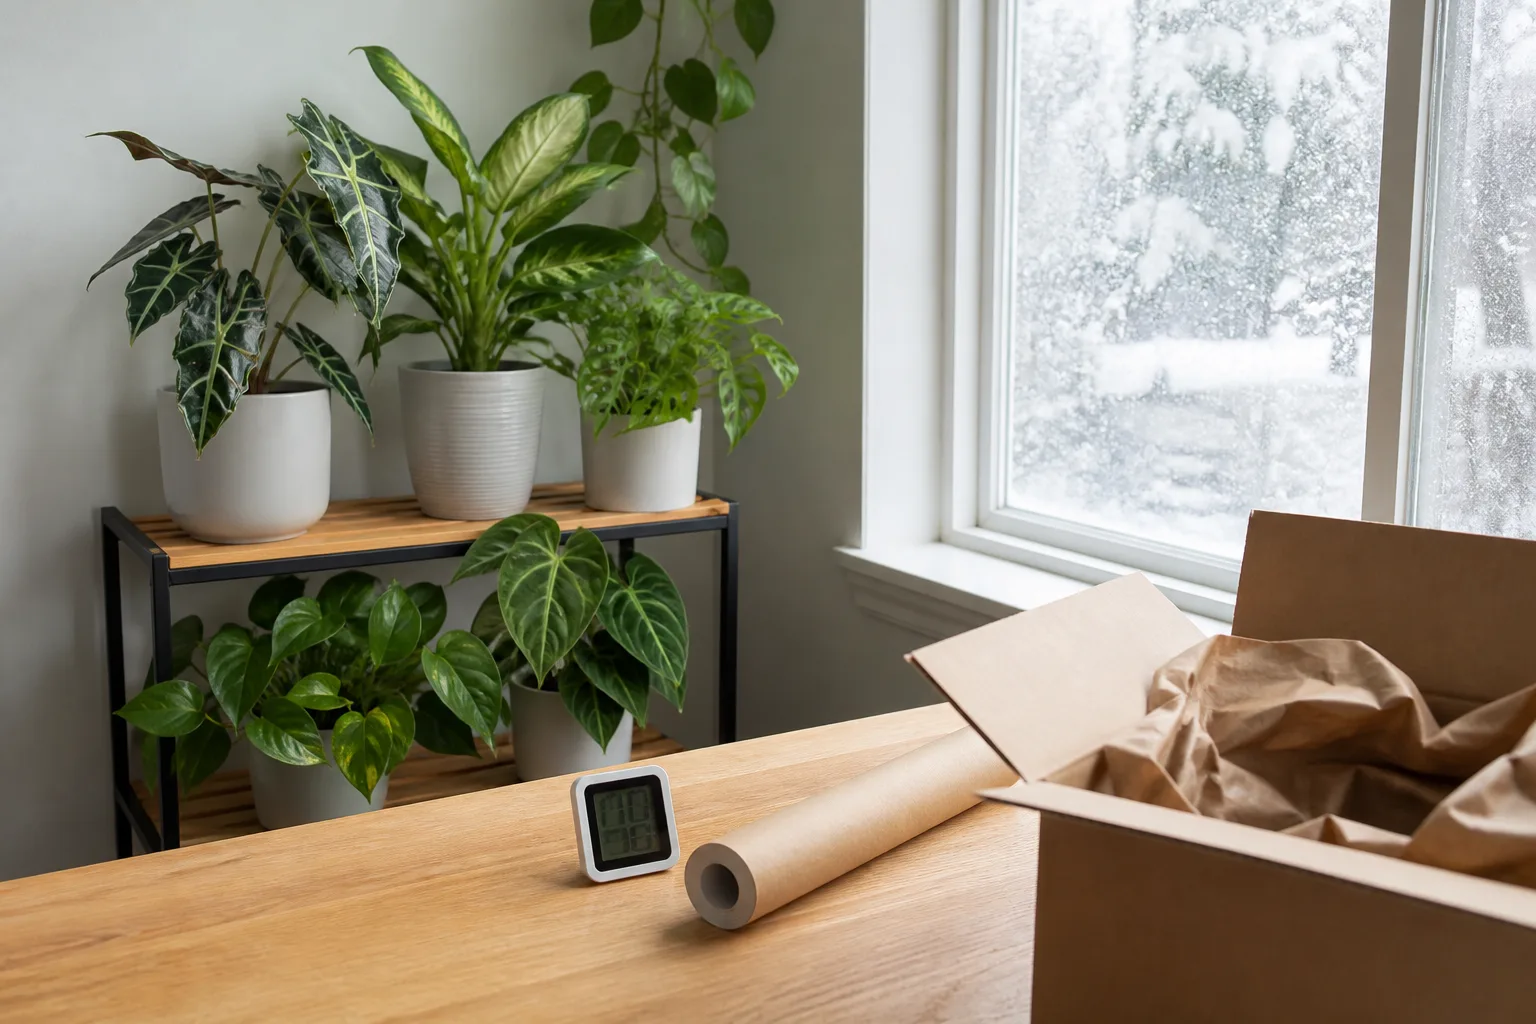
Manage dry indoor air with a hygrometer, not guesswork
Heating can lower indoor relative humidity, but different houseplants respond differently. Thin-leaved tropicals and many ferns are more sensitive to dry air than many succulents, and a single target will not suit every collection. Penn State Extension notes that winter room humidity can fall below 30% and that plant needs vary by species; measure the air near the foliage before deciding that a brown tip calls for a humidifier.
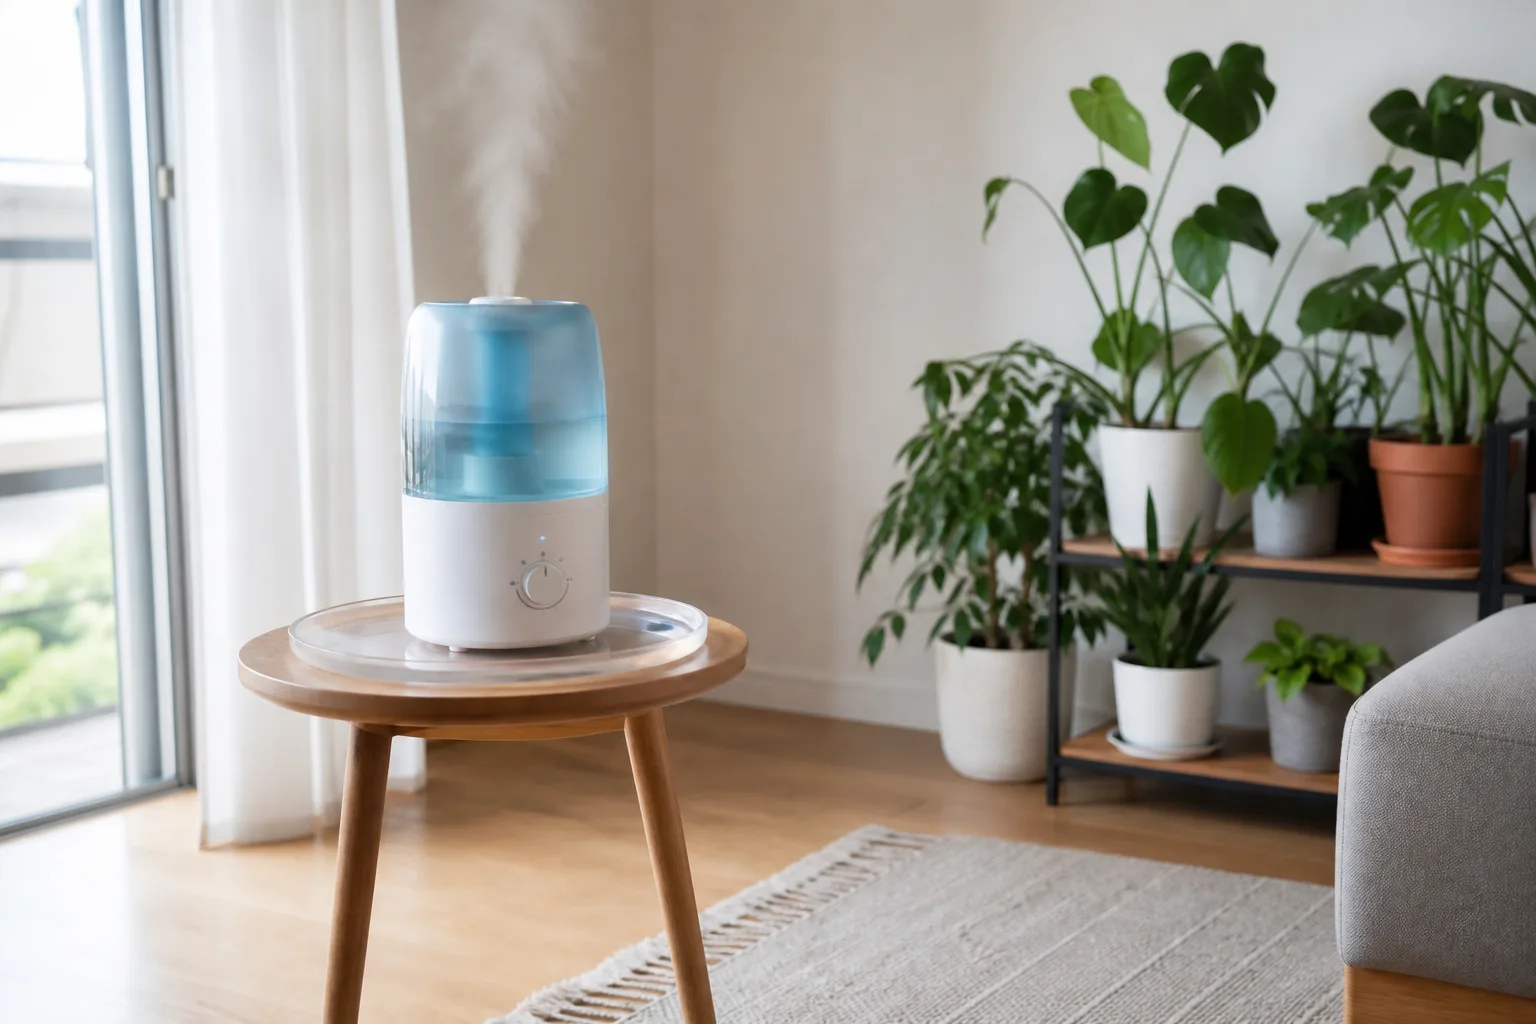
If the reading is persistently low and the plant is one that benefits from higher humidity, a room humidifier is the most measurable way to raise the air moisture. Run it near a group of plants rather than directing mist at one crown, keep it clean according to its instructions, and watch for condensation on windows or damp surfaces. Grouping plants can modestly change the immediate microclimate, and a bathroom may help only if it also has enough light.
Advice about pebble trays varies. The RHS lists damp pebble trays and grouping among possible ways to help humidity-sensitive plants, while Penn State Extension cautions that the evaporated moisture quickly disperses through the room and is unlikely to raise overall relative humidity much. A tray is a low-effort local measure, not a substitute for measured room humidity; if you use one, keep the pot base above the water so the roots are not standing in it.
Misting is also temporary: the extra moisture around leaves disappears as droplets evaporate, so routine misting does not provide a lasting change in room humidity. It may be appropriate for a particular plant-care task, but do not use it as your main winter humidity plan. A hygrometer helps you decide whether any intervention is needed and whether it is working.
Pause fertilizer and avoid optional winter repotting
Do not fertilize a plant simply because it has not grown recently. When light and root activity are low, many houseplants cannot use the nutrients at the same pace as during active growth. The RHS advises little to no feeding for many winter houseplants, and Epic Gardening explains why feeding a slow-growing plant can leave unused fertilizer salts in the potting mix.
Wait until the plant is producing sustained new growth in spring or under suitable supplemental light before returning to its usual feeding routine. A winter-blooming or actively growing species may be an exception; follow that plant’s specific care guidance rather than applying a collection-wide stop date. Fertilizer does not correct cold roots, poor drainage, low light or pest damage, and adding it to a stressed plant can make the situation harder to interpret.
Likewise, postpone elective repotting, major pruning and propagation until the plant is growing actively. A larger pot can hold wet mix longer, and root disturbance adds stress when recovery is slow. Repot sooner only for a real problem—such as failed drainage, a broken pot, severe root damage or a pest issue that cannot be managed otherwise—and keep the repair focused.
Inspect for pests and isolate anything suspicious
Indoor pests can become easier to miss when growth slows and plants spend more time grouped near windows. Dry, warm pockets may favor spider mites, while infested plants brought in from patios or purchased as gifts can introduce scale, mealybugs or whiteflies. Colorado State University Extension advises inspecting new plants and quarantining them separately for at least three weeks; that separation also makes a winter problem less likely to spread through a collection.
Once a week, look under leaves and along veins, stems, leaf joints and the soil surface. Fine pale stippling or dusty webbing can point to spider mites; cottony material may be mealybugs; small fixed bumps or sticky residue can suggest scale or another sap-feeding pest. These signs are clues, not a final identification, so use a magnifier or take a clear photo before choosing a treatment.
If you find a likely pest, move the plant away from others and check the neighboring pots. Remove a small number by wiping or rinsing when the plant tolerates it, then repeat inspections because eggs and hidden insects may remain. For a pesticide or horticultural product, use only a product labeled for the identified pest and plant, and follow its directions exactly; do not spray every plant preventively just because the heating season has begun.
Transition outdoor plants indoors before cold arrives
If your houseplants spent summer outside, do not wait for frost to decide where they will overwinter. Bring tender tropicals in before cold nights arrive, using the plant’s minimum temperature and local forecast as cues. Gardening Know How’s winter-care guidance uses about 50°F (10°C) as a practical point to start moving many tropical potted plants; particularly sensitive species and exposed containers may need to come in earlier.
Before placing an outdoor pot beside indoor plants, inspect both leaf surfaces, stems, drainage holes and the top of the mix. Remove dead leaves and surface debris, rinse foliage if the plant tolerates it, and keep the newcomer in a separate bright area while you watch for pests. A three-week quarantine is a useful baseline from Colorado State University Extension, but continue checking longer if you see new damage or insects.
Acclimate the plant to indoor light rather than moving it directly from full sun into a dark room. Once indoors, expect some adjustment: lower light can slow growth and a few older leaves may yellow or drop. Keep its care stable, check the soil directly and do not treat ordinary acclimation as proof that it needs more fertilizer or water.
Diagnose winter stress before changing several things
Yellow leaves, drooping and brown edges can each have more than one cause. A plant can wilt with dry soil, but it can also wilt when saturated roots are not functioning. Before treating a symptom, combine where it appears with the condition of the mix, the plant’s recent location and any visible pests.
Match the pattern to soil, light, temperature and pests
| What you notice | Check first | A sensible first response |
|---|---|---|
| Yellow lower leaves while the mix stays wet | Root-zone moisture, drainage and how long the pot has remained damp | Let the mix dry to the plant’s normal threshold; empty standing water and improve drainage before watering again. |
| Drooping with dry, light potting mix | Whether the root ball is dry through its usual watering depth | Water thoroughly and let excess drain; recheck the pot rather than giving repeated small splashes. |
| Crispy tips or margins | Humidity reading, heater airflow, uneven watering and salt accumulation | Move the plant out of direct hot air; change humidity only if a measurement and species needs support it. |
| Dark, water-soaked or soft patches after a cold night | Contact with glass, draft exposure and leaf-zone temperature | Move to stable warmth and wait for the full extent of damage to show before trimming. |
| Fine pale specks, webbing, sticky residue or cottony clusters | Leaf undersides, joints, stems and nearby plants | Isolate the pot and identify the pest before choosing a control. |
| Long weak stems leaning toward the window | Daylight duration, window obstruction and plant orientation | Improve usable light gradually or add a suitable grow light; do not compensate with extra fertilizer. |
Use the table to choose the first thing to check, not to diagnose by one mark. For example, yellowing with wet mix points you toward watering and drainage; yellowing on a dry pot near a cold window needs a different investigation. N.C. Cooperative Extension explains the winter slowdown and its effect on water use, while Colorado State Extension notes that stressed or poorly growing plants are more vulnerable to pest injury.
Make one major change at a time unless there is an immediate hazard such as freezing exposure or standing water. Record the date, what you changed and what the next leaves do; old damage will not disappear, so judge recovery by whether new growth and fresh symptoms improve over the next few weeks. If the roots are badly damaged, the infestation is spreading or decline continues after the environment is corrected, seek a plant clinic or local extension service rather than stacking unverified treatments.
Build a simple winter routine you can maintain
Once a week, inspect leaves and stems, touch or weigh pots that may be ready for water, empty any standing water, and look for cold or hot spots. Water only the pots that have reached their plant-specific threshold. If a plant is isolated for pests, keep its checks and tools separate until you are confident the problem is controlled.
Once a month, reassess the room rather than moving every plant automatically. Clean the brightest window, remove dust from broad leaves, rotate plants that are leaning, and compare humidity at foliage height if dry-air symptoms persist. On unusually cold nights, make sure foliage is clear of glass, curtains and drafts.
In spring, wait for longer days and active new growth before gradually restoring the plant’s growing-season routine. Watering needs may rise as light and growth return; feeding can resume according to the species’ care requirements. The change should follow what the plant is doing, not a date on the calendar.
Conclusion
Successful winter houseplant care is mostly about preventing mismatches: summer watering in slow-drying soil, low light beside cold glass, dry heat blowing across foliage, or fertilizer applied when roots are barely growing. Check the root zone, make the plant’s actual light and temperature conditions safer, measure humidity before trying to raise it, and inspect regularly for pests.
If a plant starts to look rough, stabilize the environment and look for evidence before changing several parts of its care. Winter may slow growth, but a steady spot and a few consistent checks give most houseplants a much better chance of reaching spring with healthy roots and usable leaves.



