How Often to Water New Sod Without Drowning Its Roots
Learn how often to water new sod, check for root contact, and time the first mow and fertilizer. Adjust each step for weather, soil, and grass varieties.
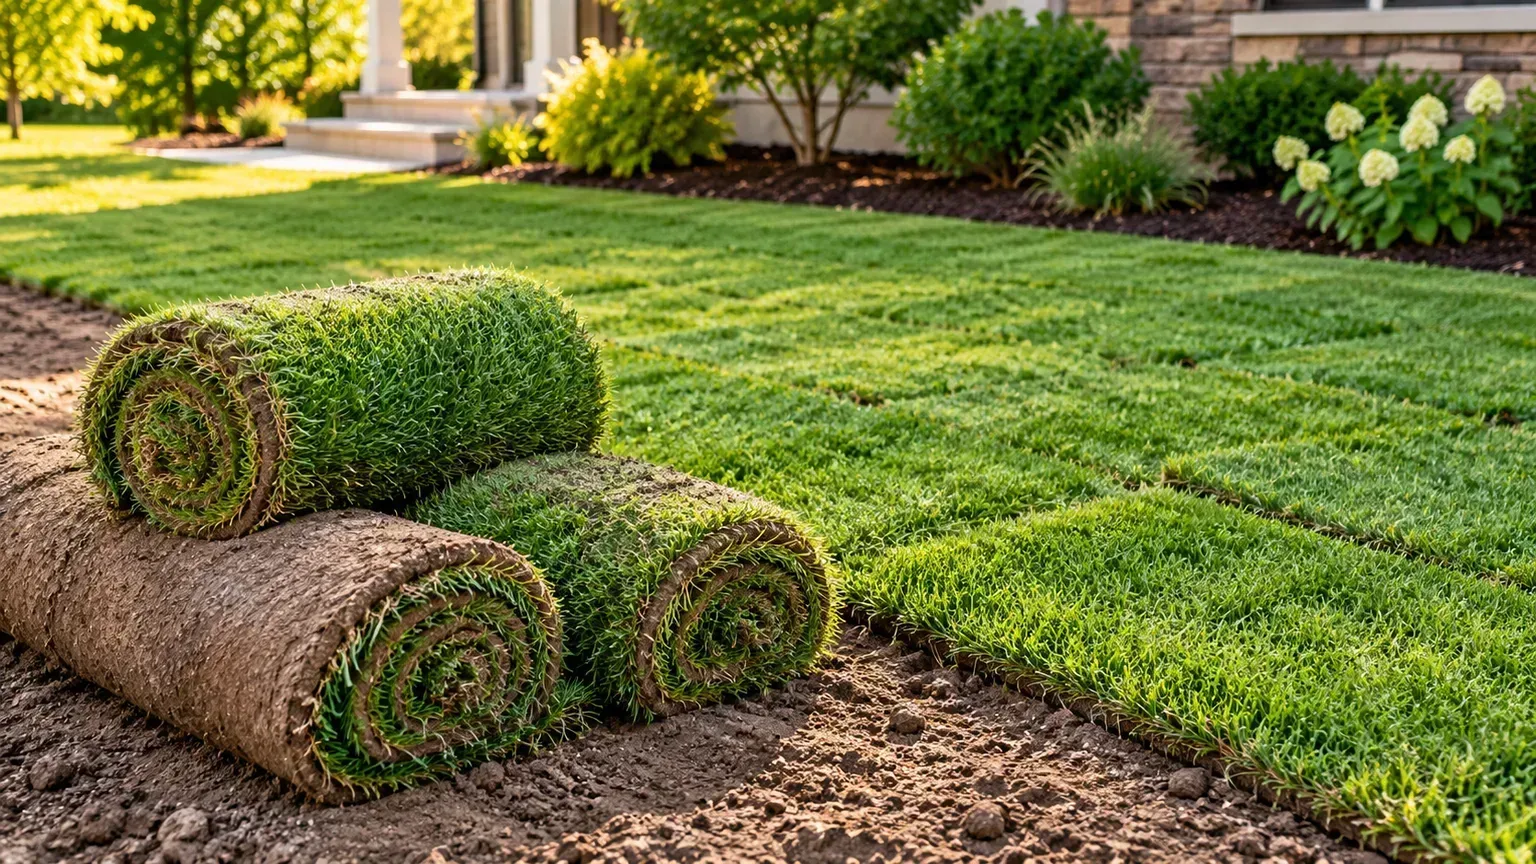
Fresh sod looks like a finished lawn, but its roots have not yet knitted into the soil below. For the first few weeks, the goal is to keep that shallow root zone moist while it attaches, then gradually shift to deeper, less frequent watering. The schedule also affects when the lawn can handle a mower and whether it needs more fertilizer.
There is no reliable one-size-fits-all rule such as “run the sprinkler for 20 minutes twice a day.” Sprinklers apply different amounts, and sun, wind, soil, grass type, slope, and rain change how quickly sod dries. Use the timeline below as a starting point, then check the sod and soil and adjust.
Start with the sod, soil, and weather
Sod arrives with a thin layer of soil and a short root system. Those roots need moisture and good contact with the prepared lawn soil so they can grow across the seam and down into the ground. Dry gaps between pieces and loose contact can slow knitting; a saturated layer can deprive roots of air and make them less likely to grow downward.
Moisten the soil before installation if it is dry, but do not lay sod on muddy ground. Lay fresh sod promptly, press it into contact with the soil, and water the completed area thoroughly so both the sod layer and the soil beneath it are damp. University of Minnesota Extension recommends slightly moist soil at installation and a gentle tug test after about 10 to 14 days; the sod should resist when roots have taken hold (University of Minnesota Extension).
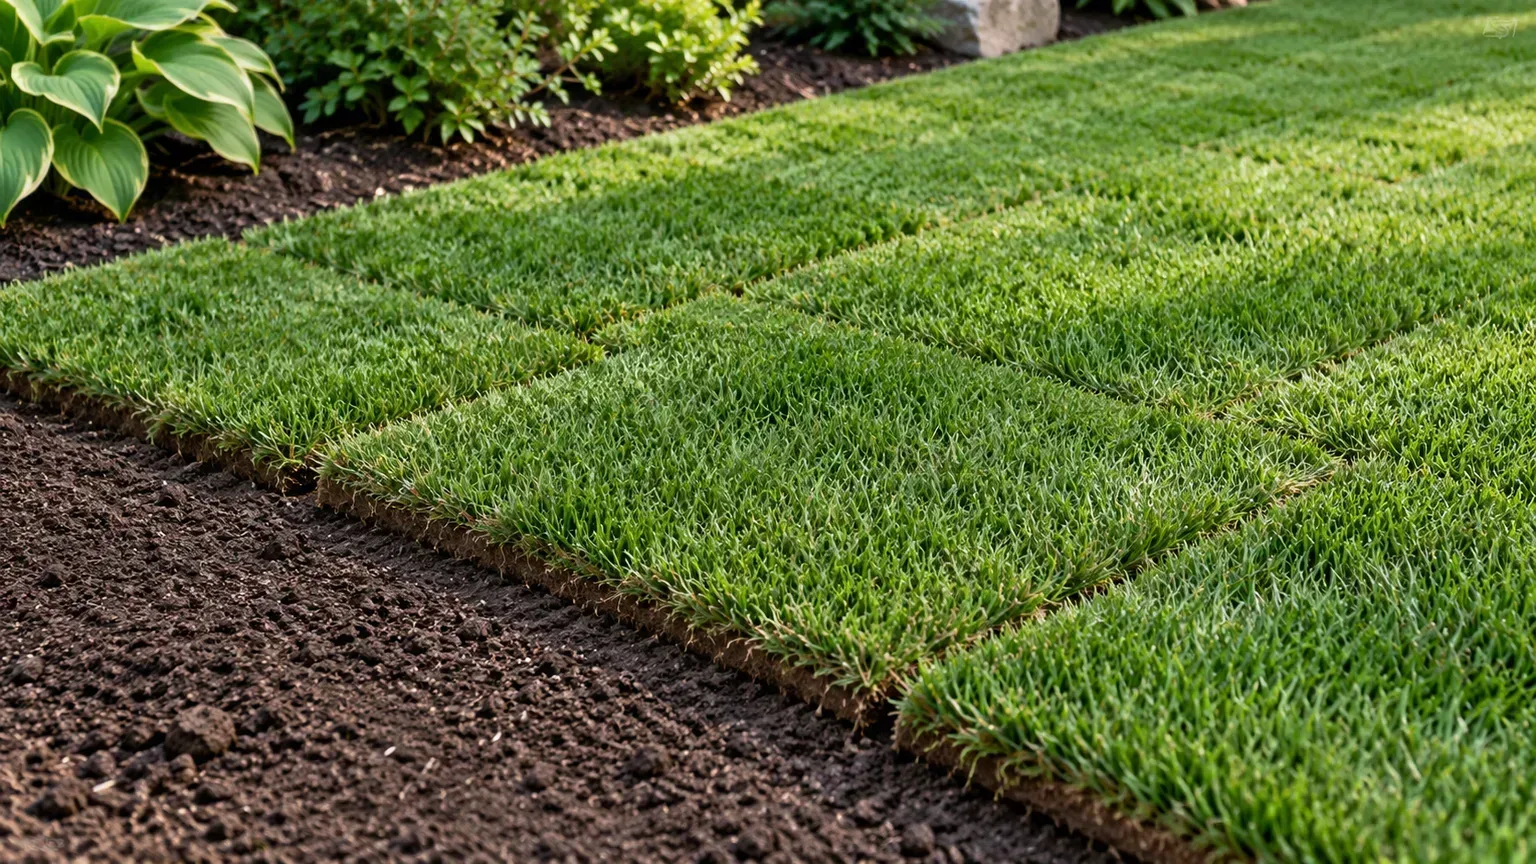
Before deciding on a schedule, identify the grass type and ask the sod supplier what fertilizer or treatment was applied at the farm. A cool-season Kentucky bluegrass lawn in a mild, rainy autumn will not dry like warm-season sod in a hot, sandy yard. Treat weather and root progress as signals, not exceptions to a fixed timer.
New sod care timeline at a glance
This table gives a general progression for actively growing sod. It is not a promise that every lawn will be rooted on a certain date. Rain, cool weather, dormant turf, a steep slope, heavy clay, and sprinkler coverage can all change the pace.
| Stage | What to do | What to check |
|---|---|---|
| Installation day | Water as soon as the sod is laid; wet the mat and soil beneath it | Lift an edge in a few places; the soil should feel moist, not dusty or muddy |
| First week | Water in the morning; add a short second pass during hot, dry, or windy conditions if the root zone is drying | Check exposed edges, seams, sunny areas, and soil under the sod |
| Around days 7–14 | Continue frequent watering if the sod is not rooted; once it resists a gentle tug, begin spacing waterings farther apart | Do not pull up a piece; look for resistance and moisture below the root mat |
| Weeks 2–4 | Gradually water less often and more deeply as roots extend; mow only when sod is anchored and the soil can support the mower | Adjust for rain, grass type, soil, and growth; do not fertilize again automatically |
| After establishment | Move toward the local deep, infrequent lawn schedule | Use rainfall, soil moisture, and local guidance instead of a year-round timer |
The sequence matters more than an exact number of days: frequent moisture at first, a root check, then a gradual taper. Penn State Extension notes that new sod may need daily irrigation until well rooted, sometimes up to four weeks depending on site and weather; Iowa State’s shorter 7-to-10-day starting interval is a useful example, not a universal deadline (Penn State Extension, Iowa State University Extension).
How often to water new sod
Water enough to moisten the sod and the top layer of soil underneath, then repeat when that root zone is beginning to dry. That may mean one thorough morning watering on a cool, cloudy day or an additional short watering during a hot, windy stretch. Sandy soil drains and dries faster than clay; shaded sections may stay wet while edges, slopes, and sunny corners dry first.
Installation day: wet the sod and soil together
After the final strip is laid, water the lawn promptly and evenly. Do not wait until the end of the day to start; the thin root layer can dry while the sod is exposed to sun and wind. The aim is not to make puddles or flood the subsoil. Check beneath a corner or along a seam to confirm that moisture has passed through the mat and reached the soil.
If the installation takes several hours, water completed sections as the crew moves across the yard, especially in warm or windy weather. Keep spare rolls shaded and moist if they cannot be laid immediately, and follow the sod farm’s handling advice. Penn State Extension cautions that sod can deteriorate quickly in warm weather when held in rolls, and that after installation the water must reach the soil below the turf, not just the leaves (Penn State Extension).
First 7 to 10 days: keep roots from drying
For the first week, check the lawn at least once each day and water in the morning when needed. Many extension schedules call for daily watering during this early period; Iowa State suggests an additional afternoon watering in warm weather if needed, while Florida IFAS recommends multiple brief cycles in hot conditions. These are region-specific examples because heat, soil, and grass type change water demand (Iowa State University Extension, UF/IFAS Extension).
In ordinary conditions, a thorough session may be enough for that day. When a hot, exposed area is drying before evening, split the day’s water into shorter sessions rather than letting the sod wilt. Avoid leaving the soil saturated: standing water, a squishy surface, or water running off the lawn means the application is too much or too fast.
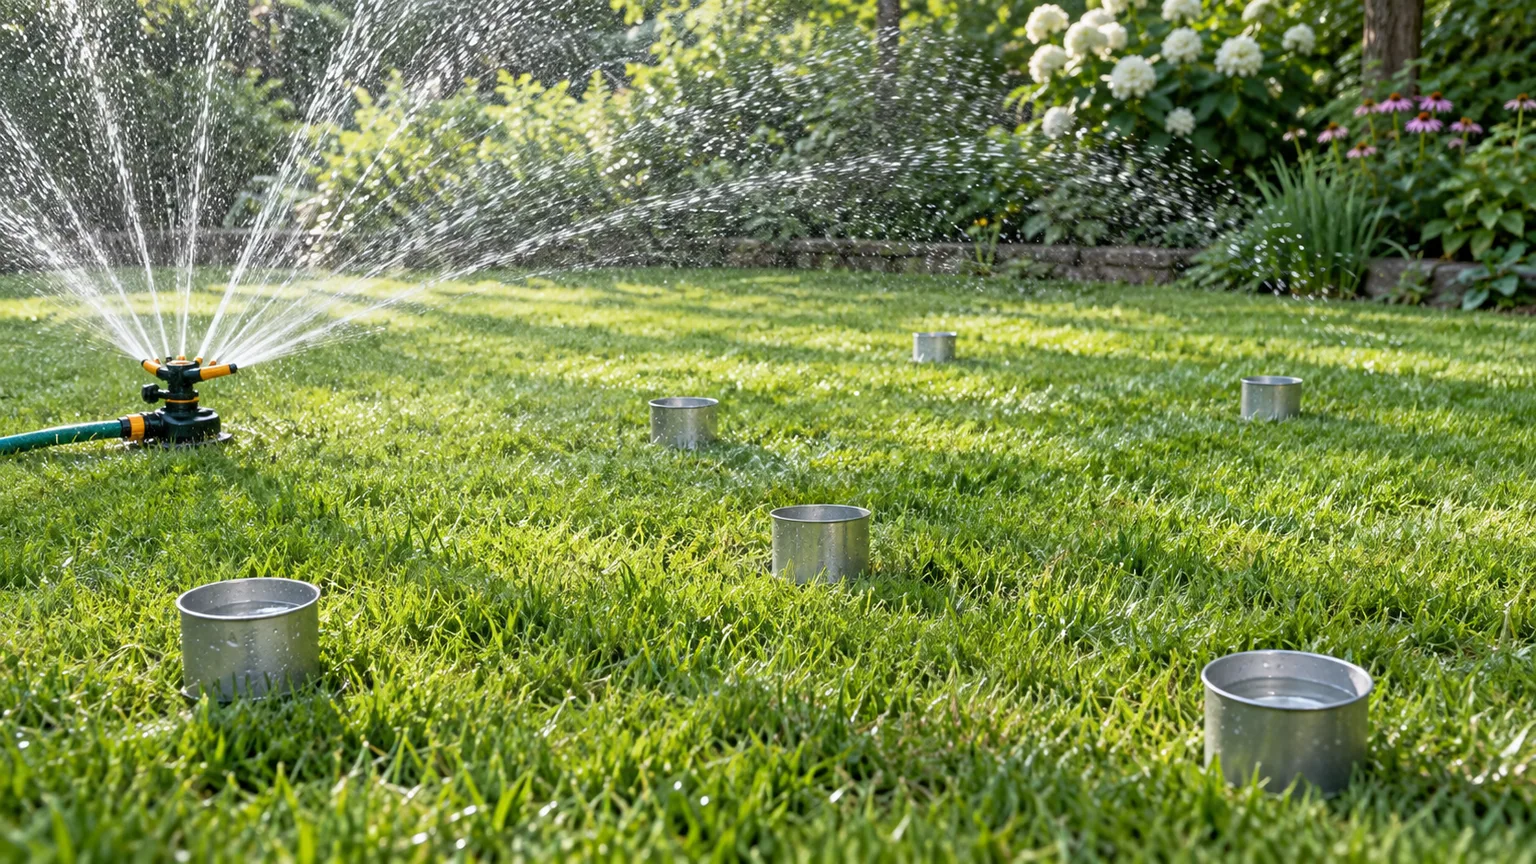
The number of minutes on an irrigation timer is not a measurement of water depth. A spray head, rotor, oscillating sprinkler, and hose-end sprinkler can deliver very different amounts in the same time. Use a moisture check and catch containers to see what your setup actually delivers.
As roots take hold: taper the schedule
Once the sod resists a gentle tug, begin reducing watering frequency while increasing the amount applied per session enough to wet farther into the soil. Do not stop regular checks just because one corner is anchored; shaded ground, a different soil patch, or a repair strip may root at a different speed.
Rooting often begins within about 7 to 14 days in active growing conditions, but complete establishment may take several weeks. Iowa State recommends deeper, less frequent watering after roots reach the soil; University of California Agriculture and Natural Resources advises keeping sod moist until it is established and avoiding saturation, which can inhibit deeper rooting. If a tug still lifts the mat easily, keep protecting it and continue the early moisture checks (Iowa State University Extension, UC Agriculture and Natural Resources).
Make the transition in steps rather than switching overnight from daily watering to a once-a-week schedule. If the sod begins to look bluish-gray, the surface edges curl, or the soil under a piece feels dry, water and reassess. If it stays soggy, reduce the amount or frequency and check whether drainage is blocked.
How to tell if new sod needs water
Look below the blades. Grass can appear green for a while even as the narrow soil layer beneath the sod dries, and a wet leaf surface does not prove that the roots are getting water. The most useful checks are simple and can be repeated in different parts of the lawn.
Lift an edge and check the soil
Choose a seam or outside edge and gently lift just enough to feel the soil below the sod. Do this in more than one spot, including a sunny edge and a shaded section, then press the sod back into contact. During early establishment, the underside of the mat and the upper soil should feel cool and moist, like a wrung-out sponge. Dust-dry soil signals that the water did not reach the roots; muddy soil or water squeezing up signals that you are applying too much.
Avoid repeatedly peeling back the same piece or pulling hard enough to break new roots. After about a week, a light tug on several corners can tell you whether the mat has begun to attach. If it lifts without resistance, close it back down, water as needed, and check again in a few days.
Measure coverage with a probe and catch cups
Push a long screwdriver or narrow soil probe into the lawn after watering. It should enter more easily through moist soil than dry soil; comparing several spots helps reveal dry zones and places where water is pooling. UC Agriculture and Natural Resources recommends using a screwdriver to gauge moisture depth and keeping irrigation uniform across the new lawn (UC Agriculture and Natural Resources).
To check the sprinkler itself, set several straight-sided cups or rain gauges around the lawn and run one cycle. Compare the depth in each container. If one area gets much more than another, adjust the head, overlap, or placement before adding minutes to every zone. Catch cups also help you convert a timer setting into an amount of water rather than guessing.
Rain counts only where it reaches the soil. A light shower may wet leaves without penetrating the sod layer, while a longer storm may saturate low spots. Check moisture after rainfall and skip a scheduled cycle when the root zone is already adequately damp. If you are under local watering restrictions, follow those rules and consult the municipality or extension office for allowed establishment watering.
Set sprinklers for even, efficient coverage
Water early in the day when practical. Morning watering gives the soil time to absorb moisture before heat and wind increase evaporation, and it avoids leaving foliage wet overnight. UC ANR advises avoiding evening irrigation to reduce disease risk, but in hot weather the more urgent issue is preventing the new root zone from drying; if a second cycle is needed, use it earlier in the afternoon rather than routinely waiting until late night (UC Agriculture and Natural Resources).
Move a hose-end sprinkler through the lawn in a pattern that reaches all sections, or run each built-in zone and check its coverage. Do not assume that because the sprinkler turns, its spray reaches along a fence, behind a shed, or around a curved bed. Hand-water small missed patches and dry seams rather than overwatering the whole lawn to compensate for one weak zone.
If water starts running down a slope or across a sidewalk before it soaks in, shorten the cycle and let the soil absorb it before repeating. This “cycle and soak” approach can deliver enough moisture without washing soil out from under sod. On compacted or clay-heavy ground, slower applications and spot checks are especially useful; on sandy soil or during hot winds, the root zone may need more frequent monitoring.
Do not leave a sprinkler on a fixed timer for the first month without checking rain and soil moisture. A timer can handle routine cycles, but it cannot see a thunderstorm, a clogged nozzle, a shady patch, or a dry edge. After installation, inspect the system frequently until each zone is applying water evenly and the sod is rooting.
When to mow new sod
Wait until two things are true: the sod is anchored enough to resist a gentle tug, and the lawn is tall enough to cut without scalping it. A calendar estimate such as “mow after 10 days” is only a planning clue. Cool temperatures, dormancy, a heavy clay surface, or weak contact between sod and soil can delay the first safe pass.
Wait for roots to anchor before the first cut
Test a few areas by gripping the grass near the surface and gently tugging upward. If the sod lifts easily, wait. When the grass resists and the soil is firm enough to support the mower wheels without rutting, the first mow is closer. Sod University gives a similar practical check: individual pieces should be difficult to pull up before mowing, and the mower should be raised for the first cut (Sod University by Sod Solutions).
Keep foot traffic, pets, play, and heavy equipment off new sod while roots are still shallow. Walking across it for a tug test is fine, but repeated traffic can press tracks into wet soil or shift a seam before roots knit. If the ground is soft after irrigation, wait until it firms up before mowing even when the grass has reached its target height.
Match the cut to the grass type
Check the grass species and the height recommended by the sod farm or your local extension service. A first cut should remove only the top of the blades; never remove more than one-third of the leaf at once. Set the mower high, use a sharp blade, and mow when the foliage is dry and the soil is firm. If clumps form or sod begins to lift, stop and wait until it is rooted more securely.
There is no universal “new sod height.” Tall fescue, Kentucky bluegrass, bermudagrass, and zoysiagrass have different maintenance ranges, and cultivar and climate matter. Virginia Cooperative Extension, for example, lists different home-lawn mowing heights for cool-season fescue and bluegrass than for warm-season bermuda and zoysia. Use its regional figures as an illustration of why the grass tag matters, not as a schedule for every state (Virginia Cooperative Extension).
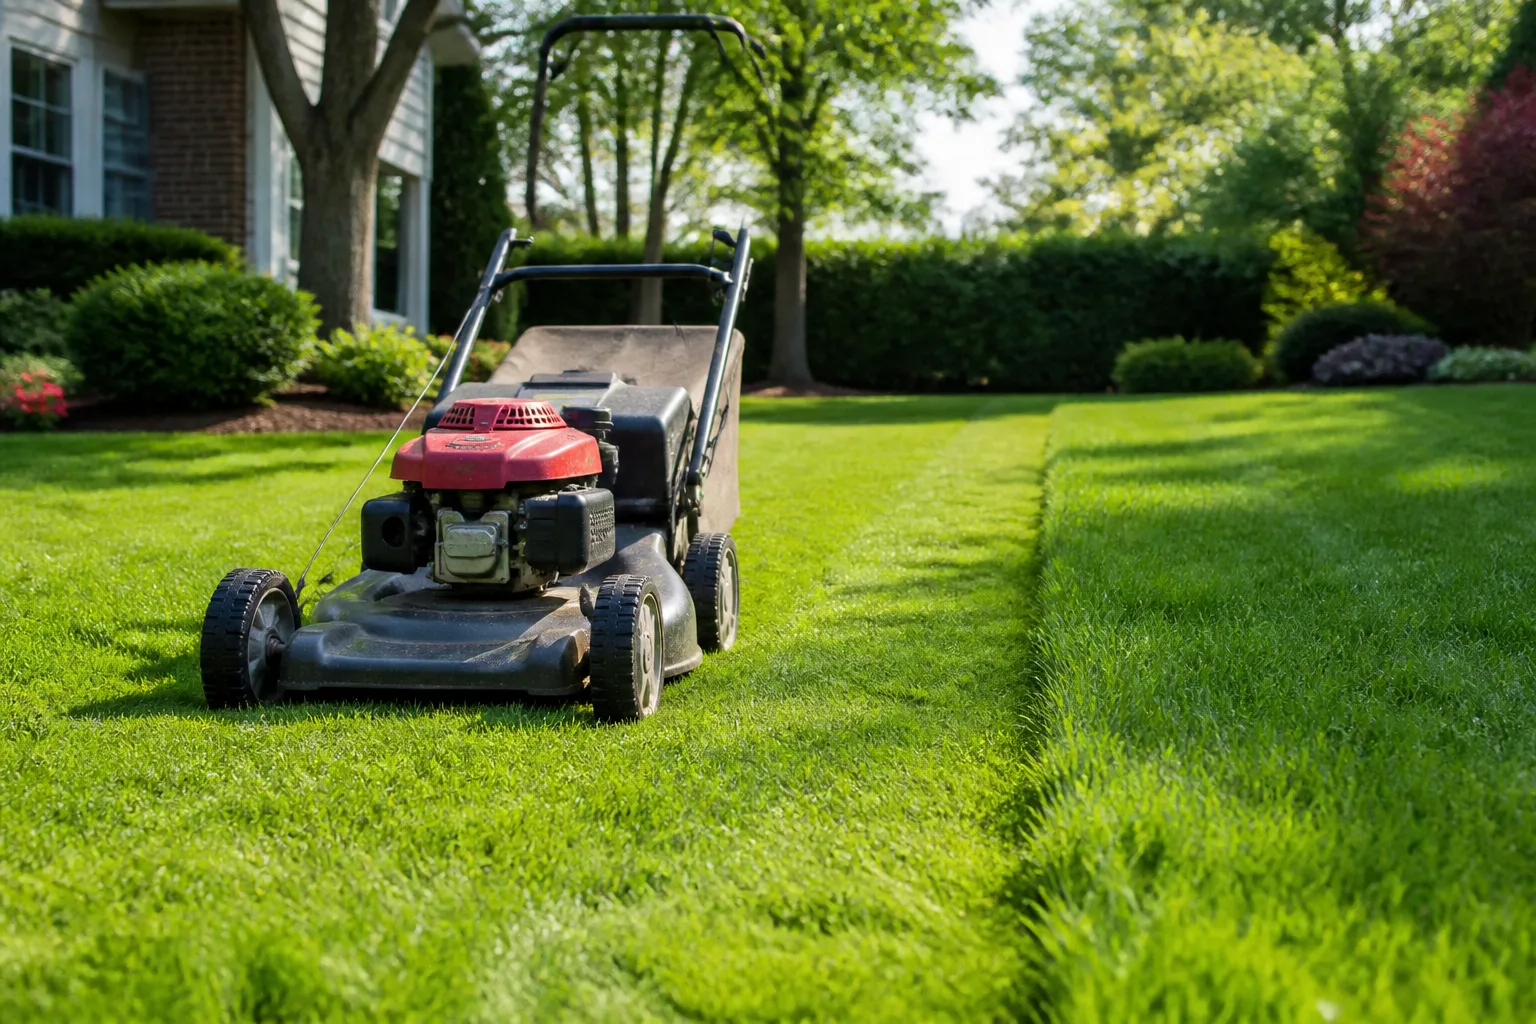
Keep the mower from turning sharply on fragile seams, especially on a slope. A light mower is preferable if the soil is soft; use the same intended height across the yard and avoid lowering the deck to compensate for uneven installation. The aim of the first mow is to trim a little and encourage normal growth, not to force a newly rooted lawn into a short finished look.
When and how to fertilize new sod
Fertilizer timing depends on what is already in the soil and what was applied to the sod before it reached your yard. More product does not make roots knit faster. A measured soil-test recommendation and a record from the sod supplier are better guides than applying a high-nitrogen fertilizer simply because the grass looks pale after installation.
Start with a soil test and installer notes
The best time to correct soil pH or nutrient shortages is before the sod is laid, based on a soil test. University of Minnesota Extension recommends testing soil and making amendments according to the results as part of lawn establishment; Virginia Cooperative Extension also says a new sod fertility program depends on grass type, location, use, and expectations (University of Minnesota Extension, Virginia Cooperative Extension).
Ask whether the installer applied starter fertilizer under the sod or whether the farm treated it before harvest. Save the bag or invoice if one came with the job. Phosphorus is not needed by every lawn, and local rules may restrict it; do not apply it unless the soil test or an applicable local recommendation calls for it.
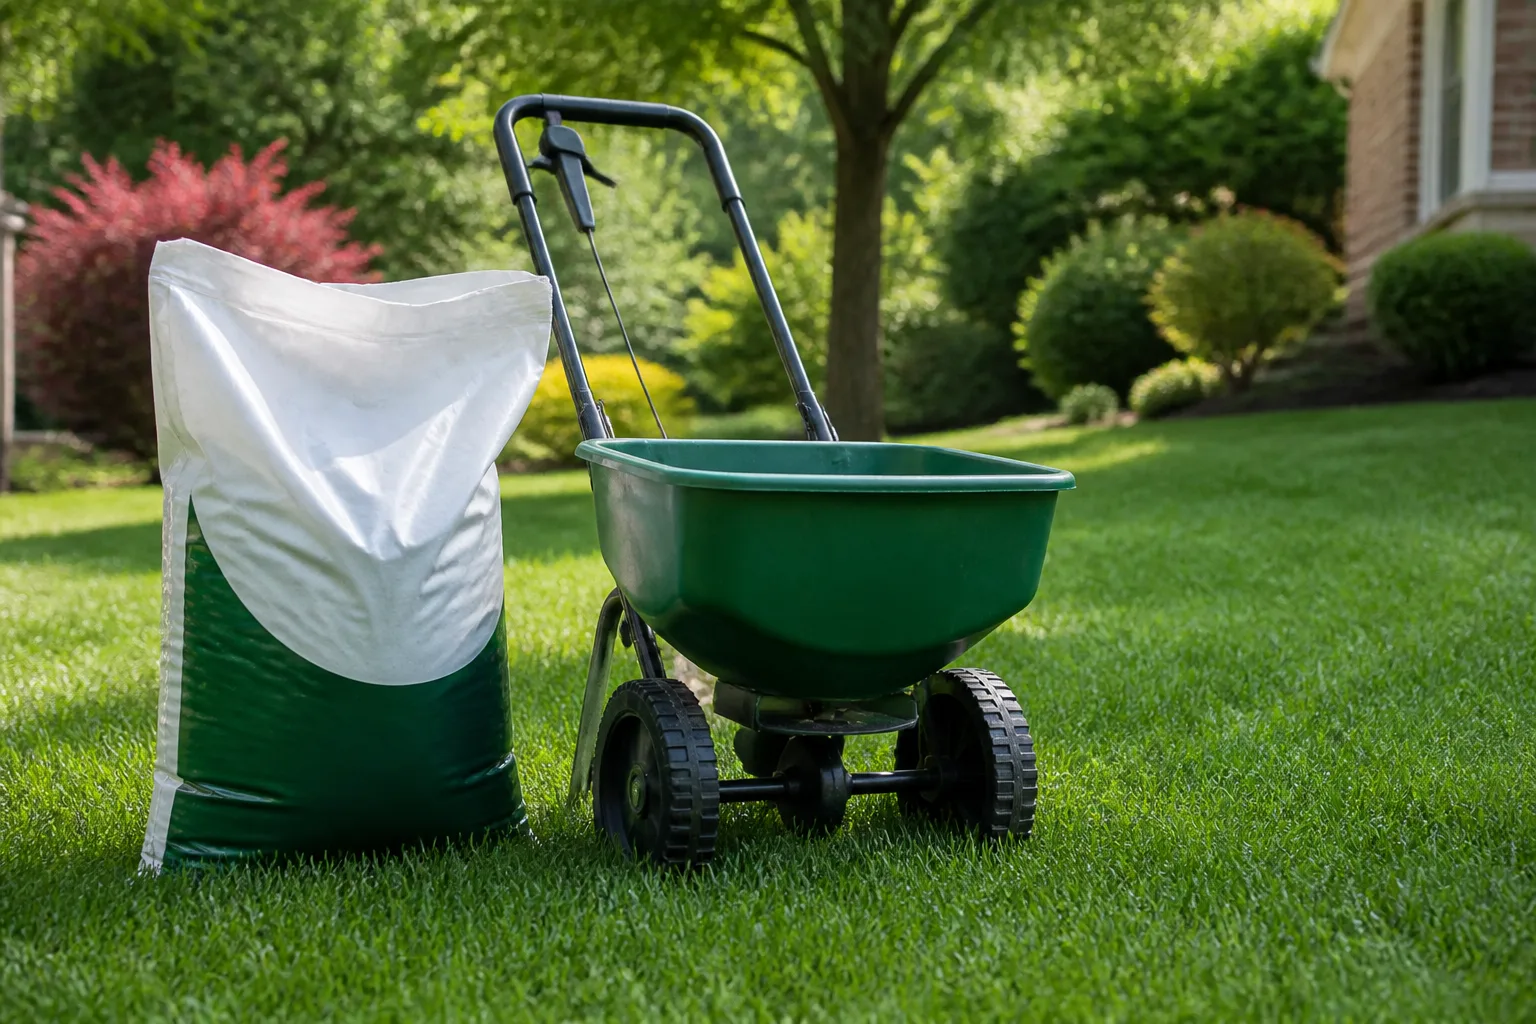
Time follow-up fertilizer conservatively
If starter fertilizer was applied before or during installation, do not repeat it immediately. Purdue Extension advises waiting at least four weeks before fertilizing newly sodded lawns, then following the established-lawn recommendations; the right product and rate still depend on the turf and soil. If no fertilizer was applied and the sod supplier did not provide instructions, ask a local extension turf specialist before feeding rather than doubling up blindly (Purdue Extension).
When it is time to fertilize, identify the square footage, read the product label, and apply only the stated rate. Sweep granules off pavement and water them in if the label directs. Avoid fertilizing dormant or heat-stressed turf unless local guidance specifically recommends it. Do not combine a fertilizer application with herbicide use on vulnerable new sod unless both labels and local extension guidance confirm the timing is safe.
Mistakes that slow sod establishment
| Mistake | Why it causes trouble | Better move |
|---|---|---|
| Watering by a universal number of minutes | Sprinkler output and soil differ | Measure with catch cups, then check the soil beneath the sod |
| Leaving sod dry between early waterings | Shallow roots and exposed seams dry quickly | Inspect daily during the first week and respond to heat, wind, and rain |
| Keeping the lawn soggy | Saturated soil has less air and can inhibit rooting | Reduce cycle length or frequency when water pools or the soil is muddy |
| Running the same schedule after roots anchor | Constant shallow moisture delays the transition to deeper roots | Taper frequency gradually after the tug test |
| Mowing because a certain number of days passed | Unrooted strips can lift or tear | Wait for resistance to a gentle tug and firm ground |
| Fertilizing again without checking prior applications | The sod or soil may already have received nutrients | Review the soil test, invoice, product label, and local recommendations |
New sod may look slightly different along seams while it adapts, but widespread wilting, soil that stays saturated, lifting edges, or bare patches call for a closer check. Confirm the sprinkler is reaching the area, feel below the sod, and compare the result with the installer’s instructions. If damage continues despite correcting watering, contact the sod supplier or local extension office with the grass type, installation date, and watering history.
As the lawn roots, maintain a simple record of rainfall, watering, and the tug-test result. That short log makes it easier to see when the yard is ready for longer intervals and normal mowing, and it helps explain uneven sections if you need advice. Keep the installation invoice and grass label until the lawn is established; cultivar information is useful later when choosing mowing height, fertilizer, and seasonal care.
Conclusion
Water new sod promptly, keep the root zone moist but not saturated while it anchors, and taper irrigation as roots grow into the soil. Use the soil beneath the mat, a gentle tug, and catch cups to decide what to do; do not trust a timer or a fixed day count alone. Wait to mow until the sod resists lifting and the ground supports the mower, then cut lightly at the height recommended for the grass. Fertilize according to the soil test and installer notes, not habit. Those checks give new sod the best chance to establish without wasting water or stressing the lawn.



