How to Clean an Artificial Christmas Tree
Learn how to clean an artificial Christmas tree with safe dry-dusting, pre-lit precautions, stain rules, flocked-tree care, and storage tips.
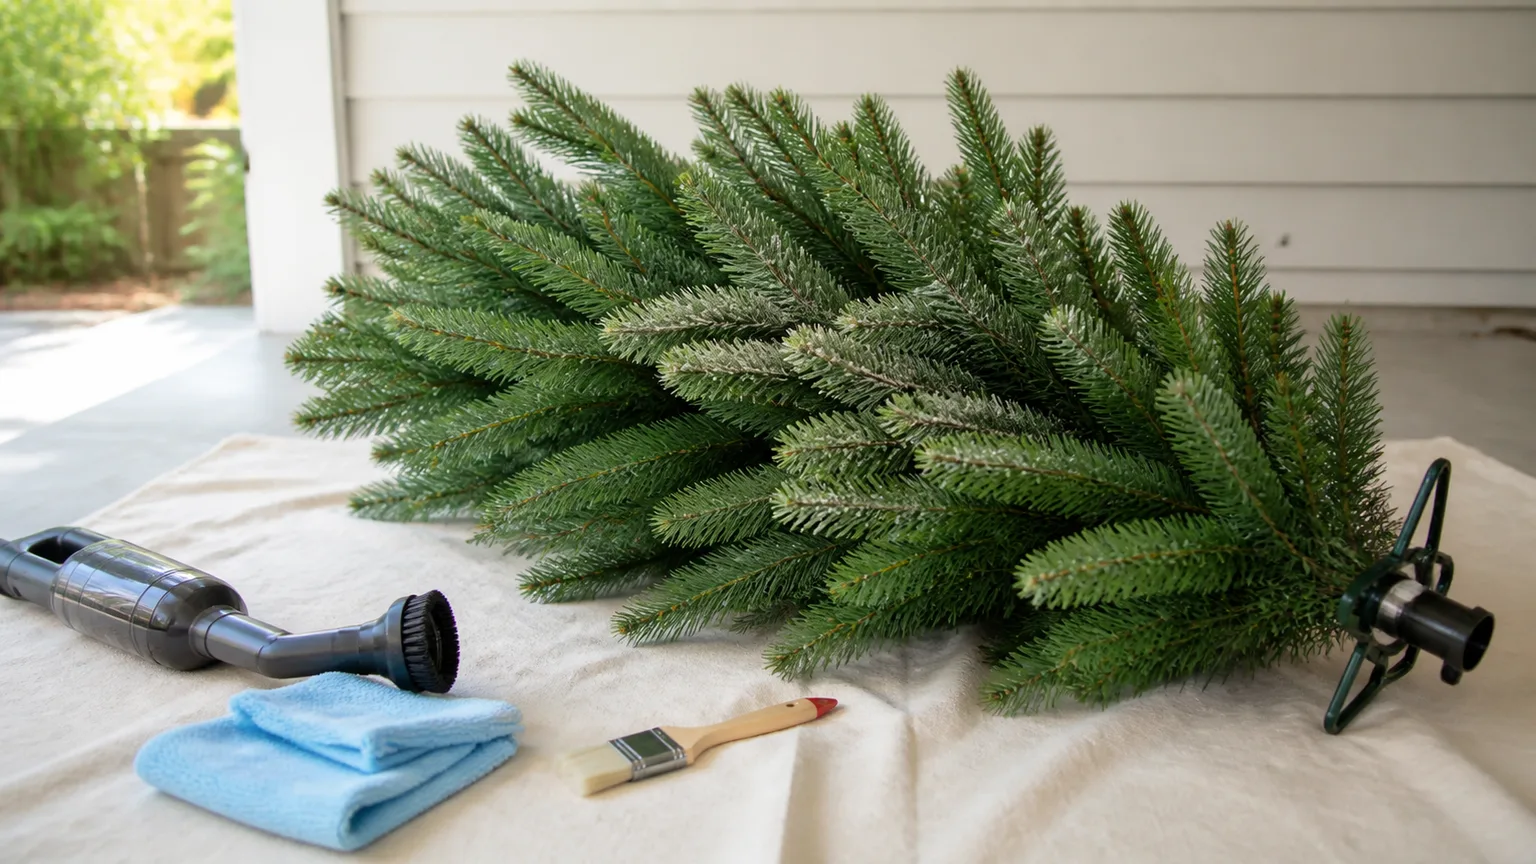
The safest way to clean an artificial Christmas tree is to start with dry dusting: unplug a pre-lit tree, remove decorations, separate the sections, and clean from the top down with a soft brush or microfiber cloth. Use a vacuum only with a brush attachment and low suction. Add a barely damp cloth only to a plain, unlit, unflocked tree after a spot test and a check of the manufacturer’s care instructions.
That distinction matters because “artificial tree” can mean several different constructions. A basic unlit tree has flexible plastic needles and metal branches; a pre-lit tree adds wiring and sockets; a flocked or frosted tree adds a coating that can shed, smear, or dissolve. Treating all three like washable plastic furniture is how a quick cleanup turns into loose needles, damaged lights, or a permanently patchy finish.
Quick Answer: Start Dry, Then Match the Method to the Tree
Use this quick decision rule before you bring out the spray bottle:
| Tree type | Safest starting method | Water? | Main caution |
|---|---|---|---|
| Plain, unlit, unflocked | Soft brush, microfiber cloth, or low-suction brush attachment | Sometimes, if the manual allows it | Keep moisture away from hinges and metal connectors; dry completely |
| Pre-lit | Dry microfiber cloth or soft paintbrush after unplugging | Avoid unless the manufacturer specifically approves it | Never wet the wiring, sockets, plugs, or control boxes |
| Flocked | Very soft, dry paintbrush and gentle air | No | Water and shaking can remove the flocking |
| Frosted or lightly coated | Dry brush and careful spot testing | Usually no | Coating may lift, smear, or become translucent |
| White plastic | Dry clean first; barely damp cloth for approved unlit surfaces | Limited | Dirt, UV yellowing, and plastic aging need different solutions |
Identify the Tree Before You Clean It
Look for a care label, instruction booklet, or model number before cleaning. The manual may specify whether the branches are PVC, PE, or another material; whether the finish is flocked; and whether the lights or connectors have special cleaning restrictions. It may also tell you whether washing, a particular cleaner, or disassembly affects the warranty.
If you cannot find the manual, use the most conservative method that fits the visible construction. A dry brush is safer than water, and a cool, gentle air stream is safer than a hot one. When a tree has built-in lights, decorative berries, paper-like leaves, or a heavy snow coating, assume it is not washable until the manufacturer says otherwise.
What to Avoid on Every Artificial Tree
Do not use bleach, strong degreasers, furniture polish, glass cleaner, abrasive salt, or an all-purpose spray unless the manufacturer explicitly names that product as compatible. These cleaners can leave an oily film that attracts dust, fade green or white plastic, make flocking gummy, or attack coatings that were never designed to be wiped.
Do not hose down a tree just because its needles are plastic. Water can sit inside branch joints, ferrules, light sockets, and hollow tubing long after the outer tips feel dry. Never clean a plugged-in tree, never spray toward a connector, and do not use a heat gun, hot hair dryer, or direct high heat to speed drying.
For electrical safety, treat cleaning as an inspection opportunity. Safe Electricity advises checking holiday light strands for broken sockets, frayed cords, and faulty plugs, using tested lights, turning decorations off when leaving or sleeping, and keeping cords out of pathways. IAEI Magazine’s discussion of UL research also explains why pre-lit artificial trees deserve real electrical and fire-safety attention; a “flame-retardant” label is not a reason to ignore damaged wiring (Safe Electricity; IAEI Magazine).
Gather Supplies and Create a Safe Workspace
For most trees, you need a clean microfiber cloth, a new soft-bristled paintbrush, a small soft brush for tight joints, a vacuum with a brush attachment and adjustable or low suction, and a large sheet or clean tarp. Keep a flashlight nearby for inspecting light wires and connectors. For an approved unlit tree, add a bowl of clean water and a small amount of mild dish soap; do not mix cleaners.
Choose a dry, well-ventilated workspace where the sections can lie flat without being stepped on. An outdoor patio, covered porch, garage, or hard floor is usually better than a carpeted living room because dust can fall away from furniture. Avoid cleaning outdoors on a windy day: wind can blow dust back into the branches, carry flocking onto neighboring surfaces, or make a lightweight section tip over.
Spread the sheet first, then photograph or label the sections if the tree is not obvious to reassemble. Work on one section at a time and keep lights, hinged branches, and metal ends supported rather than dragging them across the floor.
Dry-Clean an Artificial Tree Step by Step
Dry cleaning is the default method because it removes ordinary storage dust without adding a new moisture problem. It is also the method that works across most plain, pre-lit, frosted, and flocked trees, although coated trees need a softer touch.
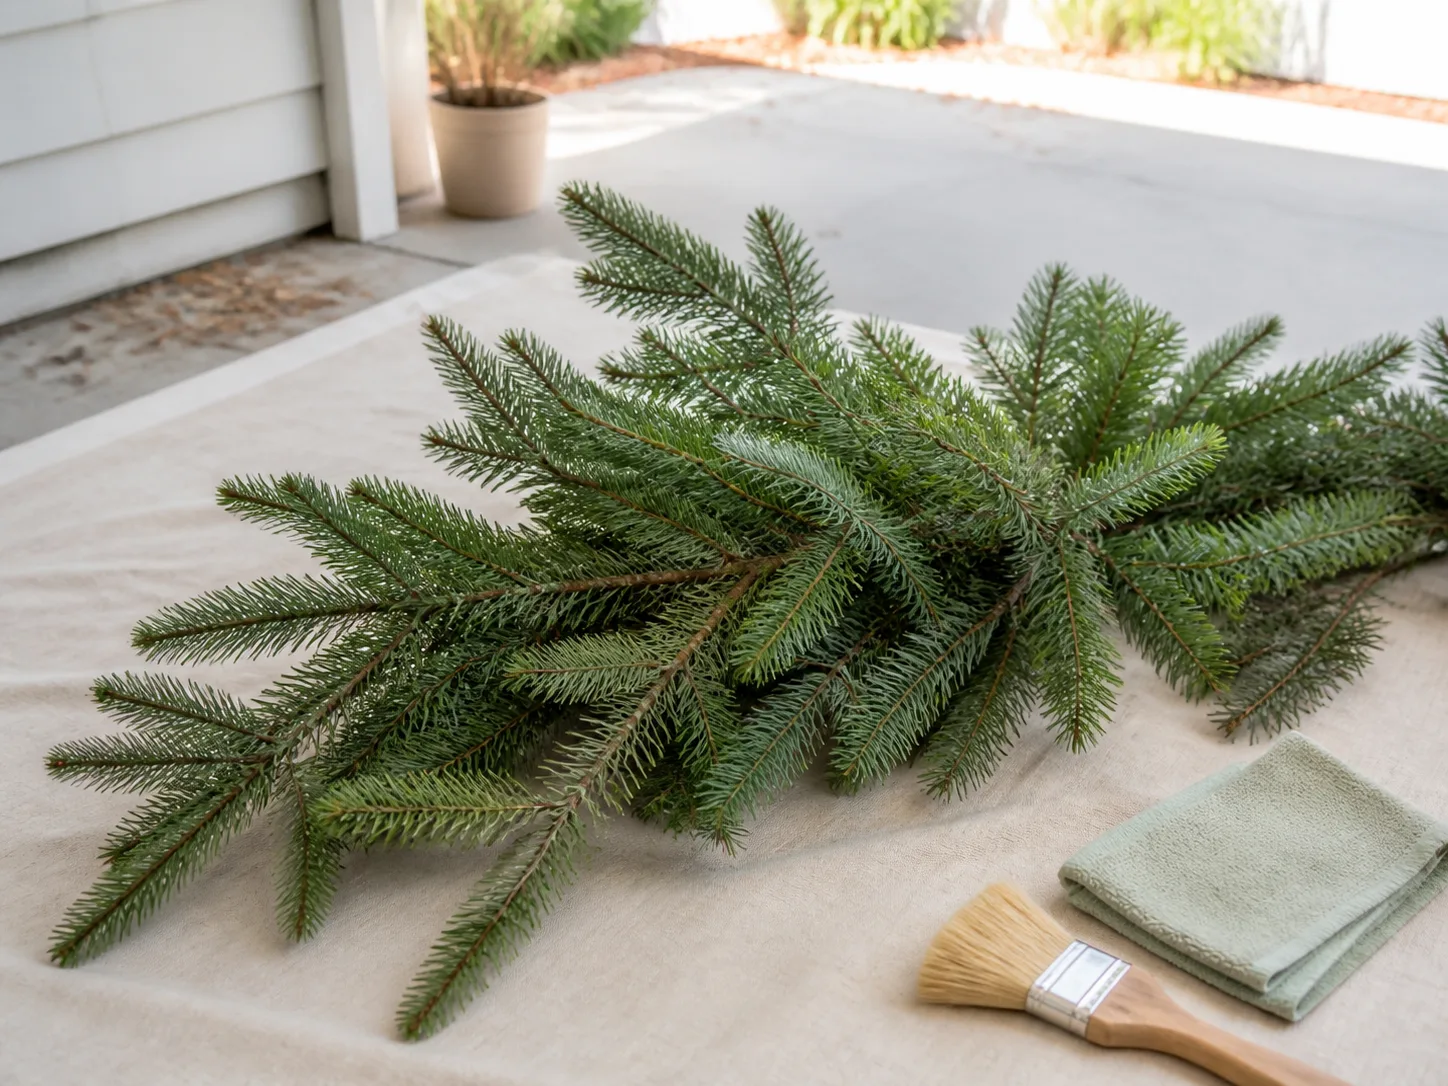
Work from the Top Down, One Section at a Time
- Remove ornaments, garland, tinsel, clips, and loose decorations. Inspect each decoration separately so you do not mistake glitter, a pinecone, or a broken ornament hook for tree debris.
- Unplug and disconnect every power connection if the tree is pre-lit. Disconnect sections that link through light plugs or proprietary connectors rather than leaving them joined while you work.
- Separate the tree sections when the design allows it. Cleaning a section on a sheet is easier and gentler than reaching through a fully assembled tree and leaning against branches.
- Open only enough branches to expose the interior. Do not force hinges that are stiff from storage. A branch that cracks or pulls free is harder to repair than a dusty one.
- Brush from the top toward the tips with a soft, dry paintbrush or microfiber cloth. Use short, light strokes that follow the branch instead of scrubbing against it. Start at the center and work outward so dust lands on the sheet rather than on areas you already cleaned.
- Clean the trunk, stand, and branch joints last. These parts often hold the most grit. Use a dry cloth around metal connectors and avoid pushing debris into sockets or hinge gaps.
- Turn the section and repeat. A quick pass over the front only leaves a dust line on the hidden back that will fall when you fluff the tree.
Do not polish every needle individually. The goal is to loosen dust and dander, not to make the plastic glossy. A soft brush is especially useful around the inner branch structure, where a microfiber cloth can snag and pull small tips.
Use a Vacuum or Blower Without Pulling Needles
A vacuum can speed up a very dusty cleanup, but use its brush attachment on the lowest practical suction. Hold the attachment just above the tips or rest it lightly against a sturdy inner branch; do not drag a bare nozzle across the needles. If the tree is pre-lit, keep the nozzle away from bulbs, sockets, clips, and wires. The point is to lift loose dust, not test how much the vacuum can pull.
A cool hair dryer or electric duster can move dust out of crevices on an unlit, uncoated tree when used outdoors or in a well-ventilated area. Use the lowest, coolest setting and aim along the branches, not directly into a hinge or connector. Never use a hot setting near plastic, flocking, or built-in lights. Wear a dust mask if storage dust makes you cough or sneeze, and clean the floor after each section so you do not redistribute the dust.
If a branch repeatedly sheds plastic tips, stop vacuuming that area and switch to a brush. A few loose tips can be normal for an older tree, but widespread brittleness, cracked sockets, exposed wire, or a strong electrical smell is a reason to stop cleaning and replace or professionally assess the affected part.
How to Clean a Pre-Lit Artificial Christmas Tree
Pre-lit trees need a dry method unless the exact product instructions say otherwise. The lights are not just decorations sitting on top; wires may run through branches, connect between sections, and terminate in sockets or control boxes that trap moisture.

Start by turning the tree off, unplugging it from the wall, and disconnecting any section-to-section plugs. Give the tree time to cool if the lights were on. Before dusting, inspect the plug, cord, insulation, sockets, bulbs, and connectors under good light. Replace only parts the manufacturer identifies as compatible, and do not use a strand with fraying, exposed conductors, cracked sockets, scorch marks, or a loose plug.
With the tree disconnected, use a dry microfiber cloth on sturdy branches and a soft paintbrush around bulbs and wire clips. Keep the brush parallel to the branch so it does not snag the wire. A vacuum brush may be used on the stand or the room around the tree, but do not press suction over the light set itself. Never spray cleaner, water, vinegar, or fragrance onto the tree, even if the dust is stubborn.
After cleaning, let the section sit in a dry place while you inspect the next one. Reconnect the tree only after every part is dry and intact. Once assembled, test the lights briefly while you are present; do not leave them on unattended until you are satisfied that the cords and connections are sound. Safe Electricity also recommends using safety-tested lights, avoiding overloaded outlets, turning decorations off before bed or leaving home, and keeping cords out of high-traffic areas (Safe Electricity).
How to Damp-Clean an Unlit, Unflocked Tree
Water is an option only for a plain, unlit, unflocked artificial tree whose care instructions allow it. Even then, damp cleaning is for surface grime and isolated marks, not a full soak. Dry-dust first; otherwise, water turns a layer of fine dust into paste that spreads between the needles.
Test an inconspicuous branch with a white cloth barely dampened with clean water. Wait until the spot dries. If color transfers, the surface becomes tacky, the needles change sheen, or the cloth catches, stop and return to dry cleaning. If the test passes, add a tiny amount of mild dish soap to the water, wring the cloth until it is almost dry, and wipe a few branches at a time.
Keep the cloth damp rather than wet. Avoid branch hinges, sockets, metal ferrules, fabric-wrapped trunks, paper labels, and the center of dense branch clusters. Rinse the cloth often so you lift dirt instead of redepositing it. For a sticky spot, hold the cloth against it briefly, then lift the residue with gentle strokes; do not scrape with a knife or abrasive pad.
Dry each section immediately with a clean towel, then leave it in moving air until the joints and inner branches are completely dry. Shade is preferable to harsh direct sun, which can fade plastic and make old needles more brittle. Do not reassemble, bag, or decorate a damp section. Trapped moisture is more likely to create odor and surface growth than a short, careful dry-cleaning routine.
How to Clean a White Tree Without Making Yellowing Worse
Begin by deciding whether the white appearance is dirty, flocked, frosted, or aged plastic. Dust usually looks gray and sits in the branch structure. A coating feels or looks textured and may shed. Yellowing that remains after gentle dry cleaning can be UV exposure, heat damage, chemical staining, or plastic aging; it is not necessarily dirt that a stronger cleaner can remove.
For a plain white, unlit, uncoated tree, use the same barely damp cloth and spot-test described above. Use clean water first. Only if the manufacturer permits it should you try a small amount of mild soap, and rinse the cloth thoroughly before the final pass. Photograph the test area after it dries so you can compare the finish in daylight rather than trusting a wet surface.
Skip homemade whitening formulas with vinegar, peroxide, bleach, or abrasive salt unless the tree’s manufacturer specifically approves that exact treatment. They can change the color unevenly, weaken a coating, damage metal fasteners, or leave a finish that looks different once dry. Direct sunlight may make a test patch appear brighter while accelerating fading or brittleness elsewhere. If the plastic is permanently yellowed, a replacement section or a new tree is usually more predictable than escalating to a harsher chemical treatment.
How to Clean Flocked or Frosted Branches
Flocking is a snow-like coating applied to branches; frosting is usually a lighter, more decorative coating. Both are finishes, not ordinary dirt. They can come loose during setup, and once a patch is missing it is difficult to recreate evenly.
Use a new, very soft, dry paintbrush and work from the top down with almost no pressure. A narrow brush can reach the inner branch structure, while a microfiber cloth is useful only on uncoated structural parts that the manual says are safe to wipe. Avoid shaking flocked sections outdoors: the movement can remove coating in clouds and leave an uneven tree.
Do not use water, soap, vinegar, peroxide, or a wet vacuum on flocked or frosted branches. Do not try to “refresh” the snow with household spray adhesive or craft flocking while the lights are attached. If a small area is stained, first let the spot dry and brush away loose surface material. If the stain remains, check the care instructions or accept that a small mark is safer than dissolving a large area of finish.
People with dust sensitivity should wear a suitable mask and clean flocked branches before bringing the tree into the main living area. If the coating has a strong persistent odor, is visibly moldy, or releases large amounts of powder after gentle brushing, do not place the tree near children, pets, or people with respiratory sensitivities until you have decided whether it should be professionally assessed or replaced.
What to Do About Musty Odors, Mold, or Pests
A stale smell after storage does not automatically mean the tree needs a fragrance spray. First move the sections to a dry, ventilated place and inspect the bag, bin, floor, and surrounding storage area. Clean the storage container separately and let it dry. Airing a plain, unlit, uncoated tree may help; airing a flocked or pre-lit tree is still safer than wetting it, but it will not fix contamination inside a porous coating or electrical housing.
If you see isolated surface dirt on plain plastic, use the spot-tested method above. If you see fuzzy growth, broad staining, moisture damage, or contamination in flocking, fabric, cardboard packaging, or light housings, stop and follow the manufacturer’s guidance. Do not spray bleach, pesticide, essential oils, or a household disinfectant into branches or wiring. A porous or heavily contaminated tree may not be worth trying to salvage indoors.
Inspect for insects, egg cases, nesting material, and rodent damage before the tree enters the house. Vacuum the empty storage area and discard contaminated packing material according to local rules. If wiring has been chewed or insulation is cracked, do not plug in the tree to “see if it works.” Replace the damaged component or the tree.
Reassemble, Fluff, and Check the Tree
Once the sections are clean and dry, reassemble the tree on its stand before adding decorations. Check that each section seats fully, the stand is stable, and no branch or connector was bent during cleaning. For a pre-lit model, route the cord so it is not pinched by the stand or hidden under a rug, and verify that every connection is the correct one for that model.
Fluff the branches while the tree is bare. BHG’s artificial-tree guidance also recommends working from the top down and giving each branch attention before adding lights or ornaments (BHG). Cleaning first makes this step easier because you can see missing tips, dust pockets, and gaps before decorations disguise them.
Do a final floor and branch check before decorating. Pick up loose plastic tips, flocking, or broken ornament hooks. Keep the tree away from fireplaces, radiators, heat registers, and other heat sources, and make sure the tree’s cords do not cross a walkway. A clean tree is still a large synthetic object with wiring and decorations, so placement and supervision matter as much as appearance.
Store It So Next Year’s Cleaning Is Easier
Clean the tree again after the holiday season, before storage. Dust that remains on branches can attract more debris while the tree is packed, and sticky residue becomes harder to remove after months in a warm attic or garage. Remove ornaments first, then clean and inspect each section while it is still easy to reach.
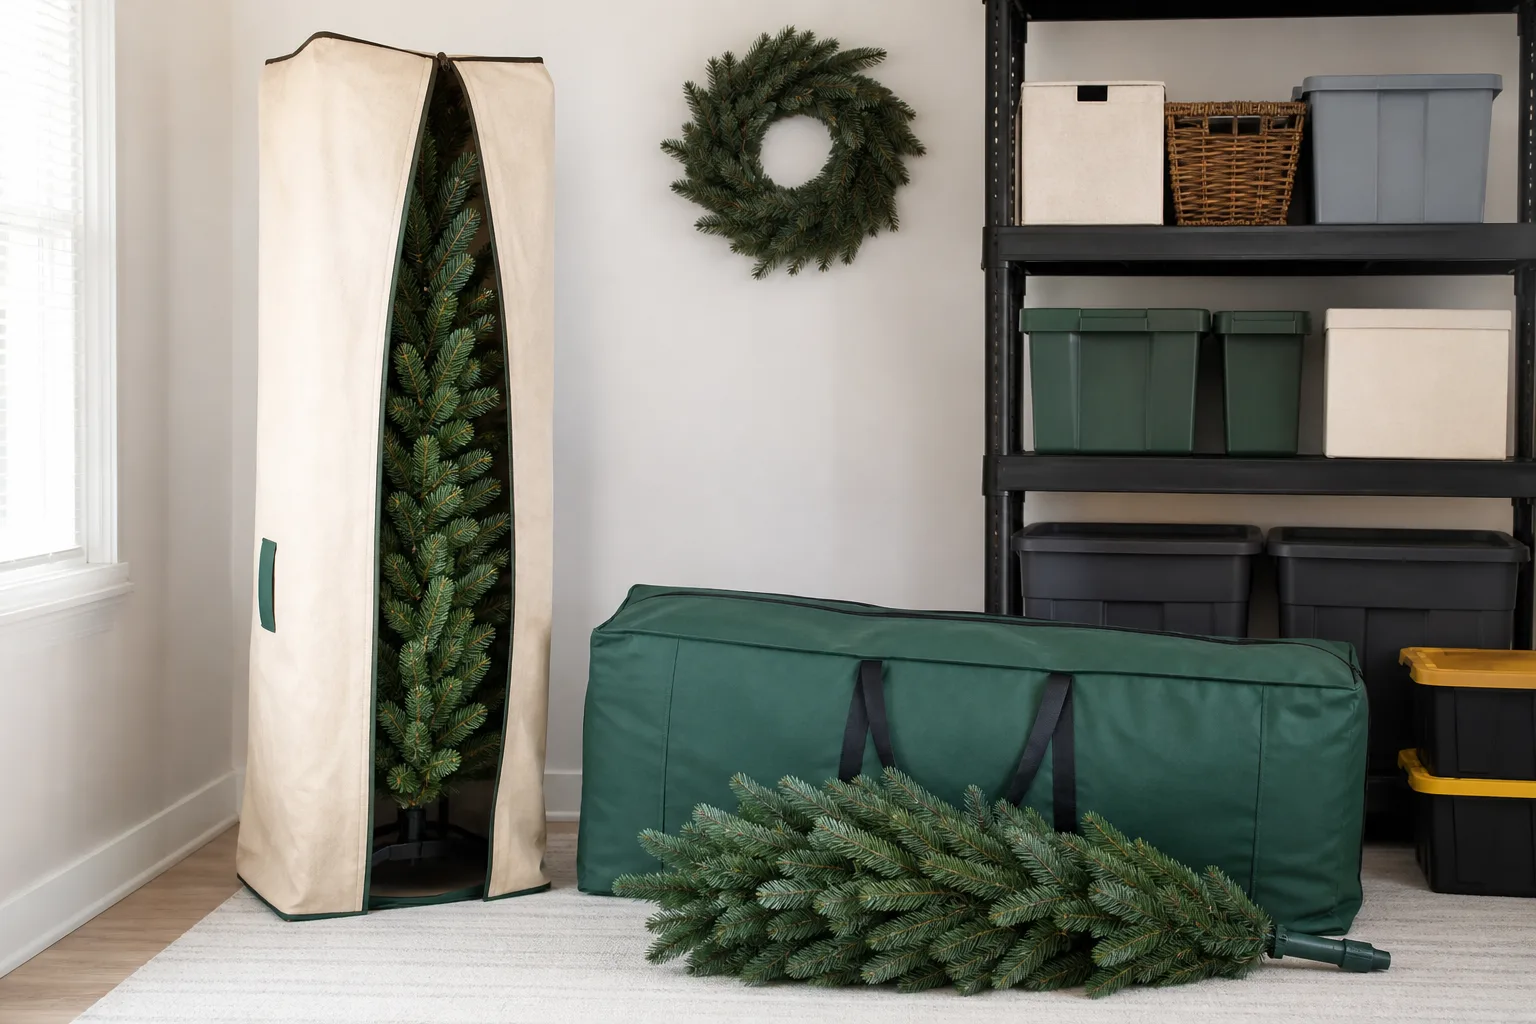
Let every piece dry completely before packing. Compress hinged branches only as much as the manufacturer recommends; over-tight straps can flatten tips, stress hinges, and make next year’s fluffing take longer. Coil or secure light cords loosely, protect plugs from crushing, and keep section connectors together in a labeled bag rather than allowing them to rub against branch ends.
Use a purpose-made tree bag or a clean lidded bin that fits without forcing the sections inside. A sealed container reduces dust and discourages pests, but it should go into a cool, dry location—not a damp basement, a roof-hot attic, or a place that floods. Keep the tree off a wet floor and do not pack it next to chemicals, fuel, or materials that can transfer odor.
Garden Therapy notes that artificial trees are reusable and can still shed plastic needles that need vacuuming, which is a good reminder that storage is part of cleaning rather than an unrelated final step (Garden Therapy). A clean, dry bag and a short end-of-season inspection usually save more work than an aggressive deep clean the following December.
Common Artificial-Tree Cleaning Mistakes
Cleaning while the tree is plugged in. Unplug and disconnect first, then inspect the cord, plug, sockets, and connectors. A pre-lit tree should never be treated like a washable decoration.
Starting with water. Dry dusting removes loose soil without creating a paste. Water belongs only on approved surfaces of an unlit, unflocked tree, and even then it should be used sparingly.
Using a bare vacuum nozzle. Bare suction can pull needles, bend branches, and catch light wires. Use a brush attachment on low suction and stop if tips begin to lift.
Shaking a flocked tree. It may remove dust, but it can also remove the finish that gives the tree its look. Brush gently in place and accept that some embedded dust is safer than coating loss.
Trying to bleach yellow plastic white. Yellowing may be aging or UV damage, not removable grime. Aggressive formulas can create a patchier, more fragile finish.
Packing the tree before it is dry. A dry outer tip does not prove that a dense center or connector is dry. Give damp-cleaned sections time in moving air before closing the bag or bin.
Ignoring storage damage. Chewed wires, cracked sockets, brittle needles, or a persistent musty odor are not cosmetic problems. Stop and repair or replace the affected part before the next display.
A Simple Cleaning Schedule
Use a two-pass routine instead of waiting for the tree to become heavily soiled:
| When | What to do |
|---|---|
| Before setup | Inspect the storage area and tree; dry-dust each section; clean approved unlit surfaces; check pre-lit wiring before connecting. |
| During display | Remove obvious debris with a dry brush; keep cords clear; do not spray room cleaner or fragrance onto the branches. |
| After take-down | Remove all decorations; clean dust and residue; let sections dry; inspect lights, hinges, and tips; pack loosely in a dry bag or bin. |
| During storage | Keep the container dry, off the floor, and away from heat, moisture, chemicals, and pests. |
The exact timing can change with your home. A tree stored in a dusty garage may need a careful pre-setup pass, while a clean, sealed bin in a climate-controlled closet may need only a light brush. The finish and wiring determine the method; the amount of dust determines how much time you spend.
Conclusion
The best artificial Christmas tree cleaning method is the gentlest one that removes the problem: dry-brush or wipe ordinary dust, use low-suction brushing only when necessary, and keep water away from pre-lit, flocked, and frosted parts. For a plain unlit tree, a barely damp, spot-tested cloth can handle surface grime, but no finish should be soaked or cleaned with an unapproved whitening formula.
Work section by section, inspect the wiring while the tree is unplugged, let every part dry before packing, and store it in a cool, dry bag or bin. That routine keeps the tree looking better and makes next season’s setup safer and faster.



