How to Clean Under a Wood Deck, According to a Pro
Learn how to clean under a wood deck safely: remove dry debris, protect nearby plants, wash gently, and spot drainage or rot problems before they spread.
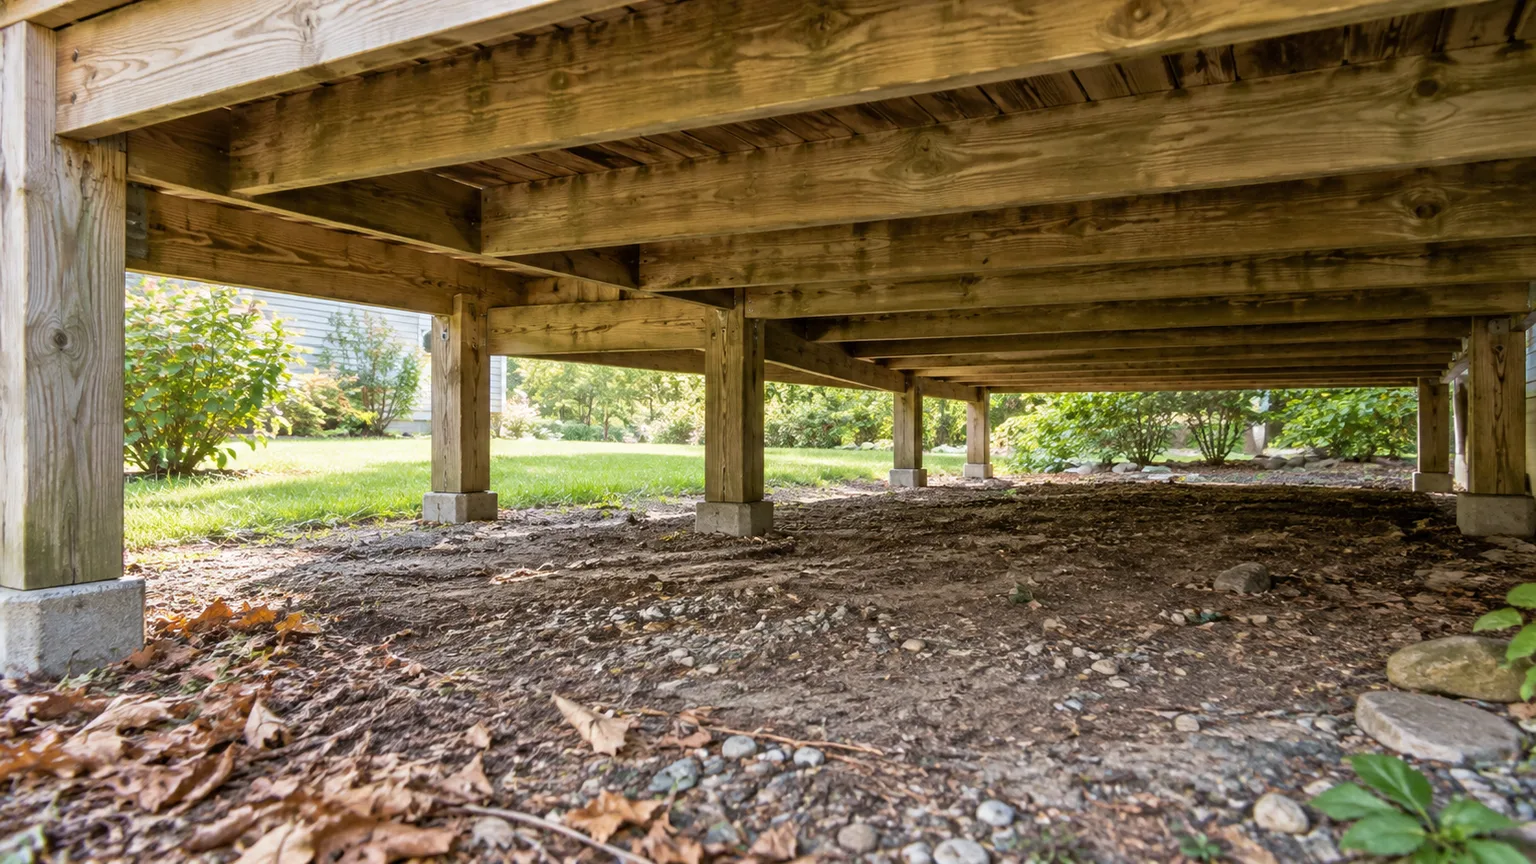
Cleaning below a raised wood deck is a small maintenance job with two separate targets: loose debris on the ground and dirt or growth on the underside of the framing. Start dry, look for why the area stays damp, and use water or cleaner only where brushing cannot do the job. That order keeps you from washing leaves deeper under the deck or soaking the wood before you know its condition.
The safest approach is usually a rake or broom, a flashlight, a soft brush, and a garden hose with a gentle flow. A pressure washer and a one-size-fits-all bleach or vinegar recipe are rarely the right first move beneath a deck. If you find soft, brittle wood, loose structural connections, standing water, or an animal nest, pause and address that problem before treating the space as a routine cleaning project.
Separate the underside from the ground beneath it
“Under the deck” can mean the underside of the deck boards and framing—the boards, joists, beams, posts, and hardware you see overhead—or the ground-level space below them. Those surfaces have different cleaning needs. The ground collects leaves, seed pods, windblown trash, and items that have slipped through the boards; the underside collects cobwebs, dust, splash marks, and sometimes algae or mildew where damp air lingers.
You do not have to scrub every board just because the ground is dirty. In many yards, removing leaf litter and restoring airflow is enough; wet cleaning is only useful when grime or growth remains attached to the wood.
If your deck is nearly flush with the ground, do not squeeze into a gap that is too small to enter and exit comfortably. Use a long-handled tool from the perimeter or hire someone with safe access and appropriate equipment.
This distinction also prevents a common mistake: washing the whole area from above and assuming the job is done. Water can carry dirt through deck-board gaps and leave wet debris on the soil, while the underside remains dusty. Work on the ground and the framing as separate tasks, and stop if the deck’s construction blocks a safe view or reach.
Choose a dry day and a low-water method
Pick a mild, dry day with enough time for the wood to air out afterward. Cleaning during a spell of rain, heavy dew, or high humidity leaves surfaces wet longer and makes it harder to tell whether a dark patch is fresh water or a persistent moisture problem. A breezy day helps, but avoid conditions that blow dust and dry debris toward doors, neighbors, or garden beds.
The work order matters more than the season: remove dry debris first, inspect next, then wet only the surface that needs it. This sequence is useful before spring outdoor use and after a leaf-heavy fall, but a clean, well-drained deck does not need a full wash on an arbitrary calendar. GardeningEtc’s deck-cleaning guidance similarly starts with clearing loose debris and checking the wood and product directions before washing.
If you plan to apply a stain or protective finish afterward, leave that as a separate job. The boards must be fully dry and the finish must be suitable for the wood; putting a coating on damp timber can trap moisture. A cleaning day is a good time to inspect the deck, not a reason to coat every surface automatically.
Gather tools you can use from the perimeter
Keep the kit simple and light. Most homeowners need only eye protection, work gloves, long sleeves, a flashlight, a long-handled broom or leaf rake, a soft- to medium-bristle brush, a bucket, and a garden hose with an adjustable spray. A small plastic scraper can lift compacted leaves from corners, but avoid metal tools that can gouge wood or damage a finish.
- Use a long-handled rake or broom to pull leaves toward an open edge rather than pushing them farther beneath the deck.
- Choose a brush that will not scratch the wood; a stiff wire brush is too aggressive for ordinary cleaning.
- Keep a bucket or bag at the exit so you can collect debris without carrying it through the garden twice.
- Have the wood-care or deck-cleaner label available before mixing or applying any product.
A leaf blower can help in an open, airy space when the debris is dry and there is a clear direction to send it. It is a poor choice in a low, enclosed area where it can stir dust, moldy litter, or droppings into the air and drive debris against the house. Do not buy a pressure washer just for this task; brushing and a controlled hose rinse are easier to manage overhead.
Check access, runoff, and hidden hazards
Before reaching underneath, look from each side with a flashlight. Check for exposed wiring, low-voltage lighting, extension cords, irrigation lines, gas equipment, unstable soil, wasp nests, animal burrows, or signs of rodents.
Do not handle wiring or spray near electrical connections. If the space is cramped, poorly ventilated, unstable, or occupied by wildlife, do not crawl into it; use perimeter tools or call a qualified professional.
Put on eye protection before brushing overhead, since dust, cobwebs, grit, and small bits of bark can fall into your face. Wear gloves and long sleeves for splinters and sharp fasteners. If you see rodent droppings, nesting material, or a dead animal, do not blow or dry-sweep it; keep children and pets away and ask a pest-control professional or local public-health service how to handle that contamination.
Plan where water and cleaner will go before turning on the hose. Move pots, cover delicate plantings only if the cover can be removed promptly, and direct rinse water away from garden beds, storm drains, and the house foundation.
A product described as natural or biodegradable is still a chemical treatment: GardeningEtc’s practical notes on outdoor deck cleaners caution that cleaners can still affect plants and soil. Follow the specific label and avoid excess runoff.
Remove objects and dry debris first
Take out stored items, fallen toys, branches, and anything else that blocks the ground. Move objects into daylight and inspect them before putting them back; damp cardboard, fabric, and piled wood hold moisture and can hide insects. If the deck has a storage bay or access hatch, open only the part you can safely reach and do not disturb a nest or a sealed utility enclosure.
Start at the farthest accessible point and pull leaves, pine needles, seed pods, and cobwebs toward the nearest open edge. A long-handled rake works well on loose leaf litter; a broom is more controlled around post bases and low wiring. Collect what comes out instead of sweeping it into a planting bed, drain, or under another part of the deck.
If you use a blower, keep it on a low setting and work outward from the house, with no one standing downwind. Skip it if the space is tight or dusty, if the material is damp and matted, or if you suspect animal waste. A blower moves debris; it does not remove the moisture source or clean dirt stuck to the wood.
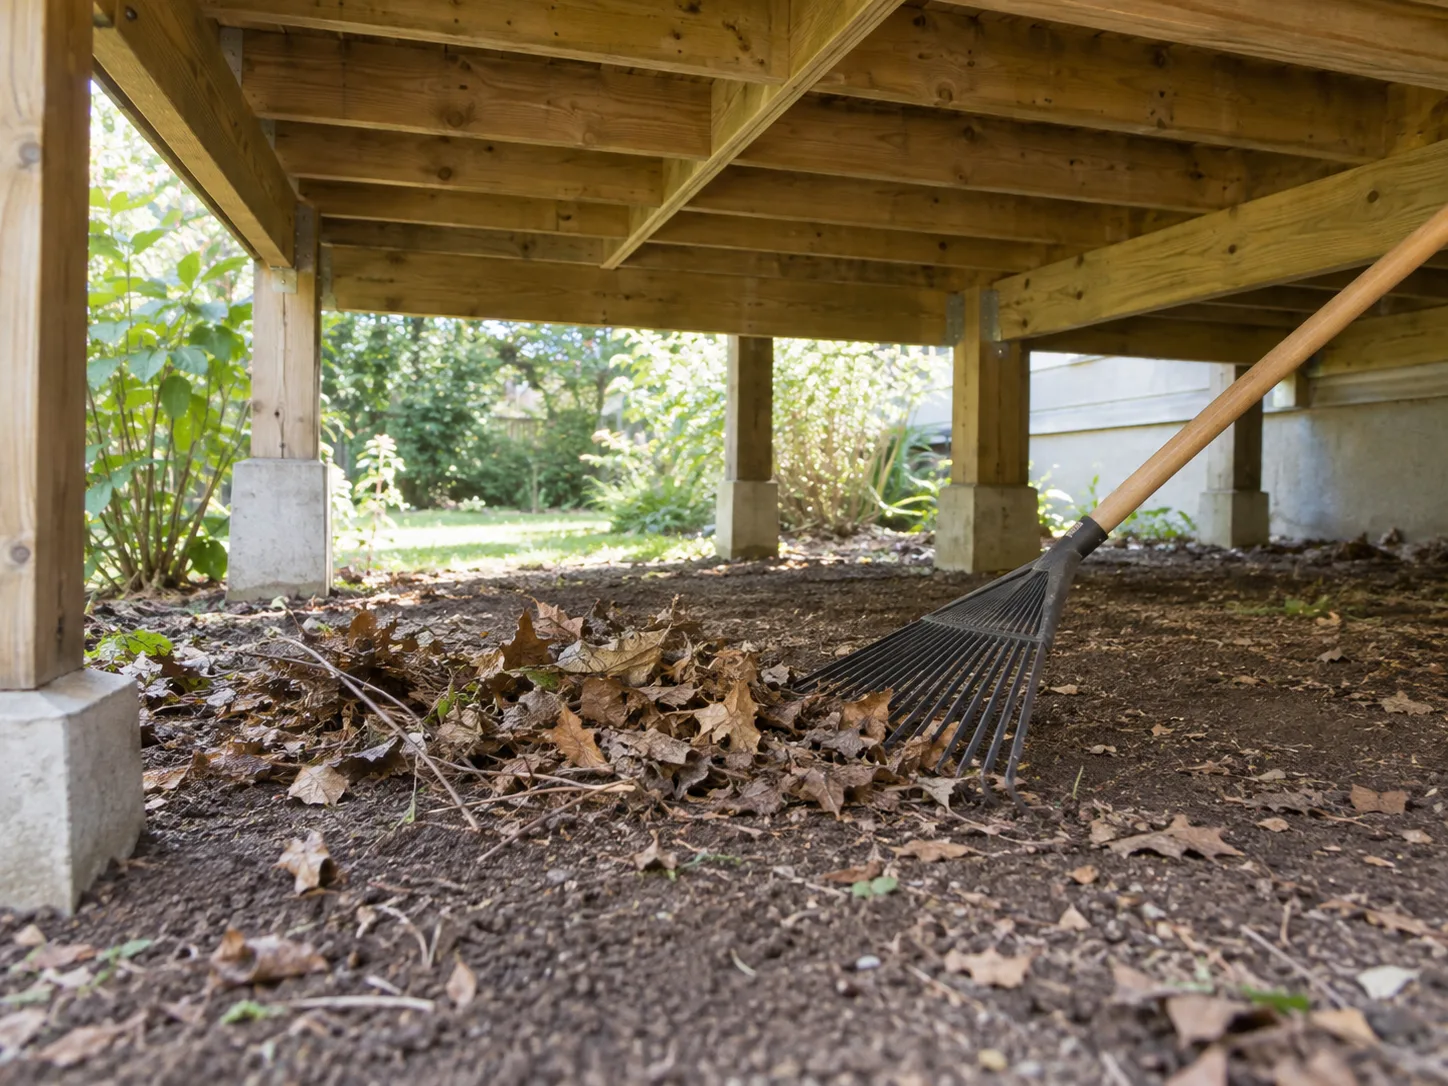
Once the loose material is out, pause before rinsing. A clean view of the soil and the structure makes it easier to spot pooling water, wood touching soil, damaged posts, or a drip that would otherwise be washed out of sight. If the deck looks tidy and the wood is sound, you may already be finished.
Inspect boards, framing, and connections
Use the open space to look along the full length of accessible joists and beams, not just at the outer rim. Check where beams meet posts, where the deck approaches the house, around post bases, and near fasteners.
Look for sagging, cracks, split ends, loose or missing hardware, rust staining, and boards that appear to be pulling away from the frame. Do not climb on a questionable deck or tug on a railing to “test” it.
Pay attention to what the discoloration feels like as well as what it looks like. A surface film, dusty cobwebs, or a water mark can be cosmetic, while wood that is soft, spongy, brittle, powdery, or breaking into small cubes may be decayed.
Washington State University Extension explains that wood-rotting fungi need moisture and can be encouraged by poor ventilation, leaks, splashback, or direct wood-to-ground contact; it also distinguishes surface molds and stains from fungi that damage wood strength. Its wood-rotting fungi guide recommends correcting wet conditions and seeking a structural pest professional when decay is suspected in supporting wood.
Look up and around for the source of repeated wetting: a downspout that empties beside a post, a gutter overflow, a leaky hose bib, an irrigation spray, a roof drip line, or a low spot where rainwater stands. Note what you see and take photos before washing. A hose can remove a stain, but it cannot fix a plumbing leak, blocked drainage, or a loose connection.
Clean the ground without changing its drainage
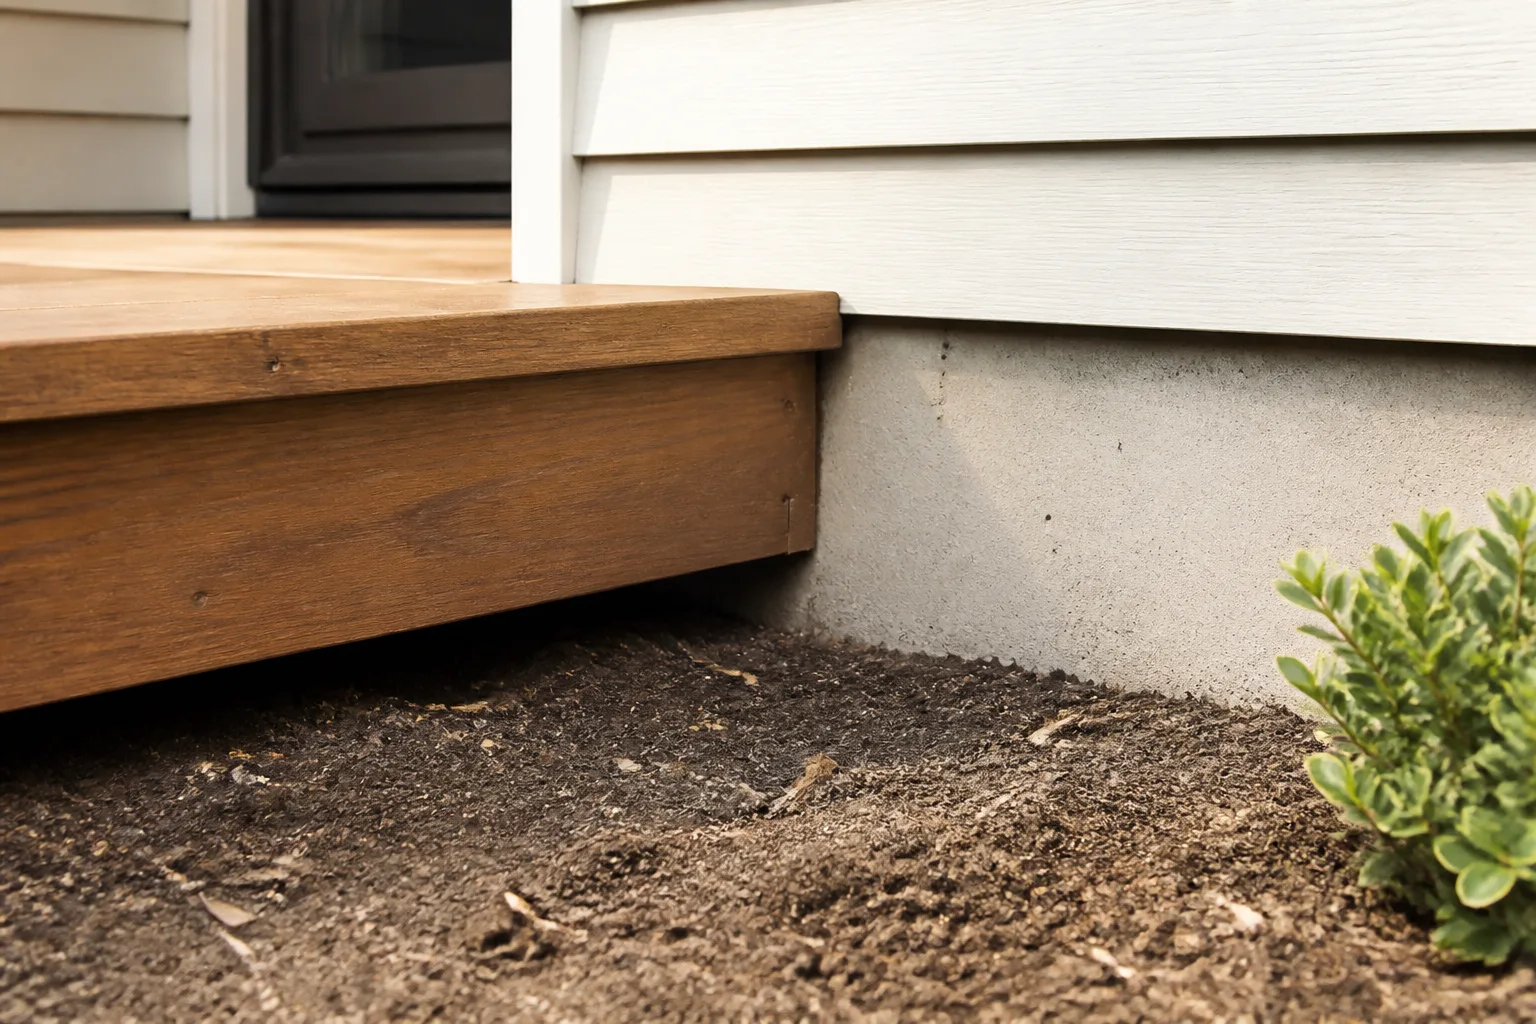
After the inspection, rake out remaining leaves and move loose branches away from posts and the house. Do not dig around footings or remove soil that supports a post. If you see a shallow puddle, mark where it forms and check again after the next rain; a single wet patch from recent weather is different from water that repeatedly collects in the same spot.
Keep the area open enough for air to move and for you to inspect it again. Avoid storing cardboard, firewood, cushions, or garden supplies directly on damp soil.
If you want a finished surface under the deck, decide based on the site’s slope, drainage, and deck construction rather than scattering gravel or laying plastic as a quick fix. An impermeable sheet can redirect water or hide a drainage issue if it is installed without a plan.
Look at the grade beyond the deck as well as the soil directly below it. Downspouts should not discharge beside the structure, and runoff should not be channeled toward the house. If water remains after ordinary rain, the next step is to correct the source or drainage design—not to keep washing, add more cleaner, or seal the underside.
Wash the wood gently, section by section
Wet cleaning is optional. If brushing has removed the loose material and the framing has no stuck-on grime or growth, leave the wood alone. Unneeded water can keep shaded boards damp, carry soil into cracks, and make a small maintenance job harder to dry.
For attached dirt, work on a small area at a time. First test plain water in a hidden spot. If that is not enough, use a cleaner explicitly labeled for the wood and finish, following its dilution and dwell-time directions.
Apply it with a sponge or soft brush, scrub with the grain and light pressure, and rinse the same small section before the solution dries.
Use a broad, gentle hose spray and direct the rinse toward the open edge. Keep water away from electrical equipment, the house, and areas where it will pool. A long-handled brush lets you work from outside instead of crawling in; stop if you cannot see the surface, control the rinse, or keep your face below falling grit.
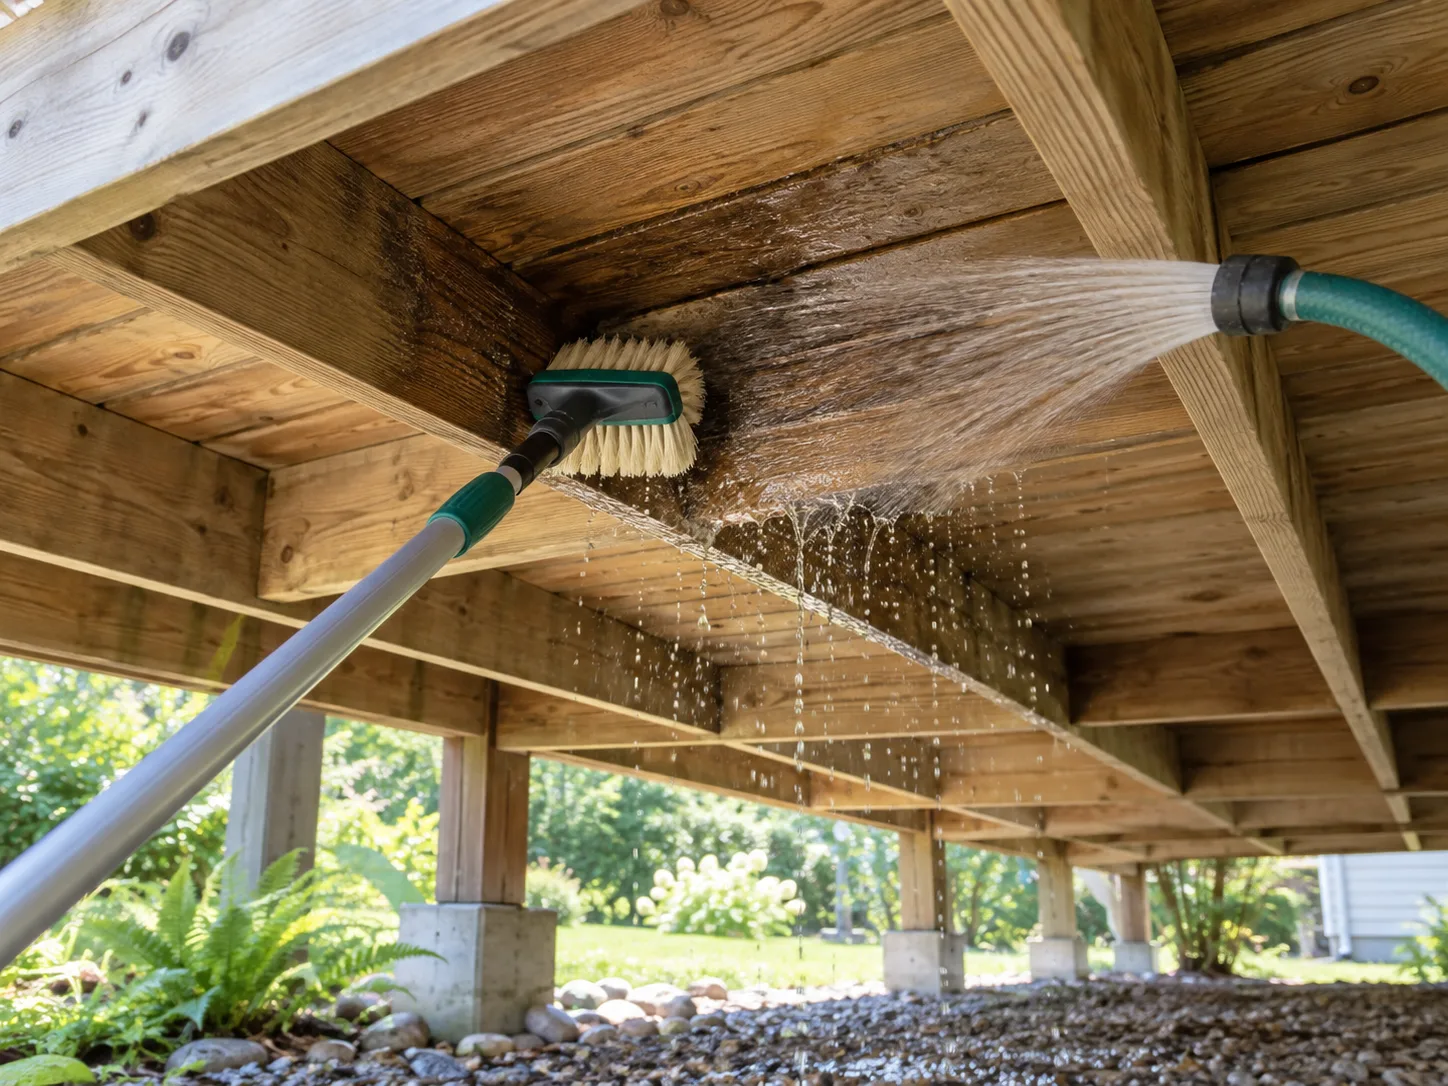
Avoid treating a pressure washer as the default tool for the underside. Water driven upward can enter seams and hard-to-see joints, while a narrow or close stream can roughen wood and force dirt deeper into gaps.
GardeningEtc and Advantage Lumber’s deck-cleaning guidance both emphasize material-specific instructions and restraint with pressure on deck surfaces; that caution matters even more when you are spraying overhead. If a manufacturer-approved pressure washer is genuinely needed, have an experienced operator use the lowest effective setting and a wide spray from a safe angle.
Match any cleaner to the wood and finish
Wood species, treatment, age, and finish matter. A stained or painted underside may react differently from bare pressure-treated lumber, cedar, or a hardwood deck. If you are not sure what is on the wood, check the original paperwork or ask the deck builder before using a brightener, bleach-based cleaner, acidic product, or solvent.
For ordinary dust and dirt, start with water and a soft brush. If a mild detergent is needed, use a small amount only if the finish instructions permit it, then rinse thoroughly so residue does not remain tacky. For persistent algae or mildew, choose a labeled deck product that identifies the relevant wood or coating; mix it exactly as directed, test a hidden area, and keep it off foliage and soil as much as practical.
Do not combine cleaners, add extra concentrate because a stain is stubborn, or assume an oxygen-based powder or vinegar is harmless because it sounds familiar. GardeningEtc’s natural-cleaning article notes that even household ingredients can affect plants and soil; its advice is a useful reminder to control runoff, not a reason to adopt every homemade formula. Avoid chlorine bleach unless the specific deck-care instructions call for it, since it can discolor or damage some wood finishes.
Never apply stain or sealer to damp wood. Do not coat the underside merely because you are refinishing the top; confirm that the product is appropriate for that surface and that it will not trap moisture. Cleaning products remove or loosen soil; they do not repair rot or replace a damaged coating system.
Tell surface growth from a moisture problem
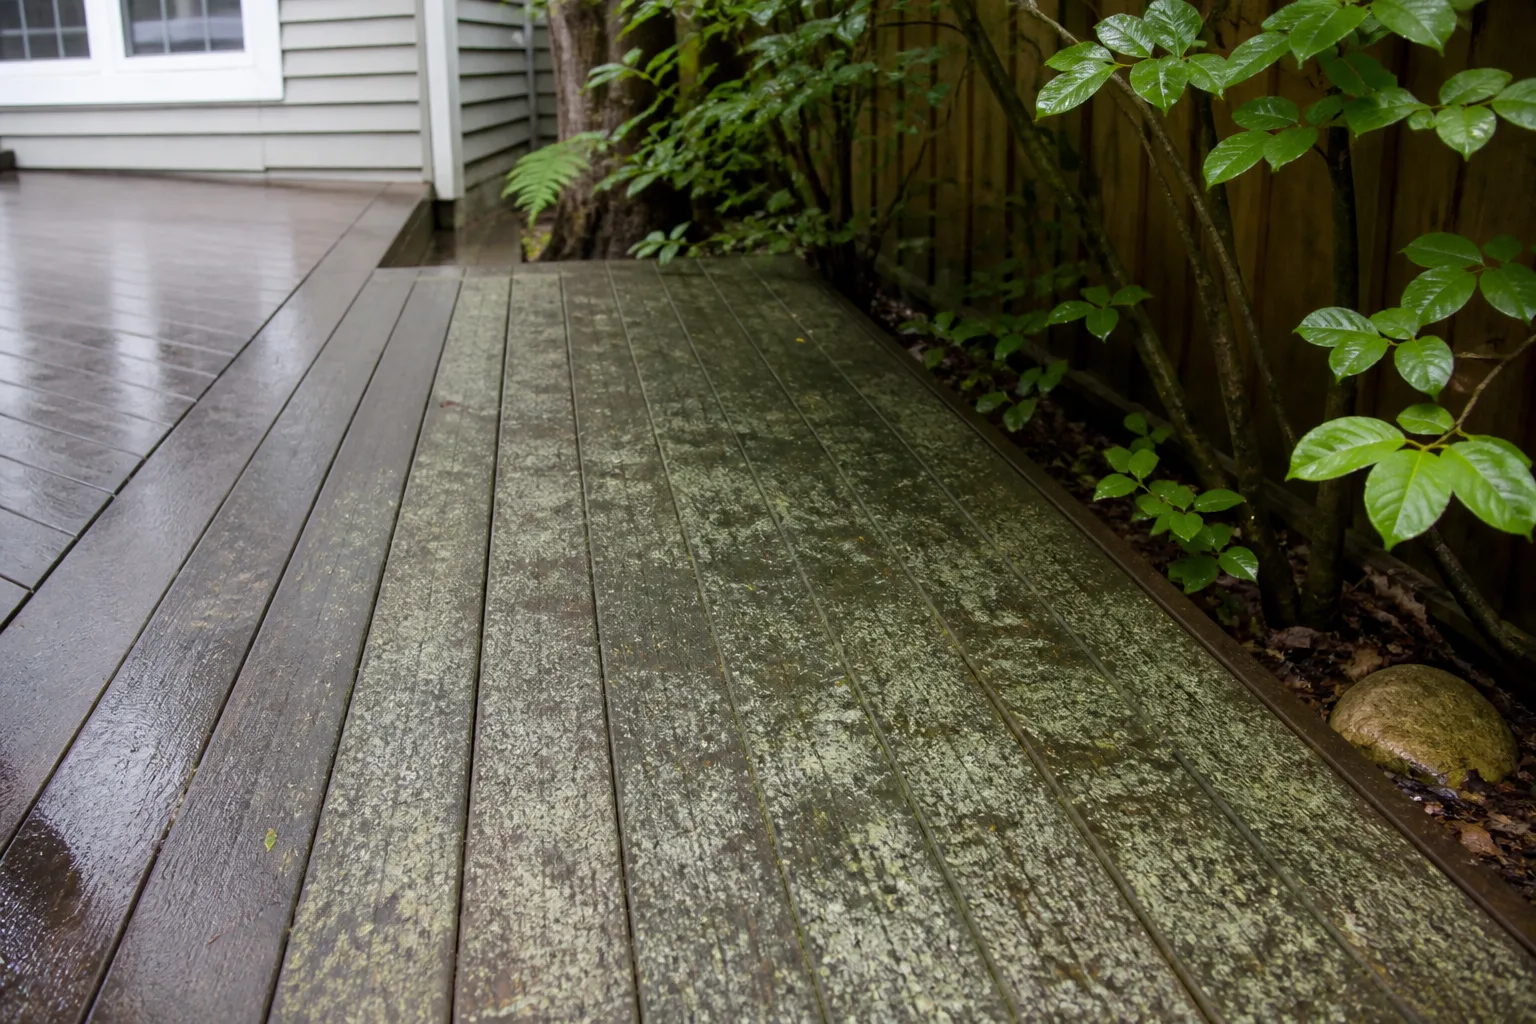
Green film and slippery patches often point to a persistently damp surface, while dark speckles, pale staining, or a musty smell can have several causes. Color alone cannot tell you whether framing is structurally sound. A patch that returns quickly after washing is a cue to look for shade, poor airflow, roof runoff, leaking irrigation, or standing water rather than repeating the same treatment.
Surface mold and staining are not the same as wood-decay fungi. Washington State University Extension notes that some surface molds signal excess moisture without posing the same structural concern as decay fungi, while decay can weaken wood. Penn State Extension’s brown-rot overview describes advanced decay as brittle wood with cross-grain breaks and a cubical appearance; if a beam, joist, or post has that texture, treat it as a repair issue, not a cleaning stain.
Odor is another clue, not a diagnosis. A stale smell may come from wet leaves, soaked cardboard, a dead animal, a slow leak, or poor air circulation. Remove accessible debris and trace the source; if the smell persists after the area dries, inspect plumbing and drainage or ask a professional to investigate before using fragrance or more chemicals to mask it.
Rinse only where needed and let everything dry
Do not flood the whole space at the end. Rinse only the sections where you applied cleaner, use enough water to remove residue, and direct it out from beneath the deck. If dirty water reaches a planting bed, flush it with clean water only when the product label permits and the amount is manageable; do not wash concentrated cleaner into a storm drain or pond.
Leave the deck open to air until the framing and soil surface are dry. Hold off on replacing storage bins, patio cushions, firewood, or other items that block circulation. If you cleaned the wood because of a stain or odor, check it again after drying; wet wood can look darker temporarily and hide the true finish color.
If the same area remains wet through a dry spell, do not keep rinsing it. Persistent dampness points to a drainage, leak, or airflow problem that needs its own fix. A clean appearance is not proof that the cause has been resolved.
How often to clean under a deck
Inspect the area at least once a year, then clear debris whenever it begins to collect. A deck beneath deciduous trees may need a quick rake after heavy leaf fall, while a more open deck with gravel and good drainage may need little attention between annual checks. Clean because there is a reason—blocked airflow, stuck-on dirt, slippery growth, or a spill—not simply because a calendar says to wash.
Spring is a practical time to check what winter left behind, and fall is a useful moment to remove wet leaves before cold weather. After major storms, look for branches, standing water, or debris pushed against posts. GardeningEtc suggests seasonal cleaning for exposed decking, but the conditions beneath each deck differ; use visible buildup and how quickly the site dries to set the interval.
Keep a short note of when water pools, where growth returns, and which areas stay shaded. That record can reveal a repeated downspout overflow or irrigation leak that a one-time scrub would miss. If the area stays dry and clear, there is no benefit to adding unnecessary cleaner or water.
Keep airflow and drainage open between cleanings
Sweep the deck above often enough that leaves do not pack into board gaps and fall below in wet clumps. Keep gutters and downspouts clear, repair drips, and adjust sprinklers that repeatedly wet the same post or framing. Trim back plants only when they block access or hold moisture against the wood; do not remove healthy landscaping simply to make the area look bare.
Do not use the underside as overflow storage. Piles of pots, lumber, bags of soil, or folded tarps reduce airflow and make inspections harder. Store items on a raised, dry surface and leave a clear path to the posts and the house connection.
Avoid changing the site’s grade or adding a plastic ground cover without considering where water will flow. Washington State University Extension recommends adequate ventilation beneath structures, correcting leaks and drainage, and preventing structural wood from contacting soil. If you cannot tell whether a membrane, gravel, or drain will help your specific yard, ask a deck contractor or drainage professional rather than improvising around the footings.
When a dark or soft patch needs repair
Cleaning can lighten surface dirt, but it cannot restore lost wood strength. A board that is merely stained may stay firm after it dries; a member that dents easily, crumbles, splits into small blocks, or feels spongy deserves closer inspection. Look for sagging, a post leaning out of plumb, loose or corroded connectors, a gap where the deck meets the house, or an area that stays wet even when the surrounding ground is dry.
Penn State Extension explains that brown rot can leave wood brittle and cube-cracked, but homeowners should not use one visual symptom to declare a deck safe or unsafe. Hidden damage can sit inside a post base, beam end, or ledger connection. Do not scrape away large sections, drill test holes, or cover questionable wood with stain before someone qualified has assessed it.
If a support member may be compromised, keep people off the affected deck until it has been checked. A licensed deck contractor or qualified building professional can assess structural components; a pest professional can help when there are mud tubes, galleries, frass, or active insects. Cleaning is complete only after the source of recurring moisture and any structural concern have been addressed.
When to bring in a deck or pest professional
Call for help when safe access is impossible, the structure moves or sags, multiple fasteners are loose, supporting wood is soft or crumbling, or water repeatedly pools around posts. Also get professional advice if you find extensive mold, a persistent animal odor, termites or other wood-damaging insects, or a leak you cannot trace. WSU Extension specifically recommends a structural pest inspection or pest-management professional when decay is suspected in a building’s supports.
A professional can also help when the deck is painted, stained, unusually old, or built from a wood species you cannot identify and you are considering a strong cleaner. Ask what product will be used, how it will be applied, where runoff will go, and how long the wood needs to dry before any coating. Those details matter more than a promise that a cleaner is “natural” or that a pressure washer will save time.
For a routine cleanup, you should be able to work from the open edge, remove loose debris, and see the wood well enough to make a basic condition check. If the job has become a confined-space, electrical, wildlife, drainage, or structural problem, stop treating it as a weekend wash and bring in the right trade.
Conclusion
The reliable order is simple: clear the ground while it is dry, inspect the framing and drainage, then wash only the wood that still needs attention. Use a compatible cleaner sparingly, rinse with a gentle hose, keep runoff away from plants and the house, and let the area dry before storing anything beneath it.
Most importantly, look for the reason debris or moisture keeps returning. Open airflow, clear drainage, and sound framing matter more than a spotless underside. If you find persistent standing water, soft or brittle supports, loose connections, or unsafe access, stop cleaning and get the condition assessed before the next gathering on the deck.



