How to Add Phosphorus to Soil: 8 Practical Methods
Learn how to add phosphorus to soil safely: read a soil test, choose the right fertilizer or organic source, improve availability, and avoid runoff.
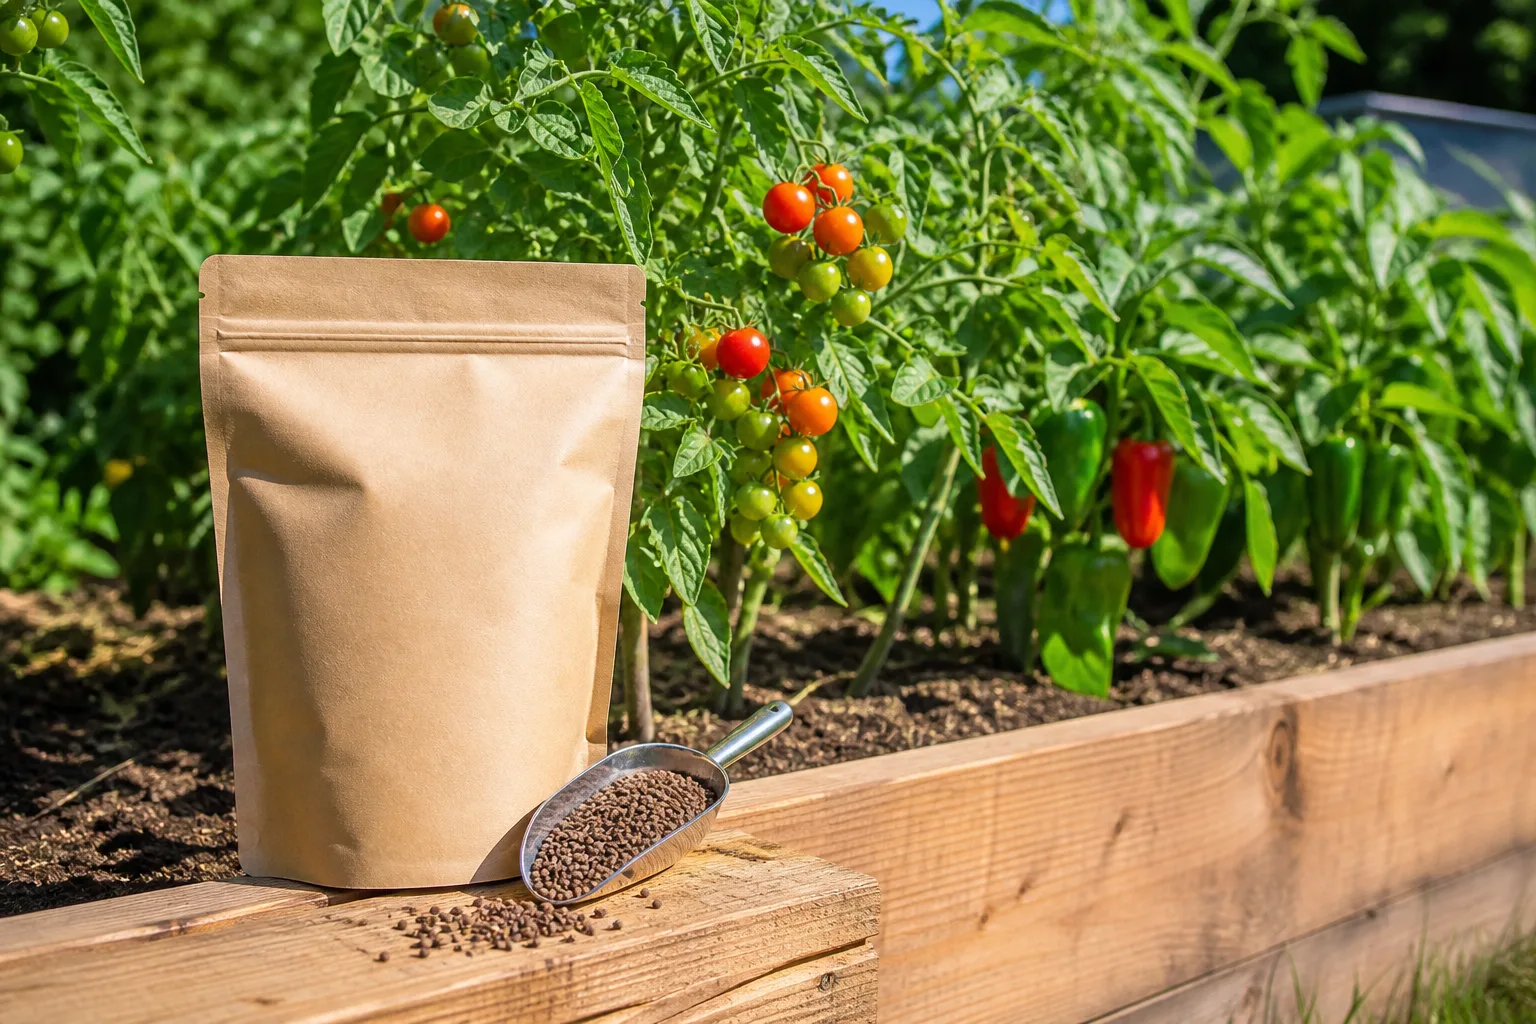
If a soil report says phosphorus is low, you have a clear job: add the amount recommended for that bed and crop, then give the roots the conditions they need to use it. If all you have is a plant with purple leaves or poor flowering, slow down. Those clues can come from cold soil, compacted roots, poor drainage, or another nutrient problem, and adding phosphorus blindly can leave the real issue untouched.
Phosphorus is a major plant nutrient involved in energy transfer, root growth, flowering, seed formation, and early establishment. It is also a nutrient that can accumulate in soil and move into waterways with eroded soil or runoff. The best phosphorus program is therefore targeted: diagnose first, choose the least excessive source that fits the timing, and keep records so you do not keep adding phosphorus after the soil has recovered.
Before you add phosphorus, confirm the problem
Read the soil-test phosphorus line and pH together
A soil test is the most useful first step because it measures an estimate of plant-available phosphorus, not simply the total phosphorus locked in every soil particle. Ask a local university or accredited laboratory for the test recommended in your region; reports may use Bray, Olsen, or Mehlich methods, and the numbers are not interchangeable. The University of Minnesota’s lawn and garden soil-testing guidance recommends testing a uniform area, reporting pH and organic matter alongside phosphorus, and retesting periodically rather than fertilizing by guesswork.
Sample one management area at a time: a raised bed, lawn, orchard row, or container group with the same soil mix and history. Take several subsamples from that area, remove mulch and surface debris, mix them in a clean bucket, and submit the amount requested by the lab. Do not combine a heavily manured vegetable bed with an unfertilized flower border; the average may describe neither one.
Read pH and phosphorus together. Phosphorus is most usable in a moderately acidic to near-neutral root zone, although the best range depends on the crop and the test method. Strongly acid soils can hold phosphate on iron and aluminum compounds, while alkaline soils can tie it up with calcium. The cure is not automatically more fertilizer: follow the lime or sulfur recommendation on the soil report, and remember that lime changes pH but does not contain phosphorus.
Rule out cold roots, compaction, and look-alike symptoms
Phosphorus deficiency often shows as slow growth, weak early development, or dark green foliage with reddish-purple color on older leaves. But a symptom is not a diagnosis. Iowa State University Extension notes the classic pattern, while Texas A&M AgriLife Extension warns that tomato roots in cold soil may take up phosphorus poorly even when the soil contains it.
Check the root zone before opening a fertilizer bag. Is the soil cold because the crop was planted too early? Is it waterlogged, crusted, or hard enough that roots cannot explore it? Is the plant newly transplanted, drought-stressed, root-bound, or receiving too much water? Purple stems or leaves can also reflect cold-season sugar movement, herbicide injury, genetics, or a different nutrient imbalance. If growth and color improve as the soil warms and drainage improves, phosphorus may not have been the missing input.
Pick the source based on timing and soil
Fast correction: a test-guided phosphate fertilizer
When a soil test confirms low available phosphorus and a crop is already growing, a labeled granular or water-soluble fertilizer is usually the most predictable route. The second number in an N-P-K analysis represents phosphate, expressed as P₂O₅ on many labels; it is not a promise that the plant needs extra phosphorus. Choose the product and rate that best match the full test recommendation, including nitrogen and potassium.
A higher middle number can bring unwanted nitrogen, potassium, salts, or phosphorus along with it. The University of Minnesota explains that choosing a fertilizer whose ratio does not match the soil recommendation can supply too much phosphorus while leaving another nutrient short. In a container, use a complete fertilizer made for that crop and follow the label; in a bed, broadcast or band only the amount the soil report calls for, keep granules off foliage, and water as directed.
Slow correction: organic sources and soil-building
Organic amendments can be excellent for long-term soil improvement, but “organic” does not mean “immediately available” or “impossible to overapply.” Nutrient content varies with the raw materials, moisture, age, and processing. Iowa State’s organic-fertilizer table lists very different analyses for compost, manure, bone meal, fish products, and rock phosphate, which is why the product label and soil test matter more than the name on the bag.
Use a fast source for a confirmed, urgent deficiency and a slower source when you are building a bed before the next crop. If the soil already tests high in phosphorus, choose a phosphorus-free nitrogen or potassium source when needed and improve structure with low-nutrient organic matter instead. More inputs are not a better plan once the nutrient is already sufficient.
Use this quick comparison before you shop:
| Source or fix | Speed | Best fit | Main caution |
|---|---|---|---|
| Labeled soluble or available phosphate fertilizer | Fastest | Confirmed deficiency during active growth | Can over-supply P, salts, or N/K |
| Composted manure | Moderate and variable | Bed building plus nutrients | Test history; food-safety and nutrient-buildup risk |
| Finished plant-based compost | Slow and modest | Organic matter and soil structure | Usually too weak for an urgent P correction |
| Bone meal or fish-bone meal | Slow to moderate | Test-supported organic correction in suitable pH | Product analysis and pH control performance |
| Rock phosphate | Slow | Acid soil and long-term amendment plan | Poor availability in alkaline soil |
| pH, drainage, or compaction correction | Variable | Phosphorus is present but roots cannot access it | Does not add phosphorus by itself |
The practical decision rule is simple: low P plus a crop that needs help now points to a labeled, available source; adequate P plus poor structure points to compost, roots, mulch, and drainage; low P plus acidic soil and a long runway may justify bone meal or rock phosphate. That rule keeps “organic” from becoming a reason to choose a slower product when the crop needs a measured correction, and keeps “fast” from becoming a reason to add more than the soil can use.
For containers, the margin for error is smaller. A pot may contain little soil, may already include starter fertilizer, and can lose nutrients through repeated watering. Use the container label rate and avoid combining several products that each contain phosphate. For in-ground beds, the soil test and square-foot calculation matter more than the number of plants because phosphorus can remain in the root zone after a crop is finished.
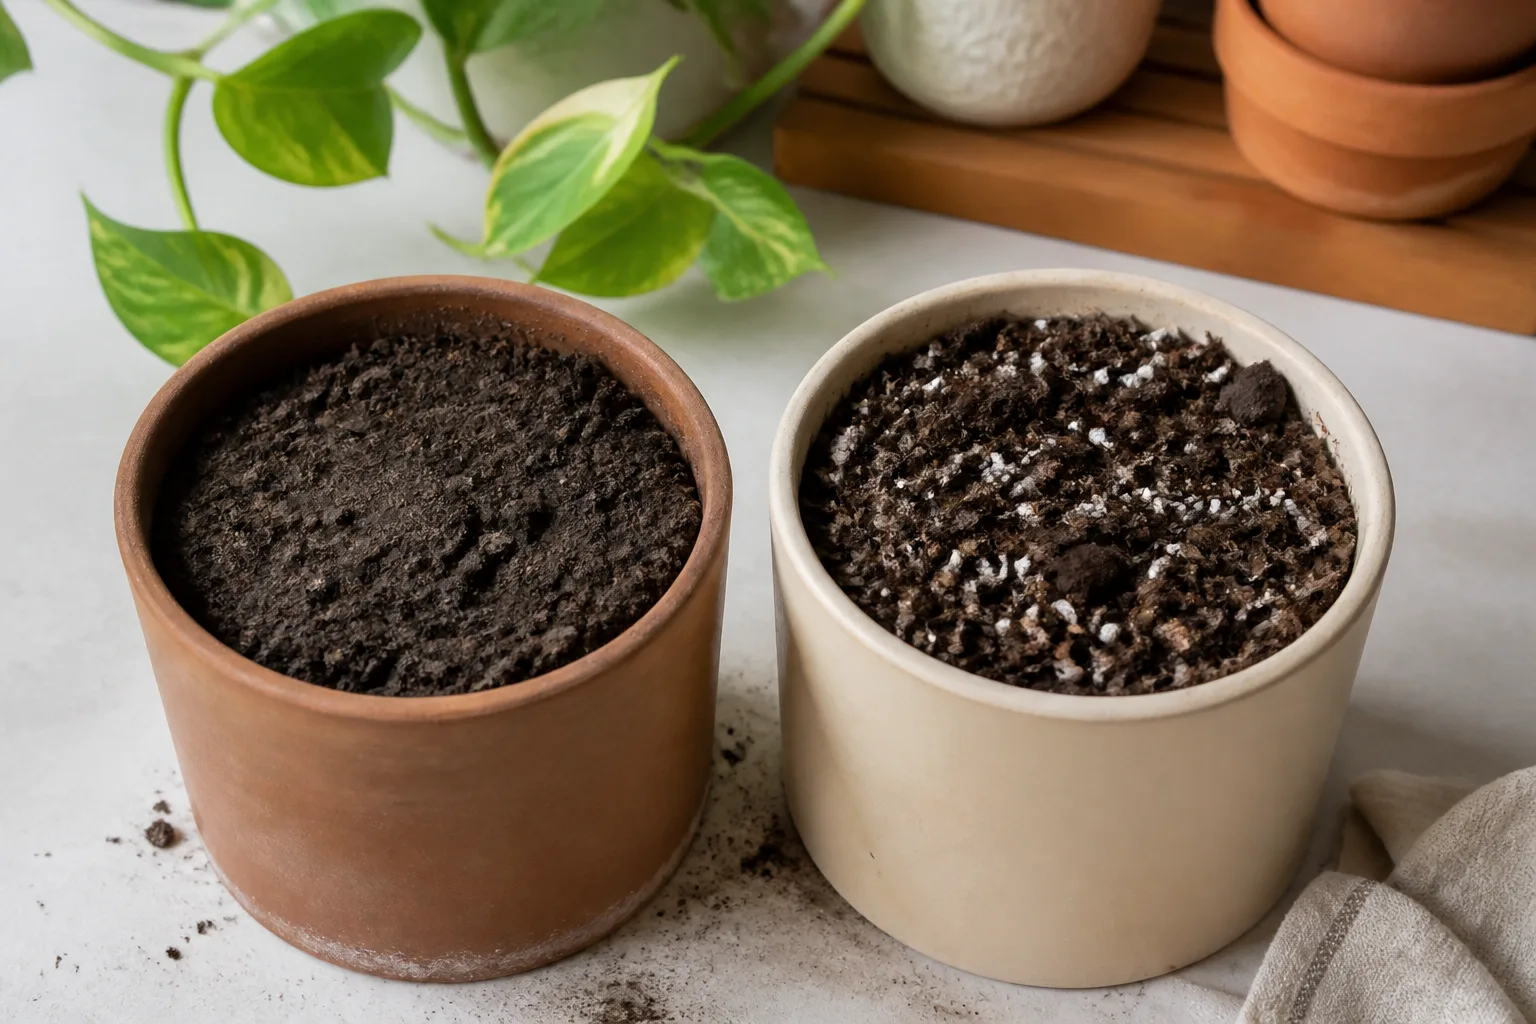
Eight ways to add phosphorus or improve its availability
1. Use a soil-test-guided phosphate fertilizer
This is the best choice when you need a measurable correction on a known schedule. A water-soluble or readily available phosphate product can reach the root zone more quickly than a coarse organic amendment, while a granular or slow-release product can spread the supply over a longer period. Either can injure roots or pollute water when overapplied, so “fast” describes availability, not permission to use extra.
Match the rate to the area, not the size of the bag. Measure a bed’s length and width, calculate its square footage, and convert the laboratory recommendation to that area. For a side-dress, keep fertilizer several inches from stems and crowns; for a preplant application, incorporate only as deeply as the product and local recommendation specify. Avoid fertilizing frozen, saturated, or drought-dry soil, when nutrients are more likely to move away from roots or concentrate in a small wetting zone.
2. Add finished compost or composted manure
Finished compost improves organic matter, aggregation, water-holding, and biological activity while adding modest amounts of phosphorus. Composted manure is often more nutrient-dense than plant-based compost, but its analysis varies by animal, feed, bedding, moisture, and storage. Oregon State University’s compost-analysis guidance gives a typical phosphorus range for finished compost and recommends interpreting the material’s analysis rather than treating all compost as identical.
Use plant-based compost to build a tired soil when the test says phosphorus is adequate but structure or organic matter is poor. Treat manure-based compost as a fertilizer as well as a soil conditioner, and track applications because repeated additions can raise phosphorus and potassium. A thin, even layer worked into or laid over the bed is safer than repeatedly dumping a deep load around hungry plants.
For edible crops, choose commercially processed composted manure or a supplier who can explain how the material was treated. Raw or incompletely composted manure can carry pathogens and should not be applied casually to growing produce. Oregon State Extension recommends composting manure before garden use, and Penn State’s home-garden food-safety guidance advises using properly composted materials and following recommended intervals when untreated manure is involved.
3. Apply bone meal where it can dissolve
Bone meal is a concentrated animal-derived source of phosphate and calcium, but it is not an instant bloom switch. Its performance depends on particle size, moisture, microbial activity, root contact, and soil pH. Colorado State University Extension explains that bone meal releases plant-available phosphorus more readily in soil below neutral pH and is a poor choice for a quick correction in alkaline soil.
Use the analysis on the bag, not a remembered “standard” number. Mix the recommended amount into the root zone before planting, or lightly incorporate it around an established plant without scraping through roots. Bone meal is most sensible when a soil test indicates a phosphorus need and the soil is acidic to near-neutral; it is a weak bargain when the soil is alkaline, already high in phosphorus, or the crop needs a rapid response.
4. Use rock phosphate only in suitable soil
Rock phosphate is a mined mineral source that releases slowly. It can make sense as a long-term amendment in acidic soil, especially when a soil test and a local organic-production recommendation support it. It is not the right answer for a gardener who needs to correct a deficiency this week.
Check pH before applying. Colorado State University’s phosphorus-fertilizer research found rock phosphate was not readily available in soil above neutral pH, and its comparison of phosphorus sources shows why a high total analysis does not automatically mean high plant availability. Do not apply rock dust, decorative phosphate rock, or a large mineral load simply because it sounds natural; choose a labeled fertilizer intended for soil amendment and follow the test recommendation.
5. Choose fish meal or fish-bone meal carefully
Fish-based fertilizers can contribute phosphorus, nitrogen, and other nutrients, but the products are not interchangeable. Fish emulsion is often valued as a mild liquid feed, yet some analyses are nitrogen-forward and contain little phosphorus. Fish meal or fish-bone meal may contain more phosphate, but the exact analysis and release speed depend on processing and the label.
Use fish products as a targeted fertilizer only when the analysis fills a real gap. Apply them to soil at the label rate, water them in, and avoid spraying a concentrated product onto leaves in hot sun. Fish odor can attract animals, and repeated applications can add nitrogen or salts you did not intend to add. Homemade fish scraps are not a controlled fertilizer and should be composted rather than buried beside food crops.
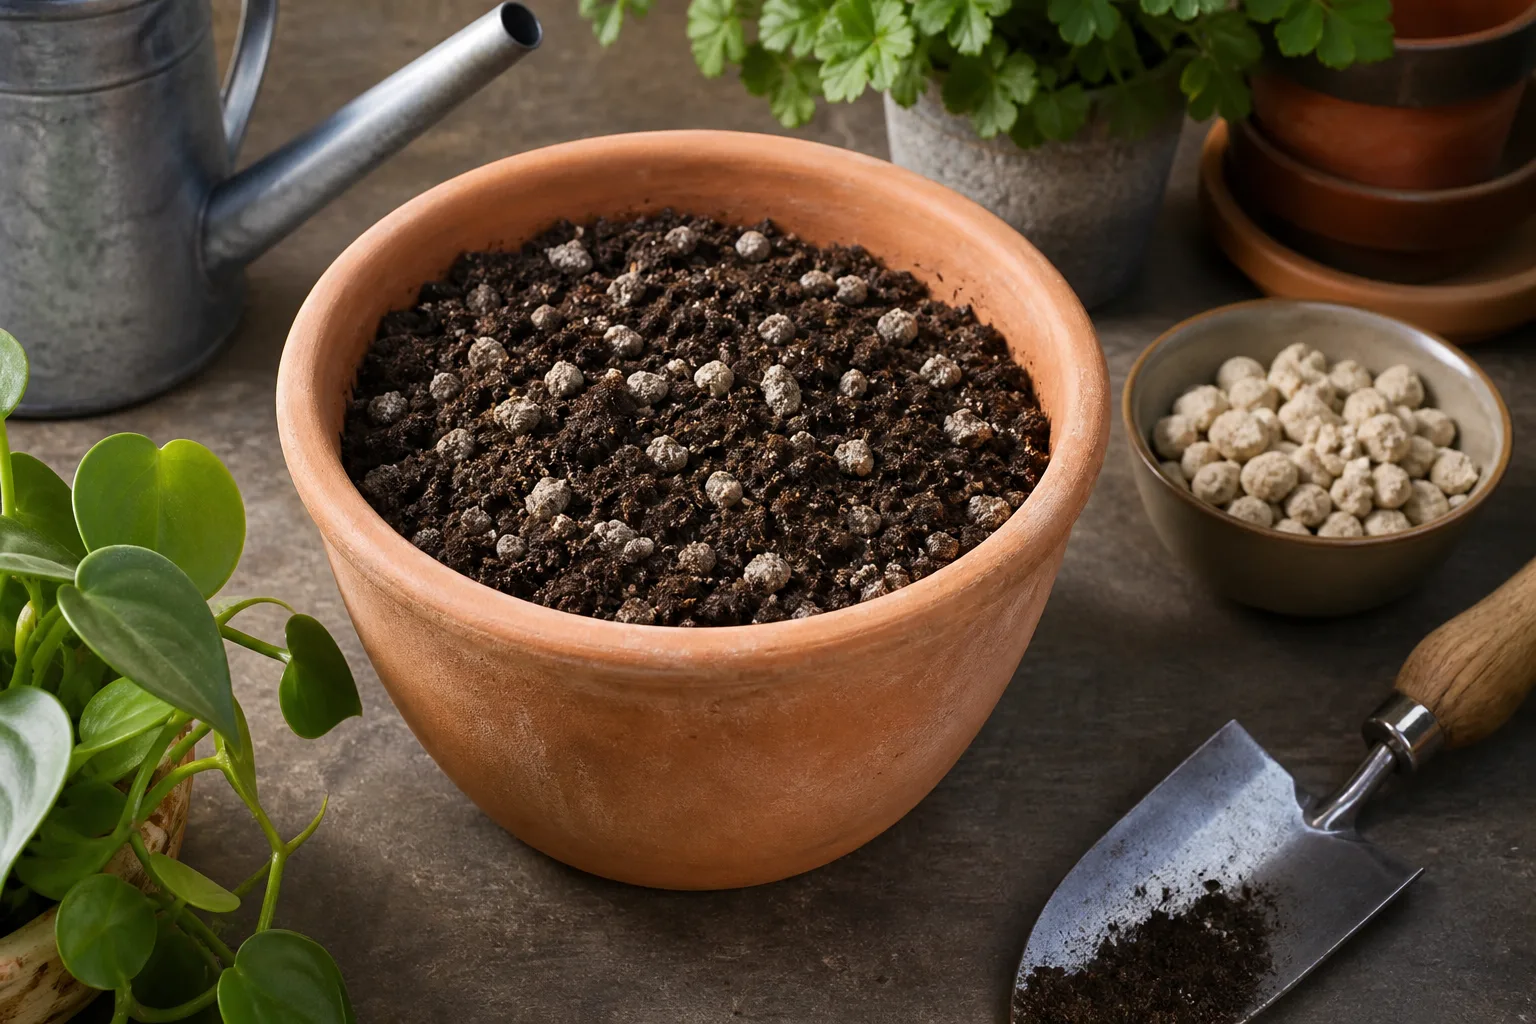
6. Add vermicompost for gradual nutrient cycling
Vermicompost, or worm-processed organic material, can add small amounts of phosphorus and improve the biological environment around roots. Its most useful role is often indirect: organic matter, moisture, and microbial activity can help cycle nutrients already present in the soil. It is a conditioner, not a reliable substitute for a test-guided phosphate application when a report shows a serious deficiency.
Use a clean, finished product as a thin amendment in beds or as a modest component of a container mix. Nutrient concentration varies with the feedstock, so do not assume that a large amount is harmless. If the soil test is already high in phosphorus, vermicompost may be better reserved for a low-phosphorus area or used sparingly while you monitor the next test.
7. Keep crop residues and cover crops in the system
Returning healthy crop residues, leaf litter, and suitable cover-crop biomass keeps phosphorus that plants removed from the soil cycling on site. This is a slow fertility strategy, not a rescue treatment: the material must decompose before much of its phosphorus becomes available, and residues left on the surface can temporarily alter moisture or harbor pests if poorly managed.
Use disease-free residues, compost stubborn or woody material first, and choose cover crops that fit your climate and rotation. A living cover protects soil from erosion, which matters because phosphorus attached to sediment can leave a garden during heavy rain. Penn State’s phosphorus-management guidance describes erosion and runoff as important pathways for phosphorus loss, so keeping soil covered can protect both fertility and nearby water.
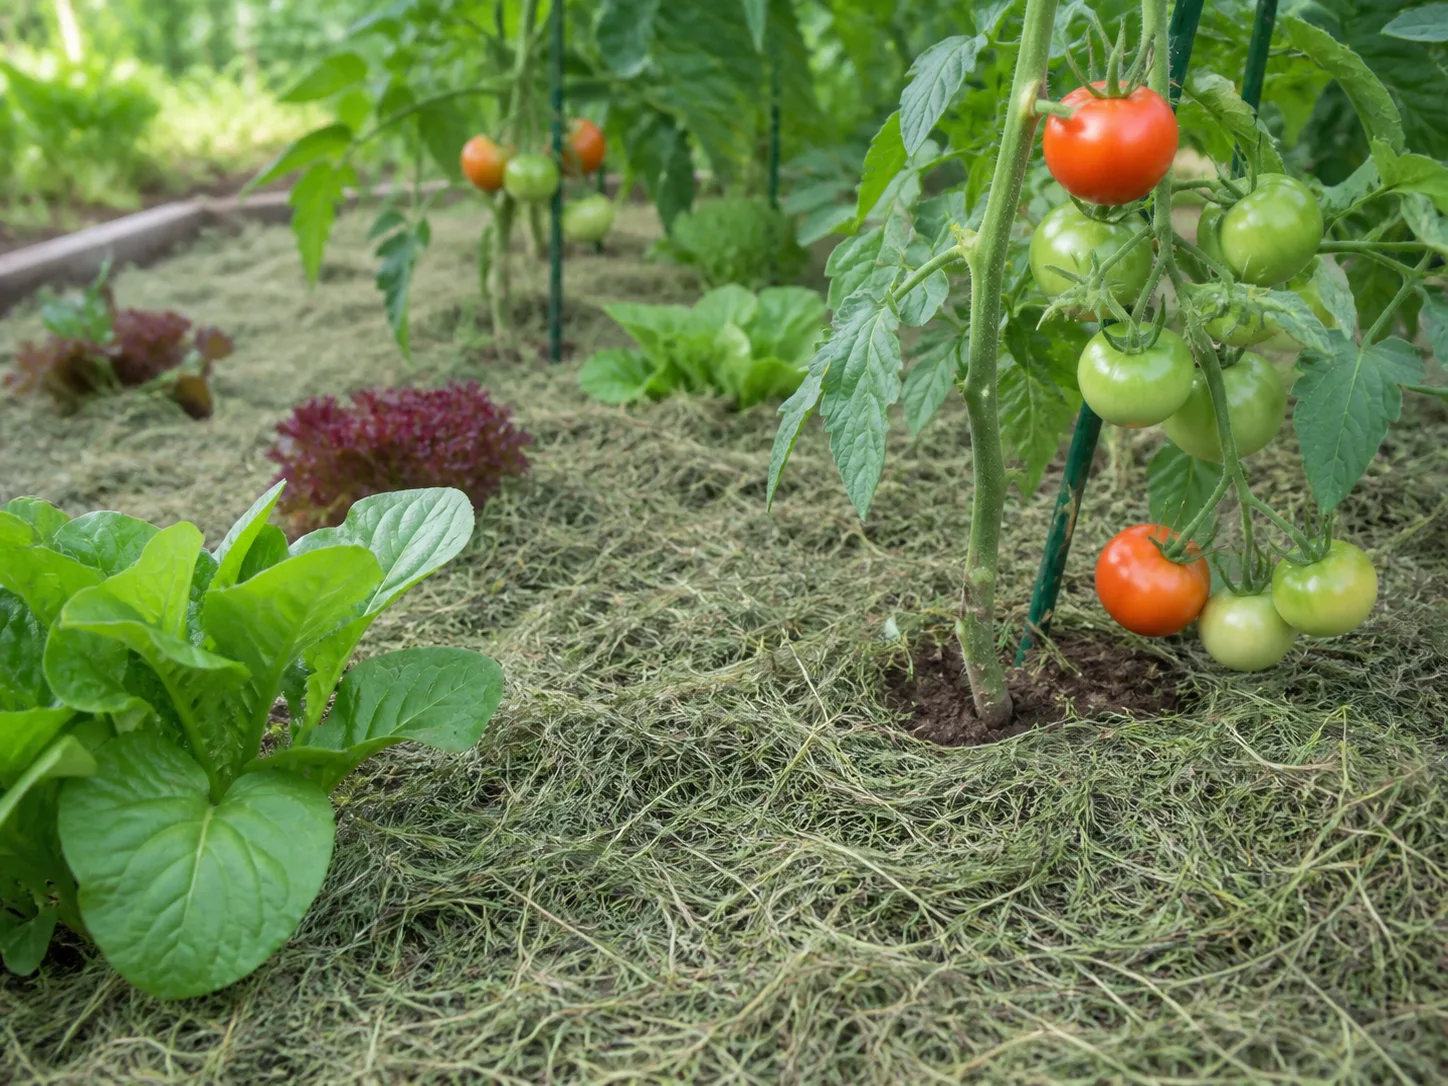
8. Correct pH and root-zone conditions
Sometimes the best way to increase plant-available phosphorus is to make existing phosphorus easier for roots to reach. If the soil report calls for lime because the soil is strongly acidic, apply the recommended material and amount; lime raises pH over time but contributes no phosphorus. If soil is alkaline, do not add lime or bone meal expecting a phosphorus correction. Follow the local report and select a source that actually dissolves under those conditions.
Structure matters too. Relieve compaction without pulverizing the soil, improve drainage where water stands, maintain even moisture, and warm early-season root zones before diagnosing a crop. Organic matter and living roots support the microbial activity that cycles nutrients, but they cannot overcome a badly mismatched pH or a root system sitting without oxygen.
Apply phosphorus without creating a runoff problem
Place, time, and water the amendment thoughtfully
Phosphorus usually binds to soil rather than leaching as freely as nitrate, but that does not make it harmless. Erosion, muddy runoff, spilled granules, and fertilizer applied before heavy rain can carry phosphorus to ponds, streams, and storm drains. Excess phosphorus in water can fuel algal growth and degrade water quality; the University of Minnesota’s soil-testing guidance specifically warns gardeners to monitor phosphorus buildup from compost and manure.
Apply only to actively growing soil when the product and soil report call for it. Incorporate or water in granular products as directed, keep fertilizer off paved surfaces, and leave a vegetated buffer beside drainage paths. Never fertilize a saturated bed, a sloping bare patch before a storm, or a lawn where the spreader can throw granules into a gutter.
Do not judge success by the next morning. Soluble fertilizer can correct the supply around roots relatively quickly, but new leaves, roots, flowers, and yield still follow the plant’s growth rate. If the soil test recommended phosphorus, observe the plant over the next several weeks, keep irrigation and temperature steady, and use the next soil test or crop cycle to decide whether the amendment worked. If there is no improvement, repeat the diagnosis instead of automatically increasing the dose.
Containers need extra restraint because a small volume of potting mix receives the full dose intended for that pot. Use a measured, complete fertilizer at the label rate, account for nutrients already in fresh potting mix or compost, and flush only when the product guidance and plant situation support it. Do not keep adding phosphorus because a plant has not recovered after a few days; roots, temperature, water, and light may be the limiting factors.
Common mistakes that waste phosphorus or damage plants
Using purple leaves as the soil test. Purple foliage is a useful clue, not proof. Check temperature, roots, drainage, pH, and the plant’s normal color before adding a nutrient.
Buying the highest middle number. A 10-30-10 or similar “bloom booster” may also add nutrients your soil does not need. Match the full recommendation, not the most dramatic package claim.
Assuming organic sources cannot burn or accumulate. Manure, fish products, bone meal, and compost can all over-supply nutrients, raise salts, smell, attract animals, or injure roots when applied too heavily.
Using lime as phosphorus fertilizer. Lime can improve phosphorus availability in acidic soil when the test recommends it, but it is a pH amendment. Over-liming can make other nutrients less available and can damage acid-loving plants.
Expecting rock phosphate or bone meal to act overnight. These sources need suitable chemistry, moisture, microbes, and time. Choose a more available labeled fertilizer for a confirmed urgent deficiency.
Adding compost every season without tracking phosphorus. Compost is valuable, but manure-based compost can steadily raise phosphorus. If your test is high, switch to low-nutrient soil-building practices and let the crop remove some phosphorus before adding more.
Reaching for Epsom salt. Epsom salt supplies magnesium and sulfur, not phosphorus. It belongs in a garden only when a soil test and crop need support magnesium or sulfur; it is not a phosphorus treatment.
Applying before heavy rain or onto bare slopes. Even a correctly measured application can become a water-quality problem if runoff carries it away. Check the forecast, cover soil, and keep amendments away from drains and surface water.
Conclusion
The safest answer to “how to add phosphorus to soil” starts with do not add it until a soil test says you need it. Read phosphorus with pH and organic matter, rule out cold or damaged roots, and then choose the least excessive source that fits your timing: a labeled phosphate fertilizer for a quick, measured correction; composted organic sources for gradual soil building; bone meal or rock phosphate only where pH and time make them sensible; and pH or structure correction when the nutrient is present but unavailable.
Apply the test rate, keep records, water and place the product carefully, and retest after a reasonable interval. Healthy soil is not soil with the most phosphorus; it is soil with enough available phosphorus, good root conditions, and no unnecessary nutrient load.



