How Often to Water a Vegetable Garden
Learn how often to water a vegetable garden, how much water crops need, when to adjust for heat and rain, and how to spot overwatering early.
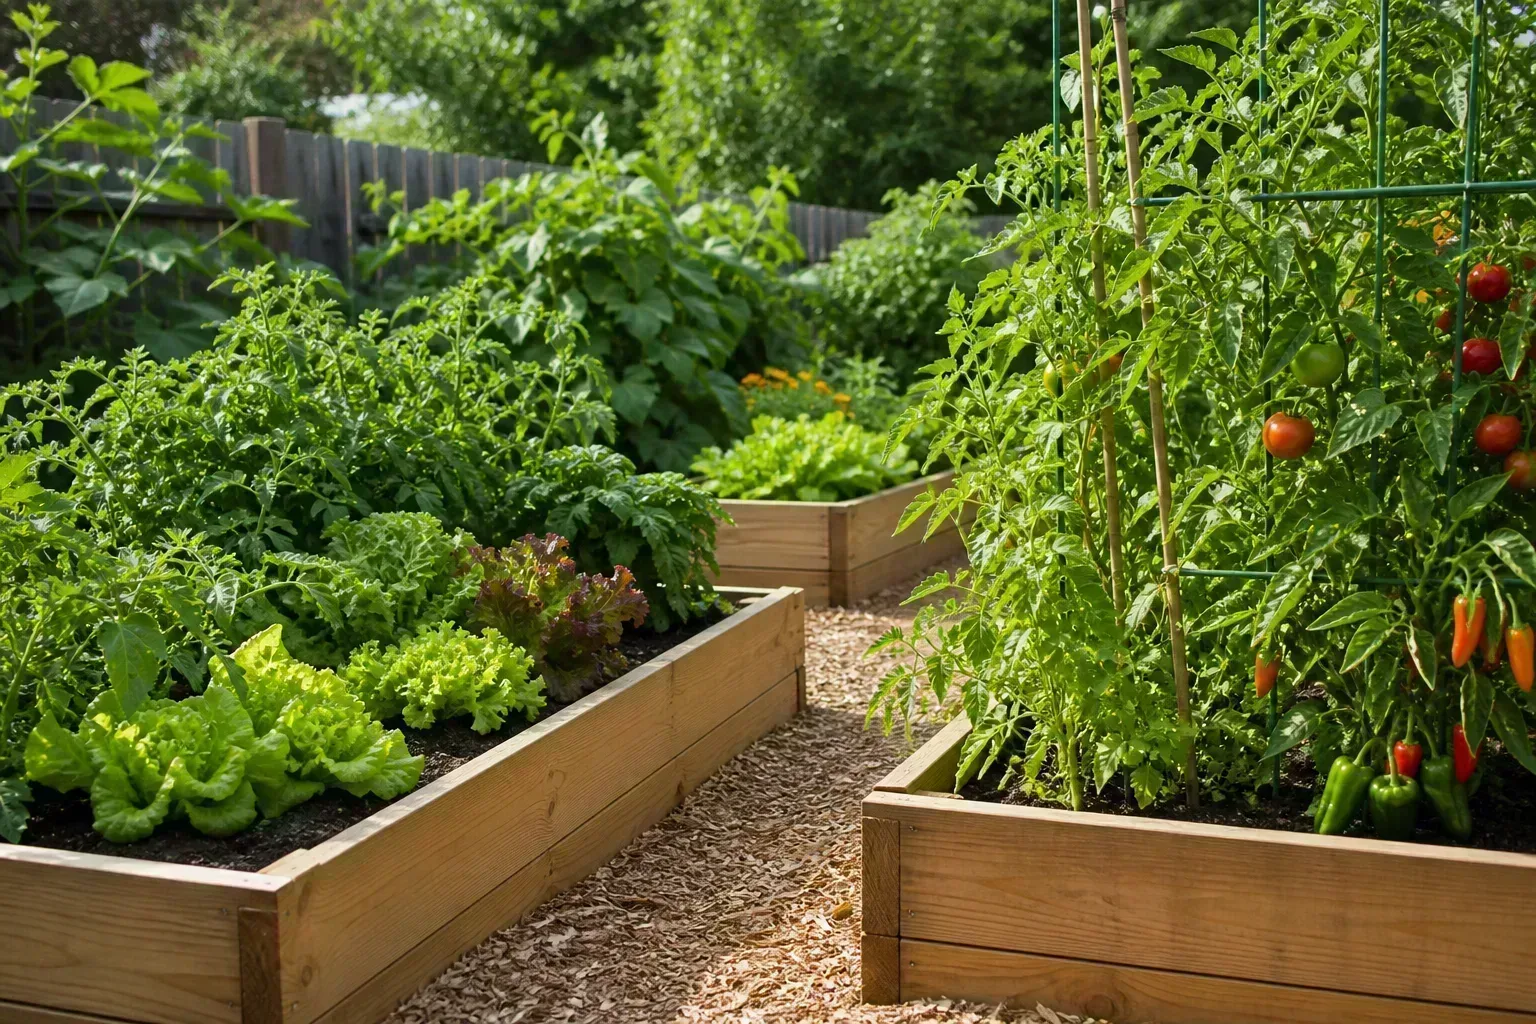
If you need a starting point, give an established vegetable garden about 1 inch of total water per week, including rainfall. Many crops perform well somewhere between 1 and 2 inches, while sweet corn during tasseling, silking, and ear formation can need more. That figure is a measuring target, not a command to turn on the hose every seven days.
The useful question is not “Which day should I water?” It is “Is the root zone drying enough to need more water, and can I deliver it slowly enough to soak the soil without leaving it saturated?” Soil texture, temperature, wind, rainfall, bed construction, container size, and the crop’s growth stage can all move the answer.
The short answer: start with 1 inch, then test
For an established in-ground bed, start with roughly 1 inch per week during active growth and adjust from there. Utah State University Extension gives many common vegetables a range of 1 to 2 inches per week, with narrower ranges for some beans, peas, radishes, broccoli, cauliflower, kale, and other crops; it also notes that needs change with growth stage, soil, and temperature. Its vegetable water recommendations are a useful reference for crop-specific exceptions, not a replacement for checking your own bed.
One inch is easier to understand as a volume. Over 100 square feet, it is approximately 60–62 gallons of water. Over 200 square feet, it is about 120–125 gallons. Rain and irrigation count together, so a half-inch storm means the bed may need only another half-inch—provided the rain actually soaked the soil instead of running off a compacted surface.
Use the range as a starting budget, then make three adjustments. Water more often or in shorter cycles when the soil is very sandy, the bed is exposed to hot wind, the garden is in a raised container, or young roots have not reached deep moisture. Water less often when the soil remains moist below the surface, the weather is cool and cloudy, or a slow soaking rain has already replenished the root zone.
Use soil moisture, not a calendar, to decide
A calendar can remind you to inspect the garden, but it cannot know how much water yesterday’s rain delivered or whether the soil under the mulch is still damp. The Royal Horticultural Society recommends watering thoroughly rather than repeatedly wetting only the top layer, and advises checking moisture down at the crop’s root depth.
The two-minute root-zone check
Check two or three locations, because one leaky emitter or one dry corner can make a whole bed look confusing. Push a finger or a narrow trowel into the soil, then dig or lift a small plug to about 4 to 6 inches deep for most established vegetables; sandy beds and shallow-rooted crops deserve an even closer look. The surface can be dry while the root zone is still moist, especially beneath mulch.
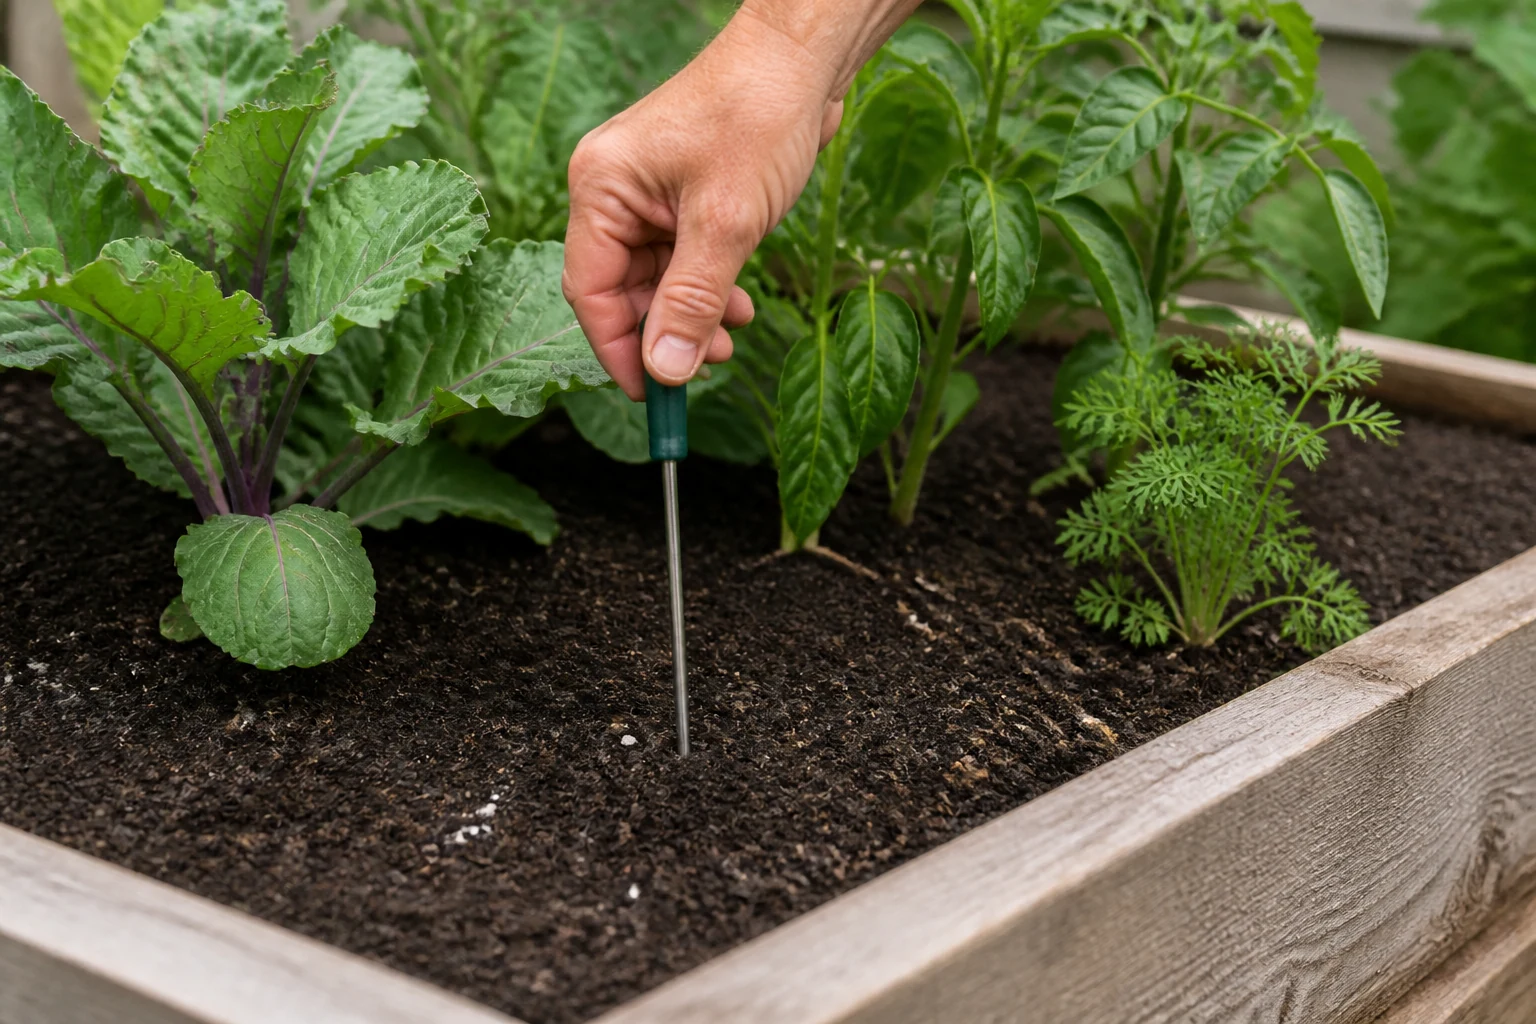
Check below the surface near, rather than inside, the main root zone so you can adjust watering without disturbing the crop.
The soil should feel evenly moist, not glossy, soupy, or dusty all the way down. In a heavy clay bed, a trowel may smear the soil when it is too wet; in a sandy bed, the sample may fall apart even though a little moisture remains. Your goal is to learn the texture of that particular bed so you can recognize a meaningful change instead of reacting to the top inch.
If the root zone is moist, wait and check again tomorrow or the next day. If it is dry and the plants are entering a water-sensitive stage, irrigate slowly enough that the moisture moves down rather than racing across the surface. When water begins to run off, pause for several minutes and resume; this is usually more effective than increasing pressure.
What wilting does and does not tell you
Midday droop is not always a watering emergency. In strong sun and heat, leaves can temporarily reduce their exposed surface faster than roots can replace the water being lost; if the plants recover in the evening and the root zone is damp, adding more water may create a problem instead of solving one.
Wilting that is still obvious in the early morning, repeated day after day, is more concerning. Check the soil first, then inspect the stem base and roots if the bed is wet. Root damage, transplant shock, pests, vascular diseases, and extreme heat can all produce wilt that does not improve after watering. Do not keep adding water just because a leaf is limp.
Adjust the schedule for soil, weather, and bed design
The same inch of water behaves differently in different beds. A deep loam can hold water in the root zone while draining excess; fast-draining sand may need smaller, more frequent applications; compacted clay may accept water slowly and remain wet long after the surface looks dry.
Sandy soil, clay soil, and raised beds
In sandy soil, start checking more often because water moves down and away from the shallowest roots quickly. Shorter irrigation cycles can work better than one long blast if the surface seals or the water drains below the active root zone. Adding well-finished organic matter over time and using a surface mulch can improve moisture retention, but do not bury stems or create a permanently wet collar around plants.
Clay soil usually needs the opposite rhythm: slower delivery, longer pauses, and fewer applications once the root zone is wet. If water stands on the surface, flows into paths, or leaves the bed before soaking in, improve infiltration and structure rather than simply watering longer. A raised bed can help with drainage, but a raised bed also has more exposed surface and side area, so it may dry faster than in-ground soil during hot, windy weather.
Group crops with similar moisture needs when you can. Leafy greens and celery generally prefer steadier moisture than Mediterranean herbs, while tomatoes, cucumbers, beans, and squash need reliable water as they flower and produce. Separate irrigation zones prevent the thirstiest crop from dictating the schedule for the entire garden.
Also notice how the garden is arranged. A south-facing bed beside a pale wall can dry faster than a shaded bed only a few steps away, and a dense tomato canopy can keep soil moist while the exposed end of a row dries. Mulch reduces evaporation, but it does not make moisture uniform; lift it and check beneath it rather than assuming the dark surface means the whole root zone is wet. If one plant is consistently drier than its neighbors, look for a blocked emitter, a compacted planting pocket, a root-bound transplant, or competition from weeds before increasing water for the entire bed.
Heat, wind, rain, and containers
High heat increases plant water use, and wind strips moisture from both soil and foliage. During a heat wave, inspect the bed early in the morning and again in the afternoon rather than automatically doubling the timer. A deeply watered, mulched bed may need only a small adjustment; a newly planted raised bed may need a second, carefully measured cycle.
Rain is useful only to the extent that it reaches the root zone. Track it with a rain gauge placed near the garden but away from roof runoff, tree drip, and pavement splash. A brief shower that wets leaves but barely penetrates the soil should not be treated like a slow soaking storm.
Containers are a separate case. They have limited root volume, more exposed sides, and faster drying, so a potted tomato, pepper, or lettuce may need daily checks in hot weather even when an in-ground bed does not. Water until the root ball is thoroughly wet and excess drains from the container, then empty any saucer so the pot is not left standing in water.
Watering schedule by growth stage
The plant in front of you matters as much as the weather. A seed in a shallow drill, a newly transplanted lettuce, and a full-grown tomato with fruit all have different root systems and different costs when moisture fluctuates.
Seeds and newly planted seedlings
Seeds need consistent moisture at the depth where they are germinating, but they do not need a flood across the whole bed. Water the seed drill before sowing when conditions are dry, let the water drain, sow, and cover; this keeps the seed in a moist, cooler pocket and reduces the temptation to wash it away with a forceful follow-up spray. GrowVeg’s vegetable-watering guidance describes this approach along with the need to prioritize seedlings during dry weather.
Young transplants need more frequent attention because their roots occupy a small volume. Water the planting hole before setting the plant, settle the root ball with another gentle watering, and check the surrounding soil daily until new growth shows that the plant is establishing. Keep the soil evenly moist, not permanently wet; frequent light watering is a temporary establishment tool, not the long-term schedule for mature plants.
Once roots expand beyond the original plug or pot, gradually lengthen the interval and increase the depth of each application. This encourages roots to explore the available soil instead of remaining concentrated at the surface where it dries first.
Established leafy crops and roots
Lettuce, spinach, kale, chard, cabbage, cauliflower, celery, radishes, beets, carrots, and similar crops generally reward even moisture. Drought stress can make leaves tough or bitter, encourage bolting in cool-season greens, and reduce the quality of roots; wet-dry swings can also contribute to cracking or poor shape.
The answer is not to keep these crops in mud. Maintain a moist but aerated root zone, use a thin organic mulch once plants are established, and give priority to the part of the plant you plan to harvest. The RHS notes that lettuce and cauliflower benefit from water when the rosette or head is forming, and that root crops need attention before the soil becomes dry rather than only after foliage collapses.
Root crops have their own end-of-season nuance. Carrots and beets need regular moisture while roots size up, but irrigation that leaves soil saturated can encourage splitting or rot. Garlic and onions generally need water during active growth, then less as bulbs mature; follow the crop’s foliage and harvest stage instead of maintaining the same wetness until you pull them.
Flowering and fruiting vegetables
Tomatoes, peppers, eggplants, cucumbers, squash, melons, and beans are most sensitive to inconsistent moisture around flowering, fruit set, and fruit enlargement. Utah State University Extension links irregular watering with problems such as tomato cracking, blossom-end rot, bitter or misshapen cucumbers, flower drop in peppers, and lower bean yields. Its crop notes support a steady, deep approach rather than repeated emergency splashes.
Sweet corn has a particularly important demand window. Keep moisture consistent as it tassels, silks, and fills ears; drought at those stages can reduce kernel development and yield. Many gardens can start near 1 to 2 inches per week, but corn may need roughly 1½ to 2½ inches during its peak growth, especially in hot, dry soil.
Do not interpret “consistent” as “water every day.” It means the root zone should not swing from bone-dry to saturated. Mulch after the soil is thoroughly watered, keep irrigation at the base, and split a large weekly amount into slow applications if one long session causes runoff.
How to water deeply without wasting water
Good watering is a delivery problem as much as a scheduling problem. Put water where roots can use it, apply it gently enough to infiltrate, and measure the result at least once so you know what a timer setting actually means.
Drip, soaker hose, hand watering, and sprinklers
Drip tape and drip lines are efficient for rows and mixed beds because they release water near the soil surface and keep most foliage dry. A pressure regulator, filter, end flush, and timer can make the system more reliable, but a timer is not a diagnosis: adjust it when rain, temperature, plant size, or crop stage changes. Gardenary’s raised-bed irrigation guide recommends testing the system, straightening and securing the lines, and changing run time as the season changes.
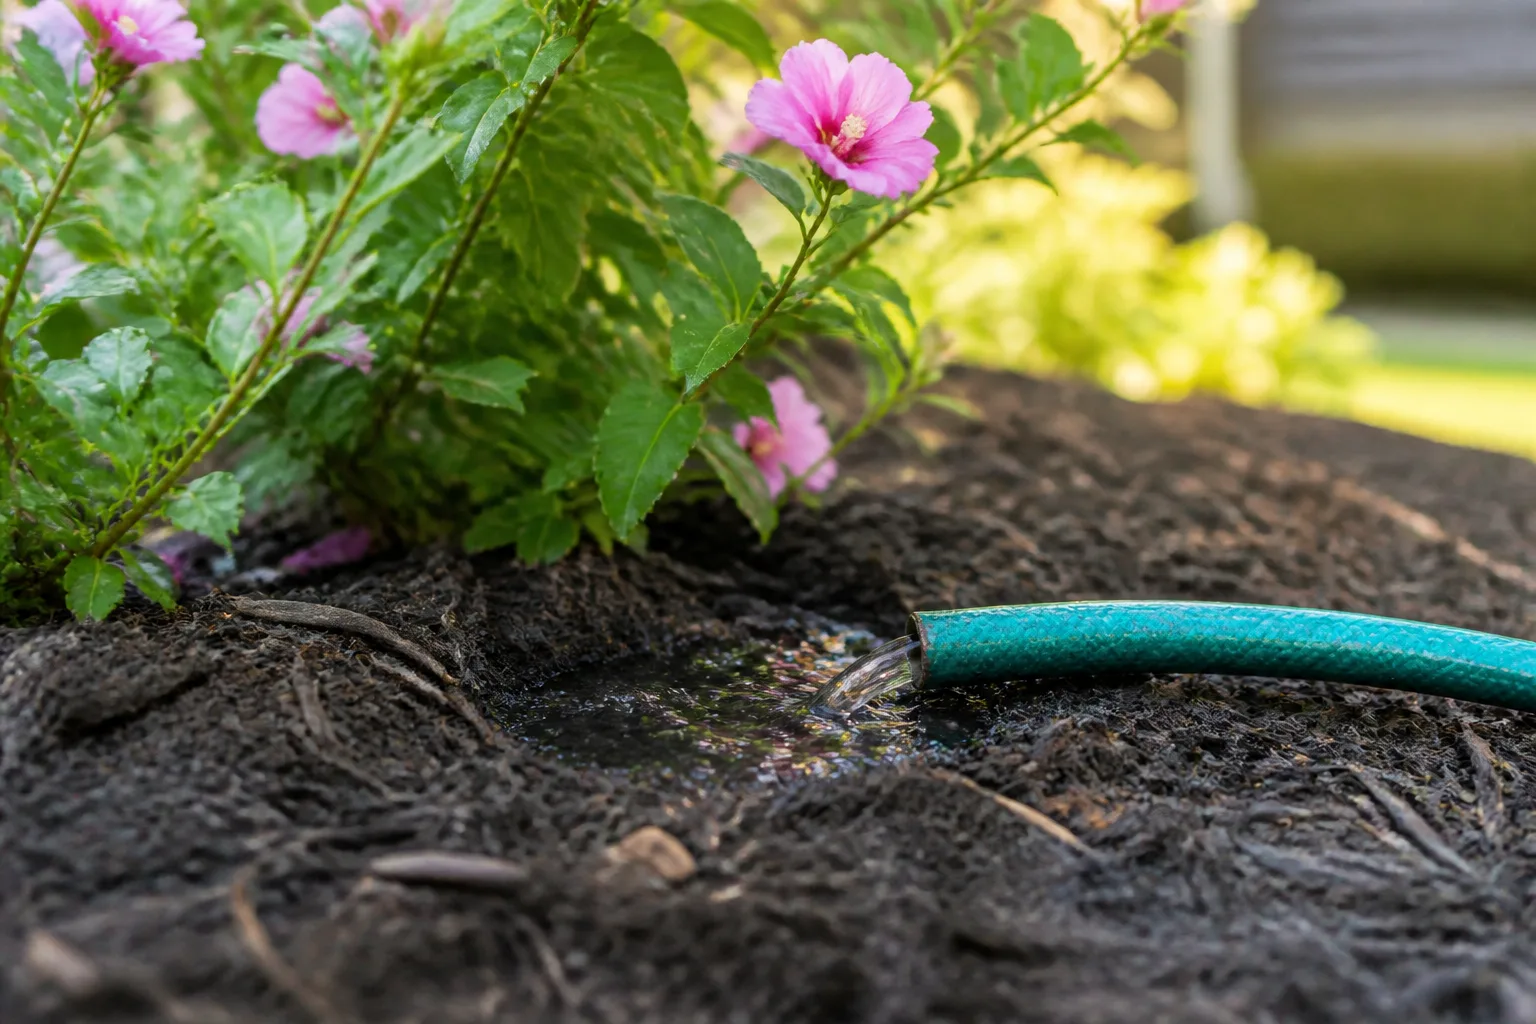
Soaker hoses can also deliver a slow root-zone soak, especially around a short row or a bed that does not justify a full drip system. Lay the hose where roots are concentrated, cover it lightly if the product allows, and check that the far end is wet; pressure and hose length can make coverage uneven.
Hand watering is perfectly workable for a small garden. Use a gentle flow at the soil line, move the stream around the root zone, and pause when water begins to run. This avoids washing soil from roots and gives you a chance to inspect leaves, stems, pests, and the moisture pattern at the same time.
Overhead sprinklers are useful for broad seedbeds and for cooling a large area when they are the only practical option, but they wet foliage, lose water to wind, and may water paths as generously as plants. If you use one, run it early enough for leaves to dry, keep the pattern inside the bed, and avoid evening sessions that leave foliage wet overnight.
Measure output with a can or rain gauge
You do not need to calculate a drip system from its advertised gallons per hour before you can water well. Place several straight-sided, flat-bottomed containers at different points in the bed, run the irrigation for a known period, and measure the depth collected. If the first container has ½ inch but the far end has only ⅛ inch, the system needs attention before you set a longer timer.
For a hose, a bucket test can tell you how long it takes to deliver a known volume, while a flow meter can track total output. The Fine Gardening watering guide gives the useful conversion that about 60 gallons applies roughly 1 inch over 100 square feet. Use that as a check, not as proof that every drop infiltrated uniformly.
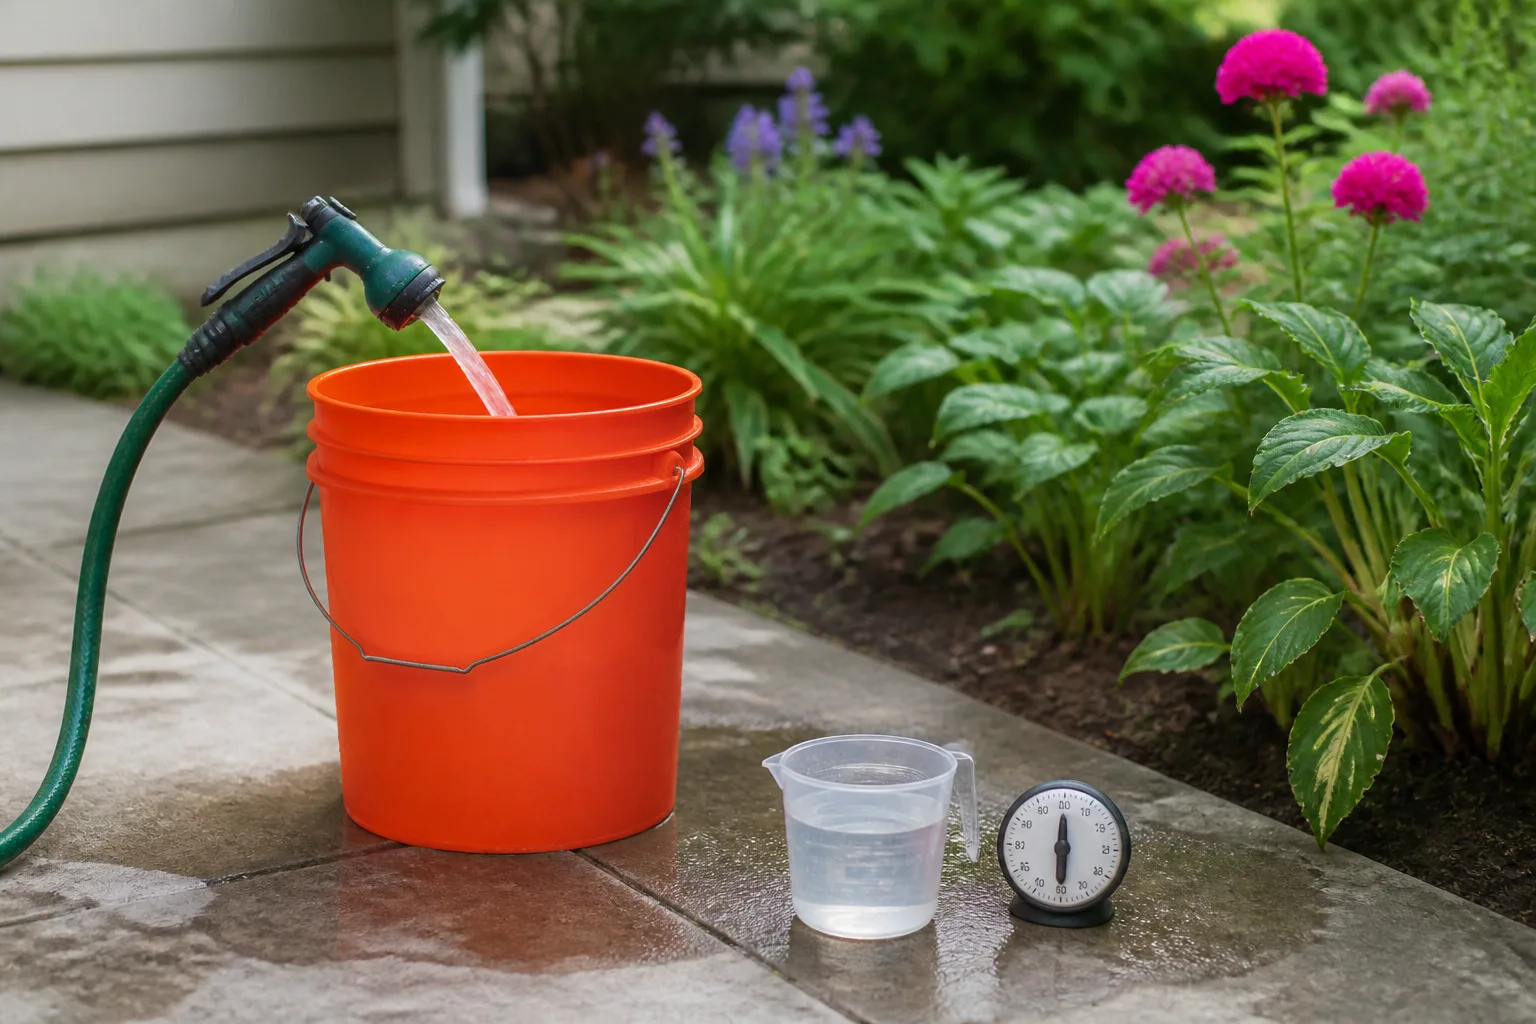
Recheck after moving lines, adding mulch, changing emitters, or planting a crop with a larger canopy. A measured 20-minute run is meaningful only for that setup and water pressure; it is not a universal answer for every garden.
Signs of too little water vs. too much
Diagnose the soil and roots before changing the schedule. The same symptom—wilting—can occur on both sides of the watering problem, so match the plant’s appearance with the moisture level below the surface.
| What you see | Check next | Likely direction |
|---|---|---|
| Morning wilt, dry soil 4–6 inches down, cracked surface, small or tough growth | Water slowly and recheck penetration | Too little water or poor infiltration |
| Midday wilt followed by evening recovery, moist root zone | Check heat and wind before watering | Temporary heat response; do not automatically add water |
| Yellowing with soil that stays wet, puddles, sour odor, stalled growth | Pause irrigation and inspect drainage and roots | Too much water or poor drainage |
| Tomato cracking, pepper blossom-end rot, bitter cucumber, split root | Review moisture consistency and crop stage | Water fluctuation; not simply “needs more water” |
| Exposed roots or channels in the soil after watering | Reduce flow and direct water at the base | Runoff or forceful delivery |
Overwatering is not just “too many gallons.” It can also be watering too often in a soil that drains slowly, leaving roots with too little air. The RHS guidance notes that excess water can encourage root and lower-stem rot, worsen slug and snail problems, and contribute to splitting in root vegetables; the sensible response is to let the bed drain and correct the delivery pattern rather than adding another treatment.
If plants remain wilted while the soil is wet, stop treating the problem as thirst. Inspect for damaged roots, a constricted stem, pests, disease symptoms, or recent transplant stress. When a whole row wilts suddenly while the soil is adequate, remove the affected plant only if needed for inspection and seek crop-specific extension advice before spreading water or fertilizer changes across the bed.
A simple weekly routine you can actually use
Use this routine as a flexible check-in, not a promise that every week needs the same amount.
- Measure rain. Empty and reset the rain gauge after recording the amount. Treat a slow, soaking rainfall differently from a brief shower that only wets leaves and mulch.
- Check the root zone. Test at least two spots 4–6 inches down, including the driest-looking bed and one area near an emitter or hose. Feel the soil before you turn on irrigation.
- Prioritize growth stages. Give first attention to seeds, new transplants, flowering and fruiting crops, corn at tasseling and silking, and shallow-rooted leafy vegetables.
- Deliver slowly. Run drip, soaker hoses, or a low-flow hand stream until the water reaches the active root zone. If runoff begins, pause and resume rather than increasing pressure.
- Measure once per setup. Use catch containers or a flow meter to learn what your system delivers. Confirm that the farthest row receives something close to the nearest row.
- Recheck after weather changes. Hot wind, a cool cloudy spell, a soaking storm, new mulch, and a larger plant canopy all justify a fresh soil check and may justify a timer adjustment.
This approach usually leads to deeper, less frequent watering for established beds, with more frequent checks during establishment, heat, and fruit production. It also makes room for the most important exception: if the soil is still moist where roots are growing, do not water simply because the calendar says it is time.
Conclusion
Most established vegetable gardens can begin with about 1 inch of total water per week, but the right schedule is the one that keeps the root zone evenly moist without leaving it saturated. Check below the surface, count rainfall, adjust for soil and heat, and pay extra attention to seedlings and crops that are flowering, setting fruit, or forming roots.
Water early when possible, aim at the soil, mulch after a thorough soak, and measure what your hose or irrigation system actually delivers. If a plant wilts, confirm whether the soil is dry before watering; if the soil is wet, investigate the roots, drainage, heat, and disease instead. That small pause is often what separates a healthy watering routine from a cycle of drought stress followed by overwatering.



