How Long Do Sweet Potatoes Take to Grow?
Learn how long sweet potatoes take to grow with a 90–120-day timeline, variety guide, harvest signs, and curing tips for a better crop.
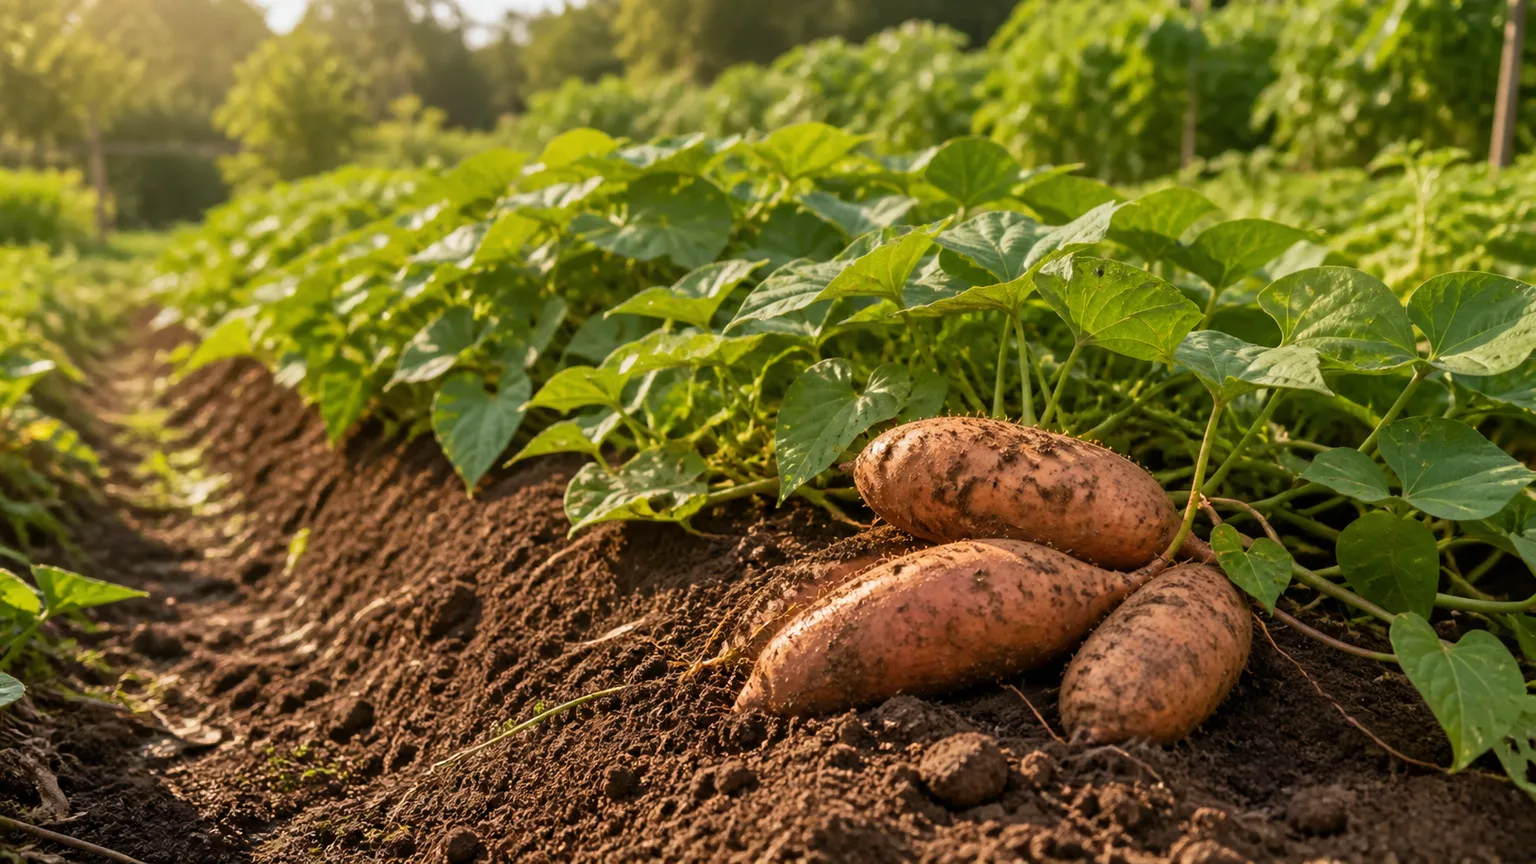
Most sweet potatoes take about 90 to 120 days to grow after you plant slips. That is the useful planning range for many garden varieties, but it is not a countdown that works equally well in every bed. A cold start, compacted soil, too much nitrogen, drought during establishment, or an early frost can add stress and shorten the time your roots have to size up.
The most reliable way to predict harvest is to combine the variety’s days-to-maturity estimate with three observations: the soil and weather your crop experienced, the condition of the vines near the end of the season, and a small test dig. The University of Georgia Cooperative Extension’s home-garden guidance gives a 90–120-day harvest window and also notes that sweet potatoes need warm soil, steady water while roots develop, and protection from the first frost.
The Short Answer: Plan on 90–120 Days After Planting Slips
If you buy or receive rooted slips in late spring, mark the planting date on your calendar and begin checking the crop around day 85. Many roots will be harvestable between day 90 and day 120, while longer-season varieties or plants that spent their first weeks in cold soil may need more time. In a short-season garden, the planting date matters more than the date printed on the seed packet because a crop planted too early may spend weeks stalled instead of growing.
Sweet potatoes are warm-season annual vines in most gardens. The edible part is a swollen storage root produced underground by Ipomoea batatas, a morning-glory relative—not the same plant as a white potato and not the same crop as a yam. Once the slips have rooted and the weather stays warm, the vines can grow quickly; the slower, less visible work is building and enlarging the roots beneath them.
Count from planting slips, not from sprouting a kitchen sweet potato
Days to maturity almost always refers to the time from planting a garden-ready slip to the first harvest window. It does not include the weeks spent sprouting a whole sweet potato on a windowsill or rooting cuttings in water. If you start your own slips, add that preparation time before you begin the 90–120-day garden clock.
Starting slips can take several weeks. A UGA Master Gardener guide explains that sprouts can be separated when they are roughly 6 to 12 inches long and rooted in water before planting. UGA’s sweet-potato guide is useful for the sequence, but buying healthy, disease-free slips is usually the better choice when your growing season is short.
Homegrown slips also introduce a quality variable. A grocery-store root may have been treated to slow sprouting, may be a variety that needs a longer season than your garden provides, or may carry disease. If you are growing for food rather than for ornamental foliage, choose slips sold as edible sweet-potato cultivars rather than assuming every decorative sweet-potato vine will make a good root crop.
Why days to maturity is a window, not a promise
Catalog numbers are estimates made under favorable conditions. They are best used to set the first date to inspect the roots, not as a command to dig every plant on that exact day. A crop planted into 70°F soil with full sun and loose drainage can reach size sooner than the same variety planted into 60°F soil after a wet spring.
Variety descriptions can disagree, too. The UGA Extension table lists ‘Centennial’ at about 90 days, ‘Yellow Jersey’ at 100, ‘Beauregard’ at 105, ‘Porto Rico’ at 110, and ‘Jewel’ at 120. Another grower’s catalog may list different numbers because the seed source, planting material, climate, and definition of “mature” differ. Treat the number as a starting point, then verify with the plant and a test dig.
Sweet Potato Timing by Variety
Use the table below as a planning guide, not a guarantee. It reflects the approximate figures in the UGA Extension home-garden publication; your supplier’s label should take priority when it gives a different estimate for the exact strain you bought.
| Variety | Approximate days after planting slips | What the timing means |
|---|---|---|
| ‘Centennial’ | 90 days | An earlier option when the frost-free season is limited |
| ‘Yellow Jersey’ | 100 days | A midrange estimate for a warm, productive season |
| ‘Beauregard’ | 105 days | A common orange-fleshed choice with a moderate window |
| ‘Porto Rico’ | 110 days | A compact-vine type that still needs a long warm run |
| ‘Jewel’ | 120 days | A later estimate; plant early enough to beat autumn cold |
The table does not mean that a 90-day variety is ready to dig on day 90 or that a 120-day variety will fail on day 121. It tells you when to start looking closely. If you are growing in a northern or high-elevation garden, favor the shortest-maturing edible variety you can find and plant only after the soil is genuinely warm. A fast variety planted two weeks too early can lose its advantage to a slow, cold start.
For an even more reliable plan, write down four dates: the average last spring frost, the day soil reaches your planting threshold, the expected maturity date, and the average first fall frost. The gap between the expected maturity date and the first frost is your safety margin. If that margin is only a week, avoid a late variety and do not delay planting once the soil is ready.
Warmth, Sunlight, and Soil Set the Crop’s Clock
Sweet potatoes are forgiving after they establish, but they are not indifferent to cold. Their first job after planting is to make roots from the slip; if the soil is chilly or waterlogged, the plant may look alive while making very little progress. This is why “planted in May” is not a useful timing detail by itself. A May planting in a cold, shaded bed and a May planting in a warm raised bed are not starting the same crop clock.
Soil temperature and frost-free time
Wait until the soil is at least about 65–70°F at the planting depth, the danger of frost has passed, and the forecast offers a stretch of warm weather. UGA Extension recommends 70°F soil for planting, while trusted growing guidance often uses 60–65°F as the lower boundary for getting slips established. The practical takeaway is simple: the warmer end of that range is safer for fragile slips, especially if nights are still cool.
Sweet-potato vines are frost-sensitive. Harvest before the first frost rather than hoping the soil will protect the roots indefinitely. Cold soil can reduce quality and storage life, and a frost-damaged canopy stops the plant from feeding the roots. If an unexpected light frost is forecast late in the season, cover the foliage overnight and plan to harvest promptly; do not leave a mature crop exposed to repeated freezes.
Soil structure and moisture
The best bed is loose, well-drained, and deep enough for roots to expand without meeting a hard layer. Sandy loam or amended loam works well. Heavy clay can produce small, forked, or misshapen roots and can stay cold and wet after rain. A raised bed or broad ridge improves drainage and warms earlier, which can effectively shorten the crop’s calendar even though the variety’s printed maturity number does not change.
NC State Extension describes sweetpotato as a vigorous annual vine that prefers full sun or partial shade and loamy, well-draining soil high in organic matter. For an edible crop, use that advice with a full-sun bias: six hours is a workable minimum, while eight to ten hours of direct sun gives the roots a better chance to size up. In very hot, dry climates, a little late-afternoon shade can reduce stress, but deep shade usually trades away yield.
Do not dig fresh planting holes into a compacted bed and expect fertilizer to solve the problem. Loosen the root zone, remove stones and hard clods, and mix in a modest amount of finished compost if the soil needs organic matter. Avoid turning the bed into a rich, nitrogen-heavy patch; the crop needs healthy foliage, but an enormous vine is not proof that the underground roots are developing well.
Plant Sweet Potato Slips for the Fastest Start
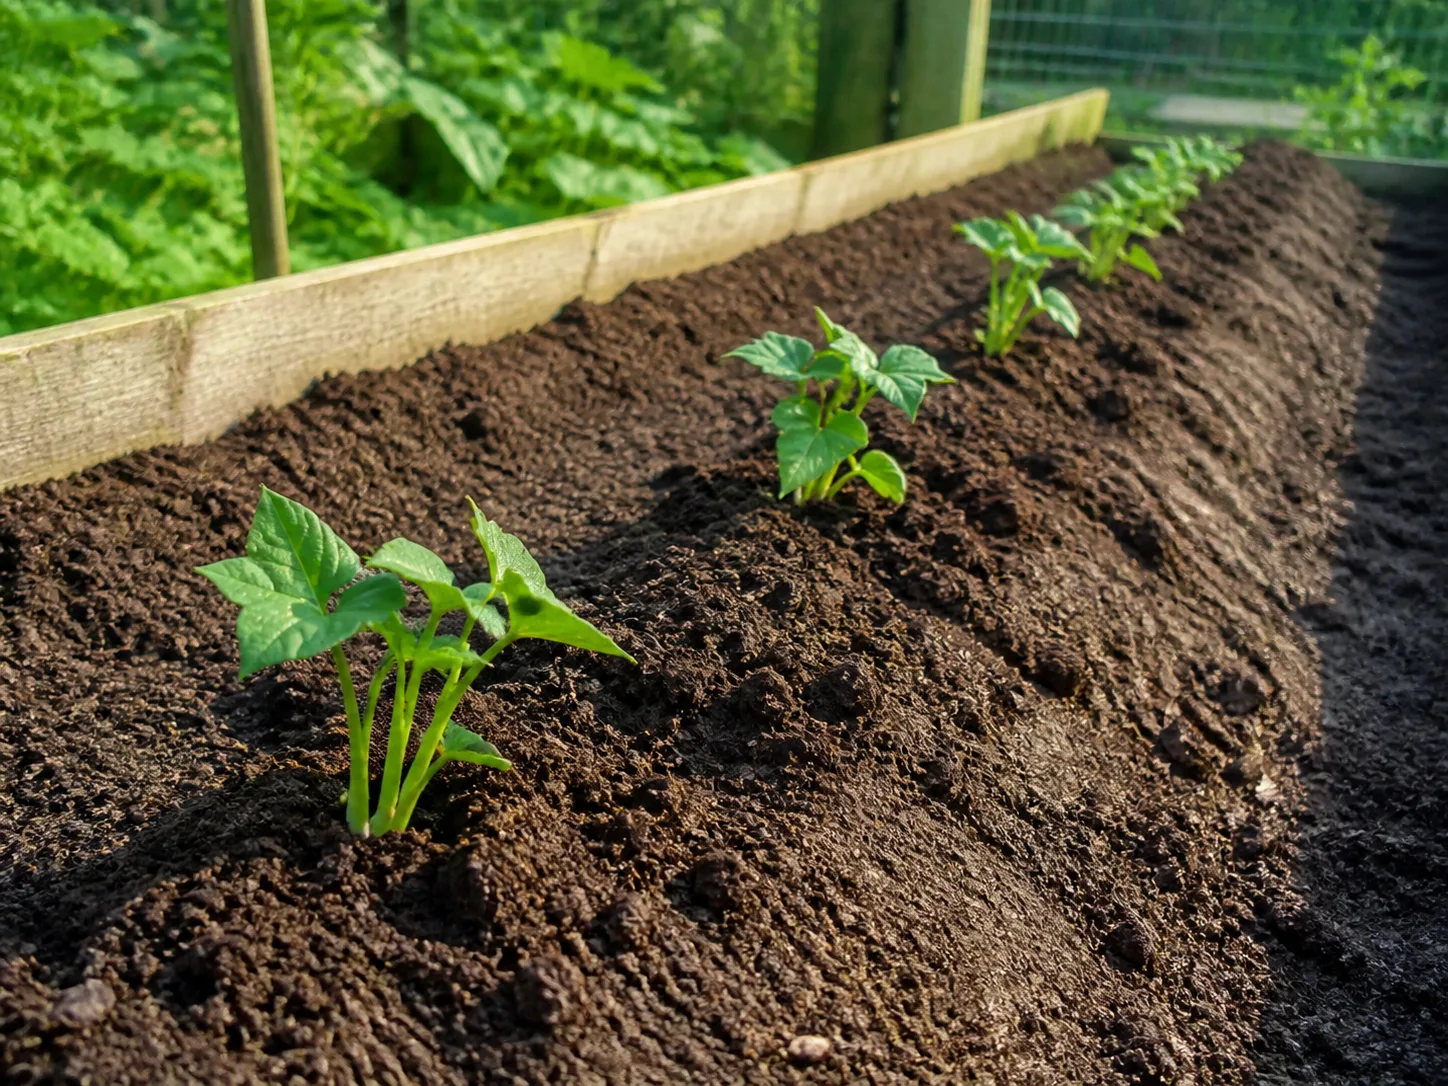
Planting a slip is different from planting a seedling with a small plug of potting soil. A slip is a tender shoot, sometimes with only a few roots, so it needs immediate contact with moist soil and protection from wind while it establishes. Handle the roots gently and plant most of the stem underground while leaving the growing tip and leaves above the surface.
Make a hole or furrow about 4 to 6 inches deep, place the rooted end down, and cover the root nodes firmly but lightly. If a long slip has few roots, laying part of the stem horizontally under the soil can encourage rooting along the buried nodes. Water the bed thoroughly right after planting so there are no dry pockets around the roots.
Planting depth and spacing
Space slips about 12 to 18 inches apart in rows roughly 30 to 42 inches apart when you have room. Closer spacing can produce more medium-sized roots; wider spacing usually gives individual plants more room to make larger roots. The vines will run well beyond their planting spots, so leave space for them to spread instead of repeatedly pulling or trimming healthy runners.
The first week is the most fragile. Check the bed daily in hot or windy weather and water whenever the upper soil begins to dry. A thin mulch layer helps conserve moisture after the slips are rooted, but keep mulch from smothering the stem or trapping water against it. If the leaves wilt briefly in midday but recover by evening, monitor the soil before adding water; if the plant stays limp into the evening, the root zone needs attention.
Water and Fertilizer: Enough to Establish, Not Enough to Delay Roots
Give newly planted slips consistent moisture while they make roots. After establishment, aim for roughly 1 inch of water per week from rain or irrigation, adjusting for sandy soil, intense heat, rainfall, and container growing. Water deeply at the root zone rather than sprinkling the leaves every day. Let the surface dry slightly between irrigation events if the bed drains slowly.
The crop becomes fairly drought tolerant once the vines cover the ground, but drought tolerance is not the same as maximum production. Prolonged dryness can reduce root number and size. On the other hand, saturated soil removes air from the root zone and increases the risk of rot. A soil check with your finger or a moisture meter is more useful than a fixed watering schedule copied from another climate.
Feed the soil, not the vine. If a soil test shows adequate fertility, sweet potatoes often need little additional fertilizer. Too much nitrogen produces lush runners and leaves while diverting energy away from storage-root development. If you fertilize, follow a soil-test recommendation and avoid repeated high-nitrogen applications after planting.
As harvest approaches, taper supplemental water rather than forcing the crop through a final drought during extreme heat. UGA Extension recommends stopping watering three to four weeks before harvest to reduce splitting, but that should be read in context: do not let a plant collapse in a heat wave simply to obey the calendar. In rainy weather, you may need no additional water; in hot, dry soil, reduce carefully and harvest when the crop reaches its readiness window.
How to Tell When Sweet Potatoes Are Ready to Harvest
Use a four-check method instead of relying on a single yellow leaf:
- Check the variety’s days-to-maturity window. Start inspecting around day 85–90 for an early variety and later for a 110–120-day type.
- Look at the vines. Some yellowing or decline near the expected harvest window supports readiness, but premature yellowing can also mean drought, root trouble, or disease.
- Look at the soil. Cracks, raised soil, or a root shoulder showing at the base can signal that roots are sizing up, although not every root will be visible.
- Make a test dig. Gently uncover one or two roots near the edge of the plant. If they are close to the size and shape you want, harvest the bed; if they are undersized and the weather is still warm, cover them and give them more time.
The test dig is the most useful step because “ready” depends on what you plan to eat. You can harvest young roots for a smaller crop, or wait for fuller roots if your variety and weather allow. Waiting too long can lead to cracks, oversized roots, or a frost problem, so once the sample looks right, watch the forecast rather than assuming extra weeks are always beneficial.
What to do when frost is approaching
Frost changes the decision. A yellowing canopy at the end of a warm season may be normal; a canopy hit by frost is a warning that the plant can no longer protect the crop. Harvest before the first frost whenever possible, especially if the soil is likely to fall below 50°F soon afterward.
If your roots are close to mature and a frost is one or two nights away, prioritize digging over chasing another few days of size. If the crop is still small, you can cover the vines during a brief cold snap, but protection is a short-term measure—not a way to turn a late planting into a full season.
Harvest Without Bruising the Thin Skins
Choose a dry day when the soil is workable. Cut or move the vines out of the way, then start well outside the plant’s crown with a garden fork or spading fork. Lift the soil gradually and work inward rather than plunging a tool directly beside the stem, where the largest roots may be hiding.
Sweet-potato skins are thin at harvest and damage can become an entry point for decay. Lift roots with the soil, use your hands to loosen them, and resist throwing them into a bucket. Brush off large clumps without scraping the skin. Guidance differs on whether to wash immediately, but for a home crop intended for storage, leaving the roots unwashed and gently dry is the lower-risk choice; wash only the roots you plan to cook soon.
Separate cuts, deep scrapes, and soft or leaking roots from the sound crop. Do not store damaged roots in the same box as healthy ones. If the vines showed a serious disease, do not casually add them to a home compost pile; remove affected material according to your local guidance and rotate the bed into a different plant family next season.
Cure and Store the Roots for Better Flavor
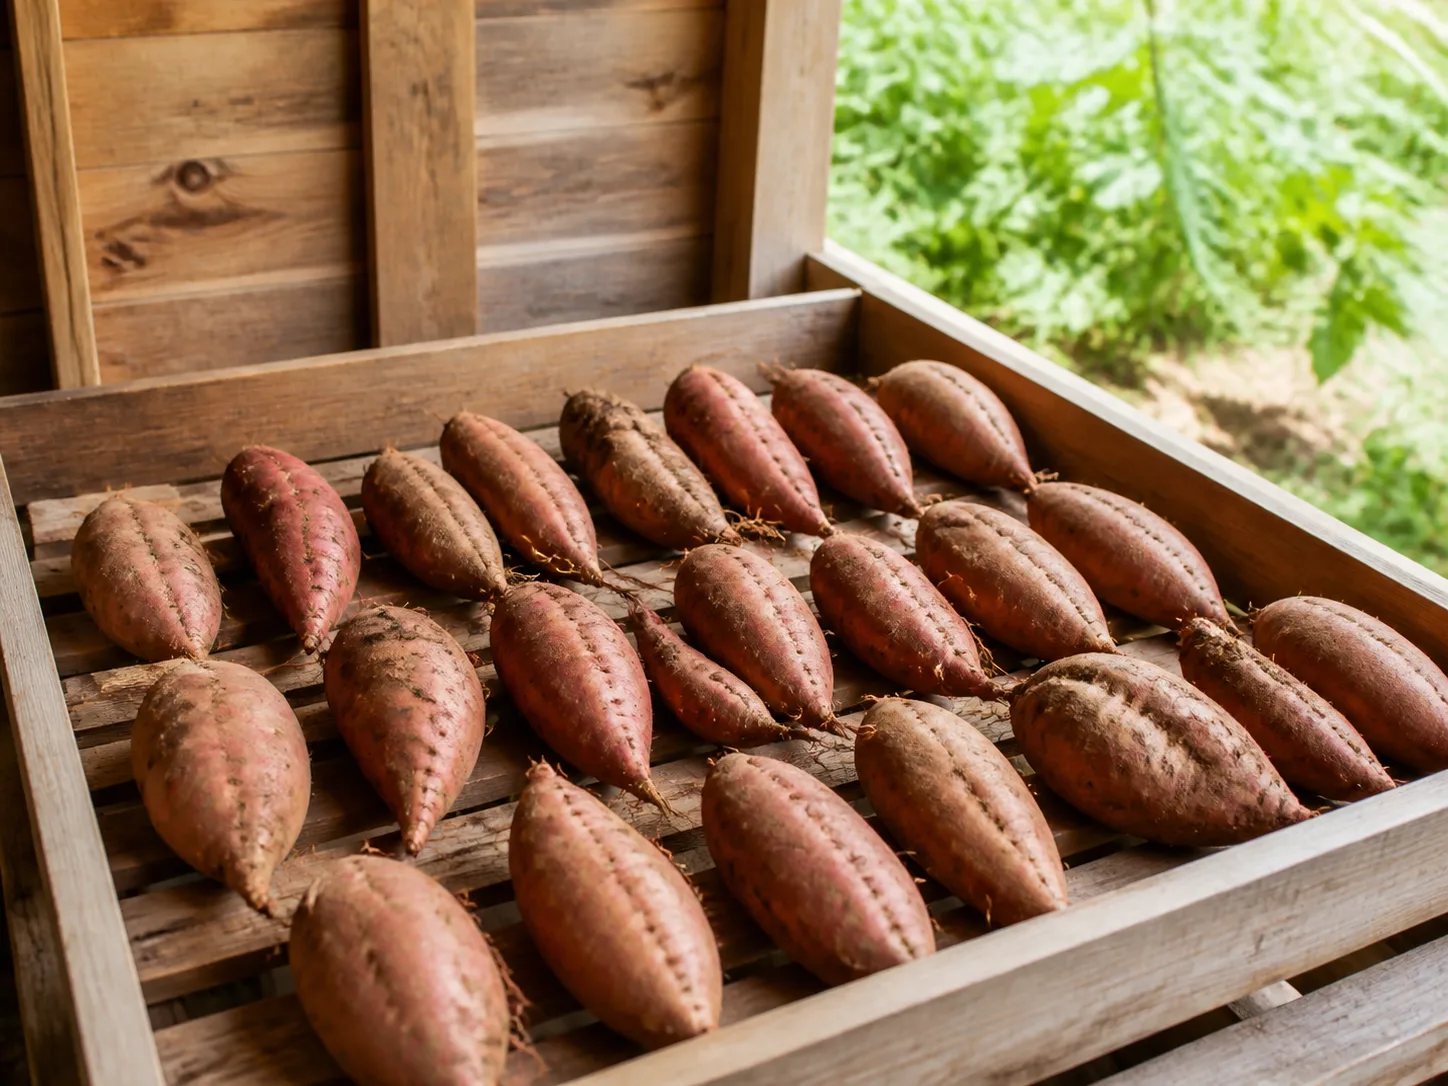
Freshly dug sweet potatoes are edible, but curing improves the result. During curing, the roots heal small surface injuries, lose excess moisture, and convert some starches into sugars. That is why a root that tastes merely starchy on harvest day can taste noticeably sweeter after it rests.
For a home-sized harvest, spread the roots in a single layer in a warm, shaded, well-ventilated place. Aim for roughly 80–85°F for about 7–14 days if you can maintain those conditions; cooler rooms may need longer. Keep the roots dry, out of direct sun, and protected from rain. Fine Gardening’s practical growing guide also emphasizes gentle handling and a warm curing period before moving roots to storage.
After curing, store sound roots in a dark, ventilated place around 55–60°F. Avoid the refrigerator, which is colder than sweet potatoes prefer and can damage flavor and texture. Use crates, shallow boxes, or baskets that allow airflow rather than sealed plastic bags. Check the storage crop periodically and remove any root that develops soft spots so decay does not spread. Fine Gardening’s growing guide likewise emphasizes gentle handling, a warm curing period, and cool, dry storage.
The Epic Gardening harvest guide and its curing guidance both stress that curing and storage conditions affect how long the crop keeps. You do not need a perfect root cellar to preserve a garden harvest, but you do need a dry, dark, reasonably cool location and roots that were not bruised during digging.
What Makes Sweet Potatoes Take Longer?
When roots are still small after the variety’s estimated date, diagnose the growing conditions before adding fertilizer. The most common causes are:
- Cold soil at planting: Slips may sit still, wilt repeatedly, or root slowly. Raised beds, dark mulch used safely, and waiting for warm soil can help the next planting.
- Too little direct sun: Vines may look green but produce fewer or smaller roots when shade limits photosynthesis.
- Compacted or waterlogged soil: Roots cannot expand normally and may rot. Improve drainage and loosen the bed before planting again.
- Drought during establishment: A slip that never roots well can lose weeks of growth. Keep new plants evenly moist until they are actively growing.
- Too much nitrogen: A vigorous canopy can hide disappointing roots. Test the soil before feeding and avoid repeated lawn-style fertilizer.
- A short frost-free window: A late planting may be healthy but simply out of time. Choose an earlier cultivar or start with purchased slips next season.
Not every delay is a failure. Warm weather can trigger a late growth surge, and the days-to-maturity estimate can be off by a week or more. If the vines are healthy, the forecast is warm, and a test dig shows roots are enlarging, patience is usually more valuable than a rescue product.
A Simple Sweet Potato Calendar to Use Next Season
Six to eight weeks before planting: If you are making your own slips, start with a healthy edible sweet potato and give it warmth. Otherwise, order disease-free slips timed for delivery after your soil can warm.
At planting: Wait until the frost danger has passed and the soil reaches roughly 65–70°F. Prepare loose, well-drained soil, plant slips 4–6 inches deep, and water thoroughly.
Days 1–14: Keep the bed evenly moist while slips root. Protect new growth from cold wind and remove weeds before vines spread.
Weeks 3–8: Maintain full sun, steady but not excessive moisture, and modest fertility. Let healthy runners cover the ground; do not keep cutting them back just to make the bed look tidy.
Around day 85 onward: Start checking the variety’s maturity range. Look for late-season vine changes and soil movement, then test dig one root.
Before the first frost: Harvest the crop on a dry day, even if a few roots could become larger. Cold damage and poor storage are a worse trade-off than slightly smaller roots.
After digging: Cure the roots warm and shaded for about one to two weeks, then store sound roots in a dark, ventilated place around 55–60°F.
Conclusion
Sweet potatoes usually take 90–120 days from planting slips to harvest, with early cultivars sometimes ready near the 90-day mark and later cultivars needing closer to four months. The number becomes useful only when you pair it with warm soil, full sun, loose drainage, consistent establishment watering, and enough frost-free time.
Start counting when the slip goes into the garden, not when a kitchen root first sprouts. Begin checking near the maturity date, use yellowing vines and soil movement as clues rather than proof, and make a careful test dig before committing the whole bed. Harvest before frost, cure the roots patiently, and protect their thin skins from bruises. That simple sequence gives you a far better forecast—and a better-storing crop—than a calendar number on its own.



