How to Create a Cottage Garden for Under $25
Create a dreamy cottage garden for under $25 with a small-bed layout, free plant sources, seed choices, salvaged accents, and a first-season care plan.
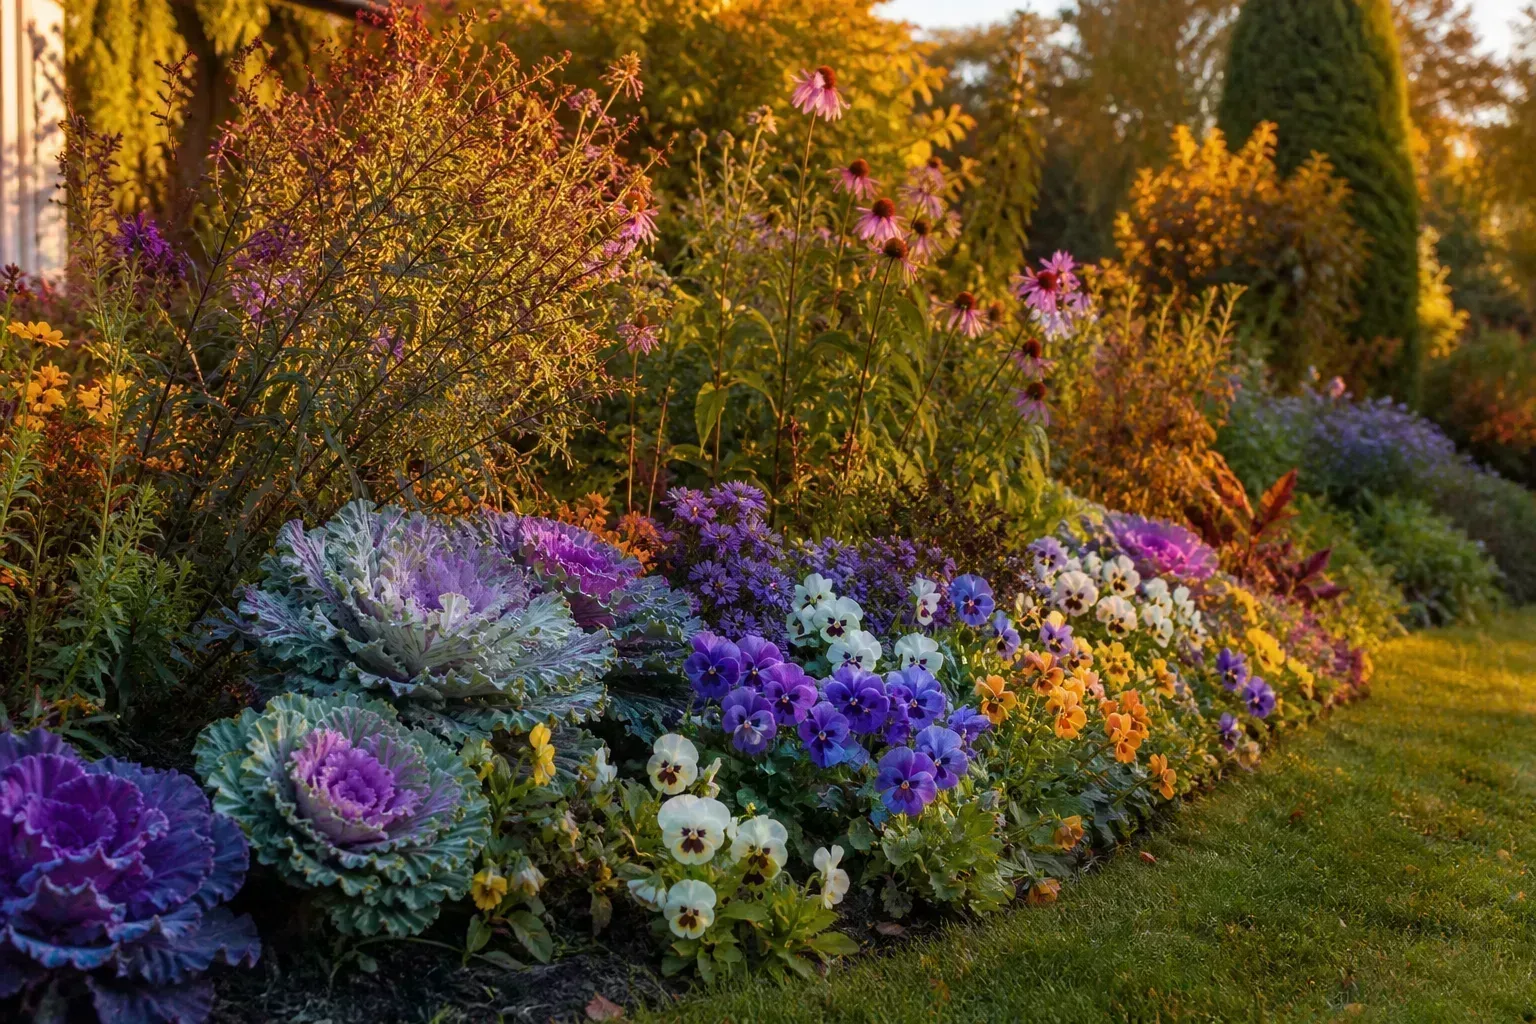
An English cottage garden looks abundant because it layers flowers, foliage, scent, and a little happy disorder. That does not mean you need a large yard, a vintage greenhouse, or a cart full of established plants. You need one small area, a palette that suits its conditions, and a willingness to let inexpensive plants take time to fill in.
The most useful way to think about a cottage garden on a budget is as a staged garden, not a one-day makeover. Spend the money on seeds and the one soil input you truly need, source divisions and cuttings from healthy plants, and make the structure from materials you already have or can safely reuse. The garden will be less full at first, but it will be more resilient and much easier to edit.
What makes a budget cottage garden look dreamy
The look comes from contrast and repetition: tall stems rising through rounded flowers, airy foliage beside broad leaves, and a few colors appearing in more than one place. A cottage border can feel informal without being random. Someone still decided where the tallest plants go, how visitors move past the bed, and which plants can handle the same light and moisture.
The style is especially forgiving of seedlings that land a few inches away from the original plan. The RHS guide to cottage-garden plants describes the appeal of classic plants, haphazard self-seeding, and a full, layered effect. For a small budget, that translates into three rules: start with one border, repeat a short plant palette, and leave room for the plants to spread rather than buying a different flower for every gap.
Your first border does not need to look like a finished garden in month one. A few strong shapes, bare soil covered neatly, and an intentional edge can make a young planting look designed while the annuals germinate and the perennials establish.
The $25 spending plan
Prices vary by region, season, and whether you shop at a seed library, garden center, plant sale, or local exchange. Treat the following as a ceiling for a small border, not a promise that every shop will have the same prices.
| Purchase | Budget cap | What it does |
|---|---|---|
| Three packets of direct-sow annuals | $9 | Gives fast, inexpensive color and filler plants |
| Finished compost or a shared bag of soil amendment | $6 | Improves the planting zone if the soil needs organic matter |
| One small bulb packet or bare-root perennial | $5 | Adds a slower-growing anchor for a later season |
| Labels, twine, or a small amount of sand for tiny seed | $2 | Makes sowing and spacing easier |
| Contingency | $2 | Covers a price difference or a replacement packet |
| Total | $24 | Leaves a dollar of breathing room under the cap |
This plan assumes you already have access to a hand tool, a hose or watering can, and a place to plant. Borrow a fork or trowel before buying one. Do not spend the budget on a new trellis, decorative pot, edging kit, or bagged “cottage garden” mix if a neighbor’s plant division, a reclaimed brick, or a reused twig support can do the job.
If your soil is already loose and reasonably fertile, move the compost money to another seed packet or keep it as contingency. If the site is compacted, waterlogged, contaminated, or full of persistent perennial weeds, pause the flower plan and solve that larger problem first. A cheap planting in the wrong site is not a bargain.
Choose one small planting zone
Start with a border you can reach from at least one side and check every few days during establishment. A strip about 3 feet wide by 6 feet long is enough for a visible cottage-style composition, while a 2-by-8-foot strip can work beside a path. The exact dimensions matter less than choosing an area small enough to weed, water, and observe without resenting it.
A single border also gives you a clear stopping point. Once it fills, you can divide successful plants and save seed for the next bed rather than paying to create a large garden all at once. A small start is a design advantage: dense-looking cottage planting becomes difficult to maintain when the gardener cannot reach the center.
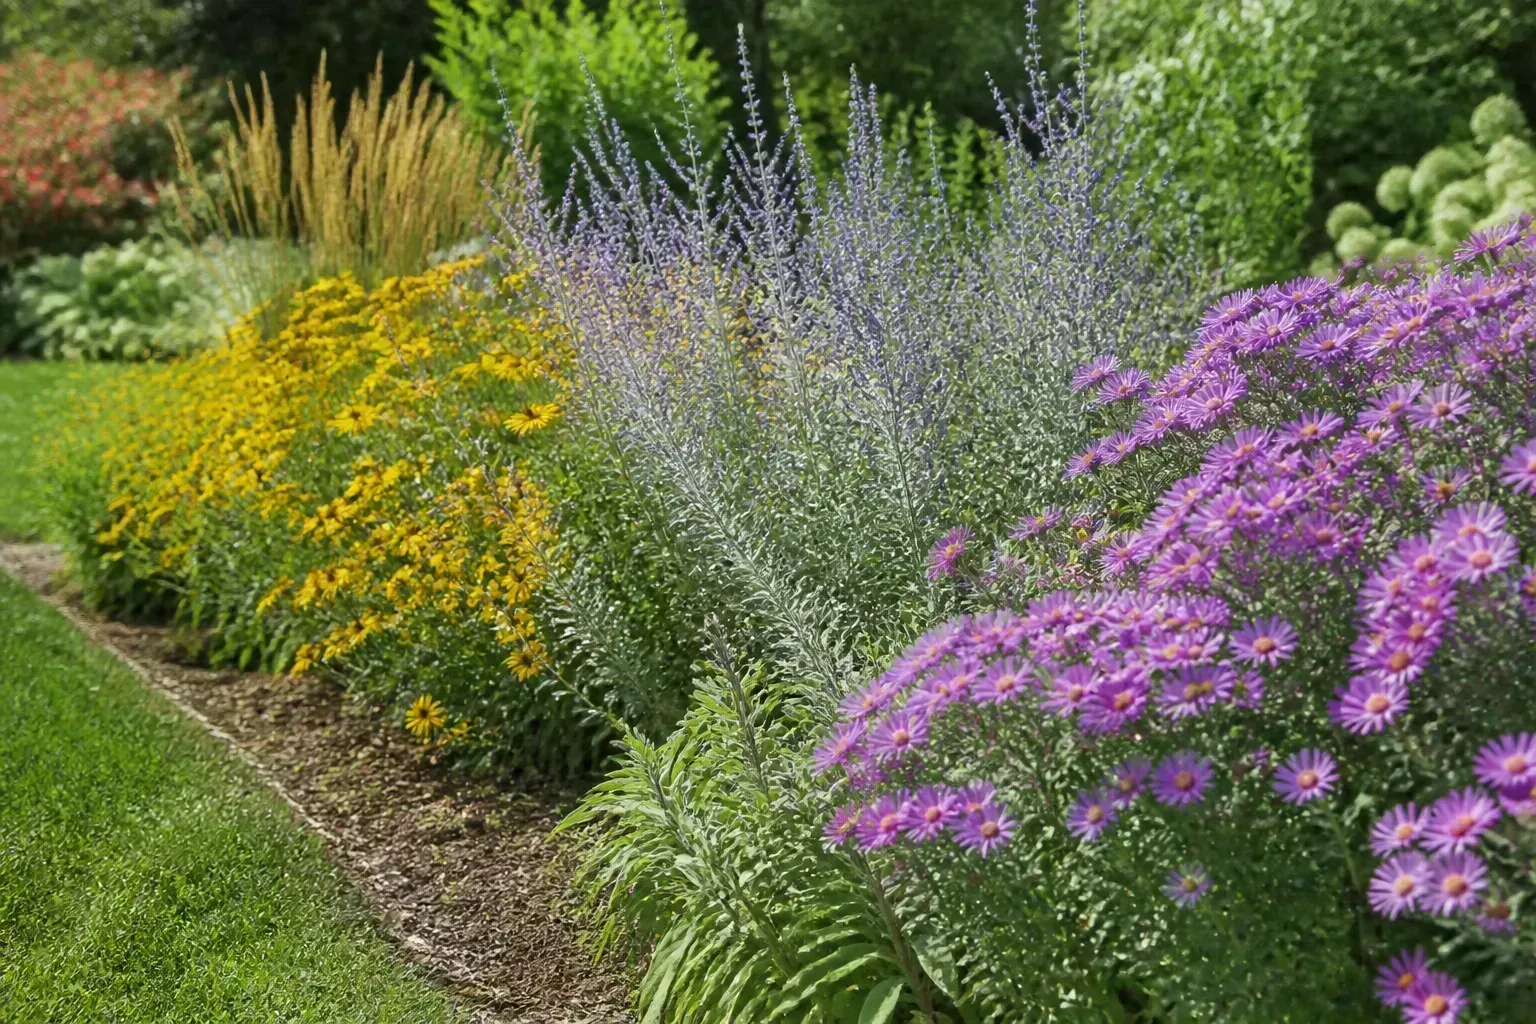
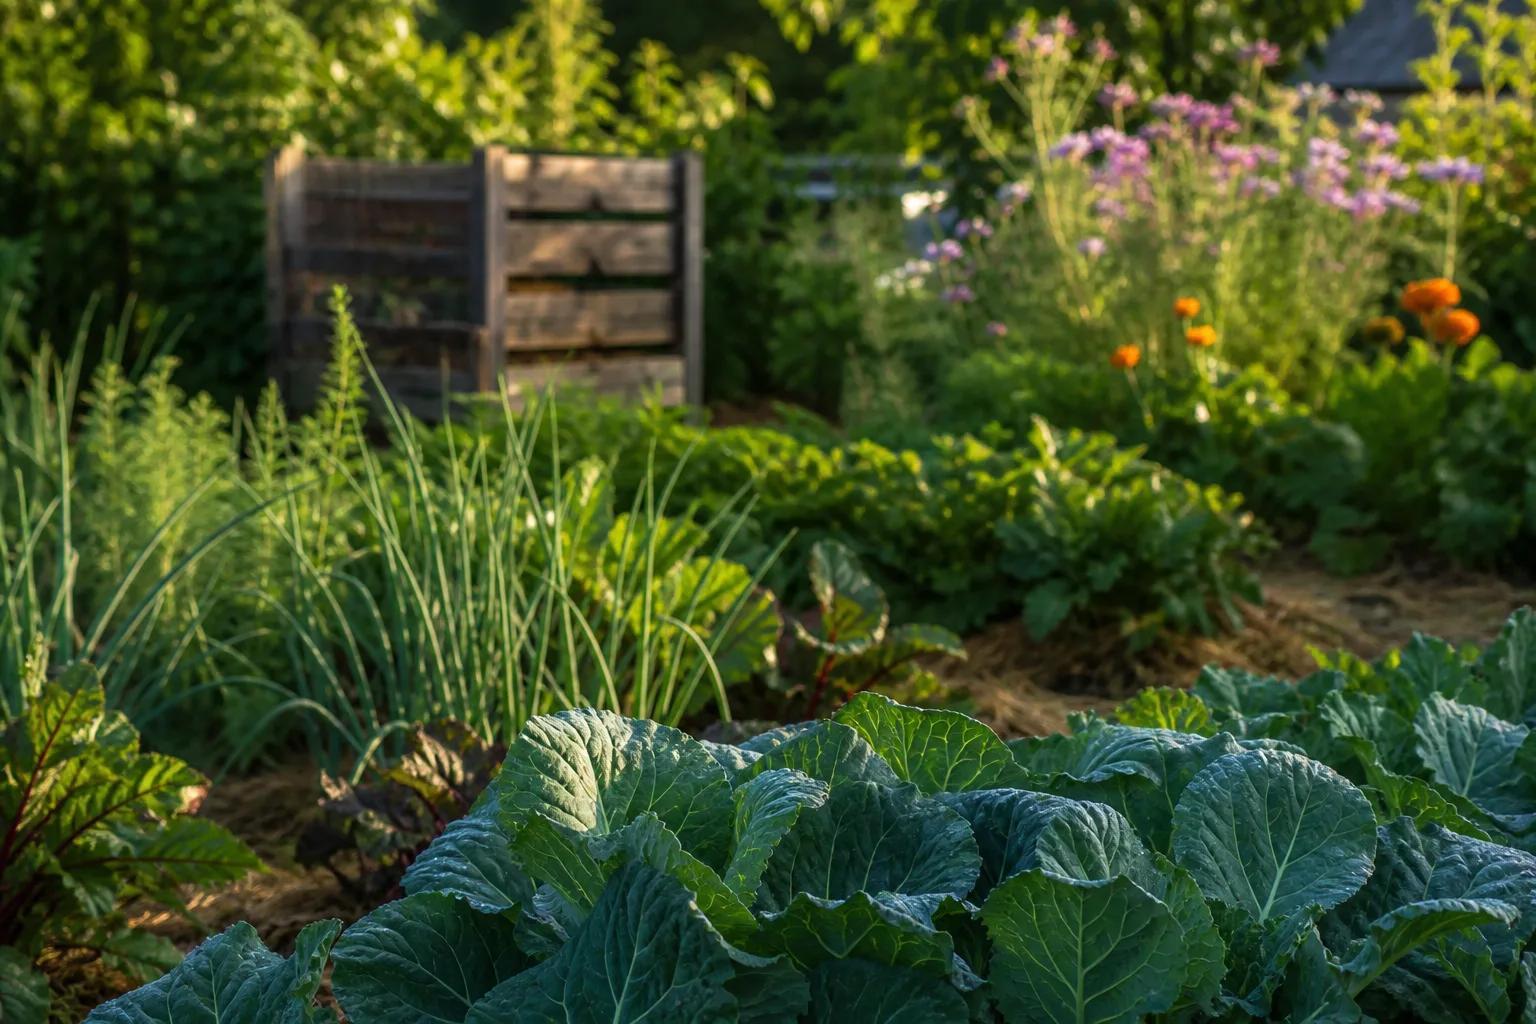
A small border can look generous when its layers and edge are easy to read.
Read the site before buying
Watch the area on a bright day and record the conditions instead of guessing from a photograph. Note how many hours of direct sun reach the soil, whether reflected heat comes from a wall or pavement, where rain collects, how quickly the surface dries, and how far the hose actually reaches.
Then kneel down and handle the soil. A loose, crumbly surface is easier to sow than a hard crust, but do not try to fix drainage by sprinkling gravel over wet soil. If water sits after ordinary rain, choose plants that tolerate that condition or correct the drainage before buying flowers; lavender and other plants that need sharp drainage will not become happy in a puddle through optimism.
Most classic cottage plants prefer a sunny or lightly shaded position, but the right choice is always the plant that fits your site. The Homes & Gardens guide to planning a cottage garden makes the same point through its “right plant, right place” approach: work with the conditions so the border needs less rescue watering, feeding, and replacement.
Sketch the bed from the places where you will see it: the front door, kitchen window, sidewalk, or favorite chair. Mark the path edge and the best focal view before you decide where the tallest plants go. The BBC Gardeners’ World garden-design guide is a useful reminder that garden design includes movement, boundaries, seating, and scale—not only plant names.
Shape the bed with free materials
An informal border can be outlined with existing grass, a shallow hand-cut edge, fallen stone, spare bricks, or short pieces of untreated branch. Use only materials whose past is known. Avoid painted, pressure-treated, oily, or chemically contaminated scraps in a vegetable-and-flower bed, and do not use a container that previously held a pesticide, solvent, or unknown substance.
You can also make the planting feel intentional by reusing one object rather than scattering many. A clean old bucket with drainage holes, a stable crate, a broken terracotta pot, or a borrowed bench can become a visual pause. Keep the object useful and safe: an unstable chair is not garden structure, and a container without drainage is a small swamp waiting to happen.
Use a simple layered layout
For a border viewed from one side, put the tallest plants at the back, medium plants through the middle, and the lowest flowers or foliage along the edge. If the bed is visible from both sides, place the tallest group near the center and step down toward both edges so the planting does not become a wall.
Within that structure, repeat plants in loose clusters rather than lining every stem in a ruler-straight row. Three or five plants of one type can read as a drift in a small bed, but the number should fit the available space and the plant’s mature spread. Use a few shifted rows or curved drills for an informal effect, while keeping enough separation that you can still recognize seedlings and remove weeds.
Lay out pots, divisions, or plant labels on the soil before you dig. The first arrangement is a draft. Move the group that blocks the path, the plant that will outgrow the front edge, or the flower that clashes with the only existing shrub while everything is still easy to lift.
Choose plants that multiply
The lowest-cost cottage garden is built from plants that give you more than one season of value. Annuals supply first-year flowers from a packet; biennials and self-seeders may return through volunteer seedlings; clump-forming perennials can be divided; and some plants can be raised from cuttings. The trade-off is patience: inexpensive propagation often gives you more plants later, not a mature border tomorrow.
Choose a palette by conditions before color. For a sunny border, look at combinations such as cosmos, calendula, nasturtium, zinnia, bachelor’s buttons, coreopsis, yarrow, lavender, or lamb’s ear, then remove anything that does not fit your soil and local climate. For part shade, use a locally appropriate shade palette rather than trying to force sun-loving flowers to bloom in a dim corner.
Buy annual seeds for first-season color
Annuals are the best use of a small cash budget when you want visible change in the first growing season. Cosmos can add airy height, calendula can bring warm color, nasturtiums can spill over an edge, and zinnias can provide a strong summer block in climates where they are suitable. Buy fewer colors than you think you need and repeat them across the border.
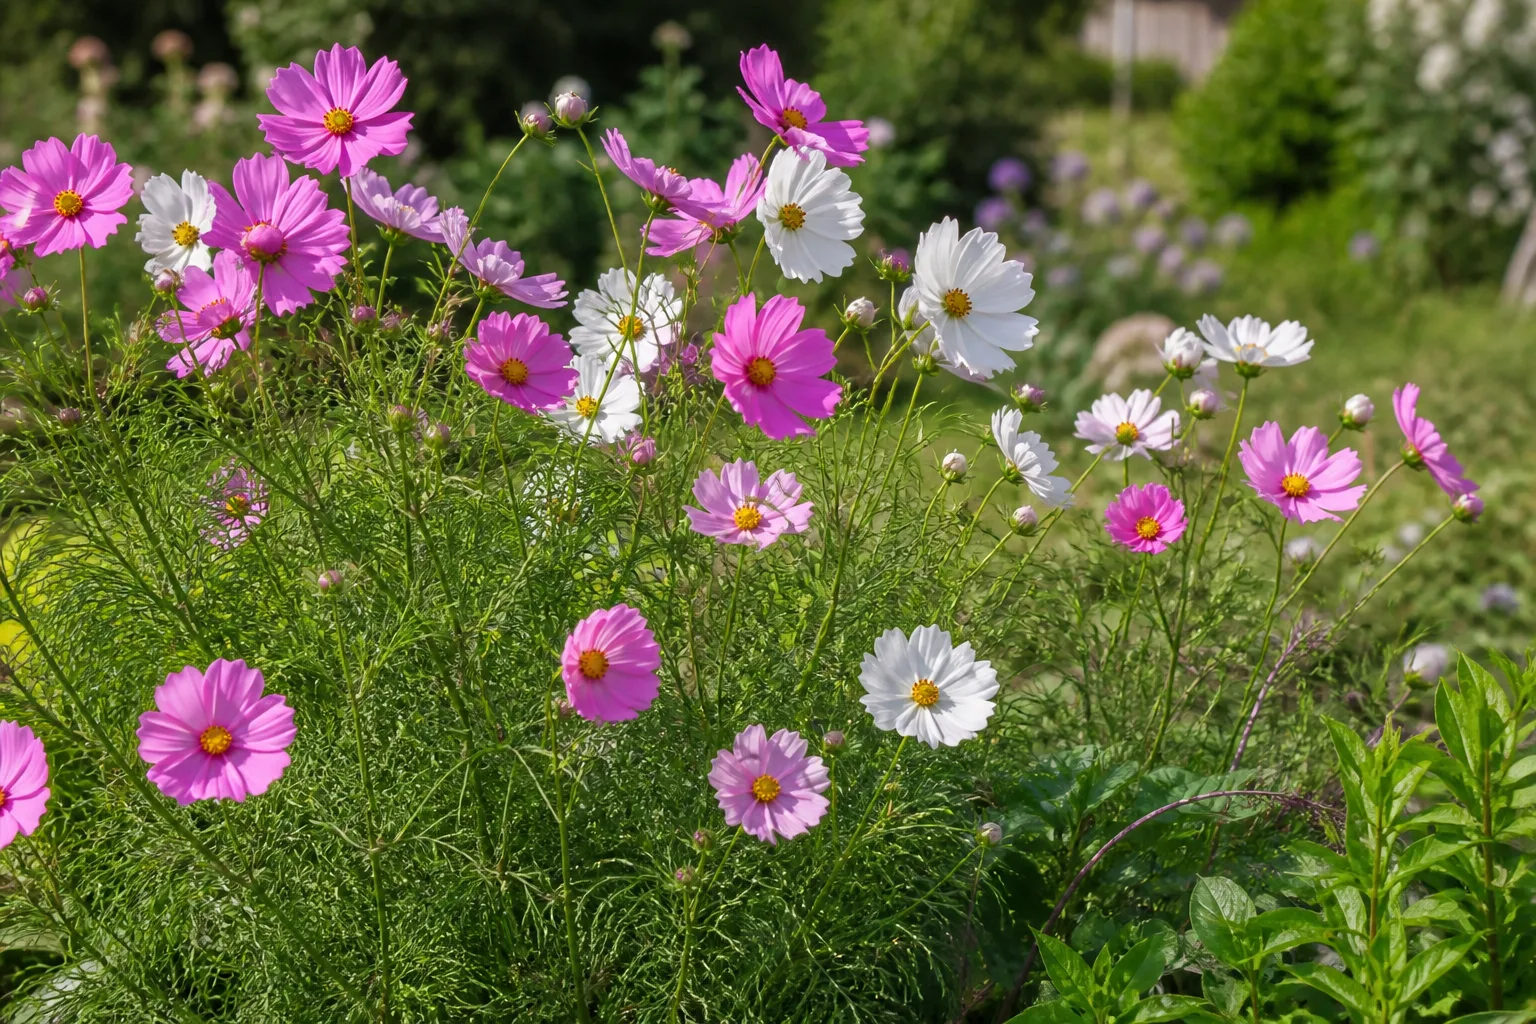
Cosmos shows how a seed-grown annual can add height and movement without a costly established plant.
Do not assume every inexpensive packet belongs in the same bed. Read the packet for sowing window, sun, mature size, and whether the variety is suitable for direct sowing. A packet that is cheap but needs a long indoor start, special warmth, or a season your climate does not provide may be less economical than a simpler flower that can be sown where it will grow.
Source perennials through divisions and cuttings
Ask friends, neighbors, community gardens, plant swaps, and local gardening groups whether anyone is dividing a healthy clump. Daylilies, iris, hardy geraniums, hostas, salvia, and sedum are examples of perennials that may be divided when the plant and season are right; do not take material from public beds or accept a plant with pests, disease, or an unknown invasive habit.
The RHS advice on dividing perennials notes that division is most successful when plants are not in active growth, with timing depending on the plant and its flowering season. Lift the donor carefully, keep a healthy piece with roots and shoots, replant divisions promptly at their original depth, and water them well. A shared division may sulk or skip flowering while it rebuilds roots, so count it as your long-term structure and let the seed packets provide the immediate show.
Cuttings can be another route to free plants, but ask the owner for the correct method and timing for that species. Label every cutting with its name and date, and keep the new plant in a sheltered, evenly moist place until it has rooted. A cutting is not a free success if it dries out because you accepted more starts than you can monitor.
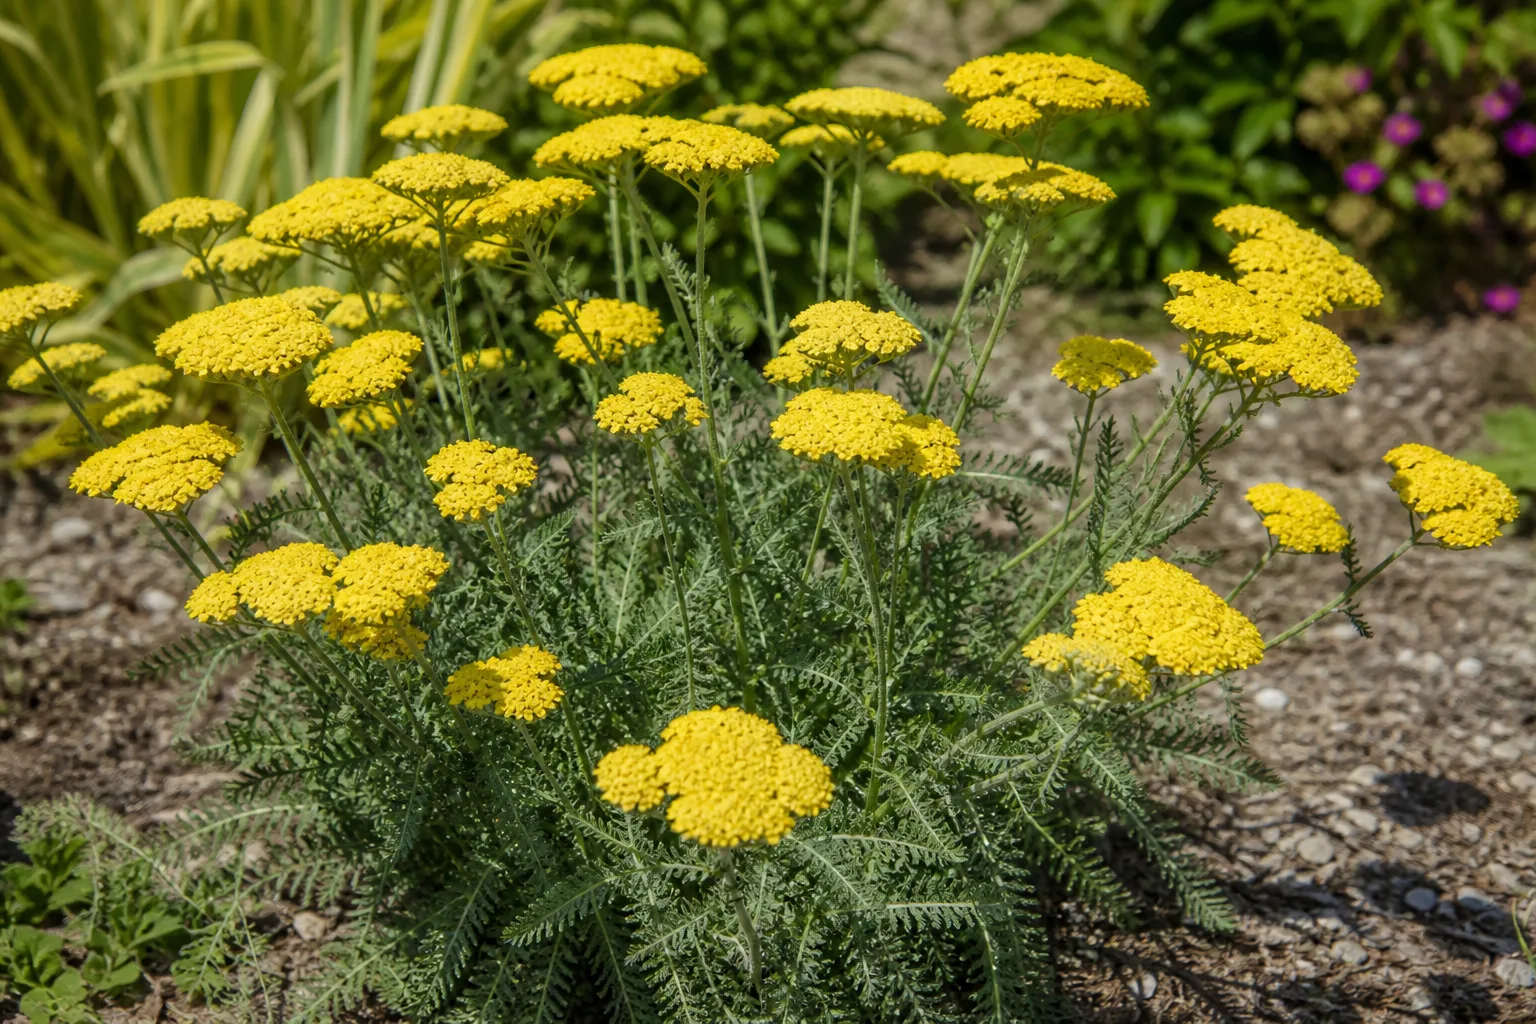
A shared perennial can supply both flowers and foliage texture as the border matures.
Direct-sow for an informal drift
Direct sowing means placing seed straight into prepared garden soil instead of buying a mature plant or raising every seedling in a pot. It saves container space and potting mix, and it can create the slightly varied spacing that makes a cottage border feel natural. It also exposes seedlings to cold snaps, weeds, slugs, birds, and drying soil, so the saving comes with a small daily responsibility.
The RHS guide to sowing seeds outdoors recommends following the packet’s outdoor timing and distinguishes between drills, or shallow furrows, and broadcast sowing. Use a drill when you need to tell seedlings from weeds; broadcast small seed only across a prepared patch where you can recognize the flowers as they emerge.
Use this sequence for a small drift:
- Pull existing weeds and remove large stones, roots, and crusted debris from the planting zone.
- Loosen compacted soil and rake it to a fine, reasonably level surface.
- Make shallow drills with a stick, pencil, or the corner of a hand tool, using the packet for depth. A general rule is that seed is covered at roughly two or three times its own size, but the packet wins when it gives a different instruction.
- For tiny seed, mix it with a little dry sand so you can see where you have scattered it. Sow lightly in a loose patch rather than emptying the entire packet into one line.
- Water the drill or seedbed before and after sowing with a fine spray that settles the soil without washing seed away.
- Mark the area with a reused label, stick, or sketch in your garden notebook.
If you are planning in late summer or fall, do not force a spring-sowing packet into hot, dry soil just because you are eager to begin. Store seed in its original labeled packet, prepare the bed, and follow the recommended sowing window for your location. A season of planning, seed saving, and community exchanges can be part of the budget garden rather than evidence that it failed.
Thin seedlings without losing the natural look
Seedlings need water and a short weeding check every few days while they are small. Once you can identify the crop, thin crowded patches early enough that the remaining plants have room for light, air, and roots; leaving every seedling in place usually produces weak, congested growth rather than a fuller display.
Thinning does not mean turning a cottage garden into a rigid grid. Keep the healthiest seedlings in loose groups, remove plants that are clearly competing, and replant only species that tolerate disturbance. The RHS outdoor-sowing guidance warns that overcrowding can hinder growth and make seedlings more prone to disease, which is a useful budget lesson: one extra packet is cheaper than replacing an entire stressed bed.
Repeat color, texture, and height
Choose one dominant color family, one supporting color, and a neutral bridge such as green, white, silver, or dark foliage. Soft pinks and mauves can be repeated with white flowers and green leaves; yellow and orange can be calmed by foliage; purple can be echoed through a small flower, a salvaged pot, or a painted-free natural material.
Texture keeps a low-cost planting from looking like a row of identical packets. Put airy cosmos or yarrow beside a broad-leaved perennial, a rounded flower beside a spike, and a silver or felted leaf near a saturated bloom. The RHS cottage-plant guide highlights the value of combining classic flowers with foliage and plants that support a self-seeding, layered effect.
Repeat at least one plant or color at both ends of the border. That small echo makes the bed feel finished even when the middle is still filling in. If everything is a one-off, the garden reads as a collection of bargains; if a few elements return, it reads as a composition.
Add one salvaged focal point
One focal point is enough for a 3-by-6-foot border. Use a weathered bench, a stable birdbath, an old crate, a large stone, or an untreated branch support where it can be seen from the main approach. The object should create a pause between flowers, not compete with them or take up the only soil where roots could grow.
A single reclaimed object can add cottage character without taking money away from plants.
Paths and small seating areas are part of the cottage-garden experience because they guide the eye and make the garden usable. If you have spare bricks or stones, use a few to mark a curve or a landing rather than building a full path. Keep any birdbath clean and shallow enough for visiting wildlife, and position furniture so you can still reach the bed for watering and deadheading.
Keep the bed watered and covered
New seeds and new divisions have different needs from established plants. Keep a freshly sown surface evenly moist until germination, then shift toward deeper, less frequent watering as roots grow. Check the soil with a finger before reaching for the hose; a hot, windy site may need attention while a cool, cloudy bed may not.
Cover open soil with a modest layer of finished compost, leaf mold, or suitable organic mulch if you have it. Keep the material away from crowns and stems, and do not bury the edge or create a dam that redirects water toward a foundation. Mulch is not a replacement for choosing plants that fit the site, but it can slow surface drying and reduce the number of weeds competing with young plants.
Weed a little and often while the bed is young. Ten minutes spent removing small weeds is easier than digging through an established seedling drift, and it lets you learn which volunteers are flowers and which are simply taking advantage of bare soil.
Let self-seeders help without taking over
Self-seeding is one reason a cottage garden can become more generous over time, but it should be managed as a resource rather than treated as automatic free labor. Leave a few healthy seed heads to mature, especially on plants that are behaving well, and deadhead the rest where seedlings would crowd a path, invade a neighboring bed, or create a color you do not want.
When volunteers appear, move or remove them while they are small. Keep the ones that land in a good light and moisture pocket, thin the rest, and record which plants came back. If a plant spreads aggressively in your region, check local guidance and contain it instead of assuming a romantic garden style makes every spreader harmless.
Save dry seed only from clearly identified, healthy plants and label the packet with the plant, color, and year. Seedlings from hybrids may not look exactly like the parent, which can be charming in an informal border but surprising if you wanted a precise color block. The budget-friendly answer is to welcome variation in the loose parts of the bed and keep the most predictable plants near the focal view.
Common mistakes that break the $25 plan
The first mistake is spreading the budget across too much ground. A thin scattering of plants over a large bed looks unfinished and demands more watering. Shrink the planting zone until the seeds, divisions, and one soil input can create a readable composition.
The second is buying established annuals because they look full on the day of purchase. A few nursery plants can be useful, but they consume the budget quickly and may still need the same site preparation and water as seed-grown plants. Use them only as a deliberate anchor, not as a substitute for a plan.
The third is planting for the English-cottage photograph instead of the local conditions. Lavender in wet soil, a sun-loving flower in dry shade, or a tall plant at the front of a narrow path will all make the garden more expensive through replacement and pruning.
The fourth is confusing informal with overcrowded. Cottage gardens can look close-grown, but plants still need their mature space and air movement. Fill the first-season gaps with annuals or mulch, then edit the border as the shared perennials reveal their real size.
The fifth is taking every free plant offered. A free division with pests, disease, an invasive habit, or an unknown name can cost more than a labeled seed packet. Accept fewer, healthier plants and learn where they belong before adding them to the bed.
The sixth is spending on decoration before the roots are secure. A clean edge, one focal object, and repeated color do more for the design than a collection of small ornaments. Put the money into seed, soil, or future propagation instead.
First-season timeline
Before buying: watch the light, feel the soil, measure the bed, and choose the viewing angle. Decide whether you can water the site easily and whether the existing grade sends water toward or away from the planting zone.
At planting time: clear weeds, prepare only the soil you can care for, place tall plants away from the path, and sow annuals in labeled drifts. Water gently enough that seed stays where you put it, then check the bed frequently while seedlings are emerging.
During the first two months: thin seedlings, remove weeds before they flower, protect tender plants from unusual weather, and water new roots when the soil begins to dry. Do not fertilize automatically; a soil test or plant-specific guidance is more useful than feeding every plant in sight.
When the border starts blooming: note which colors repeat well, which plants flop, and where the hose cannot reach. Deadhead only when it extends flowering, improves access, or keeps a vigorous self-seeder in bounds; leave a few healthy seed heads for the next round.
At the end of the season: save labeled seed, mark plants worth dividing, and write down what you would move. The next year’s free divisions and volunteers are where the original $25 begins to compound into a larger garden.
Conclusion
A dreamy cottage garden does not require a dreamy budget. It needs a small, observable site; a few repeated colors and textures; plants chosen for the light and soil; and a willingness to trade instant fullness for seeds, shared divisions, salvaged structure, and time.
Set a firm $25 cap, spend it on the growing parts of the garden, and borrow or reuse everything else. Prepare one border, direct-sow the annuals, give new plants room to establish, and let the best volunteers and divisions shape the next season. That is how a garden begins to look abundant without becoming expensive or impossible to care for.



