How to Decorate a Christmas Tree the Best Way
Learn how to decorate a Christmas tree in the right order, from shaping and lights to ribbon, ornaments, topper, skirt, editing, and safety checks.
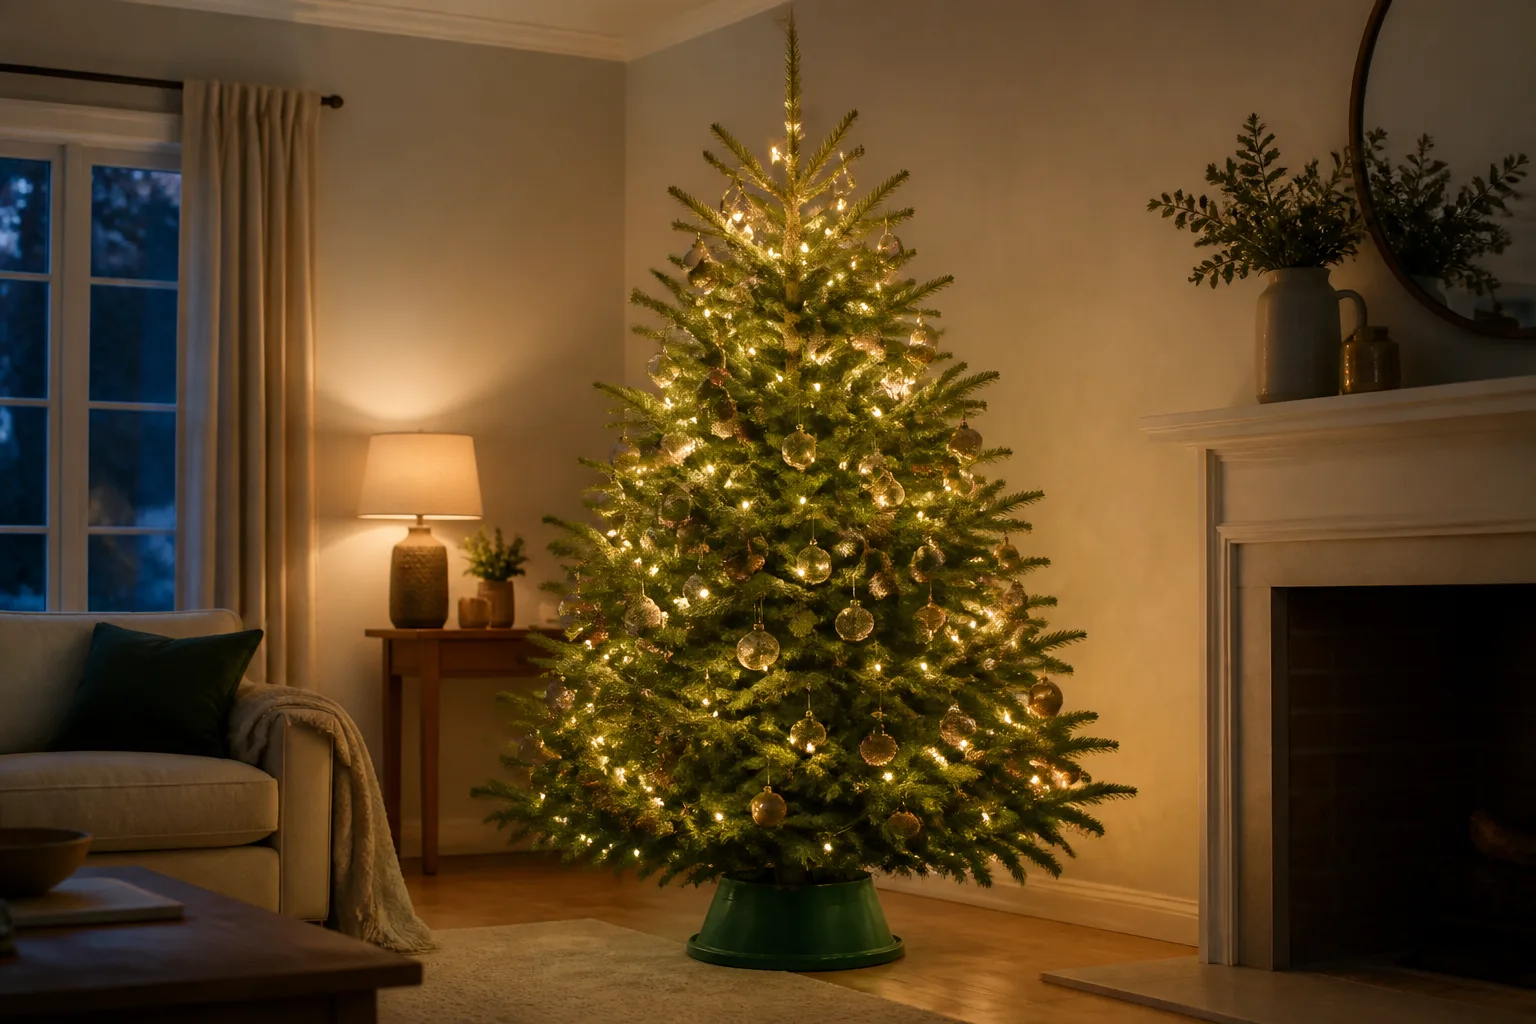
The best-looking Christmas tree is not necessarily the one with the most ornaments. It is the one where the lights reach into the branches, the colors repeat without becoming noisy, the heavier pieces have support, and the eye can find a clear focal point. That can describe a maximalist family tree, a handmade tree, or a restrained tree with only a few well-chosen decorations.
Use this order: prepare the tree, shape the branches, test and place the lights, add ribbon or garland, hang larger foundational ornaments, layer in smaller and sentimental pieces, secure the topper, finish the base, then edit. The sequence keeps you from covering a problem that should have been fixed earlier and makes it easier to stop before the tree feels crowded.
Start With the Tree’s Location and Shape
Choose the final location before opening the ornament boxes. Measure the ceiling height, the tree’s widest point, the path people use around it, and the distance to the nearest outlet. A tree that looks beautiful in an empty room can become awkward when a door, sofa, pet route, or holiday gathering is added back into the picture.
Leave room to see the tree from its main viewing angle, but do not make the display a barrier. If the tree will sit against a wall, spend the decoration budget on the front and sides that will be visible. If it will sit in the center of a room, plan the back as carefully as the front and use lighter, more flexible decorations on the side that receives traffic.
Before decorating, look at the tree as a simple shape. Note the fullest side, the natural top point, the low branches that can carry larger ornaments, and any gaps that are structural rather than accidental. This quick assessment tells you where to place a bow, large cluster, or topper before the decorations start dictating the design.
Choose a Theme That Gives You Boundaries
A theme is useful when it limits choices, not when it forces you to buy a matching collection. Pick one main color, one supporting color, and one finish or material that repeats. For example, warm white lights, deep green ribbon, and brass ornaments create a calm palette; clear lights, red felt, and handmade paper ornaments create a more playful one.
You can also use a non-color theme: woodland, travel memories, heirloom, handmade, bookish, natural, or purely sentimental. The rule is the same: decide what belongs before you begin hanging. Good Housekeeping’s Christmas-tree inspiration shows how widely a theme can range, from bold color stories and family-friendly designs to recycled and handmade ornaments; use that flexibility to define your own tree rather than copy a photograph.
Keep the palette loose enough to include the ornaments you actually love. A family tree may need a few mismatched school crafts or an ornament from a first apartment. Treat those pieces as accents, then repeat one or two colors around them so the whole tree still feels connected.
Gather Materials Before You Hang Anything
Set up a small decorating station within reach of the tree. Gather a working power strip or correctly rated extension cord if needed, light clips or hooks that are appropriate for the tree, ornament hangers, floral wire for sturdy attachments, ribbon, garland, a step stool, scissors, and a soft cloth for delicate ornaments.
Sort decorations by job rather than by storage box. Make one group for lights, one for ribbon or garland, one for large foundational ornaments, one for smaller filler ornaments, one for sentimental or fragile pieces, and one for the topper and base. Put damaged cords, cracked ornaments, loose caps, and brittle hooks aside before they disappear into the branches.
Do not shop for gaps yet. First shape the tree and add the lights; both steps change how much empty space you see. In many cases, a branch moved forward or a ribbon fold placed across a dark pocket solves what looked like a need for more décor.
Prepare the Tree: Stand, Safety, and Fluffing
The tree should be stable before the first decoration goes on. For a real tree, use a stand that fits the trunk and keep the water reservoir available; for an artificial tree, lock each section and inspect the hinge or branch connections. Place the tree away from fireplaces, radiators, space heaters, candles, and heat vents. U.S. Fire Administration guidance recommends at least 3 feet of clearance from those heat sources and says the tree should not block an exit.
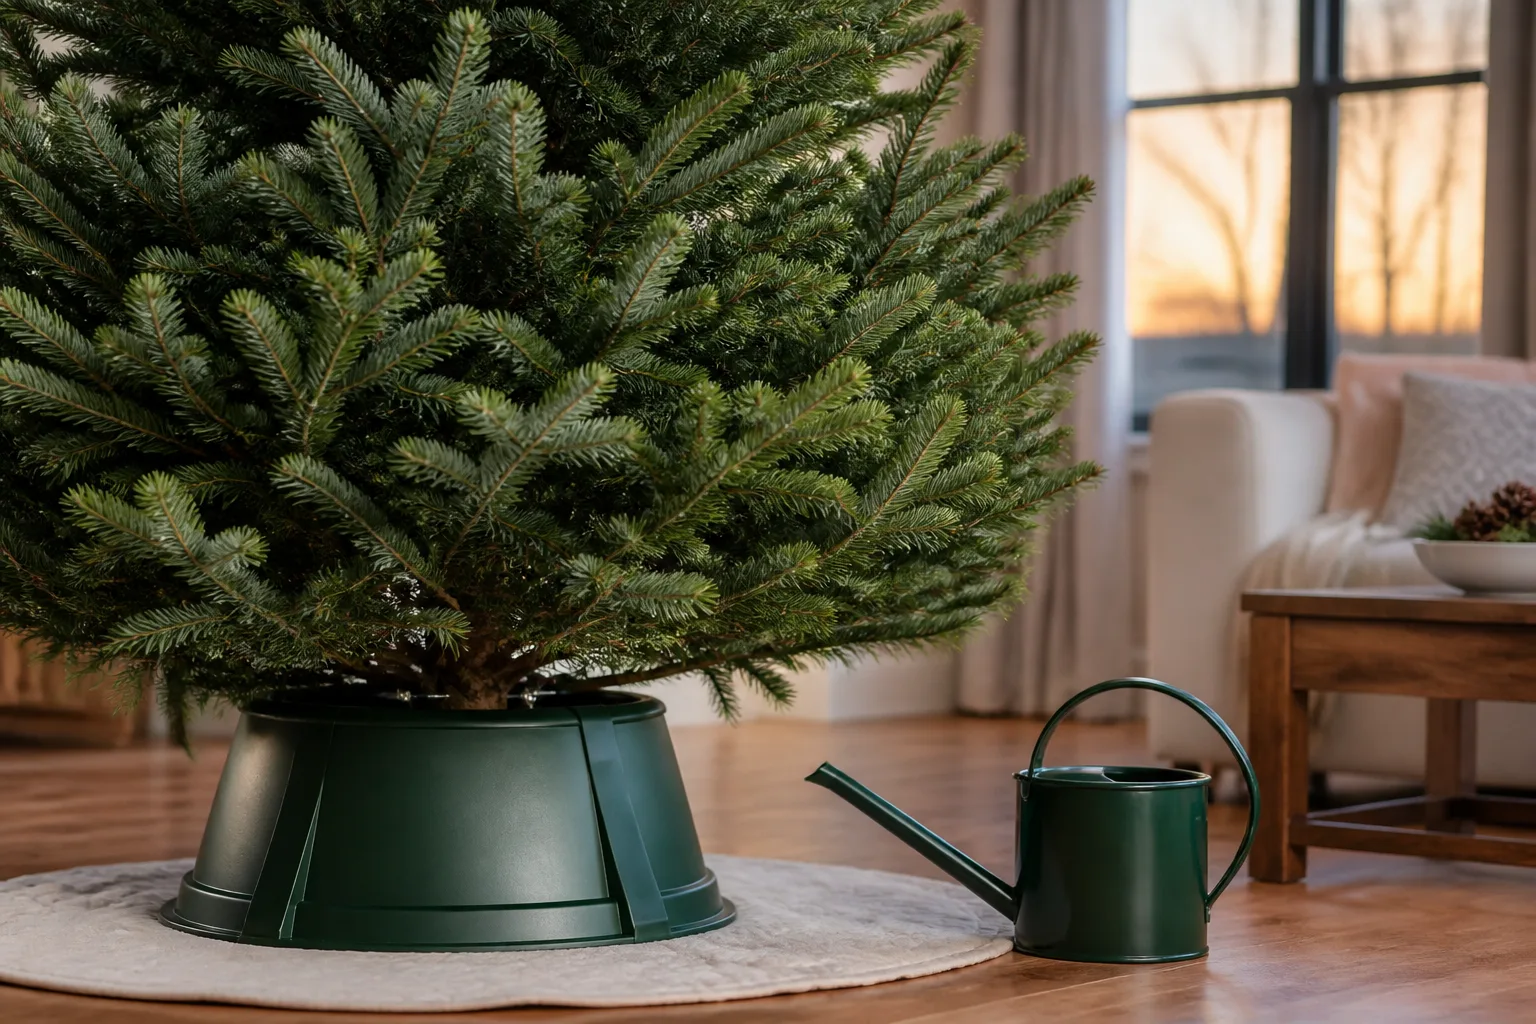
For an artificial tree, shape the branches from the trunk outward, working one section at a time. Bend branch tips in slightly different directions instead of making every layer perfectly symmetrical. The goal is not to hide every opening; it is to create a varied silhouette with enough depth that ornaments can sit both in front of and inside the tree.
For a real tree, let branches relax after bringing the tree indoors, then gently spread crowded boughs. Avoid forcing brittle branches into a new position. Check the water daily, keep the cut end submerged, and remove the tree once it becomes dry and brittle. NFPA notes that dry Christmas trees can burn very quickly, so freshness is part of the decorating plan, not a separate chore.
Real Tree and Artificial Tree: What Changes
The decorative order can be the same for both trees, but the preparation is different. An artificial tree gives you predictable branch strength, an adjustable silhouette, and the convenience of adding decorations over several days. A real tree brings natural variation, but its lower branches may be stronger than the tips, its shape may change as it settles, and its water level needs attention.
On a real tree, reserve the heaviest ornaments for thicker lower branches and keep fragile pieces away from the trunk base, pets, and busy walkways. On an artificial tree, still test a branch before hanging weight; a wire branch can bend even when the trunk is stable. Never let a polished look persuade you to overload a tree or compromise its stand.
Build a Lighting Plan That Looks Even
Lights are the tree’s internal structure. Turn them on before you begin, replace any damaged string, and confirm the lights are intended for the location where you will use them. U.S. Fire Administration guidance says to inspect holiday lights each year, discard strands with frayed or pinched wires, and follow the manufacturer’s instructions for how many strands may be connected.
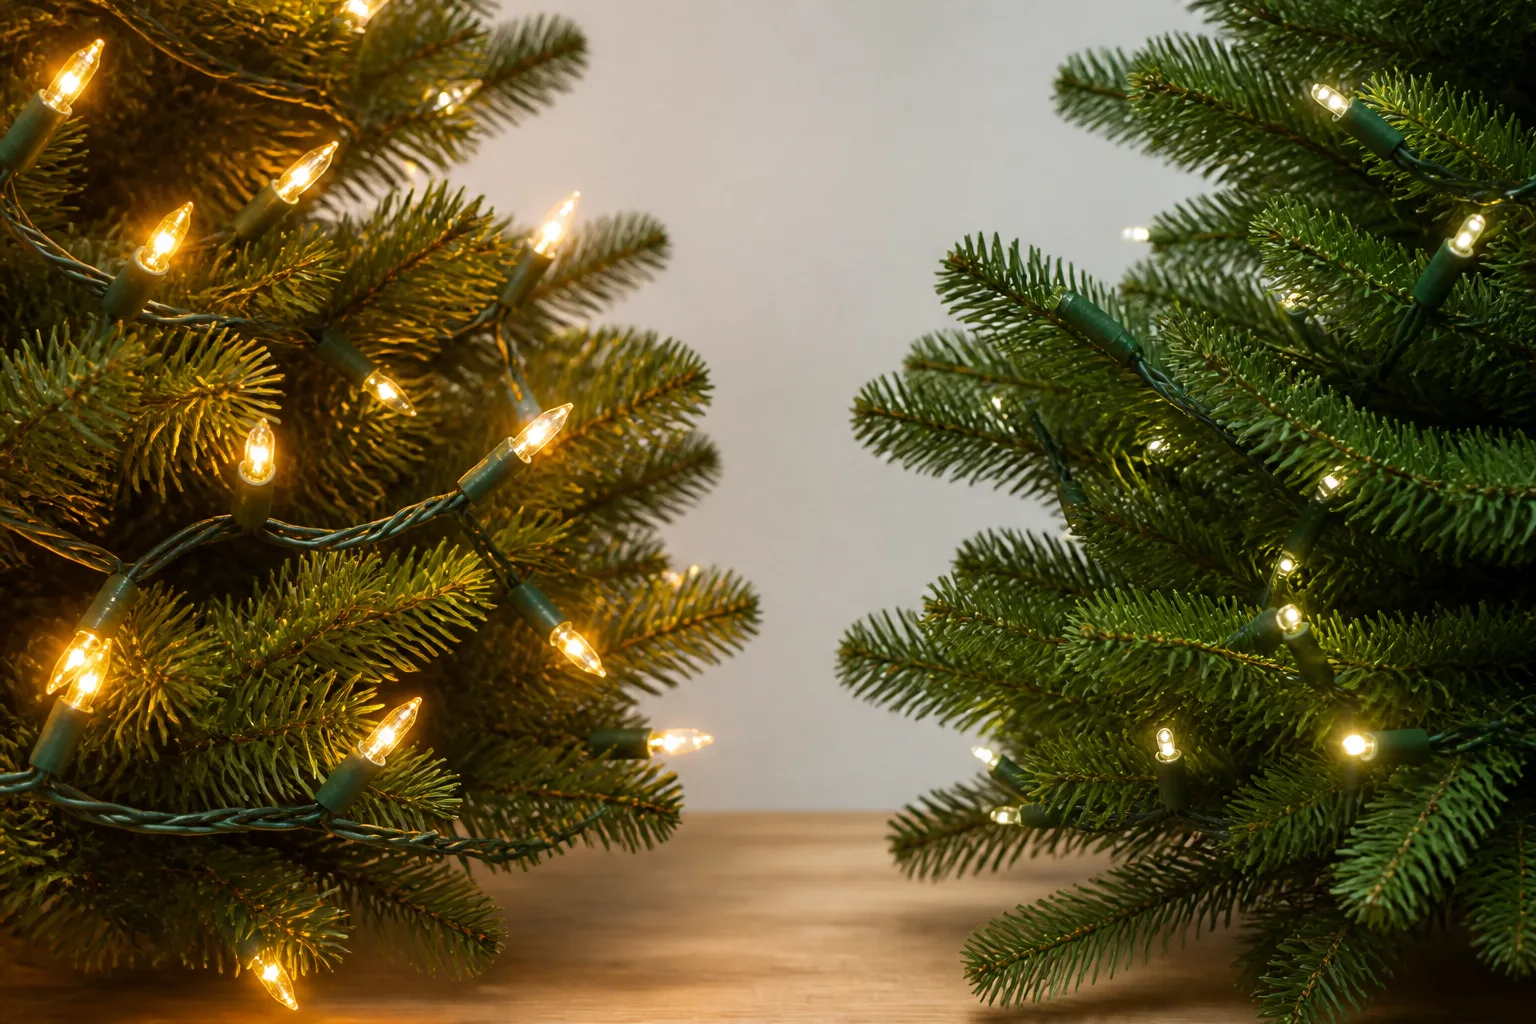
Begin at the point that makes the plug and switch easiest to manage, then work around the tree in manageable sections. Instead of laying every bulb on the outer tips, weave some lights several inches into the branches and bring others forward. This creates a glow that comes from within the tree and prevents the lights from looking like a bright outline pasted on top.
Step back after each section. You are checking for dark tunnels, bright clumps, and a visible line that pulls the eye around in an unintended spiral. A few dark spaces are useful because ornaments will occupy them, but a large unlit pocket will remain obvious after the tree is finished.
LED lights can be a practical choice for a tree because they generally produce less heat than older incandescent strings, but they still need intact cords and sensible use. Better Homes & Gardens cites electrical experts who recommend turning tree lights off when you sleep or leave home; a correctly rated timer can automate that shutoff. Think of a timer as a convenience and a risk-reduction step, not permission to use damaged lights or leave a dry tree lit.
Put Light Deep Inside the Branches, Too
The inner branches need fewer bulbs than the outer silhouette, but they need some light. Tuck selected sections near the trunk, especially in the lower and middle thirds where a dense artificial tree can otherwise become a dark mass. On a sparse real tree, place light farther forward so the natural spacing remains visible.
Keep wires from resting tightly against sharp branch ends, and avoid creating loops that can catch on ornaments. Finish with the plug and any timer in a reachable position. Once the lights are in place, take one photo from the main viewing angle; the photo often reveals an empty band or overloaded corner more clearly than your eyes do while standing close to the tree.
Add the Largest Decorative Layer First
After the lights, add the layer that creates the largest movement: wide ribbon, substantial garland, or a few lengths of flexible greenery. This is not the moment for tiny ornaments. Large decorative lines establish the tree’s rhythm and make it easier to place everything else around them.
If you use more than one ribbon, vary the texture or width rather than adding several nearly identical patterns. A wide matte ribbon can carry the main color while a narrow metallic ribbon adds a small highlight. Let one layer recede so the tree has depth; if every material is shiny, patterned, and equally wide, the ornaments will have nowhere to rest visually.
For a tree that already has strong natural form, you may need less ribbon than you expect. A few separated lengths can guide the eye without hiding the branches. For a thin artificial tree, ribbon can bridge openings, but do not pull it tight enough to flatten the boughs.
Use Ribbon or Garland to Create Movement
Ribbon looks most natural when it has a beginning, a middle, and an end. Cut several shorter lengths instead of wrestling with one long roll. Start near the trunk or a sturdy branch, secure the ribbon with a hidden twist of floral wire or a branch fold, let it billow forward, then tuck it back into the tree before beginning the next section.
Better Homes & Gardens’ garland guidance treats extra length as part of the design because draping needs slack. The same principle applies to a tree: a ribbon with no looseness looks taped on, while a ribbon with controlled folds creates shadow and depth. You are aiming for repeated movement, not a mathematically perfect spiral.
Three Ribbon Patterns That Are Easy to Control
Vertical cascades work well on tall trees and make the eye travel upward. Use three to five separate ribbons, each starting at a different height, and let them bend around branches rather than dropping straight down. Keep the tails tucked or cut on a diagonal so they do not all stop at one level.
Loose horizontal swags are forgiving on wide trees. Place a series of shallow curves around the front, securing each low point to a branch. Vary the depth slightly so the lines do not form a rigid ladder. This pattern is especially useful when the tree will be viewed mostly from one side.
Cascading diagonal folds create a more energetic, designer-like look. Anchor a length high, let it travel diagonally, fold it forward, and anchor it again near the middle or lower third. Repeat in the opposite direction only if the tree needs balance. If the ribbon keeps sliding, shorten the length and add a hidden anchor instead of pulling it tighter.
Place Core Ornaments for Weight and Rhythm
Start with the largest ordinary ornaments, not the most precious ones. Spread them around the tree in a loose triangle or staggered rhythm, placing a few deep inside the branches and the rest toward the outer tips. These larger pieces act as visual anchors and help you judge whether the tree is balanced before the small details make it difficult to move anything.
Repeat colors across the height of the tree rather than putting one color only at the bottom. Repetition does not mean equal spacing; it means the eye finds the same color or finish in several places. If one large red ornament sits on the left, place another red accent on the right at a different height, then repeat the color again somewhere near the top.
Use scale to keep the tree from looking flat. Large ornaments belong where the branches can support them and where they can be seen; medium ornaments bridge the spaces; small ornaments finish the tips and narrow upper branches. Hang a few ornaments inside the silhouette, where they catch the lights from behind, but do not bury pieces so deeply that they disappear.
Add Sentimental and Feature Ornaments
Now hang the ornaments that carry the story of the tree: handmade pieces, travel souvenirs, family heirlooms, photographs, and ornaments that do not match the palette but matter more than the palette. Give fragile or valuable pieces a protected position where a branch supports them and they are not likely to be brushed by a sleeve, pet, or passing guest.
Use feature ornaments as punctuation. A large bird, bow, floral pick, or unusual shape should not be surrounded by ten objects competing for attention. Place it in a pocket of calmer color, then echo its color or material elsewhere so it feels connected instead of stranded.
Check the tree from the doorway and from the places where people will sit. A piece that looks perfect close up may be invisible at room distance. Move sentimental ornaments forward only as far as needed; the strongest arrangement lets them read clearly without making the entire tree feel like a display case.
Fill Gaps Without Overloading the Tree
Bare spots are not all the same. A small dark pocket between two ornaments can be useful negative space. A gap that exposes the trunk, interrupts a ribbon line, or makes one side look much thinner needs correction.
Fix the cause before adding a new object. Fluff a branch, rotate the tree slightly, move a nearby ornament, deepen a light strand, or shift the ribbon fold. If the gap remains, use a lightweight filler that suits the tree: a bow, faux greenery pick, pinecone, dried orange slice, paper ornament, or a small cluster of matching balls.
The safest filler is the one that solves one gap rather than expanding the whole collection. If you have few ornaments, repeat ribbon, use a restrained garland, or add a few handmade pieces instead of scattering unrelated purchases. If the tree is already visually busy, remove one item from each crowded area before you fill another.
Choose and Secure the Topper
Treat the topper as the tree’s final focal point, not as a repair for a weak shape. A star, angel, bow, spray, or handmade object should be proportional to the tree and light enough that the top stem stays upright. Place it after the other layers so you can see whether the upper third needs more height or less visual weight.

Secure the topper to the central stem or several strong upper branches, not just the soft tip. Floral wire, a purpose-built topper holder, or the attachment method supplied with the topper can help. Test it by gently nudging the tree and by viewing it from the side; if the top bends dramatically, the topper is too heavy or needs better support.
Leave a little breathing room above the topper if the ceiling allows. A tree that touches the ceiling can look cramped and makes the topper vulnerable when people walk past it. On a short tree, raising the base slightly can help, but the platform must be stable and hidden without blocking the stand or creating a trip hazard.
Finish the Base With a Skirt or Collar
The base should conceal the stand, protect the floor from stray needles or drips, and visually connect the tree to the room. A fabric skirt softens the display; a rigid collar gives a cleaner, architectural edge; a basket or container can work for an artificial tree if it is placed before the tree is fully assembled and does not make the setup unstable.

Choose the base after the upper tree is finished so you can match its texture and scale. A very full skirt under a heavily decorated tree can make the bottom feel heavier than the top; a narrow base under a wide tree can look accidental. For a real tree, keep the water stand accessible enough to check and refill without soaking the fabric.
Do not use the skirt to hide cords in a way that creates a snag or heat problem. Route cords along a low-traffic path, keep connections visible enough to inspect, and leave the plug or timer reachable.
Edit the Tree From Every Angle
The editing pass is where an ordinary tree becomes an intentional one. Turn off the room lights if you want to judge the glow, then look at the tree from the doorway, from the side, and from the place where it will be photographed. Notice repeated clusters, empty bands, a heavy lower corner, a topper that leans, and ornaments that are all sitting on the outer edge.
Use this order for edits:
- Fix stability: the stand, topper, heavy ornaments, and cords.
- Fix shape: branch gaps, a leaning silhouette, or a weak top.
- Fix lighting: dark pockets, bright clumps, and reachable controls.
- Fix rhythm: repeated colors, ribbon paths, and uneven clusters.
- Remove excess: anything that makes the tree harder to read or blocks a meaningful ornament.
Photograph the tree in both daylight and evening light. Daylight exposes shape and bare sections; evening light exposes the relationship between bulbs, shiny ornaments, and dark areas. A tree does not need to be perfect from every angle, but it should look deliberate from the angles people actually use.
Keep Children, Pets, and Pathways in Mind
Put fragile glass, small detachable parts, edible garlands, and sharp hooks higher on the tree when children or pets share the room. Keep the lowest branches simpler and choose sturdy, lightweight decorations for the reachable zone. Avoid dangling cords, long ribbon tails, tinsel that can be pulled loose, and ornaments that look like toys.
Anchor a tall or top-heavy tree if a child, cat, or energetic dog could reach it. A wall anchor or discreet line can stabilize the upper trunk, but it should not replace a level stand. Keep the water reservoir covered or inaccessible to pets, and do not add chemicals or sweeteners to it.
The most beautiful location is not worth it if it blocks a doorway, stair route, heater, or emergency exit. If the tree has to move, move it before decorating; shifting a fully decorated tree is when ornaments break, branches bend, and cords become difficult to inspect.
Run the Final Christmas Tree Safety Check
Before leaving the display lit, check the entire setup rather than only the decorations. NFPA reports that electrical distribution or lighting equipment is involved in 40% of home Christmas-tree fires, and the U.S. Fire Administration specifically advises inspecting strands and following the maker’s connection limits. Replace a questionable light set instead of hiding the cord behind a branch.
Keep the tree at least 3 feet from heat sources, make sure it does not block an exit, and keep candles away from anything that can burn. Turn off lights when you leave or go to bed; if you use a timer, use one rated for the load and the type of lights. A dry real tree should be removed promptly, even if the decorations still look good.
For a real tree, check the water level daily and make sure the cut trunk remains submerged. For any tree, check that the base is stable, the topper does not wobble, heavy ornaments are supported, cords are not pinched, and the walkway around the display is clear. Once those checks pass, stop decorating and enjoy the tree instead of adding one more thing because a single angle feels unfinished.
Conclusion
Decorate a Christmas tree in layers, with each layer doing one job: shape creates the silhouette, lights create depth, ribbon or garland creates movement, large ornaments establish weight, smaller and sentimental pieces add character, the topper creates a focal point, and the skirt or collar finishes the base. The final edit is just as important as the first ornament because it protects the tree’s shape and keeps meaningful details visible.
The best way is the order that fits your tree, room, budget, and household. Plan the location, use what you own, secure anything heavy, correct gaps before buying filler, and treat fire and stability checks as part of the design—not an afterthought.



