How to Garden Without Outdoor Space: A Practical Guide
Learn how to garden without outdoor space using windowsills, shelves, grow lights, containers, microgreens, and community gardens—with safe setup rules.
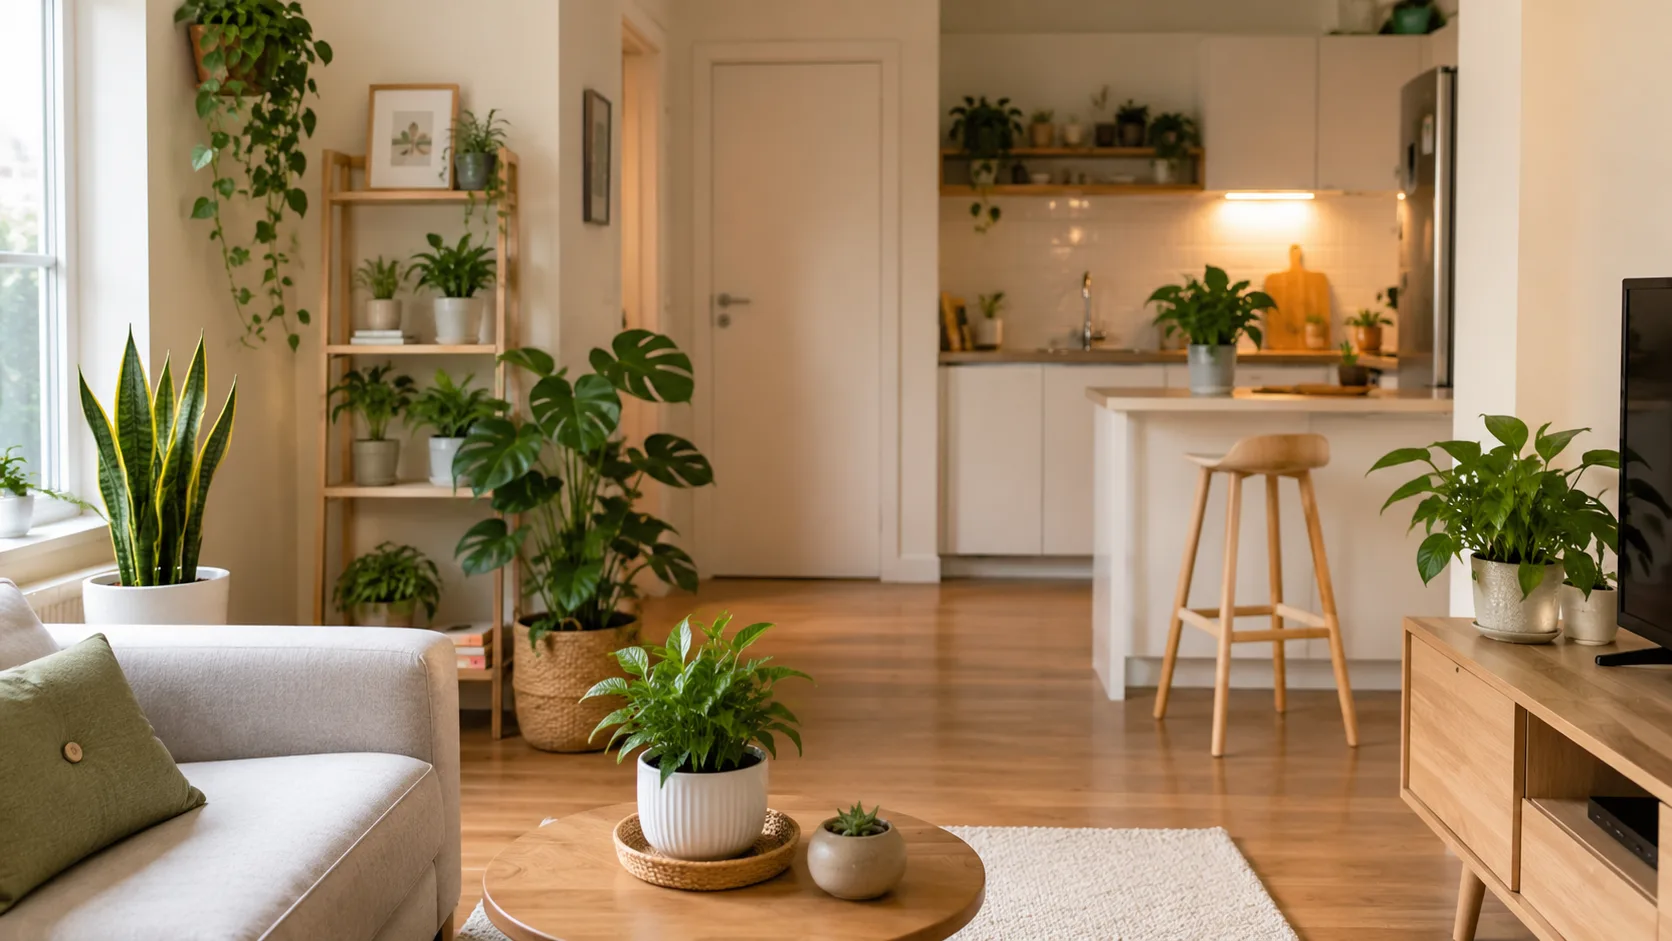
You do not need a yard to garden, but you do need to match the project to the space you actually control. A bright windowsill can grow herbs, salad greens, and microgreens; a dim room may need a shelf and a grow light; and a desire to grow tomatoes or a large flower border may be better served by a community plot than by forcing an indoor setup.
The most useful way to begin is to choose the experience you want—fresh food, houseplants, seed-starting practice, or access to a real outdoor bed—and then solve for light, water, weight, and maintenance. That keeps a small apartment garden from becoming an expensive collection of plants that cannot get enough light or be watered without damaging the room.
Start by Defining What You Want to Grow
“Gardening” can mean several different jobs. If you want something edible within two weeks, microgreens are a better first project than a dwarf tomato. If you want greenery and a forgiving routine, houseplants or foliage herbs make more sense. If you want root vegetables, fruiting crops, or a long row of flowers, look for shared outdoor space before buying equipment.
Write down one primary outcome and one constraint. For example: “I want fresh herbs for cooking, and I can give them a sunny kitchen window,” or “I want to grow vegetables, but my apartment has no direct sun and I cannot drill into the walls.” That sentence will narrow the right method faster than a list of trendy planters.
A successful no-yard garden usually needs four inputs:
- Light: direct window light, bright indirect light, or a supplemental grow light.
- A root zone: a pot, tray, hydroponic reservoir, or access to a shared bed.
- Water control: a way to irrigate and drain without soaking furniture or floors.
- A maintenance route: enough access to rotate, prune, harvest, and inspect plants.
If one input is missing, solve that first. Adding more plants does not compensate for a dark corner, a pot without drainage, or a shelf that cannot carry wet containers.
Audit Your Indoor Space Before Buying Anything
Walk through the home at the time you expect to care for the garden. Note the brightest windows, the nearest water source, outlets, heating and cooling vents, pets, children, and any surface that can tolerate an occasional splash. A narrow kitchen ledge may be bright but inaccessible; a bookcase may be convenient but too dark; a bathroom may be humid but unsuitable for edible crops if it has no useful light.
Measure light instead of guessing
Plants respond to the light that reaches their leaves, not to how bright a room feels to you. The University of Minnesota Extension treats adequate light as a basic requirement for healthy growth and notes that supplemental lighting can make up for a lack of natural sunlight. That is the practical dividing line: choose plants for the light you have, or add light before choosing plants that need more.
Use a simple observation before purchasing. On a clear day, check the window at midmorning and again in the afternoon. A few hours of direct sun is useful for many herbs and leafy crops, while a bright but sunless room is more suited to shade-tolerant houseplants unless you add a grow light. A north-facing or heavily shaded window is not automatically useless, but it should lower your crop expectations.
Watch the plant, too. Long gaps between leaves, thin stems leaning toward the glass, pale new growth, and slow drying of the growing mix can indicate that a plant is not receiving the light it needs. Moving a leggy plant closer to a window may help; if the window is simply dim, a properly placed LED grow light is more reliable than rotating the pot endlessly.
Check water, airflow, surfaces, and weight
Water changes the safety calculation. A light plastic pot becomes much heavier when filled with wet mix, and a tray that looks harmless can leak during a deep watering. Check that a sill is wide and stable, that a shelf will not bow, and that a freestanding stand cannot be knocked over by a pet or a passing shoulder.
Keep plants a little away from forced-air vents and doors that create repeated hot, cold, or drying drafts. Good airflow helps the leaves and soil surface dry at a reasonable pace, but do not confuse airflow with a fan blasting directly at seedlings. If you rent, review rules before installing exterior window boxes, ceiling hooks, wall anchors, or plumbing for a hydroponic system.
Match the Growing Method to the Space You Actually Have
The best method is the one you can reach and maintain. Start with the smallest system that can meet your goal, then scale after you have observed the light and watering rhythm for a full cycle.
Windowsill and countertop containers
A windowsill or countertop is the simplest route for herbs, small leafy greens, microgreens, and compact houseplants. Use several small pots rather than one oversized planter when you are learning; separate containers let you match watering and light to each crop and remove one problem plant without disturbing the rest.
Choose the sunniest usable window for basil, chives, parsley, and salad greens, while a less intense bright window can suit many foliage plants. Keep leaves from pressing against cold glass in winter or hot glass in summer. An interior window box can work when the sill is deep and level, but individual pots are easier to lift, rotate, and rescue.
Shelves, hanging planters, and vertical systems
Vertical gardening means using height, not simply buying a wall pocket. A freestanding tiered shelf is the most reversible option in a rental and makes it easy to place the brightest plants at the top or add a light under a shelf. A wall-mounted system can save floor area, but it needs appropriate anchors and a plan for water that drains from every pocket.
Hanging planters free a surface, yet they do not make weight disappear. Use hardware rated for the wet load, attach it to a suitable structural point, and leave enough clearance to water and inspect the pot. If you cannot verify the anchor, choose a freestanding hanger instead. A row of light nursery pots on a stable shelf is safer than a heavy ceramic collection suspended above a sofa.
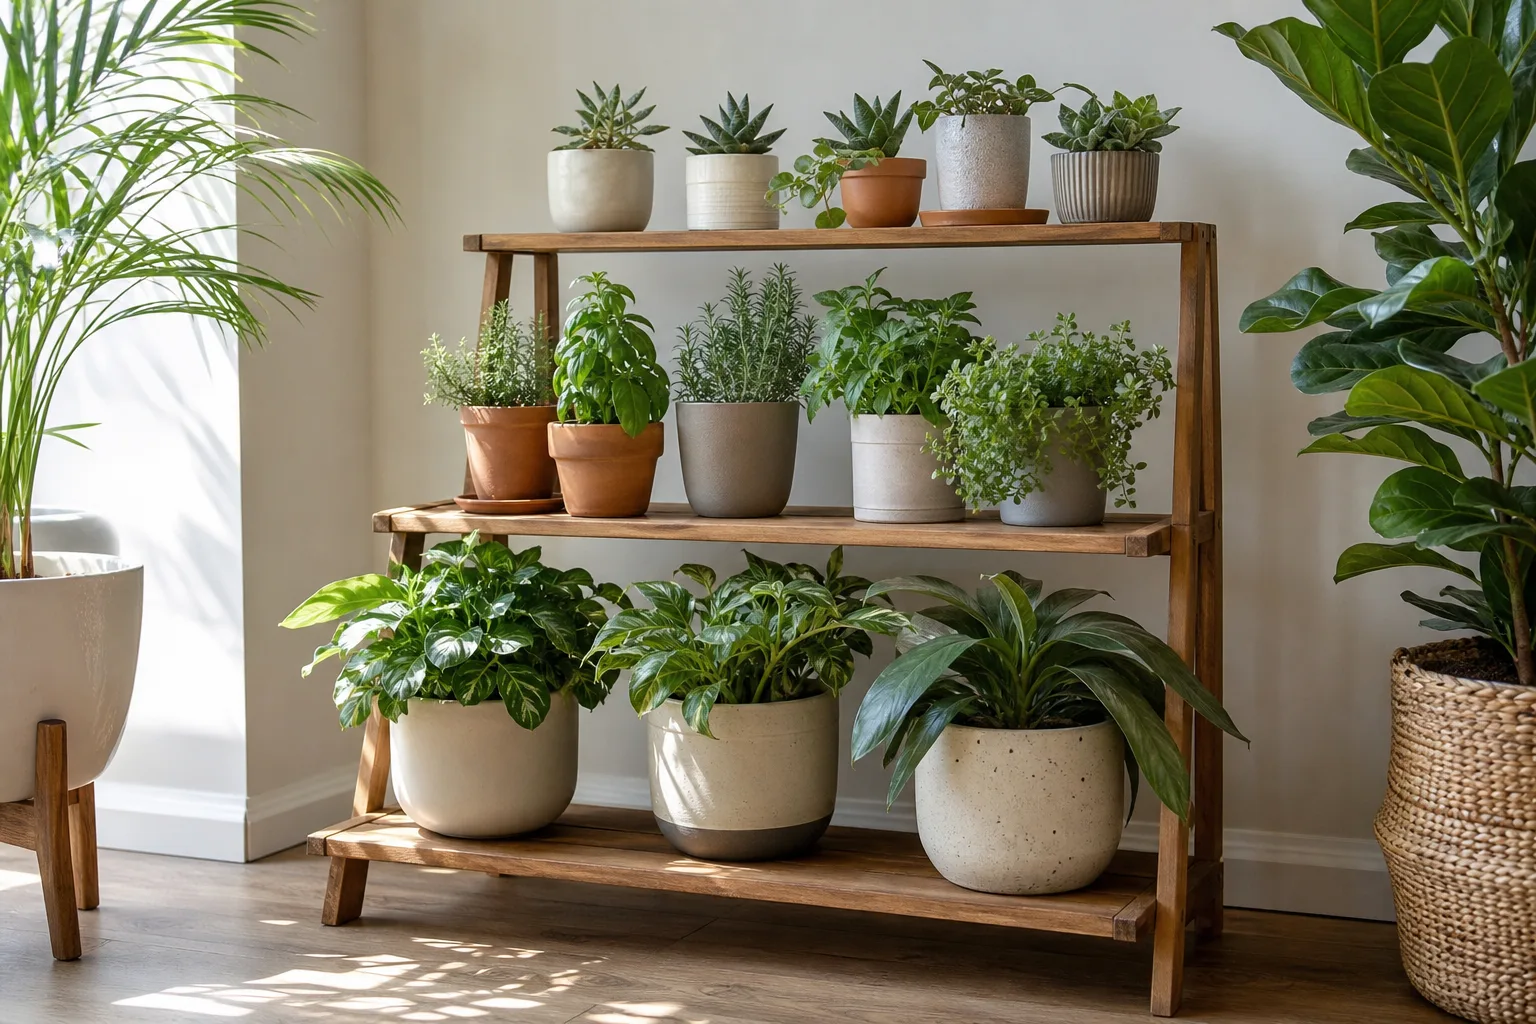
Grow lights and indoor hydroponic kits
A grow light is the honest answer when the room is too dark for the crop you want. Put the light close enough to illuminate the leaves as directed by the fixture, use a timer for a repeatable schedule, and keep cords and power strips away from water. A light that is bright to your eyes is not automatically strong enough for vegetables, so judge results by compact growth and healthy color rather than by the appearance of the room.
Countertop hydroponic kits combine a reservoir, plant sites, and a built-in light. They can be convenient for leafy greens and herbs, especially when you have no sunny window, but they trade potting-mix mess for pump noise, cleaning, nutrient management, and dependence on electricity. Treat the reservoir as an active system: follow its cleaning schedule, keep the water level within the marked range, and have a plan for a power outage or a vacation.
Choose Crops by Light and Time to Harvest
Crop choice is where many indoor gardens go wrong. Seed packets describe outdoor potential under much more light and root space than a living room usually provides. Choose compact, quick, or repeatedly harvestable plants first, then use the results to decide whether a more demanding crop is worth the effort.
Best edible starts for beginners
For a sunny window or modest grow light, start with chives, parsley, basil, mint, lettuce, arugula, radish greens, and other leafy crops. Herbs give you a reason to tend the pots, while leafy greens can be harvested a little at a time instead of waiting for a single large harvest. Mint is vigorous, so give it its own pot rather than letting it compete with slower herbs.
Microgreens are the most space-efficient edible project because you harvest the seedlings before they need a large root system. Small trays of radish, mustard, broccoli, arugula, peas, or sunflower can give you variety, but sow only as much as you can eat. Fruiting plants such as tomatoes, peppers, and strawberries need more sustained light, root volume, airflow, and sometimes pollination than their small starter size suggests; call them a second project, not the default beginner crop.
For edible plants, use clean, food-safe containers and seed sold for edible growing. Keep edible trays away from household chemicals, litter boxes, and pets that may chew them. Harvest herbs by taking a little at a time and avoid stripping a small plant bare, which turns a useful garden into a stressed transplant.
Houseplants and flowers for a non-edible garden
If your main goal is the ritual of caring for plants, choose a foliage plant that matches the light rather than forcing a vegetable into a dark room. Pothos, snake plants, some philodendrons, spider plants, and many ferns are common indoor options, but “low light” means survival or slower growth, not that light is unnecessary.
Small flowering plants and bulbs can provide seasonal color on a bright sill, while cuttings or seed-starting trays make gardening active even when the final plant will eventually move outdoors. Keep a new plant separate from an established collection for a short observation period so pests or disease do not spread through every pot.
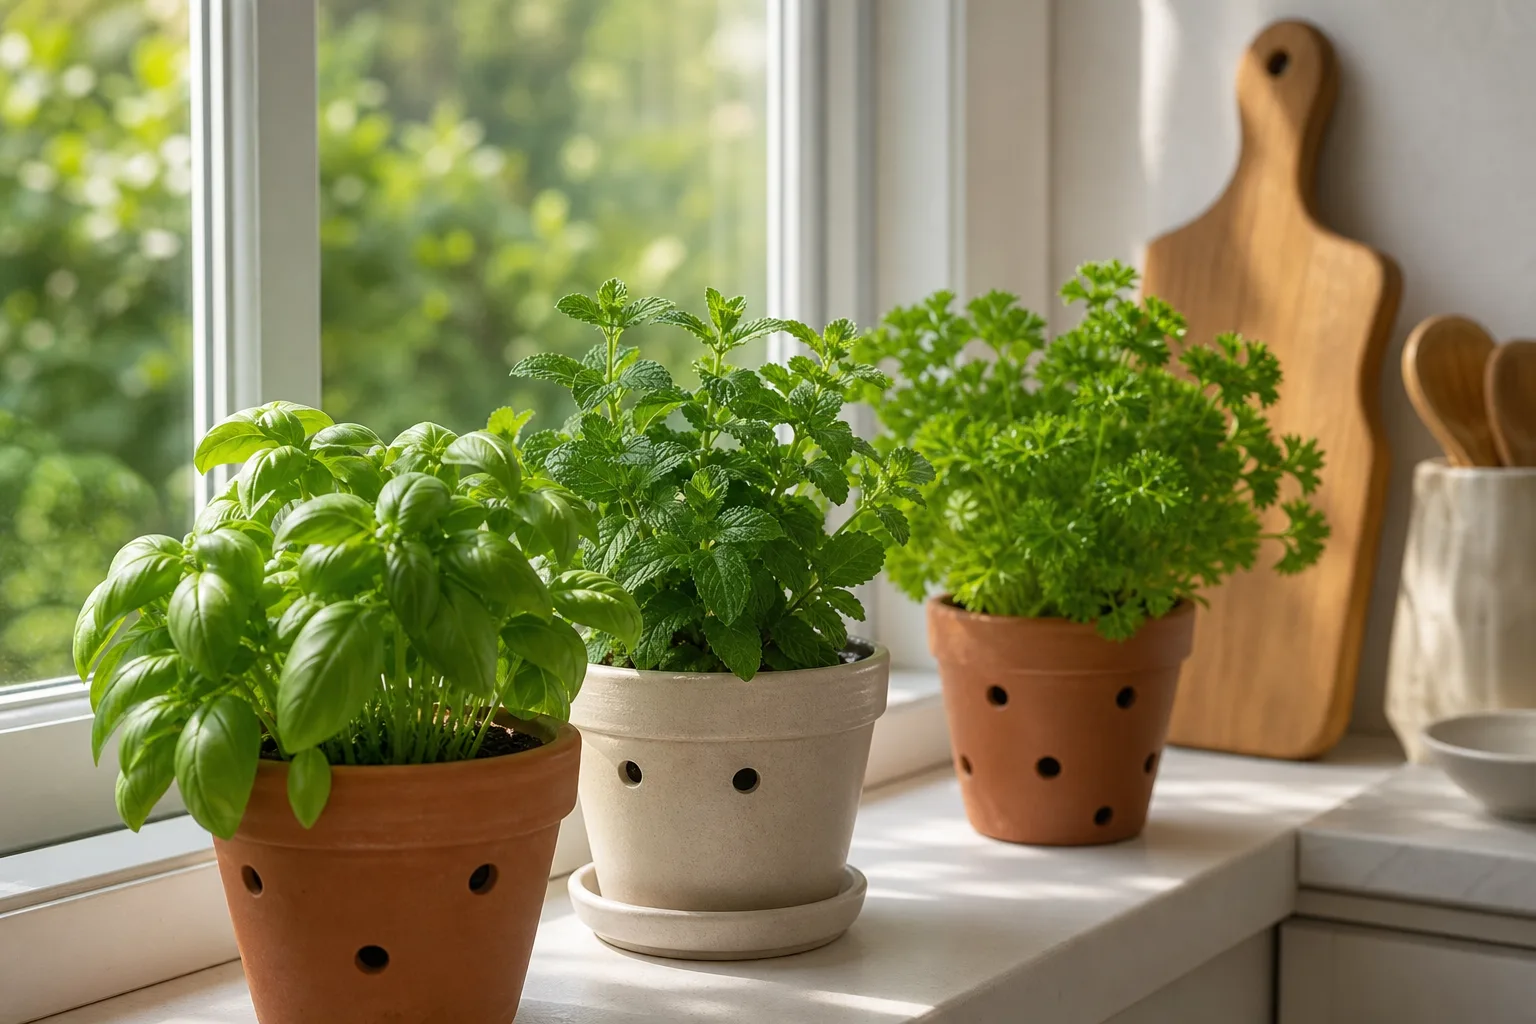
Build a Small Container Garden That Does Not Leak or Rot
Indoor containers need more engineering than an outdoor pot because every drop of water has a destination. A pleasing cachepot without an inner pot, a sealed decorative bowl, or garden soil dug from outdoors can create drainage and pest problems that are much harder to manage inside.
Use containers with drainage and light potting mix
Use a container with a drainage hole and a saucer or waterproof tray underneath. Penn State Extension’s microgreen guidance similarly emphasizes clean food-suitable trays with drainage so excess water can leave the growing medium. For houseplants and herbs, use a purpose-made potting mix rather than dense garden soil, which can compact in a small container and hold water unevenly.
Do not put a thin layer of gravel in the bottom as a substitute for a drainage hole. It reduces the depth available to roots and does not stop a saturated layer of mix above it. Choose a pot that is only moderately larger than the root ball or seedling tray, because an oversized container holds more wet mix than a small root system can use.
Before placing a pot on a sill, water it over a sink and let it drain completely. Set it into the decorative cover only after the outside is dry, and empty the saucer when water has finished collecting. A waterproof mat under a group of pots buys time, but it is not a permission slip to leave standing water against wood.
Water without damaging floors or windowsills
Water according to the crop and the mix, not a fixed weekday. Feel the mix below the surface, lift the pot to learn its dry weight, and watch how quickly the container drains. Most indoor failures come from repeating a watering reminder while the roots are still wet, not from refusing to water on schedule.
Water slowly until a little drains from the hole, then stop and empty the saucer. For a narrow sill, carry the pot to the sink or use a small long-spout can that lets you aim at the mix. Do not mist constantly as a substitute for root-zone watering; wet foliage and a persistently damp surface can encourage fungal problems, especially in crowded seed trays.
Keep a small towel, tray, or waterproof boot mat near the watering station. This sounds mundane, but a routine that contains spills is more sustainable than a beautiful setup that makes every watering stressful. If a pot stays wet for many days, move it to brighter airflow, reduce watering, check the drainage hole, and repot only if the roots or mix genuinely require it.
Grow Microgreens for the Fastest Harvest
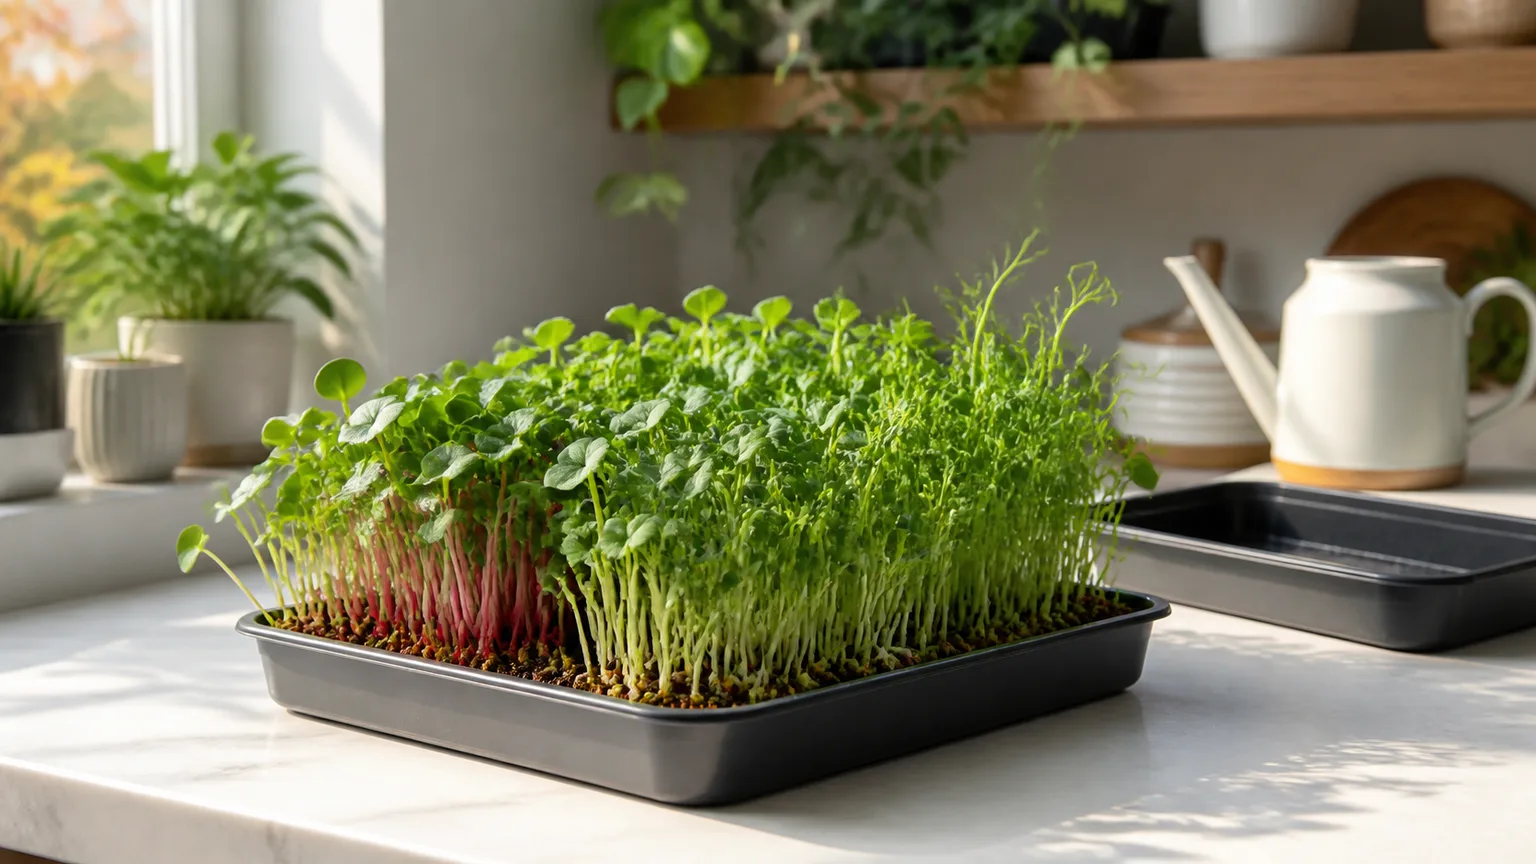
Microgreens are edible seedlings harvested young, and they are one of the few forms of gardening that fit on a kitchen counter without pretending a counter is a farm. The Penn State Extension step-by-step guide notes that a household setup needs seeds, drinking water, a growing container or tray, and a growing medium; natural window light is often enough, with supplemental plant lighting available when it is not.
Start with a shallow, clean tray that has drainage. Add a thin layer of moistened potting mix or another suitable growing medium, sow the seed evenly, and follow the seed guidance on whether pre-soaking is useful. Some larger seeds, including peas and sunflowers, can benefit from an 8–12-hour soak, while tiny seeds often do not need that step.
After sowing, keep the tray covered or otherwise dark for the first few days if the crop benefits from darkness during germination. Once shoots emerge, move the tray into the brightest available light. The Fine Gardening microgreens guide recommends moving seedlings to a bright windowsill or placing them beneath a shop light close to the leaves, and it recommends watering from below so the foliage stays cleaner.
Water only when needed and let excess drain. Crowded, constantly wet seedlings are more likely to develop damping off or mold, so give the tray light and air rather than solving every problem with more misting. The BBC Gardeners’ World Magazine guide reports that many microgreens are ready in about one to two weeks and recommends sowing successive trays weekly if you want a continuous supply.
Harvest with clean scissors when the leaves look developed but still young. The Penn State guidance recommends washing microgreens in fresh drinking water before eating, while noting that washing can shorten their storage life; the practical answer is to harvest what you will use soon and wash it just before serving. If a tray smells sour, shows widespread mold, or has collapsed seedlings, discard the crop rather than eating it.
Use Community Gardens When You Want Real Outdoor Growing Room
No outdoor space at home does not mean you must give up outdoor gardening. A community garden, allotment, school garden, faith-based garden, neighborhood plot, or shared courtyard can provide the sunlight and soil volume that an apartment cannot. This is the best route for crops that need a long season, deep roots, pollinators, large trellises, or more space than you can safely create indoors.
Ask how plots are assigned, what tools and water are provided, whether there are membership fees or volunteer hours, and how the garden handles soil testing, compost, pests, and winter cleanup. Visit before committing if possible. A garden five minutes farther away with reliable water may be more useful than a plot that looks attractive but requires carrying every can of water up stairs.
You can also start with a shared task rather than a full plot. Volunteer for a communal herb bed, trade seedlings with a neighbor who has a yard, or ask whether a workplace or school maintains a growing area. These options preserve the outdoor, hands-in-soil part of gardening without asking your home to reproduce an entire landscape.
Common Small-Space Gardening Mistakes to Avoid
Buying plants before checking light is the fastest way to build a struggling collection. Start with the brightest or best-lit location, then buy plants that fit it. If you cannot provide enough light, change the method or the crop rather than hoping a darker corner will improve.
Overwatering because containers are small is another common failure. A small pot can dry quickly in sun, but it can also stay wet when the room is cool, the mix is dense, or the drainage hole is blocked. Check the root zone and pot weight instead of using a universal schedule.
Overcrowding creates shade, poor airflow, and difficult watering. Leave enough space to see the soil surface and inspect leaf undersides. Thin microgreens and seedlings when the tray becomes a damp mat, and prune houseplants only after you understand which growth you are removing.
Using improvised containers without testing them invites leaks and contamination. Food-growing trays should be clean and suitable for that use; decorative metal, painted items, or containers that held chemicals are not automatically safe because they hold soil. Drill drainage only when the material can be modified safely and the finished container can sit on a waterproof tray.
Ignoring the rental and structural limits can turn a space-saving idea into property damage. Do not install a hanging basket, exterior window box, or wall system until you know what is allowed and what the support point can carry when saturated. A stable freestanding shelf usually delivers more usable growing area than a risky installation.
Trying to grow too much at once hides the lesson in every failure. Start with one herb pot, one leafy crop, or one microgreen tray. Record where it sits, when you water, and how the growth changes; that small log will tell you more about the room than buying six more varieties.
Follow a 30-Day Starter Plan
In week one, choose the goal and audit the space. Pick one growing site, observe its light twice in the day, check the surface and water route, and confirm any lease, pet, or mounting restrictions. Buy only a container with drainage, a saucer or waterproof tray, suitable mix or a microgreen medium, and one or two crops that match the light.
In week two, set up and observe rather than expanding. Water the new container thoroughly, let it drain, and note how long the mix takes to begin drying. If the plant stretches toward the window, move it closer or add a grow light before buying another plant. If the tray stays saturated, fix the drainage or mix before sowing again.
In week three, make one controlled adjustment. Add a timer and light, move a shelf, thin seedlings, or swap a crop for one better suited to the site—but do not change water, light, pot size, and fertilizer simultaneously. One change at a time makes the cause of improvement or decline visible.
In week four, harvest and decide whether to scale. Sow a second microgreen tray if the first worked, add a second herb only if the watering routine is easy, or start researching a community garden if your real goal is outdoor vegetables. A small setup that stays healthy is a better foundation than a full shelf that becomes a weekly rescue project.
Conclusion
The most reliable way to garden without outdoor space is to start with the harvest or experience you want, then fit it to your light, water route, available surfaces, and permission to modify the home. Windowsills and countertops suit herbs, leafy greens, houseplants, and microgreens; shelves add capacity without consuming much floor area; grow lights make dark rooms workable; and community gardens provide genuine outdoor growing room when indoor limits become the problem.
Begin with one contained project, use drainage and light as non-negotiables, and observe before scaling. When the method matches the space, gardening becomes a repeatable part of home life rather than a constant attempt to overcome conditions the room cannot provide.



