How to Get Rid of Earwigs in Your Garden—Only If Needed
Learn how to get rid of earwigs in your garden by confirming damage, using targeted traps, protecting seedlings, and avoiding unnecessary sprays.
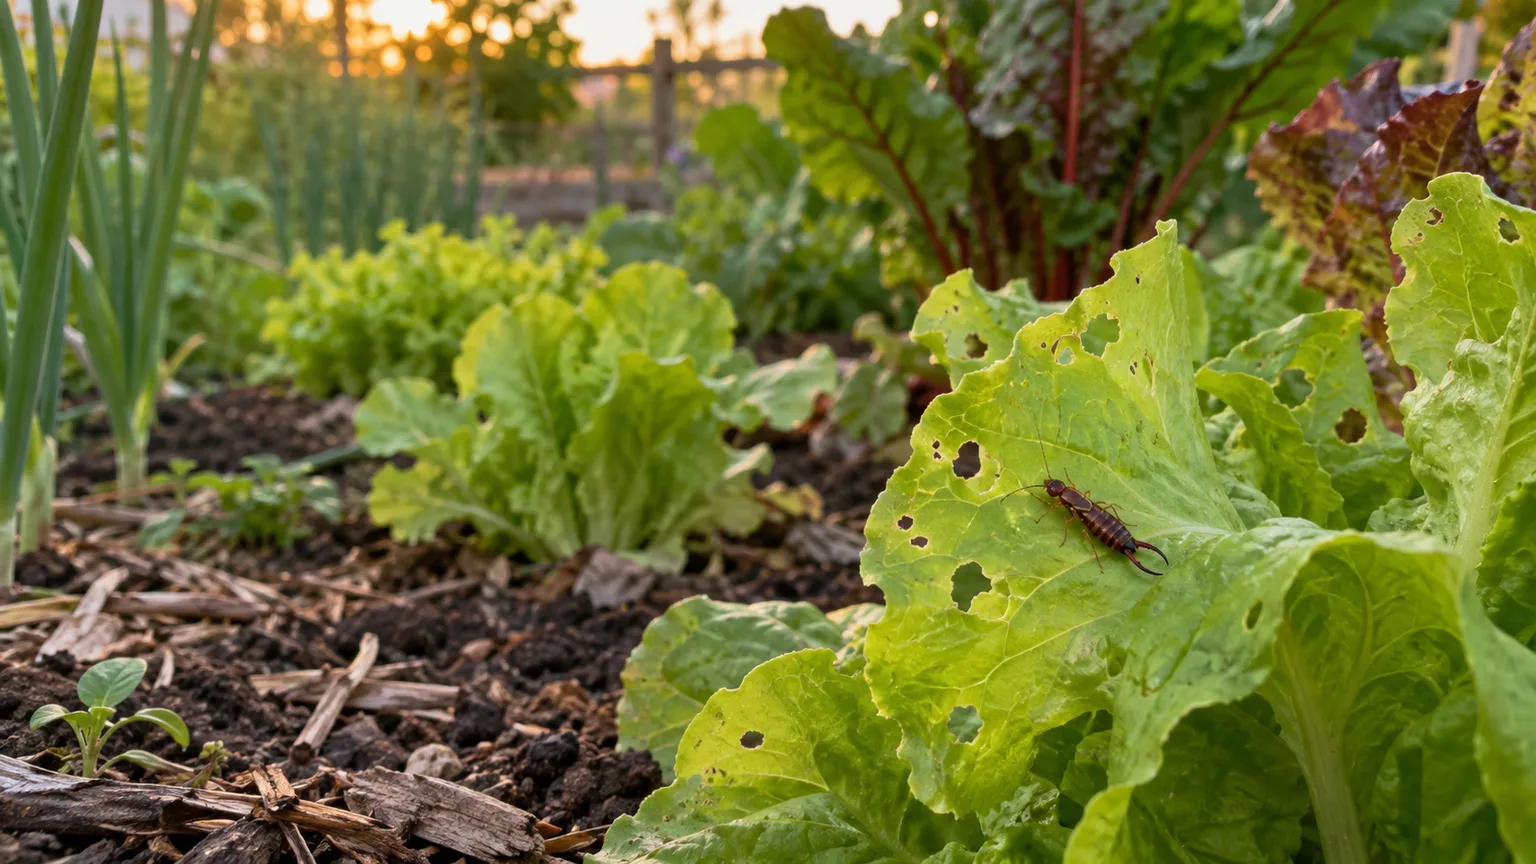
If earwigs are chewing seedlings, flower petals, or ripening fruit, start by confirming the damage after dark. Then trap or remove them in the affected bed and clear the specific daytime shelters nearby. You usually do not need to eliminate every earwig in the yard: these omnivores also eat aphids and other small pests, so a few sightings without fresh plant injury are not a reason to spray.
A useful rule is simple: act when you find fresh damage and see earwigs feeding on the same plants; monitor when you see earwigs but the plants are not getting worse. That keeps the response proportional and protects insects that may be helping your garden.
Read the damage before you remove earwigs
Earwig feeding can look like slug or caterpillar damage. The European earwig, Forficula auricularia, is a flattened, reddish-brown insect with a pair of forceps at the tip of its abdomen. It feeds mostly at night, then hides in a cool, close-fitting shelter during the day. A daylight sighting beneath a pot tells you where it rested; it does not prove that it caused the holes in your plant.
Look for fresh injury on tender leaves, seedlings, petals, and soft fruit, then check the plant for the insect itself. The Royal Horticultural Society advises inspecting susceptible plants by torchlight because slug and caterpillar feeding can look similar. Its guidance also notes that earwig damage may be superficial and that earwigs can help reduce fruit-aphid problems on trees and shrubs (RHS earwig advice).
What earwig feeding looks like
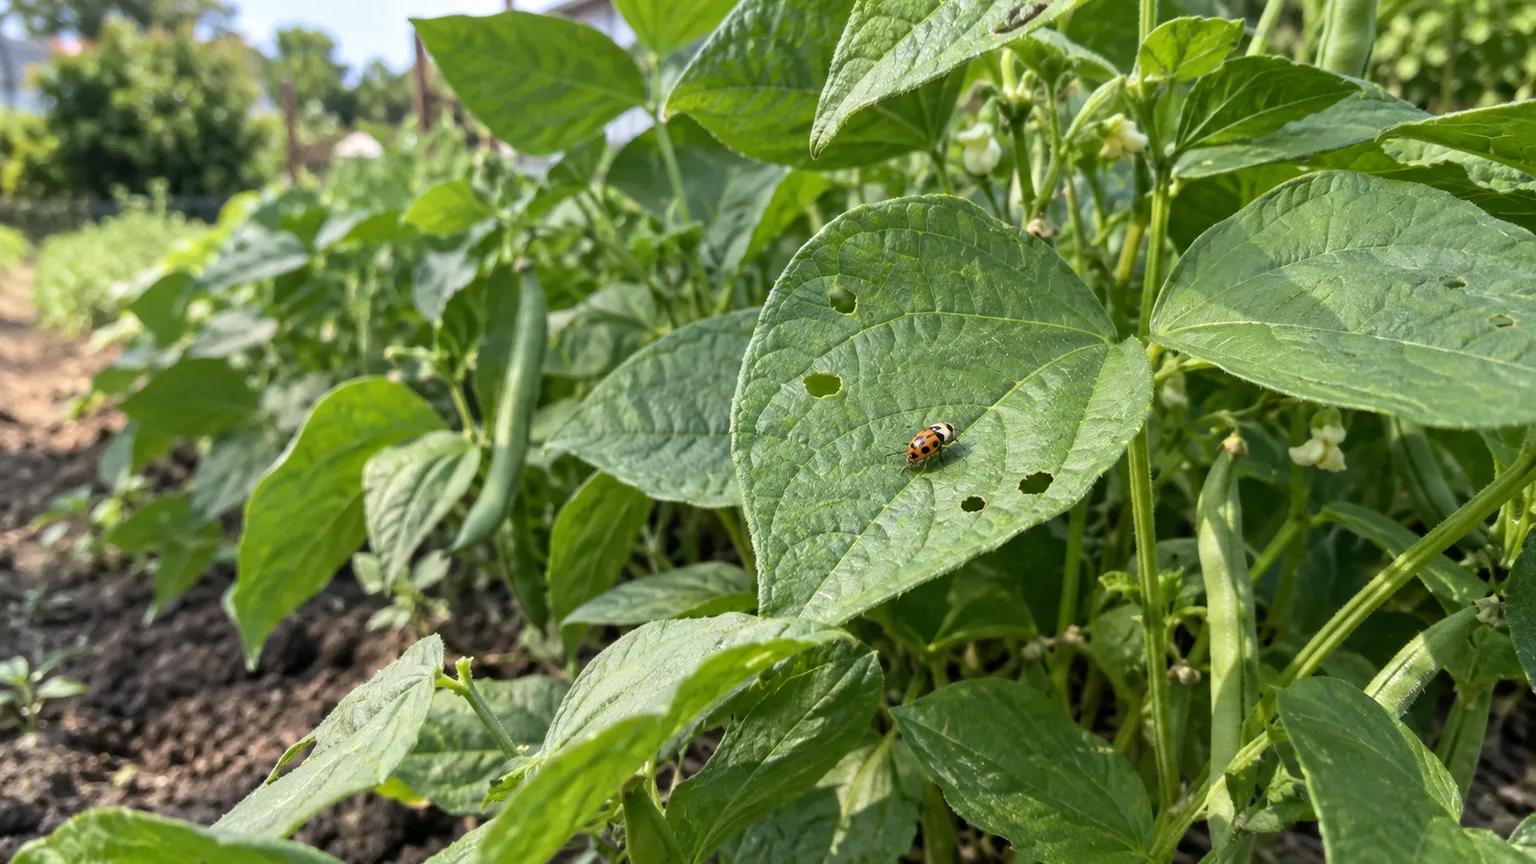
Earwigs chew irregular holes and ragged edges in leaves; on thin leaves, they may rasp patches that look partly scraped through. They also hide in flowers and folded foliage, where they can chew petals or leave small dark pellets of frass. Seedlings, lettuce, beans, dahlias, zinnias, and soft fruit can be vulnerable, but the damage pattern alone is not diagnostic. University of Wisconsin–Madison Extension notes that earwig feeding can resemble slug injury, except slugs leave a slime trail (Wisconsin Horticulture, University of Wisconsin–Madison Extension).
Check what else is happening on the plant. Slime, caterpillars, fresh frass from larger larvae, or injury that appears during the day may point to a different cause. Earwigs may also shelter inside leaves already curled by aphids or in fruit damaged by another pest, so finding them on a damaged plant does not automatically make them the original culprit.
Check after dark before choosing a remedy
Use a flashlight about an hour after sunset, when earwigs are active. Inspect the damaged leaves, the underside of nearby foliage, flower heads, the soil surface, and the sheltered spaces beneath pots or boards. Look for several minutes rather than relying on a quick glance; a single earwig moving away from the light is easy to miss.
Repeat the check on two or three evenings if the damage is minor. If you see earwigs feeding on the same plants that are developing new injury, you have a stronger case for control. If you find none, look for slugs, caterpillars, beetles, or another night feeder before adding a trap or treatment. This small diagnosis step prevents you from killing beneficial predators while the real pest continues feeding.
Why earwigs stay in a garden
Earwigs are omnivores. They eat decaying plant matter and small invertebrates as well as tender plant tissue, so a garden can offer both food and daytime shelter. They prefer dark, tight spaces that stay relatively moist: under pots, boards, dense debris, matted mulch, stones, and folded leaves. They emerge after dusk to feed and return to cover as daylight approaches.
Their benefits and costs depend on where they are feeding. In a fruit tree, earwigs can prey on aphids; the RHS advises tolerating them there when they are not damaging the crop. In a seedling tray, they can chew the soft growth a gardener is trying to establish. Utah State University Extension likewise recommends control only when crop damage is unacceptable, not simply because earwigs are present (Utah State University Extension: European Earwig).
Weather and habitat change the picture. A wet stretch can make sheltered sites more attractive, while a dry garden may still have earwigs under irrigation lines, pots, or wood. Do not assume that every earwig was drawn in by mulch or that the whole bed must be dried out. Focus on the few shelters nearest plants with confirmed, continuing damage.
An IPM plan to reduce earwigs
Integrated pest management (IPM) uses observation and lower-risk controls first, then adds stronger measures only when they are needed. For earwigs, that means checking for feeding, concentrating effort on the affected patch, trapping the daytime hiding places, and reassessing before escalating. The goal is to stop unacceptable damage, not to make a living garden insect-free.
Start with the damaged patch
Begin with the plant or small bed where fresh injury is appearing. Note the date, take a quick photo of the leaves, and count earwigs during a brief after-dark inspection. The photo gives you a baseline: if the holes are not expanding and new leaves are clean, a broad intervention may do more harm than good.
If the damage is limited to one seedling bench, protect that bench instead of treating every border. If earwigs are concentrated under a particular pot or stack of boards, put a trap there first. This targeted approach is also easier to evaluate: after several trap checks, you can see whether catches and fresh injury are both decreasing.
Remove targeted shelter, not all mulch
Move loose boards, empty pots, garden debris, and weeds that touch vulnerable seedlings. Lift containers off the ground, rinse their bases, and avoid leaving a moist tray or dense pile of nursery pots directly beside young plants. The practical vegetable-garden advice from GrowVeg also calls out the dry crevices between pots and seed trays as easy-to-miss daytime shelters (GrowVeg: Dealing with Earwigs in Your Vegetable Garden).
Keep mulch where it is serving the soil. A thick, continuous mat pressed against a seedling bed can create cover; thin or pull back only the section around the plants being damaged, or temporarily clear a small strip where you place traps. Do not strip mulch from the whole garden or stop watering vegetables that need it. Instead, fix leaks, water the root zone rather than keeping paths and debris wet, and let the surface dry between irrigations only when that suits the crop and weather.
Trap them with cardboard, newspaper, or pots
Refuge traps use the habit that makes earwigs easy to find: they look for a dark shelter during the day. Roll a short piece of corrugated cardboard, lightly crumple or roll newspaper, or turn a small flowerpot upside down with a little straw inside. Set the trap at dusk beside damaged plants or near a hiding place; avoid scattering traps across areas with no injury.
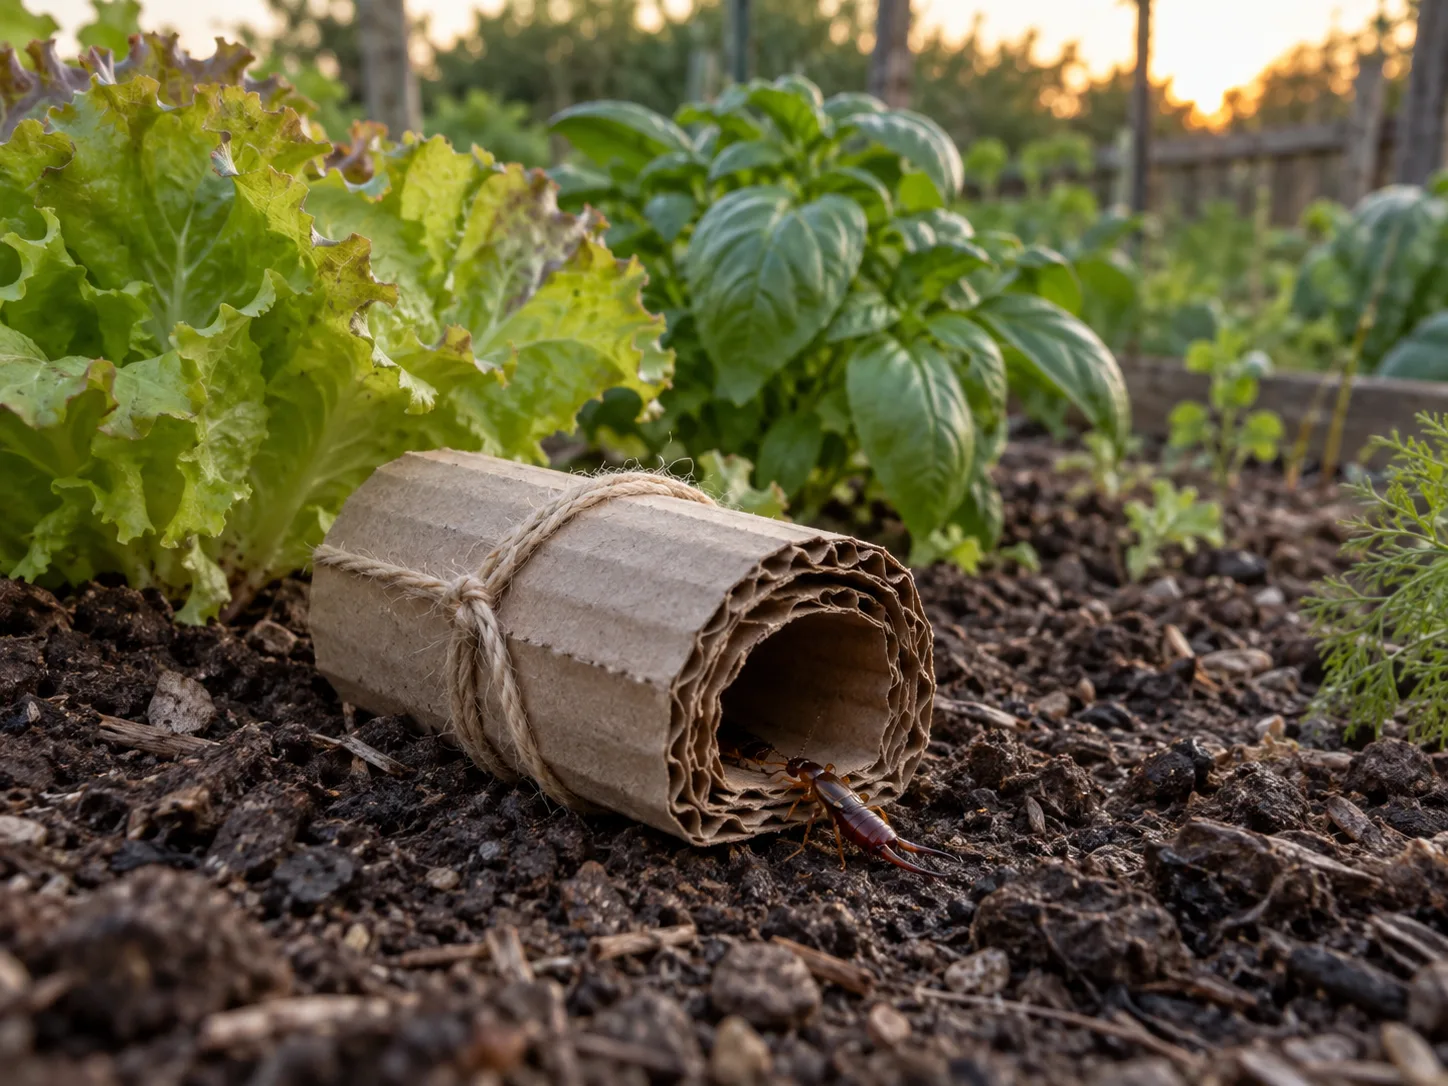
Check refuge traps every two to three days, or each morning if they are easy to collect. Shake captured earwigs into a pail of soapy water, or seal and discard the trap if you prefer not to handle them. Replace the trap if the cardboard becomes soggy or breaks down. Utah State Extension recommends checking traps twice a week, while Colorado State University Extension suggests collecting them every two to three days; those schedules give you a workable home-garden rhythm without leaving a refuge trap unattended for long.
A 2025 study of earwig traps in temperate tree-fruit crops found that corrugated-cardboard traps caught more earwigs than plastic alternatives, while most baits did not improve trap performance. That study addressed orchard monitoring rather than every home-garden setup, but it supports trying a simple cardboard refuge before buying a pesticide or adding a strong-smelling bait (PubMed abstract: “Evaluating trapping methods to increase earwig capture in temperate tree fruit crops”).
Protect seedlings and ripening fruit
For seedlings, remove hiding places from under trays and benches, trap the ground around the vulnerable group, and inspect the leaves each evening for fresh chewing. A well-fitted insect barrier can help protect a small seedling bed if you install it before pests are inside; check underneath it, secure the edges, and remove it when flowers need pollination. A cover is a physical barrier, not a cure for an already infested bed.
For strawberries and other soft fruit, pick ripe fruit promptly and remove fruit with bruises, holes, or rot rather than leaving it near the plant. Earwigs often shelter inside damaged produce, and removing it reduces both a food source and a hiding place. The same principle applies to cut flowers: inspect folded petals and leaves before bringing a bunch indoors.
Do baited pitfall traps or sticky barriers help?
A shallow container with oil or soapy water can catch earwigs that cross its opening, but an open liquid trap may also catch slugs or other small organisms. It is less selective than a rolled refuge trap, and an uncovered container can be a hazard around children or pets. If you test one, place it only near a confirmed hotspot, secure it so it cannot tip, shield it from accidental contact, and check it frequently.
For most home gardens, a removable cardboard or newspaper shelter is a better first trap because it is easy to place beside a particular plant and easy to monitor. In orchard research, an unbaited corrugated-cardboard trap was practical and effective; that does not mean every liquid bait or homemade recipe is useless, but it does mean you do not need to start with a messy oil cup. A blog feature from Ideal Home also recommends night inspections and refuge traps, which are more directly tied to earwigs’ hiding behavior than scent-based deterrents (Ideal Home: How to get rid of earwigs in your vegetable garden).
Sticky barriers are not a whole-bed solution. Earwigs can shelter on the ground near the plant and reach foliage by more than one route, so a sticky band may simply trap other crawling insects without stopping the population. If you have a specific container or trunk with a single access route, a commercial barrier may be worth a small, label-directed trial; do not smear petroleum jelly directly onto plant stems or bark.
Is diatomaceous earth a good earwig remedy?
Diatomaceous earth can kill insects when they contact a dry deposit, but that does not make it a selective or reliable garden-wide earwig fix. The National Pesticide Information Center explains that it absorbs oils and fats from an insect’s outer covering and works only while the deposit stays dry and undisturbed. Rain, irrigation, and dew can shorten its usefulness outdoors (NPIC: Diatomaceous Earth Fact Sheet).
Do not treat “food grade” as meaning that a product is an approved garden pesticide or harmless to breathe. Dust can irritate the nose, lungs, skin, and eyes; read the actual product label, avoid inhaling dust, and keep children and pets away from treated areas as directed. Because a contact dust does not distinguish earwigs from other insects, scattering it across flowers or the whole bed can expose insects you want to keep. If a product is not labeled for outdoor garden use and the pest/site involved, leave it on the shelf.
When a pesticide may be justified
Consider a pesticide only when you have confirmed earwigs feeding, fresh injury continues after targeted traps and cleanup, and the loss matters enough to justify the trade-offs. A single sighting or a few old holes does not meet that bar. If the crop is nearly mature and the damage is superficial, harvesting and trapping may be safer and more effective than spraying.
Choose only a product whose current label permits use against earwigs in that specific setting or crop, then follow all directions for application, protective equipment, harvest interval, re-entry, and disposal. Product registrations and permitted uses vary by location, so do not copy an online rate or use a lawn, foundation, or ornamental product on edible plants unless its label explicitly allows it. Health Canada likewise tells gardeners to match the product to the pest and follow the directions and warnings on the label (Health Canada: Earwigs).
Avoid spraying blossoms or applying insecticides when pollinators are visiting. If a label permits an application, target the affected plants or hiding area, not every bed; many contact treatments work only when the insect is reached. Recheck for new damage and trap catches before repeating anything. A pesticide that does not match the pest’s nighttime sheltering behavior can expose other organisms without solving the source of the problem.
Prevent a repeat without drying out your garden
Prevention works best as routine housekeeping around the vulnerable plants, not a scorched-earth cleanout. Keep plant debris from piling against seedling trays, empty and move pots after use, repair dripping faucets, and avoid waterlogged corners. Leave healthy mulch in place where it protects soil, but keep loose boards and dense, wet piles away from a seedling bench or the foundation.
During spring and early summer, check the plants that have been damaged before. When new transplants are small, look under containers and inside folded leaves; when berries begin to ripen, harvest regularly and remove damaged fruit. If you use cardboard traps, keep a few near the bed while it is vulnerable, then remove them when catches fall and new feeding stops.
If earwigs gather around a bright path or entry light, you can turn off that nonessential light for several nights and compare what you see. A horticulture expert quoted by Ideal Home suggests reducing garden lighting as one possible way to lessen attraction, but lighting changes are a small site-specific test, not a substitute for checking the plants or managing a confirmed refuge.
What to do if earwigs come indoors
An earwig in a basement, bathroom, or by a door is usually an accidental visitor from a damp outdoor hiding place. Sweep or vacuum it up, then look for a gap at a threshold, window, vent, or pipe penetration. Keep leaf litter and dense mulch from touching the foundation right beside an entry, fix leaks, and seal accessible cracks.
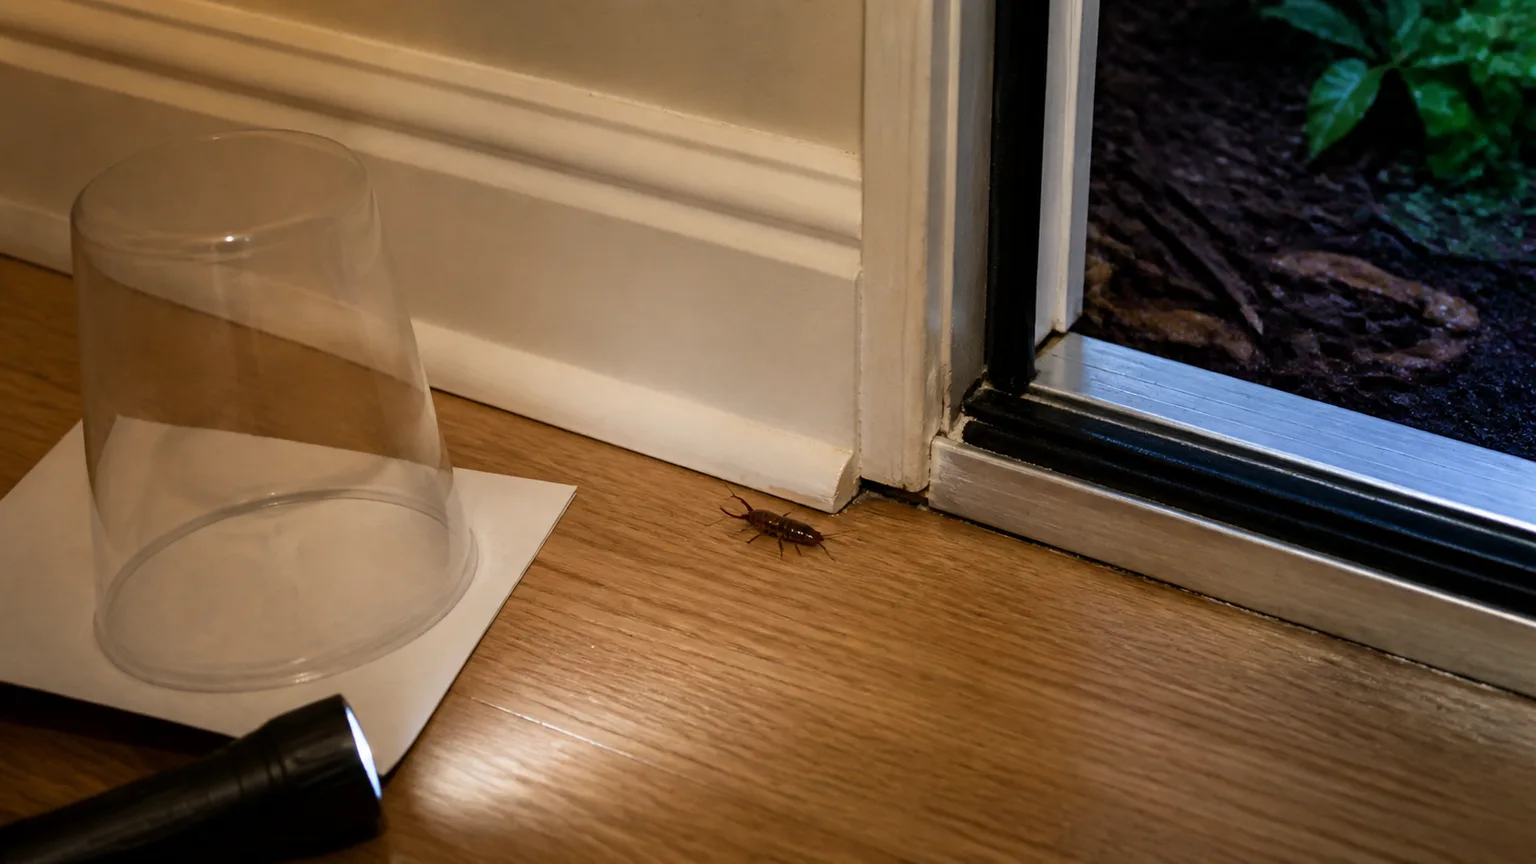
Indoor pesticide treatment is rarely the first answer to an occasional visitor. University of Wisconsin–Madison Extension recommends physical exclusion and notes that vacuuming works for earwigs already indoors; the more durable fix is to reduce the outdoor shelter and entry route nearby. Do not use a garden product inside the home unless its label specifically allows that use.
Common earwig-control mistakes
- Treating every earwig as a pest. A few earwigs under mulch are not proof of crop damage. Check at night and preserve them where they are feeding on aphids rather than vulnerable plants.
- Blaming earwigs from holes alone. Slugs, caterpillars, and other chewers can create similar marks. Use a flashlight and look for the insect while feeding.
- Removing all mulch or withholding needed water. This can stress plants and damage soil moisture without removing every sheltered crevice. Clear only the hotspot and correct excess moisture.
- Leaving refuge traps unchecked. A trap should be part of a monitoring routine. Empty or replace it every few days so it continues to show what is happening.
- Using a broad spray as the first move. A treatment can affect pollinators and other non-target organisms, yet miss earwigs sheltered in debris. Start with the affected plant and its daytime hiding spots.
- Assuming “natural” means risk-free. Powders and oils still have exposure, label, and non-target trade-offs. Use a registered product only for the listed site and pest.
Conclusion
To get rid of earwigs in your garden, confirm they are feeding at night, then target the patch where fresh damage is appearing. Clear nearby debris without stripping useful mulch, set a cardboard or newspaper refuge trap, check it every two or three days, and protect seedlings or softening fruit while you monitor. If new damage stops, remove the traps and leave earwigs elsewhere in the garden to do their scavenging and pest-eating work.
Use diatomaceous earth or a pesticide only when the label matches the use and the confirmed injury justifies the added risk. The most effective plan is not the one that kills the most insects; it is the one that protects the plants you care about while leaving the rest of the garden’s food web intact.