How to Grow and Care for Japanese Painted Ferns
Give Japanese painted ferns bright shade, rich well-drained soil, and steady moisture. Learn when to divide, prune, mulch, and fix browning or yellowing fronds.
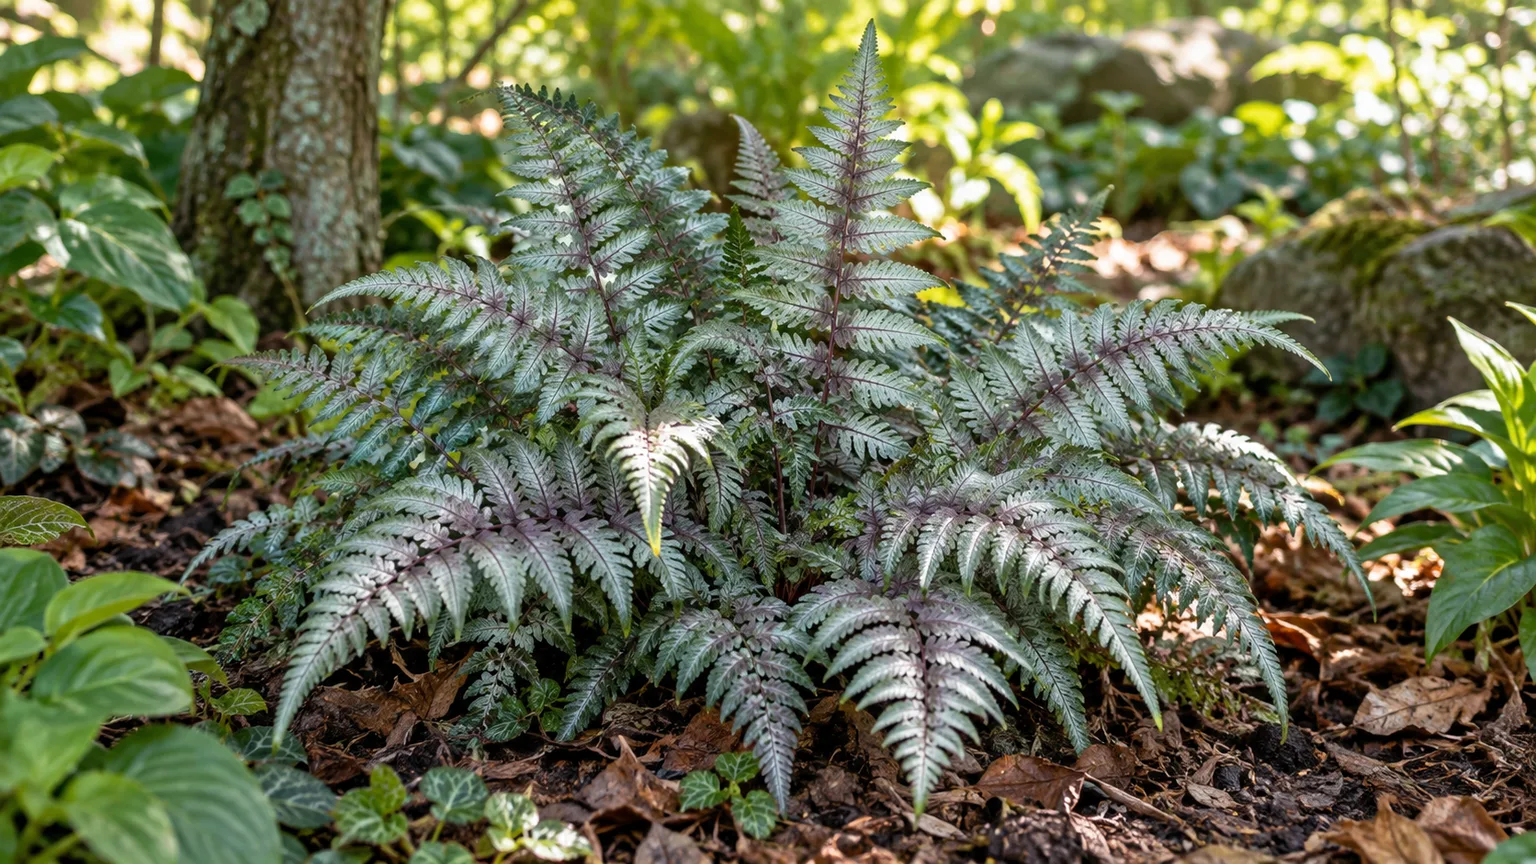
Japanese painted fern (Athyrium niponicum var. pictum) earns its place in a shade garden with silver-gray fronds, burgundy-purple midribs, and blue-green edges that catch low light. It is a deciduous, clump-forming fern rather than an evergreen houseplant: fronds emerge in spring, color changes as temperatures rise, and the plant rests through winter.
The care formula is simple but not careless. Give it bright or dappled shade, soil that stays evenly moist without becoming stagnant, and a sheltered root zone enriched with organic matter. The fern is slow to spread, so success looks like a firm crown and a steady flush of healthy fronds—not instant groundcover.
Start with the right plant and the right expectation
The plant is usually sold under the botanical name Athyrium niponicum var. pictum, though labels may also say painted lady fern or Japanese painted fern. The Missouri Botanical Garden Plant Finder describes it as a short-creeping, deciduous fern that typically reaches about 1 to 1½ feet tall and spreads roughly 1½ to 2 feet. Its rhizomes move gradually, forming a clump or a loose colony rather than racing through the bed.
That size makes it useful at the front of a woodland border, beneath shrubs, beside a path, or in a shaded container. It also explains why a new plant can look undersized for a while: a nursery pot may contain a young division, and the fern spends its first season establishing roots before it fills out above ground. Leave room for the mature spread, but do not plant it as though it will cover a large area in one summer.
Why frond color changes through the season
The silver overlay is often strongest on fresh spring growth and can become greener as hot weather arrives. The RHS notes that the coloring is enhanced by a red midrib and that unusually cold winters or insufficient moisture can make the plant struggle; its plant profile also lists moist but well-drained, acid-to-neutral soil in a sheltered full- or partial-shade position.
Color is therefore useful feedback, but it is not a single pass-or-fail test. Deep, nearly dark shade may keep the fronds safe while reducing the silver and burgundy contrast, whereas intense afternoon sun may brighten the pattern briefly and then scorch the foliage. Judge the site by the quality of new fronds, the moisture of the root zone, and the plant’s ability to return strongly in spring.
Choose shade based on climate and light
Start with dappled or bright shade, not the darkest corner you have. A position under high tree branches, on the east side of a building, or beside a shrub that filters midday light usually offers a better balance than a site under a dense evergreen canopy. The RHS profile lists full and partial shade and specifically favors a sheltered, north- or east-facing aspect.
In cooler northern climates, a little gentle morning sun can improve the silver color if the soil stays moist. In hot-summer regions, protect the fern from direct afternoon rays and from reflected heat off a wall or paving. Southern heat, dry wind, and tree-root competition can turn an otherwise suitable shade bed into a drought pocket, so check the soil rather than assuming shade guarantees moisture.
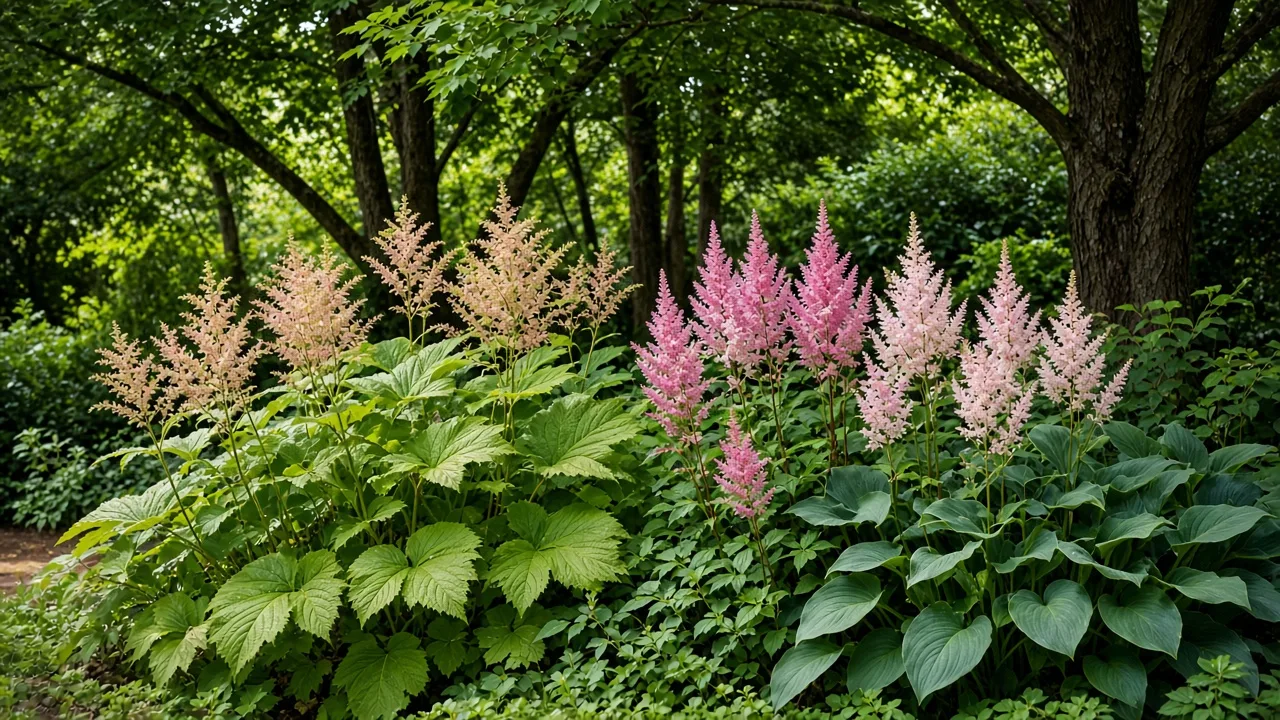
Watch the fronds for placement clues. Bleached patches, crispy margins, or a papery texture on the side facing the sun suggest scorch or drought. Very green, thin growth with a sparse center can indicate that the plant is too dark, although a healthy fern in deep shade may still grow slowly. Move established plants only when necessary; improving the soil’s moisture retention and adding temporary shade during a heat wave is often less disruptive.
Build a moist, well-drained root zone
Japanese painted fern wants moisture available to its roots, but it does not want a permanently saturated pocket. The Missouri Botanical Garden guidance calls for humusy, organically rich, medium-moisture, well-drained soil and warns that the soil should not be allowed to dry. The Hardy Fern Foundation likewise describes the fern as happiest in uniformly moist soil in partial to full shade.
Before planting, loosen compacted soil across the whole root zone rather than filling only a narrow hole with rich material. Mix in finished compost or leaf mold so the bed can hold moisture and still drain, and break up hard layers that would trap water after rain. If the ground stays puddled for hours, use a raised or gently mounded position instead of trying to make a swamp-loving fern tolerate stagnant conditions.
You usually do not need to chase a precise pH number. Acidic to neutral soil is a sensible target, and organic matter is more useful than repeatedly adding amendments without a soil test. Avoid fresh manure, concentrated fertilizer, or a heavy layer of fine material that collapses into a dense paste around the crown.
Plant at the crown and space for the mature clump
Plant in spring or early fall while the soil is workable and the plant has time to make roots before heat or hard freezes. Dig a hole about twice as wide as the root ball and no deeper than the container. Set the crown—the point where the fronds and rhizome meet—at the same level it occupied in the pot, then firm the soil gently around the roots.
Do not bury the crown under several inches of compost or mulch. A buried crown stays wet and can rot, especially in heavy soil. Water slowly after planting so the soil settles around the roots, then add a thin, even mulch layer across the surrounding soil while keeping it pulled back from the crown.
Space plants about 18 to 24 inches apart as a practical starting point, adjusting for the cultivar and the look you want. The Chicago Botanic Garden’s plant information lists the fern as a small understory plant suited to moderate moisture and shade. Close spacing creates quicker visual mass, but wider spacing improves airflow and leaves room for a clump to mature without crowding.
Water and mulch to prevent summer scorch
Water deeply enough to wet the root ball and surrounding soil, then check the bed again before watering on a schedule. During establishment, newly planted ferns may need attention several times a week in hot, windy weather; after roots spread, a well-mulched bed may need water only during extended dry periods. The soil should feel cool and lightly moist below the surface, not glossy, muddy, or sour-smelling.
Water at the soil line in the morning when possible. That timing gives the foliage and surface enough time to dry and makes it easier to see whether the water is soaking in or running off compacted ground. If water disappears instantly from a dry root ball, apply it slowly in two passes rather than giving one fast splash that runs away from the roots.
Mulch is a moisture buffer, not a replacement for watering. Two inches of shredded leaves, fine bark, or composted material can reduce evaporation and keep shallow roots cooler, but a thick wet blanket over the crown creates a different problem. Pull mulch back a few inches from the plant’s center and refresh it when it becomes thin or matted.
Feed sparingly and prune at the right time
A fern planted in rich, amended soil usually needs little fertilizer. If growth is weak and a soil test or bed history points to a nutrient shortage, apply a balanced, slow-release product in spring at the label rate. The Walters Gardens cultural information cautions that ferns can be sensitive to high salt levels, so excess feeding can scorch foliage or injure roots rather than improving color.
Keep fertilizer away from the crown and water after applying granular products. Skip feeding during drought, immediately after division, or when the plant is declining from wet soil; fertilizer cannot compensate for a bad root environment. A yearly compost top-dressing is often a gentler maintenance choice than repeated liquid feeding.
Pruning is mostly cleanup. Remove broken, diseased-looking, or badly browned fronds with clean scissors, but do not shear healthy foliage just because the color has shifted from silver to green. Cutting off too much leaf area during summer reduces the plant’s ability to build energy for the next season.
Let seasonal dieback happen
Japanese painted fern is supposed to lose its fronds in autumn. As temperatures fall, foliage may fade, yellow, or brown before collapsing; that change is different from a plant that browns suddenly during a hot, dry spell. The RHS article on Japanese painted ferns describes the plant as a hardy shade fern that spreads steadily when given shade and moisture, but warns that lack of moisture and unusually cold winters can cause trouble.
In cold climates, leave healthy old fronds in place through winter if they are not diseased. Walters Gardens recommends leaving the old foliage to protect the crown and tender spring shoots, then removing it when new fronds reach about 6 inches tall. If the fronds become slimy, diseased, or obstruct spring cleanup, cut them back late in the dormant season and remove the debris rather than piling it onto the crown.
Hardiness labels vary by cultivar and reference. The Missouri Botanical Garden lists the standard form for Zones 3 through 8, while the Hardy Fern Foundation lists ‘Pictum’ as Zones 4 through 9; named selections can have narrower ranges. Treat the plant label and your local winter conditions as the final guide, and give newly planted or container-grown specimens extra protection during their first cold season.
Grow Japanese painted ferns in containers
A Japanese painted fern can thrive in a pot on a shaded patio, porch, or balcony if the container drains freely and the mix does not dry out repeatedly. Choose a pot with a drainage hole and enough room for the root ball plus a modest amount of new growth—usually one size larger, not a huge decorative tub. A moisture-retentive but airy potting mix with compost, fine bark, and a drainage ingredient is safer than garden soil.
Container plants dry faster than in-ground plants because their root zone is exposed on all sides. Check the mix with a finger and lift the pot when possible; water thoroughly when the upper layer has begun to dry, then let the container drain completely. Do not leave it standing in a saucer of water, even though the fern likes consistent moisture.
The roots of a plant in a pot are less insulated than roots in the ground. Move the container to a sheltered position before severe cold, group it with other pots, or protect the pot with insulating material while keeping the crown ventilated. In warm regions, the bigger container challenge may be heat at the pot wall and rapid drying, so use shade and check moisture more often rather than compensating with constant shallow watering.
Propagate by division in spring
Division is the practical way to make more Japanese painted ferns that resemble the parent. The plant spreads with short, branching rhizomes, and the RHS recommends division in spring. Wait until the clump is established and large enough to separate without reducing every piece to a tiny fragment; a crowded or congested plant is a better candidate than a young nursery division.
Avoid dividing patented cultivars unless the plant label or rights holder clearly permits it. When a named selection is protected, buy additional plants rather than propagating it for sale or distribution. Division is also less stressful when the weather is cool, the soil is workable, and the new fronds have not fully expanded.
A simple division sequence
- Water the parent clump the day before so the roots are hydrated and the soil is easier to work.
- Lift the clump with a spade, starting far enough from the crown to preserve the short rhizomes and fine roots.
- Brush or wash away enough soil to see where the rhizome branches, then separate two or three vigorous sections by hand or with a clean knife.
- Make sure every division has a piece of crown, healthy roots, and at least one emerging or dormant growth point.
- Replant at the original depth, firm the soil, and water thoroughly.
- Keep the divisions evenly moist and shaded while they re-establish; new growth is a better recovery signal than a perfectly upright frond on day one.
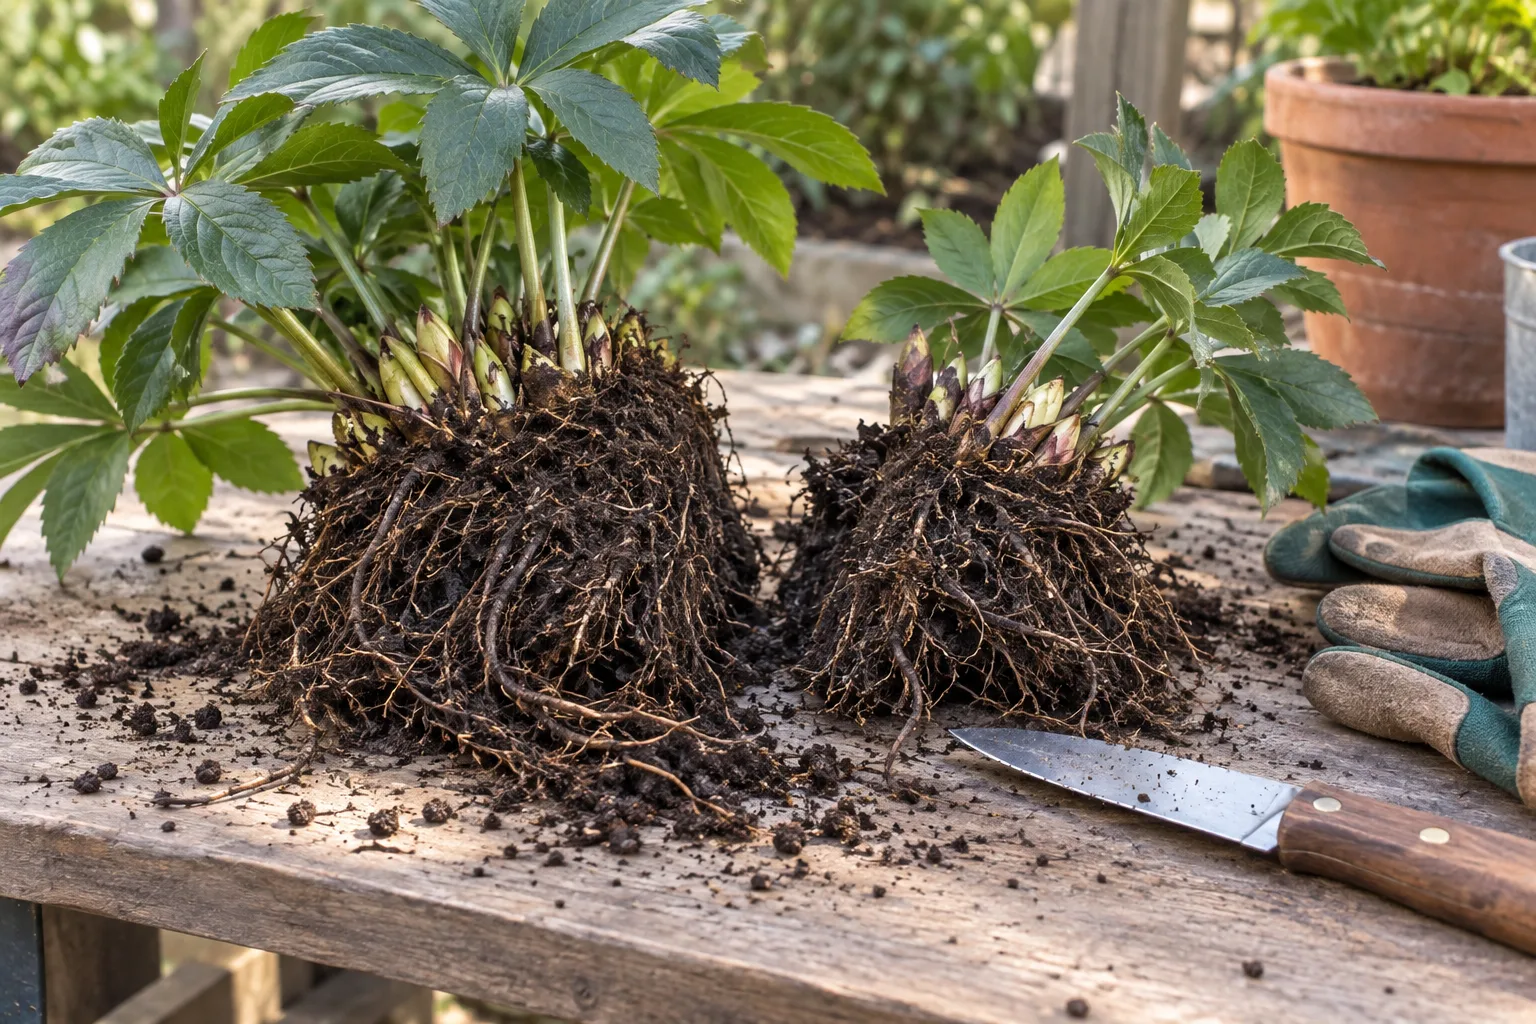
Do not leave lifted divisions exposed to sun or wind while you work. If a root section breaks, keep it moist and plant it promptly, but discard soft, foul-smelling tissue rather than burying a rot problem in fresh soil. A divided fern may look less full for a season, then regain its shape as each crown produces new fronds.
Choose cultivars and companion plants
The standard painted fern is already variable, so choose a cultivar for a specific trait rather than buying a name only for its promise of “more color.” ‘Silver Falls’ is known for stronger silvering and has an RHS Award of Garden Merit; ‘Ursula’s Red’ carries a broader, richer red zone that can contract as the season progresses. The RHS also highlights ‘Ghost’, ‘Ocean’s Fury’, and ‘Branford Beauty’ among hybrids that combine painted-fern coloring with the compact, robust growth of lady fern relatives.
‘Burgundy Lace’ is another popular selection, but cultivar hardiness and mature size can differ from the unnamed form. The Gardenia profile for ‘Burgundy Lace’ describes a clump around 18 inches tall and wide in fertile, humus-rich, medium-moisture soil. Read the nursery tag for that exact selection, especially when buying for a cold climate or a container.
Use companions that share the same root-zone rhythm without hiding the fern. Hostas, foamflower, heuchera, epimediums, and other woodland perennials can frame the silver fronds with broader or darker foliage. Leave enough space for air movement and avoid pairing the fern with a thirsty tree root system unless you can irrigate the bed consistently.
Solve the three problems gardeners actually see
When a painted fern looks wrong, start with three observations: Is the soil dry or wet? Is the damage on the sunny side or throughout the clump? Is the plant in its normal autumn shutdown? Those questions are more useful than immediately adding fertilizer, moving the plant, or spraying a product.
The Walters Gardens growing notes reinforce the central tension: ferns need consistent moisture but do not want waterlogged soil. The plant’s appearance improves when light, soil texture, watering, and crown depth are corrected together rather than treated as isolated problems.
Brown fronds or crisp edges
Brown, papery edges during a hot or windy spell usually point first to drought, sun scorch, or roots competing with a nearby tree. Feel the soil several inches down and look at the location of the damage. If the bed is dry, water slowly and deeply, refresh the mulch, and add temporary shade during the hottest part of the day.
If the soil is moist but the frond faces afternoon sun, reduce the light intensity rather than watering more. Existing scorch will not turn silver and healthy again, so watch the next flush of fronds. If new growth is brown from the start or the crown is soft, inspect the root zone for cold damage, rot, or a planting depth that is too deep.
Yellow and limp fronds
Yellowing and wilting can mean either drought or roots that are too wet to function. A dry, light pot or powdery bed calls for a thorough drink; a cold, saturated, sour-smelling root zone calls for better drainage and less frequent watering. Remove only roots that are visibly soft and dark, then replant the firm crown in improved soil.
If only the oldest fronds yellow at the end of the season while new growth has already slowed, normal dormancy is more likely. If the entire clump yellows in summer, check for waterlogging, crown burial, intense heat, and nearby roots before assuming the plant needs nutrients. A soil test is more reliable than repeated fertilizer applications.
Check slugs before treating
Japanese painted ferns are generally low-maintenance, but slugs and snails may chew tender fronds in damp shade. Look for irregular holes, fresh slime trails, and feeding that is worst overnight or after rain. Rabbits are usually less interested in this fern than in many leafy perennials, but browsing pressure depends on local wildlife and food availability.
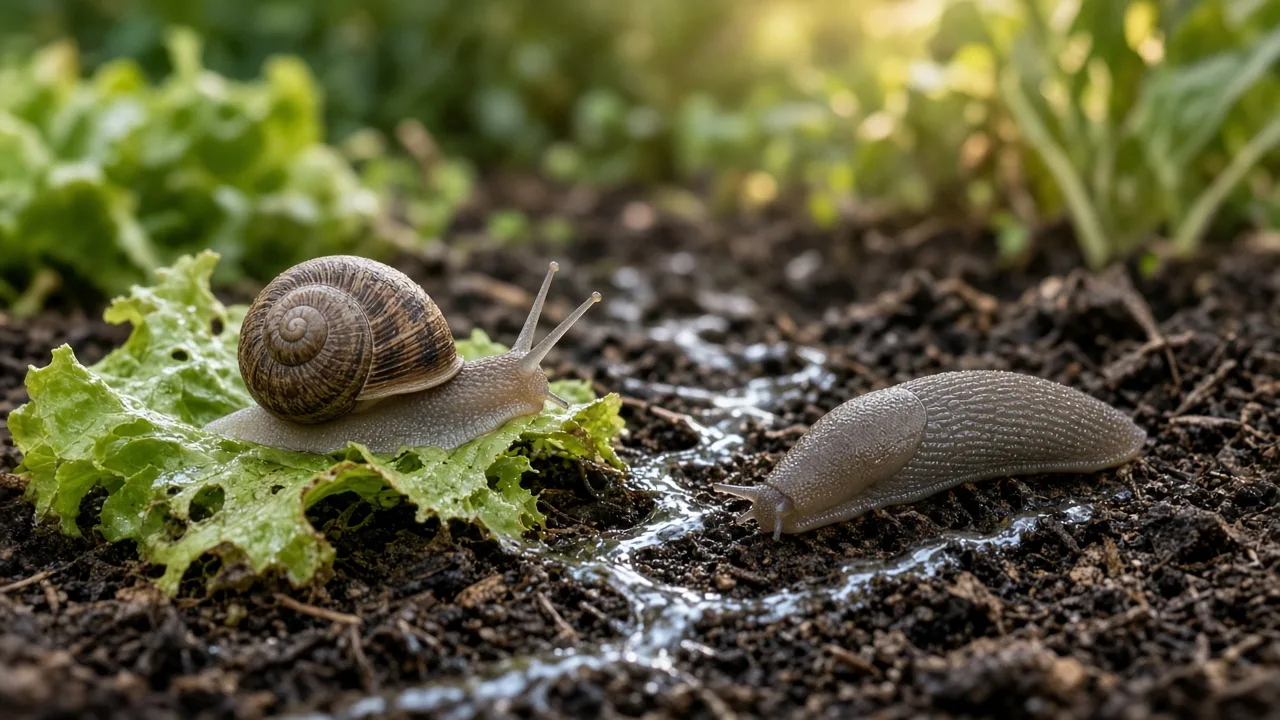
Start with the least disruptive response: remove hiding debris, water in the morning, hand-pick pests when practical, and keep mulch from forming a constantly wet, thick mat against the crown. If damage continues, choose a control labeled for slugs or snails and follow that product’s directions and local restrictions. Do not coat fern fronds with an untested home remedy; tender foliage can be damaged, and a treatment is unnecessary if the holes came from one brief visit.
Conclusion: build the right shade, soil, and moisture rhythm
Japanese painted fern is easiest when you stop asking it to tolerate extremes. Give it filtered light rather than baking sun, humus-rich soil that drains rather than puddles, and a steady moisture supply rather than alternating drought and saturation. Keep the crown at soil level, mulch around—not over—it, and let the fern’s seasonal dieback happen on its own schedule.
If the plant browns, begin with soil moisture and light exposure. If it turns yellow and limp, inspect the roots and drainage before feeding. With those checks in place, this slow-spreading fern can return every spring with the silver, burgundy, and green texture that makes a shaded garden feel deliberately designed.



