How to Grow and Care for Moringa Plants Outdoors
Grow Moringa from seed or cuttings with practical advice on sun, soil, watering, pruning, containers, harvest timing, and frost protection for leafy growth.
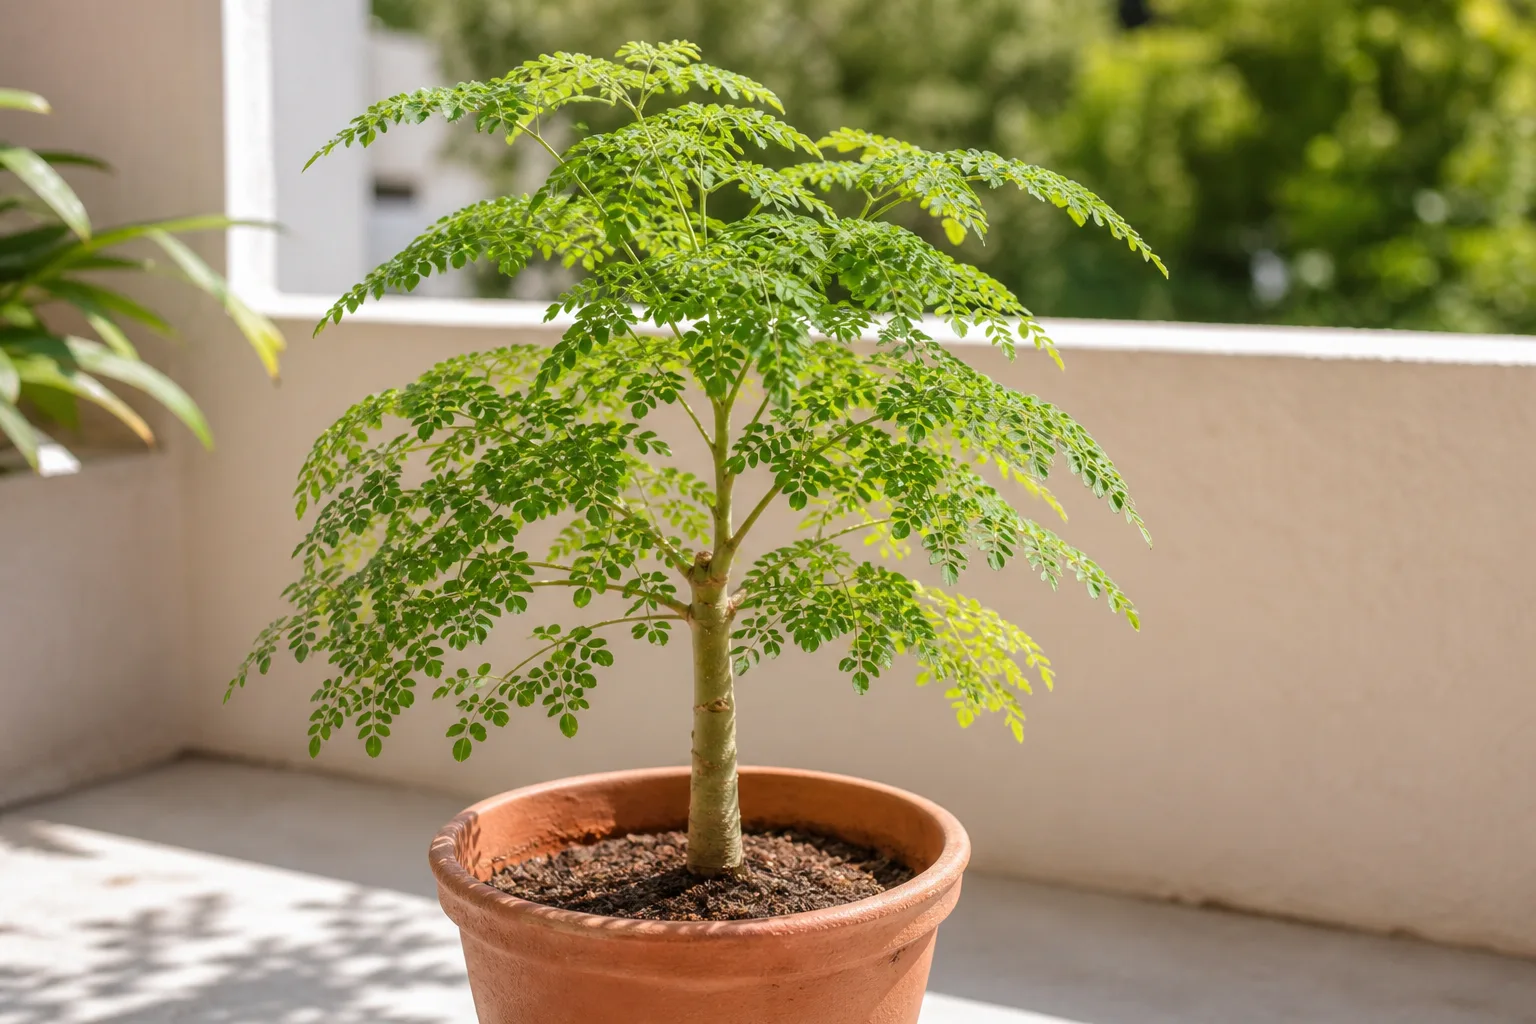
Moringa (Moringa oleifera), also called the drumstick tree, is a fast-growing tropical tree cultivated for its leaves and long, tender pods. Its speed is useful only if you plan for it: an unpruned tree can outgrow a small garden or balcony quickly, while a cold, dim room and a waterlogged pot can stop it just as quickly. The dependable formula is warm weather, direct sun, loose soil, room for roots, and pruning that matches what you want to harvest.
Moringa is not a low-light houseplant. In a frost-free garden it can become a substantial tree; in a colder climate it is usually more realistic as a seasonal plant or a container tree that is cut back and protected. This guide explains how to start it, establish it, keep it manageable, and choose between a regular leaf harvest and allowing branches to flower and set pods.
Moringa care at a glance
| Need | Practical target |
|---|---|
| Light | At least 6 hours of direct sun; more open sky supports stronger growth |
| Climate | Warm tropical or subtropical conditions; protect from frost |
| Soil | Sandy or loamy, loose, and quick draining |
| Water | Water deeply when the upper soil has dried; keep new plants more evenly moist |
| Pruning | Top and shape for reachable leaves; prune less if you want flowers and pods |
| Container | Deep, stable pot with drainage; keep the canopy compact with regular pruning |
The plant’s natural size is the first thing to plan around. Purdue University’s NewCROP profile describes Moringa as a tree of subtropical and tropical climates, drought resistant once established and best suited to dry, sandy soil; Feedipedia describes a deep-rooted tree that can reach roughly 10 to 12 meters in favorable conditions. Those are field conditions, not a prediction for every home garden, but they explain why a small patio pot needs a different plan from a permanent yard planting. (Purdue NewCROP; Feedipedia)
Give moringa the warm, sunny site it needs
Choose a site that receives at least six hours of direct sunlight daily, preferably more. Moringa’s open, branching canopy and strong growth are adapted to bright, warm conditions; Epic Gardening’s reviewed growing guide also recommends full sun and describes six hours as a minimum. Shade may keep a plant alive, but it often produces long, soft stems, sparse leaf clusters, slow drying soil, and little useful harvest. (Epic Gardening)
In a yard, give the tree space away from foundations, overhead wires, paths, and other plants that cannot tolerate shade or root competition. In a hot, dry climate, a young transplant may need temporary protection from the harshest afternoon exposure while it establishes, but do not mistake that short adjustment for a permanent shade requirement. Wind is another practical concern: Moringa branches are relatively brittle, so protect a newly planted tree from severe gusts and stake it only if the root ball is unstable.
Growing outdoors versus indoors
Moringa is best outdoors wherever the climate stays warm and frost-free. It is commonly grown outdoors in USDA zones 10 to 12, though the zone label is only a broad guide: cold pockets, elevation, wind exposure, and the length of the cool season all affect whether a tree survives. Purdue’s profile places it across subtropical dry through tropical moist climates, while Feedipedia notes its tolerance of dry conditions. Neither means it will thrive through freezing weather or in a soggy site.
Indoors can be a winter shelter, but it is rarely a satisfying permanent location for a tree that needs strong light and room to branch. A sunny window may prevent total collapse, yet short winter days and dry indoor air often trigger slow growth or leaf drop. If a container plant must come inside, choose the brightest window available, keep it away from cold drafts and heating vents, and water less as growth slows. Return it outdoors gradually when nights warm rather than moving it directly from a dim room into intense midday sun.
Prepare fast-draining soil before planting
Drainage matters more than making the soil exceptionally rich. Moringa grows in sandy or loamy soils and can tolerate relatively lean ground, but roots sitting in water are vulnerable to rot. Purdue NewCROP describes dry sandy soil as favorable, and Feedipedia’s profile emphasizes the plant’s adaptation to dry environments. In heavy clay or a low spot that stays wet after rain, choose a raised bed, a broad mound, or a large container instead of digging a small amended pocket that can hold water like a basin.
For containers, use a loose potting mix with a durable drainage component such as perlite, pumice, or coarse horticultural grit. A mix that feels fluffy when dry but forms a dense, wet mass after watering is a poor fit. Do not put gravel at the bottom of the pot; it does not fix a slow-draining mix and reduces the depth available to the taproot. Make sure water can exit several unobstructed drainage holes, and elevate the pot slightly if it sits on a flat patio.
A soil test can guide pH adjustments if the tree is struggling or you plan to grow it in the ground. Moringa tolerates a range of soils, so do not chase a narrow pH number before checking sunlight, drainage, and root health. Work mature compost into poor soil or top-dress around an established tree, keeping it away from the trunk; avoid burying the root collar under a deep layer of wet organic matter.
Grow moringa from seed
Seed is usually the easiest way to start a home-grown Moringa. Use fresh, viable seed from a reliable source, sow it in warm weather, and keep the medium lightly moist rather than saturated. Epic Gardening reports that germination commonly takes several days to about two weeks under warm conditions, with a warm sowing medium improving the odds of an even start. Do not treat a slow seed as proof that it needs more water; cool soil and poor drainage are more likely to delay or damage it. (Epic Gardening)
Fill a deep starter pot with a clean, fast-draining mix and sow one seed about an inch deep. Water gently so the seed stays in place, then keep the pot warm and bright. Once the seedling emerges, give it strong light and water when the upper layer begins to dry; a wet pot without air around the roots can rot before the seedling has enough leaves to use the moisture. If several seeds are sown in one bed, thin them while small so the strongest plant has room.
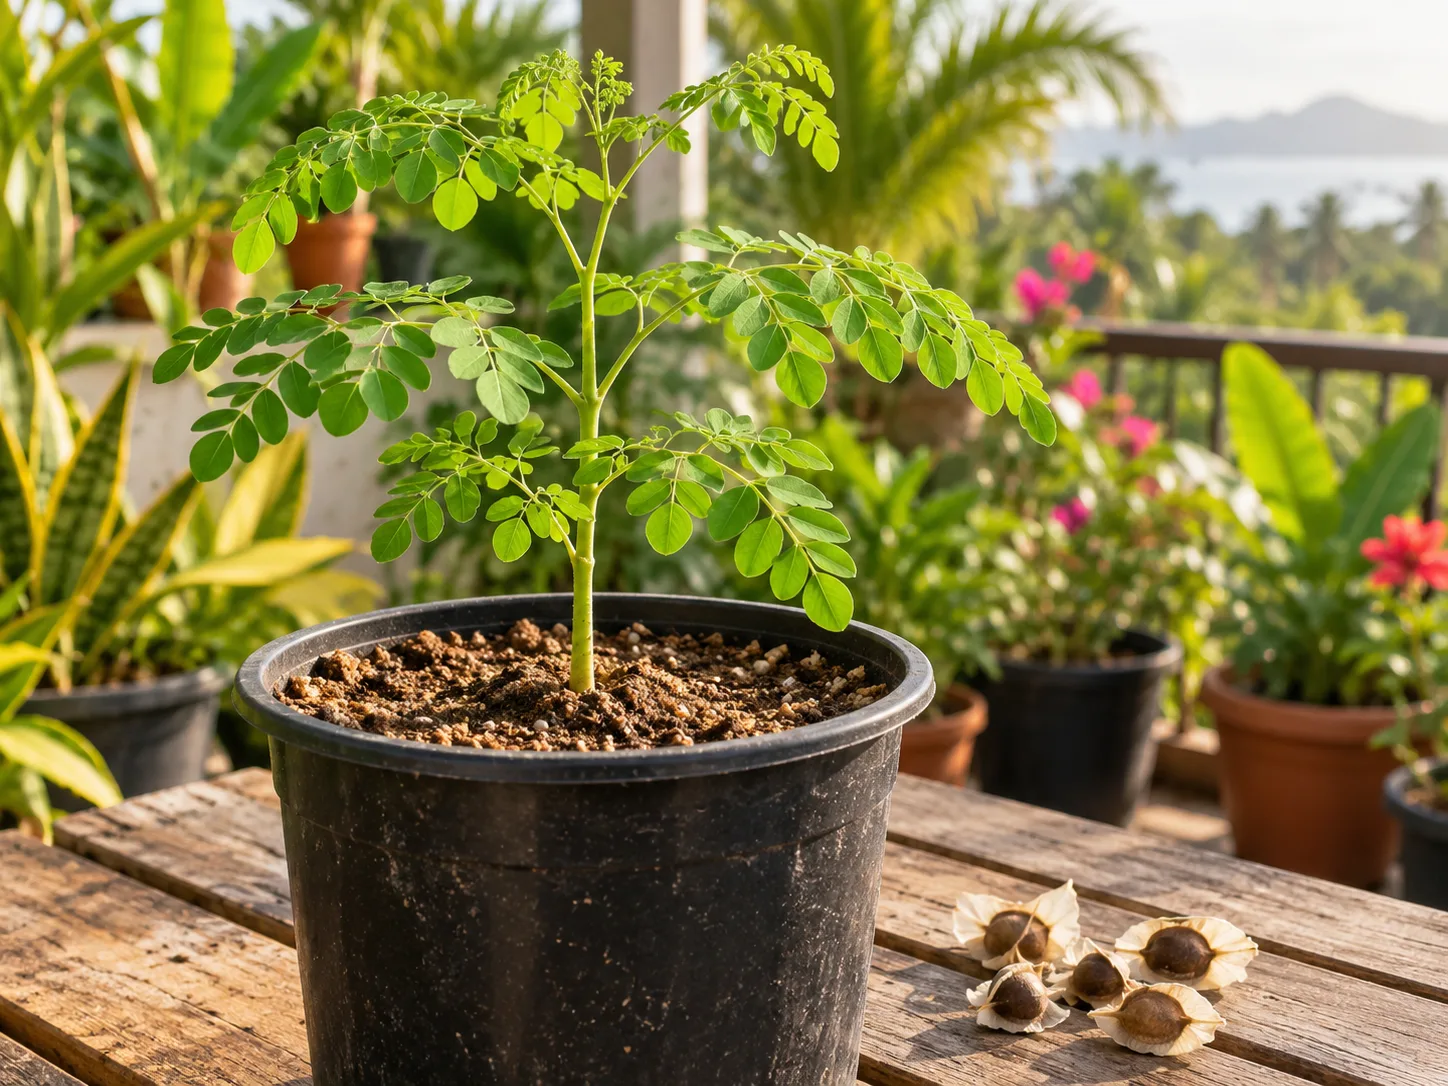
Direct sowing or starting in a pot
Direct sowing works well in a warm region with loose, well-drained ground and a long growing season. It avoids moving the plant’s early root system, and the permanent site can be prepared before sowing. The tradeoff is exposure: heavy rain, birds, weeds, or a short cold spell can wipe out a seedling before it is established. Mark the spot and keep the surface evenly moist until emergence, then let the soil begin to dry slightly between waterings.
A pot gives you control over warmth and placement, which is useful in a cool climate, but the seedling should not stay cramped in a shallow cell for long. Start it in a deep pot and transplant while it is still small, lifting the root ball intact instead of teasing or trimming the long central root. Set the plant at the same depth it grew before, water it in, and protect it from wind for the first few days. If it will live in a container permanently, sow directly in that final pot to avoid a second transplant.
Propagate moringa from a cutting
A cutting is useful when you want to copy a tree with known traits or start from a mature plant already growing nearby. The method differs by scale. Purdue’s NewCROP notes that Moringa has traditionally been propagated in parts of India from long limb cuttings, roughly one to two meters long, planted during the rainy season. That field technique depends on warm ground and careful moisture management; it is not the same as placing a small soft twig in a windowsill glass. (Purdue NewCROP)
For a home attempt, take a healthy, firm, semi-mature stem from an actively growing, disease-free plant, and use a clean, sharp tool. Remove leaves from the buried portion and place the cutting in a deep pot of airy mix, keeping it warm and lightly moist, never waterlogged. Rooting can be less reliable than starting from seed, especially in cool conditions or if the cutting is very young. Avoid taking a large limb from a stressed tree, and do not assume a cutting is rooted until it resumes growth and resists a gentle tug.
Water by age, weather, and soil dry-down
Water newly planted Moringa more consistently than an established tree. During its first warm growing season, check the root zone often and water deeply when the upper inch or two begins to dry; the exact interval will change with pot size, wind, sun, soil, and rainfall. A seedling in a small pot on a hot terrace may need attention every few days, while a mature tree in the ground may go much longer between drinks. A calendar cannot account for those differences.
When you water, soak the root zone and let excess water drain instead of giving small daily sips that wet only the surface. For a container, pour slowly until water exits the holes, then empty any saucer. In the ground, water around the outer root zone rather than repeatedly wetting only the trunk. Mulch can reduce rapid surface drying outdoors, but leave a clear ring around the stem so the base stays airy.
Established trees tolerate dry spells better than young ones, but drought tolerance is not the same as maximum leaf production. A mature tree may survive on rain while producing fewer leaves or dropping some foliage during extended heat and drought. Increase watering gradually during hot, windy weather and reduce it when cool weather slows growth. If the soil is still wet several inches down, wait; yellow leaves on wet soil are a reason to inspect drainage, not automatically to add fertilizer.
Fertilize for leafy growth without excess
Start with soil that drains well and contains some organic matter. In the ground, a thin compost top-dressing in the active growing season is often more useful than frequent high-dose feeding. In a container, nutrients wash out faster, so a balanced fertilizer used according to its label during active growth can help; stop or reduce feeding when the tree is dormant, stressed, or not producing new leaves.
Match the fertilizer decision to the plant’s condition. If Moringa has pale growth but receives little sun, adding nitrogen may make stems softer without fixing the underlying problem. If leaves are yellow and the pot smells sour or stays wet, feeding can add salt stress to damaged roots. Confirm light, drainage, and moisture first; a soil test is more reliable than guessing at a deficiency from one leaf.
Excess fertilizer can also push leafy growth at the expense of flowering and pod set. If pods are your goal, avoid a heavy nitrogen routine and do not feed a tree that is already growing vigorously. A modest, consistent program is easier to adjust than a series of strong applications, and it keeps the plant’s growth aligned with your harvest plan.
Prune for a manageable tree and steady leaves
Pruning is the main tool for keeping Moringa reachable. Without it, a young tree can quickly become tall and top-heavy, with much of its foliage beyond easy harvest. Use sharp bypass pruners for small stems and loppers for thicker branches; clean tools between plants, and cut just above a healthy node or branch junction rather than leaving long stubs. Remove dead, broken, rubbing, or inward-growing wood first.
For a young tree grown for leaves, wait until it is established and actively growing, then pinch or cut the central leader to encourage side branches. A practical first target is a plant around three to four feet tall, but vigor and stem strength matter more than a precise height. After it branches, harvest or tip-prune the new shoots to keep the canopy broad and low. Do not strip every branch at once; the remaining leaves power regrowth.
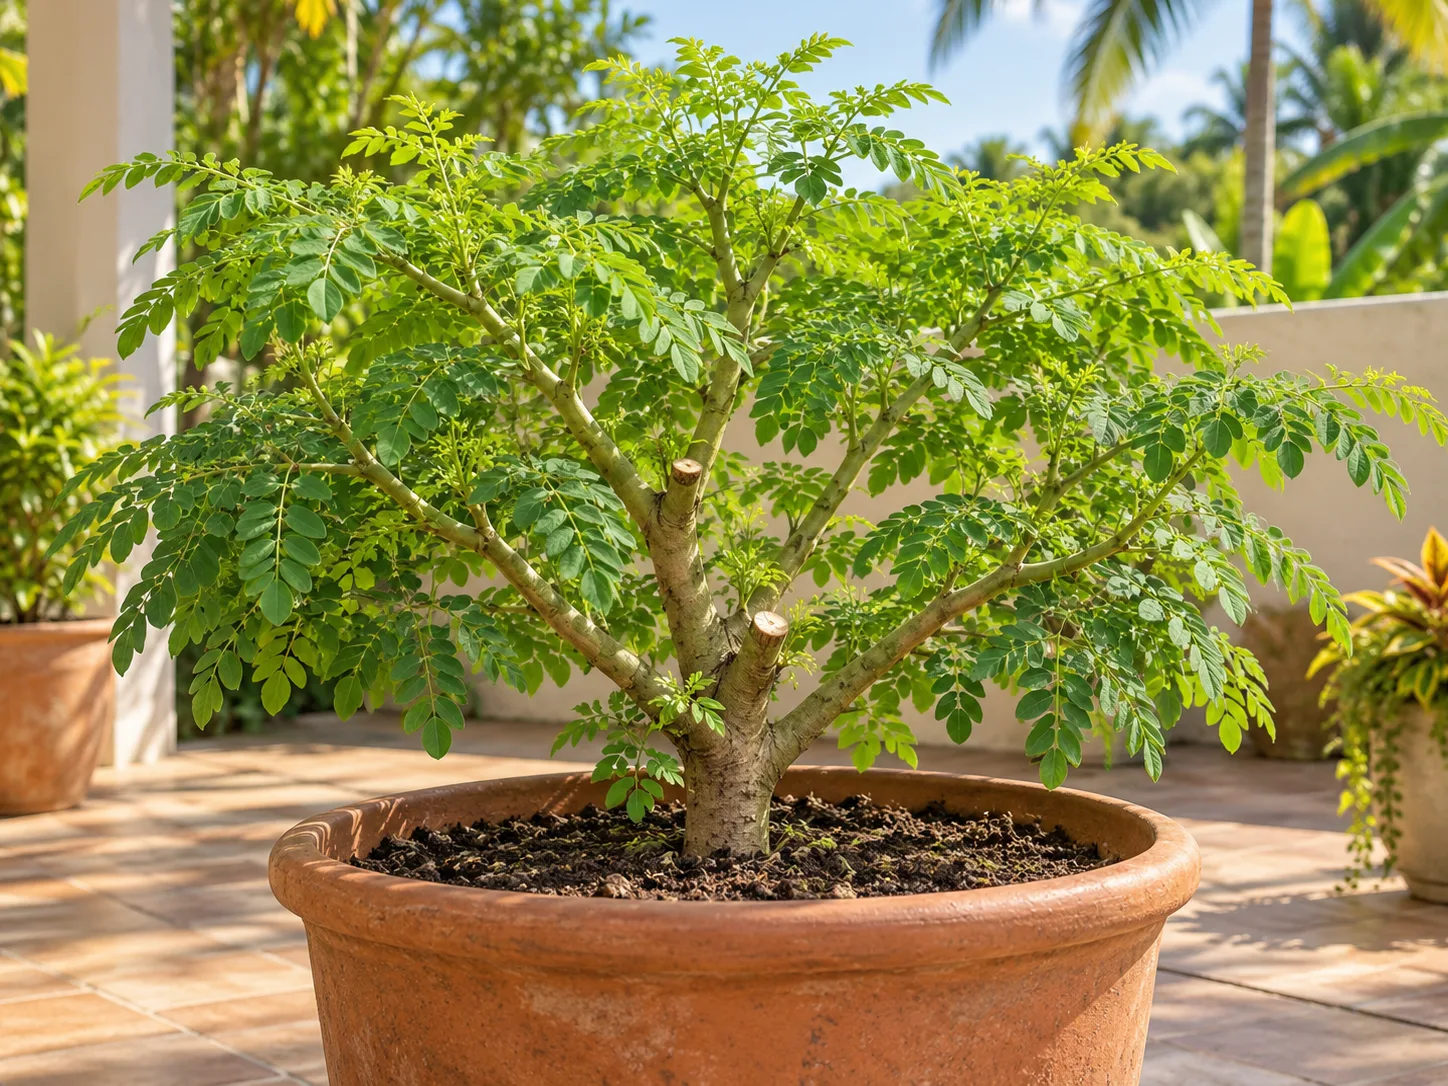
Choose a pruning style based on your harvest
For frequent leaves, coppice or pollard the plant: cut back the main stems after a flush so new shoots form within reach. This encourages a bushier harvest structure, but repeated hard cuts delay flowers and reduce the time branches have to produce pods. Choose a routine you can maintain; a small, regularly harvested tree is easier to manage than a tall tree cut back only after it has outgrown its space.
For pods, preserve more of the mature branching framework and prune mainly to remove damaged, crossing, or inconvenient growth. Flowers form on mature growth, so repeatedly removing every new extension can prevent the tree from reaching the flowering stage. Epic Gardening recommends pruning to control size and open the canopy; the key adjustment is to prune less severely when fruit production matters. For general pruning technique, Gardener’s Path also emphasizes choosing the purpose and timing of a cut rather than pruning by habit. (Epic Gardening; Gardener’s Path)
Do most structural pruning during warm active growth or just before a new flush in a frost-free climate. In a climate with a cool winter, wait until frost-damaged wood is clearly dead and spring growth begins before making major cuts. Cutting hard just before cold weather leaves tender regrowth exposed and can stress a plant that is already slowing down.
Grow moringa in a container
A container makes Moringa movable, but it does not make the tree small by itself. Choose the deepest, widest pot you can safely move, with several drainage holes and a stable base; a large nursery pot or tub is easier to manage than a narrow decorative planter. For a long-term container tree, roughly 18 to 24 inches of depth is a practical starting point, with more volume giving the roots and moisture buffer more room. These are grower guidelines, not a species-specific minimum.
The tradeoff is root space versus mobility. A larger pot dries more slowly and supports steadier growth, but it is heavier to move indoors before cold weather. A smaller pot is easier to relocate and naturally limits the canopy, yet needs more frequent checks and pruning; do not let it become so root-bound that water runs straight through without wetting the root ball. If the tree dries within a day in warm weather, roots circle the surface, or growth stalls despite full sun, move up one size during active growth.
Container Moringa is most useful as a regularly pruned leaf plant. It can flower and set pods in a warm, bright location, but a restricted root system and repeated topping make a large tree or dependable pod crop less likely than in the ground. Put the pot where it receives direct sun, use a well-draining mix, and rotate it occasionally if the canopy leans strongly toward one side.
Overwinter moringa where frost is possible
Moringa is frost tender. In a warm, mild region it may stay outdoors year-round, but elsewhere a hard freeze can kill the top growth and sometimes the whole plant. If you grow it in a container, move it to a bright protected place before frost is forecast, rather than waiting for leaves to blacken. Epic Gardening notes that brief cool spells are not equivalent to long cold periods; a container is valuable because you can respond to local weather instead of relying only on a zone map. (Epic Gardening)
As days shorten and growth slows, expect some leaf drop. Reduce watering so the mix dries more between waterings, stop routine fertilizer, and keep the plant away from cold window glass. A cool but bright room is generally safer than a warm, dim corner that keeps the soil wet while the roots and canopy are barely growing. Do not try to compensate for weak winter light with constant watering.
If an outdoor tree loses its leaves after a cold snap, wait before digging it up. Check whether the main stems are firm and whether a light scratch on the bark reveals green tissue underneath. If the roots survived, it may resprout when warm weather returns. Remove only clearly dead wood after you can see where new shoots are emerging, and keep the root zone well drained while the plant recovers.
Harvest leaves, pods, and seeds at the right stage
Harvest leaves from a healthy, established tree by snipping tender leafy shoots or individual leaf clusters with clean shears. Leave enough foliage on each branch for the plant to keep growing, and spread harvests across the canopy instead of stripping one side bare. If you are growing for repeated leaves, each harvest can double as light pruning: remove the soft tips you can use and let lower side shoots continue developing.
Pods are a different goal. Allow mature branches to flower, then pick the long green pods while they are still young and tender, before the seeds swell and the pod becomes tough and fibrous. Purdue’s profile reports that fruiting can begin within about six to eight months in favorable Indian growing conditions, but timing varies with climate, cultivar, plant age, and pruning. Feedipedia describes young pods as a commonly used food crop, while older pods mature and dry around their seeds; treat a source’s calendar as a rough expectation, not a promise. (Purdue NewCROP; Feedipedia)
Leave a few pods on the tree if you want seed. They are ready for seed saving when they mature and dry, with the pods changing from green toward brown and opening as they become brittle. Collect them before they split fully and scatter seed, then dry them in a ventilated spot. For food, use only correctly identified plants grown without products that are not labeled for edible crops, wash harvests, and follow local food-safety practices; growing information is not a medical recommendation.
Troubleshoot growth and leaf problems
Slow growth usually comes from a mismatch among warmth, light, root health, and water—not simply a need for more fertilizer. Check whether the tree receives six or more hours of sun, whether the soil dries between waterings, and whether the container has enough depth. If the plant was recently transplanted, a pause in growth can be normal; avoid pruning, repotting, and feeding all at once while it is recovering.
Leaf drop can be normal during cool weather or a dry spell, especially if the plant is otherwise firm and the stems remain green. Sudden widespread leaf drop in warm weather is more concerning if paired with a soft trunk base, sour-smelling soil, or limp stems. Those signs point toward root damage or overwatering. Check drainage first, then adjust watering and shelter the tree from stress while it produces new growth.
If branches die back after frost, do not water the bare plant as if it were actively growing. Keep the root zone only lightly moist, scratch the bark to check for living tissue, and wait for warmth to trigger buds. If new growth is coming from the base, remove dead upper stems after that new structure is clear; if the main trunk stays firm and green, retain it.
Diagnose yellow leaves before adding fertilizer
One or two older leaves yellowing as the tree grows is different from the whole canopy turning pale. Start by checking the soil several inches down, not just the dry surface. If it is wet and heavy, pause watering and inspect the pot’s drainage holes; if it is bone dry, water deeply and then adjust the interval based on how quickly the mix dries in that location.
Yellowing on persistently wet soil can signal root stress, while yellowing after prolonged drought may accompany leaf drop and stalled shoots. If moisture is appropriate, look at light exposure, recent temperature changes, and whether the plant was recently moved or repotted. Add fertilizer only when the basics are right and growth still looks weak; if several plants show similar symptoms, use a soil test rather than diagnosing a nutrient shortage from color alone.
Watch for pests and disease
Inspect the newest shoots and the undersides of leaves when you water. Aphids can cluster on tender growth, while caterpillars chew leaflets and may be easier to spot by their droppings or ragged feeding. Remove a small number by hand or rinse pests off with water; prune a badly damaged shoot if the plant can spare it. Good airflow, regular inspection, and avoiding excessive nitrogen reduce the conditions that make soft new growth especially vulnerable.
Root and twig rots are more likely when the plant stays wet, especially in compact soil or a pot without clear drainage. Remove fallen leaves, avoid overhead watering late in the day when disease is present, and cut out dead or diseased wood with clean tools during dry weather. Do not apply a pesticide or fungicide simply because leaves look damaged; first identify the cause and check that any product is labeled for Moringa or for edible plants and for the specific pest. Gardener’s Path’s practical guidance on garden chemical use puts identification and nonchemical control ahead of spraying, which is a sensible approach for a plant you plan to eat. (Gardener’s Path)
Conclusion
To grow Moringa successfully, start with warmth, direct sun, and soil that drains freely. Sow seed in warm conditions or use a healthy cutting, protect the taproot when transplanting, and water according to how quickly the soil dries rather than a fixed schedule. Prune hard for reachable leaves, prune lightly if you want pods, and move container plants to shelter before frost. If the tree looks unhappy, check light and roots before reaching for fertilizer; those first decisions solve most growing problems.



