How to Grow & Care for Fava Beans (Broad Beans)
Grow fava beans successfully with practical timing, spacing, watering, support, pest, heat, and harvest advice for gardens and containers.
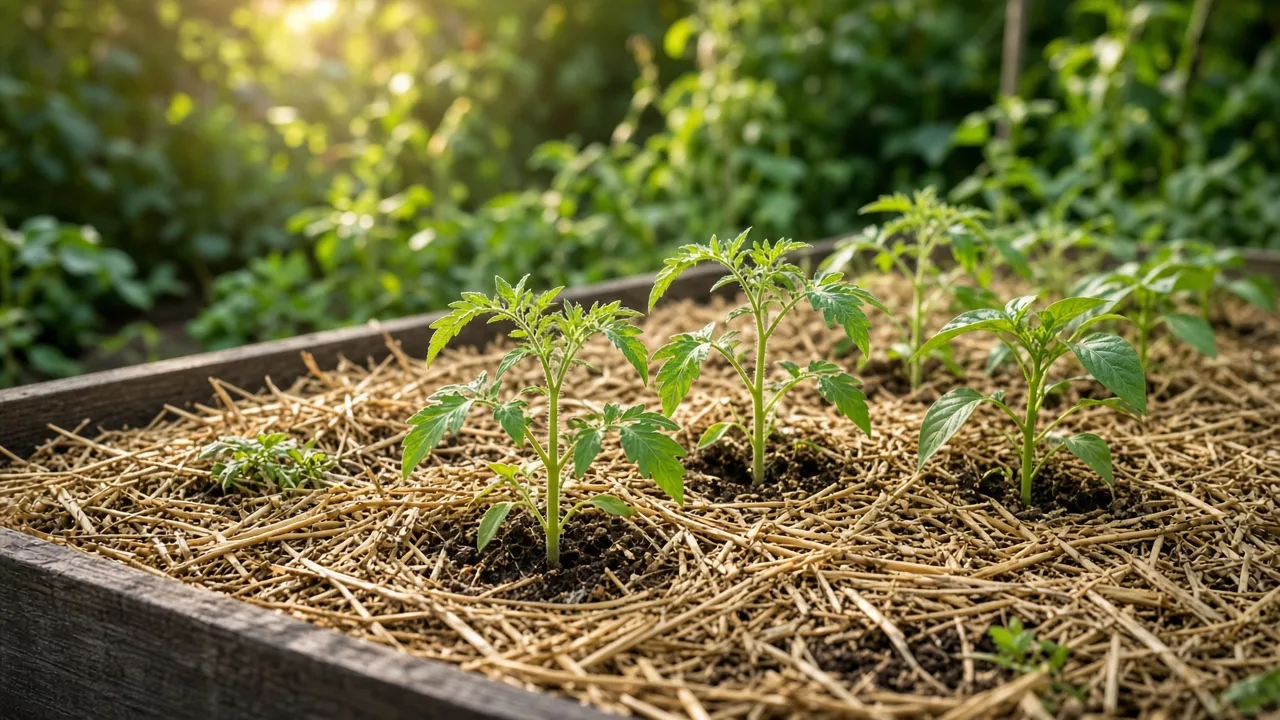
Fava beans (Vicia faba) are a cool-season crop with an unusually useful schedule: you can sow them when many summer vegetables are finished, let sturdy seedlings sit through cool weather, and harvest broad, tender pods before the next wave of heat. They are not the same kind of bean as a climbing green bean. Favas are upright, heavy plants that need space, steady moisture, and often a simple string corral rather than a trellis.
The most important growing decision happens before planting. In a mild-winter climate, fall sowing can produce the earliest spring crop. In a cold or waterlogged garden, spring sowing is safer. Either way, choose a variety that can finish before hot weather, plant in soil that drains after rain, and decide whether you want small tender beans, shelled green beans, dry beans, or seed for next year.
One safety note belongs at the top: some people with a genetic predisposition to favism can develop hemolytic anemia after eating fava beans, and exposure to pollen can also be a concern. NC State Extension’s plant profile describes this as a serious but specific risk. If you or someone who will handle or eat the crop has been diagnosed with favism or glucose-6-phosphate dehydrogenase deficiency, ask a qualified clinician about whether growing and eating favas is appropriate; ordinary cooking advice is not a substitute for that guidance.
Choose the planting season before you sow
Fava beans grow best while days are cool to mild. NC State Extension notes that temperatures in the 60s are ideal and that daytime temperatures above the mid-70s can reduce yield. That is why a gardener in a mild winter area may sow in fall, while a gardener with a long, cold winter may wait until early spring. The right calendar is the one that lets plants flower and fill pods before sustained heat, not the date printed on a generic planting chart.
Fall versus spring sowing
Fall sowing works when your soil drains well and winter does not keep seedlings frozen, saturated, or repeatedly heaved from the ground. Sow early enough for the plants to establish a few inches of growth, but not so early that they become tall, soft, and lush before the coldest weather. A hardy cultivar and a sheltered bed improve the odds.
The reward is an established root system that resumes growth as soon as light and temperature improve. Fall-planted favas can also occupy a bed that would otherwise sit bare, and their roots support nitrogen-fixing bacteria. That does not mean the following crop receives a guaranteed fertilizer dose: nitrogen becomes available only as plant residues and roots break down, and the benefit depends on soil biology and management.
Protect small fall seedlings from their most immediate enemies. A layer of loose mulch can moderate soil temperature, while a cloche or frost cloth can buffer a sharp cold snap. Use netting if birds pull up newly sown seeds. Do not cover a wet bed with an airtight material; cold, stagnant, saturated soil is a better recipe for rot than for winter protection.
Spring sowing for cold or wet gardens. Spring is the better default when winter soil is heavy, the bed stays wet, or your cultivar is not reliably hardy. Direct sow as soon as the soil can be worked without smearing into a muddy ball. In a short season, sowing into deep modules or small pots under protection can give you a head start, but fava seedlings dislike root disturbance, so transplant before they become root-bound.
Spring plants have less time to finish before heat. Choose an early or short-season type when available, and keep the seedbed evenly moist while roots establish. If your area turns hot quickly, a late sowing may produce leaves without a worthwhile pod crop; in that situation, favas are a poor substitute for a genuinely warm-season bean.
Pick a site, soil, and variety that fit
Sun, drainage, and soil fertility
Give fava beans at least six hours of direct sun when possible. They tolerate some lighter shade, especially where afternoons are hot, but too little light produces lanky growth and slows drying after rain. A site with morning sun and good airflow is more useful than a cramped bed that receives blazing afternoon heat but stays humid around the leaves.
Soil should hold moisture without remaining saturated. Deep loam or silt loam is excellent, but favas can grow in many garden soils if drainage is adequate. Before sowing, loosen the bed, remove perennial weeds, and add mature compost if the soil is poor in organic matter. Avoid planting where water collects after a storm; root rot and weak growth are difficult to fix after the seeds are already in the ground.
Test the soil if you routinely see poor growth or have never amended the bed. A slightly acidic to neutral range is a sensible target, with practical sources clustering around roughly pH 6.0 to 6.8. Do not add lime, ash, or a heavy fertilizer dose by guesswork. Fava beans are legumes, and their nitrogen-fixing relationship is one reason they usually need less feeding than leafy vegetables.
Variety, spacing, and support needs
Choose the variety around your climate and available room. Long-pod types can produce impressive pods but may become tall and top-heavy. Windsor types are valued for large, flavorful beans but may be less suited to overwintering in cold conditions. Dwarf types such as ‘The Sutton,’ ‘Bell Bean,’ or other compact selections are easier to corral and are the most realistic choice for a large container. Oregon State University’s fava bean notes also list types suited to overwintering, spring planting, windier sites, or heat-tolerant trials.
Spacing is a trade-off between airflow and bed efficiency. A useful home-garden starting point is about 4 to 8 inches between seeds, thinning or allowing plants to finish around 6 to 8 inches apart, with roughly 18 to 30 inches between rows or blocks. Gardener’s HQ and Harvest to Table show why published numbers vary: some instructions describe sowing distance, while others describe final plant spacing. Crowding is not automatically higher yield when wet leaves and blackfly colonies are part of the problem.
Plan the support before the seedlings are tall. A fava bed that looks stable in March can lean into a path once pods fill. Put canes, stakes, or a low perimeter in place while plants are young so you do not drive supports through a dense root zone later.
Plant fava beans from seed
Direct sowing in the garden
Fava seeds are large and easy to handle. Make holes about 1 inch deep, set one seed in each hole, cover with loose soil, and water gently. Harvest to Table uses this depth as a baseline, while GrowVeg describes planting in a simple block with about 8 inches between plants. The goal is a firm seed-to-soil connection without compacting the surface into a crust.
Keep the seed zone moist but not flooded until shoots emerge. Germination speed depends on soil temperature and seed freshness, so avoid digging up a seed after a few days to check it. If mice or birds remove seed, use a fine mesh cover or sow under a temporary protected frame; remove the cover once seedlings need room and airflow.
Thin crowded seedlings early rather than waiting until roots are tangled. Use scissors to remove extras at soil level if pulling would disturb the plant you want to keep. A well-spaced stand is easier to water at the base, easier to support, and less likely to stay wet after a rainy spell.
Protected starts and transplanting
Protected sowing is useful when spring arrives late or rodents repeatedly dig up seed. Sow one seed per deep cell or small pot in a free-draining mix, keep the containers bright and cool, and harden plants off before transplanting. Move them outside while they are compact and before roots circle the container.
Do not treat favas like tomatoes that can be buried deeply to compensate for a stretched stem. Plant at the same depth the seedling was growing, firm the soil around the root ball, and water the root zone. If the bed is still saturated, wait for a workable window or use a raised row; transplanting into cold mud can trade a few days of head start for weeks of stalled roots.
Manage water, feeding, and weeds through the season
Water deeply enough to moisten the root zone, then check the soil before watering again. The crop needs consistent moisture during flowering and pod fill, but “keep it moist” does not mean leaving roots in standing water. A practical target is about 1 inch of water per week from rain or irrigation, adjusted for soil, wind, temperature, and container size. Epic Gardening recommends checking the top couple of inches and avoiding extra irrigation after unusually wet weather.
Water at the soil line in the morning when possible. Drip irrigation or a slow hose is preferable to repeatedly wetting dense foliage. Mulch lightly once seedlings are established to slow evaporation and suppress weeds, keeping the mulch away from the stems so the crown can dry.
Remove weeds while plants are small and cultivate shallowly. Fava roots and nitrogen-fixing nodules are valuable below the surface; deep hoeing can damage them. Once the foliage closes over, hand-pull weeds near the stems and use the support frame as a reason to keep paths accessible.
Do not automatically fertilize because the plants look pale. A healthy legume may need compost, phosphorus, potassium, or a soil correction, but a large nitrogen dose can produce lush leaves without solving poor drainage, low light, or heat. If you inoculated seed with the appropriate legume bacteria and the soil supports that relationship, extra nitrogen is even less likely to be the first answer. Use a soil test and a crop-labeled recommendation when feeding is justified.
Support tall plants before pods load
Fava beans are upright, not twining climbers. Many plants stay self-supporting in a sheltered bed, but tall cultivars can lean or snap when several heavy pods form. A simple support is usually enough: place stakes at the corners and along the sides of a row or block, then run two or three lines of string around the outside. Tuck stems back inside after wind or rain.
Install the frame while plants are young. Late support work is harder on roots and can bend stems that have already set pods. A support should contain the plants without squeezing them into a damp wall of foliage, so leave enough width for air movement and harvesting access.
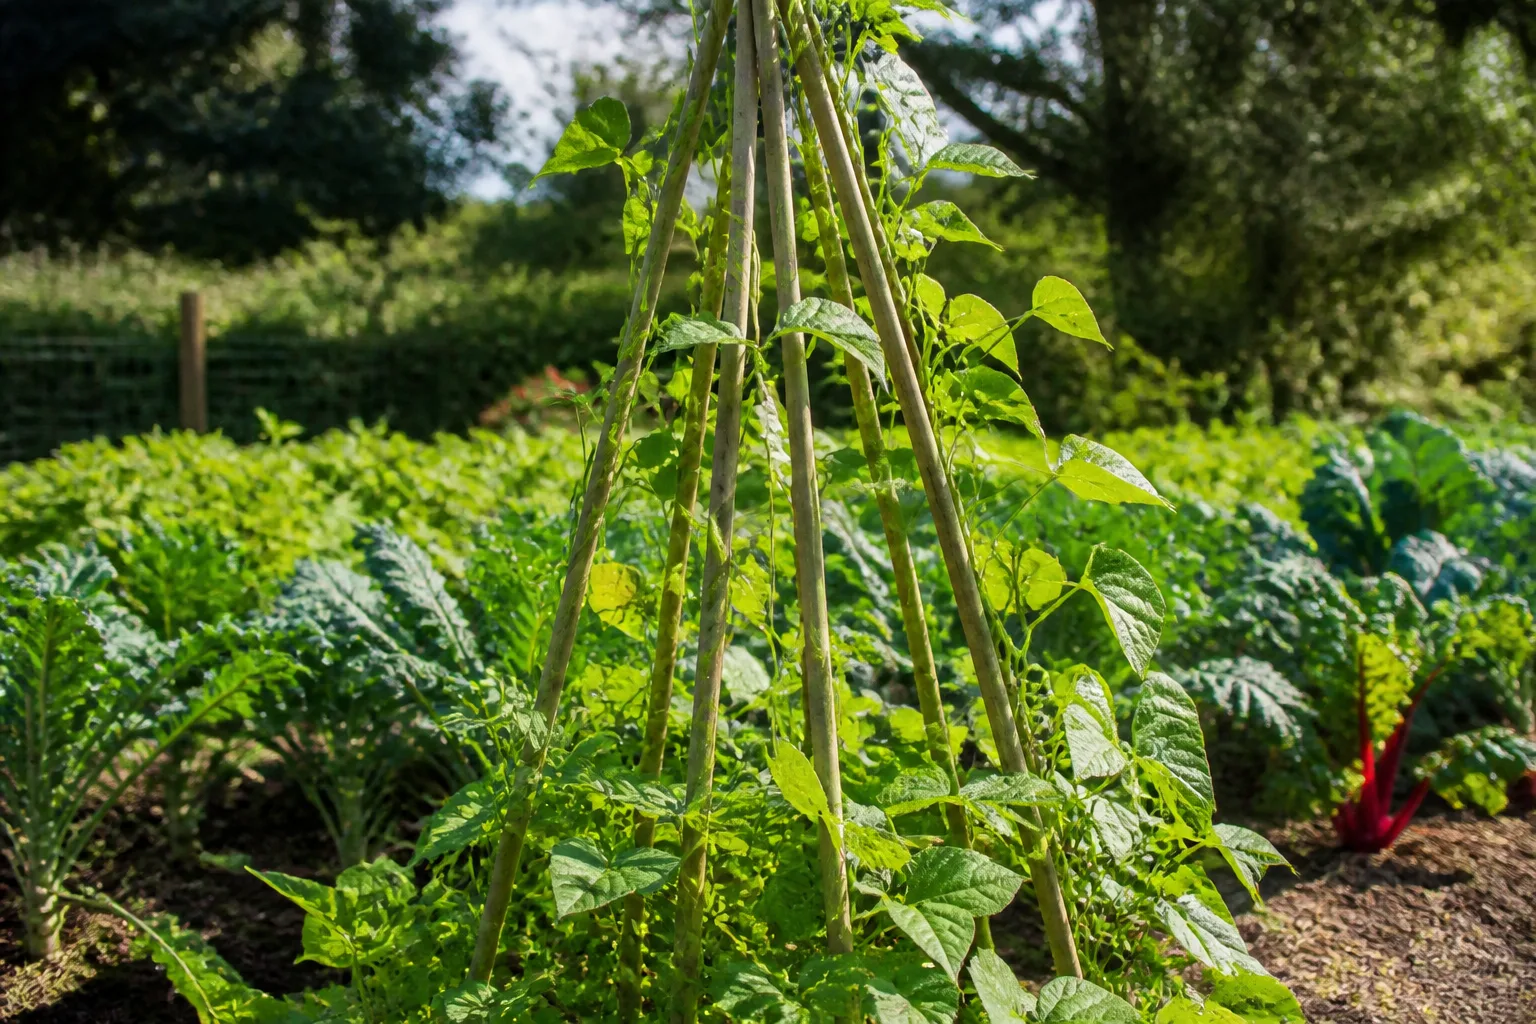
Wind matters as much as height. If your garden is exposed, select a dwarf or shorter-season cultivar, plant in a broad block rather than one isolated row, and support both sides. In a pot, use a sturdy stake or small cage attached before the plant becomes top-heavy; a flimsy stick inserted after a wind event rarely restores a leaning plant cleanly.
Pinch the growing tips at the useful moment
When the first pods have set and the plant is still producing soft new growth, pinch out the top few inches. GrowVeg and Gardener’s HQ describe this timing as a practical way to reduce the tender growth that attracts blackfly or black bean aphids, while also directing attention toward pod filling. The removed tips are edible when clean and unblemished.
Do not pinch tiny seedlings or strip the growing point before flowering. The useful timing is after the plant has built a canopy, flowers have opened, and the first pods are visible. If a plant is already heat-stressed, diseased, or badly infested, pinching is not a cure; improve the growing conditions and identify the problem first.
After the harvest window closes, cut spring-grown plants at soil level and leave the roots to decompose if the bed is healthy. For fall-grown plants in a mild climate, a light cutback after the main crop can help manage old growth, but remove diseased material from the garden rather than composting it.
Harvest and preserve beans at the stage you want
Harvest is not a single date. It is a choice about texture. Pods low on the plant usually fill first, and the crop can provide several pickings as more pods develop. Use clean scissors or snap pods carefully so you do not tear the stem or knock off neighboring flowers.
Fresh green beans and young pods
For shelled green beans, pick pods when they feel full and glossy but before the seeds become hard and dry. Open one test pod from the middle of the plant. The beans should be plump and tender; if the inner lining is tough and the seed skins are leathery, harvest the next pods sooner.
Very young pods can be eaten whole when they are thin and flexible, although the texture changes quickly. A small, tender harvest is often sweeter than an oversized pod left on the plant. Pick regularly so the plant continues filling later pods instead of putting all its energy into mature seed.
Fresh beans are perishable. Refrigerate unshelled pods in a breathable or loosely closed bag and use them promptly; sources vary from about five days to roughly a week or a little longer depending on freshness and storage. For longer keeping, shell and blanch the beans briefly, cool them quickly, and freeze them. Follow a tested food-preservation method for canning rather than improvising.
Dry beans and seed saving
For dry beans, leave selected pods on the plant until they turn yellow-brown and the seeds rattle or feel firm. Harvest before prolonged wet weather turns pods black or moldy. Dry pods in a warm, airy, sheltered place, then shell them once the pods are brittle. Spread the beans out until the seed skin is fully dry before storing in an airtight container.
Save seed only from vigorous, healthy plants that produced well in your garden. Allow pods to mature fully, remove the beans, and discard any cracked, moldy, or insect-damaged seed. Label the cultivar and year. Store seed cool and dry, but do not assume every saved seed will stay true if your crop was grown near another fava variety and cross-pollination occurred.
Troubleshoot pests, disease, heat, and yellow leaves
Start with the growing condition before reaching for a product. Look at the soil moisture, the newest leaves, the underside of foliage, the presence of spots or webbing, and the weather pattern. A yellow lower leaf after heavy rain points to a different first action than a yellow, crispy plant during a heat wave.
Aphids, blackfly, birds, and mice
Aphids and blackfly often collect on tender tips, flowers, and new pods. A light population can be knocked off with a water stream or removed by pinching an infested tip. Preserve beneficial insects when possible; lady beetles, lacewings, and other predators can catch up when you avoid broad, unnecessary spraying. For a persistent outbreak, identify the pest and use only a product labeled for edible crops and that pest, following the label’s harvest interval.
Birds and mice create a different problem: missing plants, holes where seed was sown, or seedlings cut down at the soil line. Protect direct-sown rows with netting or mesh that does not trap wildlife, and start seed in rodent-resistant modules if losses continue. The GrowVeg guide specifically highlights mice as a reason to protect indoor sowings.
Rust, chocolate spot, root rot, and heat stress
Rust and chocolate spot become more likely when foliage stays wet, air movement is poor, plants are stressed, or the crop is grown repeatedly in the same place. Space plants, water the soil rather than the leaves, remove badly infected material, and rotate legumes to a different bed. Do not compost diseased leaves unless your compost system reliably reaches the necessary temperatures and the pathogen is not being returned to the same crop area.
Root rot is more strongly suggested by persistently wet soil, a sour root zone, wilting despite moisture, or a plant that collapses from the base. There is no foliar spray that repairs drowned roots. Improve drainage, stop supplemental watering, and remove plants that are failing so the problem does not spread through shared wet soil.
Heat explains many cases of flowers dropping or pods stopping. Fava beans can tolerate cool frost better than they tolerate a long run of hot days; Epic Gardening notes that sustained heat can sterilize flowers and end production. You may reduce stress with afternoon shade cloth, deep morning watering, and mulch, but once the crop has entered hot weather, more fertilizer will not restore cool-season pod set.
If leaves turn yellow, check the pattern before amending soil. Uniform yellowing with dry soil suggests water stress; yellowing with wet soil suggests root trouble; pale new leaves can point to a nutrient or pH issue; yellow spots with lesions suggest disease. Correct the most likely environmental cause first, then use a soil test if the plant remains pale after moisture and drainage are stable.
Use a container only when the variety is compact
Fava beans can grow in containers, but the container must match the plant rather than the other way around. Use a dwarf cultivar, a pot of at least about 5 gallons with drainage holes, and a position with strong sun and room for a support. A single container may produce a worthwhile small harvest; it is not the best way to grow a spreading, 4-foot plant in a tiny balcony pot.
Use a quality potting mix that drains quickly while holding enough moisture for flowering and pod fill. Garden soil is too dense for most containers. Check the pot daily in dry, windy weather, but do not keep the mix permanently wet. A saucer is useful for protecting a surface only if excess water is emptied after irrigation.
Container favas are more exposed to temperature swings and drying than bed-grown plants. Choose spring sowing if your fall container would freeze solid, protect the pot from harsh wind, and give the plant a cage or stake early. If the variety outgrows the pot, harvest young and cut the crop back rather than trying to keep a stressed, top-heavy plant productive through summer heat.
Conclusion
The reliable way to grow fava beans is to make the crop finish while the weather is cool. Sow in fall where mild winters and well-drained soil allow establishment, or sow in early spring where winter wet and cold make overwintering risky. Use full sun, compost-rich soil that drains, a variety suited to your space, and about an inch of planting depth.
Keep moisture even during flowering and pod fill, weed shallowly, add support before the stems lean, and pinch the tips only after the first pods form. Harvest a test pod often so you can choose between tender whole pods, sweet shelled green beans, or fully mature dry seed. If heat, wet soil, or aphids interrupt the crop, diagnose the condition first; favas are forgiving when the timing and root zone are right, but no fertilizer or trellis can make a hot-season bean behave like a cool-season one.



