How to Grow Moss in a Garden: A Practical Guide
Learn how to grow moss on soil, stone, and between pavers. Choose a site and moss type, transplant it, manage moisture, and avoid unreliable slurry shortcuts.
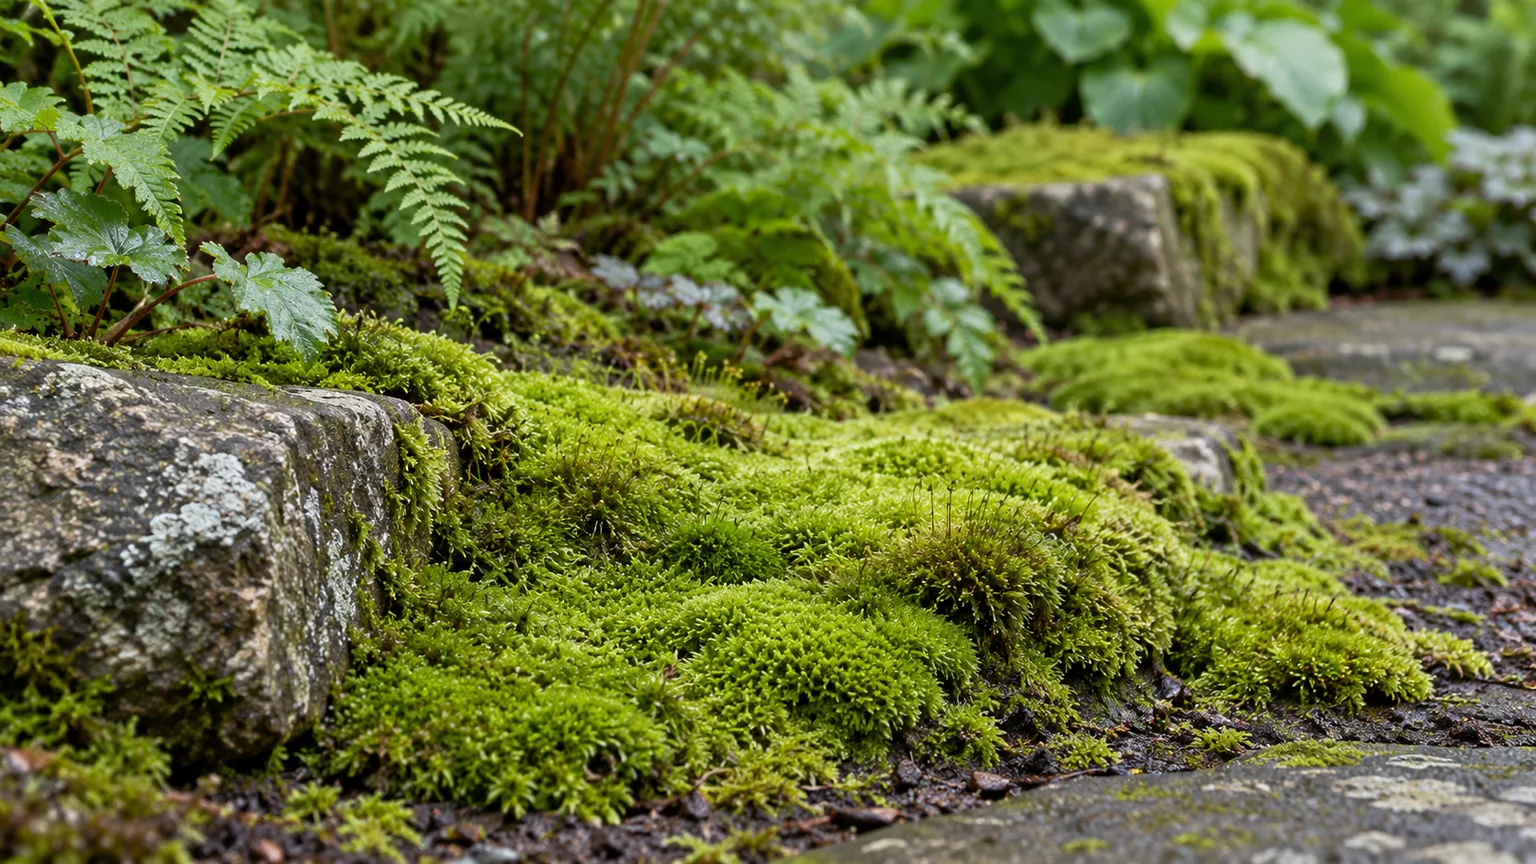
Moss is easiest to grow where grass already struggles: a shaded, low-traffic place that stays damp after rain but does not sit underwater. The reliable shortcut is to match a living moss patch to that surface, press it into close contact, and protect it from drying and weeds while it settles.
That does not mean every moss wants the same soil or that a moss lawn appears in a month. Species vary in the light, moisture, and substrate they tolerate, and many spread slowly. Start with a small area—perhaps a north-facing bed edge, shaded stone, or a few pavers—and see how the moss performs before replacing a whole lawn.
Does Moss Suit Your Site?
Choose moss where you want a low green layer and can give it protection while it establishes. It works especially well under trees, beside a shaded path, on a weathered wall, between stepping stones, or in a damp garden corner where turf stays thin. Once established, a moss patch does not need mowing or routine fertilizer, but “low maintenance” still means removing leaves and keeping larger plants from taking over.
Moss is a poor fit for a sunny play lawn, a route with frequent foot traffic, or a hot, exposed bank that dries every afternoon. It may tolerate a brief dry spell, but young transplants need protection while they attach, and direct sun can desiccate them quickly. If you need a surface that handles regular walking, keep a path or stepping stones through the moss rather than asking the whole patch to function like turf.
Before planting, watch the spot for a day and after a rain. If it gets several hours of strong afternoon sun, holds standing water, or collects heavy runoff, solve that mismatch first or choose a different moss and location. Moss likes moisture at its surface; permanently waterlogged soil can smother a patch just as surely as drought can dry it out.
How Moss Establishes
Mosses are bryophytes: small, non-flowering plants that reproduce by spores rather than seeds. They have hairlike rhizoids that anchor them to a surface, but they do not have the deep roots that draw water from below, so a new patch depends on close surface contact and regular moisture. Penn State Extension describes the spore stage as developing into threadlike protonema before buds form the leafy shoots gardeners recognize as moss (Penn State Extension).
That biology explains why raking a site deeply, burying a patch under compost, or blasting it with a hose can set it back. Moss does not need a rich planting hole; it needs a stable place where fragments or a mat can stay in contact with the surface. In a suitable site, airborne spores can also colonize naturally, but waiting for that to make a finished-looking bed is a slow and uncertain route.
Moss often thrives where lawn grasses thin out, including shady, compacted, or damp areas. Those are not universal “moss requirements,” though: moss species occur on many different substrates and may favor different moisture and light conditions. The Royal Horticultural Society notes that mosses have varied forms and uses, from mats and clumps to stonework and path edges (RHS: The Magic of Moss).
Choose a Moss for Soil, Stone, or Wood
Use moss already thriving in a similar microclimate as your guide. A flat, spreading species is easier to use as a carpet; a cushion-forming type creates mounds or accents; and a moss that naturally colonizes rocks is a better bet for rough stone than a woodland mat. This matching matters more than buying the moss with the most attractive name or assuming that one variety can cover a lawn, wall, and dry boulder equally well.
| Growth form | Where it can fit | What to consider |
|---|---|---|
| Sheet or carpet moss, such as Hypnum species | Soil, gaps between stones, low groundcover | Spreading mats can be easier to transplant; protect from strong sun while establishing |
| Rock-cap moss, such as Dicranum species | Boulders, rock gardens, deeply shaded ground | Often associated with shade; use only where moisture and surface suit the source moss |
| Cushion moss, such as Leucobryum glaucum | Accent clumps, woodland-style beds | Naturally mounded rather than a flat, seamless lawn |
| Haircap moss, Polytrichum species | Upright texture or selected sunny sites | Some species tolerate more sun if moisture stays available; do not generalize this to all moss |
The examples are starting points, not a substitute for checking what grows locally. Hypnum and Dicranum include multiple species, and common names can be used loosely in the nursery trade. Better Homes & Gardens and Garden Design both describe differences among moss forms and recommend choosing for the site rather than treating moss as interchangeable (BHG, Garden Design).
Spreading Mats and Upright Clumps
If you want a low carpet, favor a mat-forming moss that grows horizontally and is sold or growing as a sheet or patch. Lay connected mats close together for quicker visual coverage; small plugs or pieces cost less to cover a broad area but leave more open soil for weeds and take longer to join. For a rock garden or woodland accent, keep cushion and upright forms as individual features instead of forcing them into a uniform turf-like surface.
Do not buy dried sphagnum or decorative moss for a garden planting and expect it to green up. Those products may be harvested and sold for crafts or potting uses, not as live outdoor starter plants. Ask a nursery or moss supplier whether the material is live, what species it is, where it was grown, and whether it is suited to your climate and substrate.
When to Plant or Move Moss
Move or install moss during a cool, damp part of the year when the ground is not frozen and the patch can settle before the next stretch of heat. In many temperate regions that means spring or fall, but the local rainy season may be a better guide than the calendar. A mild, cloudy week gives newly moved pieces time to rehydrate without losing moisture to strong sun.
Avoid transplanting just before a heat wave, a dry windy period, or a hard freeze. In warm climates, plan for the coolest reliably moist season and provide shade if the site is exposed. There is no universal frost date for moss because species and climates differ; if the donor patch is actively green and the target site is cool and moist, conditions are generally more promising than during dormancy or summer stress.
Moss that is already growing on your property is a useful indicator of a compatible species and microclimate. If it is in the wrong place, relocate only a small section and leave enough behind to keep the original patch intact. For a large planting, buying propagated live moss is more predictable and avoids stripping a natural colony.
Source Moss Responsibly
The safest sources are a nursery that sells live moss, a cultivated moss grower, or a small piece from a patch on your own property. If a neighbor has moss they do not want, ask permission before lifting a sample. Moss collected outdoors can carry other plants and organisms, and a patch that looks abundant may still be an important local habitat.
Do not remove moss from a park, nature reserve, public land, or someone else’s property without permission. Collection rules vary by place; for example, the RHS advises against collecting wild moss in the UK and recommends buying from sustainably grown sources (RHS: The Magic of Moss). Gardening Know How also cautions readers not to take moss from parks or public property (Gardening Know How). Check the rules that apply where you live rather than assuming that a small handful is allowed.
When you take a permitted piece, lift a thin patch with as much of its natural backing as practical and avoid scraping the whole colony bare. Put it in a breathable container, keep it cool and damp—not submerged—and plant it soon. A very small sample is usually enough to test a site; if it fails, correct the growing conditions before taking more.
Prepare the Planting Area
Remove grass, weeds, sticks, and loose leaves so the moss can touch the site directly. Pull rooted weeds rather than burying them under moss, and avoid turning the bed into fluffy, compost-rich soil. Moss grows on surfaces that support it, so a firm, clean base is usually more useful than a deep planting hole or heavy amendment.
For a soil patch, flatten major bumps, press loose soil lightly, then scratch only the top surface to create texture. Water the area until it is evenly damp without puddles. A surface that is too loose can shift; a crusted, dusty, or bone-dry surface makes it hard for a transplant to remain in contact.
Do not lower soil pH automatically. Many mosses tolerate acidic conditions, but species vary and moss can thrive under other pH conditions; Wisconsin Extension specifically warns against assuming that moss always means acidic soil (University of Wisconsin Extension). If you are establishing a large designed area or growing moss beside plants with particular soil needs, use a soil test before applying lime or sulfur. Changing pH just to satisfy a generic moss recipe can create a new problem without fixing shade, moisture, or species mismatch.
Plant Moss on Soil
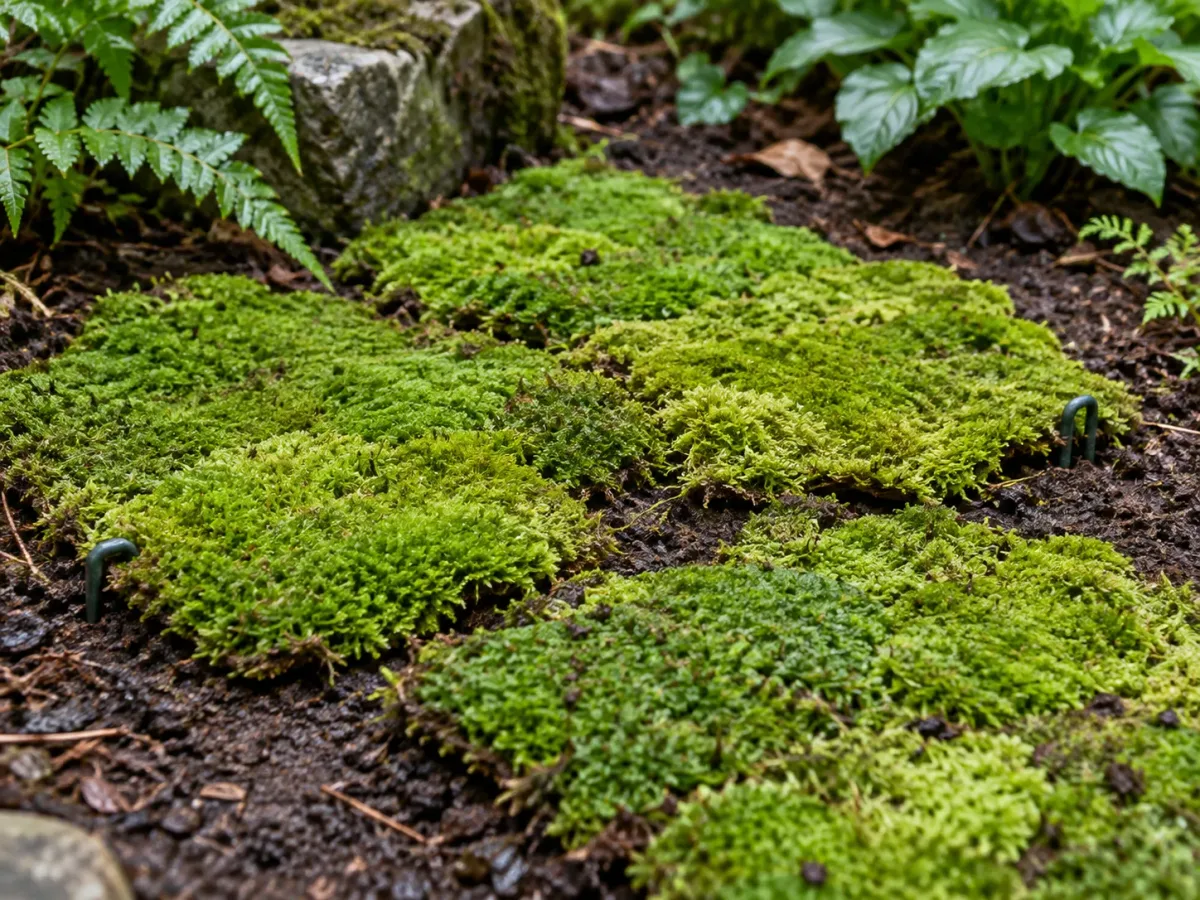
For an area of bare soil, a live sheet or intact clump is the most straightforward starter because it gives you a ready-made patch with existing shoots. Lay it on a damp surface, press it down gently, and keep it from lifting while it settles. Moss does not “root” like a grass plug; look for a patch that stays in place and remains green as a sign that its rhizoids and shoots are adapting.
Lay Sheets or Clumps
Break large sheets into manageable pieces if needed, keeping the mat intact rather than chopping it into dust. Place the pieces with their green side up and press across the whole surface so there are no dry air pockets underneath; butt the edges together if you want faster coverage. A small gap between pieces can fill over time, but it also gives weeds an opening and makes the finished patch take longer to look continuous.
Use landscape pins or a few small stones only where wind, slope, or runoff might dislodge the moss. Do not bury it under soil or mulch. On a slope, start with small anchored sections and make sure water can drain away rather than carrying the new pieces downhill.
After placement, water with a gentle spray until the moss and the surface below it are damp. If the patch lifts when touched, press it back in place and add a temporary light mesh or pin rather than increasing water pressure. Keep pets and regular foot traffic off the new planting area while it attaches.
Use Fragments for Small Starter Patches
If you have only a small amount of live moss, divide it into thumbnail-size pieces and set them at regular intervals on the prepared surface. Press each fragment down so it makes contact, then use a light net or mesh to prevent birds, wind, or runoff from moving it. This method stretches a limited starter patch but produces a slower, less even result than laying sheets.
Fragments are not moss “seeds,” and they do not need to be blended into a fine paste. They can grow when viable pieces land in suitable conditions, but a dry or sunny microsite may kill them before they attach. Mark the test area so you do not disturb it while waiting, and keep weeds from shading the fragments or rooting through the patch.
Grow Moss on Rock or Brick
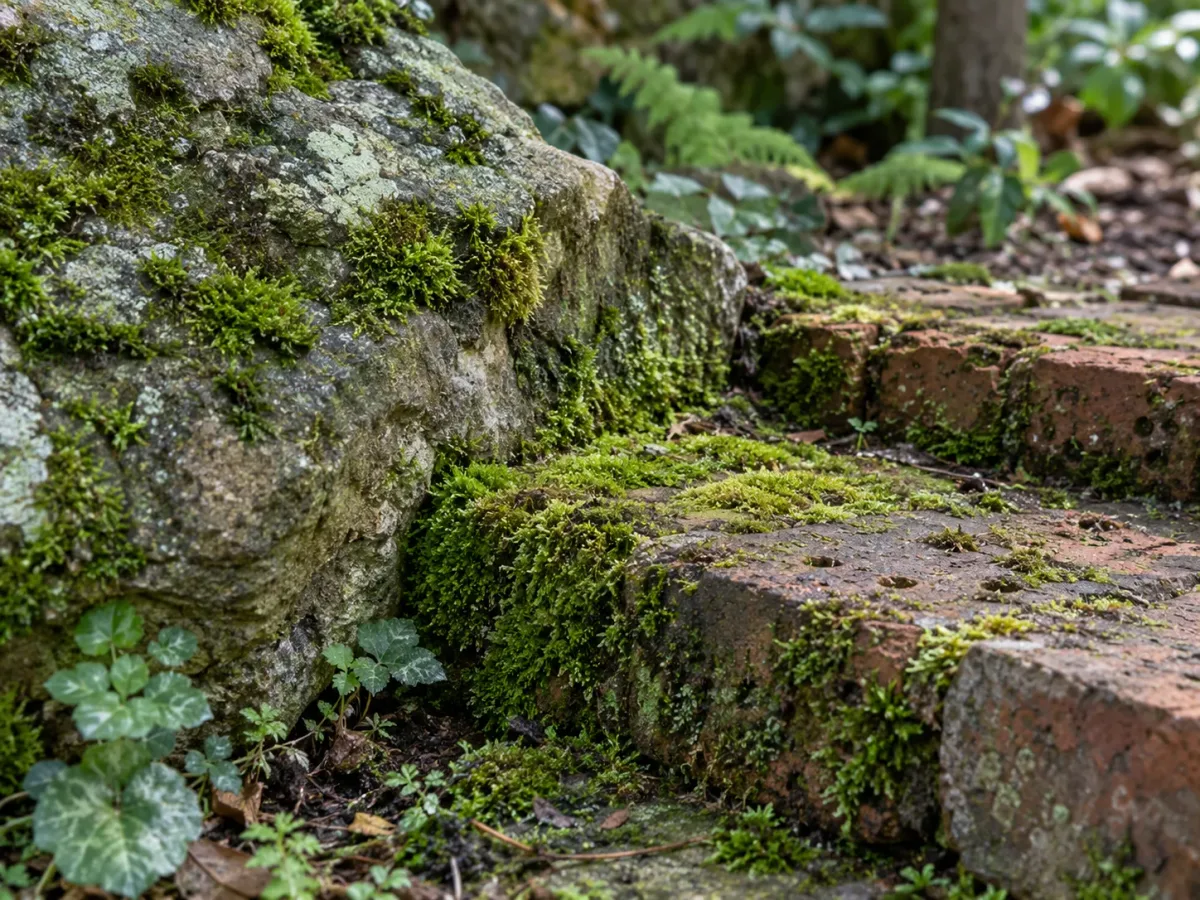
Choose a weathered, slightly rough surface that stays cool and damp for part of the day. Moss often takes more readily in cracks, joints, and texture than on polished stone or freshly sealed brick. Before placing moss, brush off loose dirt and debris; do not use cleaners, bleach, or pressure washing on a surface where you want living moss to grow.
Moisten the stone, press small live pieces into crevices, then hold them in place with a loose biodegradable thread or temporary mesh if they will slide. Mist with a fine spray that wets the surface without washing the moss away. A rough stone in consistent shade may establish; a south-facing wall that bakes dry every afternoon probably needs a different species or a different location.
Keep moss away from stairs, ramps, frequently used paving, and other walking surfaces where a slick green film could create a slip hazard. If you want a mossy look beside a route, confine it to protected joints or a bed edge and leave the actual tread clear. Garden designs often use moss to soften stone edges and crevices, but placement matters as much as appearance (RHS: The Magic of Moss).
Does Moss Slurry Work?
A moss slurry is a spreadable mixture of chopped moss and liquid, sometimes with yogurt, buttermilk, beer, egg, or clay added to change its consistency or help it cling. Recipes differ: Gardening Know How, for instance, suggests moss, water, and buttermilk or beer for a thick mixture (Gardening Know How). Treat these recipes as an experiment for an awkward surface, not a dependable substitute for living moss pressed into contact.
Leaving a dairy mixture at room temperature does not create moss spores. Spores form in moss reproductive structures, while a blender may simply break living moss into fragments; Penn State Extension describes the spore-to-protonema sequence (Penn State Extension). A food medium is not a biological requirement for moss, and a thick slurry can mold, smell, attract animals, or wash away before any moss establishes.
If you want to test slurry on a rough rock or small brick, use a tiny patch first and keep it shaded and damp. Chop a small amount of living moss into water until it can be brushed on but still contains visible fragments; skip dairy if odor or mold would be a problem. Mist lightly, check that rain cannot wash it off, and wait through a growing period before deciding whether it worked. If the result matters, use live pieces or a mat instead.
Keep New Moss Damp, Not Flooded
For the first few weeks, check the patch often and water when the moss surface is drying, especially during warm, breezy weather. A fine mist or gentle shower is less likely to shift pieces than a hard hose stream. The aim is a damp surface with no standing water—not a clock-based schedule that ignores rain, shade, humidity, and soil drainage.
A newly installed patch may need a quick morning and late-day check during hot weather, while a cool shaded site may stay moist for days after rain. If the moss looks pale and feels crisp, mist it and recheck later; if water pools or the soil stays soggy, improve drainage or move the patch rather than adding more irrigation. Better Homes & Gardens recommends frequent watering during early establishment, but the actual interval depends on local conditions (BHG).
Once the moss stays attached and remains green between ordinary rain events, taper supplemental water. Established moss can dry and become dormant in unfavorable weather, then revive when conditions improve, so do not assume a tan patch is dead after one dry spell. Rehydrate gradually and watch for a response before replacing it.
Maintain a Moss Garden
Moss needs less routine work than a conventional lawn: no mowing, no fertilizer, and usually no regular irrigation once it is established. Its main competitors are taller plants that shade it out, grass or weeds that root through it, and a layer of leaves that blocks light and airflow. Remove those by hand before they become a mat of debris; do not rake aggressively across the moss itself.
In leaf season, lift loose leaves with fingers or a soft brush, or lay lightweight netting over the bed before leaves fall and remove it periodically. Garden Design recommends managing leaves and weeds as the core maintenance for a mature moss garden, while noting that established moss can pause during drought and rehydrate later (Garden Design). If you use a blower, choose a low setting and test a small corner first; a strong blast can peel up the same pieces you worked to anchor.
Limit foot traffic while the patch fills in. Some flat mosses tolerate occasional light steps, but a regularly used route will thin most plantings; place stepping stones where people naturally walk. Keep edging clear so grass does not creep in, and avoid weed killers or fertilizer drift that can damage moss or favor faster-growing competitors.
Do not judge coverage by a weekly change. Moss expansion can be slow, and timing varies with species, temperature, moisture, and the size of each starter piece. Track whether the edges remain green and slowly extend from one season to the next; if there is no change after a favorable growing season, reassess conditions rather than feeding it.
Troubleshoot Brown or Sparse Moss
Moss failure usually points to a mismatch in light, moisture, surface contact, or competition. Check those in that order before changing soil chemistry or starting over. Compare the struggling patch with moss growing naturally nearby: a moss already thriving on a shady north wall may not be the best choice for a brighter dry bank.
If Moss Dries or Lifts from the Surface
If a patch turns brown after heat or drought, water it gently and give it a day or two to rehydrate before removing it. Moss can become dormant when dry; green returning after moisture suggests it is still viable. If it remains brittle, has been scorched by direct sun, or was repeatedly swept away, replace it with fresh moss only after correcting the exposure or attachment problem.
When a sheet lifts, check for an uneven surface, runoff, loose soil, or traffic. Press it back onto damp ground, pin the edges, or cover it with temporary mesh; then reduce the force of watering. If the surface stays flooded, add a small amount of drainage fall or move the patch to a better spot rather than keeping it wet around the clock.
If the moss remains green but barely spreads, give it more time and reduce competition. Mosses grow slowly compared with many flowering groundcovers, and open soil between starter pieces does not mean the planting has failed. Remove invading grass, keep the area shaded enough for the chosen species, and wait for a cool, moist growing window.
If Weeds or Grass Take Over
Pull weeds while they are small and the soil is damp enough to remove their roots without tearing up the moss. For grassy patches, lift the grass carefully with a narrow tool, then replace any moss that shifts. If weeds return repeatedly, the bed may have too much exposed soil or a neighboring lawn is spreading into it; fill gaps with additional moss, use a clean edging line, or accept that the area needs more frequent hand maintenance.
Do not use fertilizer to make moss spread faster. Fertilizer can feed weeds and grasses, which often outgrow moss and shade it. If the target patch stays sunny, hot, or heavily trafficked despite your efforts, switch to a groundcover suited to those conditions rather than trying to force moss to behave like turf.
Moss vs. Irish Moss
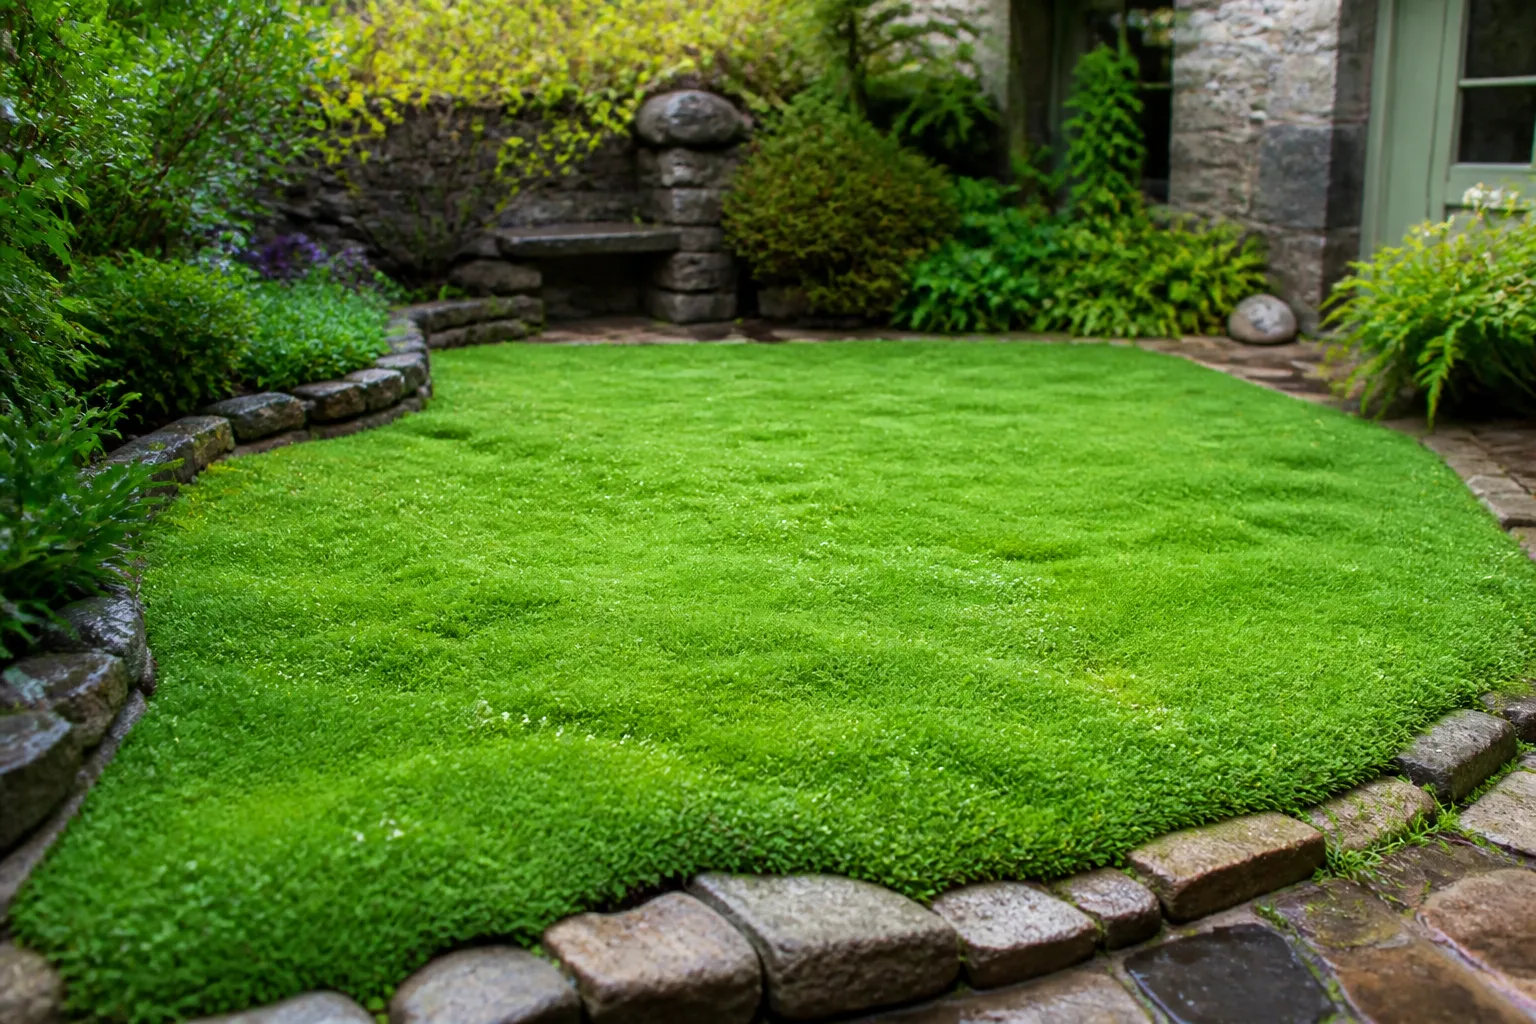
True moss is a bryophyte with spores and rhizoids; it is not a flowering groundcover with conventional roots. “Irish moss” is the common name often used for Sagina subulata, and “Scotch moss” for Sabulina verna (formerly Arenaria verna). These are flowering perennials in the carnation family that only resemble moss; Wisconsin Extension notes that they prefer sun to partial shade and well-drained soil, unlike many true mosses used in cool, shady sites (University of Wisconsin Extension).
| Feature | True moss | Irish or Scotch moss |
|---|---|---|
| Plant group | Bryophyte; non-flowering | Flowering perennial |
| Best-known conditions | Species-dependent; many prefer shade and surface moisture | Often grown in sun to partial shade with regular water and good drainage |
| How to start it | Live moss sheets, clumps, or fragments | Rooted nursery plants, division, or seed |
| Where it can fit | Woodland-like beds, selected lawns, stone, and joints | Edges, rock gardens, and gaps between stepping stones |
If a garden center label says “Irish moss,” check the botanical name before buying. It may be exactly the low flowering carpet you want, particularly where true moss would get too much sun, but it will not establish in the same way or under the same conditions. The distinction prevents the common mistake of planting Sagina as if it were a piece of wild moss—or blaming true moss for failing where a flowering perennial would be a better fit.
Conclusion
To grow moss, start with a shaded or naturally damp site, choose live moss suited to the surface, and press it firmly into contact with clean soil or stone. Keep it moist while it establishes, but do not flood it, fertilize it, or assume that one pH target or slurry recipe fits every species.
Begin with a small patch and learn from it. If it stays attached through a dry spell and expands after the next cool, wet period, repeat the method nearby; if it browns or lifts, fix the site mismatch first. Moss rewards patience and careful placement more than a complicated mix.