How to Harvest Green Beans at the Right Time
Pick green beans at their tender peak with a simple pod check, careful technique, and a schedule that keeps bush and pole plants producing.
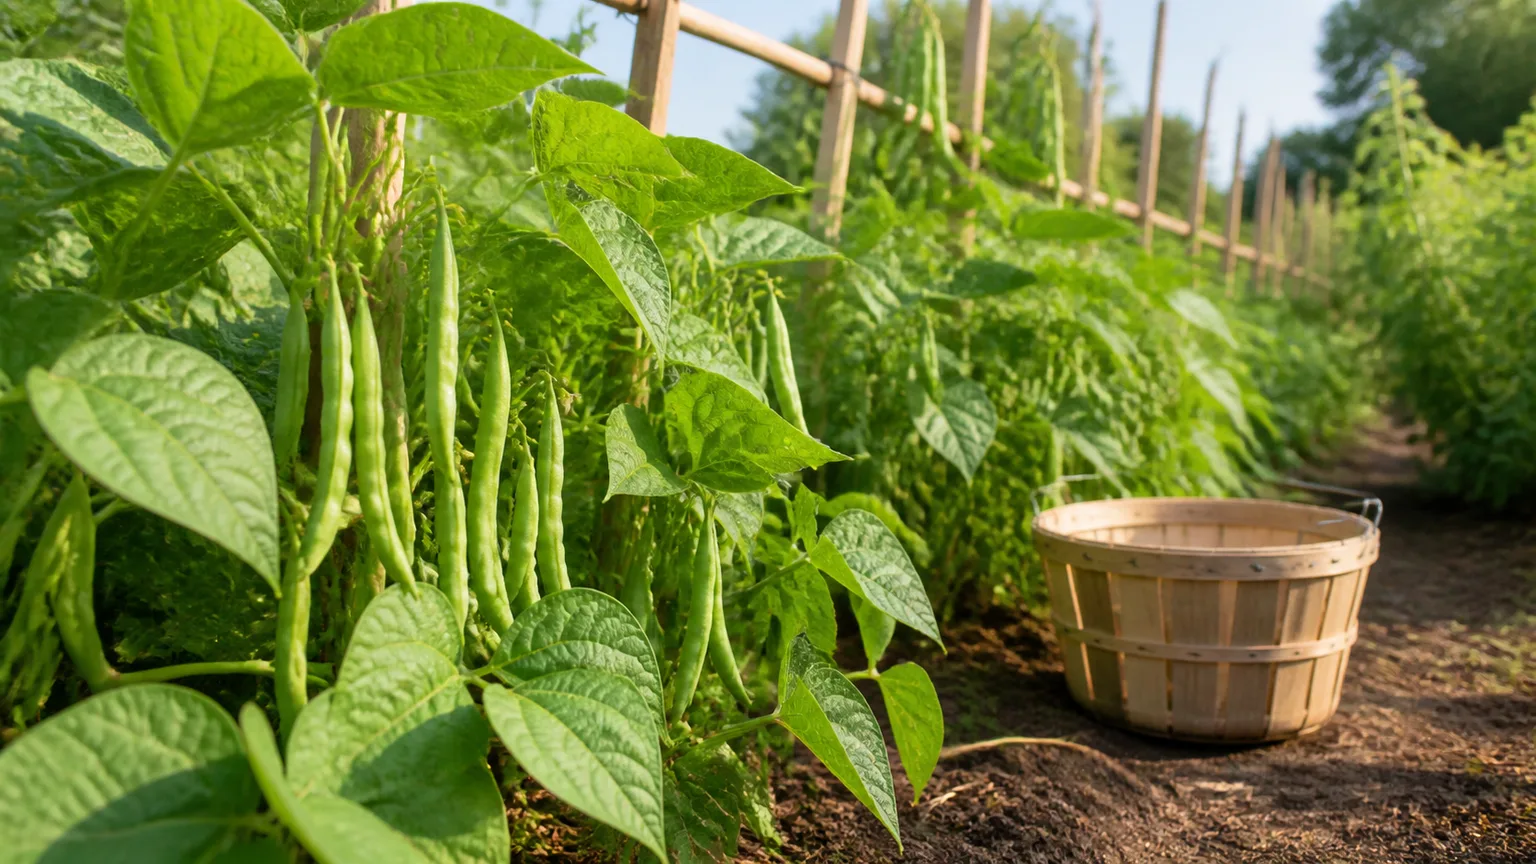
The best green beans are picked while the pods are full-sized but the seeds inside are still small. A pod that is smooth, firm, and snaps cleanly is usually at its tender peak; a pod with obvious seed bulges has moved toward a tougher, more mature harvest.
That rule is more useful than counting days alone. Variety, weather, watering, and whether you are growing bush or pole beans can move the calendar, so use the calendar to know when to start checking and the pod to decide what to pick.
What you are actually harvesting
“Green bean” usually means a snap bean harvested while the pod and immature seeds are eaten together. The same bean plant can also produce a shelling or dry harvest, but each goal has a different window. Decide what you want before you start picking, because a tender snap pod and a dry bean pod should not look alike.
Snap beans, shelling beans, and dry beans are different targets
For fresh snap beans—also called string beans or green beans—look for a plump pod with a firm wall, small seeds, and no distinct lumps. The color can be green, yellow, purple, or another cultivar-specific shade; judge evenness and firmness against the variety rather than assuming every ripe bean is green.
Shelling beans are allowed to mature longer. Their pods swell enough for the individual seeds to show, but the pods remain fresh and flexible rather than papery. Dry beans stay on the plant until the pods turn yellow, tan, or brown and begin to dry; at that point the seeds are the crop, not the pod. Epic Gardening’s guide to the different garden bean harvests is useful for seeing how one crop can be harvested at three distinct stages.
Seed packets sometimes use “days to maturity” to describe the first harvest, while other packets describe the time to a mature seed crop. Check the wording before you compare your row with the number on the packet. A bean listed as 55 days may be ready for tender pods around that point but still need many more weeks if you intend to save dry beans.
Color also deserves a variety-specific reading. Purple and yellow wax beans are ready when their own color is even and their pods pass the same firmness and seed-size checks; purple pods can turn green when cooked, which is a kitchen change rather than a sign that you picked them late. If a pod is dull, scarred, or soft in spots, set it aside even when the rest of the plant is producing well.
Read the pod before you reach for the basket
Start checking pods as soon as flowers have appeared and tiny pods begin to form. For many bush and pole beans, pods are ready roughly 7–14 days after flowering, but that is a scouting window, not permission to pick every pod on the same date. The Utah State University Extension bean guide recommends harvesting full-sized pods while the seeds are still small, then picking regularly as the plant continues flowering and sizing new pods.
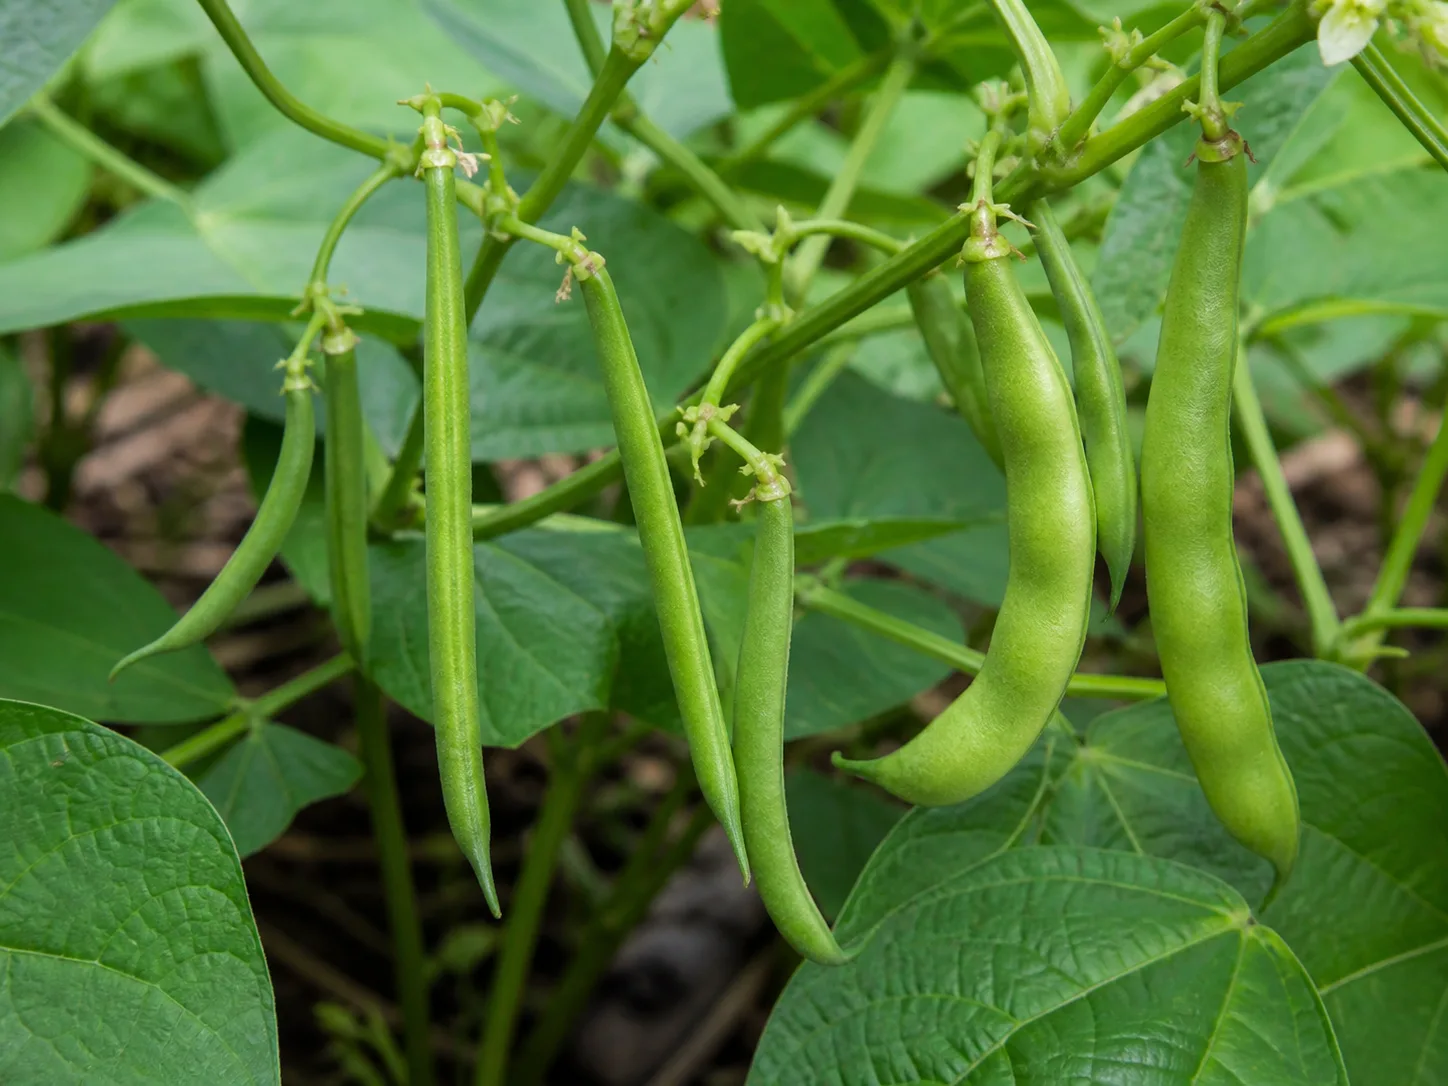
Use four checks together
A pod is ready for snap-bean harvest when most of these checks agree:
- It is close to the variety’s usable size. Many garden beans are tender at about 4–6 inches long, but French filet types may be shorter and Romano types may be broader. Use the seed packet’s mature pod description as a better reference than a universal ruler.
- It feels firm and smooth. A good snap bean has a crisp wall and some resistance when gently pressed. A limp pod may be dehydrated; a very thick, leathery pod is often overmature.
- The seeds are small and not visibly bulging. You may see a faint outline, but you should not see a row of large, distinct bumps. Seed development is what turns a tender pod into a fibrous one.
- It breaks with a clean snap. Bend one representative pod gently. A crisp break supports the other signs; a rubbery bend suggests the pod is stressed, underdeveloped, or past its best.
The snap test is a confirmation, not a reason to break every pod on the plant. If you repeatedly snap pods while checking, you create unnecessary wounds and lose food. Check one pod per plant when you are learning the variety, then use length, diameter, and the absence of bulges to make most picking decisions.
For a small garden, make your first inspection a calibration harvest. Pick three pods from different parts of the plant—one small, one medium, and one near the packet’s stated size—and compare them side by side after snapping. That quick comparison gives you a practical reference for the next visit and helps you avoid treating a hidden lower pod as if it had the same growth rate as a pod in full sun.
Why length is only a starting point
Pod length changes with cultivar, temperature, fertility, and the harvest goal. A 3-inch French filet bean can be ready while a 6-inch variety is still tender, and a long pod that has been left through a hot, dry spell can become stringy before it reaches the size you expected.
Diameter is often the more helpful clue. The USU Extension preservation guide notes that pod diameter is a better quality indicator than length and describes fresh beans as pliable, tender, and able to snap. Use the length printed for your cultivar as a range, then let pod thickness and seed development make the final call.
If you are unsure, pick one slightly smaller pod and one at the size you think is right. Taste and texture will teach you more about your variety than waiting several days and discovering that the whole row has crossed into the tough stage. Early picking generally costs you a little volume on that pod; late picking can cost tenderness and signal the plant to slow down.
Use flowering as a timer, not a finish line
Write the date beside the row when the first flowers open. Start inspecting pods about a week later, then check daily or every other day as the first flush approaches. The flowering date gives you a useful reminder even when you lose track of when the seeds emerged, but it cannot replace looking at each pod.
Bush beans often begin producing around 50–60 days after planting, depending on variety and conditions. Pole beans commonly take longer to start, then continue producing over a longer period. The RHS vegetable crop planner places French beans among crops that can move from sowing to harvest in a short growing window, but local soil temperature and cultivar still matter.
Cool soil delays emergence and early growth, while heat and drought during flowering can reduce pod set or produce smaller, stringier pods. That is why “days to maturity” on a seed packet should be treated as a planning estimate rather than a harvest appointment. If the plants were stressed, begin checking earlier once pods form; stress can change quality without changing the label’s number of days.
Match your harvest rhythm to the plant
Bush and pole beans are not just two ways to arrange the same plant. They have different production patterns, and a harvest schedule that works for a tall pole row may leave a bush planting overripe or may make you miss the short, concentrated flush.
Bush beans give a concentrated flush
Bush beans tend to set a larger share of their crop within a compact window. Once the first pods are ready, walk the row every day or two and look low in the foliage; pods can hide beneath the leaves and move from tender to overmature quickly. During the main flush, harvest at least every 2–3 days if you cannot check daily.
If you want fresh beans over many weeks, do not expect one bush planting to behave like a pole bean. Succession-sow another row every 2–3 weeks while your local season allows, as recommended in the USU guide, so a new planting comes into production after the first flush fades. This is often more reliable than leaving old pods on the first plants and hoping they will keep producing.
Bush beans are also useful when you want a batch for freezing. Let the plants finish their normal snap harvest, remove missed pods before they become seed-filled, and plan the next row around the amount you can use or preserve.
Pole beans reward repeated picking
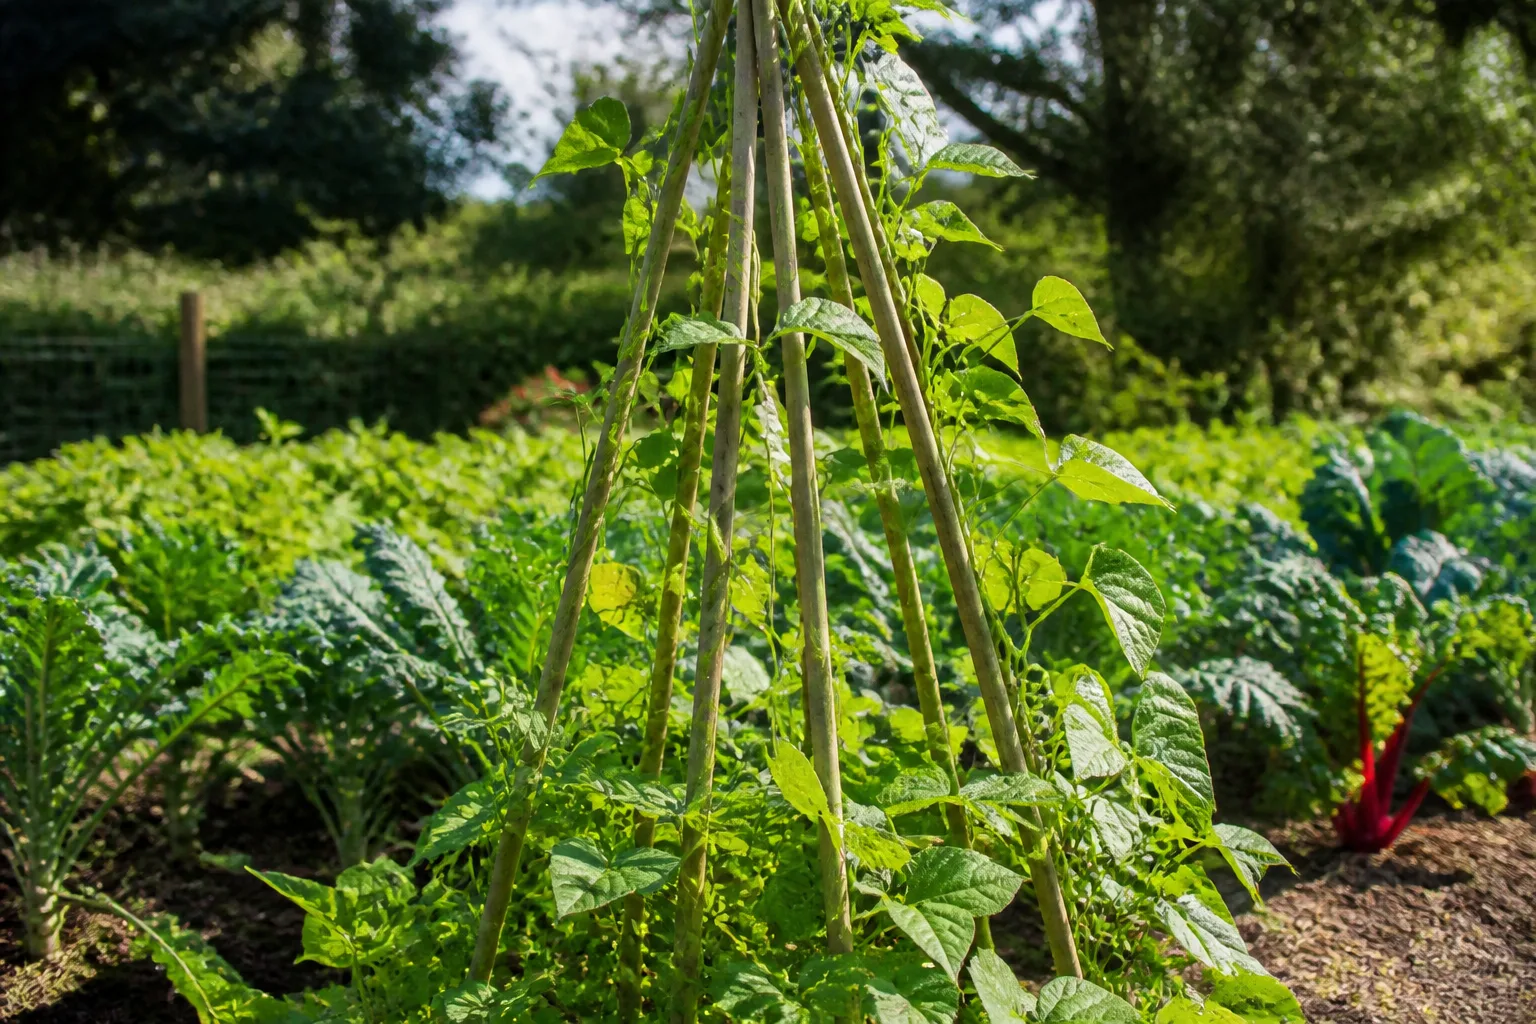
Pole beans take up vertical space and can take longer to reach the first harvest, but they often keep flowering and setting pods for several weeks. Check the entire trellis, including the back side and the upper section, because the longest pods are frequently the ones hidden from a quick front-of-row glance.
During peak production, every 2–3 days is a practical target. Daily picking can maximize the number of tender pods you catch, but an every-other-day rhythm still works for many home gardens. The real problem is leaving the row untouched for a week: several mature pods can redirect the plant toward seed production and make the next harvest less abundant.
Pole beans also benefit from a support that lets you see and reach the pods. A stable trellis is not just a space-saving device; it reduces tugging, keeps foliage off the soil, and makes it easier to inspect each fruiting node without stepping into the bed.
Pick pods without damaging next week’s crop
Pick with two hands when the pod is attached firmly. Hold the stem or vine steady with one hand and use the other to pinch the pod’s short stem, then lift or snap it away with a controlled motion. Do not pull hard on the pod, because the force can tear a flower cluster, break a tender side shoot, or pull the plant against its support.
Small garden snips or clean pruners are helpful when pods are crowded, the stems are tough, or you are harvesting a pole bean vine high on a trellis. Cut the short stem rather than slicing into the main vine. Leaving a little stem attached to the harvested pod is fine; protecting the plant’s nodes matters more than making each bean look trimmed in the basket.
Work systematically from one end of the row to the other. Look under leaves, around the base of bush plants, and along both sides of a trellis. Put the basket in the shade as you move, and do not set freshly picked pods on hot soil where they will heat up and lose quality.
Keep a separate container or section of the basket for pods that are damaged, seed-filled, or too old for fresh snap eating. That makes it less likely that one soft or scarred bean will be overlooked during kitchen preparation, and it gives you a clear record of how much of the crop is reaching the right stage. If a whole section is producing late, inspect its light, water, and airflow rather than harvesting the entire row at the size of its fastest pods.
Harvest when plants are cool and hydrated
Morning is usually the easiest harvest time because overnight cooling leaves the plants less heat-stressed and the pods crisp. If morning is not possible, choose a cooler part of the day and avoid handling plants when the foliage is wet from rain or heavy dew if you can wait; dry surfaces are easier to keep clean.
Watering consistently matters more than watering immediately before picking. Beans need regular moisture throughout growth, with the greatest need during flowering and pod sizing, but soggy soil slows roots and can promote disease. The USU guidance explains that drought stress can reduce yield, shrink pods, and increase stringiness, so a disappointing snap is sometimes a growing-condition clue rather than proof that you harvested incorrectly.
Keep fresh beans crisp after picking
Use the most tender pods soon after harvest if you can. Fresh beans lose quality quickly when left warm, and washing them before storage adds surface moisture that can speed spoilage. Sort out damaged, scarred, or diseased pods before packing the good ones.
Refrigerate unwashed pods
Place unwashed beans in a breathable or loosely closed bag in the refrigerator. The goal is to slow moisture loss without trapping a film of condensation around the pods. Wash under running water only when you are ready to cook or eat them, then trim the ends and remove any damaged spots.
Storage estimates vary with temperature, humidity, freshness, and the variety. Utah State University Extension gives 5–7 days for good refrigerator quality, while some garden references allow a little longer under ideal conditions. Treat the shorter window as the safer expectation for peak snap and flavor; if the beans are already limp, use them in a cooked dish rather than expecting refrigeration to restore crispness.
Do not pack warm beans tightly against a wet towel or rinse them and then seal them in a closed container. Condensation is as damaging as dehydration when air cannot move. If the harvest is large, spread it briefly in a cool, shaded place while you sort it, then refrigerate the clean, unwashed pods in smaller batches so the center of the bag does not stay warm.
Freeze a surplus and follow safe canning guidance
Freezing is the simplest way to save more than you can eat fresh. Trim the beans, blanch them in boiling water, cool them quickly in ice water, drain thoroughly, and pack them with as little air as practical. USU Extension recommends blanching green beans for 3 minutes, with a longer time at higher elevation, because blanching slows the enzyme activity that otherwise damages flavor, color, and texture in the freezer.
For shelf-stable canning, use a current, tested pressure-canning process from a university extension or the National Center for Home Food Preservation. Green beans are low-acid vegetables; they are not safe to process in a boiling-water canner. The preservation guide from USU Extension explains this distinction and is a better safety reference than an improvised recipe.
If you deliberately want dry beans, leave the pods on the plant until they are fully mature and beginning to dry. Pulling plants before rain and finishing the drying in a dry, ventilated place can protect the crop, but the seeds must be thoroughly dry before long-term storage.
Fix a disappointing green bean harvest
A poor harvest usually has a pattern. Look at the pods, flowers, soil moisture, and leaves together before adding fertilizer or changing the picking schedule. Extra nitrogen is not a universal fix: beans have a low fertilizer requirement, and excess nitrogen can encourage leaves at the expense of flowering and pod set.
Tough or stringy pods
The most common cause is simply waiting too long, especially after the seeds begin to swell. Pick the remaining pods anyway so they stop competing with new flowers, then use the tough ones in a soup, stew, or braise where longer cooking can soften the pod. If the seeds are developed but not dry, shell them and treat them as a fresh shelling harvest instead of forcing the pod to serve as a snap bean.
Heat and inconsistent moisture can create a similar texture even when you picked at a reasonable size. Check the soil several inches down, mulch the surface to slow evaporation, and water deeply enough to moisten the root zone without keeping it saturated. During the next flush, harvest smaller and more frequently, because a stressed plant may produce pods that reach the “right” length with less tenderness than usual.
Some heirloom types naturally have more string or fiber than modern stringless cultivars. If the same issue appears in young pods under steady moisture, compare the variety description before blaming the plant or the harvest technique.
The next harvest can also be improved by changing where you look. Mark the date when the first tough pods appear, then return to that plant or section one day sooner on the next round. A simple note such as “upper trellis pods ready first” or “lower bush pods hidden under leaves” turns one missed harvest into useful information for the rest of the season.
Flowers drop or pods stay small
Flower drop often follows heat or water stress around the time flowers open. Very hot, dry conditions can cause blossoms to abort, while irregular moisture can limit pod sizing even if the plant looks leafy. Keep the soil evenly moist during flowering, add organic mulch once the soil is warm, and avoid repeated shallow watering that only wets the surface.
If plants are lush but flowering is weak, review fertility rather than automatically feeding them. Beans fix some nitrogen through root-associated bacteria, so heavy nitrogen applications can delay flowering and reduce pod set. A soil test is more useful than a routine calendar of fertilizer applications, especially in a bed that already received compost or a balanced starter fertilizer.
Finally, check for missed mature pods. On bush plants, one hidden cluster can make a row look finished; on pole plants, overlooked pods near the top can slow new production. Remove those pods, resume a 2–3-day picking rhythm, and give the plant steady water while it is flowering and sizing the next set.
Conclusion
Harvest green beans when the pods are full-sized, firm, smooth, and still carrying small seeds without visible bulges. Use the snap test as a final check, but let the pod’s thickness and seed development outweigh a fixed 4–6-inch rule. Start inspecting about a week after flowering, then adjust for your variety and the weather.
Hold the plant steady, pick every 2–3 days during production, and give bush and pole beans the schedule each one needs. Refrigerate fresh pods unwashed, blanch before freezing, and use tested pressure-canning directions for shelf-stable beans. Those small habits protect both the flavor in today’s basket and the flowers that can become next week’s harvest.



