How to Install Artificial Grass for a Lawn That's Always Green
Learn how to install artificial grass on soil or concrete, build a firm draining base, hide seams, secure edges, and choose the right infill for your yard.
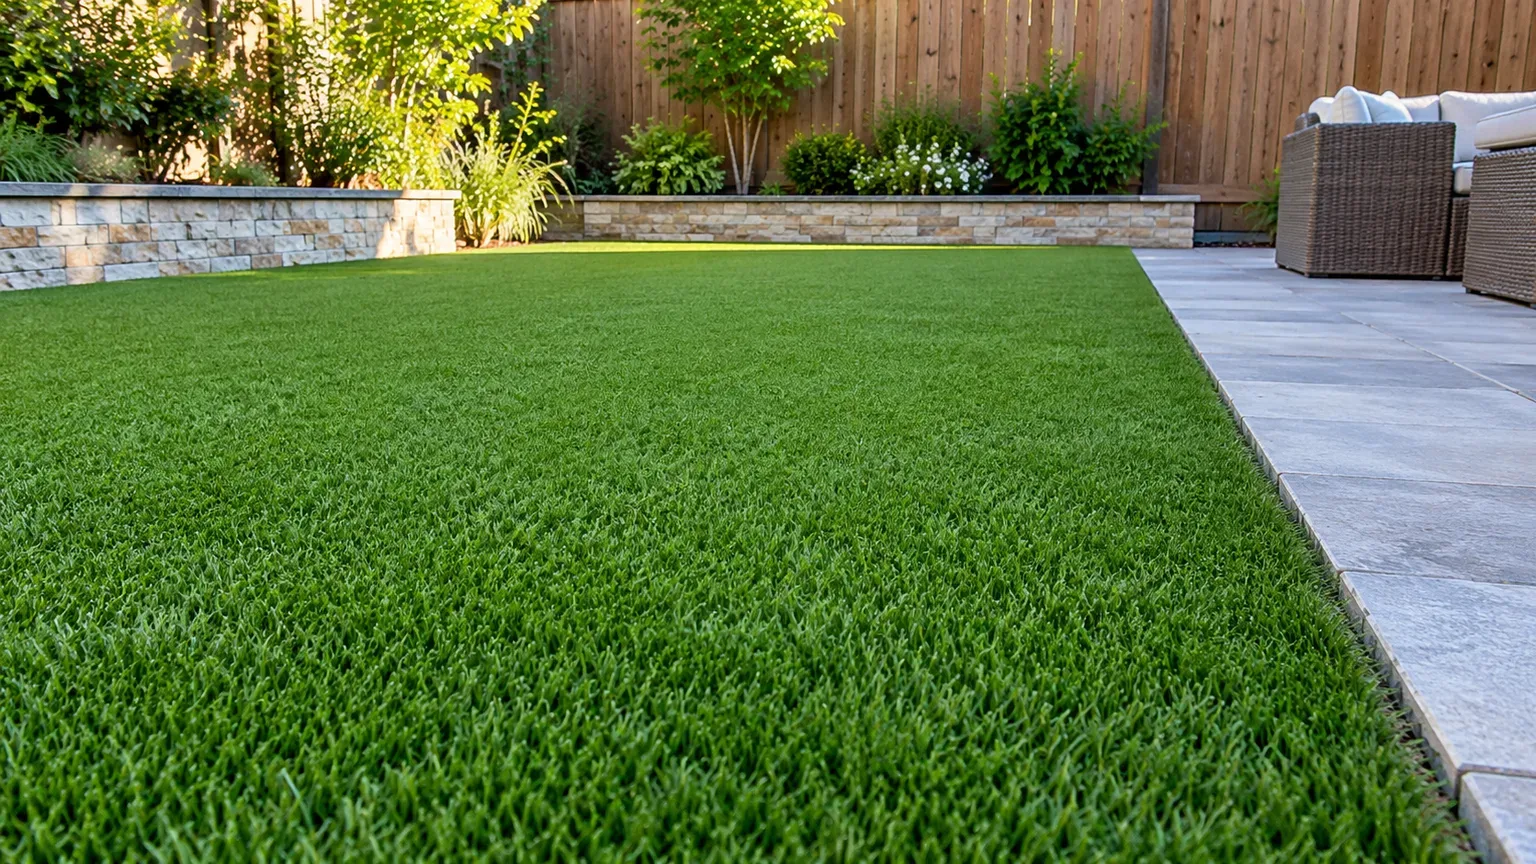
Artificial grass can give a small, worn-out yard a neat surface without mowing, but a successful installation depends less on the roll of turf than on what sits underneath it. If you skip excavation, drainage, or careful seam planning, the finished lawn can wrinkle, pool water, smell after pet use, or show a dark line across the center.
This guide covers permanent installations on soil and hard surfaces. It also explains how to decide whether the site is suitable, what materials to buy, and which checks to make before you hide the base. Product systems differ, so treat the turf maker’s written installation instructions as the final word on its base depth, infill, fasteners, and adhesive.
Should You Install Artificial Grass in This Spot?
Artificial turf makes the most sense where living grass repeatedly fails for a clear reason: a narrow dog run, a tiny shaded strip, or a patch of ground that receives constant foot traffic. It is less compelling across a large sunny yard used for barefoot play. Synthetic fibers do not cool themselves through evaporation as living plants do, and a uniformly green surface can run hot in direct sun.
Heat is not a theoretical issue, but any number needs context. In a 2025 backyard experiment in Melbourne, researchers measured artificial turf surface temperatures averaging 49.9°C (121.8°F) during daytime observation, compared with 29.9°C (85.8°F) for irrigated natural turf; the artificial surface exceeded the study’s 48°C skin-burn threshold for nearly four hours a day on average across the trial. That does not predict the temperature of every product or yard, but it is a good reason to measure your own surface on a hot afternoon and keep children and pets off it when it is uncomfortable. The 2025 backyard study in Building and Environment supports that caution, while UF/IFAS Extension’s synthetic-turf review explains the cooling and runoff differences between synthetic and living turf.
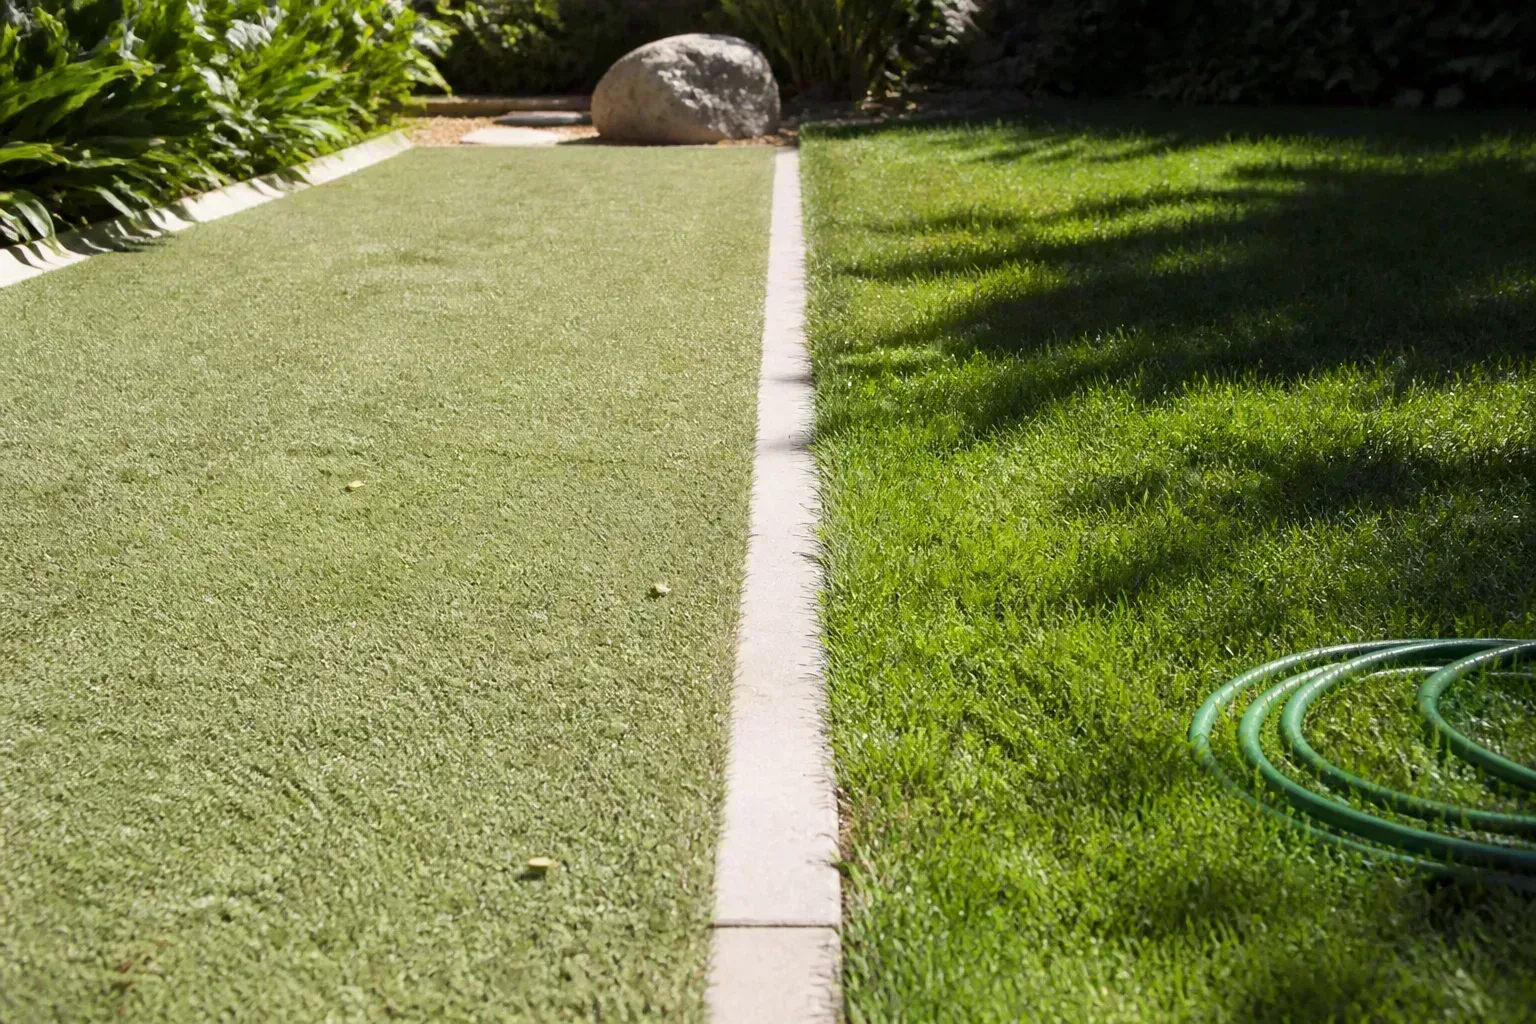
Also consider what disappears when you cover soil. A compacted synthetic-turf base does not function like a living root zone: it cannot support the same habitat, cooling, or soil filtration. Utah State University Extension’s review of artificial turf and xeriscaping notes that both may conserve irrigation water but can increase runoff and affect water quality. If the main goal is a less demanding landscape, compare a smaller lawn, groundcovers, or permeable paths with plastic turf before committing. Our lawn alternatives guide can help with that comparison.
Choose Turf and Infill for the Way You’ll Use It
Order a few samples and look at them outdoors in morning sun, afternoon sun, and shade. Color shifts with light; the pile direction also changes how dark or full the lawn appears. A sample lets you compare texture and fiber resilience rather than judging by a small showroom swatch. Ideal Home likewise recommends comparing samples and matching the pile direction across joined rolls in its artificial-grass buying and laying guide.
Choose pile height and density for actual use. A longer, soft pile can look plush but may flatten along a dog route or narrow walkway; a shorter, dense pile is generally easier to brush and clean. Check the backing’s drainage design, UV warranty, intended use, and whether the turf is sold as an infill or no-infill product. Face weight is one specification, not a guarantee of quality by itself; ask for the full yarn, backing, drainage, and warranty details.
Infill is not one-size-fits-all. Many residential systems use clean, dry silica sand to add weight and help support the fibers; some products specify coated sand or other materials, while some are designed to be installed without infill. Pet-focused infill may be marketed for odor control, but the drainage path and routine rinsing still matter. Do not substitute playground rubber, ordinary construction sand, or a lawn-care product for the exact material listed in the turf manual.
Plan the Layout, Base Depth, and Finished Height
Measure the site in a sketch, including curves, trees, drains, gates, and the width of each turf roll. Plan rolls so there are as few seams as practical, then check the manufacturer’s roll width and pile direction before ordering. A strip that runs across the main sightline can look like a stripe forever, so orient every roll the same way and, when possible, make the pile lean toward the main viewing point.
Work backward from the finished height at patios, thresholds, steps, fences, and drainage grates. Turf that stands proud of a walkway becomes a trip edge; turf set too low creates a trough for leaves and water. Leave enough excavation depth for the compacted aggregate and any finishing layer specified by the product system. Manufacturer instructions vary: for example, Select Surfaces’ residential installation guide calls for at least 3 inches (75 mm) of compactable base for its system. That is a useful planning reference, not a universal depth for every soil, product, or use.
Sketch where water will go before digging. The surface and base need a gentle, continuous fall toward an appropriate drainage area, never toward a foundation, doorway, or neighbor’s property. Avoid blocking air vents, irrigation access, or drain covers. In the United States, contact 811 before you dig to arrange utility marking; privately installed irrigation and low-voltage lines may need separate locating.
A rough material estimate starts with area multiplied by compacted base depth. For a 300-square-foot lawn with a 3-inch compacted layer, the base volume is 75 cubic feet, or about 2.8 cubic yards before allowing for compaction, irregular edges, and delivery tolerances. Ask the aggregate yard whether its quoted amount is loose or compacted volume, and add a modest allowance rather than ordering to the exact arithmetic.
Tools and Materials to Gather
For a soil installation, gather a spade or sod cutter, wheelbarrow, rake, long straightedge, tape measure, utility knife with spare blades, plate compactor, hand tamper for edges, hammer or mallet, and a stiff synthetic-bristle broom. A helper makes wide rolls easier to position, while a plate compactor is far more reliable than hand-tamping an entire yard.
Typical materials include the artificial grass, crushed compactable aggregate such as road base or a product-approved equivalent, perimeter edging, manufacturer-approved seam tape and adhesive, fasteners compatible with the edging, and the recommended infill if the system uses it. A geotextile fabric may be specified to separate native soil from aggregate or reduce weeds, but its exact type and location vary. Don’t buy a generic weed cloth first and assume it belongs above the base; some installations need a permeable separator below the aggregate, others specify an additional membrane, and some do not call for one.
Wear eye protection and gloves when cutting turf and handling aggregate; keep blades pointed away from your body and replace dull utility-knife blades instead of forcing them. Keep children and pets out of the work area while compaction, cutting, and adhesive application are underway. Follow the adhesive label for ventilation, temperature, cure time, and cleanup.
How to Install Artificial Grass on Soil
The basic sequence is: remove the living lawn and soft organic soil, correct drainage and levels, compact the base in lifts, install any specified separator and edging, lay the turf in a consistent direction, complete seams, fasten the perimeter, then add infill and groom. If the site already puddles, drains toward the house, contains a retaining-wall edge, or sits on saturated clay, solve that design problem before laying turf.
1. Excavate the Grass and Organic Layer
Mark the outline and finished elevation with stakes and string. Cut and lift all sod, roots, and loose organic matter rather than laying synthetic grass on top of live or dead lawn. Roots and thatch break down and leave soft spots; grass left alive can creep in from edges and seams. Remove rocks, roots, and construction debris as well. Before excavating, confirm underground services and check local rules or HOA requirements for front-yard turf and drainage changes.
Excavation depth is determined by the layers and final height, not by a universal formula. The objective is to make room for compacted aggregate and the product’s leveling course while leaving the finished turf flush with its borders. Preserve a deliberate grade away from the house. Avoid deepening areas without a plan for the resulting height difference or water route.
2. Shape Drainage and Compact the Aggregate Base
Rough-grade the exposed soil so it has a consistent fall toward a place that can accept water. The exact slope depends on the yard, neighboring grades, and local drainage requirements; a flat-looking lawn can still have a subtle slope. Do not create a bowl or channel that sends concentrated runoff toward a building or adjoining lot.
Spread the approved crushed aggregate in shallow lifts and compact each lift with a plate compactor. Angular, graded aggregate interlocks better than round pea gravel, which can shift under foot traffic. Lightly dampening dusty material may help it compact, but do not soak the area or trap water in a saturated base. Rake high spots down, fill dips, compact again, and check the plane with a long straightedge from several directions.
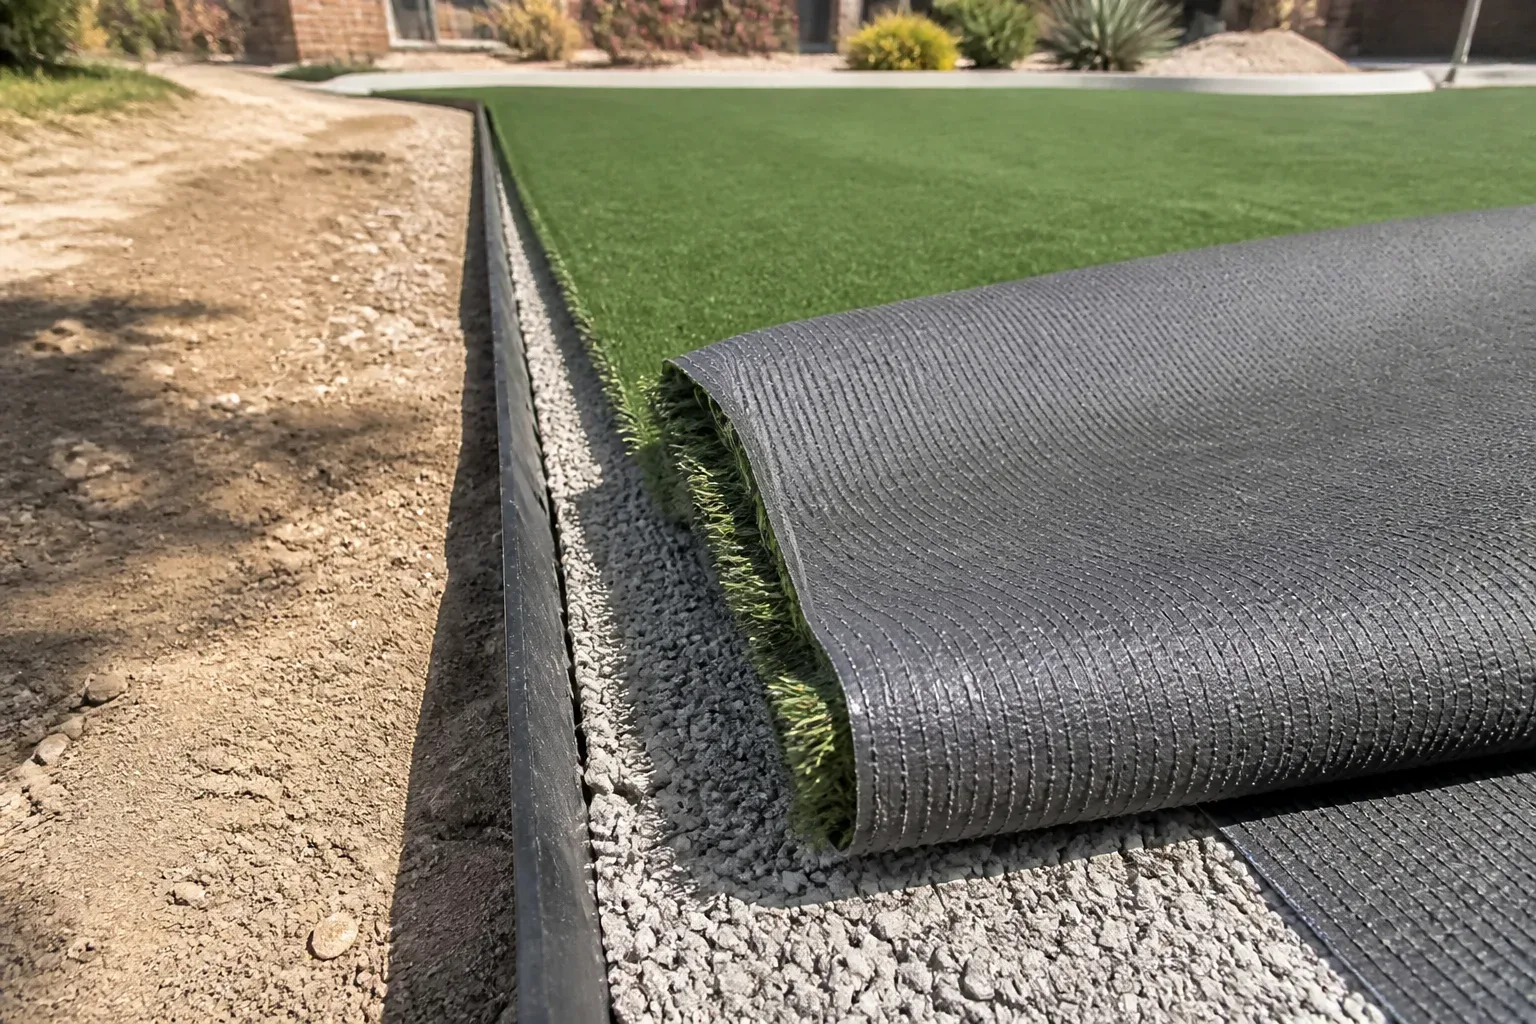
Before covering the base, do a drainage test. Pour several buckets or run a hose over different parts of the surface, then watch where water moves and whether it disappears instead of sitting in depressions. This is a practical quality check, not a substitute for a drainage design in a wet or clay-heavy yard. Correct birdbaths and blocked routes now; after turf is fixed down, correcting the grade may mean pulling up seams and rebuilding the base.
3. Set Edging and Weed-Control Fabric
Install a firm perimeter restraint where turf meets soil or planting beds. Composite edging, treated lumber rated for ground contact, metal edging, or another compatible system can hold the edge; the choice depends on exposure, soil, and product instructions. Set it at the finished height, anchor it securely, and make transitions to paving smooth rather than leaving a hard lip.
Lay only the type of separator or weed barrier the product system calls for. Where fabric is used, keep it flat, permeable, and secured so it does not fold under the aggregate or obstruct drains. Fabric reduces mixing and may suppress growth from below, but it will not stop every weed: seeds can germinate in dust and leaves on top of the synthetic lawn, while grass can enter from the edges. Remove vegetation at installation instead of relying on herbicide as a shortcut.
4. Roll Out, Align, and Trim the Turf
Unroll the turf on the prepared surface with all blades leaning in the same direction. Let the material relax for the period in its installation instructions; several hours in mild sun often help roll memory ease, but the product manual controls. Keep heavy objects off delicate fibers and avoid dragging the backing across sharp aggregate.
If the lawn uses multiple pieces, lay them out and inspect the color from the house, patio, and main approach before cutting. Make a small mark on the backing to record the pile direction. Leave a little trimming allowance at boundaries, then cut from the back along a stitch row with a sharp blade. Cut carefully around posts and trees; do not wrap synthetic backing tightly around a trunk or block the tree’s root flare. Brush the pile away from cutting lines so fewer fibers are severed.
5. Join Seams Before Anchoring the Perimeter
Seams are easier to fix while the pieces can still move. Fold the edges back, trim away the factory selvedge if the manufacturer calls for it, and bring clean backing edges together without overlap or a visible gap. Lay compatible seam tape under the joint, apply the specified adhesive in the prescribed pattern, then lower the edges while keeping loose fibers out of the glue. Match the pile and stitch rows before pressing the seam.
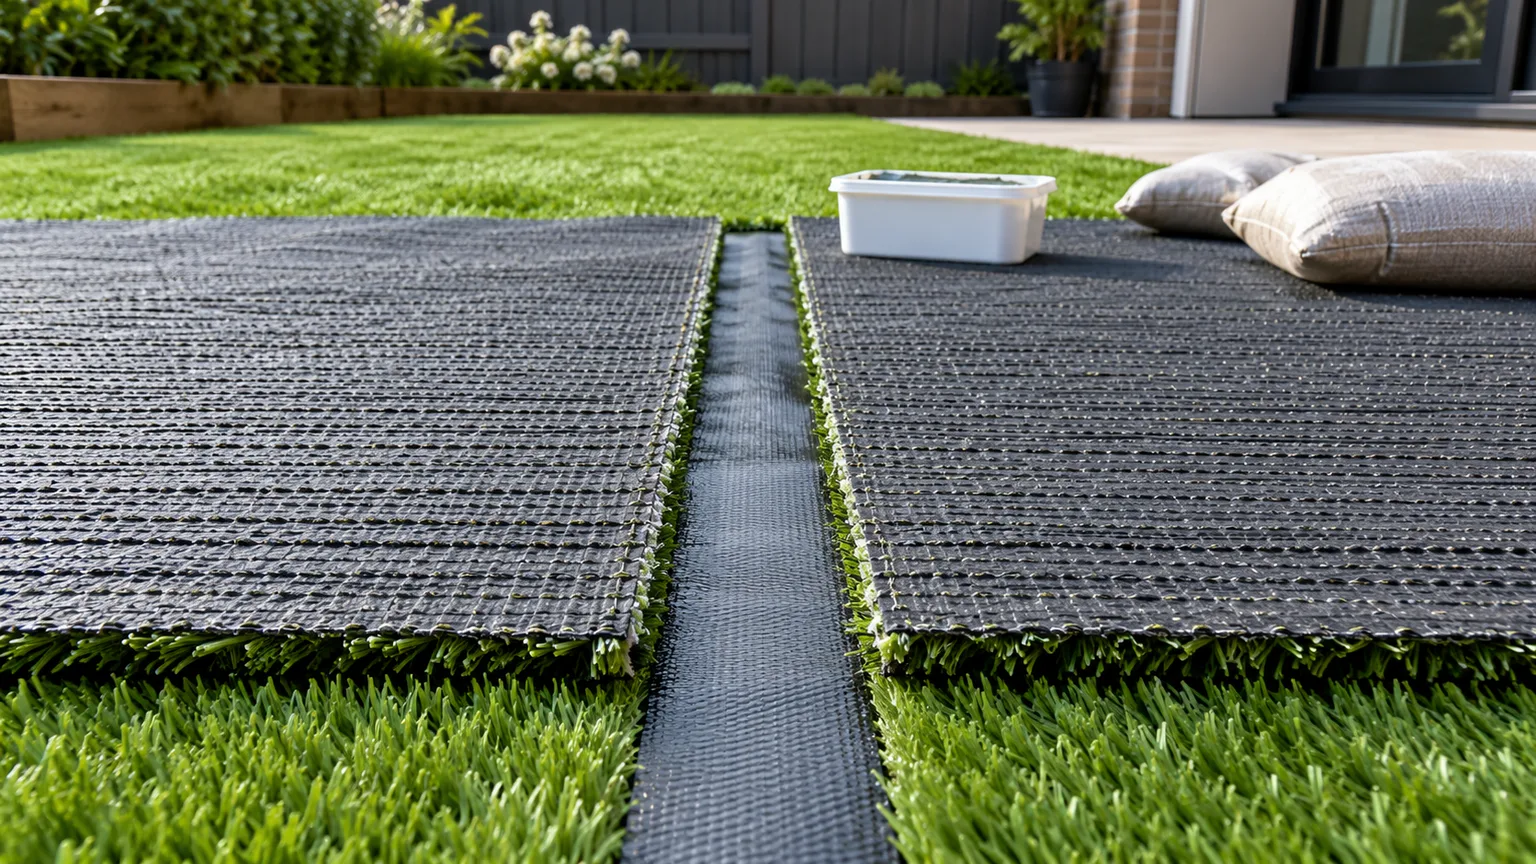
Use boards or the recommended weights to hold the seam flat while the adhesive cures. Do not walk across it, stretch the turf, or pull the seam tight while the glue is wet. Cure times vary with temperature and adhesive; follow the label rather than assuming it is ready when the surface feels tacky. A manufacturer guide may specify that seams are completed before perimeter nails, so check your sequence. Select Surfaces’ guide explicitly sequences joining before final anchoring for its turf.
6. Secure the Turf and Brush Infill
Once seams are set, trim the perimeter and secure the backing to the edging or prepared soil with the fasteners and spacing specified for your product. Push the fibers aside before placing each nail or staple so it catches the backing without pinning grass blades down. Set fasteners flush; hammering them too deep can create dimples, while loose or widely spaced edges can lift, wrinkle, or become a trip hazard. On paving, use only a turf-compatible outdoor adhesive and keep drainage openings clear.
If your system calls for infill, apply the exact recommended type in several thin, even passes with a drop spreader or the tool specified by the manufacturer. Brush between passes with a stiff synthetic broom to work material down to the backing and lift the pile. Dumping the full amount in one line makes ridges and bare patches. If the product is designed to be infill-free, do not add sand just because another turf manual recommends it. Select Surfaces’ product instructions also warn that wire or metal brushes can damage synthetic fibers.
Install Artificial Grass on Concrete or a Deck
A patio or slab removes the need to excavate a lawn and build an aggregate base, but it does not remove the need for drainage. First check that the hard surface is sound, clean, and already slopes to a drain or other permitted outlet. Repair cracks, remove debris, and address sharp bumps that would show through the turf. A permeable turf backing cannot make a poorly sloped concrete slab drain.
Dry-fit the turf with every roll facing the same direction. Let it relax flat before trimming, leaving the edge allowance specified by the maker. On a concrete patio, use the compatible adhesive or seam system only if you want a permanent installation and the surface can still drain as intended. For a removable setup, use a fixing approach recommended for the turf and avoid loose pieces that can curl or shift. Confirm that glues, underlay, and padding will not clog the drain channels.
Decks need extra care: make sure the structure can carry the added wet load, that water can drain between boards, and that the turf will not trap moisture against timber or a waterproof membrane. Do not screw or staple through a roof deck’s waterproofing. For balconies or elevated decks, follow the building’s waterproofing and drainage rules and ask a qualified installer if attachment details are uncertain. The Select Surfaces guide describes its own concrete installation as an optional adhesive method; use that as a product example, not a blanket recommendation for every slab or deck.
Solve Drainage and Pet-Use Problems Before Installation
Artificial grass drains only as well as the layers beneath it and the outlet beyond it. The backing may be perforated, but compacted clay, an impermeable slab, a low corner, or a blocked channel can leave water sitting under the lawn. If a hose test reveals standing water, or the site stays wet after normal rain, plan a drain or choose a different surface before covering the area. Never redirect runoff onto a foundation, public path, or neighbor’s property.
Pet use adds routine cleanup. Solid waste still needs prompt removal, and urine should be flushed through with water often enough for the product and site to stay clean; shade and heat can make odors more noticeable. Choose a turf system and infill marketed for pet use only after checking what it actually contains and whether the base drains freely. A deodorizing infill cannot solve a trapped-water problem. If the area serves a dog every day, make the surface small enough to rinse and brush thoroughly, and preserve an accessible drain or washdown route.
Troubleshoot the Failures That Show Up First
A few symptoms point back to predictable installation steps:
| What you see | Likely cause | What to check first |
|---|---|---|
| Puddles after rain | Low spots, poor outfall, compacted or impermeable ground | Lift an edge if possible and test the base grade and drainage route. |
| Wrinkles or bubbles | Turf fixed before it relaxed, weak edge restraint, or missing/incorrect infill | Check whether the backing is loose and whether seams and edges are holding. |
| A dark stripe at a seam | Pile directions differ, edges overlap or gap, or fibers are glued down | Compare the roll grain and inspect the seam while brushing pile across it. |
| Weeds on the surface | Seeds sprouted in dust or leaf litter; growth may also enter at edges | Brush debris away and inspect the perimeter rather than automatically adding herbicide. |
| Flattened walking route | Fibers need grooming, wrong pile for traffic, or infill is low for that system | Brush against the pile and check the product’s infill requirements. |
| Odor after pets use it | Waste or urine is trapped, rinse water cannot drain, or infill is unsuitable | Remove solids, rinse thoroughly, and confirm the base/outlet works. |
Do not use this table to patch a drainage defect from above. A seam can be reworked while its adhesive and backing are accessible, but a sunken base or blocked drainage path usually requires lifting the turf and correcting the groundwork. If you see water moving toward a building, ongoing settlement, or repeated puddles after regrading, pause and get a drainage or landscape professional’s assessment.
Aftercare: What to Do in the First Week and Later
Keep foot traffic light until seam adhesive has fully cured and any specified infill has been brushed in. Check that all edges are flush, drains remain open, and the surface is not holding water after a rinse. Save leftover turf, the product label, installation guide, warranty, and infill details together; those records make repairs and future reorders much easier.
After installation, remove leaves and debris before they decompose into the pile. Rinse dust and pet residue as needed, then brush traffic lanes against the lay of the fibers with a synthetic-bristle broom. Avoid wire rakes, open flames, hot ash, and chemicals unless the turf maker explicitly approves them. Inspect seams, edges, and transitions a few times each season, and top up infill only when the manual says to and the existing level has actually dropped.
Treat the grass as a manufactured surface that needs cleaning and occasional grooming, not as a maintenance-free lawn. It may avoid mowing, but it will still experience UV fading, fiber wear, odor, surface heat, and eventual replacement. Keep receipts and ask the supplier about repair, take-back, or recycling options before the product reaches end of life.
Conclusion
A lasting artificial lawn starts with a plan for finished height and water movement, then a firm, correctly graded base, secure edges, aligned pile, and seams that cure without movement. The product matters, but no premium turf can hide a soft or poorly drained foundation.
Before ordering, compare samples outside, confirm the manufacturer’s base and infill specifications, check underground services and local rules, and decide whether synthetic grass is appropriate for the sun, pets, and runoff on your site. If the drainage test fails or a deck’s waterproofing is involved, solve that first; laying turf over the problem only makes the repair harder.



