How to Install Landscape Fabric for Weed Control
A practical landscape fabric installation guide with weed removal, seam and edge details, planting cuts, mulch depth, drainage checks, and alternatives.
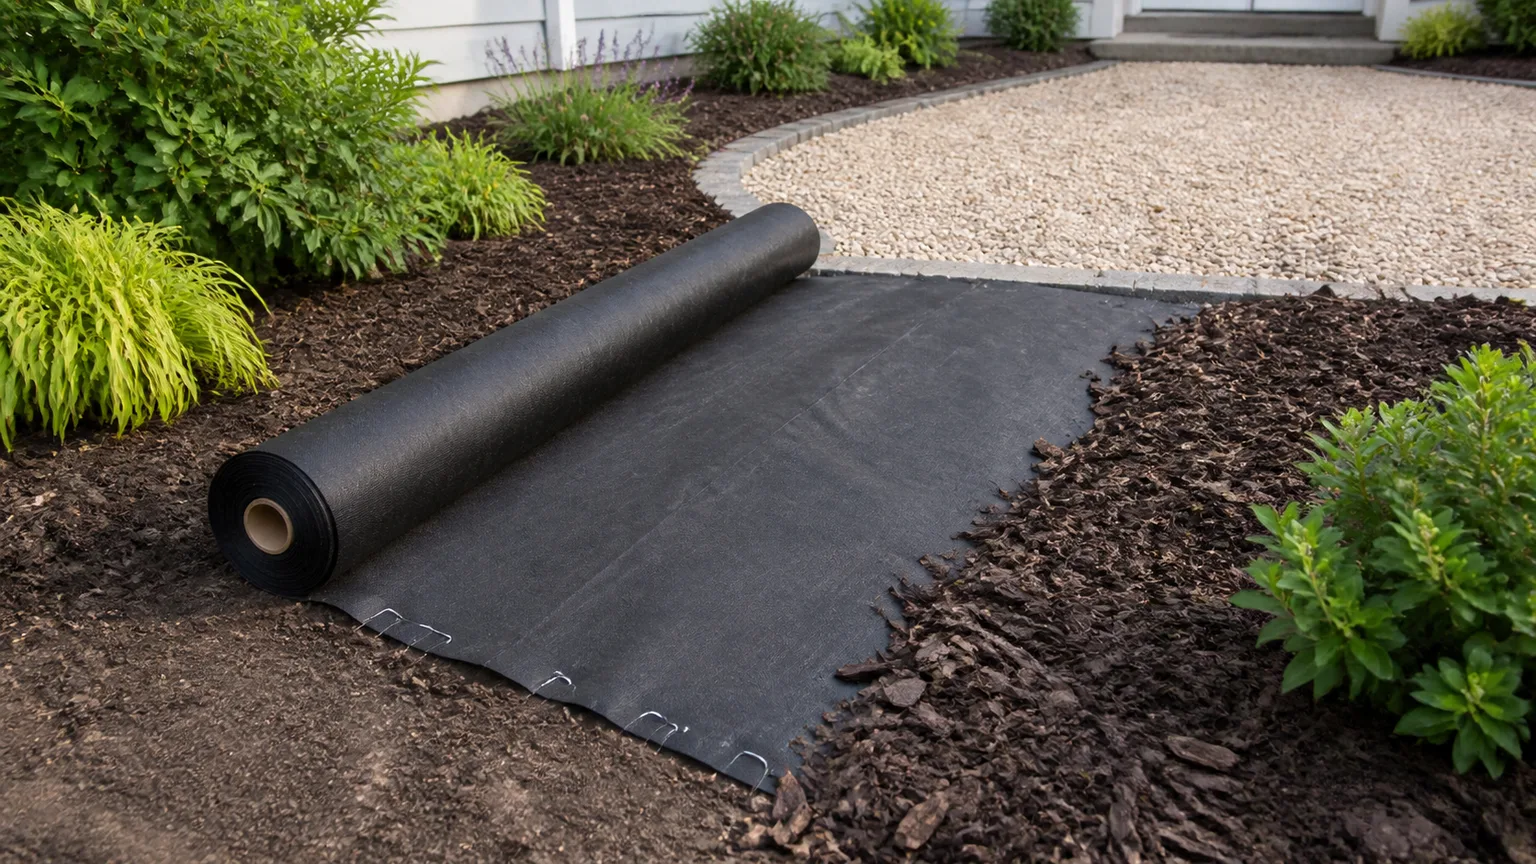
Landscape fabric works best as a light-blocking layer with a job-specific deadline, not as a forever guarantee against weeds. Installed over a clean, level bed and covered with mulch, gravel, or another intended surface, it can suppress many seedlings and keep soil from mixing with decorative stone. Installed over living perennial weeds, left exposed, or buried under years of decomposing mulch, it can become a harder maintenance problem than the weeds it was meant to prevent.
The reliable sequence is simple: choose the right location and material, remove weeds and roots, correct drainage, lay the fabric with generous overlaps, anchor every vulnerable edge, cut only the openings you need, cover it promptly, and inspect the surface through the season. The details matter because the weak points—not the middle of an intact sheet—are where most failures begin.
Start by Deciding Whether Fabric Fits the Job
Landscape fabric is a permeable geotextile that reduces light at the soil surface while allowing at least some water and air movement through its openings. That makes it different from solid black plastic, which can restrict water and gas exchange. UC Agriculture and Natural Resources lists both plastic and landscape fabric as mulch materials but distinguishes the breathable fabric from the impermeable barrier.
Before buying a roll, ask two questions: What will sit above the fabric, and how often will I need to disturb the soil below it? A stable shrub border under bark or a gravel path has a different requirement from an annual vegetable bed that you amend and replant every few weeks.
Where Landscape Fabric Earns Its Keep
Fabric can be useful in a bed with established shrubs, a fence-line strip, or a path where you want to separate native soil from gravel. It is also reasonable as a temporary seasonal tool in a production-style garden when the sheet can be removed, cleaned, and stored after harvest. North Dakota State University Extension describes woven and nonwoven fabrics as distinct from solid plastic and gives a seasonal garden example in which fabric was removed after two growing seasons.
Use it when the planting plan is fairly stable, the surface can be reached for inspection, and you have a way to repair or remove the material later. A barrier is especially helpful beneath rock mulch because soil and stone gradually mix; UC ANR notes that landscape fabric under rock mulch can reduce that mixing, which otherwise favors weed growth and contaminates the soil with rock.
Where a Different Weed-Control Method Is Better
Skip or reconsider fabric for a bed that you will dig, top-dress, divide, or rotate frequently. Every new plant requires a cut, and every cut becomes a potential opening for light, roots, and weeds. A permanent planting with healthy soil is also a poor place to seal off the surface from the organic matter that would otherwise decompose into it.
Perennial weeds such as bindweed, thistle, or running grasses are another warning. Fabric may slow them, but a strong root, rhizome, or stolon can exploit a seam or planting cut and become difficult to pull once it is tangled in the sheet. Colorado State University Extension describes fabric under mulch as a deferred-maintenance technique, not a low-maintenance technique; that is a useful expectation to set before installation.
Penn State Extension’s account of removing a decades-old installation shows the long-term risk in a planted slope: decomposed mulch became a new seedbed, weeds rooted through the material, and removing the fabric became a cutting-and-hauling job. That experience does not mean every sheet fails on the same schedule, but it does mean “I will never need to remove it” is a bad installation plan.
Choose the Fabric and Surface Above It
Buy for the site rather than for the heaviest-looking roll. A fabric designed to separate gravel under a path may be unnecessarily stiff around plants, while a light row fabric may tear under sharp stone or foot traffic. Check the exact product label for construction, dimensions, permeability, UV exposure, and intended use; brand names often cover more than one product.
If you are comparing products, our landscape fabric guide covers the difference between garden-bed barriers and hardscape geotextiles. The selection rule is more important than any single product: use the lightest material that can survive the site, and do not ask it to repair poor grading or a living perennial-weed problem.
Woven, Nonwoven, Plastic, and Geotextile
| Material | Best fit | Main advantage | Main limitation |
|---|---|---|---|
| Woven fabric | Stable beds, fence strips, seasonal rows | Strong interlaced sheet with some permeability | Openings and pores can clog; roots can anchor into it |
| Nonwoven fabric | Filtration, separation, short-term managed beds | Felt-like sheet conforms to uneven ground | Dense material may move water more slowly and can mat |
| Hybrid fabric | General ornamental beds | Combines handling and layers with different functions | Still needs correct cover, anchoring, and maintenance |
| Solid plastic sheeting | Temporary smothering or solarization on empty soil | Blocks light almost completely | Usually blocks most water and air; do not leave under living plants |
| Structural geotextile | Driveways, paths, drainage, retaining systems | Engineered for separation or reinforcement | A construction fabric is not automatically a planting-bed fabric |
NDSU Extension explains that woven and nonwoven landscape fabrics are generally made from polypropylene and differ in texture and strength, while solid plastic sheeting is a separate, nonpermeable barrier. Better Homes & Gardens’ product research also highlights roll size and UV exposure as practical buying considerations, but a durability claim is meaningful only when you know whether the fabric will be covered, exposed, walked on, or repeatedly cut.
For an ornamental bed, choose a fabric that is easy to cut cleanly and permeable enough for the site’s irrigation. For gravel or a hardscape, prioritize separation and the load above it, then follow the project’s base and compaction specifications. Do not substitute a thin garden roll for an engineered driveway geotextile.
Measure the Area and Buy Enough to Overlap
Measure the longest and widest points of the bed, then calculate square footage. Add material for the shape of the border, edges that must turn down or tuck under, and overlaps between rolls. Buying exactly the measured area is a common mistake because a sheet that ends at an edge or seam is already a weak point.
Plan for at least 6 inches of overlap at seams. Use more on a slope, in a curved bed, or wherever the ground makes it difficult to keep two edges flat. Extra fabric is easier to trim than a narrow seam is to repair after mulch or gravel is in place.
Decide which direction the rolls will run before cutting. Running the long dimension with the longest straight edge usually creates fewer seams. If the fabric has guide lines or a designated face, follow the manufacturer’s direction; there is no universal “shiny side up” rule for every product.
Gather Tools and Set an Installation Day
The job goes faster when the fabric, cover material, and anchors are ready before the soil is exposed. You will need a garden hoe or shovel for vegetation, a steel or bow rake, a sharp utility knife or heavy shears, a tape measure, landscape staples, and a hammer or hand maul. Add a wheelbarrow or tarp for removed weeds and soil, gloves, eye protection, and a hose or watering can for checking infiltration.
Choose a day when the soil is workable but not saturated. Wet soil smears under foot traffic and compacts easily; bone-dry soil is difficult to rake smooth and may shed water instead of accepting it. If rain is forecast, prepare only the portion you can cover the same day, or protect the finished grade with a tarp until the fabric and surface layer are installed.
If you will plant through the fabric, finish the layout first. Set nursery pots or empty markers where plants will go, confirm the mature spacing, and identify irrigation lines before any cuts are made. The best time to discover that a shrub needs a larger hole is before the barrier is pinned and covered.
Remove Weeds and Persistent Roots First
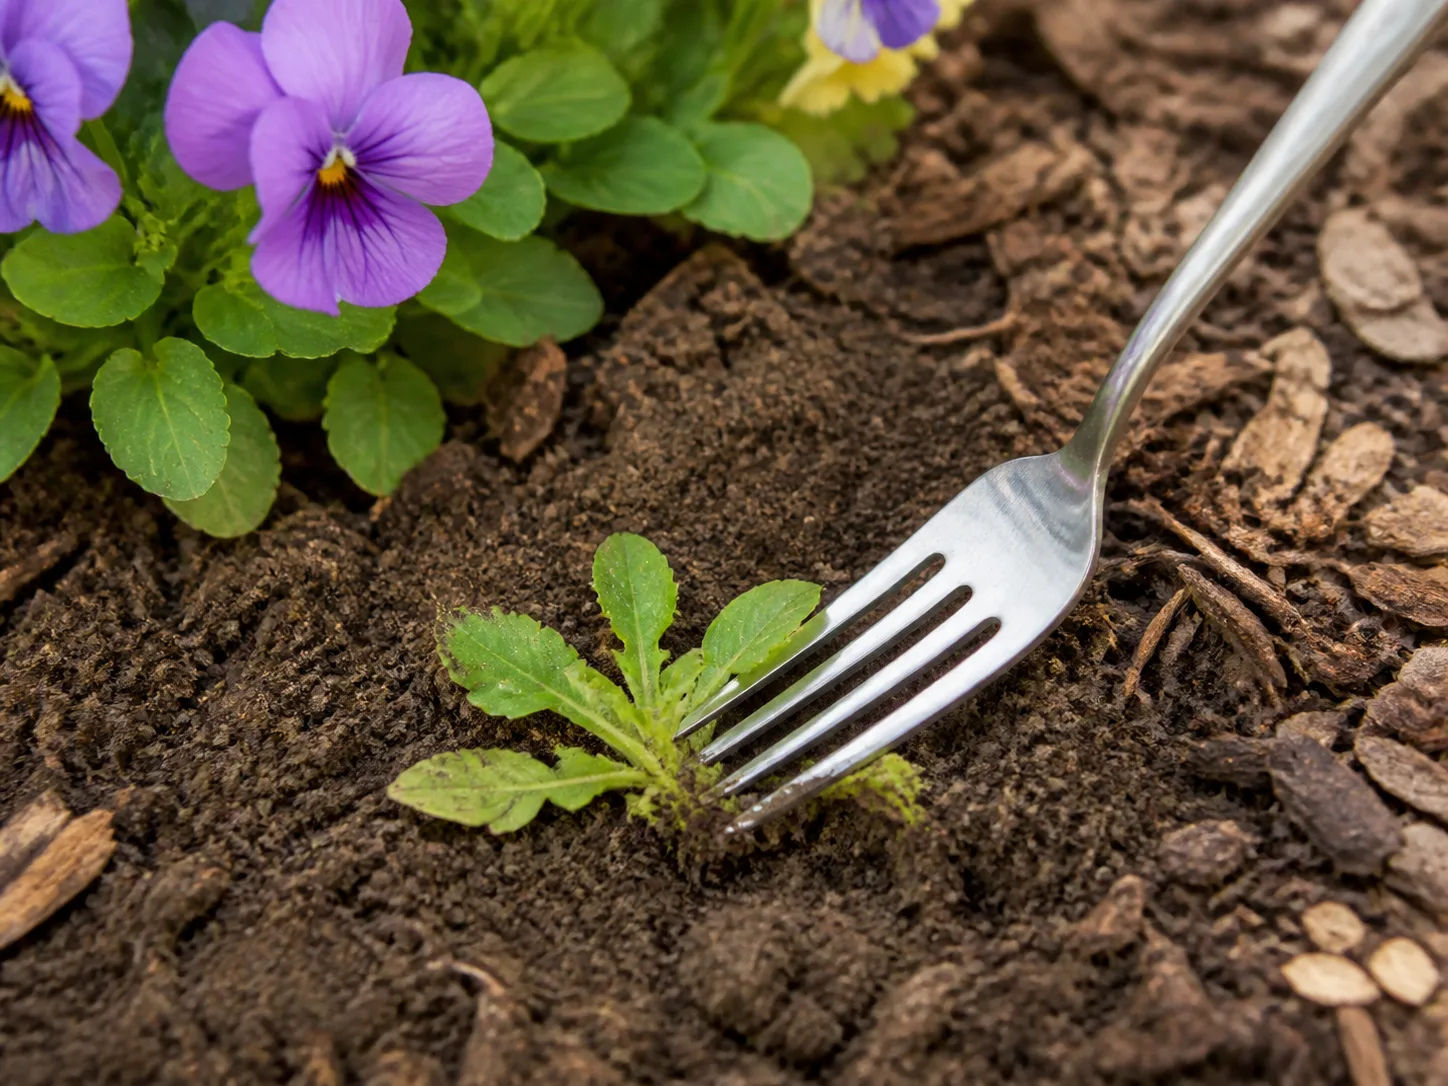
Do not lay fabric over green weeds and expect the sheet to solve the root system underneath. Cut or dig out all visible vegetation, then inspect for crowns, runners, rhizomes, and thick taproots. Pulling only the leafy tops is not enough for perennial weeds; they can regrow through weak fabric or emerge at the first opening.
Work when the soil is slightly moist so roots release without breaking, but do not turn the bed into mud. Use a hoe for shallow annual seedlings and a shovel or fork for rooted clumps. Shake soil from the roots over the bed rather than removing large amounts of good topsoil with every weed.
For a dense patch of rhizomatous grass or vine, pause before covering it. Digging may be the least risky option in a small bed; a targeted treatment or temporary smothering plan may be more appropriate in an empty area, but any pesticide must be selected and applied according to its current label and local rules. Never spray a nonselective herbicide around desirable plants just to avoid careful preparation.
Remove the weed debris from the surface so it cannot dry into a mat beneath the sheet. This is also the moment to remove old edging, exposed roots, buried wire, sharp stones, and woody debris that could puncture the fabric.
Grade and Clear the Soil Surface
Rake the bed until it is smooth enough that the fabric will lie flat. Fill shallow depressions, shave down ridges, and remove stones or sticks that create high-pressure points. The fabric follows the ground; it does not flatten it, and a wrinkle that looks harmless during installation can become a channel where mulch shifts and seeds collect.
Check how water behaves before covering the soil. Apply a slow spray or hose flow to several parts of the bed and watch for puddles, runoff, or areas that remain dry. If water pools, fix the grade or drainage first. A permeable barrier cannot make compacted clay infiltrate quickly, and a clogged or dense fabric can make an existing drainage problem harder to diagnose.
If irrigation will be under the fabric, install and test it now. Drip lines are usually easier to repair when they remain accessible, so plan whether the tubing belongs under the barrier, on top beneath the mulch, or in a separate accessible zone. Colorado State Extension notes that wetting the entire soil surface with sprinklers can encourage weeds, while drip irrigation keeps more of the surface dry; whichever method you use, test coverage before it disappears under the finished layer.
Plan Edges, Seams, Irrigation, and Plant Locations
Start with the bed’s most visible or most exposed edge. A straight line along edging is easier to anchor and conceal than a loose strip that ends in the middle of the bed. If the fabric must turn down into a trench or tuck beneath edging, leave that extra width in the measure rather than stretching the sheet to fit.
Lay out seams so they do not point downhill like gutters. On a slope, place the upper sheet over the lower sheet so runoff does not lift the lower edge or carry soil beneath the overlap. Keep seams away from the crowns of plants and from places where foot traffic will repeatedly flex the material.
Mark plants with pots, flags, or chalk on top of the fabric before cutting. Leave space around trunks and perennial crowns; the opening should cover the root ball, not create a large bare circle that becomes a new seedbed. If you are using gravel, also mark where stone will transition to mulch or paving so you can keep the fabric continuous below the change in surface.
Lay and Overlap the Landscape Fabric
Roll the fabric out over the prepared soil without dragging it across sharp rocks or stepping on it with tools underneath. Keep the sheet reasonably taut, but do not stretch it so tightly that seasonal movement or settling pulls staples out. Smooth wrinkles with your hands or a rake used lightly on top of the sheet.
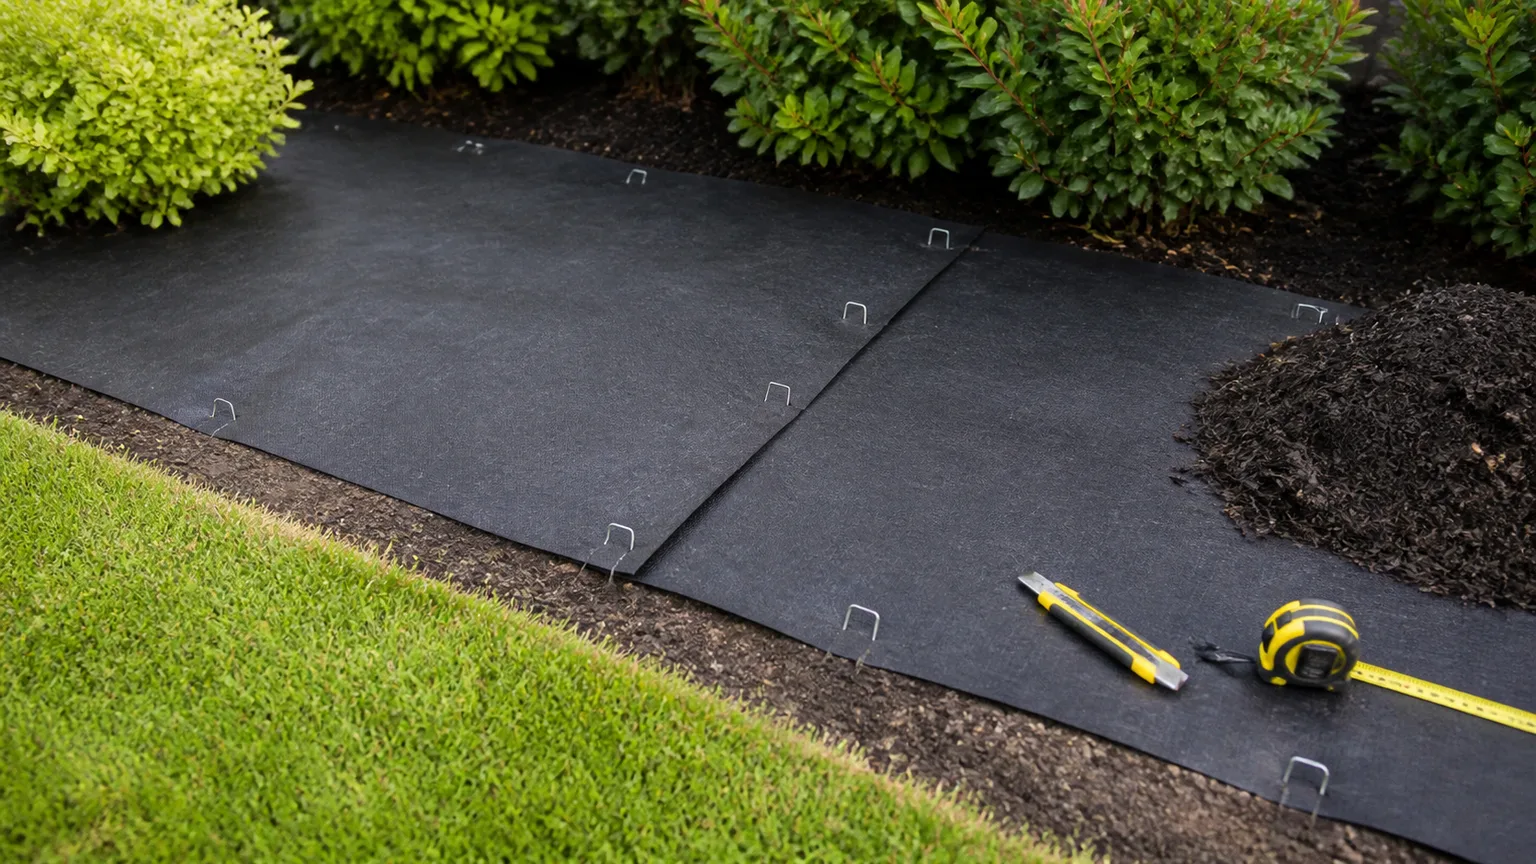
At each seam, overlap the next piece by at least 6 inches. Stagger multiple seams rather than ending every strip at the same line. On irregular borders, make relief cuts only where needed and overlap the flaps so soil cannot show through when the fabric settles.
Leave trimming until the main sheets are positioned and temporarily weighted. A few stones or bags of mulch can hold the fabric while you check the layout; remove them as you work so they do not become buried obstacles. Trim around the outside edge with a sharp blade, cutting away from your body and keeping the other hand clear of the cut path.
Anchor the Fabric So It Cannot Shift
Staples are there to keep the sheet in contact with the soil until the surface layer and plants provide additional weight. Place them along outside edges, at every seam, around curves, and anywhere wind can get beneath the fabric. Add interior staples on broad runs rather than relying on the mulch to correct a loose, rippled sheet.
Drive each staple flat enough to hold the fabric without tearing it. If the soil is very loose, a longer staple or a small trench-and-tuck edge may hold better than adding dozens of staples to a weak surface. If the ground is rocky, move the staple a few inches and use a location where it can enter soil fully rather than bending over a stone.
Slopes need extra attention at the top and lower edge. Anchor the upper edge securely, overlap in the direction of water flow, and use a surface cover that will not slide as soon as it rains. Fabric alone is not erosion control; if the grade is steep or unstable, use a slope-appropriate planting and drainage plan.
Cut Planting Openings That Stay Small
For a plant installed through fabric, mark the center of the root ball and cut a small X or a slit pattern just large enough to open the soil. Fold the flaps back rather than removing a large circle. Dig the planting hole through the opening, keeping the excavated soil on a tarp or in a wheelbarrow so it does not spread across the fabric.
Set the plant at the correct depth, backfill around the root ball, and press the fabric flaps snugly against the stem area without burying the crown. For woody plants, do not let the fabric or mulch press against the trunk. For perennials, leave enough room for the crown to expand without trapping it under the sheet.
Small cuts are easier to manage than large ones, but they are not a reason to force a plant into a poor site. If a root ball, irrigation line, or future mature spread requires repeated cutting, the bed may be better served by mulch without fabric. Every hole is a new edge to inspect.
Finish With Mulch, Gravel, or Stone
Cover the fabric soon after installation. Prolonged sun exposure can weaken some products, and an uncovered edge can catch wind, tools, pets, or mower equipment. The surface material also hides seams and supplies much of the weight that keeps the sheet in place.
For organic mulch, start with roughly 2 to 3 inches of suitable bark or wood chips and check the settled depth after watering. Colorado State Extension identifies about 3 inches as an effective depth for wood or bark chip weed control, while UC ANR’s mulch guidance emphasizes selecting and maintaining mulch according to the site. Do not pile mulch against trunks, stems, or perennial crowns; UC ANR recommends keeping organic mulch and waterproof synthetics at least 6 inches back from trunks.
For gravel or decorative stone, use only enough to cover the fabric and keep it stable for the intended use. A thin, even layer is easier to rake and inspect than a deep layer that buries edges and creates a large reservoir of dust and organic debris. If the area is a planted gravel garden rather than a path, consider whether fabric will prevent the self-seeding and soil access that make that style work.
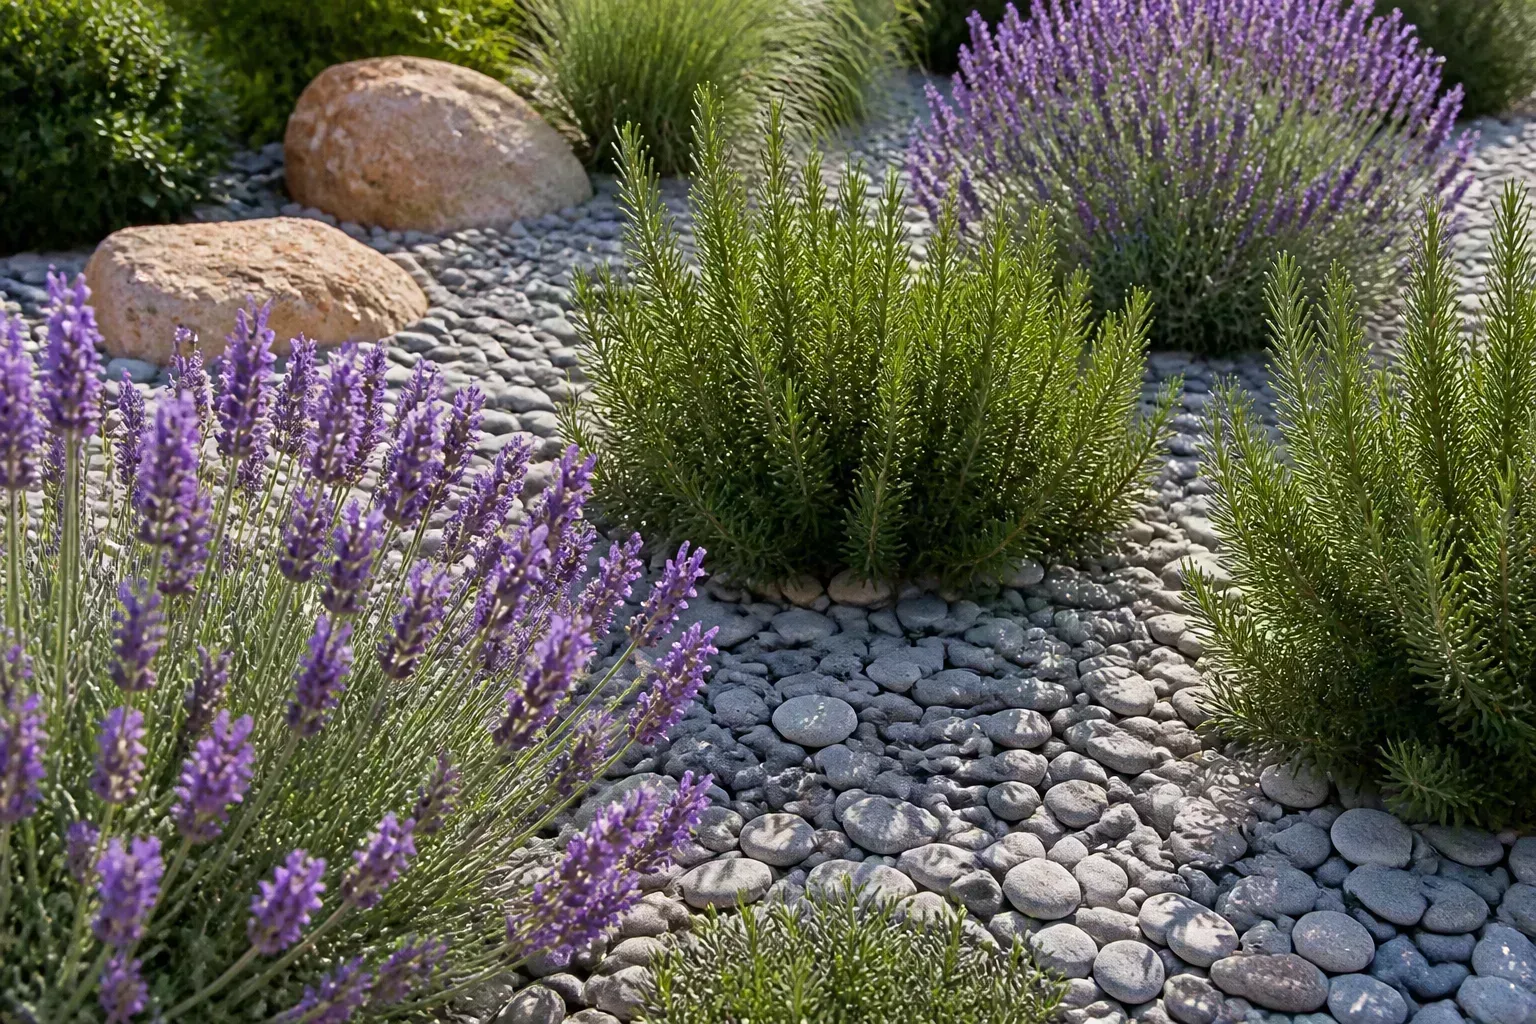
Spread cover gently so the rake does not snag the fabric. Keep the material consistent across seams, transitions, and planting openings. If a gap appears while you spread, stop and fix the fabric before adding more stone; covering a problem makes the eventual repair larger.
Water and Inspect the Bed
Water the completed bed slowly and watch how the surface responds. Water should reach the soil rather than run immediately to the edge or sit in one low spot. A puddle may indicate grade, compaction, a dense fabric, or a clogged surface; do not assume that adding more mulch will correct it.
Inspect after the first heavy rain and after strong wind. Look for exposed edges, lifted seams, shifted gravel, mulch that has slid downhill, and planting cuts that have opened. Early repairs are small: reset a staple, close a slit, add cover, or trim a flap. Delayed repairs let light and debris collect where the sheet is already weak.
Keep irrigation emitters and hose paths visible enough to service. If a plant wilts even though the top mulch is wet, check whether the water is reaching its root ball through the opening and whether the soil beneath is compacted. Fabric is not proof that the plant is receiving water.
Maintain It and Set a Removal Checkpoint
Landscape fabric needs a maintenance loop. Remove windblown leaves and new weeds before they flower, keep the cover at an even depth, and inspect the surface for a growing layer of dust and decomposed mulch. Weeds can germinate above the fabric once enough organic matter accumulates, and their roots may become anchored in the sheet.
Pull small seedlings when the surface is damp, but do not yank hard on a weed that will not release. If the root is caught in the fabric, cut the top, expose the connection, and decide whether the barrier or the weed should be removed. Pulling until the sheet tears creates a larger repair than cutting carefully.
Set a calendar checkpoint after the first growing season and again before the bed becomes difficult to access. The sheet may still be useful, but ask whether the planting plan has changed, whether organic mulch has become soil-like, whether water movement has slowed, and whether roots are entering the fabric. Horticulture’s review of landscape fabric summarizes the central limitation: permeable fabric can slow weeds, but it is not permanent and weeds can grow in material that accumulates above it.
Remove or replace the barrier when it is brittle, exposed, torn, clogged, rooted through, or causing more maintenance than it saves. Penn State Extension’s landscape fabric case study is a reminder to treat removal as part of the original plan, especially on slopes and around established shrubs. Work in manageable sections, protect desirable roots, and do not burn or bury synthetic fabric.
Fix Common Installation Mistakes
Laying fabric over live perennial weeds. Dig out crowns, runners, and rhizomes before covering the soil. A sheet is a light barrier, not a root eradication method.
Using solid plastic as if it were landscape fabric. Plastic can be useful for a temporary empty-bed treatment, but it is not a breathable planting-bed layer. Remove it before installing living plants.
Making seams too narrow. Three inches may look tidy on a flat, calm day, but soil movement and imperfect cuts can open it. Use at least 6 inches and more where the ground is uneven or sloped.
Stapling only the corners. Wind works under a loose edge and turns a flat sheet into a sail. Anchor edges, seams, curves, and interior spans, then let mulch or stone add the second layer of restraint.
Cutting large planting holes. Oversized openings expose soil and create a bright, warm edge for weed seedlings. Start small and enlarge only as the root ball requires.
Covering drainage problems. If water pools before the fabric goes down, it may pool more noticeably afterward. Grade, soil structure, and irrigation deserve attention before the barrier is installed.
Adding fresh mulch over a failing old sheet. A new layer can hide a torn barrier while creating another seedbed above it. Expose the old material first and decide whether repair or removal makes more sense.
Better Long-Term Alternatives to Landscape Fabric
The best alternative depends on the weed, the planting, and how much access the soil needs. Colorado State Extension recommends integrated weed management: prevention, appropriate irrigation, mulch, healthy competitive plants, mechanical removal, and carefully selected chemical methods when necessary. That approach is slower than laying one sheet, but it avoids asking a single product to solve every problem.
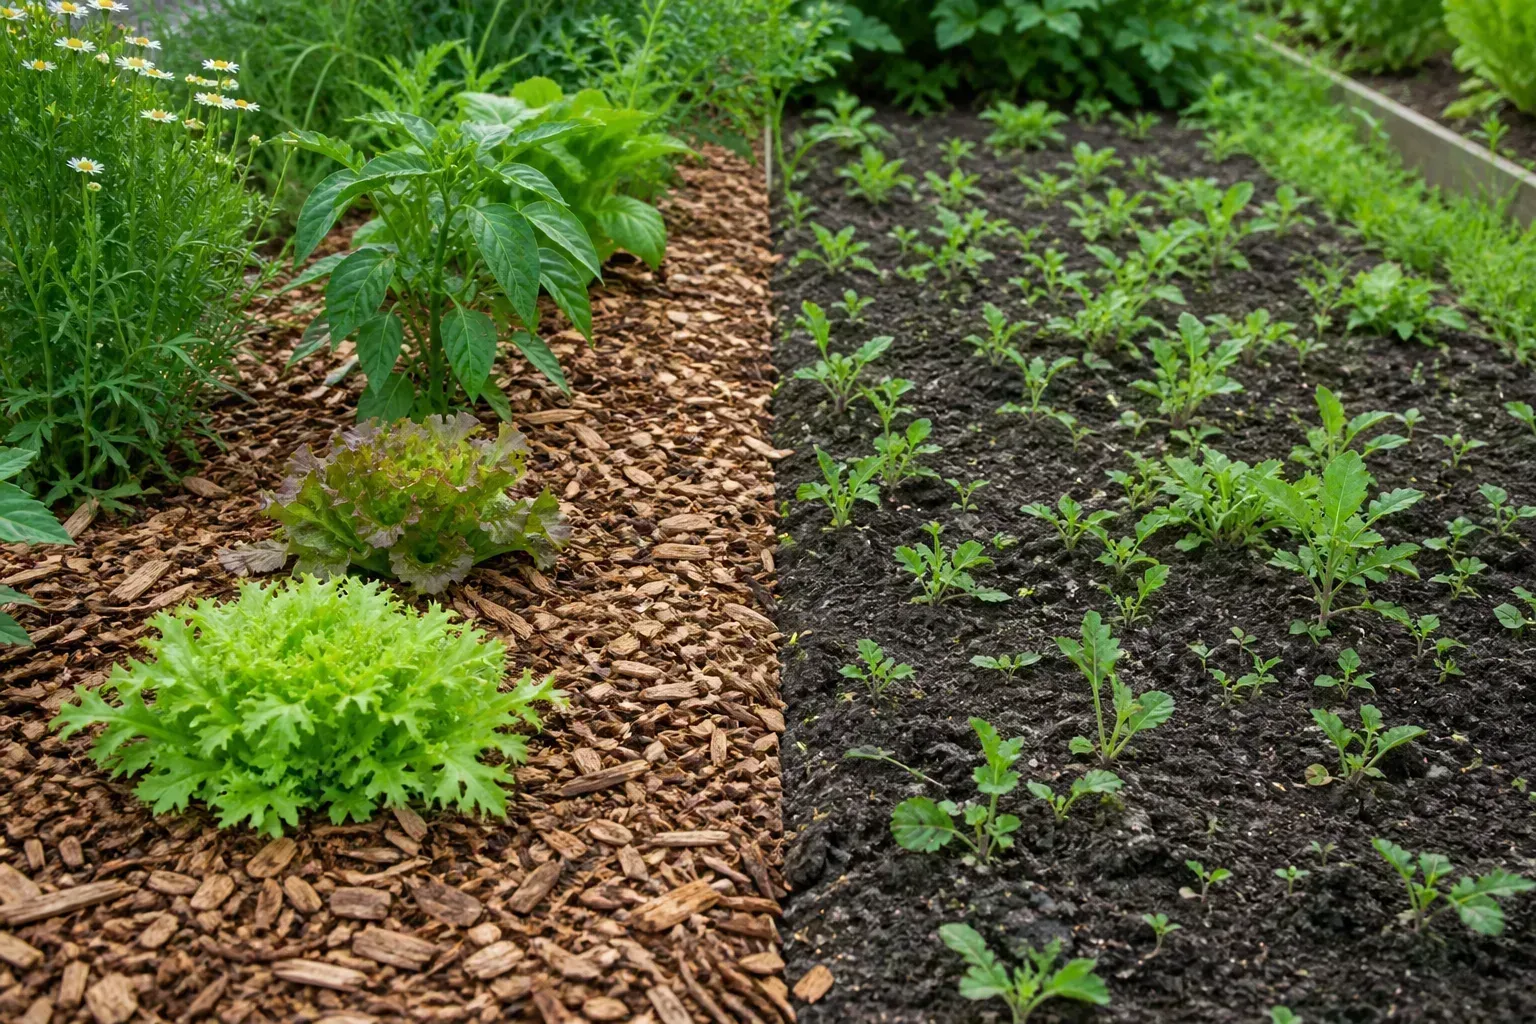
For an established ornamental bed, use organic mulch without fabric. A maintained layer of coarse wood chips, bark, shredded leaves, or another suitable material blocks light, protects soil from erosion, and eventually contributes organic matter. Refresh it when it settles thin, and remove seedlings before they seed. Our guide to what mulch is and how it works explains how different materials behave.
For a new bed being converted from lawn, try sheet mulching with plain, unwaxed cardboard under an organic mulch layer. Remove or weaken persistent weeds first, overlap the cardboard, keep it away from trunks and crowns, and plan for the paper to decompose. Cardboard is a temporary transition layer, not a reason to bury a living rhizome network and forget it.
For slopes or open beds, use living cover. Groundcovers and correctly spaced plants shade the soil while their roots help hold it, but they must be chosen for the climate and managed so they do not become invasive. For small annual beds, regular shallow cultivation or hand weeding while seedlings are tiny may be less work than fitting a fabric grid around every crop.
For a bed with an old, rooted barrier, follow our guide to removing plastic weed barriers and treat the work as soil renovation. Improve infiltration, restore an appropriate surface mulch, and plan a short maintenance walk rather than installing a new sheet over the unresolved problem.
Conclusion
The right way to install landscape fabric is to treat it as one layer in a weed-control system. Remove the roots first, make the soil smooth and draining, overlap seams generously, anchor the edges, keep planting cuts small, and cover the material before sun and wind can damage it.
Just as important, decide how you will maintain and eventually remove it before you roll it out. Fabric can be useful beneath rock, around stable ornamental plantings, or for a managed seasonal row; it is a poor substitute for healthy soil, living groundcover, or a maintenance plan. If a barrier begins trapping roots, slowing water, or growing weeds on top, remove it in sections and reset the bed with the surface and plants the site actually needs.



