Plastic Weed Barrier: When to Remove It
Wondering whether to remove a plastic weed barrier? Learn when landscape fabric fails, how to lift it safely, and what to use instead for lasting weed control.
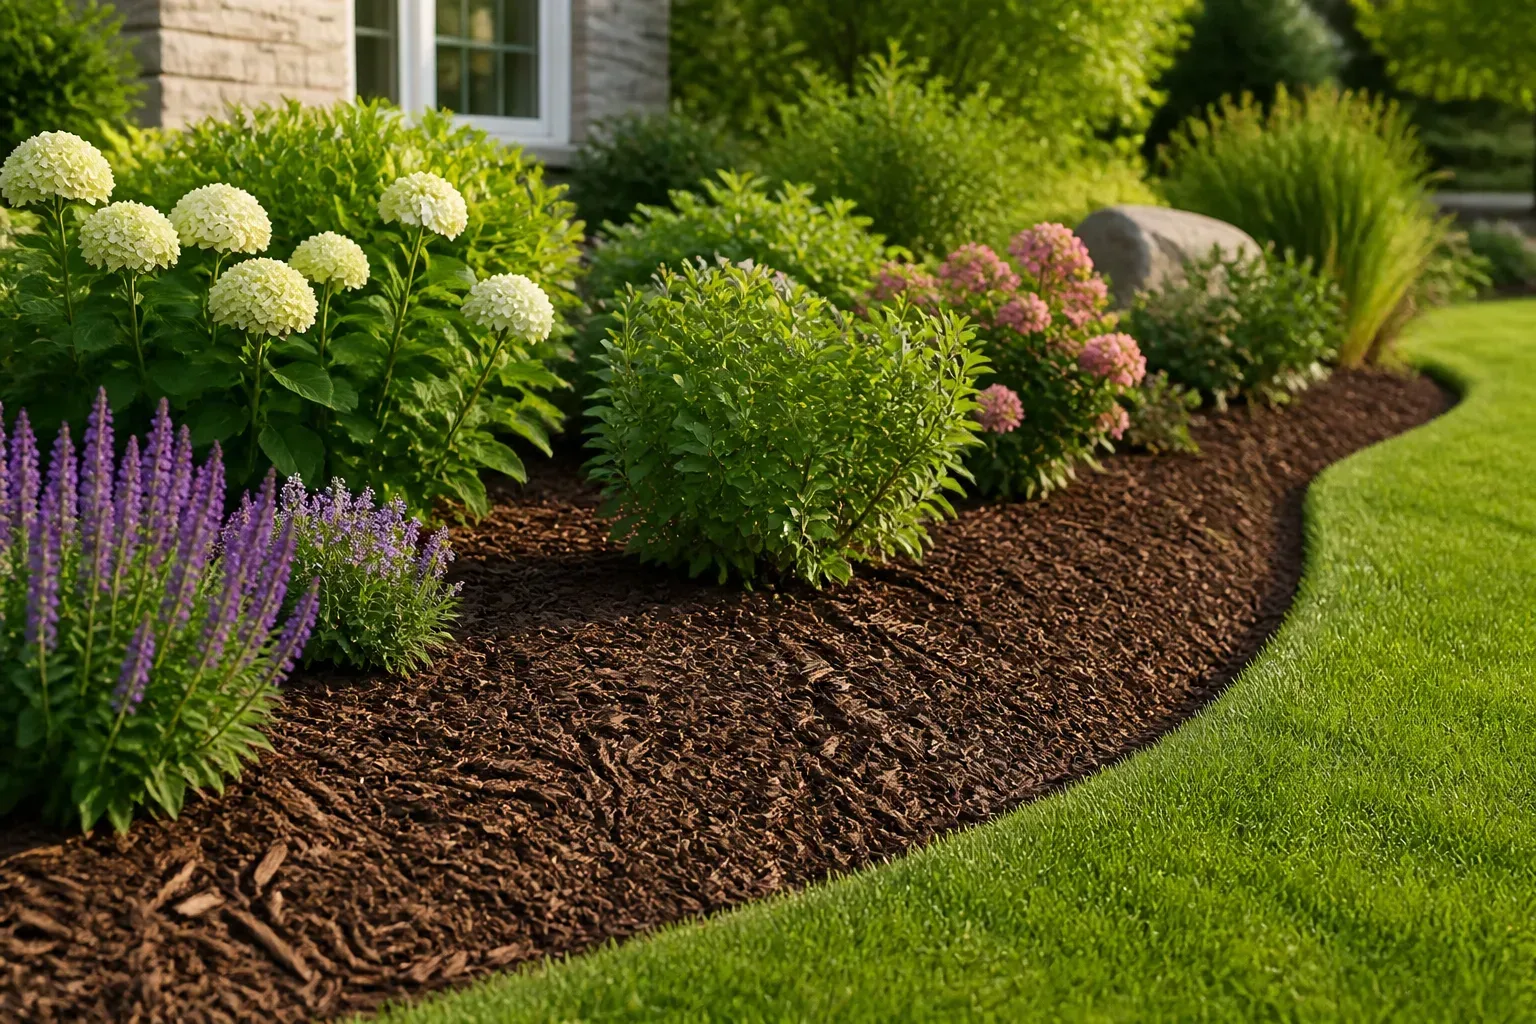
If plastic weed barrier is buried under mulch in a permanent flower bed, shrub border, or tree planting, the best long-term move is usually to remove it when the bed is already being renovated. The fabric may have reduced weeds at first, but once mulch decomposes, seeds land on top, and roots grow through the sheet, it becomes a maintenance layer you have to fight through.
That does not mean every piece of landscape fabric is useless. Woven and nonwoven fabrics can have a short, planned role in a new annual bed or a managed production area. Solid plastic sheeting can also be useful for a temporary weed-killing treatment. The mistake is leaving a synthetic barrier in a living, permanent bed and expecting it to remain a permanent solution.
The short answer: remove failing fabric from permanent beds
Remove landscape fabric if weeds are rooting through it, the sheet is brittle or exposed, water is pooling or running off, mulch is breaking down into a soil-like layer above it, or the plants are declining without another clear cause. Those signs tell you the fabric is no longer providing a clean separation; it is now holding together roots, debris, and old mulch while making ordinary maintenance harder.
If the fabric is intact, the bed is newly installed, and you can inspect it easily, you do not need to panic and strip it out this afternoon. Plan its removal for a cool, workable day when you are already refreshing the bed. The exception is a barrier around a tree trunk or a perennial planting where the material is constricting roots, trapping moisture, or blocking a needed repair; those areas deserve earlier attention.
The practical rule is simple: use a barrier as a temporary tool when you have a removal date; do not bury a permanent maintenance problem under fresh mulch. Penn State Extension describes permanent landscape use as a common source of long-term weed and removal trouble, while North Dakota State University Extension makes the useful distinction that fabric can be used for a limited period in some garden situations and then removed (Penn State Extension, North Dakota State University Extension).
Plastic sheeting, woven fabric, and nonwoven fabric are not the same
Garden-center labels often group several very different materials under “weed barrier.” Knowing which one you have changes both the risk and the removal plan.
| Material | What it does | Where it can fit | Main warning |
|---|---|---|---|
| Solid plastic sheeting | Blocks light and usually blocks most water and air movement | Temporary smothering or solarization before planting | Do not leave it under living plants and do not confuse it with breathable fabric |
| Woven landscape fabric | Interlaced synthetic fibers with some permeability | Short-term, accessible beds or selected production uses | Pores can clog; roots and weeds can grow through cuts and seams |
| Nonwoven landscape fabric | Felt-like synthetic fibers that can allow water through when clean | Short-term weed suppression or separation in a managed area | It can mat, tear, and become difficult to remove once rooted |
North Dakota State University Extension notes that solid plastic is not the same as the woven and nonwoven fabrics sold for landscape use. The same source describes a garden use where nonwoven fabric was removed after two growing seasons, which is a much more defensible plan than placing it under a permanent shrub bed and forgetting it exists (NDSU Extension).
“Permeable” also does not mean permanently open. Dust, fine soil, fallen leaves, and decomposed mulch can fill the openings. A clean piece of fabric may pass water when installed; a buried, debris-coated piece years later may behave very differently.
Why a weed barrier becomes a weed trap
The failure is usually a sequence, not one dramatic event. First, the barrier blocks many seedlings from below. Then the organic mulch above it breaks down, windblown dust settles into the gaps, and new seeds find a thin layer in which to germinate. The weeds are now growing on top of the barrier rather than below it.
That distinction matters because the barrier has changed the job. Instead of pulling a small weed from loose mulch, you are trying to extract a root from a mat that may be pinned to the soil underneath. A sheet that once saved a few minutes of weeding can eventually add hours to each cleanup.
Mulch turns into a seedbed on top
Mulch is not inert decoration. Bark, leaves, compost, and wood chips gradually break down, and the surface collects pollen, dust, bird droppings, and windblown seeds. On bare soil, that organic material can become part of the soil profile. On top of landscape fabric, it accumulates as a separate, shallow growing layer.
Washington State University Extension describes this pattern clearly: fabric may suppress weeds for only a couple of years, then organic debris supports seedlings above the sheet. The extension guidance also warns that dark fabric can absorb heat and that degraded material can become brittle and torn in strong sun (Washington State University Extension).
This is why adding another layer of mulch often gives only a short reprieve. It hides the seedbed without removing it. If the old mulch is already fine, wet, or full of roots, the bed needs a reset rather than a deeper lid.
Roots make the sheet harder to remove
Taprooted weeds such as dandelions and thistles can force through weak points, while vigorous grasses and vines can exploit seams, planting cuts, and edges. Once roots have entered the fabric, pulling the top growth may tear the sheet, leave pieces behind, or break the weed at the point where it can regrow.
Penn State’s account of a decades-old installation is a useful warning: the longer fabric remains in a planted area, the more likely removal becomes a cutting-and-excavation job. That does not prove every installation will fail in the same time frame, but it does show why “I will deal with it later” is an expensive maintenance strategy.
Four signs the barrier is hurting more than helping
Look for a pattern rather than one isolated weed. Any one sign can have another cause, but several together are a strong case for renovation.
- Weeds are anchored to the sheet. If a hand pull brings up a strip of fabric, or a weed will not release because its roots are woven through the material, the barrier is trapping the problem.
- The surface is a thin compost layer. Fine, dark material on top of the fabric is evidence that the original mulch has decomposed and is now supporting new seedlings.
- Water behaves differently across the bed. Puddles, dry patches beneath apparently wet mulch, or water running toward the edge can indicate clogged pores, compacted mulch, poor grade, or an irrigation problem. Fabric may be part of the problem, but do not assume it is the only one.
- The sheet is exposed, torn, or brittle. Sunlight, foot traffic, planting cuts, and shifting mulch can reveal plastic edges. Once the barrier is visible, it is no longer doing its intended visual job and fragments are harder to collect cleanly.
Plants that wilt only on hot afternoons deserve an additional check for irrigation coverage, root damage, soil compaction, and heat reflected from paving. Fabric removal may help, but it is not a diagnosis by itself. If a shrub is declining, inspect the roots and drainage rather than simply replacing the synthetic layer.
When a temporary barrier still makes sense
There are situations where a barrier is a tool, not a permanent bed ingredient. A new annual vegetable area may use woven or nonwoven fabric for one or two seasons while plants establish and the gardener builds a regular weeding routine. A managed group garden may lay fabric during the growing season, remove it after harvest, clean it, and store it for the next cycle. Those arrangements work because someone can access the sheet and the end date is part of the design.
Solid plastic can also be used for a temporary smothering or solarization treatment on an empty area. UF/IFAS Extension describes solarization in hot Florida summers as a 6–8 week process that requires moist soil, clear plastic, strong sun, and careful timing; that is a pre-planting treatment, not a sheet to leave beneath shrubs (UF/IFAS Extension Lake County). In cooler or cloudy climates, follow local extension guidance rather than copying that duration.
Fabric is a poor choice when the area will be planted densely, the bed contains established trees or shrubs, the surface will be covered with decomposing organic mulch, or you will need to add plants and irrigation lines repeatedly. It is also a poor fit for a slope if mulch slides on the smooth surface and exposes the sheet. In those cases, plant roots, soil cover, water flow, and erosion control need to be designed together.
How to remove landscape fabric without wrecking the bed
Treat removal as a bed renovation, not as a single tug. Work in a small test section first. If roots from desirable plants are wrapped through the fabric, change from pulling to cutting around the root zone; a clean, contained section is better than tearing a large mat through living roots.
Clear the surface and map the roots
Choose a day when the soil is workable but not saturated. Move loose mulch into a tarp or wheelbarrow rather than mixing it into the soil immediately. Mark shrub trunks, perennial crowns, irrigation lines, edging, and any roots visible at the surface.
Pull obvious weeds before you lift the sheet, but do not yank hard on weeds that are holding the fabric down. Cut their tops, expose the root connection, and decide whether the root can be lifted with the fabric or should be severed and removed separately. Wear sturdy gloves and eye protection when cutting brittle material; old fabric can tear into sharp strips.
Cut, roll, and lift in manageable sections
Find an exposed edge or make a shallow inspection cut between plants. Use a utility knife or heavy shears to divide the sheet into strips you can carry without dragging them through stems. Lift slowly, stopping whenever a root, irrigation line, or edging is attached.
For fabric that has been rooted through, cut around the root rather than pulling until it snaps. Remove the largest clean pieces first, then return for seams, staples, and fragments. Put old synthetic material into a sturdy bag or container and follow your local waste rules; do not burn it or bury it on the property.
If the bed is on a slope, work from the top down in short sections and keep the exposed soil covered with a tarp while you work. This reduces erosion and prevents the next rain from washing fine soil into a drain. On a tree bed, avoid trenching through major roots just to chase a buried edge; remove what you can safely reach and leave a root-protection plan for the next stage.
Repair the soil before adding a replacement
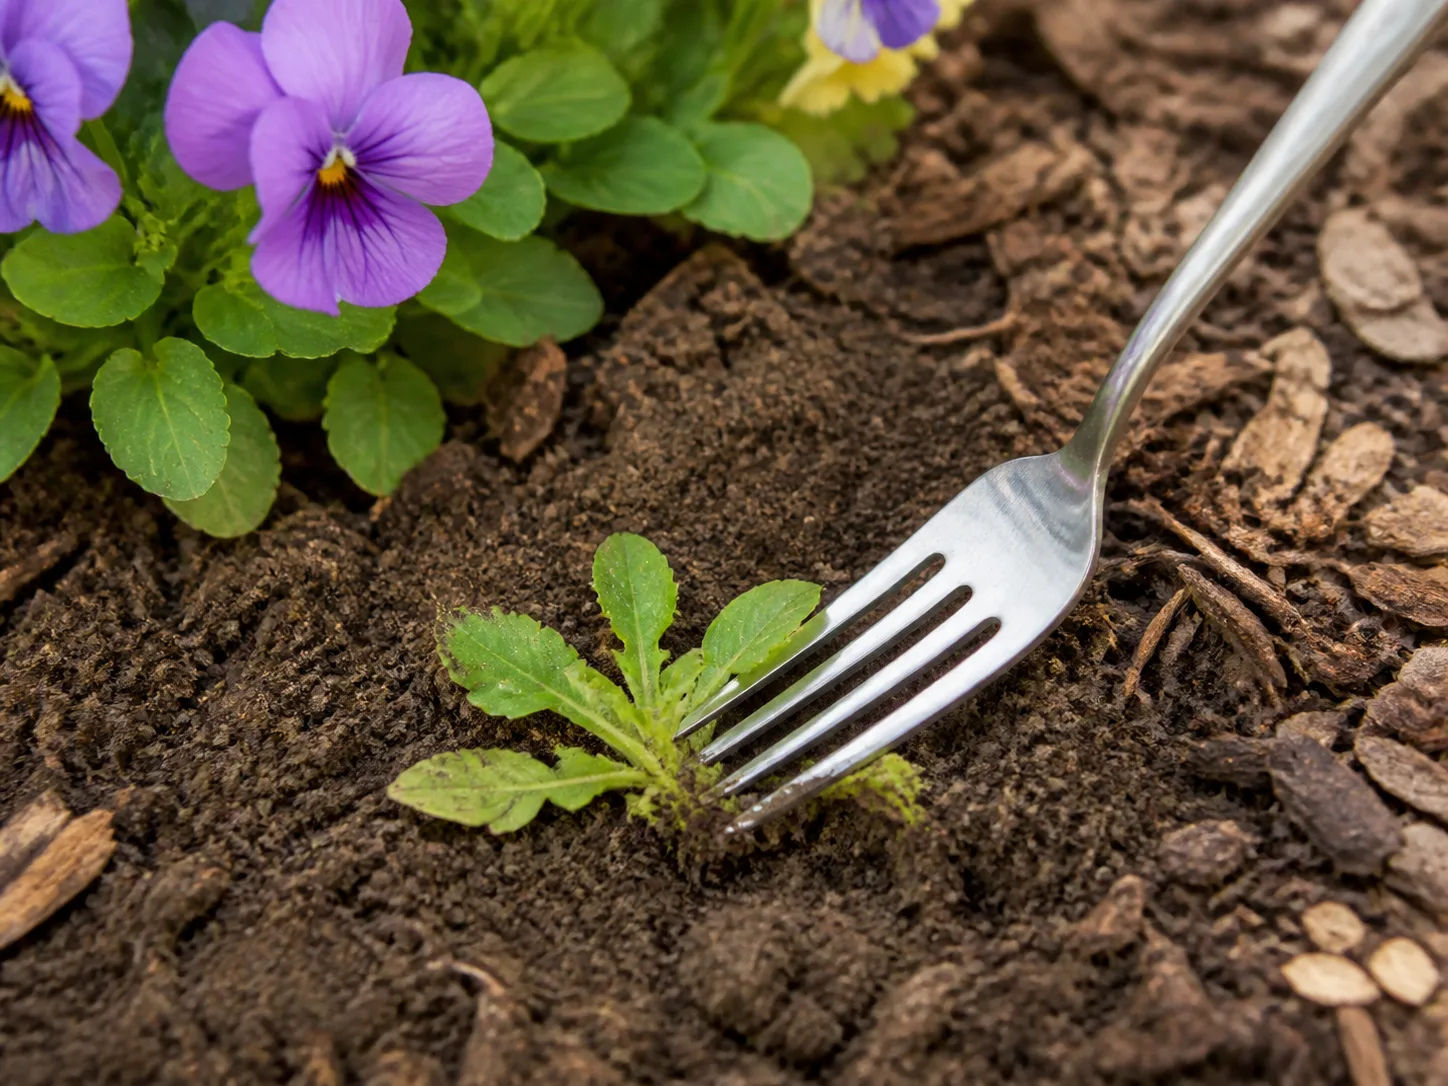
Once the barrier is out, inspect the top few inches without automatically rototilling. Break up compacted surface crust with a fork, remove remaining roots, and check whether water enters the bed or runs off. If the soil is low in organic matter, add a thin surface layer of finished compost or other appropriate amendment based on a soil test; do not bury a thick layer against plant crowns or trunks.
The USDA’s soil-health guidance emphasizes keeping soil covered, minimizing disturbance, maintaining living roots where possible, and improving infiltration and nutrient cycling. Those principles point toward a living, decomposing surface rather than another permanent synthetic separation (USDA Farmers.gov soil health principles).
Regrade the bed so water moves through it without pooling at stems. Reinstall or repair drip lines before you spread mulch. If the old barrier was hiding a drainage problem, compacted subsoil, or a leaking irrigation line, fix that issue now; otherwise the same wilt and weed complaints will return under a different surface.
Better long-term alternatives to plastic weed barriers
The best replacement is usually a system with several small advantages: clear existing weeds, cover bare soil, close gaps between plants, and remove new weeds before they set seed. No single layer has to do all the work.
Use organic mulch as the working surface
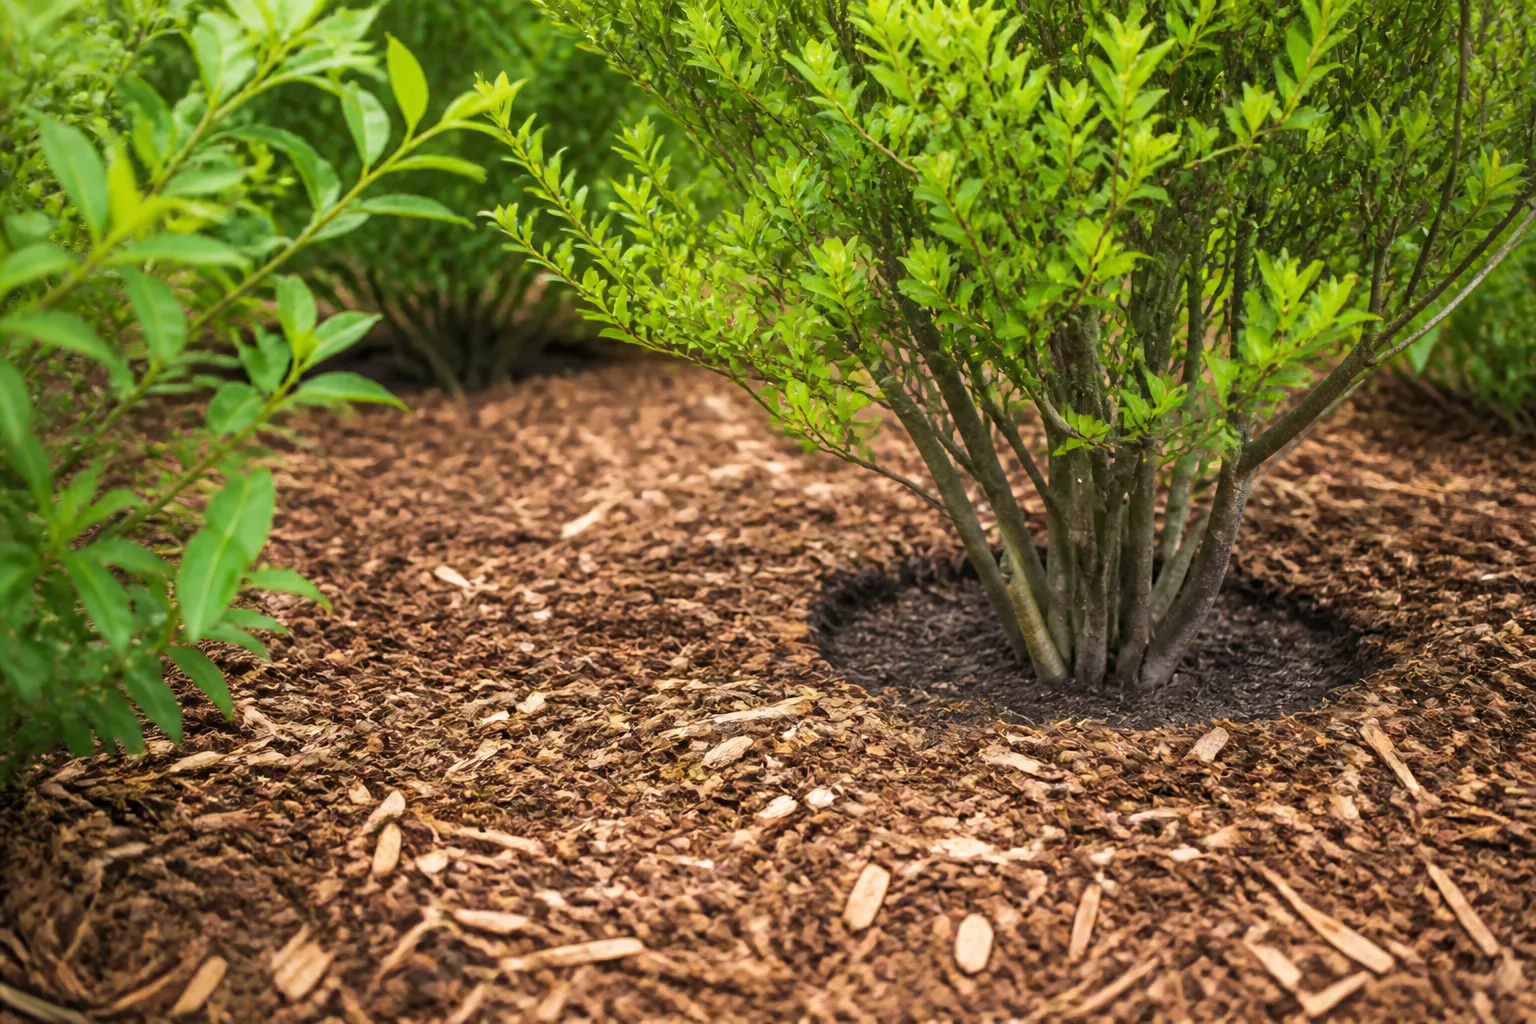
For established ornamental beds, start with about 2–3 inches of coarse wood chips, bark, shredded leaves, or another suitable organic mulch, then inspect the settled depth rather than trusting the volume you spread. New bed conversions can use deeper layers as part of a specific sheet-mulch recipe. Keep mulch away from trunks and perennial crowns, and do not build a wet cone around a woody stem.
Organic mulch protects soil from sun and drying wind while gradually returning organic matter. BBC Gardeners’ World Magazine recommends applying mulch over moist, weeded soil and explains that organic materials can improve soil structure as they break down; its guidance also cautions that inorganic materials can heat up, disintegrate, or fail to add nutrients (Gardeners’ World mulch guide).
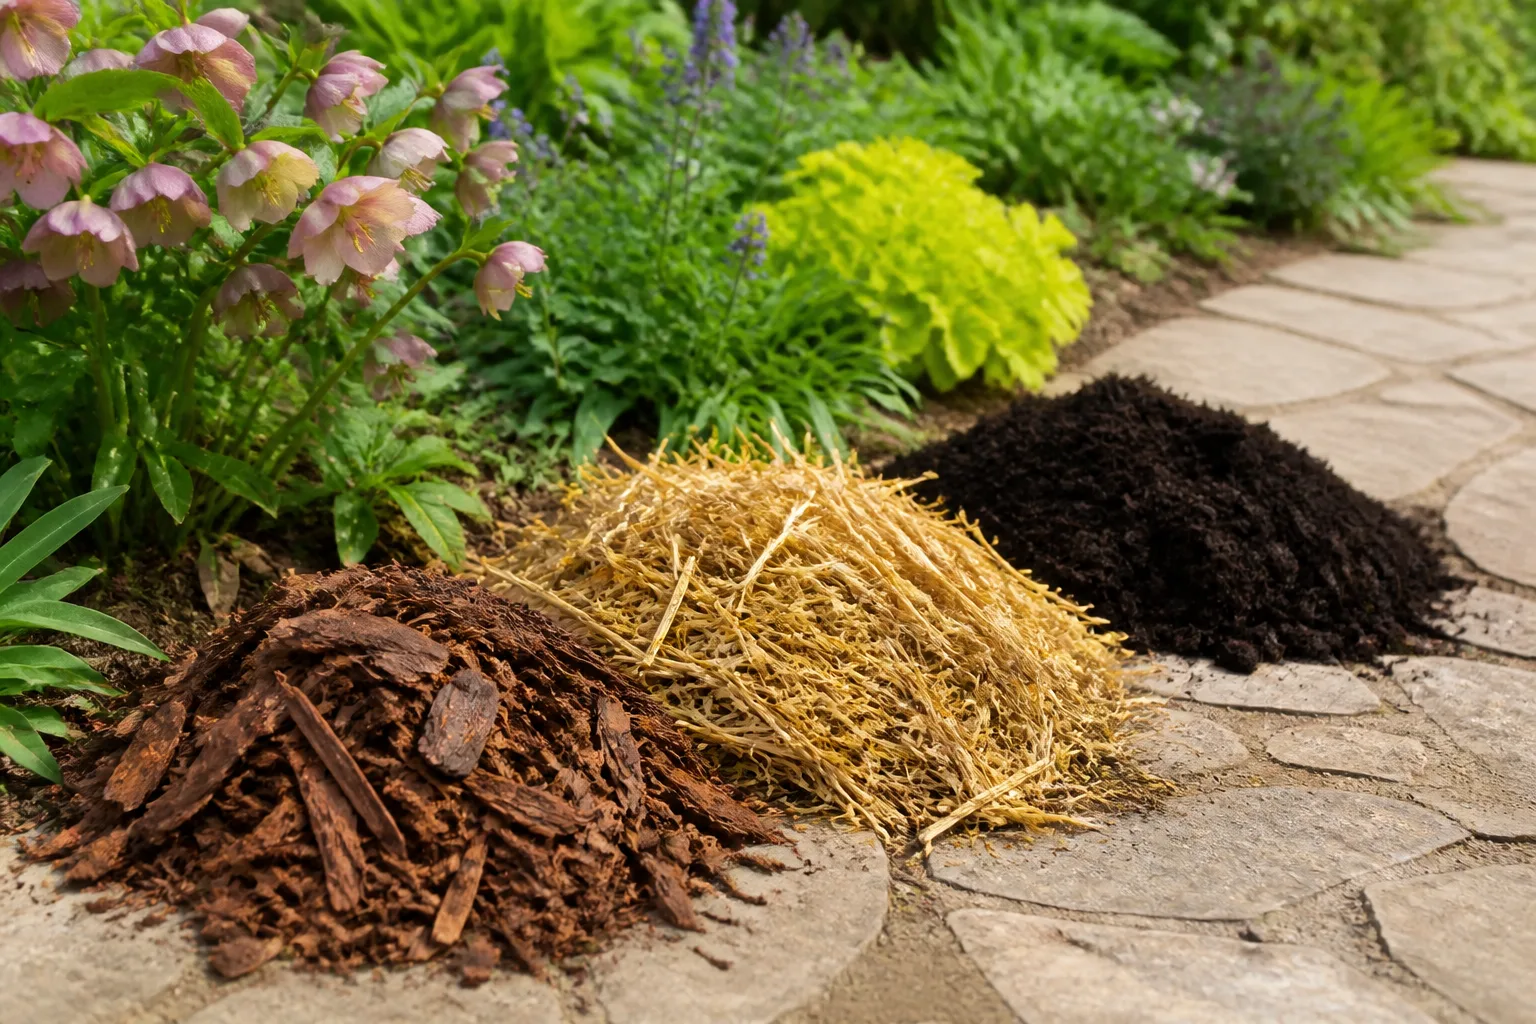
Coarse arborist chips are a practical choice for shrub borders and paths because the larger pieces resist forming a dense crust. Shredded bark looks tidy but may need fluffing if it knits into a shell. Leaf mulch and finished compost feed soil more quickly but usually need more frequent refreshing. Match the material to the bed, the available supply, and how often you can top it off.
Sheet-mulch a new bed with cardboard
Cardboard is useful when you are converting lawn or a weedy patch into a bed and want a temporary paper layer that can decompose. It is not a magic permanent fabric, and it should not be used as an excuse to bury live perennial weeds without a plan.
For a shallow sheet-mulch installation, mow or cut vegetation low, remove persistent roots where practical, water the soil, overlap plain brown cardboard, and cover it with roughly 2–4 inches of organic mulch. Keep the cardboard and mulch from resting against trunks or crowns, and water during dry periods so the layers can decompose instead of becoming a dry shell.
Fine Gardening distinguishes shallow sheet mulching around an existing bed from deeper layered methods used to prepare a new bed. Its step-by-step guidance calls for a single cardboard layer or several sheets of newspaper under organic mulch, with the deeper method taking a year or more to compost in place (Fine Gardening sheet-mulching guide).
Use plain, unwaxed cardboard with tape and labels removed where practical. Avoid glossy, plastic-coated, or heavily dyed material when you cannot verify what it contains. The main benefit is a temporary light-blocking layer that transitions into organic matter; the main risk is using too much material, burying wet soil, or creating a dry gap that sheds water.
Close bare soil with living plants and correct spacing
Groundcovers and tightly spaced plants reduce the open soil that weeds need. Choose a plant whose mature spread, light requirement, moisture preference, and winter behavior fit the bed. A groundcover that is aggressive in one region may be inappropriate in another, so check local extension or invasive-plant lists before planting it widely.
Spacing should be based on mature width, not the size of the nursery pot. Planting too far apart leaves a sunny seedbed for several years; planting too tightly creates weak, crowded plants and can increase disease pressure. A useful compromise is to mulch the gaps while plants establish, then let their foliage gradually close the canopy.
Living cover is especially valuable on slopes because roots hold soil in place while foliage slows rain impact. It does require an establishment period and occasional thinning, so it is a better long-term fit for a gardener willing to manage a planting than for someone seeking a zero-maintenance surface.
The maintenance loop that keeps weeds manageable
The goal is not a perfectly sterile bed. It is a bed where weeds are small, visible, and easy to remove before they flower or root deeply. The Pacific Northwest Pest Management Handbooks recommend year-round, integrated weed management built around accurate identification, good timing, and more than one control method; that approach is more realistic than relying on one barrier (Pacific Northwest Pest Management Handbooks).
Use this loop after renovation:
- Start clean. Remove perennial roots and seed-bearing weeds before mulching.
- Cover the soil. Restore a breathable mulch layer or establish living cover.
- Walk the bed early. Pull seedlings while the soil is moist and before roots anchor.
- Refresh strategically. Add mulch where it has settled thin, especially along the lawn edge and around new plants.
- Stop seed production. Remove flowering weeds and manage windblown or bird-dropped volunteers before they mature.
This takes less effort than an annual fabric extraction because the work is small and distributed. If weeds still surge, identify the species. A taproot, rhizome, stolon, or nutlet may require a different removal timing than a shallow annual seedling.
Mistakes that recreate the same problem
Putting fresh mulch over old fabric. This hides the symptoms and adds another seedbed. Remove or expose enough of the old layer to know what condition the fabric is in.
Till-mixing wood chips into the soil. Coarse chips belong on the surface in a bed like this. Mixing a large volume into soil can temporarily change nitrogen availability and structure; let them decompose above the soil instead.
Piling mulch against stems. A thick, wet collar can damage bark or cover a perennial crown even when the mulch itself is good. Leave a visible gap around trunks, crowns, and low stems.
Planting a groundcover without checking its behavior. Fast spread is not the same as good coverage. Confirm that the plant is suitable for your region and can be kept inside the bed.
Using solarization as a universal recipe. Clear plastic, hot sun, moist soil, and a long uninterrupted period are required. A cloudy, cool, or shaded site will not behave like a hot summer bed in Florida.
Removing fabric while the soil is saturated. Walking and dragging across wet clay can compact the bed. Wait until the soil crumbles rather than smears, and cover exposed soil if rain is likely.
Conclusion
Plastic weed barriers solve a narrow problem—blocking light for a while—but permanent garden beds need a surface that can accept organic matter, support roots, and remain repairable. When old fabric is clogged, rooted through, torn, or causing water and maintenance problems, remove it in sections, protect the plants, repair the soil, and reset the bed with organic mulch, sheet mulching where appropriate, and living cover.
Keep fabric only when the use is temporary, accessible, and tied to a clear removal date. The durable strategy is not a stronger sheet. It is a healthy surface, the right plants in the right spaces, and small weed-control actions taken before a manageable seedling becomes another excavation project.



