Get Grass Out of Flower Beds Without Harming Plants
Learn how to get grass out of flower beds without harming flowers. Identify runners and rhizomes, remove roots, mulch, edge, and prevent regrowth.
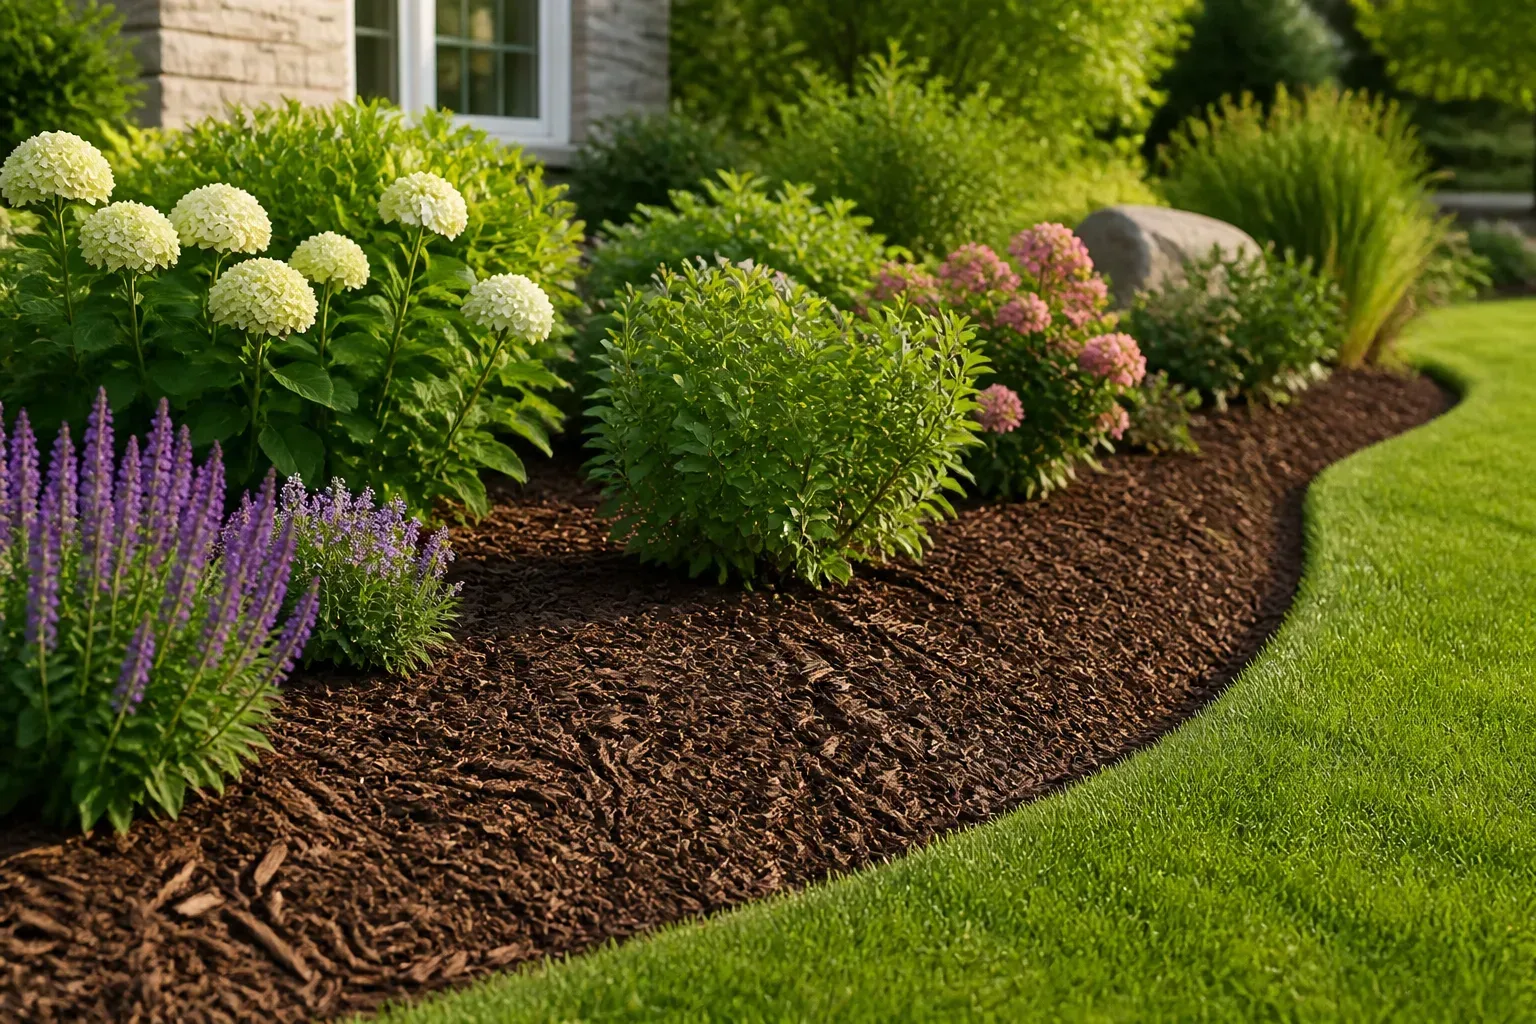
The safest way to get grass out of an established flower bed is usually to loosen the soil, lift the grass by its crown and roots, then block the next flush with mulch and a clean edge. That sequence takes more care than spraying, but it gives you the best chance of protecting flowers whose roots are mixed with the grass.
The right method depends on what you are looking at. A few crabgrass seedlings can be pulled. A creeping lawn grass may be connected to runners or rhizomes several inches away. A tuft of ornamental grass may be something you planted on purpose. Identify the invader before you reach for a tool, because the wrong cut can turn one clump into several.
The safest strategy: identify, lift, block, then maintain
Think of grass control in a planted bed as four linked jobs rather than a single weed-killing event. Identify the growth so you know whether it came from seed or an underground stem. Lift the crown and as much of the root system as the surrounding plants allow. Block new seedlings with a correctly applied mulch or, where appropriate, a labeled pre-emergent. Then maintain the boundary and pull small regrowth before it develops a seed head or a larger underground network.
This approach is consistent with extension guidance that treats weed control as a combination of mechanical removal, prevention, and carefully selected herbicides. The University of Wisconsin–Madison’s weed-management guidance specifically warns that mulch will not control perennial weeds already in the bed, while hand removal works best when done early and repeatedly.
Start with the least disruptive method that can actually solve the problem. A herbicide can look precise on a label and still injure a flower if spray lands on its foliage. Digging can remove the grass but also sever nearby roots. Manual removal is not always effortless, but it is the easiest method to inspect as you work.
Identify what is actually growing in the bed
Grass is a useful word for the problem but not a sufficient identification. The plant may be turf escaping from the lawn, an annual grassy weed germinating in bare mulch, a perennial grass with rhizomes, or a desirable grass that is simply out of bounds. If you do not know which, take a clear photograph and compare it with a local extension weed guide before treating it.
Look at the base, not just the leaf blades. Does one crown produce a tight clump? Do stems run along the soil surface? Do pale underground stems travel sideways? Are there seed heads? Is the plant in a deliberate row with other ornamental grasses? These clues tell you whether to pull, trace, isolate, or leave it alone.
Grass from the lawn: runners, stolons, and rhizomes
Lawn grass can enter a bed from the side through stolons, which are above-ground runners, or through rhizomes, which are underground stems. Either one can place new crowns away from the original lawn edge. A neat-looking surface pull may remove the leaves while leaving the structure that keeps sending up shoots.
Rhizomes are especially important because pieces can remain alive in the soil. The University of Minnesota Extension’s quackgrass profile describes extensive, whitish rhizomes that root at their joints and can break apart and regrow. That does not mean every lawn grass has the same appearance, but it does explain why a perennial invader often returns after a shallow chop.
If the grass is entering from the lawn, follow one shoot back to its crown before pulling. If it disappears under a flower, stop digging blindly. Work from the exposed side, remove what you can see, and plan to monitor the area rather than risking the flower’s root ball for one hidden strand.
Annual grassy weeds: crabgrass and seedlings
Annual grasses such as crabgrass usually begin as isolated seedlings in warm soil, thin mulch, or disturbed spots. They tend to form a low, spreading young plant before producing a taller seed stalk. The University of Minnesota’s crabgrass identification pages note that crabgrass species are warm-season annuals with fibrous roots rather than underground rhizomes.
That difference changes the job. A young annual with a small root system can often be lifted cleanly with a hand fork or narrow trowel. Once it has seeded, the immediate plant is still removable, but the bed may receive more seed for next year. Bag mature seed heads instead of dropping them on the mulch or composting them unless your compost reaches temperatures appropriate for weed-seed destruction.
Do not assume every annual grassy weed is crabgrass. Japanese stiltgrass, foxtail, and other grasses vary by region, season, and habitat. If the plant is unusual, grows in a dense patch, or is listed as invasive or noxious in your area, use a local identification service before disturbing it.
Native or ornamental grasses: look before pulling
Many flower beds contain plants with grass-like leaves: blue fescue, liriope, mondo grass, miscanthus, sedges, and native bunchgrasses. Young plants can look remarkably similar to unwanted seedlings. Pulling first and identifying later is how desirable plants disappear.
Use the bed plan, plant tags, planting pattern, and growth habit as evidence. A desirable grass is more likely to sit where you planted it, repeat at a planned spacing, or form a known clump. A volunteer that appears along the lawn edge, between established plants, or in a new mulch layer deserves closer inspection.
If you are still unsure, mark the plant and watch it for a short period while removing only obvious invaders nearby. Take photographs as the leaves, collar, and seed head develop. Identification is slower than guessing, but it prevents a chemical or mechanical decision that cannot be undone.
Pick the least risky removal method
Use the smallest intervention that reaches the grass’s growth point. The table below is a practical starting point, not a promise that any method works once and never needs repeating.
| What you see | Best first choice | Why | Main caution |
|---|---|---|---|
| One or two young seedlings | Hand fork or narrow trowel | Small roots are easier to lift intact | Pull before seed heads mature |
| A few clumps in open soil | Loosen around each crown and lift | Removes the plant without spraying nearby flowers | Do not shake fragments back into the bed |
| Grass creeping from the lawn | Trace runners, then re-edge | Addresses the source and the boundary | A surface cut alone may leave roots behind |
| Grass woven through flower roots | Work slowly in small sections | Lets you protect desirable roots | Accept that some regrowth may need repeat removal |
| A large bare area for a future bed | Remove sod or sheet-mulch before planting | Lets you treat the whole area without established roots in the way | Thick sheets can restrict water and air if left too long |
| Severe infestation among established plants | Get local extension or professional advice | Species and label restrictions matter | Do not broadcast a nonselective product over the bed |
Small patches: loosen and lift by hand
For a small patch, wait until the soil is moist but not waterlogged. The day after a soaking rain is often easier than the moment during a storm: roots release more readily, and you are less likely to compact the bed by kneeling or stepping on saturated soil.
Use a hand fork, hori hori, or narrow trowel to loosen the soil beside the crown. Slide the tool below the root mass, then lift while holding the plant low at the base. Pulling only the leaf tips can snap the crown away from the roots, especially when the soil is dry or the grass has a fibrous mat.
Once the clump is out, shake off loose soil over a bucket or tarp rather than flinging it across the bed. Inspect the hole for pale runners, root fragments, or a second crown. Fill the opening with the original soil, firm it lightly, and keep the surrounding flower’s crown uncovered.
Grass tangled with roots: work in sections
When grass grows through a perennial or shrub, do not try to win with one large tug. Start at the outer edge of the grass patch, expose a short section of the root or runner, and remove it a piece at a time. A small hand tool gives you feedback; a full-size shovel can slice through both the grass and the plant you want to keep.
If you find a runner under a flower, trace it only as far as you can do safely. Cut or breakage is not ideal for a rhizomatous grass, but damaging a mature flower’s crown can be worse. Remove the exposed sections, mark the area, and return for new shoots while they are still small.
For plants that can be lifted safely, such as a large dormant perennial, temporarily moving the plant may give you a cleaner reset. Do this only when the plant’s season and local conditions make transplanting reasonable. The goal is not to excavate every inch of soil around every flower; it is to remove enough of the grass’s growing structure without creating a second problem.
Large bare areas or a new bed: smother or remove sod
Sheet mulching is more useful when the area is bare or is being converted from lawn into a new bed. It is awkward around established flowers because cardboard or newspaper must be cut around stems, and a thick layer can interfere with water and air movement to existing roots.
For a future bed, Iowa State University Extension describes several options, including cardboard covered with organic mulch, heavy temporary mulch, and physical sod removal. The timing differs: sheet layers can take months to kill the vegetation beneath them, while sod removal is faster but more labor-intensive and can take topsoil with it.
Do not copy a new-bed method into an established border without adjusting it. Never bury plant crowns, cover woody stems with a thick wet layer, or assume a sheet under mulch will solve grass that is already growing through the root zone. In an established bed, selective hand removal and prevention are usually more controllable.
How to remove grass step by step in an established bed
The safest workflow is deliberately unglamorous. You are trying to remove a living plant while keeping the soil structure and the desirable root systems mostly undisturbed.
Prepare the bed and tools
Gather gloves, a hand fork or narrow trowel, a bucket or tarp, pruners for cutting dead foliage out of the way, and a hose or watering can. Clean soil from the tools before moving between beds, especially if you are also dealing with a plant disease or a known invasive weed.
Water the bed only if the soil is dry enough that roots are likely to snap. Aim for evenly moist soil, not a muddy surface. Clear loose mulch from the target crown so you can see where the grass enters the soil, and mark any plant that might be an ornamental grass before you begin.
Choose one manageable patch and finish it before moving across the bed. This prevents pulled fragments and loosened roots from being scattered everywhere. It also lets you compare the regrowth pattern in the cleared spot with the surrounding grass.
Lift roots without disturbing flowers
Find the grass crown, then insert the tool a short distance away from it. Lever upward gently while holding the base low; if the plant resists, loosen another side rather than increasing the force. The resistance is information: it may be attached to a runner, anchored by a rhizome, or wrapped around a desirable root.
Follow the grass’s structure with your fingers only after the soil is loose. Remove the longest visible runner or rhizome without tearing it through the middle when possible. If a fragment breaks, search the loosened soil for the piece and remove it, but do not keep digging under a flower’s crown just to chase one hidden inch.
Use shallow cultivation only in open spaces between plants. RHS guidance on nonchemical weed control supports hand removal and well-maintained lawn edges, while its mulch guidance emphasizes removing weeds before applying the mulch. Deep, repeated hoeing can damage roots and bring buried weed seeds closer to the surface.
Dispose of fragments and check again
Place pulled grass on the tarp or in a bag, particularly if it has seed heads or obvious rhizomes. Do not leave a rhizome-laden clump on the edge of the bed where rain can wash pieces back into the soil. If you are unsure whether the plant is invasive, follow local disposal guidance rather than adding it to a cool backyard compost pile.
Check the cleared patch weekly during active growth. New shoots tell you that a root fragment remains or that grass is entering from the lawn. Repeatedly removing young regrowth weakens the patch over time, while waiting for a tall clump makes every later removal more disruptive.
After the bed is clean, smooth the soil and replace only the mulch you need. Do not add a thick layer to hide a living patch. Mulch is the prevention step after removal, not a substitute for removing a rooted grass first.
Prevent grass from returning
The best long-term result usually comes from combining two boundaries: a surface boundary that blocks light and a physical boundary that makes lawn invasion easier to see and harder to cross. Neither is permanent by itself, especially where the neighboring turf spreads aggressively or the bed has open soil.
Mulch after removal
Apply mulch to weed-free, moist soil after pulling the grass. A 2- to 3-inch layer of shredded bark, wood mulch, leaf mold, or finished compost is a useful working range for many established ornamental beds. Penn State Extension’s mulch survey notes that mulch suppresses weeds and that layers above roughly 3 to 4 inches can reduce oxygen and water reaching plants; the RHS mulch guide gives a similar 2- to 3-inch range for effective biodegradable mulch.
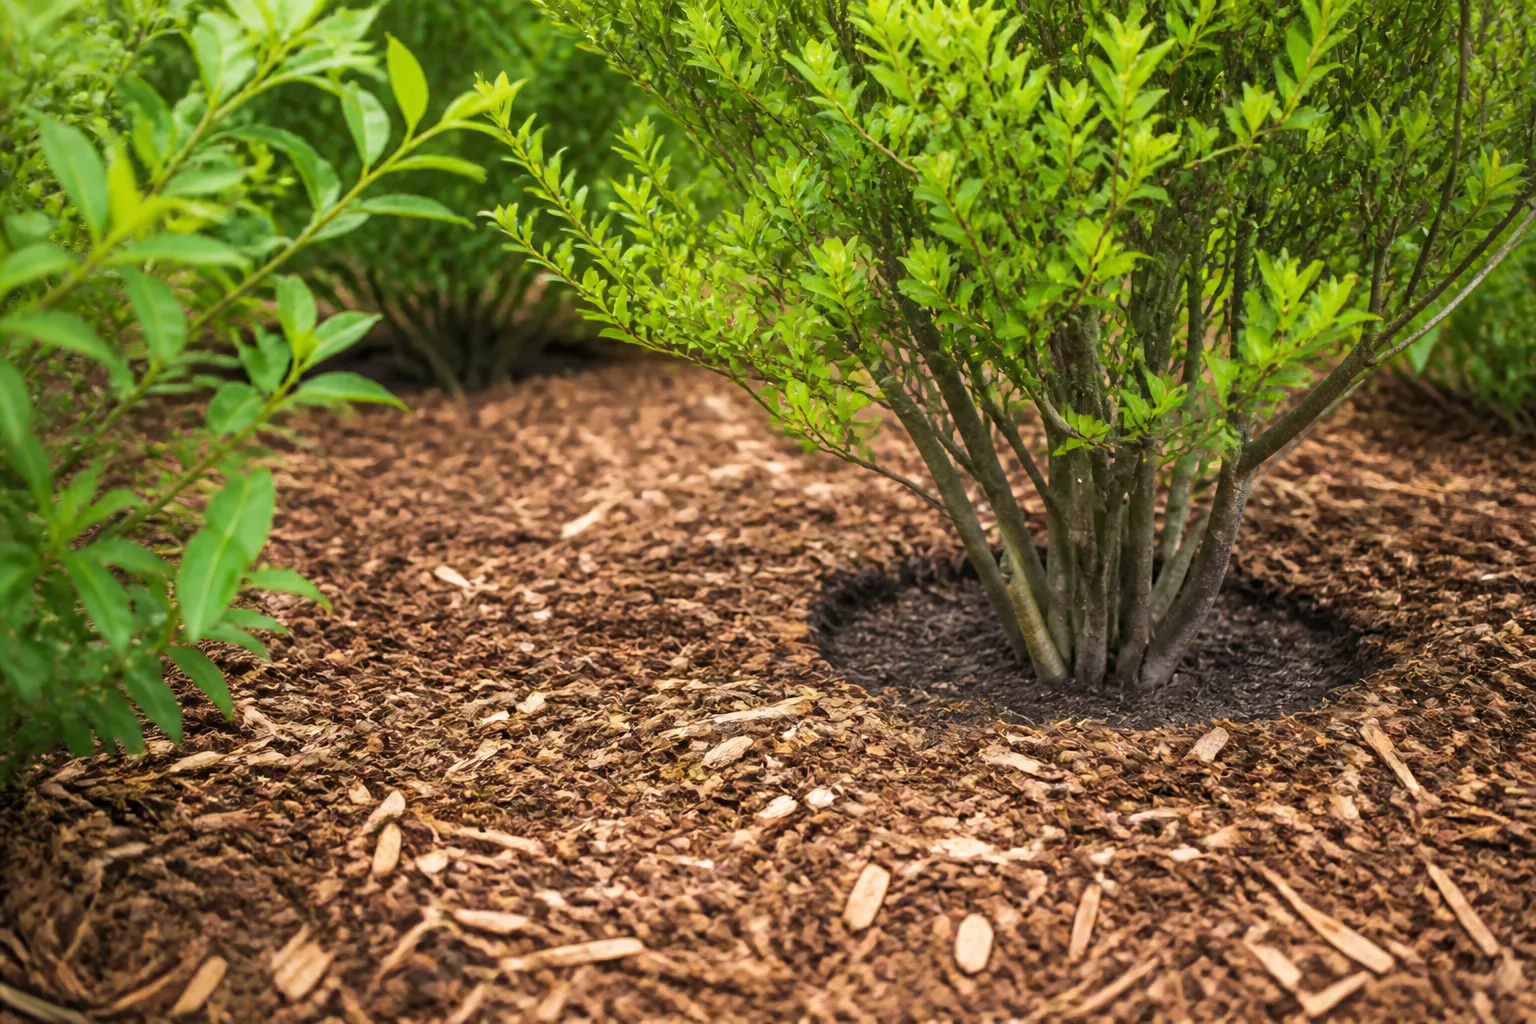
Spread the mulch evenly instead of piling it against stems. Leave a small open ring around woody trunks and herbaceous crowns so the base stays ventilated and visible. Mulch that is too thin lets light reach seedlings; mulch that is too thick can hold excess moisture, mat, interfere with rainfall, or create a new layer where weed seeds germinate.
Mulch blocks light and suppresses many seed-started weeds, but it does not reliably kill established perennial grass. The Wisconsin guidance specifically says that simply placing mulch over perennial weeds such as quackgrass will fail. Pull first, then mulch, and remove weeds that germinate in the mulch before they root deeply.
Avoid fresh grass clippings as a flower-bed mulch unless you know they are clean, dry, and being used in a thin layer appropriate for the bed. Clippings can mat, heat as they decompose, and introduce seed or herbicide residues. Shredded bark or a stable, labeled mulch is easier to apply evenly around established flowers.
Edge the bed and repair the lawn boundary
For grass arriving from the lawn, cut a crisp boundary with a sharp spade or half-moon edger. Make the cut where you want the bed to end, lift out the narrow strip of turf, and pull any runners exposed in the trench. A shallow surface line that is never cleaned will soften again as the lawn grows.
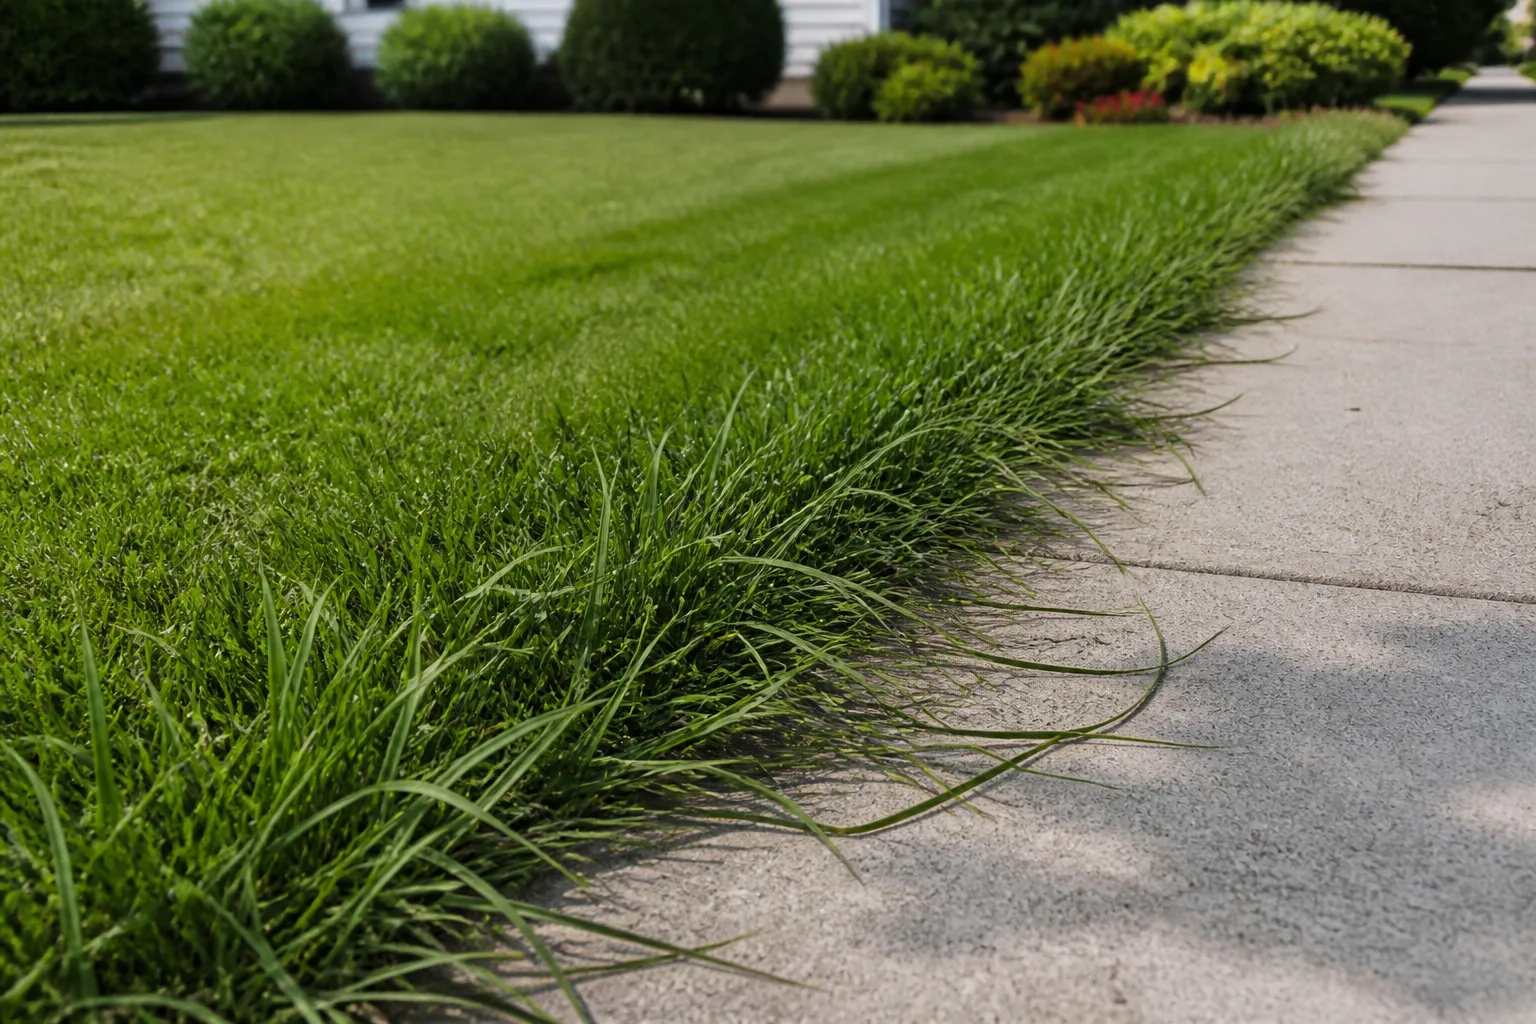
You can install metal, plastic, stone, or another suitable edging product when you need a visible and physical boundary. Choose the installation depth and material for your soil, bed shape, and grass type; no edging product stops every rhizome in every soil. The RHS notes that maintained lawn edges and edging strips help prevent grass and lawn weeds from creeping into borders, but the edge still needs inspection.
Keep mulch pulled back from the cut line so new runners are visible. After mowing, remove clippings that have landed in the bed, and check the boundary during the fast-growing season. A five-minute edge check is much easier than excavating a mature mat from between flowering plants.
Dense, well-chosen planting can also reduce bare soil where annual grass seedlings get started. Groundcovers are not a magic barrier against a creeping lawn, and some spread aggressively themselves, so choose plants that fit the bed and keep them within their intended space.
When pre-emergent or selective herbicide makes sense
Chemical control belongs after identification and prevention, not before them. It may be reasonable for a severe infestation, a difficult perennial grass, or a large bed where repeated hand removal is not feasible, but an established flower bed leaves little margin for drift or misapplication.
Pre-emergent products prevent seedlings; they do not kill established grass
Pre-emergent herbicides act on germinating seeds. They can reduce annual grasses such as crabgrass when applied at the correct time and to a site and plant list covered by the product label. They do not remove a grass already growing in the bed, and they do not solve a lawn grass rhizome creeping under the mulch.
Timing is regional and depends on the target weed, soil conditions, and label directions. Do not copy a calendar date from another climate. Avoid products where you are sowing flower seeds or planting unrooted plants unless the label specifically allows that use, because a product that prevents weed seedlings may also interfere with desirable seeds.
The University of Georgia’s guidance on weedy grasses describes pre-emergent products as a way to prevent annual grass seeds from growing and emphasizes that they do not control established weeds. It also stresses following the labeled rate and safety precautions. If the label does not list your ornamental species, bed use, and target grass, do not assume the product is safe because it is sold for lawns or gardens.
Selective post-emergent products still need a plant-by-plant check
Some grass-specific post-emergent herbicides are designed to control certain grassy weeds around many broadleaf flowers and shrubs. University of Georgia Extension lists active-ingredient options such as clethodim, fluazifop-P, and sethoxydim for some flower-bed situations, but “selective” does not mean safe for every ornamental, every cultivar, or every application method.
Read the current label for the exact ornamental plants, target grass, application site, rate, weather restrictions, re-entry rules, and any plant-back limits. Do not use a grass-specific product over ornamental grasses, liriope, or other grass-like plants unless the label explicitly covers them. If your bed contains a mixture of broadleaf flowers and monocots, the supposedly selective choice may still harm part of the planting.
Nonselective sprays are a last-resort precision job
A nonselective herbicide can injure any green tissue it contacts. Even a small amount of mist, splash, or residue on a desirable leaf may cause damage, and the wind does not need to feel strong for drift to matter. Use of a shield, wick, or brush may reduce contact in some labeled situations, but it does not turn a risky spray into a harmless one.
The EPA explains that pesticide labels are legally enforceable and that products must be used according to their directions. Follow the label, avoid windy or runoff-prone conditions, keep people and pets out as directed, and do not treat an area that the product is not labeled for. If you cannot isolate the grass from the flowers, manual removal or professional help is the safer decision.
Skip homemade vinegar, salt, bleach, and dish-detergent recipes
Homemade weed killers are a poor fit for an established flower bed. Household vinegar may burn very young leaves but is nonselective and generally unreliable against perennial grasses; stronger horticultural vinegar is caustic and still damages any plant tissue it contacts. Salt can persist in soil and injure future flowers, nearby turf, and tree or shrub roots.
The Penn State Extension warning about homemade weed killers explains why salt, detergent, bleach, and improvised vinegar mixes can harm soil, plants, people, or the environment. The University of Maryland’s comparison of vinegar and glyphosate likewise describes vinegar products as contact herbicides that burn contacted foliage, work best on young weeds, and do not reliably control perennial roots. A recipe is not safer merely because the ingredients are familiar.
Mistakes that bring grass back
Mulching over living grass. A fresh dark layer can make the bed look finished, but perennial grass can grow through it. Remove the rooted grass first, then use mulch to reduce new germination.
Pulling only the leaves. If the crown, stolon, or rhizome remains, the plant can return. Work at the base and inspect the soil rather than judging success by how clean the surface looks.
Chopping rhizomes with a hoe. Deep cultivation around flowers can sever roots and spread pieces of a perennial weed. Use shallow tools in open areas and hand work near desirable plants.
Using pre-emergent on a problem that already emerged. Pre-emergent products are prevention for germinating seeds. They will not erase a mature clump or a grass runner under the soil.
Spraying a lawn product into a flower bed. Lawn labels and ornamental-bed labels are not interchangeable. The crop, target weed, timing, rate, and plant safety list must match the place where you are applying it.
Trusting the word “natural.” Vinegar, salt, oils, and detergents can still burn desirable plants, injure skin, damage soil, or require repeated applications. Treat any pesticide, including a naturally derived one, as a product that needs a label and careful handling.
Leaving the boundary unfinished. If the lawn edge stays ragged, the original source keeps sending grass back. Re-cut the edge, remove runners from the trench, and inspect the bed before the next mowing cycle gets ahead of you.
Trying to make the bed perfectly bare. A healthy, full planting leaves fewer open spaces for annual seedlings, but chasing every blade can damage flowers and soil. Aim for controlled, manageable growth and remove the weeds that actually compete with or invade your plants.
Conclusion
To get grass out of a flower bed without hurting your plants, start with identification and manual removal. Work in moist soil, lift from the crown, trace runners or rhizomes where you safely can, and accept that a tangled patch may need several careful passes instead of one aggressive dig.
Once the bed is clear, apply a moderate mulch layer, maintain a crisp lawn edge, and check for small regrowth during active growth. Use pre-emergent products only for seed-started weeds and only when the label fits the bed; reserve selective or nonselective post-emergent herbicides for situations where you can identify the grass and protect every desirable plant. The combination of early removal, blocked soil, and a maintained boundary is what keeps the flowers safe and the grass manageable.



