How to Make an Orchid Terrarium in 7 Simple Steps
Learn how to make an orchid terrarium in 7 steps, from choosing a ventilated vessel and compatible plants to setting roots, watering, and preventing rot.
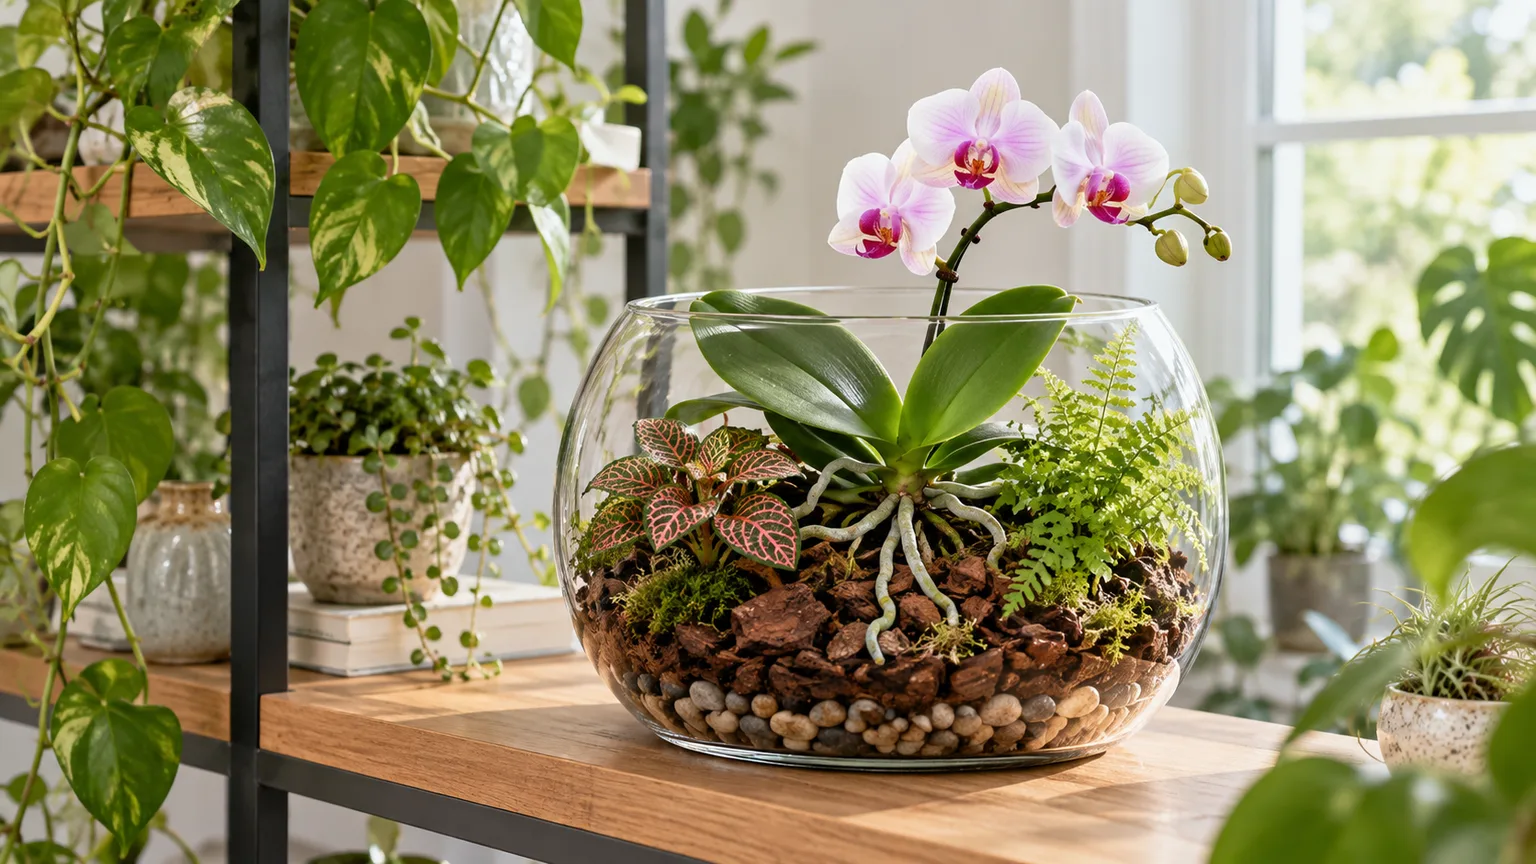
An orchid terrarium can be a lovely way to display a miniature orchid, but the glass does not make orchid care automatic. The plant still needs the right light and temperature, and its roots must get moisture without sitting in stagnant water. Start by matching the container to the orchid; for a common moth orchid, a wide, open vessel with the plant left in its draining nursery pot is usually easier to manage than a sealed jar.
The seven steps below build an attractive display while keeping the orchid removable for watering and inspection. That small design choice makes it much easier to correct moisture, airflow, or root problems before they spread.
Before You Build: Fit the Container to the Orchid
“Orchid” describes a huge family, not one set of care needs. Some orchids grow attached to trees, with exposed roots that need both wetting and air; others grow terrestrially in organic material. The New York Botanical Garden’s orchid guide distinguishes these growth habits and notes that light, temperature, humidity, and watering needs vary among genera. (New York Botanical Garden)
That variation changes what counts as a good terrarium. A small jewel orchid can suit a humid, planted display because it grows in a terrestrial medium, while an epiphytic Phalaenopsis is easier to keep healthy in an open arrangement with airy bark and roots that can dry between waterings. A sealed enclosure may suit a carefully chosen miniature species, but it is a poor default for a random grocery-store orchid. If the plant label does not identify the orchid, look it up or ask the grower before sealing it behind glass.
Step 1: Choose a Ventilated, Wide-Mouth Vessel
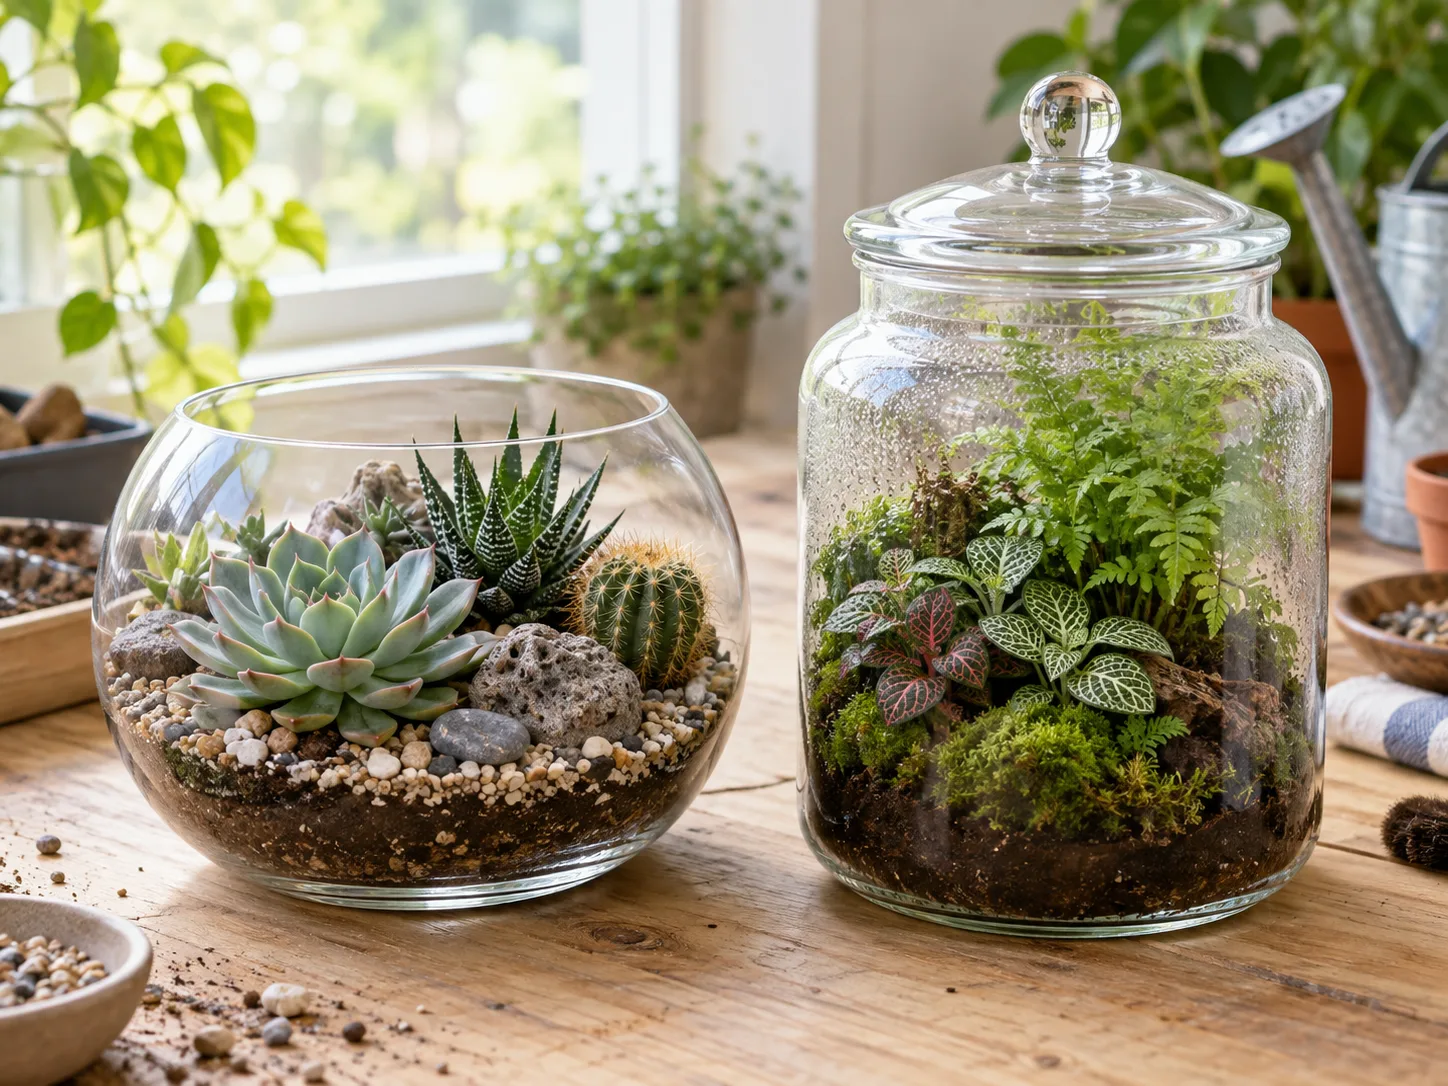
Pick the vessel after you know the plant’s mature size and preferred conditions. A broad bowl, glass cylinder, or vase with an open top makes planting and cleaning easier than a narrow bottle. Leave enough headroom for leaves and, if you want to keep the flower spike, room for the spike to rise without pressing against the glass. A container that is easy to reach into also makes it simpler to remove fallen leaves and check the root zone.
For a first terrarium with a Phalaenopsis, favor open glass. A removable lid or generous vent can work if the orchid and any companions need more humidity, but plan to open it whenever water remains on the glass or leaves for long periods. Avoid placing a lidded vessel in direct sun: glass can trap heat, and the enclosed space may become warmer than the room. Keep the finished display in bright, indirect light rather than using a sunny sill as a substitute for a grow light.
Step 2: Pick the Orchid Before the Companion Plants
The orchid should determine the size, light, and humidity of the display. Choose a compact, healthy plant with a growth habit that fits the vessel, not a full-size orchid that only looks small in its nursery pot. Check the label for the genus or hybrid name and look up its temperature and light range. The American Orchid Society’s terrarium article emphasizes matching species to the conditions the enclosure can actually provide, including ventilation, air movement, drainage, and light. (American Orchid Society, “Orchids in a Terrarium”)
For an accessible first project, a compact Phalaenopsis can be displayed in an open bowl while remaining in its perforated plastic pot. The pot can sit inside a larger decorative container, which keeps the orchid’s bark mix separate from the terrarium planting and lets you lift it out to water. A jewel orchid is another possibility for a more enclosed design, but it needs a terrestrial planting mix and should not be treated like an epiphytic moth orchid. Miniature orchids with narrow temperature or humidity requirements are beautiful choices only when you can maintain those conditions; “small” alone does not mean “terrarium-ready.”
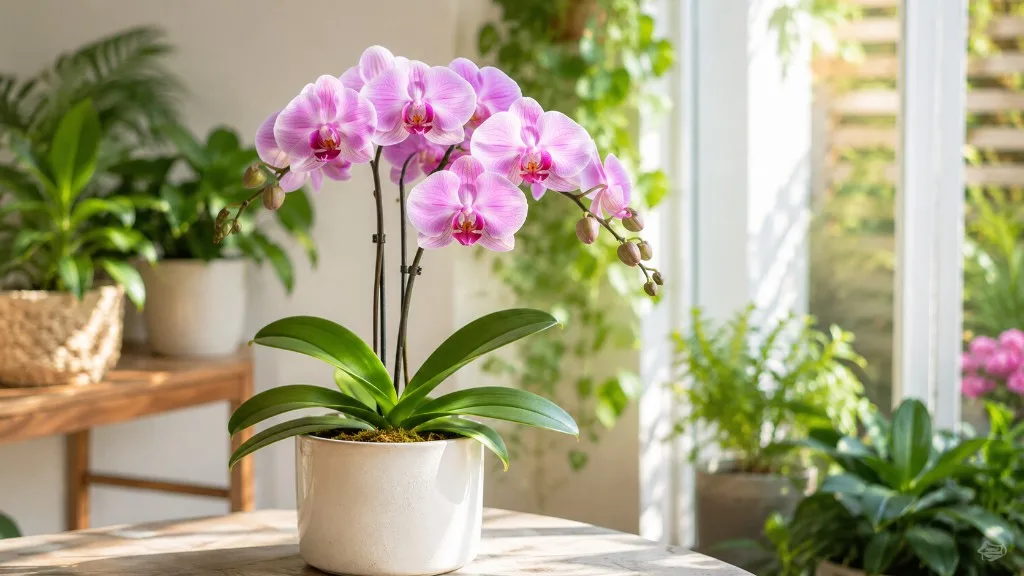
Reject plants with mushy black roots, a soft crown, pests, or a sour smell. An orchid that is already declining will not be rescued by extra humidity. If roots need attention, stabilize the plant in a ventilated pot first; add it to the display when new growth and watering are predictable.
Step 3: Choose Companions With Matching Care Needs
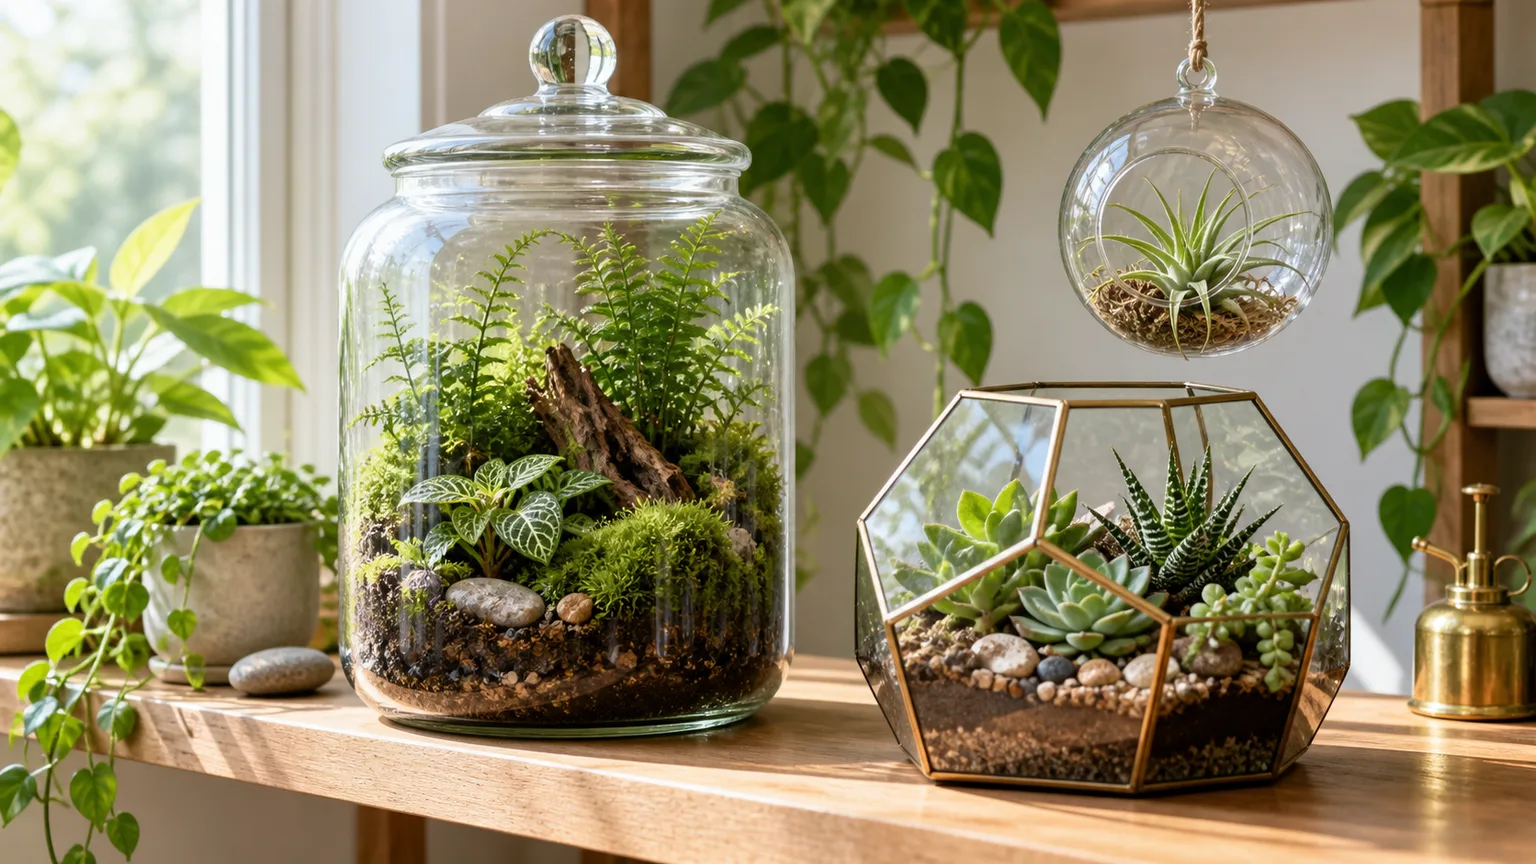
One orchid can be the whole focal point. If you add companions, keep the group small and choose plants that share the orchid’s preferred temperature, light, and moisture. A miniature fern, Fittonia, or a patch of live moss can add a woodland look to a humid arrangement, but those companions should not crowd the orchid or turn its root area into a wet mat. Keep terrestrial companions in their own planting pockets rather than mixing their finer medium into an epiphytic orchid’s bark.
Avoid combining plants simply because they look good together at the garden center. A sun-loving succulent and a humidity-loving fern do not belong in the same sealed container, and a vigorous groundcover can fill a small display before the orchid has room to grow. Leave visible space around leaves and roots so air can move, and so you can remove a plant without dismantling the whole arrangement. When uncertain, build the terrarium with the orchid alone and add a companion only after you know how quickly the vessel dries.
Step 4: Gather and Clean the Materials
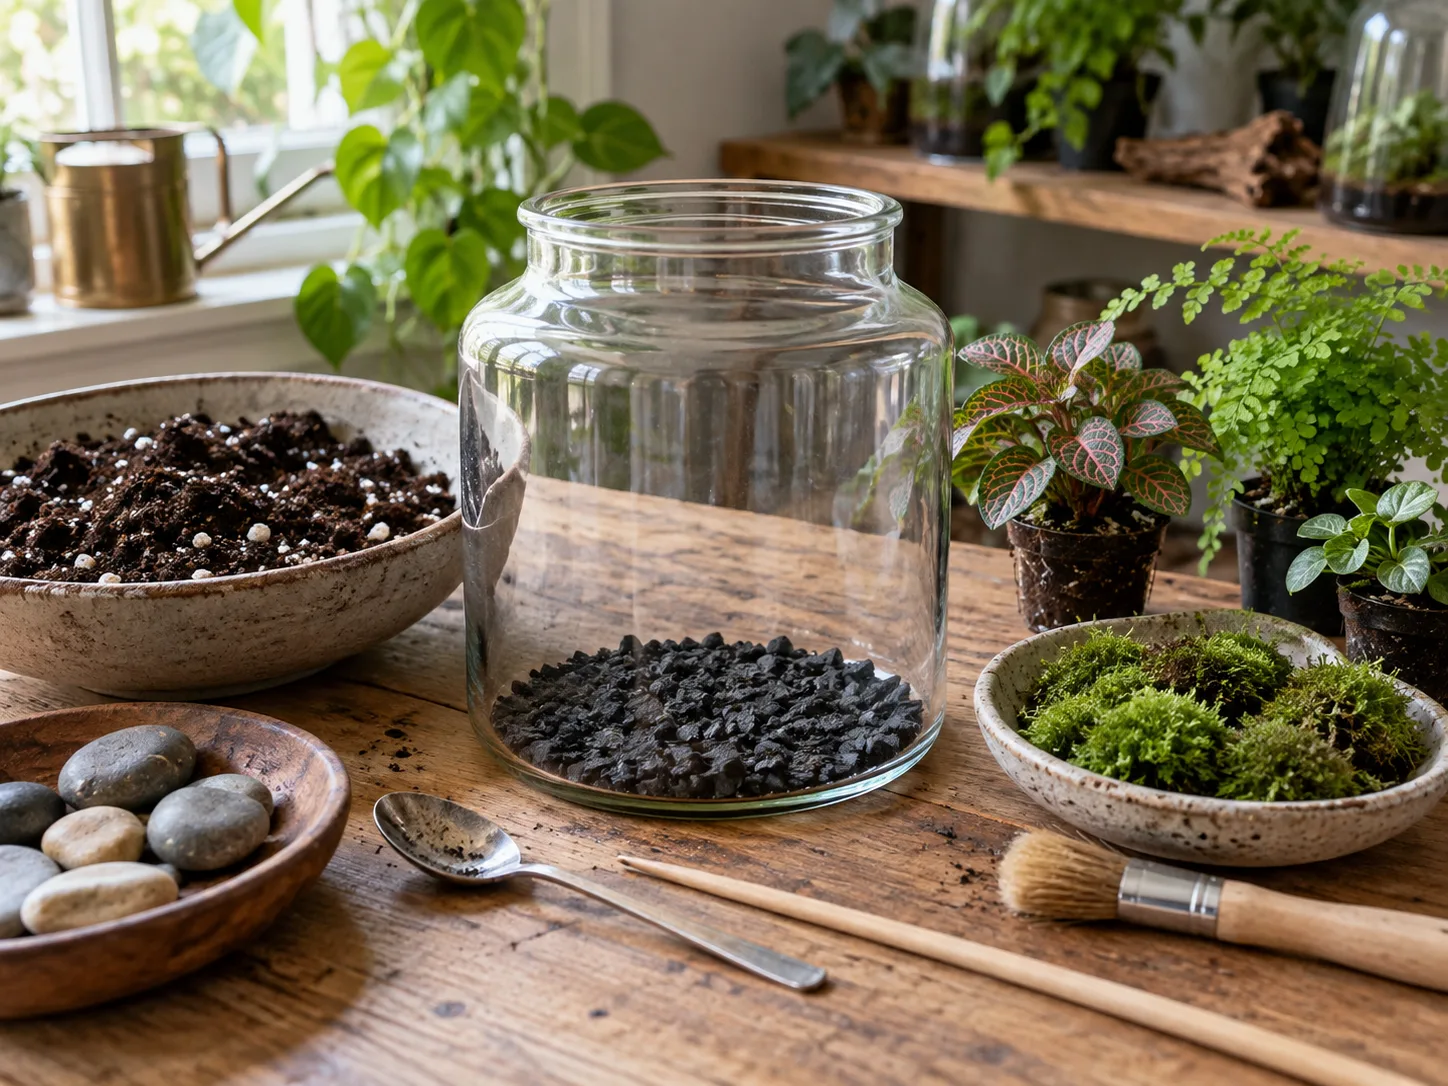
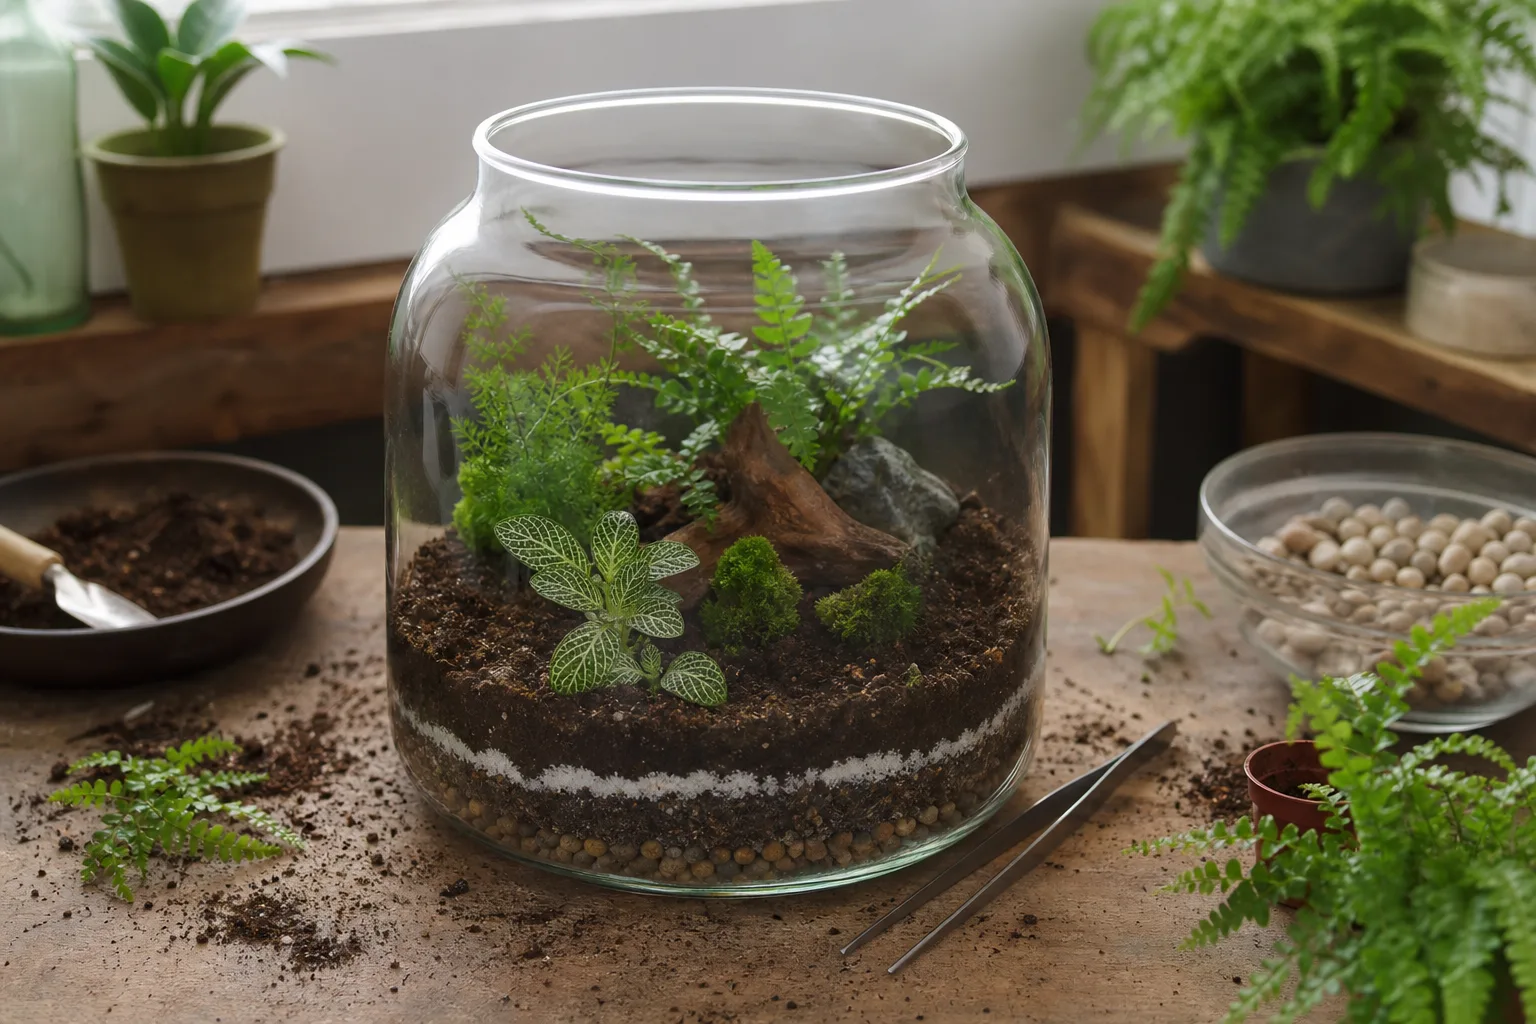
You will need a clear vessel, washed pebbles or LECA for a shallow lower reservoir, a piece of plastic mesh to separate layers, orchid bark or the species-appropriate medium, a small amount of live moss if wanted, and long tweezers or a chopstick for positioning plants. For an epiphytic orchid, use airy orchid bark rather than ordinary potting soil. A jewel orchid can use a finer but still open terrestrial mix. Decorative stone, cork, or driftwood is optional; avoid anything painted, scented, or treated with unknown chemicals.
Wash the empty vessel with warm water and dish soap, rinse it thoroughly, and let it dry. Rinse stones and reusable hardscape to remove dust. Clean tools before handling roots, and do not use a bleach solution unless you can measure, rinse, and dry it safely. Arrange the plants and hardscape outside the glass first. This dry run prevents you from having to twist leaves or press roots against the glass once the container is partly filled.
Step 5: Build a Shallow, Controlled Base
Most decorative glass vessels have no drain hole, so any excess water stays inside until you remove it. A layer of pebbles or LECA can hold a small amount of runoff below the planting area, but it does not make the vessel drain. Keep the reservoir shallow and leave enough height between its top and the orchid’s roots that water cannot wick into bark or touch the root zone. If the container is too short to create that separation, use the orchid in its own draining pot and keep the glass dry at the bottom.
Set the washed stones in the bottom, then lay plastic mesh over them so the planting medium does not sift into every gap. Add only enough medium for the plants you are actually planting. Do not make a deep, wet soil bed for an epiphytic orchid. A small mound can create a natural scene, but keep it away from the crown and preserve the air spaces around bark. If water collects below, it should remain visibly separate from the orchid’s roots; plan to siphon or sponge out excess rather than letting a permanent puddle develop.

Step 6: Set the Orchid Without Burying Its Crown
For the easiest-to-manage setup, keep a Phalaenopsis in its ventilated nursery pot with its existing orchid bark. Lower that pot into the glass vessel, hide the rim with a little decorative moss if desired, and angle the leaves toward the open space. This makes it possible to lift the orchid out, water at a sink, let it drain completely, and return it without soaking the companions or the terrarium base. Do not pack soil or moss around the nursery pot’s drainage holes.
If you plant an epiphytic orchid directly in the terrarium, use coarse bark or mount it to cork or clean wood rather than burying it in dense soil. Spread roots gently; do not force dry roots into a tight curve or cut firm roots just to make the plant fit. Keep the crown—the point where the leaves meet—above the medium and keep water from pooling there. For a terrestrial jewel orchid, set the roots in its own airy pocket at the depth it occupied in its nursery pot, with the leaves and crown at the surface.
Step 7: Add Companions, Water, and Place the Terrarium
Plant the smallest companions after the orchid is stable. Tuck a little live moss into open spaces, but do not mound it over roots or press it against the orchid’s crown. Keep plant leaves from touching wet glass where possible, and leave a gap between the foliage and the vessel wall so you can prune and clean it later. Add hardscape last, checking that rocks cannot tip onto leaves and that driftwood does not block access to the orchid.
Water the orchid according to its type and medium, not by flooding the finished display. For a potted Phalaenopsis, remove the inner pot, water the bark thoroughly, allow it to drain, then return it to the glass. For a directly planted orchid, apply water to the root medium in small amounts and stop before water reaches the lower reservoir. The American Orchid Society describes ventilation, circulation, drainage, and light as core terrarium design needs; its examples involve purpose-built enclosures, so do not copy a high-frequency misting system into a small decorative bowl without matching the orchid and setup. (American Orchid Society)
Place the finished vessel where it receives bright, indirect light and where you can reach it easily. A clear container magnifies the effect of direct sun and makes it harder to notice heat until leaves are stressed. Over the first week, watch the glass and the medium before adding more water. A little short-lived condensation can happen when room temperatures change; constant fog, dripping glass, or a wet crown means the display needs more air or less water.
Care for the Terrarium After Planting
An orchid terrarium needs less decoration and more observation. The plant’s label and growth habit are better guides than a general terrarium schedule. Keep the orchid accessible, remove dead leaves promptly, and check whether the bark or planting mix is drying at the expected rate. If you cannot inspect the roots or reach the base to remove water, simplify the design before a problem develops.
Light and Temperature
Match light and temperature to the orchid’s identity. The New York Botanical Garden notes that Phalaenopsis and Paphiopedilum generally need less light than Vanda or Cattleya, while orchid temperature preferences range from cool to warm growers. (New York Botanical Garden) This is why there is no single ideal window or terrarium bulb for every orchid. Bright indirect light is a reasonable starting point for many household moth orchids, but a miniature species may need a cooler location, more humidity, or supplemental lighting.
Keep the vessel away from hot glass, radiators, cold drafts, and heating vents. If the orchid’s leaves feel unusually warm or the enclosure heats noticeably during the day, move it farther from the window. For grow lights, follow the plant’s light needs and the fixture instructions, and leave enough distance to prevent heat buildup inside the glass.
Air Movement and Condensation
Humidity is not the same as wetness. Orchids can appreciate humid air while still needing roots that exchange air and leaves that dry after watering. The American Orchid Society explains that ventilation brings fresh air into an enclosure, while circulation moves air within it; those are related but different functions. A small open vessel provides passive ventilation, but a sealed jar does not become well-ventilated just because it is clear.
Use condensation as a clue, not a target to maintain. BBC Gardeners’ World Magazine recommends monitoring condensation and airflow in ordinary closed terrariums, but orchids may need more air exchange than a typical fern-and-moss jar. (BBC Gardeners’ World Magazine) If the glass stays fogged all day, crack or remove the lid, reduce watering, and check that no leaves are rotting against the wall. Do not respond by misting more often; that adds water without solving stale air.
Water, Fertilizer, and Cleanup
Water only when the orchid’s medium is approaching the dryness appropriate for its type. Bark in a small inner pot dries differently from moss, a mounted orchid, or a jewel orchid in a planted bed, so use root color, pot weight, and medium feel together. Many Phalaenopsis roots look greener after watering and silvery as they dry, but color alone is not enough to diagnose every orchid. If the plant is potted, remove it to water and let excess run out before putting it back.
If you fertilize, use an orchid fertilizer according to its label and avoid letting concentrated solution sit in the reservoir. Do not fertilize a dormant or stressed orchid to force growth. Wipe algae from the glass, remove fallen petals and leaves, and trim companions before they shade the orchid or block airflow. BBC Gardeners’ World Magazine likewise recommends removing dead or moldy material and opening a closed terrarium briefly when mold appears; keep that cleanup routine gentle so you do not disturb healthy roots.
Open, Vented, or Closed: Which Style Is Safest?
An open terrarium is the most forgiving choice for many common epiphytic orchids because excess humidity can escape and the orchid can be removed for watering. It is still not a pot with drainage: use a shallow reservoir, keep roots above it, and manage any water that collects. An open-top bowl with an orchid in its own inner pot is a practical balance between display and control.
A vented or partially covered terrarium can hold humidity while allowing some exchange. It may suit a humidity-loving orchid if you can adjust the opening and monitor how long leaves and glass remain wet. A fully closed terrarium is a more specialized project. Consider it only when the orchid’s light, temperature, humidity, and airflow requirements are known and the enclosure can provide them. A sealed jar is not a shortcut for making an ordinary orchid easier to grow.
The American Orchid Society’s 2025 discussion of orchids in terrariums focuses on purpose-built systems with managed ventilation, circulation, drainage, and lighting. That is useful evidence for the conditions orchids need, but it is not a claim that every decorative container can reproduce them. For general terrarium care, Gardeners’ World also separates open and closed containers because their light, moisture, and watering behavior differ. Choose the simplest enclosure that meets the orchid’s needs and remains easy for you to inspect.
Troubleshoot the First Signs of Trouble
Make one correction at a time and start with the root zone. A decorative setup can hide water or decay below the leaves, so lift out a potted orchid and inspect the roots before changing fertilizer, light, and watering all at once. Healthy roots should feel firm; soft, hollow, or collapsing roots call for a closer look at medium condition and drainage.
Fog, Mold, or a Musty Smell
Persistent fog, beads of water that keep running down the glass, or a musty smell usually means the vessel holds too much moisture for its airflow and planting mix. Open the enclosure, pause watering, remove dead plant material, and check whether the lower reservoir has filled. If water touches the bark or roots, siphon it out and raise the inner pot or rebuild the base. If the mix itself is sour or decomposing, move the orchid into fresh, airy medium rather than trying to mask the smell with charcoal or more stones.
For a small patch of surface mold, remove the decaying leaf or wood that feeds it, wipe the glass, and leave the lid open until the surface dries. If mold returns, reduce crowding and inspect below the surface; repeated wiping treats what you can see, not the wet conditions that caused it. Do not spray fungicide inside a decorative terrarium unless the product label permits that exact use and you can protect the orchid and other plants.
Soft Roots or a Declining Orchid
Lift the orchid from the vessel and check the roots and crown. If the root covering is slimy or the center of the plant is soft, remove dead material with clean tools and move the orchid into a ventilated pot with fresh, species-appropriate medium. Keep the crown above the mix and let the plant dry at the rate its type requires. A badly rotted crown may not recover, so focus on preserving any firm roots or healthy growth rather than adding more humidity.
If leaves wrinkle while the medium stays wet, do not assume the orchid needs more water. Damaged roots cannot take up water normally, and extra watering can worsen the problem. Stabilize the root system first, then adjust light or watering only after the plant has resumed healthy growth. Keep a struggling orchid out of the terrarium until you can maintain its needs consistently.
Conclusion
The best orchid terrarium is the one that gives the chosen orchid enough light, suitable humidity, and a root zone that does not stay stagnant. Start with a ventilated, wide-mouth vessel, choose the orchid before the decorative plants, use an airy medium, and keep the plant removable when possible. Those choices make the display easier to build and much easier to correct.
After planting, observe the roots, glass, and moisture before watering again. If the vessel stays foggy, smells sour, or holds water around the roots, open it, remove excess water, and simplify the arrangement. For a deeper orchid routine, see our indoor orchid care guide; for general terrarium layers and planting, use the DIY terrarium step-by-step guide.