How to Grow Succulents From Seeds, Step by Step
Learn how to grow succulents from seeds, from choosing viable seed and surface-sowing tiny grains to balancing humidity, light, watering, and potting on.
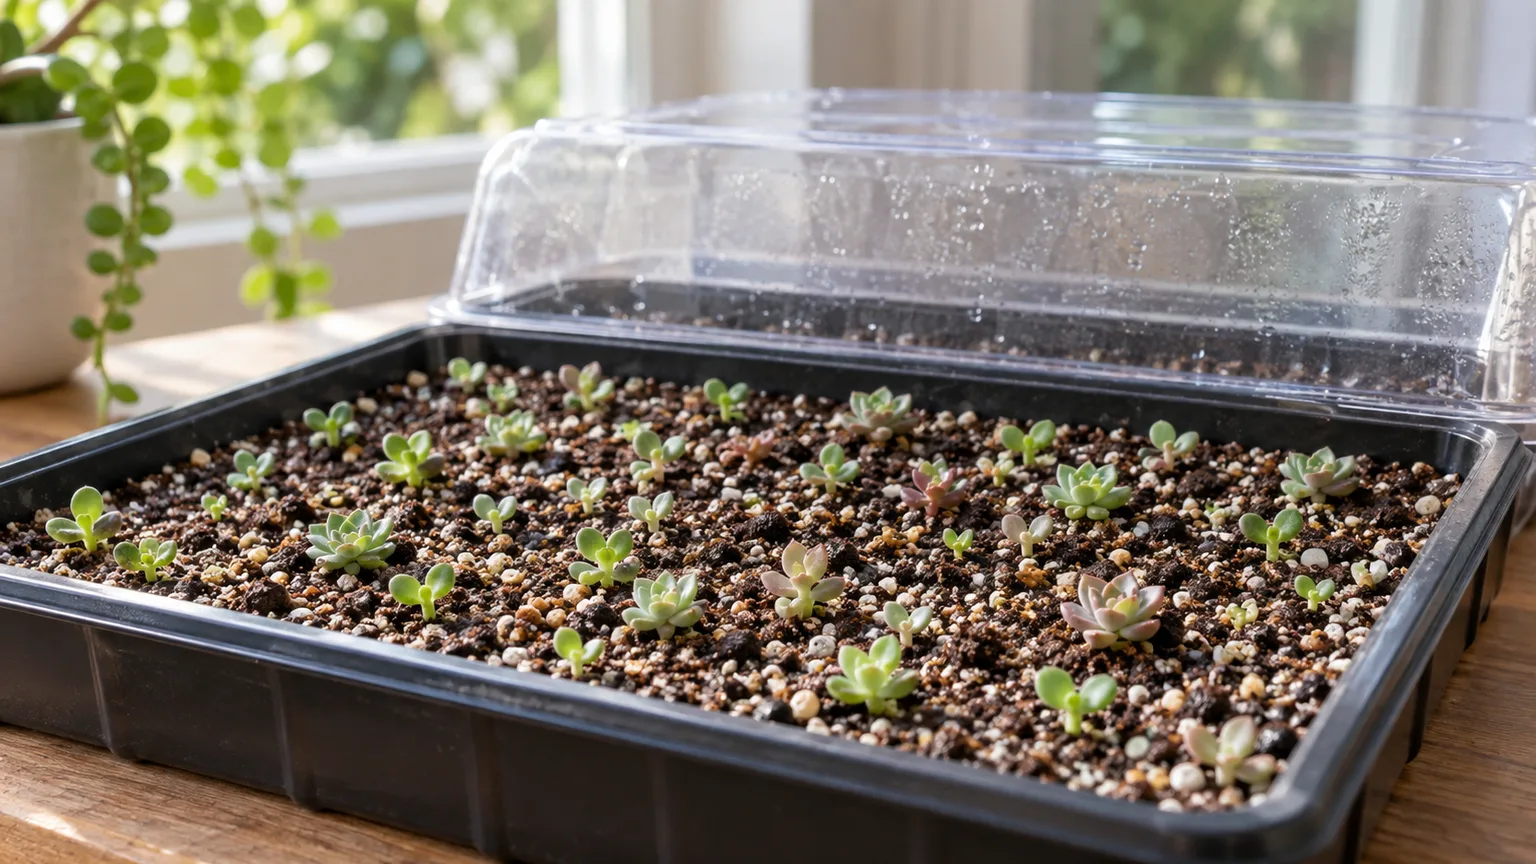
Growing succulents from seed rewards patience more than special equipment. The seeds can be so small that a breath or heavy splash scatters them, and young seedlings need steadier moisture than the drought-tolerant plants they will eventually become. Choose the species first, follow its packet where it differs from general guidance, and treat germination and seedling care as two separate stages.
Seed propagation is also not the fastest way to make more of a succulent you already own. If you want a predictable copy of a named plant, offsets, stem cuttings, or leaf cuttings are often better; seed is valuable when you want genetic variation, a species that is hard to find, or the pleasure of raising a plant from its earliest stage. The Royal Horticultural Society (RHS) notes that many cacti and succulents can be grown from seed, but its advice varies by seed size and makes clear that seedlings may take many months to reach handling size. RHS’s succulent growing guide is a useful baseline, not a substitute for instructions for a named species.
Is seed propagation right for your goal?
Start by deciding what you want from the project. A tray of mixed Sempervivum or Echeveria seedlings can produce a range of forms and colors, while seed from a hybrid or cross-pollinated plant may not resemble the parent at all. That variation is part of the appeal for collectors who enjoy surprises; it is frustrating if you are trying to reproduce one exact cultivar.
For a reliable duplicate, use a vegetative method suited to the plant. The RHS describes leaf cuttings for some Echeveria and Crassula, and offsets for clump-forming succulents. Seed growing asks for more monitoring and usually takes longer before a plant can stand on its own, so it makes most sense when the process or genetic variety is the point—not when you need a finished plant by a deadline.
Pick viable seed and a suitable succulent
Buy from a specialist or otherwise traceable seed supplier that names the genus or species and provides sowing directions. A packet that identifies the plant, collection or packing date, and any special preparation is more useful than an unlabeled “rare succulent mix.” Tiny succulent seed can be difficult to identify once poured out, so keep each packet separate and label its tray before opening it.
Good first choices are not simply the most famous succulents; they are the ones whose seed you can source fresh and whose requirements you can meet. Echeveria, Sedum, Haworthia, Aloe, Kalanchoe, and Sempervivum are examples discussed in Epic Gardening’s overview of succulents grown from seed. Compare the named plant’s light, temperature, and seasonal needs with your growing space before ordering. If you collect seed from your own plant, wait for the seed pod or fruit to mature and follow species-specific handling notes; do not collect from wild plants unless collection is permitted and ecologically appropriate.
When to sow succulent seeds
For many home setups, sowing in spring gives seedlings a long stretch of increasing light and active growth before winter. The best window still depends on species, hemisphere, indoor conditions, and when a seed pod ripens. If the supplier recommends another season, dormancy treatment, or a specific temperature cycle, follow that rather than forcing every succulent into a generic spring schedule.
Indoors, you can sow outside the usual outdoor season if you can provide appropriate light and stable warmth. That does not erase seasonal differences: a cool-growing species may dislike a warm shelf, and a tray started in dim midwinter light may produce weak growth even if seeds germinate. The RHS germination guide shows how widely seed requirements can vary across plant species, which is why packet instructions should control details such as covering, temperature, and pre-treatment.
Set up a clean tray and seed-size-friendly mix
Use a shallow seed tray or small pots with unobstructed drainage holes. Clean reused containers with soap and water, rinse them well, and start with fresh, fine-textured seed-starting mix or a suitable peat-free seed compost amended with a modest amount of fine grit. The medium needs both air spaces and enough fine material to hold a thin film of moisture around the tiny seeds; a coarse adult succulent mix can leave seeds perched between large particles, while dense garden soil may stay airless when covered.
Fill the containers without packing the mix hard, then moisten it evenly before sowing. The surface should be damp throughout, not shiny with standing water. A fine top layer of horticultural sand or fine grit can level the sowing surface and help you see tiny seed, but avoid coarse stones that create deep gaps. The RHS recommends peat-free seed compost with grit or sharp sand for cactus and succulent seeds, while Gardeners’ Path’s seed-starting guide emphasizes using a finer medium than the one used for mature plants.
Set out the whole kit first: a clean tray, label, packet, fine mister or bottom-watering tray, and a clear cover. If you are sowing two species, use separate containers or clearly divided cells; their germination pace and ideal cover-removal timing may differ. Write the botanical name and sowing date on the label before the seeds are out of the packet.
Sow tiny seeds at the right depth
Read the packet before you sow. Many succulent seeds are small enough that they should sit on the surface or receive only the thinnest dusting of fine material; large seed may need a light covering. The RHS advises leaving small seeds uncovered and covering larger ones with grit. Do not bury tiny seeds by habit: some require light to germinate, and a deep layer can trap them below the surface even when moisture is right.
To spread very fine seed without dumping it in one spot, fold a clean piece of paper into a shallow channel and tap it gently over the mix. You can also mix the smallest seeds with a pinch of dry, fine sand to make individual grains easier to see. Sow one species per tray, avoid clumps where possible, and press the seed lightly into contact with the surface without pushing it down into the medium.
Use a fine mist or a gentle bottom-water from below to settle the seed. A direct stream from a watering can can float seeds into corners or wash them under the mix. If several seeds land together, resist the urge to rearrange every one; disturbing them repeatedly is more likely to damage the surface than improve spacing. Keep the packet until germination so you can check any species-specific notes again.
Keep moisture high without waterlogging
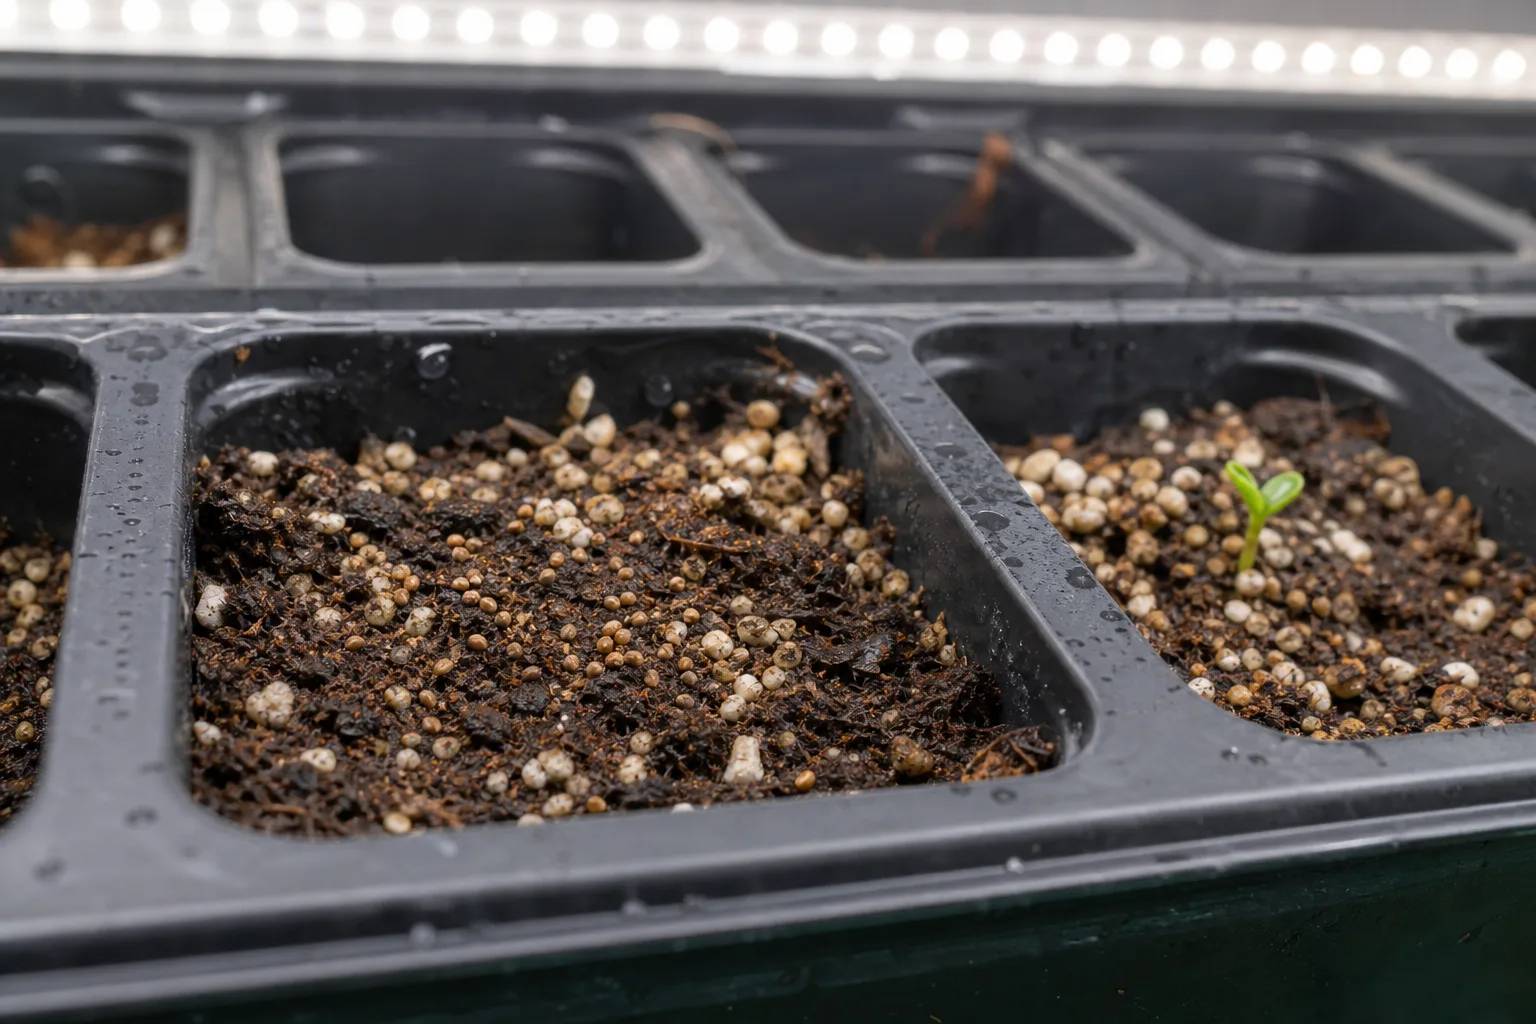
Most seed trays dry too quickly if left uncovered in a warm room, so a clear dome, lid, or loose transparent cover helps maintain more even humidity. It should be easy to remove or vent, and it should not press on the mix. A few droplets on the inside are normal; persistent heavy condensation running down the sides suggests the tray may be too wet or too stagnant.
The aim is a consistently damp surface during germination, not a flooded pot. Check the tray rather than following a fixed misting schedule: a small tray in a warm, bright spot dries faster than a cool tray away from sun. If the surface is still dark and moist, leave it alone. If it is drying, add moisture gently or bottom-water briefly, then drain away any water left in the outer tray.
The cover is a moisture buffer, not permission to seal wet soil indefinitely. Brief daily ventilation lets humid air exchange and gives you a chance to notice mold or algae early. Good sanitation, fresh mix, modest watering, and airflow are more useful prevention than trying to sterilize household soil with an improvised high-heat recipe.
Give seeds bright light and steady warmth
Put the covered tray in a bright place out of direct, hot sun. Light from a bright window or a suitable grow light can support germination and prepare seedlings for growth, but a clear lid in strong sun can heat the enclosed air and dry or cook the surface quickly. Avoid placing the tray on a radiator or in a closed greenhouse where temperature swings are difficult to judge.
The RHS gives about 21°C (70°F) as a practical temperature for its general cactus and succulent seed method. That is a starting reference, not a universal optimum: species differ, and some packets specify a cooler night, a warm period, or a dormancy treatment. Use a thermometer near the tray if the room fluctuates, and use a heat mat only when the actual conditions and the species guidance call for one. Too much bottom heat under a continuously wet cover can cause problems rather than solve them.
Once seedlings appear, keep light bright but filtered at first. The seedlings are small and their leaves have little reserve; moving them straight from a closed, sheltered tray to an exposed south-facing window creates a sudden change in both light and evaporation. Make one adjustment at a time so you can tell whether the plants are responding well.
How long succulent seeds take to germinate
There is no dependable single germination deadline for “succulents.” Some seeds may show activity in days, while others take several weeks or longer; age, species, temperature, moisture, light requirements, and any dormancy period all affect the result. The Epic Gardening seed-growing guide likewise stresses that germination and growth vary by type, and the RHS notes that succulent seedlings can take up to 12 months to become large enough to handle.
Watch for a tiny root or pale-green cotyledons lifting the seed coat, not just for a recognizable rosette. Early growth may look like two minute leaves, a nub, or a short stem, depending on the plant. Record the first emergence date on the label; if a tray germinates unevenly, you will know whether the last few seeds are still within the expected window.
If nothing has appeared, do not uncover the whole tray and dig through the mix after a few days. Check the species instructions and the basics first: is the surface still damp, is the tray warm enough for that seed, and did you cover a seed that needed light? If the packet’s full germination period has passed, sowing a small backup batch from a fresh, correctly labeled source is safer than repeatedly disturbing the first tray.
What to do when seedlings appear
Once a few seedlings emerge, inspect the tray daily but make small changes. Keep the medium evenly moist, leave the cover in place while most of a same-species batch is still germinating, and begin venting so stagnant air does not persist. Where germination is widely staggered, sowing the species in separate cells or containers makes it easier to give early seedlings air without drying seeds that have not sprouted.
Do not expect a seedling to look like its mature parent. Cotyledons often appear before the characteristic succulent leaves, and the plant may take time to form its first recognizable rosette or fleshy growth. Use the label and sowing record to keep track of it, and resist thinning or transplanting while it is still too small to handle without damaging the root.
If the seed coat stays attached, do not pull it off. It often loosens as the seedling grows; tugging at it can injure the tiny leaves beneath. Focus instead on steady light, clean air, and moisture at the mix surface. This early stage is about building roots and true leaves, not pushing rapid growth with fertilizer or stronger sun.
Vent the cover gradually
As seedlings emerge, increase airflow in stages rather than removing the lid all at once. Start by opening vents or lifting one edge briefly, then lengthen the uncovered periods over several days. The exact pace depends on the room: warm, dry air pulls moisture from a seedling faster than cool, humid air, so watch the plants and medium rather than obeying an arbitrary number of days.
If leaves lose firmness or seedlings begin to wilt shortly after you open the cover, close it partway and slow the transition. If mold appears or condensation stays heavy, increase ventilation and correct excess water instead of keeping a sealed, saturated environment. A gradual change gives roots time to support the plant as atmospheric humidity falls.
When most of the batch is growing actively and the seedlings remain upright with the cover open for longer periods, remove it. Continue checking the surface more often during this transition because uncovered mix can dry quickly. Keep the tray out of direct sun until the seedlings have adjusted to ordinary room conditions and stronger light has been introduced gradually.
Water seedlings differently from mature succulents
New seedlings are not miniature versions of drought-tolerant adult plants. Their roots occupy only a small patch of medium, and their leaves cannot store as much water, so allowing the tray to dry completely between waterings can set them back. Keep the surface lightly and evenly moist while roots are establishing, then gradually let the top layer dry a little more between waterings as growth becomes sturdier.
Use a fine mister, a squeeze bottle with a narrow stream, or careful bottom-watering to avoid knocking seedlings over. For bottom-watering, add a shallow amount to the outer tray, let the mix wick it up, and remove the container when the surface becomes evenly moist. Do not leave the seed pots standing in water. If the tray is still wet from the previous check, skip watering rather than misting by the calendar.
As seedlings develop several true leaves and a stronger root system, transition toward the watering pattern appropriate for that species. The interval will change with pot size, light, temperature, and the mix; there is no reliable “once a week” rule for every setup. Only after the plant is established should you use the mature-succulent approach of watering thoroughly and allowing the growing medium to dry more between waterings.
Adjust light and start feeding carefully
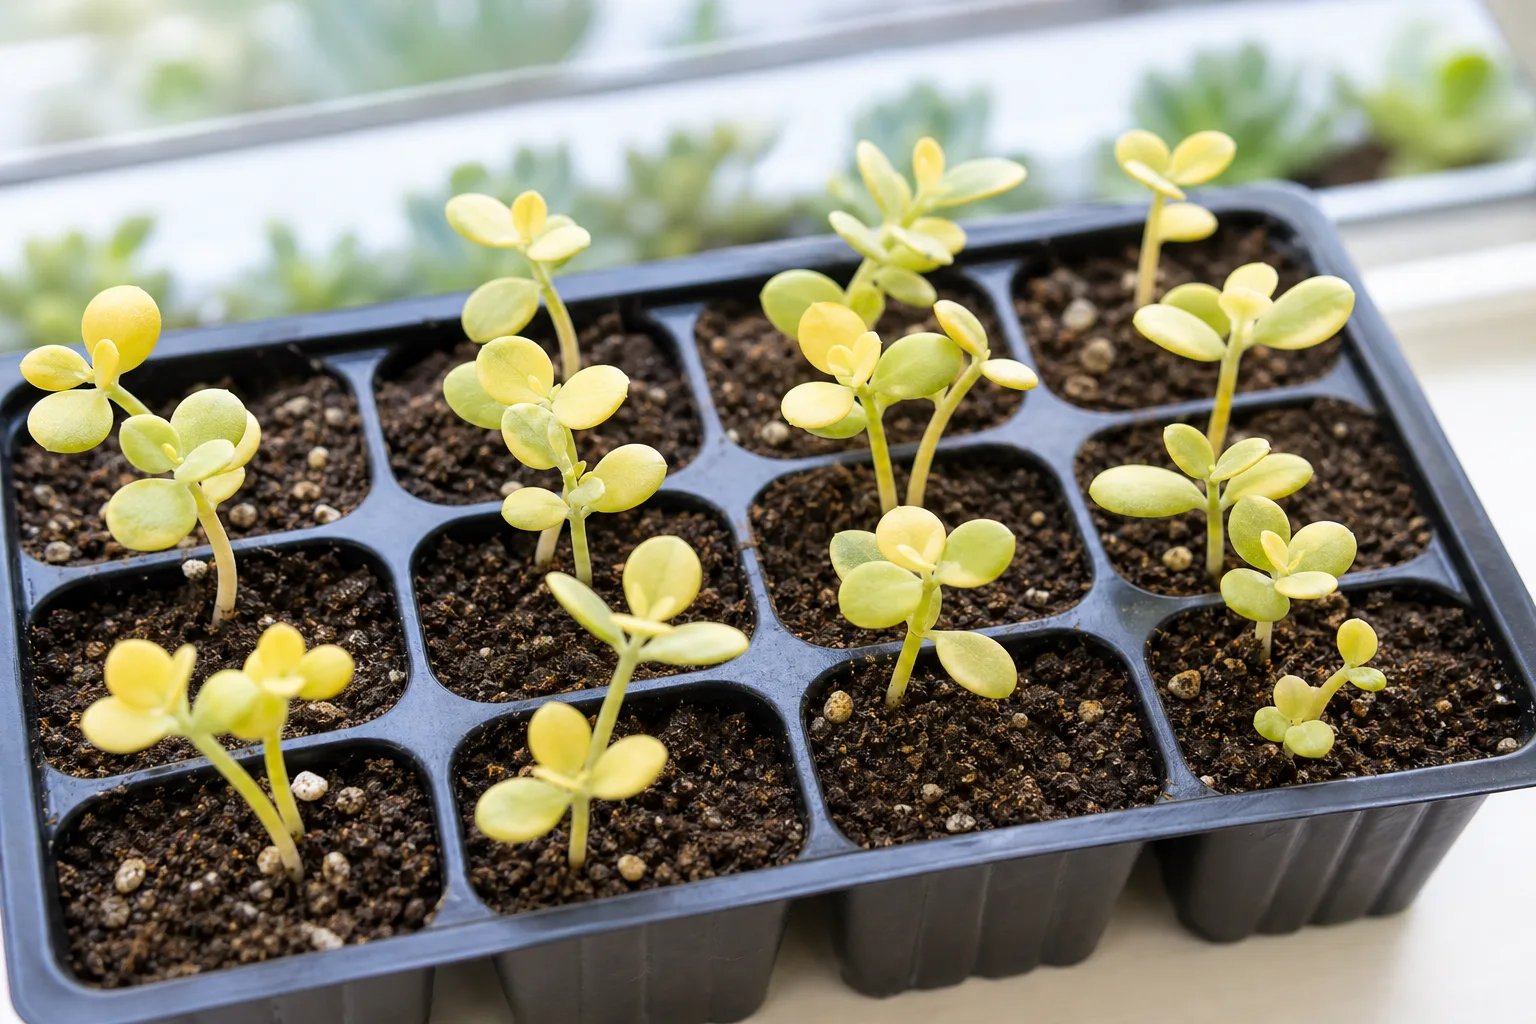
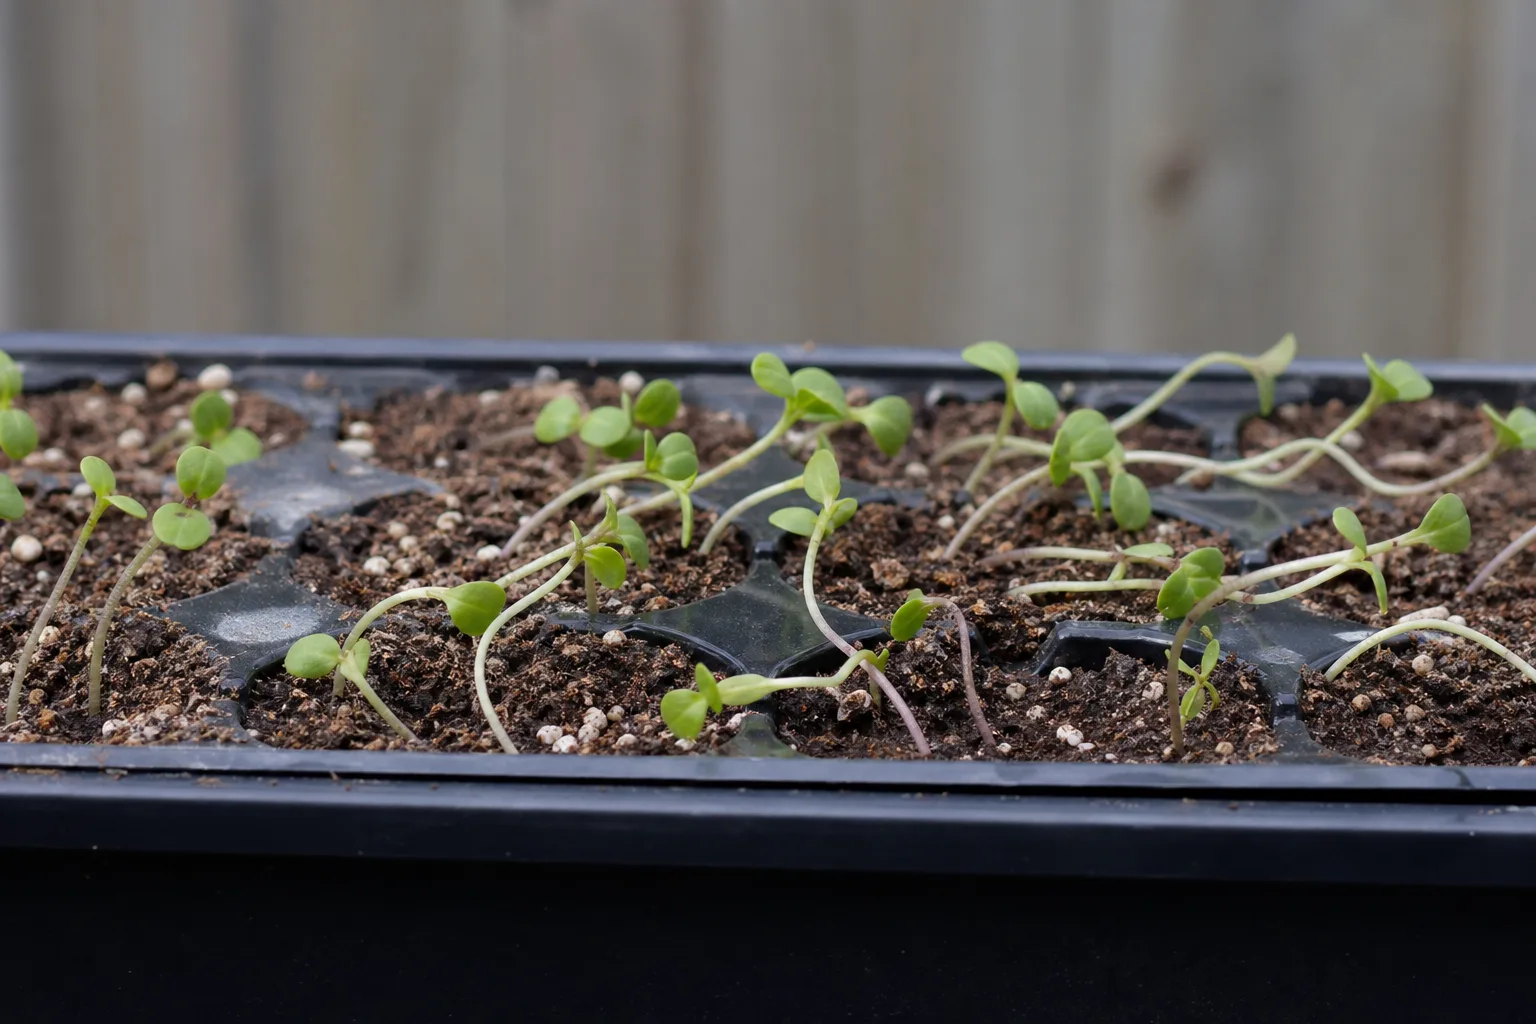
If seedlings lean strongly toward one side, rotate the tray and improve the light source. Stretched stems and unusually long gaps between leaves often point to insufficient light; raise light exposure gradually rather than placing a covered tray into full sun. Pale color can have multiple causes, including normal early growth, so look for a pattern across the tray and consider recent changes before changing fertilizer or water.
Wait until seedlings are established and producing new growth before considering a dilute, balanced fertilizer. Seed leaves and early seedlings can be damaged by concentrated salts, and fertilizer cannot make up for low light, cold conditions, or roots sitting in wet mix. Follow the product label at a conservative dilution appropriate to young plants, and stop if growth turns soft or stretched.
Some species naturally grow slowly, so lack of dramatic size change does not automatically signal trouble. Keep a simple record of sowing, emergence, cover removal, and feeding; comparing new growth across a few weeks is more informative than inspecting the plant hour by hour. If the seedling remains firm and makes gradual progress, stable conditions are usually better than frequent interventions.
When to transplant seedlings
Transplant when a seedling is large enough to lift without pinching its stem or roots, has developed true leaves, and is beginning to crowd its neighbors or fill the container. The calendar alone is not a good trigger. The RHS notes that getting succulent seedlings to handling size can take up to 12 months, and Gardeners’ Path describes a similar long first year before many seedlings are ready to pot on; small or slow-growing species may need more time.
Prepare small pots with drainage and a mix suited to the mature plant. Moisten the seed tray lightly beforehand so roots and medium hold together, then lift under the root area with a narrow label, spoon, or dibber. Handle a seedling by a leaf or the small plug of mix rather than squeezing its stem, and avoid pulling hard on delicate roots.
Set each plant at the same depth it was growing before, firm the mix gently, and keep it in bright indirect light while it settles. Do not immediately give a freshly moved seedling a drastic change in sun, dryness, or temperature. Once it resumes growth and the root ball holds together, transition it toward species-appropriate adult care.
Move seedlings outdoors gradually
If the species is suitable for outdoor culture in your climate, wait until the seedlings are sturdy and local temperatures are appropriate. Some succulents tolerate cold and winter wet better than others; “succulent” describes water-storing plants, not one universal hardiness zone. Check the species name, local frost pattern, and drainage before planting a young seedling outdoors.
Acclimate indoor-grown plants over several days to a couple of weeks. Begin in a sheltered bright-shade spot, then increase exposure to morning sun and outdoor air in small steps. Protect the tray from hard rain, strong wind, and hot afternoon sun while it adjusts. If leaves bleach, scorch, or wilt, move it back to gentler conditions and slow the transition.
For a tender succulent, a pot that can return indoors may be safer than a permanent garden bed. Outdoor placement is a later decision; first let the roots establish and learn the plant’s actual tolerance. This is especially important for seedlings that have spent their entire lives under a humidity lid or grow light.
Troubleshoot stalled, leggy, moldy, or collapsing seedlings
When growth stalls, change one condition at a time. Check the seed packet, surface moisture, tray temperature, light, and whether the seed was buried. Old or incorrectly identified seed, insufficient light, a cold setup, or a species that needs a different treatment can all look like “bad soil.” If some seedlings are growing normally, leave those alone while you troubleshoot the unsprouted portion separately.
Fuzzy growth on the mix or persistent green film usually means the surface is staying wet with too little airflow. Open the cover more, stop unnecessary misting, drain the outer tray, and remove badly affected debris without scraping up healthy roots. If seedlings topple at the soil line and the base looks pinched or soft, damping-off or rot is possible; isolate the affected area, improve airflow, and avoid applying household remedies or fungicides without a product labeled for that use.
Long, thin growth usually points to inadequate light, while scorched patches after a sudden move suggest excessive direct sun. Wrinkling can follow a dry surface, damaged roots, or abrupt cover removal; check the mix before watering because wilt in saturated media can also signal root trouble. A clear photo and notes about recent changes make diagnosis easier than adding water, fertilizer, and heat all at once.
Common mistakes that undo a good sowing
The most common preventable errors are burying tiny seeds, letting water pool under the tray, and putting a covered container in strong sun. Each can be avoided with a label, a level damp surface, an easy-to-vent cover, and a place that stays bright without becoming hot. Keep different species separate when possible so their distinct instructions and germination timelines do not get mixed up.
Another trap is following mature-succulent advice too early. Adult plants often need a pronounced dry-down, but newly germinated seedlings have shallow roots and may need steadier moisture. Reverse the error and keep the medium saturated, however, and roots lose air and stems may collapse; “moist” means evenly damp, not waterlogged.
Finally, avoid promising yourself a finished plant by a set date. Succulent seedlings develop at different rates, and the transition from germination to a transplantable plant can take months. Slow progress is not a reason to dig up the tray or feed heavily. Maintain a stable setup, compare growth over time, and intervene only when the evidence points to a specific problem.
Conclusion
To grow succulents from seed, match the method to the species: use fresh, identified seed; sow at the depth the packet recommends; and provide a fine, well-drained medium that can stay evenly moist without becoming saturated. A clear cover helps during germination, but daily checks and gradual ventilation keep the tray from becoming a stagnant greenhouse.
After seedlings emerge, keep them moist enough to establish roots, give them bright but initially gentle light, and delay transplanting until they are sturdy enough to handle. Seed propagation is slow and variable, but it can produce a rewarding range of plants that cuttings cannot. If your priority is an exact copy or quick result, choose a suitable offset or cutting instead; if you want the full seed-to-succulent experience, consistent care and patience are the real tools.