How to Make Compost in 4 Practical Steps
Learn how to make compost at home with a four-step routine for choosing a bin, balancing browns and greens, managing moisture, and spotting finished compost.
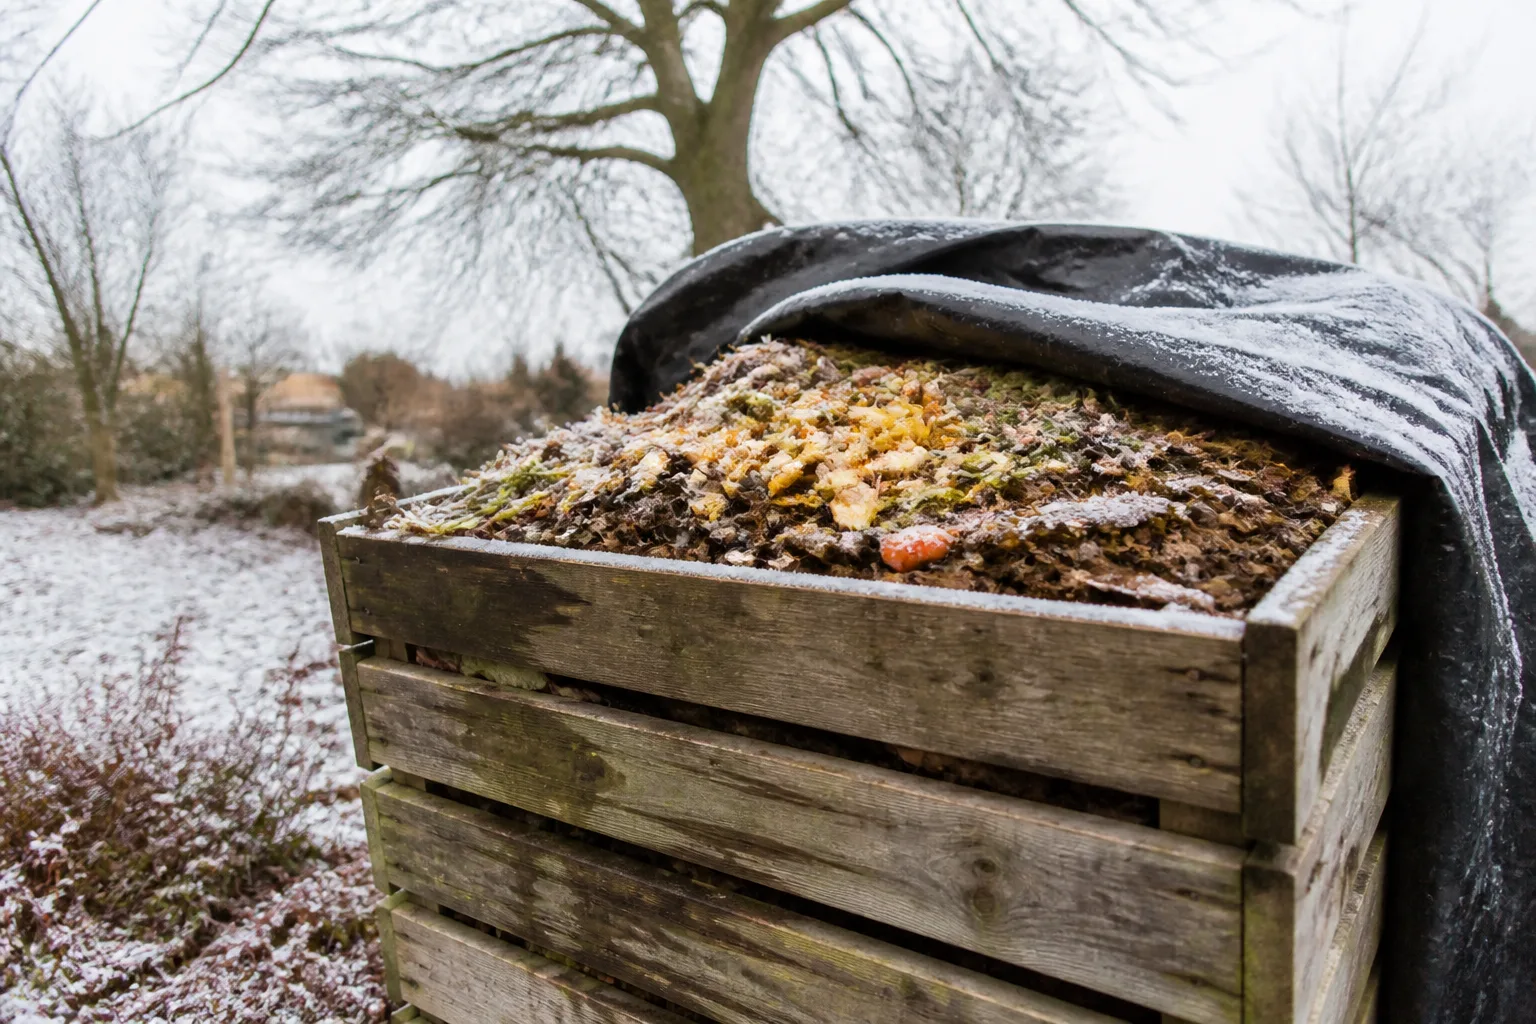
Start with a bin or heap you can reach easily, mix kitchen scraps and fresh plant waste with dry leaves or shredded cardboard, keep the pile as damp as a wrung-out sponge, and give it enough air and time to mature. That is the core of home composting. You do not need a special additive, a strict calendar, or a perfect-looking layered cake; you need a workable balance that fits the materials you actually have.
The key is to treat compost as a living process and adjust it by feel. A pile with lots of juicy scraps needs more dry, bulky material than one built mostly from autumn leaves. A small, rarely turned pile can still make useful compost, but it will not behave like a large, actively managed hot pile. These four steps help you set expectations, start simply, and correct problems before they turn into a soggy or neglected heap.
What composting can do for your soil
Compost is decomposed organic matter, not simply a pile of kitchen leftovers and not a guaranteed complete fertilizer. Finished garden compost is most useful as a soil improver: mixed into or spread over soil, it adds organic matter and can improve structure, air movement, and the soil’s ability to hold moisture. The Royal Horticultural Society describes garden compost as a soil improver and mulch, and distinguishes it from seed-starting or potting compost made for growing plants in containers (RHS composting guidance).
That distinction sets a sensible goal. You are making a stable material that supports soil, not manufacturing a uniform bag of nutrients. The exact nutrient content depends on what went into the pile and how it decomposed, so compost does not replace a soil test or a fertilizer recommendation when a crop has a specific nutrient need. It can still be valuable even when it does not look like fine black potting mix: a few twiggy pieces can be screened out and returned to the next batch.
Choose a setup that fits your space and routine
A simple heap works if you have room and do not mind an open pile. A lidded bin keeps material contained and can make it easier to cover food scraps, while a tumbler is convenient to rotate but has limited capacity and usually works best when you load it with a reasonably complete batch. You do not need to buy a system before you know how much material your household produces; a basic enclosure or an open pile can work if it drains, stays accessible, and gives you a way to mix or remove the material.
Think about the routine you will actually follow. If you cook daily but have few leaves, save dry leaves or plain shredded cardboard beside the bin so you can cover each addition. If you make a lot of yard waste at once, a larger bay or two-bin setup lets one pile mature while you add fresh material to the other. A very small bin can still break material down, but its smaller mass is less likely to heat and may take longer than a roomy pile.
Pick the site before the bin
Choose a level spot that is easy to reach with a kitchen pail, hose, and fork. A shady or partly shaded location helps the pile dry out less quickly in hot weather; siting it on bare soil can help drainage and let soil organisms move into the pile. The RHS recommends a sheltered, accessible location and notes that compost bins work best when they balance rain protection, warmth, drainage, and air. NC State Extension similarly advises putting a compost bin somewhere accessible and shaded, near the garden where you plan to use the result (NC State Extension).
Make access part of the plan, not an afterthought. Leave enough room to lift the lid, turn the pile, or get a shovel underneath it, and check local rules if you share a property or live under a homeowners’ association. If you regularly add food scraps and wildlife is a concern, a close-fitting, rodent-resistant bin is more practical than an open heap. The City of Eugene recommends a tight-lidded, rodent-resistant container and keeping a backyard bin at least 10 feet from a property line; local guidance can vary, so follow your municipality’s rules where they are stricter (City of Eugene backyard composting).
Choose a continuous pile or a batch
With a continuous pile, you add material as it becomes available. It is convenient for everyday kitchen scraps, but fresh additions keep getting mixed with older, partly finished material; harvest from the bottom only if the older layer is clearly mature. Store a small container in the kitchen, then cover each deposit with dry leaves, shredded cardboard, or another brown material rather than leaving scraps exposed on top.
A batch pile starts with a substantial supply of ingredients added together and then mostly left to decompose. It is easier to turn the whole pile and judge readiness at once, but it requires collecting and storing enough material before you start. Neither approach is inherently better: choose continuous composting for steady small amounts, or a batch if you can gather a large mix and want a clearer start-to-finish cycle.
How to make compost in four practical steps
The four actions are straightforward: prepare a base and materials, balance the ingredients, moisten the pile as you build it, and maintain air while it matures. A fork, a hose or watering can, and a place to keep dry browns are enough for most backyard setups. More equipment can make handling easier, but it cannot compensate for a pile that is waterlogged, packed tight, or made from one ingredient alone.
Step 1: Build a base and collect suitable material
If you are using a bin on soil, set it on the prepared site and keep the lower opening clear. A loose base of small twigs or coarse stems can help air move below dense ingredients, but it is not mandatory; a design with a ventilated base already provides airflow. Keep long branches out or chop them, since large woody pieces can remain recognizable long after the softer contents have finished.
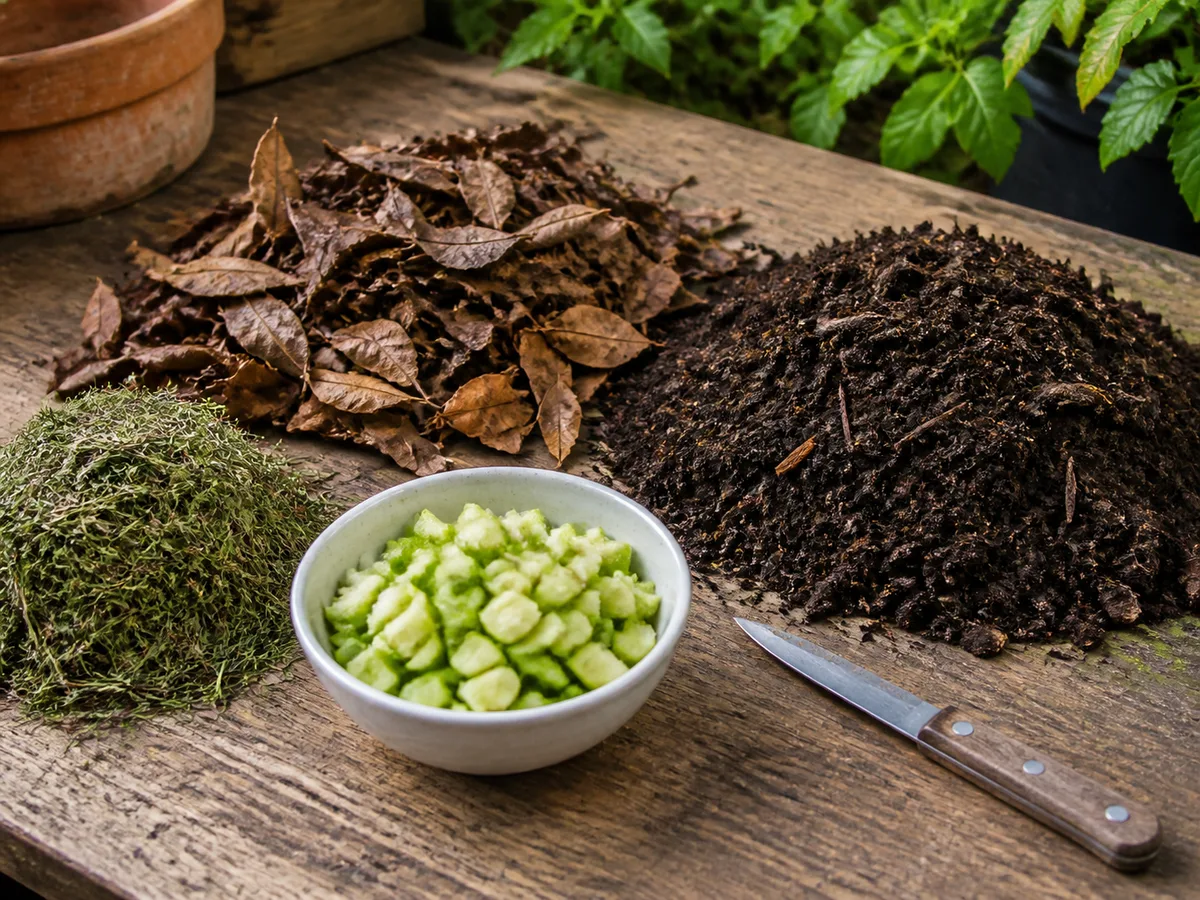
Gather a mix of fresh, moist material and dry, bulky material before building. A useful beginner habit is to keep a bag of dry leaves or a box of plain torn cardboard near the compost area. That reserve makes it easy to cover wet kitchen scraps immediately, and it prevents a common stall: adding bucket after bucket of food waste without anything to absorb moisture or keep the pile open.
Step 2: Mix greens and browns by texture, not a rigid ratio
“Greens” and “browns” describe useful material roles, not a color test. Greens are usually moist and relatively nitrogen-rich, such as fruit and vegetable scraps, coffee grounds, fresh plant trimmings, and grass clippings. Browns are generally drier and carbon-rich, including dry leaves, straw, shredded plain cardboard, and chopped dead stems. The RHS lists green and brown materials this way, while Better Homes & Gardens uses about three parts browns to one part greens by volume as one practical hot-pile starting recipe (RHS; Better Homes & Gardens).
Treat that number as a starting point, not a law. A bucket of wet grass clippings brings much more water and nitrogen than the same bucket of dry leaves brings carbon; shredded cardboard packs differently from fluffy leaves, and a large pile loses moisture differently from a small covered bin. For a first mix, try roughly two or three loose volumes of dry browns for each volume of wet greens, then adjust: add browns if scraps clump, drip, or smell sharp; add a little green material if the pile is dry, fibrous, and barely changing. Gardening Know How also cautions beginners not to worry about exact precision in its practical ratio guidance (Gardening Know How composting guide).
Chop bulky pieces into smaller chunks so more surface is exposed to decomposers, but do not grind the entire pile into a dense paste. Tear cardboard into strips, break up matted leaves, and mix grass clippings with leaves instead of adding a thick wet blanket. Small, diverse pieces usually settle and decompose more evenly than whole squash, intact branches, or a compressed layer of lawn clippings.
Step 3: Moisten as you layer the pile
Add ingredients in manageable loose layers, mixing some as you go rather than preserving a rigid stack. A layer of browns at the bottom can absorb liquid; alternate damp greens with browns and finish kitchen deposits with a covering of dry material. The aim is not to build perfectly even stripes. You want different ingredients spread through the pile, with enough coarse material left to keep air spaces open.
Check moisture with your hand. Take a handful from the middle and squeeze: it should feel like a wrung-out sponge, damp but not releasing a stream of water. If it is dusty or leaves crumble without feeling cool and moist, sprinkle water over the material while mixing; if it drips or feels slick, add dry browns and turn the wettest clumps apart. The City of Eugene’s backyard guidance likewise recommends evenly moist material and occasional stirring to add air (City of Eugene).
Do not water by the calendar. Rain, sun, wind, bin design, and the amount of food waste all change how quickly a pile dries.
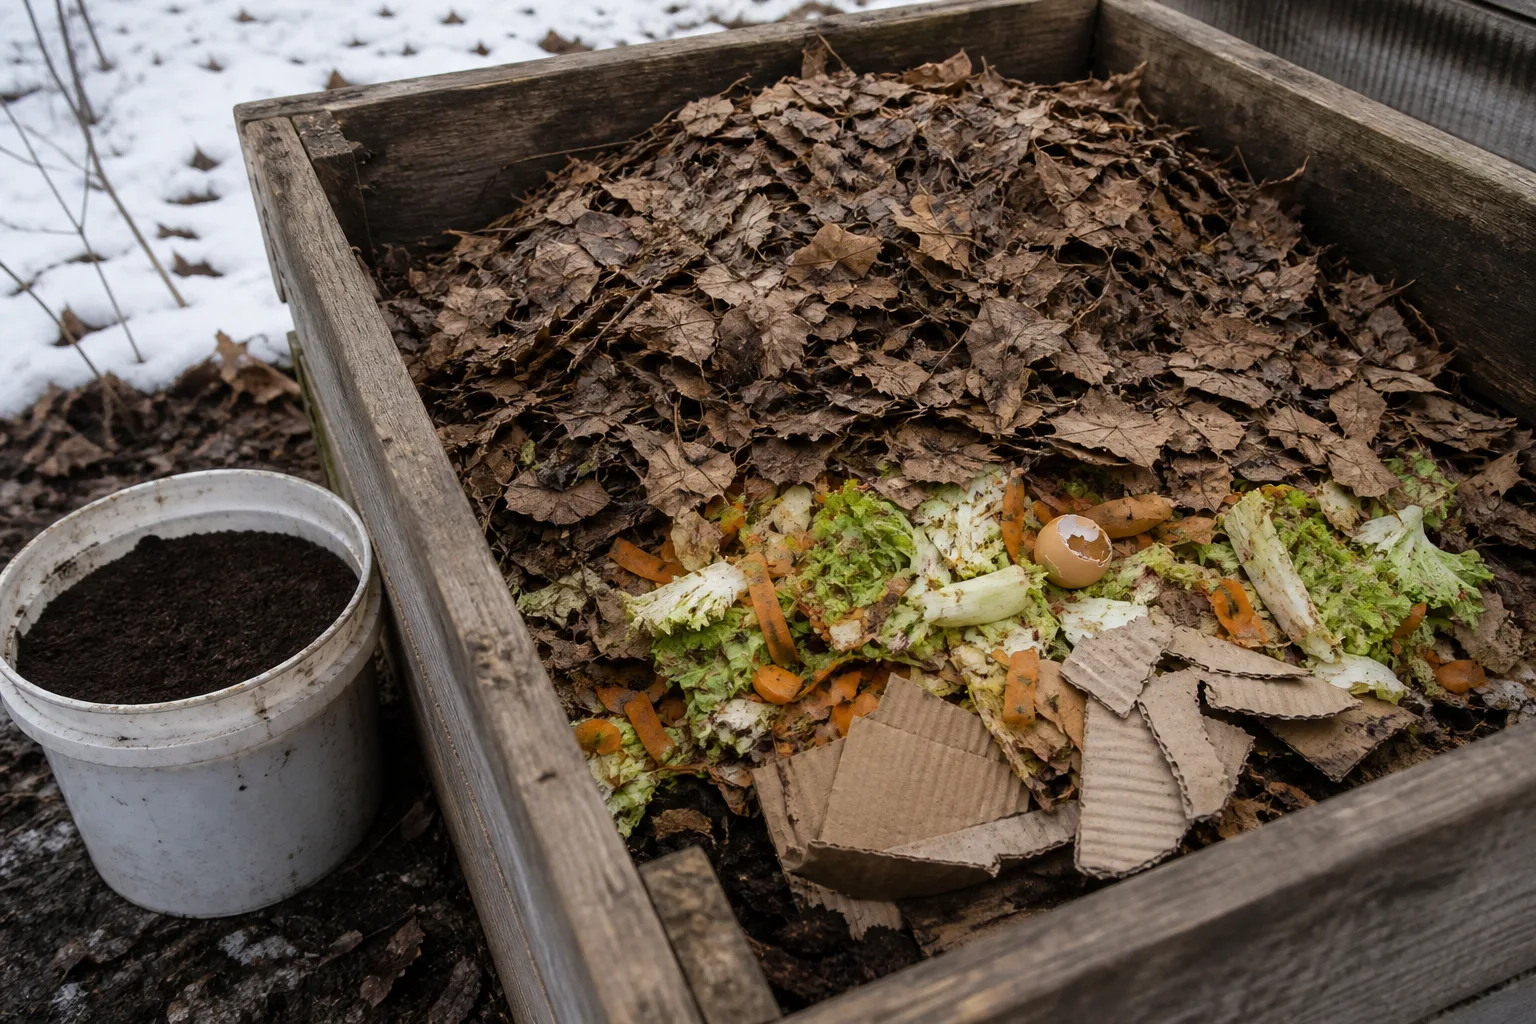 A lid or cover can help in a rainy climate, but it should not turn the bin into an airtight container; the goal is to shed excess rain while allowing drainage and airflow. Check the center when you add material or turn the pile, and add water only when the texture calls for it.
Step 4: Keep air moving, then give the pile time
Air is necessary for the usual aerobic composting process. A fork can loosen a compacted pile and move outer material toward the center; a tumbler turns when you rotate it. If you are not chasing speed, occasional turning is enough to help restore air and blend uneven pockets. If the pile is already loose, evenly damp, and steadily shrinking, you do not need to disturb it every week just to follow a schedule.
Turn more often when the pile is wet, tightly matted, or starting to smell, but fix the cause as you work: mix in dry browns if it is soggy, break up compacted layers, and protect it from heavy rain. A warm center can signal active decomposition, especially in a larger batch, but a cool pile is not automatically broken.
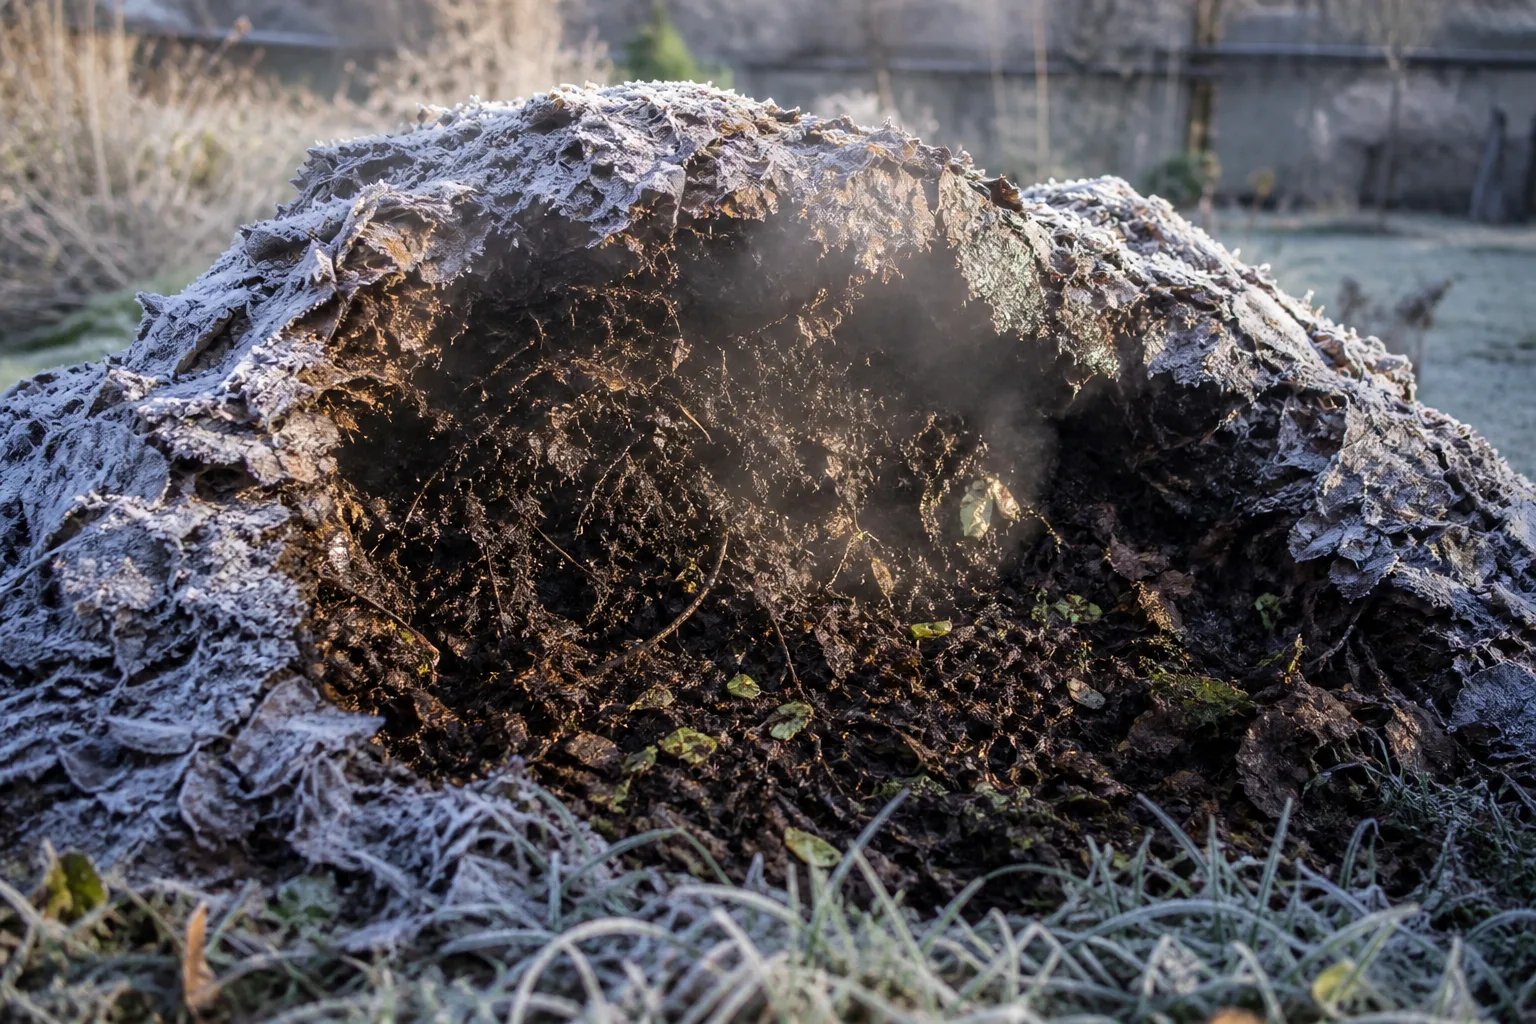 Small piles, cold weather, and passive methods often stay cool and still produce useful compost over a longer period. NC State Extension distinguishes a hot-pile method from a cold pile and gives different time expectations for each (NC State Extension).
What can you add to a home compost pile?
Most unseasoned plant scraps and yard trimmings can fit a backyard pile when mixed appropriately. Use this quick sorting guide, then follow local collection rules if your community composts materials that a home bin handles poorly.
| Material | Typical role | How to add it |
|---|---|---|
| Dry leaves, shredded plain cardboard, straw, dead stems | Brown | Add loosely; shred or crumble mats |
| Fruit and vegetable scraps, coffee grounds, fresh trimmings | Green | Mix with browns and cover food scraps |
| Grass clippings | Green, often wet and dense | Add in thin amounts mixed with dry leaves |
| Eggshells and small woody pieces | Slow to break down | Crush or chop; expect to screen leftovers |
Keep a small stash of leaves for the months when the garden supplies few browns. Avoid glossy or plastic-coated paper and remove produce stickers, twist ties, rubber bands, and other non-compostable bits. If you are unsure whether a paper item, bag, or packaging will break down in a modest backyard pile, leave it out rather than gambling on the label “compostable,” which can refer to a commercial facility rather than a home heap.
How long does compost take to finish?
There is no reliable universal countdown. Material size and mix, pile volume, weather, moisture, oxygen, and how often you turn it all affect the pace. NC State Extension estimates about three to six months for its hot-pile method and a year or longer for a cold pile; the City of Eugene says a balanced, moist, occasionally stirred backyard mix may take six to twelve months. These are conditions-based examples, not a deadline for every garden (NC State Extension; City of Eugene).
Use the condition of the material rather than the date as your harvest test. Mature compost is usually dark, crumbly, and earthy-smelling; most of the original soft materials are no longer identifiable, and the pile no longer heats back up strongly after mixing. A few woody fragments are normal. Screen them out if you want a fine texture and put them back into the active bin, where they can continue breaking down.
If you continually add fresh material, the newest scraps are not finished just because the bottom looks ready. Pull out the dark, mature portion from the bottom or transfer all new additions to a second bin and let the first one rest. When in doubt, allow a borderline batch to cure longer, especially before using it around sensitive seedlings or in containers.
Troubleshoot the pile by reading its signs
A healthy pile does not need to look uniform, and insects such as worms and small decomposers are usually part of the process. Focus on changes that point to a correctable imbalance: a foul odor, persistent dryness, tight clumps, exposed food, or material that has stopped changing. Make one or two targeted adjustments, then give the pile time to respond rather than adding multiple products at once.
A sour or rotten smell
A sour, rotten, or swampy smell often means the pile has too much water or too little air. Break up matted material with a fork, mix in dry leaves or torn cardboard, and cover the top if rain is soaking it. A sharp ammonia-like smell can point to a pile dominated by nitrogen-rich greens; add dry browns and mix them through rather than sprinkling a thin cover over a wet core. RHS troubleshooting guidance likewise links wet, slimy compost with limited air and recommends dry brown material and turning to correct it (RHS compost troubleshooting).
Earthy or mildly musty odors are different from a persistent rotten smell. If the pile smells bad after you add browns and loosen it, check that liquid can drain from the bottom and that the bin is not sealed against air. A small amount of material left on the surface can also attract flies or animals, so bury or cover new kitchen scraps under the existing mix.
A dry, unchanged pile
If leaves and stems are still crisp, the pile is very loose, and little has changed after a long stretch of suitable weather, check moisture before adding more material. Sprinkle water through the center while turning; pouring a bucket over the top can send water down one channel and leave the rest dry. Then add a modest amount of fresh green material if the mix is overwhelmingly dry browns.
Large woody pieces and whole food scraps can remain visible even when the rest of the pile is working. Chop them smaller and return them to the active pile. If you are adding material through a cold winter or maintaining a very small bin, expect decomposition to slow; a passive pile is a low-work system, not a failed one. If faster results matter, collect a larger batch, balance it, and turn it when it cools or compacts.
Fruit flies, rodents, or persistent clumps
Fruit flies usually gather where exposed food is fermenting near the surface. Cover each deposit with dry leaves or cardboard and keep the lid closed. Rodents are more likely when a pile is accessible and contains attractive food waste, so avoid meat, fish, dairy, grease, and bones in a basic backyard system; use a secure bin and check for gaps at the base. The City of Eugene specifically recommends a rodent-resistant bin for backyard food scraps (City of Eugene).
Persistent clumps usually signal a physical problem rather than a need for an activator. Break apart wet grass, compacted leaves, and wadded paper; mix coarse stems through the mass so air can circulate. If the pile contains a lot of very fine material, add a few coarser leaves or chopped plant stems, and loosen the sides and center with a fork.
What to leave out for safety and a cleaner pile
For a beginner’s backyard pile, leave out meat, fish, dairy, fatty or oily food, bones, and pet waste. These materials can smell, attract animals, or require a managed system that reaches reliable conditions. NC State Extension’s home-composting advice warns against meat, fish, dairy, grease, oil, blood meal, and bones, and recommends covering food scraps with brown material (NC State Extension).
Do not count on a small, casually managed pile to sanitize every risk. Keep out dog and cat feces, plants with serious contagious disease, invasive weeds or roots, and weeds carrying mature seed heads. A hot pile can reduce some pathogens and seeds only when the materials reach suitable conditions throughout; an occasional warm center does not prove that the entire batch received that treatment. When a plant has been treated with an herbicide, check its label and local extension advice before composting it: some herbicides can persist in plant material or manure and injure sensitive plants later. NC State Extension documents herbicide carryover as a compost and garden concern (NC State herbicide carryover guidance).
Also leave out chemically treated or painted wood, coal ash, and synthetic packaging. Ordinary wood ash is a separate material with alkaline salts, so do not use it as a substitute for browns or add it freely without a soil-based reason. If you are unsure about contamination or a persistent plant disease, dispose of that material according to local waste guidance instead of returning it to a garden bed.
How to use finished compost in beds and containers
For garden beds, spread mature compost over the surface or work a modest amount into the upper layer of soil before planting. As a mulch, it can cover bare soil and gradually blend in; keep it from being packed against plant crowns and woody stems. Oregon’s Department of Environmental Quality describes compost as an amendment that supports soil life and recommends soil testing when you need to understand nutrient status before changing fertility (Oregon DEQ residential composting).
Do not assume more is always better. Compost varies with its ingredients, and repeated heavy applications can shift soil nutrients over time. If a bed already has high fertility, use a thinner surface layer or check a soil test before adding more. If you grow in containers, treat homemade compost as one ingredient in a purpose-built potting mix or as a light top-dressing, not as a complete replacement for a well-draining container medium. Garden compost and potting compost have different jobs, as the RHS explains in its guidance on making potting mix.
If you want a fine, even product, pass finished compost through a garden sieve and return the coarse pieces to the next batch. If you prefer a low-effort approach, leave the texture as it is and use the material around established plants or over a bed that will be planted later. Store extra mature compost slightly moist and covered from heavy rain, so nutrients are not washed away and the pile does not dry into a hard clump.
Conclusion
To make compost at home, choose an accessible pile or bin, combine a changing mix of fresh greens and dry browns, keep it damp rather than saturated, and add air when it gets compacted or smelly. A rough volume ratio helps you begin, but texture and moisture are better guides than a fixed formula. Keep dry leaves or plain cardboard close by, cover food scraps, and expect a passive pile to take longer than a managed batch.
Harvest when the compost is dark, crumbly, and earthy-smelling, not simply when a calendar says it should be ready. Use it to improve garden soil, return unfinished pieces to the bin, and reserve special caution for diseased plants, pet waste, invasive weeds, and herbicide-treated material. A simple, observed routine will make more dependable compost than a strict schedule you cannot maintain.



