How to Make Cut Flowers Last Longer: 6 Simple Steps
Learn how to make cut flowers last longer with a clean vase, correctly mixed flower food, fresh stem cuts, cooler placement, and a simple care schedule.
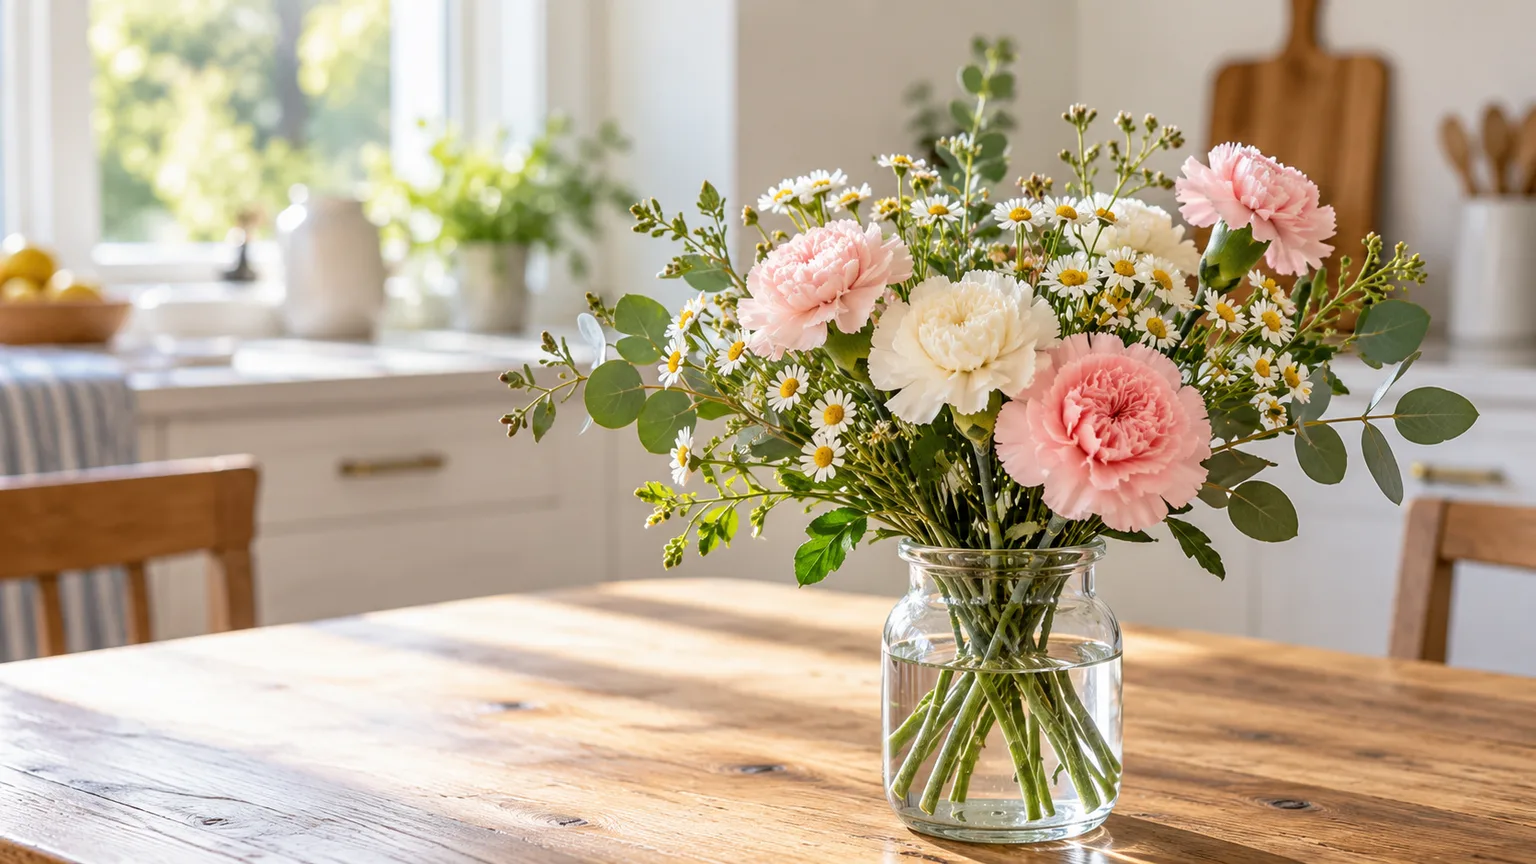
A bouquet’s vase life is partly decided before it reaches your table: variety, harvest stage, shipping, and time out of water all matter. At home, the biggest gains come from a few controllable details—clean equipment, a fresh stem cut, correctly mixed flower food, clean water, and a cool spot.
The steps below work for florist bouquets and flowers you cut yourself. They won’t make every bloom last the same number of days, but they’ll help you avoid the preventable problems that make a fresh arrangement collapse early.
1. Start with a clean vase and the right flower food
Wash the vase with hot, soapy water before arranging. Use a bottle brush to scrub the inside and the narrow shoulder where a cloudy film can linger; rinse away all soap. A vase that looks clean from the outside can still carry residue from the last bouquet, and leftover plant matter gives microbes a head start in the new water.
If the bouquet includes a flower-food packet, use it. Follow its mixing directions and measure the water the packet is designed for; don’t pour the powder into a vase and guess at the dilution. Commercial floral preservatives combine a carbohydrate source with ingredients that adjust water acidity and slow microbial growth, so the mix supports both the blooms and the solution. Penn State Extension explains why the correct ratio matters and why packet food generally works better than homemade mixtures.
More is not better. A packet meant for a quart of water can make a small vase solution too concentrated if you use the whole thing, while too much water can dilute it; either way, you lose the intended balance. If your vase needs less water than the packet specifies, divide the dry mix only when you can measure it accurately, or use a smaller packet. For a large arrangement, dissolve the right amount in a clean pitcher before the stems go in.
No packet? Start with clean water and good vase hygiene rather than combining random pantry ingredients. A clean vase with water that you monitor is a more dependable fallback than an improvised mixture whose sugar, acid, and disinfectant levels are unknown.
2. Recut stems with a sharp, clean tool
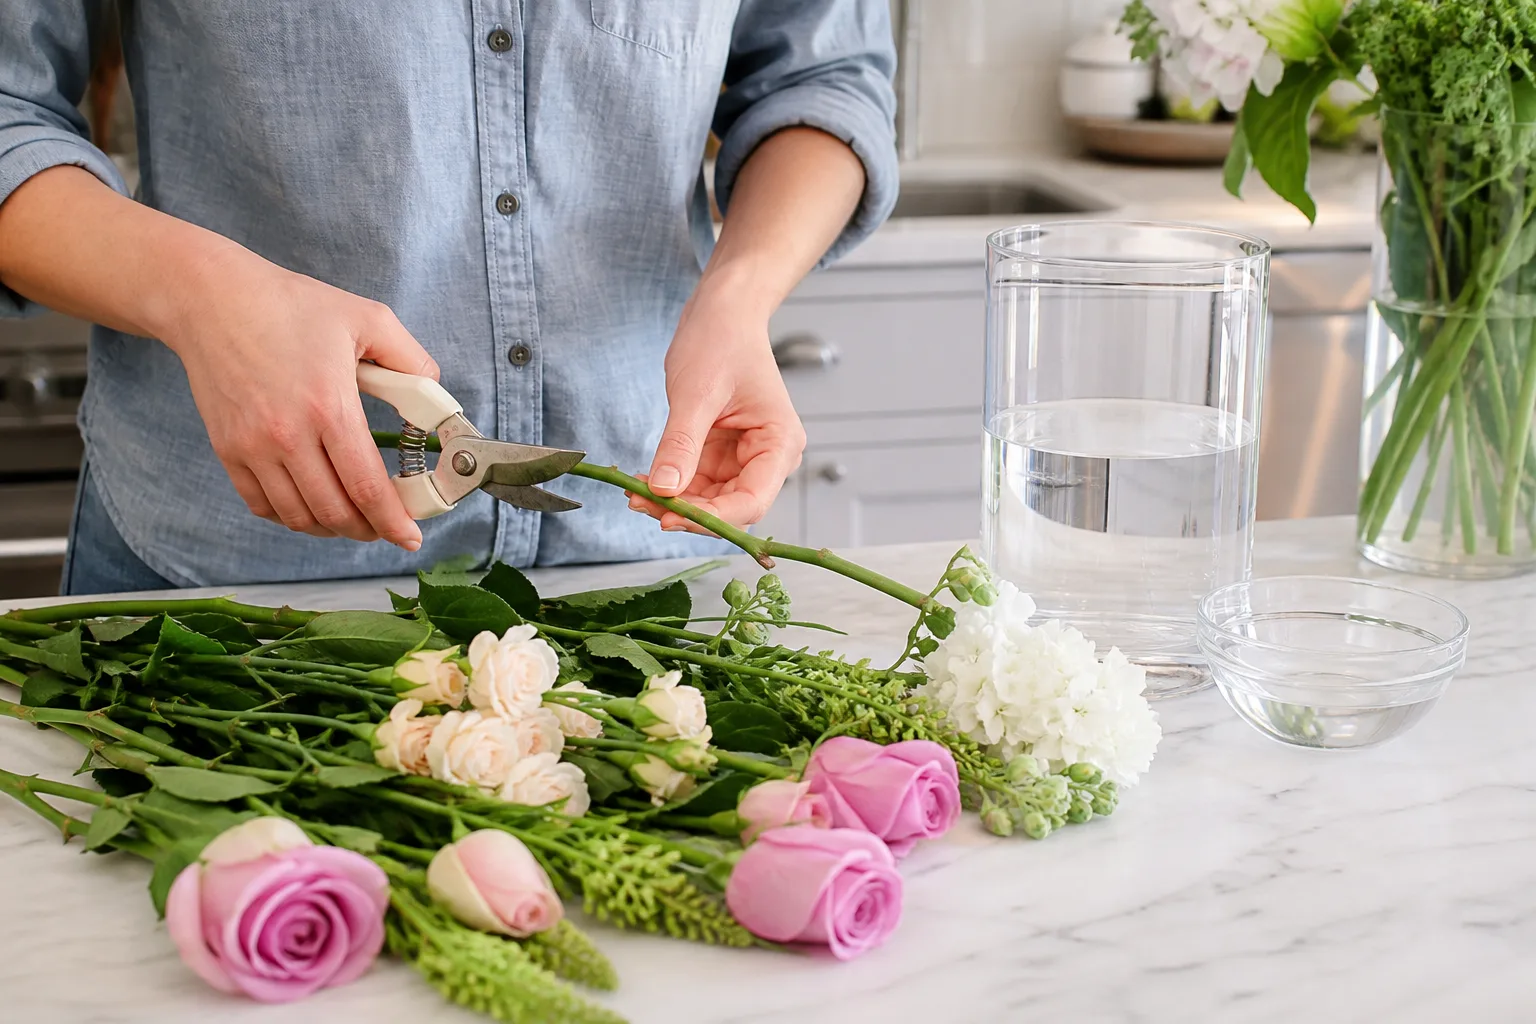
Before the flowers go into the vase, remove a short section from each stem with clean, sharp bypass pruners or a florist’s knife. This exposes fresh tissue and removes any crushed, dried, or sealed end that can slow water uptake. Cut stems one at a time and place each back in water promptly instead of leaving the whole bunch on a dry counter while you finish the arrangement.
Make a fresh angled cut
A diagonal cut is useful because it reduces the chance that a stem will sit flat against the bottom of a narrow vase. The angle itself is less important than a smooth, uncrushed cut: avoid tearing, crushing, or sawing through the stem with dull household scissors. UF/IFAS Extension recommends a clean tool that makes a crisp cut, and Fine Gardening shares a rose grower’s emphasis on preserving the stem’s water-conducting tissue.
You may hear that every stem must be cut underwater to prevent an air bubble. A fast, fresh cut followed immediately by water is a sensible routine for most home bouquets; if a stem has been out of water for a while, or the flowers are already drooping, recut it and get it back into solution without delay. Don’t turn the underwater cut into a substitute for clean tools, fresh water, or proper hydration.
The next trim is not necessarily due every morning. Recut when you change the water, when a stem end looks browned or slimy, or when a bloom begins to droop while the water is clean and plentiful. Remove only a small amount—usually about half an inch to an inch—so you don’t shorten the arrangement faster than needed.
Remove only the leaves that will be underwater
Strip off leaves and small bits of foliage that would sit below the waterline. Submerged plant material softens and breaks down, clouding the water and creating the conditions that make clean stems harder to maintain. Keep healthy leaves above the water: they contribute to the arrangement’s shape, and there is no need to strip a stem bare just because it is going into a vase.
Roses are a good example of why less handling can be better. Don’t scrape off every thorn or leaf for the sake of tidiness if it won’t touch the water; the damage can create extra wounds. Remove what will be submerged, any broken or decaying foliage, and anything that rubs against another bloom, then stop.
3. Keep the water clean and at the right level
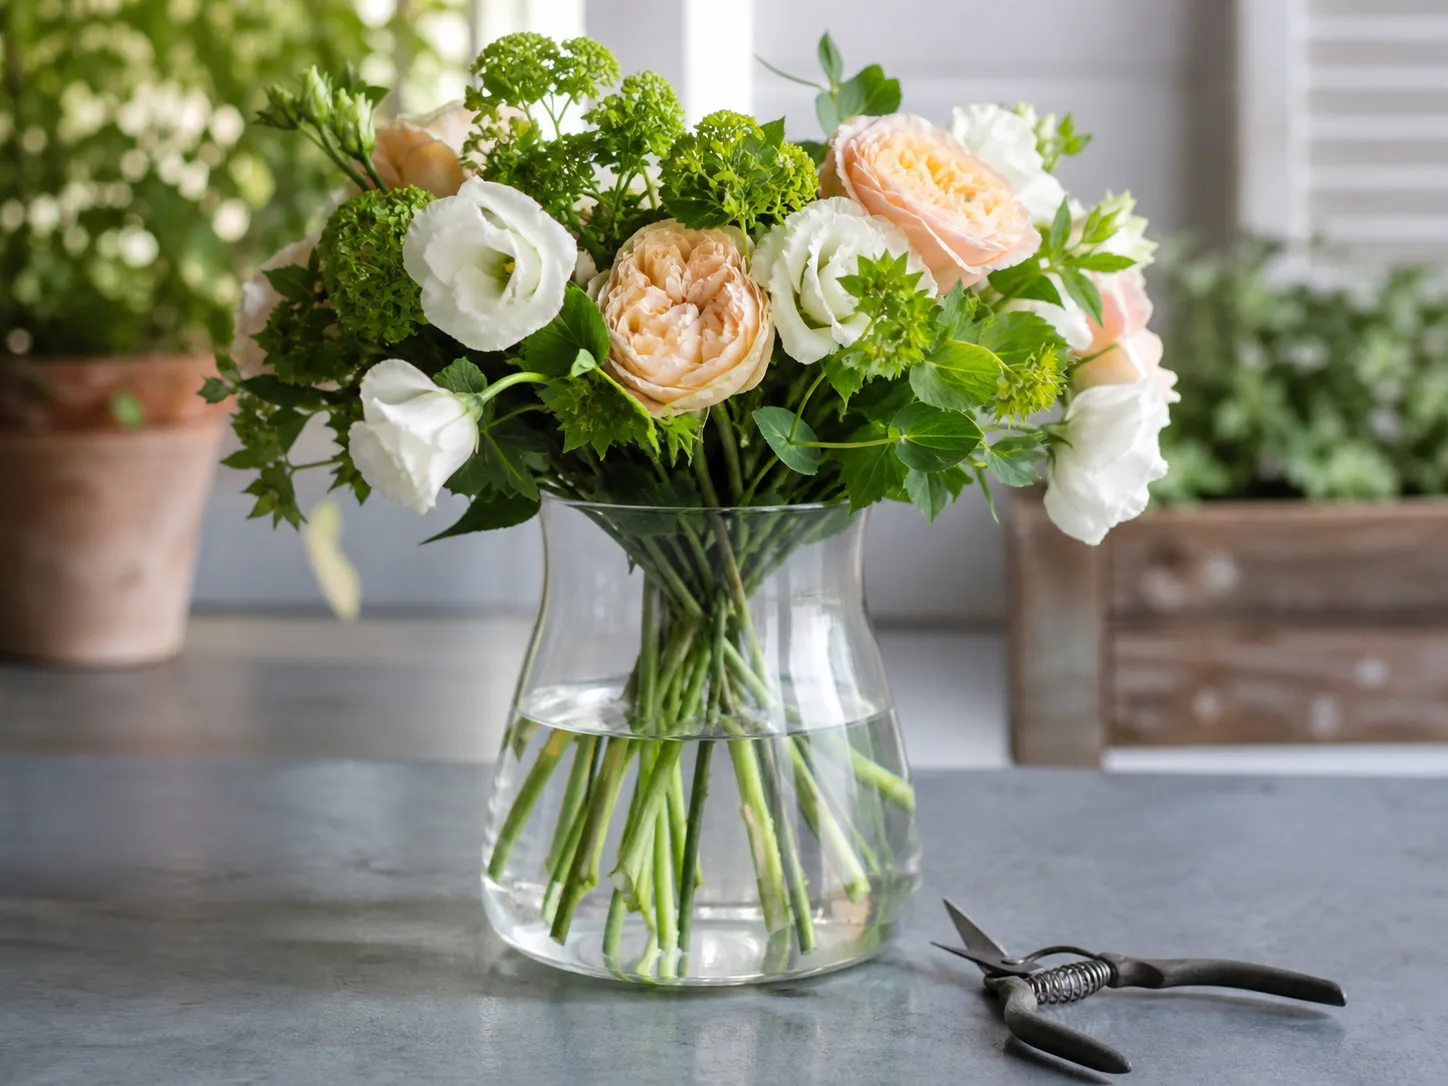
Cut flowers need enough water to keep every cut end submerged, but there isn’t one universal fill line for every vase or flower. A narrow vase may need less volume than a wide one, and thirsty stems can draw the level down surprisingly quickly. Check the vase each day, add fresh water before the ends are exposed, and make sure submerged leaves don’t sneak below the surface as the level changes.
Top it up daily and replace it when cloudy
A top-up is fine when the solution is still clear and the vase is clean. Replace the water when it turns cloudy, develops a smell, or has plant debris floating in it; don’t wait for the bouquet to look wilted before dealing with dirty water. When you replace the solution, wash or at least thoroughly rinse the vase, make a fresh flower-food mix at its labeled ratio, and recut the stems if the ends need refreshing.
Penn State Extension advises checking the level daily and changing the water completely every few days. The RHS gives a similar maintenance interval of roughly two to four days, with a small recut when refreshing the vase. Treat those intervals as a useful starting point, not a timer that overrides what you can see: a warm room, a crowded vase, or submerged leaves can foul water sooner.
Don’t simply add a little flower food each time you top up unless the product label says to. The packet is designed for a measured amount of water, and repeatedly adding powder to a partial vase can leave the solution overconcentrated. If you can’t tell how much water remains or how much food to add, empty the vase, rinse it, and mix a fresh batch accurately.
Use a schedule that fits the room
For a bouquet in a cool room, daily checks and a full refresh every two to three days will usually keep the routine simple. If the room is warm, the vase is crowded, or the water becomes cloudy sooner, change it sooner; if the solution stays clean and the label allows a top-up, you don’t need to discard good water every few hours.
Water that drops quickly is a useful clue, not a problem by itself. It often means the stems are taking up water; keep topping it up and watch for sudden changes. If water stops dropping and blooms begin to droop, inspect the cut ends, check whether the vase is dirty, and see if the stems are still submerged before adding any new remedy.
4. Give the bouquet a cool, stable spot
Place flowers where they can be enjoyed but won’t sit in direct sun or near a radiator, fireplace, stove, or heating vent. Heat speeds water loss from petals and leaves, while bright window light can warm the vase even when the room feels comfortable. A cool room with steady conditions generally gives a bouquet a better chance than a sunny windowsill.
Avoid placing a vase directly under an air-conditioning outlet or beside an exterior door that opens onto hot or cold weather. Strong drafts dry petals and can knock delicate stems around. The goal is not to hide flowers in darkness; choose a comfortable, cooler display spot without the hot microclimate created by sun through glass or a nearby appliance.
Keep flowers away from fruit and heat
Keep the arrangement away from ripening fruit, especially bananas, apples, pears, and avocados. Ripening produce releases ethylene, a plant hormone that can accelerate aging in sensitive cut flowers; UF/IFAS Extension specifically recommends separating bouquets from a fruit bowl. If your kitchen is the only convenient spot, move the fruit or put the flowers across the room rather than setting them side by side.
Also keep bouquets away from cigarette smoke and cooking fumes, which can leave odors on petals and add stress to a display. The biggest placement change is usually simple: move the vase off the sunny table or away from the fruit bowl, then keep the water routine steady. Penn State Extension notes that a cool room—or a refrigerator when there is suitable space—can help flowers last longer when they are not on display. A home fridge is optional, though: use it only if the flowers can be kept away from ripe produce and very cold surfaces; a cool room is the easier default. You don’t need a special floral refrigerator for an everyday bouquet.
5. Match care to flower type and harvest stage
A mixed bouquet doesn’t behave like one plant. Some stems naturally last longer than others, and flowers may arrive at different stages of opening; the most open bloom can be the first one to fade even while the rest of the arrangement is sound. Buy or cut flowers that look firm and healthy, but don’t expect every stem to finish at the same time.
When you are choosing a bunch, look for sturdy stems and blooms that are fresh for their type, not simply the tightest buds in the bucket. A rose picked too tightly may never open indoors, while a flower already fully open has less display time left. Brown or translucent petal edges, soft stem bases, and leaves that look limp are clues the bunch may have spent too long warm or dry. Starting with fresher material matters because vase care can slow decline, but it cannot reverse age or poor handling before purchase.
A drooping head isn’t always a sign that the whole bouquet is failing. Tulips can continue to lengthen and bend after cutting, while sturdy carnations and chrysanthemums often hold their shape longer than more delicate blooms. As the first flowers age, remove them individually so they don’t crowd the fresh stems or leave petals in the water. The Epic Gardening cut-flower guide also emphasizes matching harvest timing to the kind of flower rather than applying one bud-stage rule to every bloom.
For garden flowers, cut when hydrated
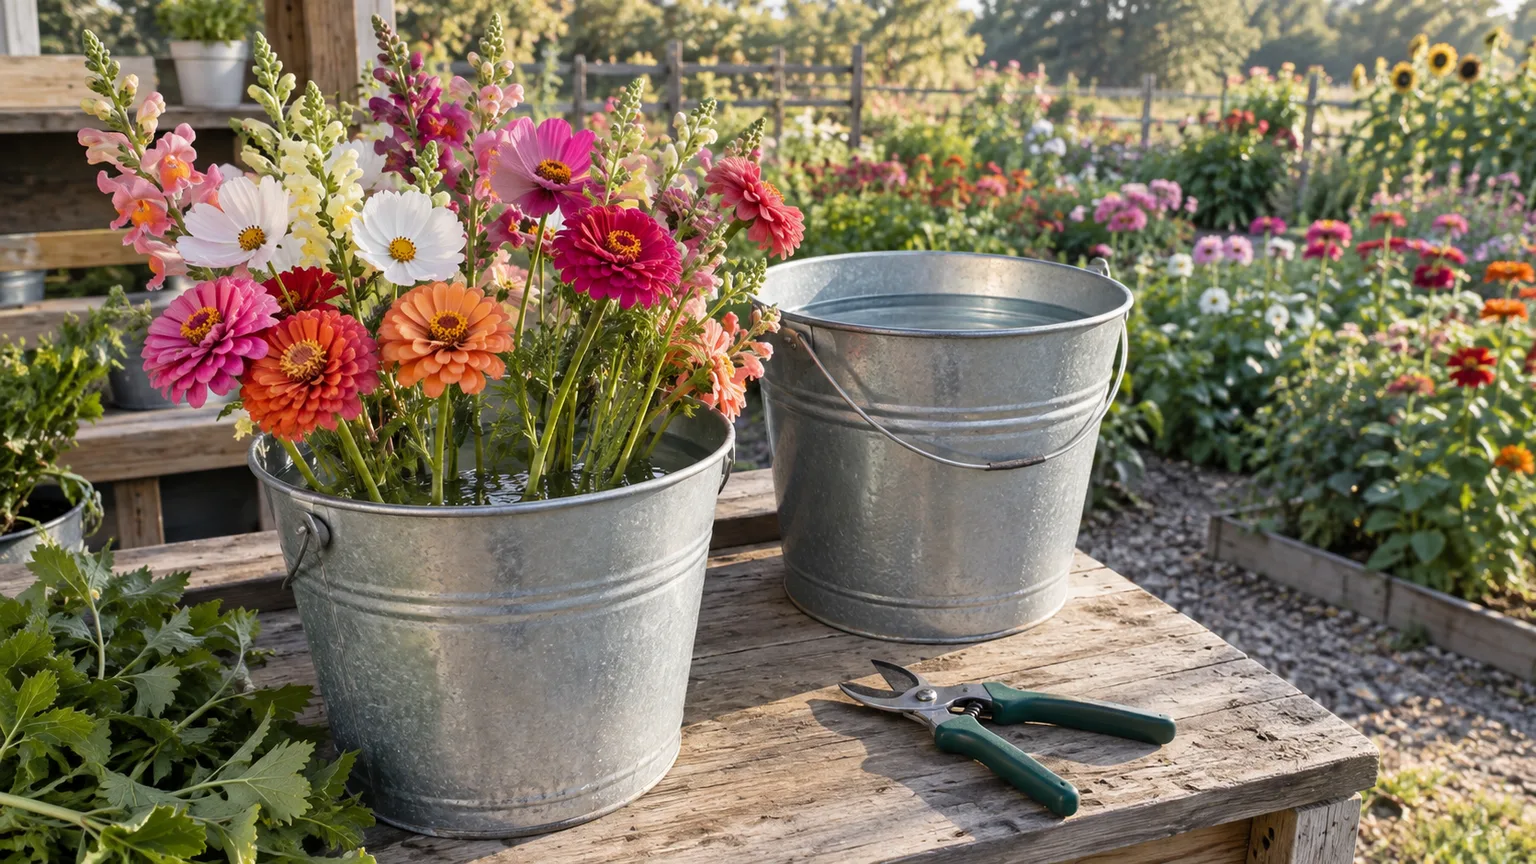
If you’re harvesting from your garden, cut in the cool part of the morning when the stems are well hydrated, and take a clean bucket of water with you. Put each stem in water promptly; don’t collect a bunch and leave it in the sun while you continue gardening. The RHS advises cutting most flowers when they are just beginning to show color, but some flowers need a later stage—roses and dahlias, for example, may not develop properly if picked in a tight bud.
Before arranging, let the stems drink in a cool place for a few hours if you have time. The RHS calls this conditioning: after removing low foliage and recutting the stems, leave them in clean water in a cool location so they can rehydrate before they go into a warmer room. If you are cutting in hot weather, first water the garden if the plants are dry and wait for the stems to recover; a flower cut while visibly stressed starts at a disadvantage.
Give mixed bouquets room to behave differently
Follow the flower-food packet for a mixed bouquet unless the florist provides a different care instruction. Don’t assume one flower’s special treatment applies to the entire vase: misting a sensitive bloom, plunging a stem into hot water, or using a deep fill can help one species in a specific situation but can harm or muddy the care routine for the rest. If one stem repeatedly droops while the others look healthy, remove it and condition it separately rather than changing the whole vase’s water chemistry.
A few practical exceptions are worth knowing. Some stems have particular conditioning needs: the RHS describes separate preparation for woody stems, hollow stems such as delphiniums and lupins, and stems that tend to droop. Those instructions apply to the individual stem, not the whole mixed bouquet. Woody stems, including roses, still benefit from clean recutting; crushing a stem with a hammer is a poor shortcut because it damages tissue and can increase decay. For an unusual flower or a valuable arrangement, ask the florist for that variety’s care instructions instead of copying a treatment meant for another species. The RHS conditioning guide lays out why the right preparation can vary by stem structure.
6. Edit the bouquet as it ages
Remove a flower when its petals are collapsing, its head is mushy, or the stem has turned soft and brown. Take out fallen leaves and petals at the same time, then check whether the remaining stems still have clean water and enough room. A small edit can make a mixed bouquet look intentional again, even when the longest-lived flowers are now the only ones left.
Don’t keep a failing stem in the arrangement just because it was part of the original bouquet. Decaying flowers add debris to the vase and can make the whole display look tired. If one flower is finished while its neighbors are crisp, remove it, shorten the remaining stems to fit a smaller vase if needed, and give the arrangement a clean refresh.
Diagnose thirst before discarding a drooping stem
A freshly drooping flower may be thirsty rather than spent. Check the waterline first, then look at the stem end: if it is firm and the petals still feel fresh, top up the vase or recut a short section and return the stem to clean water. A clean bucket or a separate small vase can make it easier to see whether that bloom recovers without disturbing the rest of the arrangement.
If the stem is slimy, the bloom smells sour, or the petals are translucent and falling, the flower is likely past a simple hydration fix. Remove it and clean the vase if the water is cloudy. A heavy flower head that is merely bent may be worth supporting while it rehydrates: the RHS suggests wrapping susceptible stems such as tulips or gerberas in paper and standing them in deep water for a few hours. Keep that as a targeted conditioning step, not a treatment for a rotting stem or a universal rule for every bouquet. Avoid dunking the entire arrangement or spraying it with household products; those actions can spread debris or leave residues without restoring damaged tissue.
Which flower-food hacks actually work?
Flower food is not just sugar. A commercial floral preservative is formulated to provide a measured carbohydrate source while acidifying the water and limiting microbial growth. A spoonful of sugar may provide carbohydrate but does not automatically keep the vase clean; adding a disinfectant or acid without knowing the concentration can make a poor solution worse. That distinction explains why several familiar hacks sound plausible but produce uneven results: one ingredient may address food or acidity while leaving water hygiene untouched. A packet is designed to balance those needs at a measured dilution, which is difficult to reproduce by eye with household products.
Penn State Extension says commercial preservatives work better than homemade concoctions, and UF/IFAS notes that commercial mixtures are more dependable at controlling microbes and hydrating stems. That is why the packet is the sensible first choice. If you don’t have one, clean water, a clean vase, an appropriate stem cut, and regular monitoring are still useful; no improvised additive is required to keep a bouquet presentable.
Why homemade recipes are a poor first choice
Aspirin, copper pennies, vodka, hairspray, and lemon-lime soda are often described as flower-life shortcuts, but they are not a reliable replacement for measured flower food and basic hygiene. A penny’s age and copper content vary; soda’s sugar does not control microbes in the same balanced way as a preservative; and aspirin or vodka does not give you a tested formula for your specific vase volume. Hairspray can coat petals but will not fix a blocked or dehydrated stem.
Avoid combining household ingredients or adding a splash of bleach by guesswork. A recipe that changes water acidity or adds sugar can behave differently depending on the flowers, water volume, and cleanliness of the vase. If a packet is available, use it as directed; if not, keep the solution simple and focus on the repeatable steps that matter most.
A quick care routine for the first week
On day one, wash the vase, remove foliage that would sit underwater, recut the stems with clean shears, and mix flower food at the packet’s stated ratio. Place the vase in a cool spot away from direct sun, heaters, drafts, and ripening fruit. Make sure every cut end reaches water, then note the waterline so a quick daily check takes seconds.
Each day, top up with fresh water when the level drops and remove any fallen leaves or petals. Every two or three days—or sooner if the water clouds—empty and rinse the vase, make a fresh solution, and trim the ends if they look worn. Remove finished blooms as they fade, and move the arrangement if the room or counter becomes warm.
If you only have time for one rescue pass, don’t start with a viral additive. Clean the vase, replace cloudy water, remove submerged foliage, and give the stem a fresh cut; then place the bouquet somewhere cooler. Those steps target the most common, fixable causes of early wilting.
Conclusion
To make cut flowers last longer, give them a clean start and repeat the care that protects water uptake: use a washed vase, measure flower food correctly, recut stems cleanly, keep foliage out of the water, and refresh the solution when it drops or clouds. A cooler location away from fruit and heat helps slow avoidable stress.
The final limit is the flower itself. A variety that was cut late, shipped warm, or already close to fading may not recover, but a simple, consistent routine can preserve the blooms that still have life in them and keep a bouquet looking cared for for longer.



