How to Mulch Hostas During the Winter
Learn how to mulch hostas for winter with the right timing, material, depth, crown clearance, container plan, and spring cleanup steps.
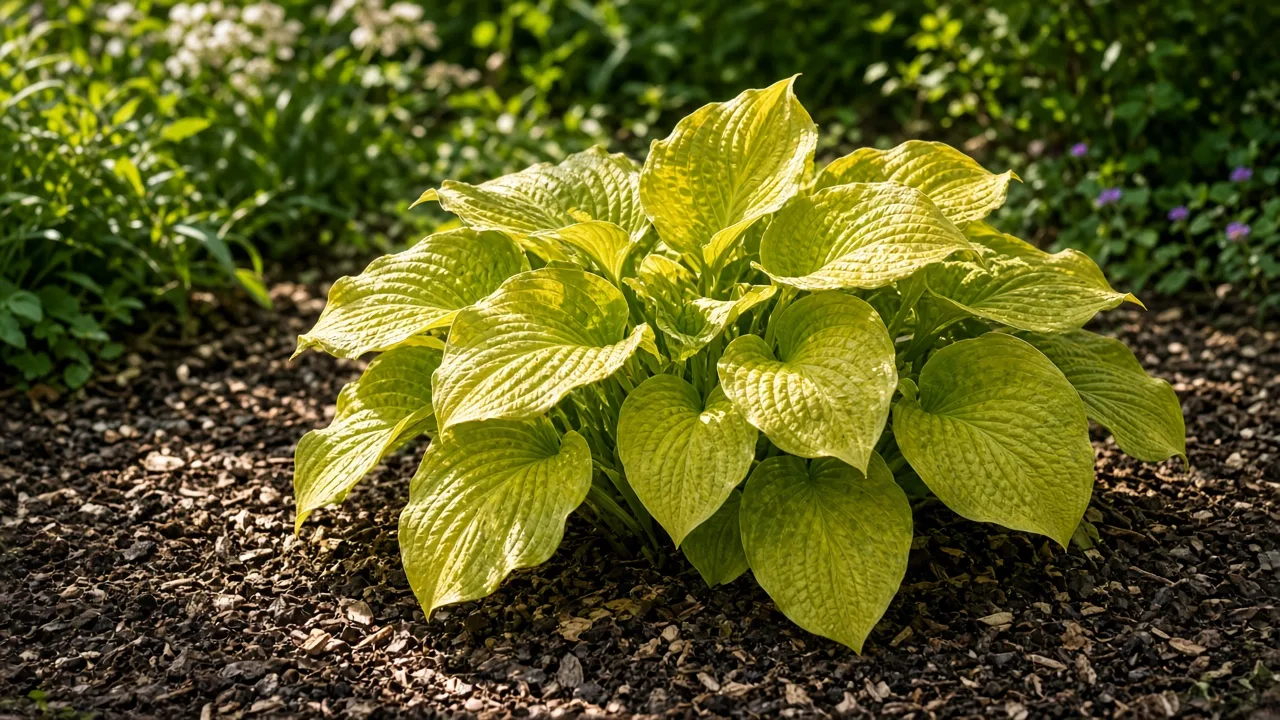
Hostas are not tropical plants that need to be wrapped up the moment autumn arrives. They are herbaceous perennials that naturally die back and enter dormancy, and cold weather is part of the cycle that prepares the crown for spring growth. Mulch is useful when it solves a particular winter problem—usually repeated freezing and thawing, exposed roots, dry soil, or a recently planted crown—not when it is piled on by reflex.
The reliable method is simple: wait until the foliage has collapsed and the soil has cooled, clean up anything diseased or pest-ridden, water only if the root zone is dry and drains well, then spread a loose 2- to 3-inch layer of organic mulch around the plant. In a very exposed site or a newly planted bed, you may need close to 4 inches, but do not bury the crown. Keep the center of the hosta open, and plan to thin or pull back the mulch as spring shoots begin to swell.
The short answer: mulch hostas after dormancy, not before
For most in-ground hostas, the best time to mulch is after a killing frost or after the plant has clearly gone dormant, but before the soil is locked into a long, hard freeze. The calendar varies by climate, so a late-November date that works in one region may be too early or too late in another. Look for limp, yellowing, or collapsed leaves and consistently chilly soil rather than trying to follow one universal week.
Remove or cut back foliage when it is soft and spent, especially if it had leaf disease, nematode symptoms, or a heavy pest problem. If the leaves are healthy and your garden freezes hard and stays snowy, leaving the dead material in place briefly is not automatically harmful. In a mild, wet climate—or where voles, slugs, and snails are persistent—cleanup before mulching is the more sensible choice.
Spread mulch over the root zone, not directly over the crown. A flat layer that starts a few inches away from the central growing point and extends toward the drip line buffers soil temperature while allowing air to move around the crown. If you remember only one rule, remember this: insulate the soil around a hosta without making the crown wet and sealed.
What winter mulch does for a hosta
Hosta roots and rhizomes sit close enough to the soil surface to be affected by rapid temperature changes. A loose mulch layer acts as a buffer: it slows abrupt warming during a winter thaw, reduces the speed of refreezing, and helps keep the root zone from drying as quickly during windy weather. It also suppresses late weeds and reduces erosion from winter rain.
NC State Extension describes hostas as plants for moist, organic, well-drained soil and specifically warns that they are intolerant of soggy conditions, especially in winter. That distinction matters. Mulch can protect a hosta in a dry or freeze-thaw site, but a deeper layer will not make a poorly drained bed safe; it may hold even more water around a crown that already lacks oxygen. (NC State Extension Plant Toolbox: Hosta)
Freeze-thaw cycles and frost heaving
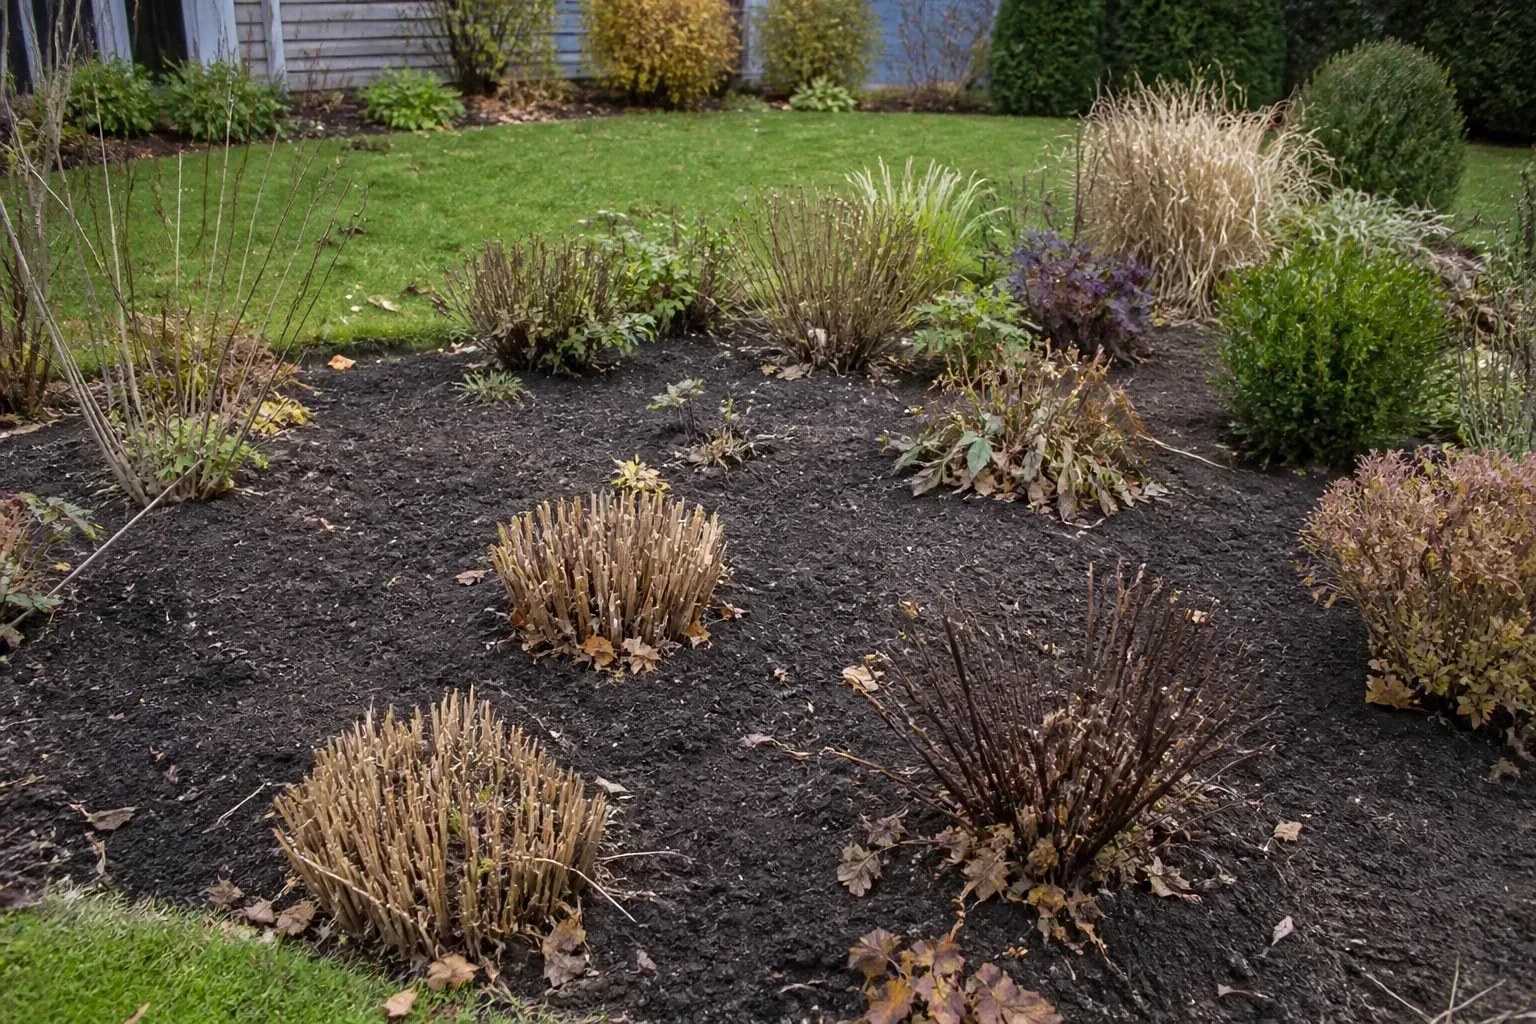
The most convincing reason to mulch a hosta is not the lowest temperature on the thermometer. It is the number of times the soil freezes, thaws, and freezes again. When soil moisture expands as it freezes, shallow roots and crowns can be lifted toward the surface; when the soil thaws unevenly, roots can be left exposed to drying air and the next freeze.
This is why an established hosta may need no special treatment in a consistently cold, snow-covered bed but benefit from mulch in a place that alternates between warm afternoons and freezing nights. Newly divided or newly planted hostas are more vulnerable because their roots have not yet occupied the surrounding soil. A thin, airy layer is often enough to moderate that movement without smothering the plant.
Moisture, drainage, and crown health
Mulch conserves moisture that is already in the soil. It cannot hydrate a dry root ball after the ground freezes, and it cannot repair a downspout outlet, compacted clay, or a low spot where water stands. Before mulching, push a trowel or soil probe into the root zone. If the soil is dry several inches down and still drains freely, give it a slow, thorough watering before the next hard freeze; if it is saturated, wait and fix drainage instead of adding depth.
The hosta crown is the short central area from which new leaves emerge. A crown that stays cold and exposed to air is usually easier to manage than a crown trapped under wet leaves, fresh compost, or a plastic cover. Root and crown rot are associated with wet conditions, so winter mulch should remain loose and permeable, with a visible bare or lightly brushed ring around the growing point.
Decide whether your hosta needs winter mulch
Mulching is optional for some hostas and important for others. Walk the bed and make the decision plant by plant. Consider the plant’s age, the way winter behaves in your garden, and the condition of the soil—not only the cultivar’s advertised hardiness.
Established plants in the ground
An established, healthy hosta in a sheltered bed with good drainage may return well without a special winter blanket. Mature plants often tolerate cold on their own, especially where snow provides a stable layer of insulation. If the soil stays evenly cold rather than repeatedly thawing, and the crown is not exposed by erosion or heaving, simply keeping the bed clean may be enough.
That does not mean mulch is wasted. A light, correctly placed layer can still reduce weeds, conserve soil moisture, and improve the bed’s structure as organic material breaks down. The point is to avoid turning “helpful” into “deeper is better.” Check the old layer first, because adding fresh material over several years can gradually bury the crown.
New plantings and freeze-thaw sites
Give winter mulch priority to hostas planted late in the season, divisions that have not rooted widely, and plants on exposed slopes or beside hardscape that heats and cools quickly. It is also worthwhile where frost heaving repeatedly lifts the soil or where winter wind strips loose soil from the crown. Spread the mulch broadly over the root zone rather than making a tall cone over the plant.
Gardener’s Path makes the useful distinction that mulching is optional for many hostas but especially helpful where weather repeatedly freezes and warms, for newly planted hostas, and for containers. That is a better rule than treating every location identically. (Gardener’s Path: How to Overwinter Hosta Plants)
Potted hostas are a separate case
Roots in a container are surrounded by cold air on every side, so a potted hosta experiences larger and faster temperature swings than the same plant in the ground. The pot can freeze solid, thaw in winter sun, and freeze again before the surrounding landscape changes much. Ceramic and terracotta containers can also crack as wet potting mix expands.
If possible, sink the nursery pot into the ground up to its rim after the hosta is dormant, then mulch the surrounding soil. If digging is not practical, group pots in a sheltered place against a wall, protect them from roof runoff, and surround the pots with loose leaves or straw while keeping the plant crowns clear. An unheated shed or garage can work for a cultivar that is marginal in your region, but a warm indoor room is not a substitute for the cold dormancy hostas need.
Choose a hosta-safe winter mulch
The best material is one that stays loose enough for air and water to pass through, is free of herbicide residue and disease, and is easy to remove when shoots emerge. Shredded leaves, weed-free straw, pine needles, composted bark, and mature leaf mold can all work. Choose based on your moisture, pest, and availability problems rather than assuming one material is universally superior.
Shredded leaves and leaf mold
Shredded leaves are inexpensive and useful, but whole leaves can knit into a dense, wet mat. Run dry leaves through a mower or shredder, or use leaf mold that has already broken down into a loose, soil-like material. Keep a few inches clear around the crown and rake the layer apart if winter rain compresses it.
Leaf litter can provide shelter for slugs, snails, and voles, particularly in a mild winter. If you already battle rodents, choose a thinner layer of chopped leaves, use clean straw or pine boughs instead, and inspect the bed after storms. Do not compost leaves from a hosta bed if they carried a confirmed disease or a pest problem that you are trying to contain; bag or dispose of them according to local guidance.
Straw, pine needles, bark, and compost
Clean, weed-free straw is light and airy, making it a practical choice for a freeze-thaw bed. Use straw rather than hay when possible because hay commonly contains seeds. Pine needles are also loose and easy to lift in spring, though they should be chosen for their texture and availability, not because a thin surface layer will reliably change soil pH.
Composted bark and well-rotted compost are stable options for a garden bed, but they differ in how they behave. Bark usually stays open longer, while fine compost can settle into a dense layer if it is wet and over-applied. The RHS defines mulch as a surface layer used for benefits that include frost protection, moisture conservation, weed suppression, and soil improvement, and recommends organic materials such as compost and leaf mold. (RHS: How to mulch with organic matter)
Use the least complicated material that solves your problem. If your bed is wet, choose an airy material and reduce depth. If the bed is dry and exposed, a loose organic layer plus fall watering is more useful than a decorative stone that does not buffer temperature in the same way.
Materials to avoid
Avoid fresh grass clippings, fresh manure, whole wet leaves, and thick layers of fine material. They can heat as they decompose, collapse into a low-oxygen mat, or stay wet around the crown. Do not use plastic sheeting as ordinary winter mulch over a hosta; it can trap moisture and warmth, and it does not solve the root-zone problem. Rubber mulch and a deep layer of stone are poor choices when the goal is gentle insulation and easy spring removal.
Do not use diseased foliage as the plant’s winter blanket. A hosta with confirmed leaf disease, nematode symptoms, or a serious pest infestation should be cleaned up more carefully, even if that means cutting leaves before they have completely faded. The practical benefit of sanitation outweighs the small amount of stored energy that might otherwise move from the leaves to the crown.
Prepare hostas before you mulch
Start with a short inspection, not a wheelbarrow. Look for a crown that is soft or sunken, standing water, roots exposed by heaving, slug or vole tunnels, and leaves that are diseased rather than merely yellow from dormancy. Correct the underlying problem before you add a protective layer.
When foliage is limp and faded, cut it close to the ground with clean, sharp pruners if you want a tidy bed or if pests and disease are a concern. Cut the petioles without gouging the crown, and remove the debris from the bed. Gardening Know How notes that the regional choice is different in cold, snowy areas than in milder regions, and recommends winter mulch for mature hostas when it is applied after the foliage has died back. (Gardening Know How: How to Prepare and Care for Hostas in Winter)
If the soil is dry, water deeply while it is still workable and drains normally. Do not water frozen ground, and do not saturate a bed that already drains slowly. Pull perennial weeds, rake away leaves that are packed tightly against the crown, and mark the hosta’s location if you plan early spring digging; dormant crowns are easy to damage when they are invisible.
How to mulch hostas step by step
Use this sequence for an in-ground hosta:
- Wait for dormancy. Let healthy foliage fade and collapse after frost, or clean it up sooner when disease, nematodes, or heavy pest pressure makes that the safer choice.
- Check the soil. Water if the root zone is dry and well drained; delay mulching if water is standing or the soil is saturated.
- Clear the crown. Remove matted leaves and debris from the central growing point without scraping or digging into it.
- Measure the layer. Spread 2–3 inches of loose mulch after settling. Move toward 4 inches only for a new or highly exposed plant where freeze-thaw protection genuinely warrants it.
- Extend outward. Cover the root zone toward the plant’s drip line instead of piling material over the center.
- Inspect once more. Look for mulch touching the crown, blocked drainage, or a layer that is already compacting.
Spread a wide, shallow ring
The finished shape should be a low, broad ring rather than a mound. Leave a visible gap of roughly 2–4 inches around the crown, widening it if the mulch is fine, wet, or likely to settle. The hosta may eventually push shoots through loose material, but you should not force emerging shoots to grow through a heavy, soggy blanket.
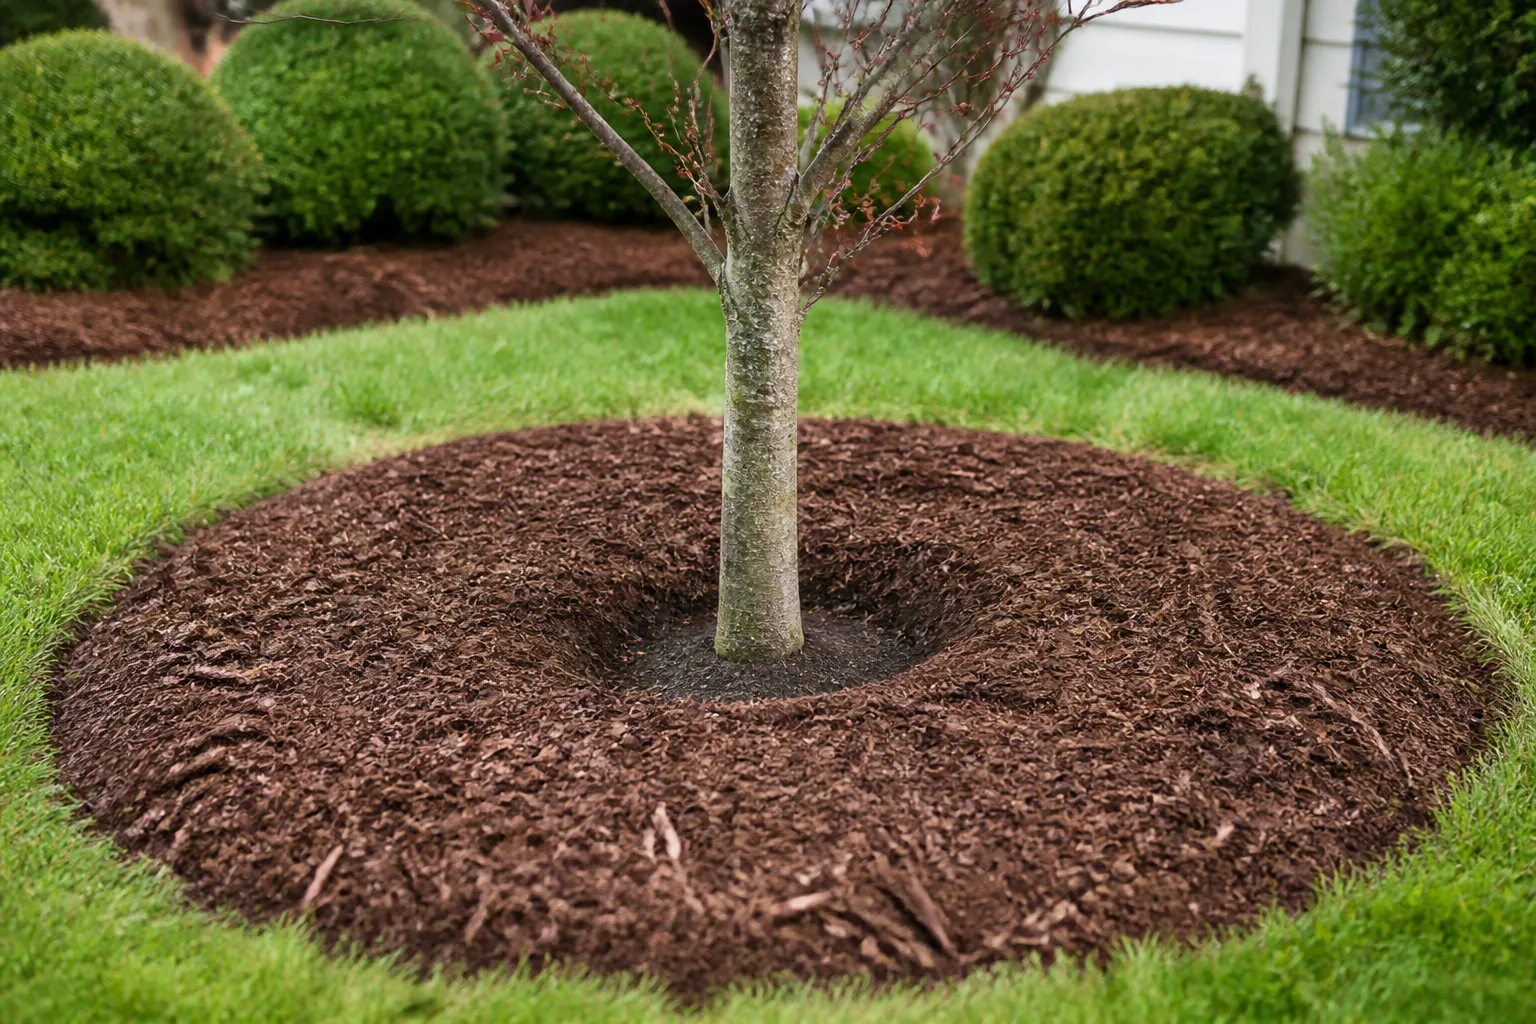
Rake the outer edge smooth and keep the material below nearby stems, edging, and hardscape. A ring that is too narrow leaves the outer root zone bare, while a ring that is too deep at the center creates the damp pocket you were trying to avoid. The RHS advises a mulch layer of at least 2 inches and shows that 3 inches is a useful working depth for many beds; use that measured range as a starting point, then adapt it to your material and site. (RHS: How to mulch with organic matter)
Check the bed after wind, rain, and snow
Winter weather rearranges mulch. Wind can expose the crown, heavy rain can wash material downhill, and wet leaves can settle into a dense mat. After a major storm or thaw, pull mulch away from the crown, restore the broad ring, and inspect for standing water or vole tunnels.
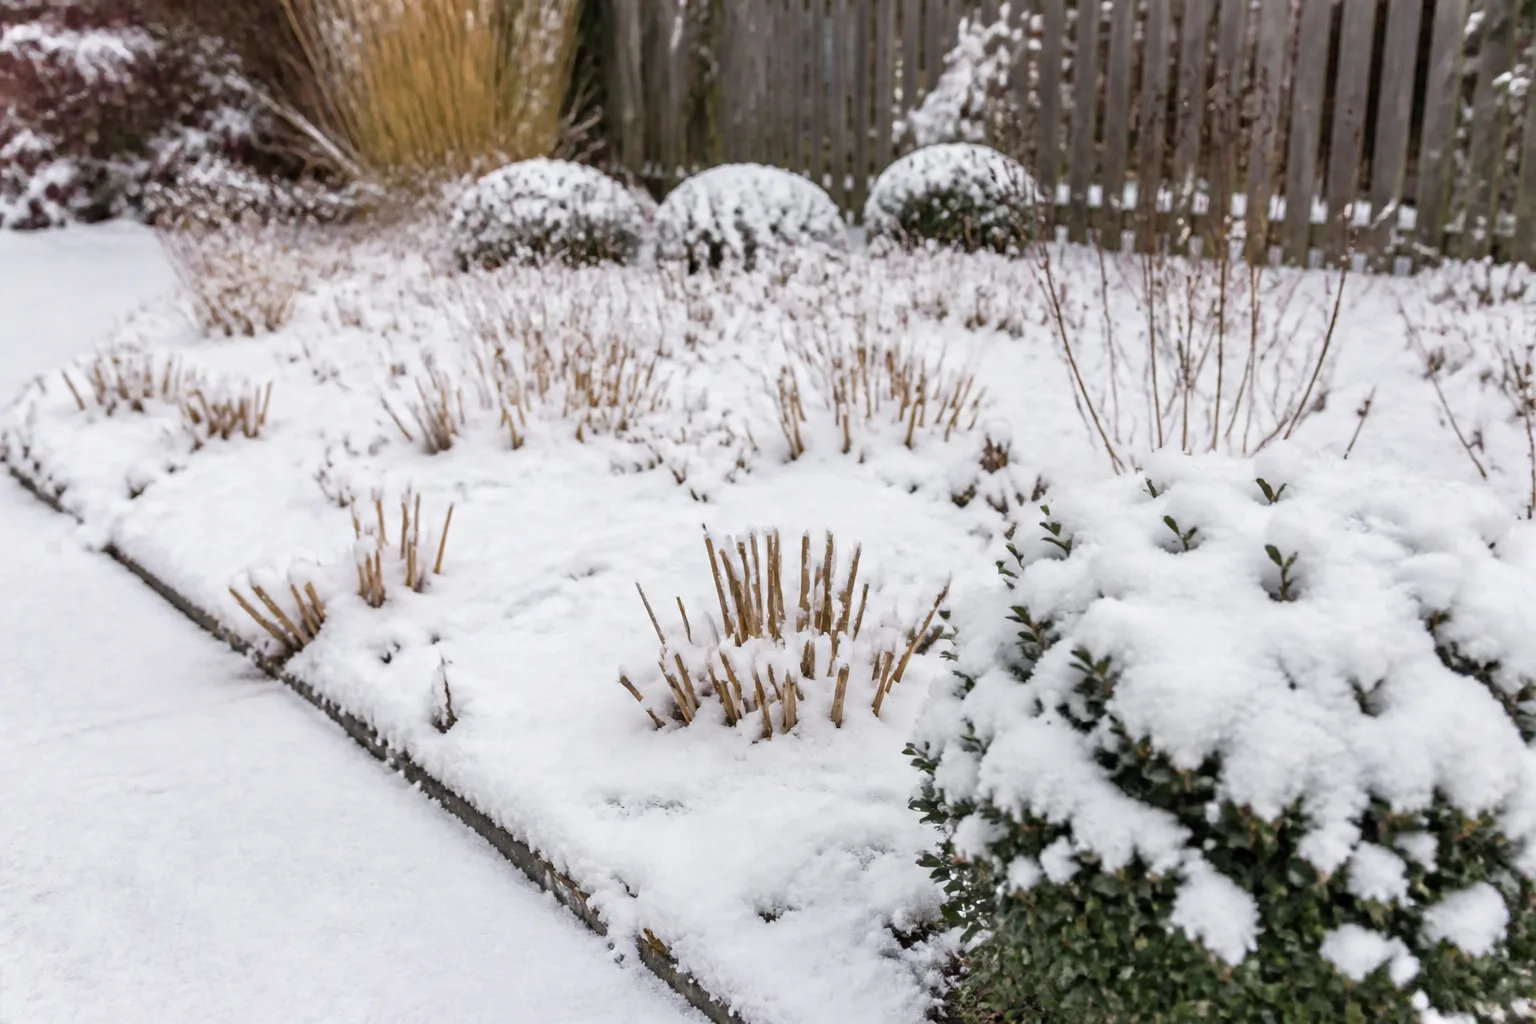
Snow itself is not a reason to dig up a hosta. A stable snow cover can reduce temperature swings, while a thin layer of ice or heavy wet snow may create a different problem for nearby stems. Avoid walking repeatedly on frozen beds, and do not use a shovel to scrape mulch away from a dormant crown unless you can see exactly where it is.
Remove or thin mulch in spring
Spring cleanup should follow the plant and the weather, not a fixed date. As the soil thaws, the forecast becomes milder, and pointed hosta shoots begin to swell, pull back thick or matted mulch so light and air reach the crown. You do not need to remove every loose piece from the bed; the goal is to uncover the growing point and prevent a wet layer from sitting over new shoots.
If the weather turns cold again after you have thinned the mulch, leave a light, loose layer nearby and pull it back over the bed only for a short frost event. Do not rebuild a dense mound. Early hosta growth can tolerate ordinary spring conditions better when it emerges cleanly than when it is trapped under compacted leaves that stay wet for days.
Inspect the crown as you uncover it. Firm, pale shoots are normal. A sour smell, blackened mush, or a crown that collapses under gentle pressure points to rot or winter injury, not a need for more fertilizer. Let the bed dry and improve drainage before deciding whether a damaged plant can recover.
Common mistakes that cause winter problems
Mulching while the leaves are still green. Green leaves are still contributing energy to the crown, and an early warm mulch layer can keep the soil active longer than you want. Wait for dormancy unless disease or a specific pest issue calls for earlier cleanup.
Covering the crown completely. Mulch on the surrounding root zone is protective; a wet pile pressed onto the growing point is a rot risk. Keep a clear center and use a breathable material.
Using a deep “volcano.” More depth is not a substitute for better placement. A tall pile can stay wet, reduce airflow, bury the crown, and create a sheltered runway for voles.
Ignoring drainage. NC State Extension emphasizes that hostas need well-drained soil and are especially intolerant of soggy winter conditions. If water pools after rain, reduce mulch and solve the site problem instead of adding insulation.
Leaving whole leaves or hay packed around the plant. Whole leaves mat and hay can introduce weed seed. Shred leaves and choose clean straw when you want a loose, removable cover.
Fertilizing because winter is coming. Hostas do not need a late-season push into tender growth. Build soil with mature organic matter at an appropriate time, but do not use fertilizer as winter protection.
Treating every climate and container the same. A sheltered hosta in the ground and a newly planted hosta in a pot do not experience winter in the same way. Adjust the plan for exposure, drainage, age, and the size and material of the container.
Conclusion
The right winter mulch for hostas is a measured, breathable layer applied at the right stage of dormancy. Wait until the foliage has faded and the soil has cooled, clean up diseased or pest-ridden debris, check moisture and drainage, and spread 2–3 inches of loose organic material over the root zone while keeping the crown clear.
Established hostas in a sheltered, well-drained bed may need little or no extra protection. New plantings, freeze-thaw sites, and containers deserve more attention, but even those plants are better served by a broad, shallow ring than a deep wet blanket. Check the bed after storms, then thin the mulch as shoots swell in spring. That approach protects the roots without creating the crown rot, pest shelter, or delayed emergence that careless winter mulching can cause.



