How to Overseed a Lawn in 5 Practical Steps
A practical five-step lawn overseeding guide: choose the right season and seed, prepare the soil, spread evenly, and keep new seedlings alive.
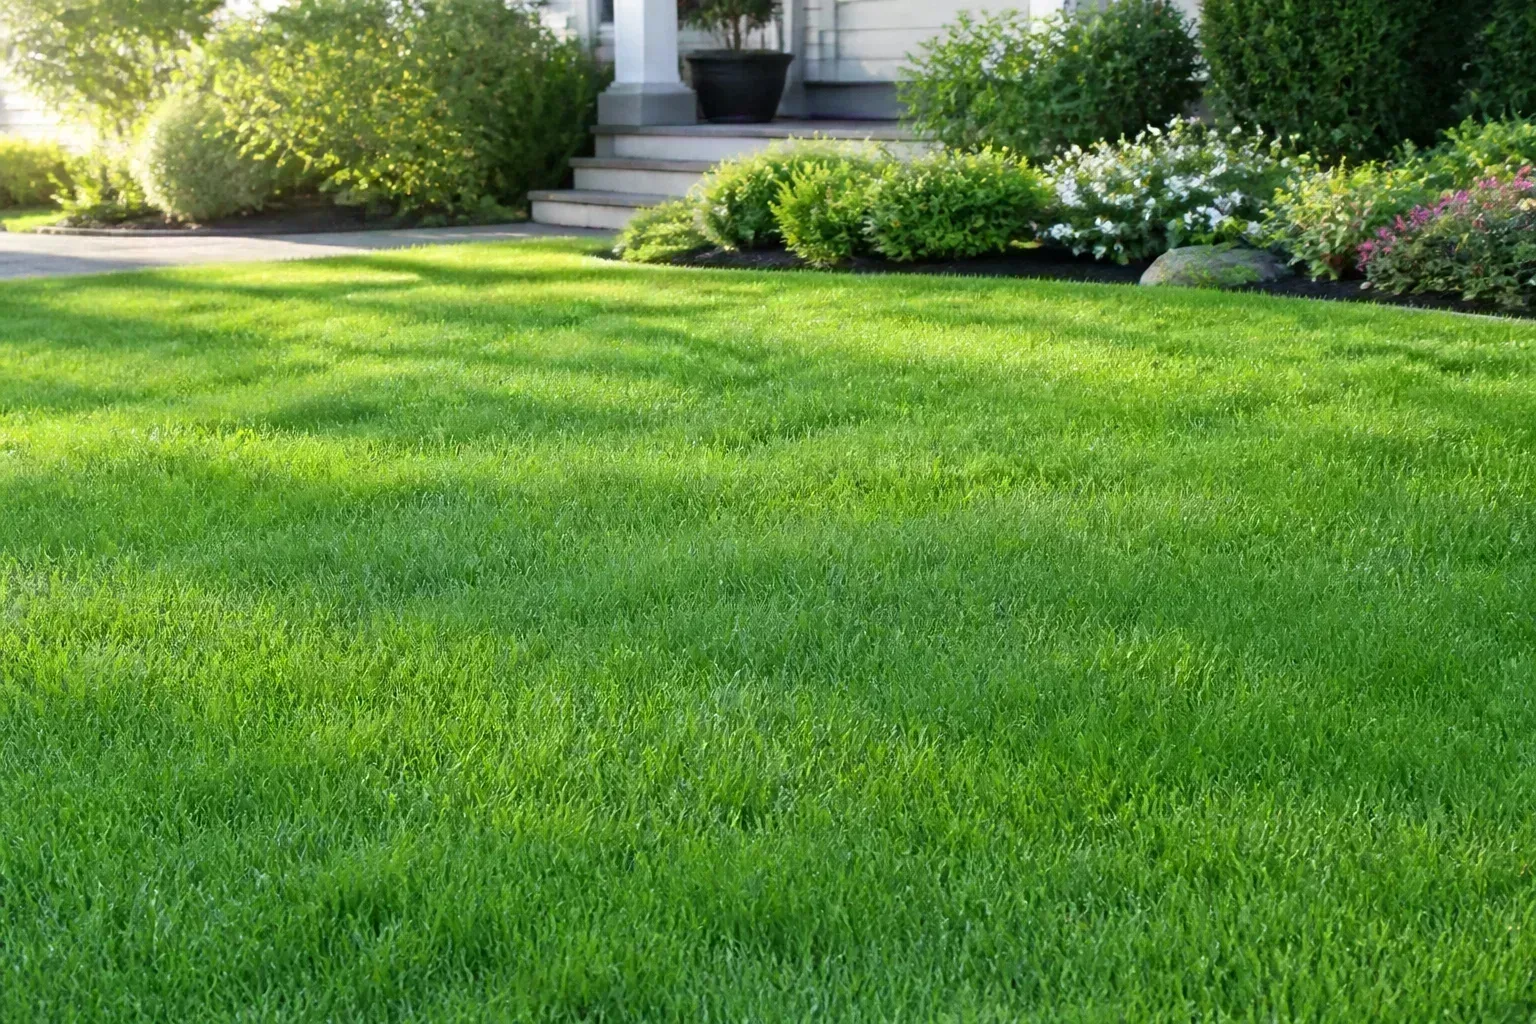
A thin lawn is usually a management problem before it is a seed problem. Grass may be sparse because the soil is compacted, the wrong grass is growing in the wrong season, the site is too shady, or drought and traffic have opened gaps. Overseeding can fill those gaps, but only when new seed can reach soil, stay moist, and establish before weather turns against it.
This five-step method is for improving an existing lawn, not replacing a lawn that is mostly weeds or dead turf. The key is to match the seed and timing to your grass type, prepare only as aggressively as the soil requires, and keep the seedbed consistently moist without washing seed away.
What overseeding actually does
Overseeding means sowing grass seed into living turf rather than starting with bare, tilled ground. It adds young plants to a lawn whose existing grass is still worth keeping. New seedlings can thicken worn paths, soften small bare patches, and introduce cultivars better suited to the site.
It is not a cure for standing water, deep shade, severe soil compaction, a heavy weed population, or a lawn made up mostly of the wrong species. University of Minnesota Extension recommends treating the cause of thin turf and making sure seed has contact with soil; seed scattered on a dense mat of grass and thatch has little chance to establish. See University of Minnesota Extension’s overseeding guidance for the same principle.
Decide whether overseeding is the right repair
Walk the lawn before buying seed. If healthy grass still covers most of the area and you can see soil between plants, overseeding is a sensible repair. If more than about half the area is bare or dominated by weeds, a full renovation may give better results because seedlings will otherwise compete with established weeds.
Thin grass, bare soil, or a larger renovation?
Use this quick decision rule:
- Thin but desirable turf: overseed after mowing and improving contact.
- Small bare patches: rake the patch open, add a little soil if needed, and seed it directly.
- Hard soil that puddles or sheds water: core-aerate first and address drainage.
- A thick, springy layer of dead stems: inspect thatch and dethatch only if it is genuinely preventing soil contact.
- Persistent deep shade: change the site or choose a shade-tolerant groundcover; more seed will not create sunlight.
- Mostly weeds or badly uneven grade: renovate instead of layering seed over the problem.
Do not seed a lawn that is under active drought stress and cannot be irrigated. Water restrictions, extreme heat, or a forecast of torrential rain can turn a good plan into seed loss. Wait for a workable weather window.
Choose the season by grass type
Timing is governed by soil temperature, moisture, and the time seedlings have to establish—not by a universal calendar date. Identify the dominant grass or read the old seed label before you choose a sowing window.
Cool-season lawns
Kentucky bluegrass, perennial ryegrass, tall fescue, and fine fescues usually perform best when seeded in late summer to early fall. The soil is still warm enough for germination, while cooler air reduces stress on young grass. Aim for enough time before the area’s usual first hard frost for seedlings to produce several mowable leaves and roots.
Spring is a fallback for cool-season lawns, but it brings more weed competition and often a quick shift into summer heat. If spring is your only option, seed as early as conditions allow, plan dependable irrigation, and do not expect the same margin for error as fall.
Warm-season lawns
Bermudagrass, zoysiagrass, centipedegrass, and similar warm-season turf are generally established while the grass is actively growing in late spring or early summer. Seed needs warm soil and a long growing season. Fall seeding is usually a poor fit for warm-season turf because seedlings may not mature before cool weather and dormancy.
Local extension calendars are more useful than national “best month” lists. Purdue University’s turfgrass overseeding guidance and UC Agriculture and Natural Resources’ lawn renovation guidance explain why species and season must be considered together.
Gather seed and tools before starting
You need a mower with a sharp blade, a stiff leaf or thatch rake, a broadcast or drop spreader, a core aerator if soil is compacted, and a hose or irrigation system that can apply a gentle pattern. Have the seed label, a measuring container, and a way to mark the area’s square footage.
Choose a blend suited to sunlight, traffic, drainage, and climate rather than the cheapest bag. A blend of compatible cultivars can spread risk, but do not mix cool-season and warm-season seed simply because both are advertised for lawns. Avoid seed that is old, damp, or stored in a hot shed; germination declines with poor storage.
Step 1: Mow and inspect the lawn
Mow shortly before seeding, removing no more than one-third of the existing blade height in that cut. Lower the mowing height modestly within your grass type’s safe range so seed can reach the surface, but do not scalp the lawn into crowns or exposed roots. Bag or rake heavy clippings and leaves; a light mulch of finely chopped clippings is different from a mat that blocks seed.
Mark sprinkler heads, shallow cables, and obstacles before aerating. Then look for the actual cause of thinness: shade from a tree, foot traffic, compacted turns, lawn disease, mower scalping, or runoff. If you do not fix that cause, a new stand may thin again next season.
Step 2: Improve seed-to-soil contact
Seed needs a firm but exposed surface, not a loose pile of compost or a blanket of thatch. Rake lightly to open the canopy and remove loose debris. Do not aggressively rake healthy roots just to make the lawn look dramatically disturbed.
When to core-aerate
Core-aerate when a screwdriver is difficult to push into moist soil, water runs off instead of soaking in, or the lawn receives repeated traffic. A core aerator removes plugs and creates channels for air, water, and seed. Make several passes only where compaction is a problem; excessive passes can roughen the surface and dry it out.
Aerate when the grass is actively growing and the soil is moist but not muddy. Purdue notes that aeration is most useful when compaction limits root growth; it is not a ritual step every lawn needs.
When to dethatch
Thatch is a dense layer of living and dead stems between green blades and soil. A thin layer is normal. Dethatch only when the layer is thick enough to keep seed and water from reaching soil. Use a metal rake or power dethatcher carefully, then remove loosened material and allow the surface to settle.
Step 3: Select and calculate the seed
Read the bag’s overseeding rate for your grass and calculate the lawn area. Labels vary by species, blend, and intended use, so a generic rate can be misleading. Divide the seed into two equal portions. Apply one portion in north–south passes and the second in east–west passes; the crossing pattern reduces stripes and missed areas.
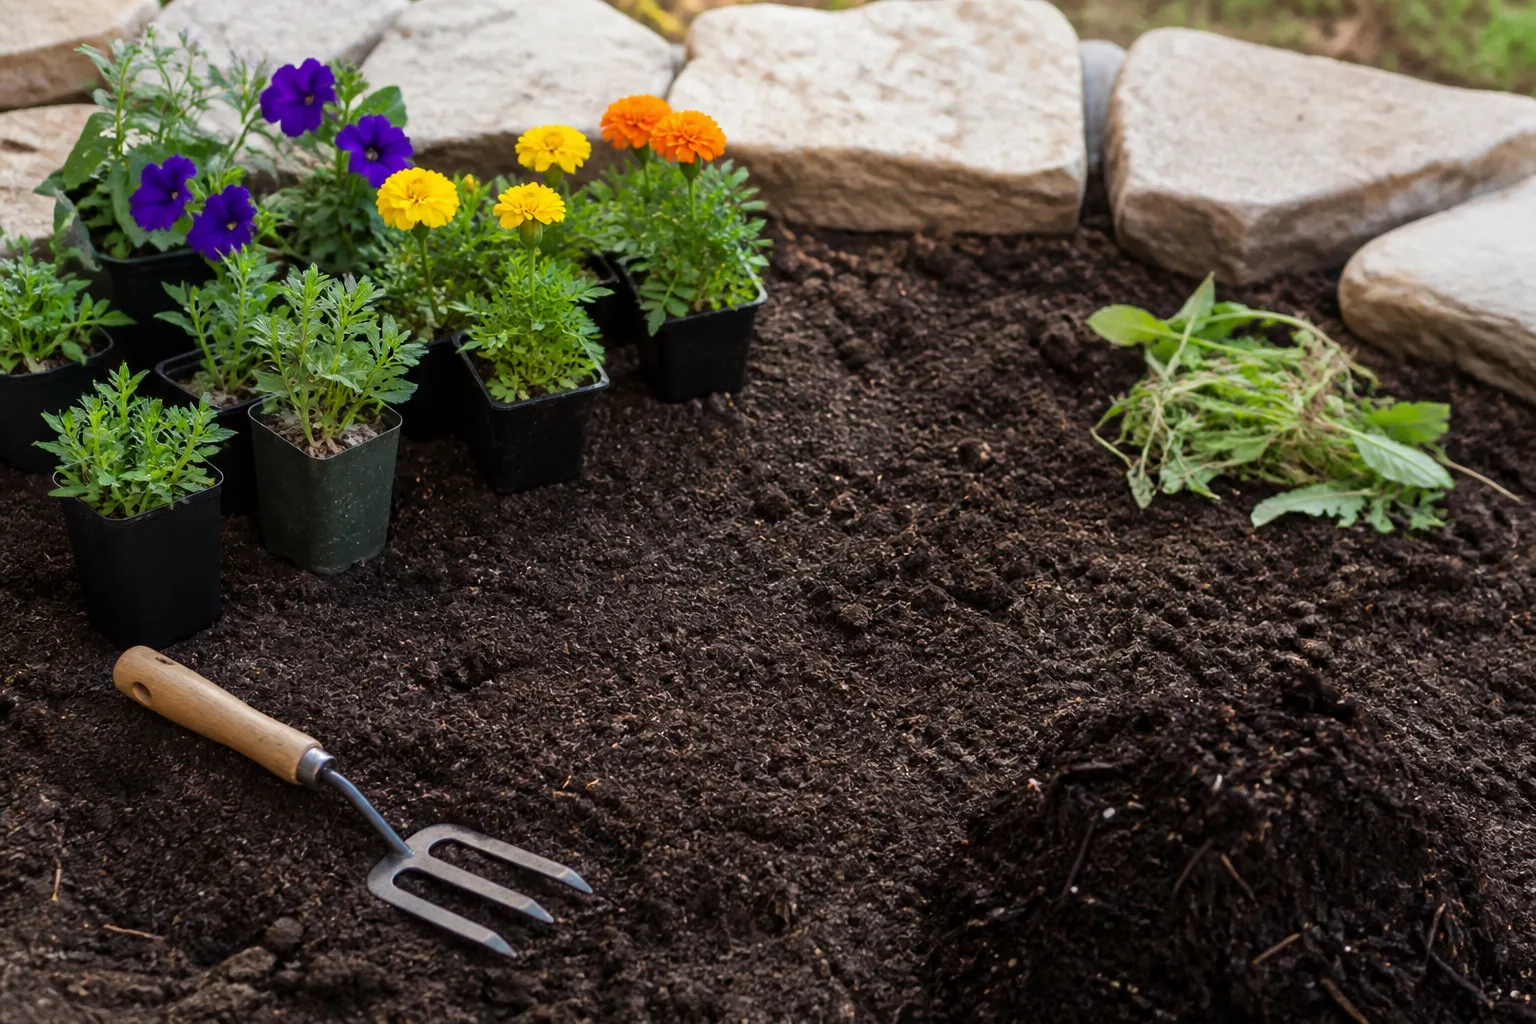
For a bare patch, loosen the top layer, seed at the label rate, and press or roll lightly so seed contacts soil. Do not bury most turf seed deeply. A shallow covering of fine soil or screened compost can help retain moisture, but a thick topdressing can smother seedlings and alter the grade.
If you want to fertilize, use a product and rate allowed for new grass and follow the label. A soil test is more useful than guessing with lime or fertilizer. Compost improves organic matter over time, but compost tea is not a substitute for seed-to-soil contact, correct timing, or water.
Step 4: Spread seed evenly
Set the spreader according to the seed label, then test it over a small measured area. Walk at a steady pace and avoid overlapping heavily at edges. For hand-seeding, mix seed with a dry carrier such as clean screened compost only when the label and local practice support it; the carrier is for distribution, not a reason to increase the seed rate.
Keep seed off sidewalks and driveways so it cannot wash into drains. Sweep stray seed back onto the lawn. Do not use a pre-emergent herbicide around the same time unless the product label specifically permits the combination and timing. Most pre-emergents prevent desirable grass seed from rooting as well as they prevent weeds.
Step 5: Water and protect germinating seed
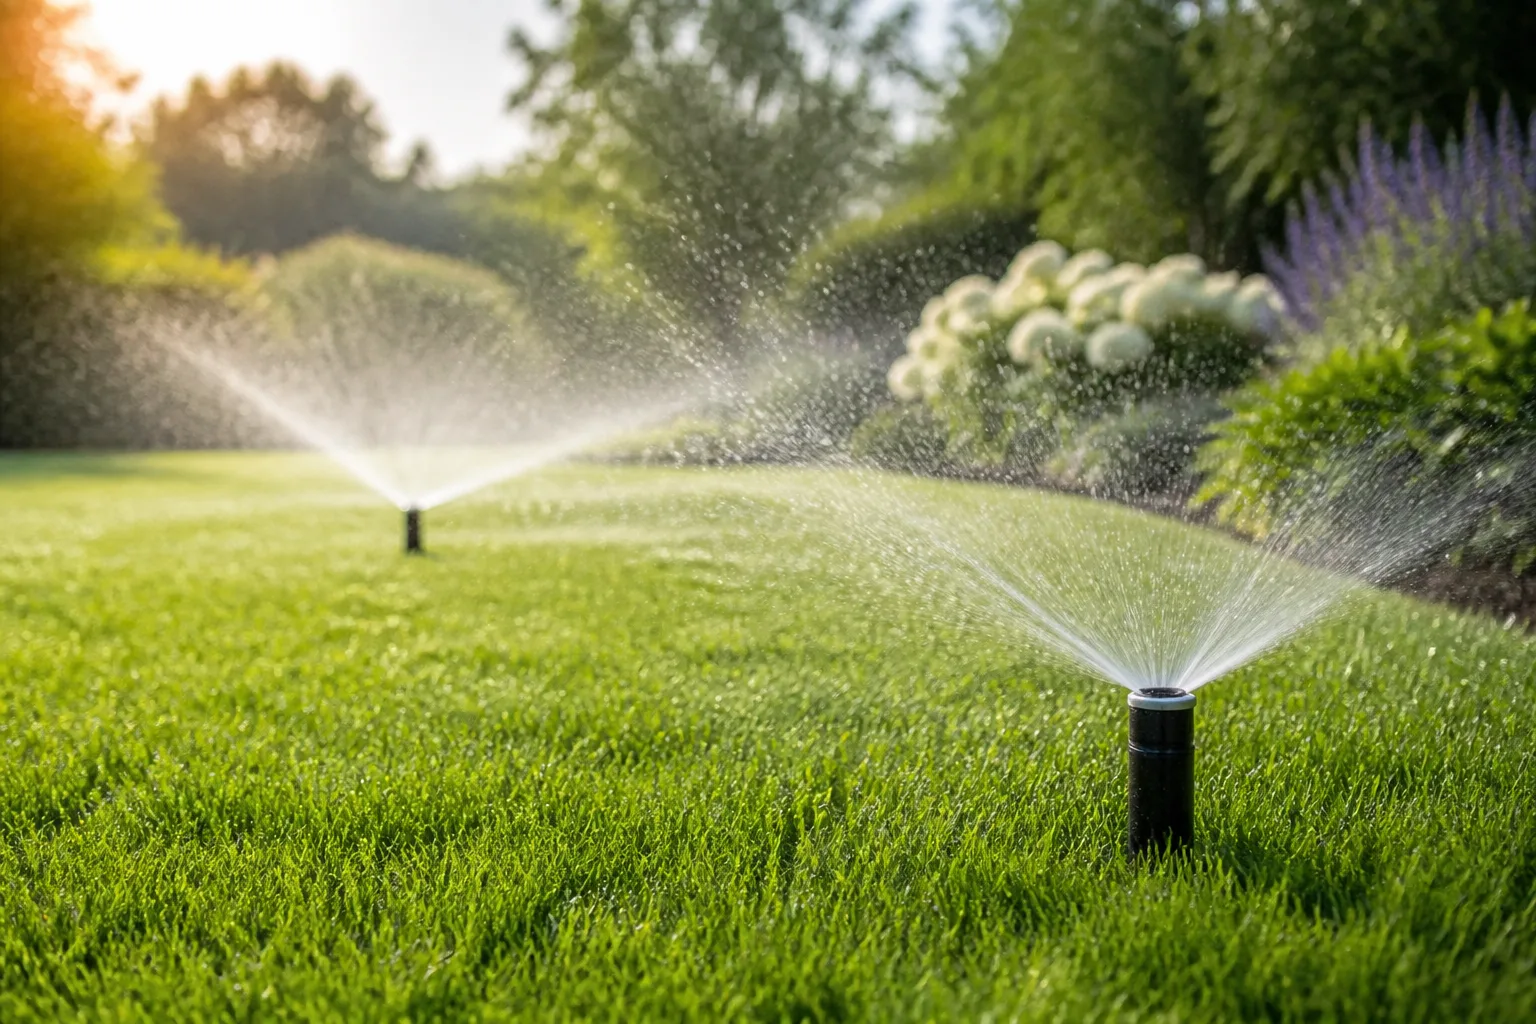
Water immediately with a gentle spray that wets the upper seedbed without creating puddles or rivulets. For the first week or two, water lightly and often enough to keep the surface consistently damp. The exact frequency depends on sun, wind, soil, rainfall, and irrigation output; a clock-based prescription can overwater one lawn and dry another.
As seedlings emerge and roots deepen, gradually reduce frequency and increase the amount applied per session. The goal is to move from surface moisture to deeper, less frequent watering. Protect the area from concentrated foot traffic, pets, and leaf piles while seedlings are small.
Fertilizer, compost, and weed control: what to skip
Freshly germinating grass is vulnerable to product timing mistakes. Skip “weed and feed” unless its label clearly says it is compatible with newly seeded turf and gives the required waiting period. Broadleaf herbicides can injure young grass or force you to delay seeding. Hand-pull obvious weeds before sowing, mow weeds down when appropriate, and wait until new grass is established before choosing a labeled control.
Do not add a thick layer of topsoil over the entire lawn to hide poor preparation. It can bury crowns, change drainage, and leave a soft surface. A thin, screened topdressing is a finishing aid, not a replacement for aeration or grading.
Mowing and care after seedlings emerge
Keep new turf growing rather than letting it become tall and floppy. Once seedlings are tall enough to mow according to the seed blend’s guidance, use a sharp blade and remove no more than one-third of the height. Mow when the soil is firm enough to avoid ruts, and vary your route so tires do not repeatedly compact the same strip.
Continue watering based on soil moisture and weather, not on the date. Reduce irrigation after establishment, but do not abruptly stop during a hot, dry spell. Leave enough leaf area for photosynthesis and avoid heavy fertilizer late in the season when tender growth would be vulnerable to cold.
Common overseeding failures and their fixes
Nothing germinated. Check whether the seed was buried, washed away, old, or applied just before a dry or very cold period. Scratch a small test patch open, reseed lightly, and correct moisture or contact before applying more seed everywhere.
Seedlings came up in stripes. The spreader setting, walking speed, or overlapping passes were inconsistent. Use the crosshatch method and test the spreader over a measured area next time.
The lawn is greener but still thin. The underlying issue may be shade, compaction, poor fertility, disease, or the wrong species. Test soil and observe the lawn at different times of day before repeating the process.
Weeds appeared with the grass. Disturbing soil exposes weed seed, and bare patches invite competition. Hand-pull while plants are small, mow at the recommended height, and delay herbicide decisions until the new turf is established and the label permits treatment.
Heavy rain moved the seed. Wait for a calmer forecast, reduce irrigation output, improve surface grading where water concentrates, and reseed only the affected areas. More seed will not compensate for runoff.
Conclusion
Successful overseeding is a short project with a long payoff: diagnose the lawn, choose a season that matches the grass, mow and prepare the surface, spread the labeled amount evenly, and keep the seedbed moist until roots take hold. Aerate or dethatch only when the lawn’s condition calls for it, and postpone the job when drought, deep shade, weeds, or drainage make establishment unlikely. The result should be a denser stand of grass that enters the next season with fewer bare gaps and a better chance of staying healthy.



