How to Care for Ferns in Winter: A Practical Guide
Learn how to care for ferns in winter: identify hardy and tender types, move container ferns indoors, manage light, water, humidity, pests, and spring acclimation.
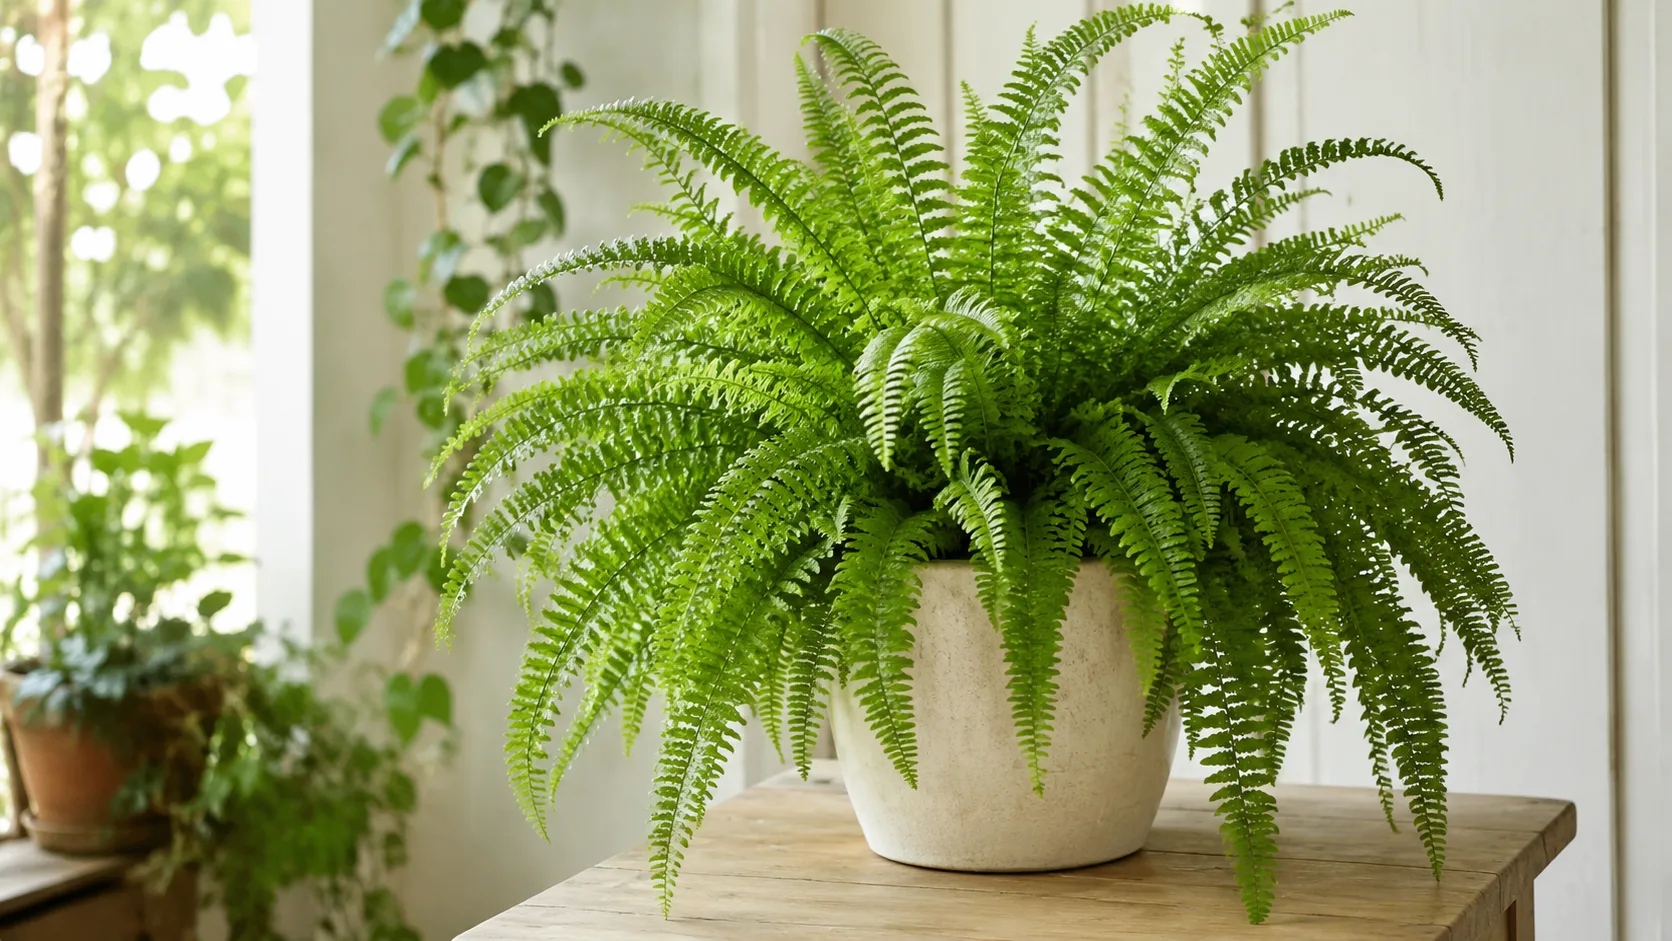
Winter fern care starts with one question: what kind of fern do you have? A hardy garden fern may need little more than a tidy-up and a protective layer of leaf mold, while a Boston fern hanging on a summer porch can be damaged by its first frost. Treating both plants the same is the quickest way to lose one.
The plan below separates outdoor-hardy ferns from tender container ferns, then covers the transition indoors, winter light, watering, humidity, pruning, pests, and the return outdoors. The goal is not to keep every frond perfect. The goal is to keep the crown and roots healthy enough to produce strong new growth when conditions improve.
First Decide: Hardy Garden Fern or Tender Fern?
Look for the plant label, cultivar name, or nursery record before choosing a winter method. “Fern” describes a huge group of plants, not one temperature tolerance. The RHS fern growing guide notes that ferns can be evergreen or deciduous and can come from habitats ranging from woodland to dry rock crevices and swamps.
If the plant is established in a shade garden and identified as hardy for your climate, it usually belongs outdoors. If it spent summer in a hanging basket, patio pot, or warm container display and is described as tropical, tender, or houseplant-like, plan to protect it from frost. When the name is unknown, treat a valuable container fern conservatively until you identify it.
Ferns That Usually Stay Outdoors
Many landscape ferns are perennials that are meant to experience winter. Deciduous types may lose their fronds and disappear back toward the crown; that is dormancy, not necessarily death. Evergreen and semi-evergreen types may hold some foliage, although wind, snow, cold, and winter dryness can make the fronds look tired by spring.
Hardy ferns generally prefer dappled shade, moisture-retentive soil, and a crown that is not buried. The RHS guidance on hardy ferns recommends protecting soil moisture with compost or leaf mold and keeping the crown just above the soil surface. Do not dig up a hardy garden fern just because its fronds turn brown in late autumn; first check whether it is a deciduous type.
For an outdoor hardy fern, remove badly collapsed foliage when it is easy to see what is dead, keep leaves or compost around the root zone without covering the crown, and avoid walking on frozen fronds. If the species is only half-hardy in your area, use the plant label’s hardiness information and provide the protection it calls for rather than relying on a generic “ferns are hardy” rule.
Ferns That Need a Frost-Free Winter
Boston, asparagus, bird’s nest, rabbit’s foot, staghorn, and many maidenhair ferns are commonly grown as indoor or container plants. Some can spend warm months outdoors, but a cold porch is not automatically a safe winter home. The RHS tender-fern guidance recommends keeping tender ferns frost-free, either by moving containers to a protected space or insulating plants that remain in place where appropriate.
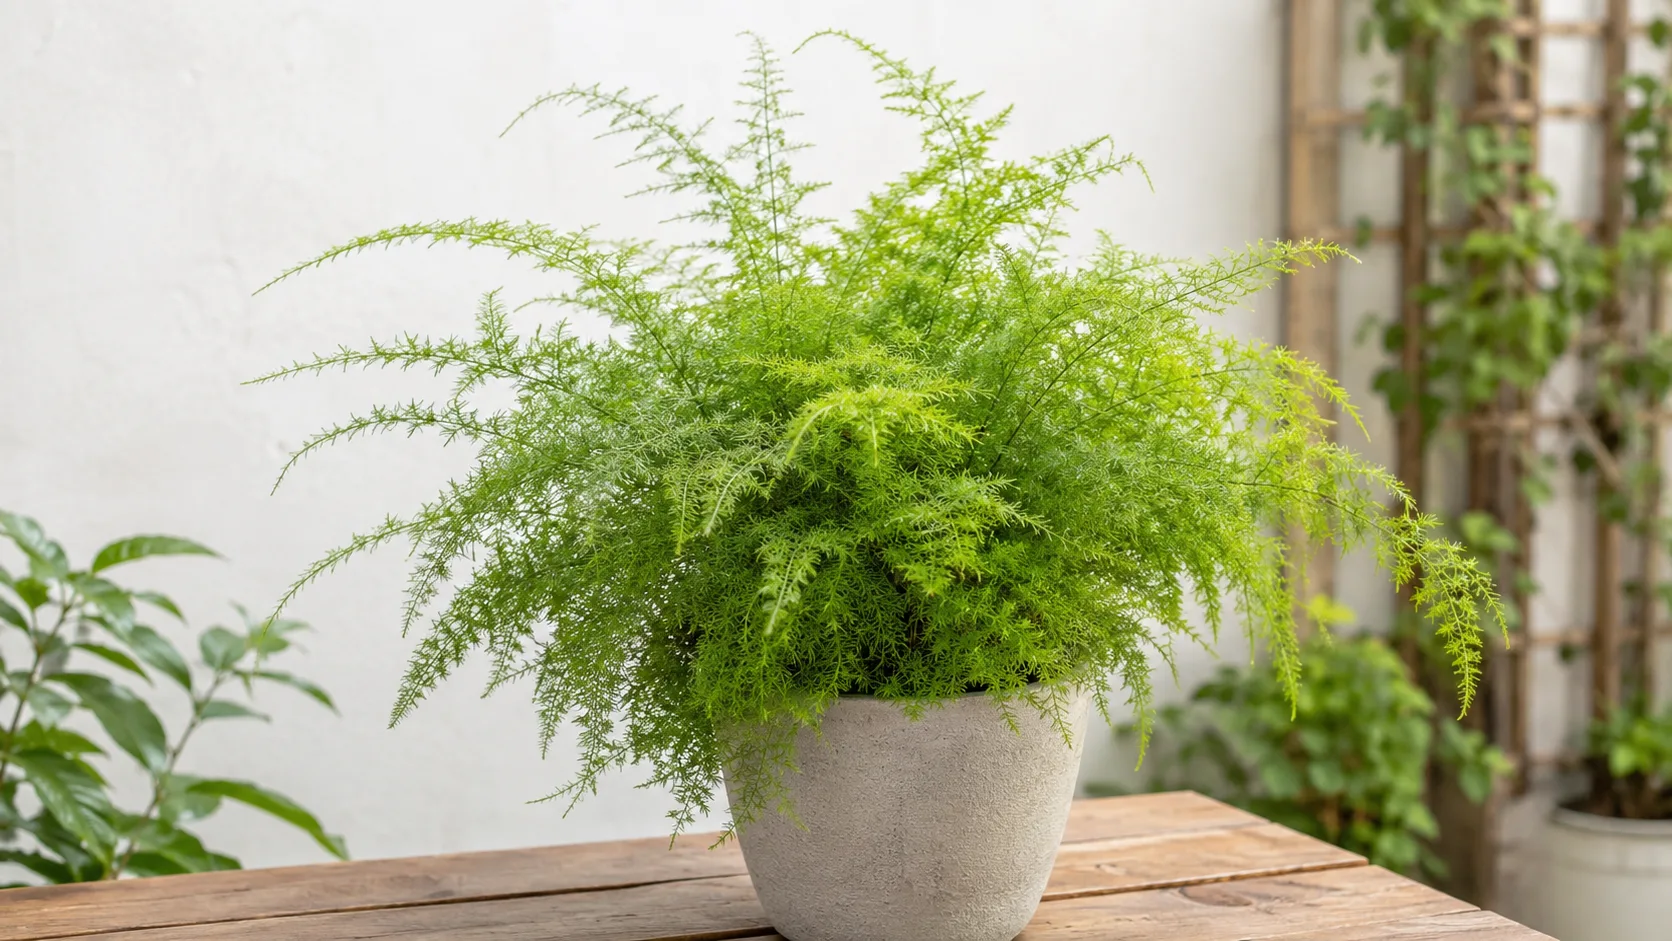
A Boston fern may tolerate a cool room, but it is not a frost-hardy garden perennial. A staghorn fern, bird’s nest fern, or rabbit’s foot fern may have different light, watering, and temperature preferences from a Boston fern even though all are sold as “ferns.” Identify the plant before you copy a winter routine from another species.
For a tender container fern, bring it inside before frost and before a sharp cold snap, inspect the foliage and pot, rinse or clean the plant, and keep it separate from other houseplants while you watch for pests. Place it in stable, bright-to-moderate indirect light away from drafts and heat vents.
After the move, reduce watering only as the plant’s water use falls; do not let a moisture-loving fern turn bone-dry. Maintain humidity if the room is heated and dry, stop routine fertilizer while growth is stalled, and remove damaged fronds gradually. In spring, reverse the process: water and feed as active growth returns, then acclimate the plant to outdoor shade before exposing it to brighter light.
Move Tender Ferns Before Cold Becomes a Crisis
Do not wait for a visible frost on the foliage. Container roots cool quickly, and a plant can be stressed by cold nights before the forecast reaches freezing. As a practical safeguard, bring tender ferns in ahead of the first expected frost and earlier if the plant’s label gives a warmer minimum temperature.
The Homes & Gardens winter guide describes Boston ferns as frost-intolerant and recommends moving them indoors in fall, before early frosts. Use that as a timing principle, not a universal calendar date: a sheltered city balcony, an exposed rural porch, and a heated conservatory can have very different night temperatures.
If a fern is planted in the ground but is not hardy where you live, lifting it is more disruptive than moving a pot. Water the root zone first if the soil is dry, dig wider than the crown, preserve as much root ball as possible, and pot it into a container with drainage. Give it time to settle before doing more than essential cleanup.
Inspect, Clean, and Isolate Before Bringing Them In
Treat the indoor move as a quarantine checkpoint. Look under fronds, along stems, around the crown, and at the pot rim for webbing, scale-like bumps, aphids, mealybugs, or clusters of insects. Check the drainage hole for roots circling in stagnant, sour-smelling compost, but do not repot a healthy plant solely because winter is approaching.
Rinse the foliage with a gentle stream of lukewarm water if the plant and potting mix can tolerate it. Remove obvious dead material and surface debris, let the foliage dry, then keep the fern away from established houseplants for about a week or longer if you see suspicious insects. The Connecticut Agricultural Experiment Station’s fern health guidance lists aphids, several scales, and spider mites among fern pests and emphasizes thorough coverage and label precautions for controls.
Do not improvise a pesticide recipe indoors. If treatment is needed, use a product labeled for the plant and pest, test a small area first because fern fronds can be sensitive, and follow the label for application, ventilation, and re-treatment. Physical rinsing and isolation are often the safest first steps for a small infestation.
Acclimate to Lower Indoor Light
Outdoor shade can still be much brighter than an indoor room. Moving a fern straight from a covered porch to a dim corner may trigger leaf drop, pale new growth, and a long recovery even if the temperature is comfortable.
For the first several days, place the fern in bright filtered light or gentle indirect light, then adjust based on its response. Avoid harsh midday sun through glass, especially after the plant has been growing under shade. If winter daylight is weak and the plant is trying to grow, a grow light can help, but keep the light far enough away that fronds do not heat or scorch.
Choose the Right Indoor Winter Location
The best winter spot is stable rather than extreme: light near a bright window but not pressed against cold glass, warm enough to avoid chill, and far from forced-air heat. A room that stays in a moderate indoor range is usually safer than a dramatic temperature swing between a freezing window at night and a radiator during the day.
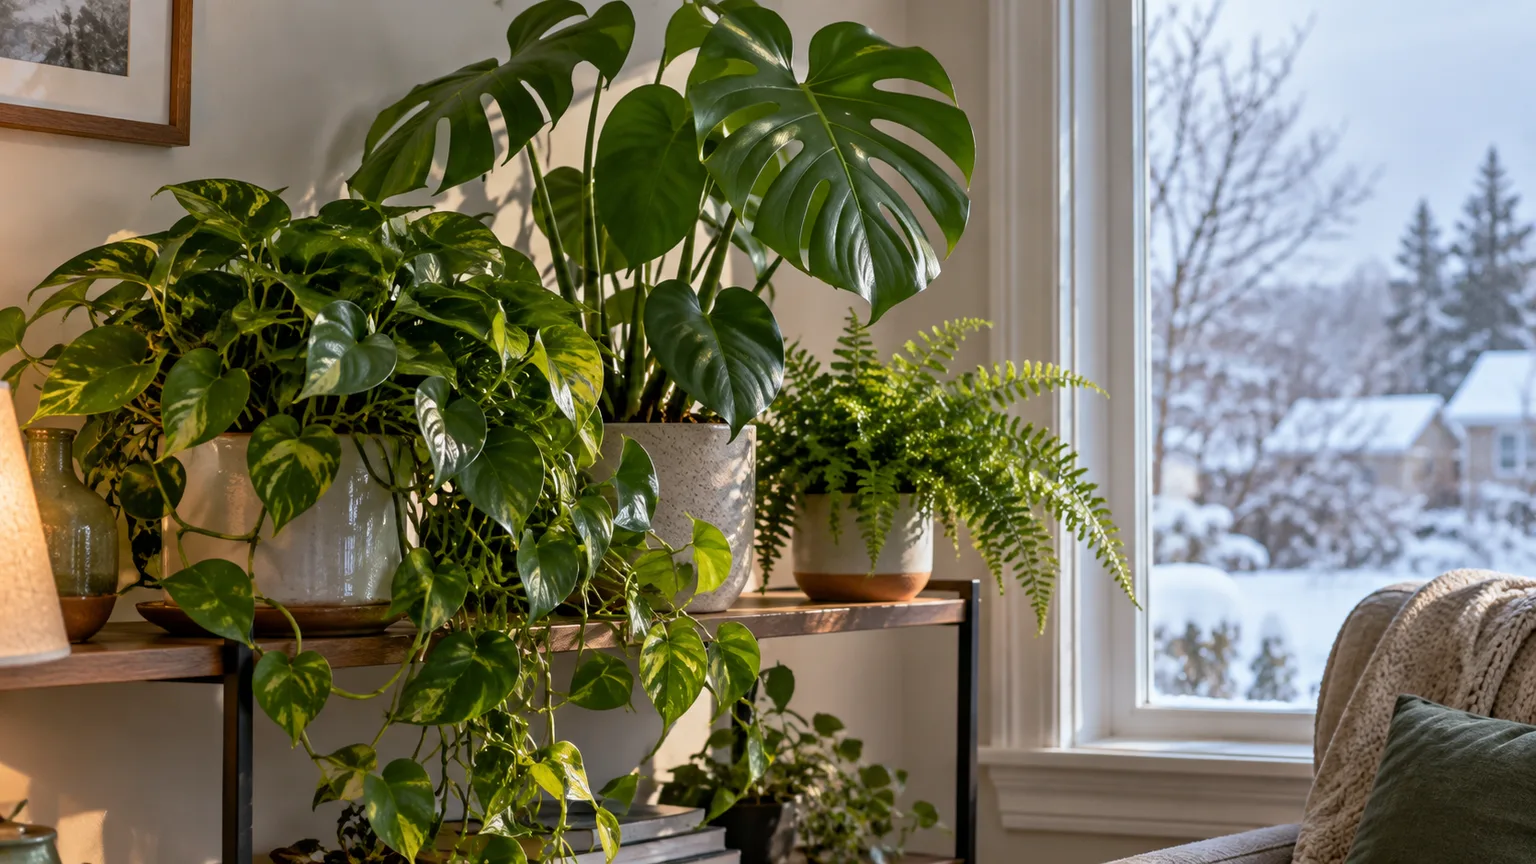
Keep fronds out of direct airflow from heating vents, radiators, fireplaces, frequently opened exterior doors, and leaky windows. Warm moving air strips moisture from leaf tissue; cold drafts can injure tender foliage even when the center of the room feels comfortable. The most useful placement test is simple: sit beside the fern for a few minutes when the heat turns on or the door opens. If you feel a steady blast, the fern does too.
Light needs vary. Boston and asparagus ferns usually appreciate bright indirect light, while some ferns tolerate lower light when they are cool and barely growing. A darker garage can work for a carefully managed dormant Boston fern, but it is not a universal solution; it must remain frost-free, the root ball must not dry to dust, and a fern that is still actively growing needs more light.
Water by Root-Zone Moisture, Not the Calendar
Winter watering is a balancing act because two opposing changes happen indoors. Lower light and cooler temperatures can slow growth and reduce water use, while heating can dry the air and increase moisture loss from fronds and the potting surface. A weekly schedule may be too much for one fern and too little for another.
Check the root zone before watering. Press a finger into the top layer, lift the pot to notice its weight, or use a moisture meter as a secondary guide. If the mix is still wet several days after watering, wait and investigate drainage, light, and temperature. If the pot is light and the mix is drying deeply, water thoroughly until excess drains, then empty the saucer.
Boston ferns generally prefer evenly moist—not saturated—mix. For cool storage or dormancy, the interval may be much longer than it was outdoors, but the plant should not be abandoned for the entire season. The Epic Gardening winter-care guide similarly recommends checking soil moisture rather than keeping a fixed schedule and explains that the correct interval depends on the home’s conditions.
Never leave the pot standing in water. A pebble tray can raise moisture around the foliage slightly, but it must be arranged so the pot sits above the waterline. Wet roots in a cool, low-light room are a root-rot setup, not a humidity solution.
Active Winter Growth Versus Cool Dormancy
Choose one of two coherent strategies instead of mixing them. If the fern is in a warm, bright living space and continues producing new fronds, keep the root zone moderately moist, maintain useful humidity, and rotate the pot occasionally for even growth. If it is in a cool, dim, frost-free garage or basement, expect slow growth or dormancy and water sparingly when the mix begins to dry, checking more often at first so you learn the room’s pace.
Do not put a tropical fern into a dark, cold space and keep watering it like a summer patio plant. Do not put an actively growing fern in a hot, dry room and assume a splash of water will compensate for low humidity. Light, temperature, water, and humidity have to agree with one another.
Humidity: What Helps and What Does Not
Low humidity is a common winter problem for Boston and other humidity-loving ferns, but it is not the only cause of brown fronds. Start by measuring room humidity with a hygrometer if possible, then improve the environment in a way you can maintain.
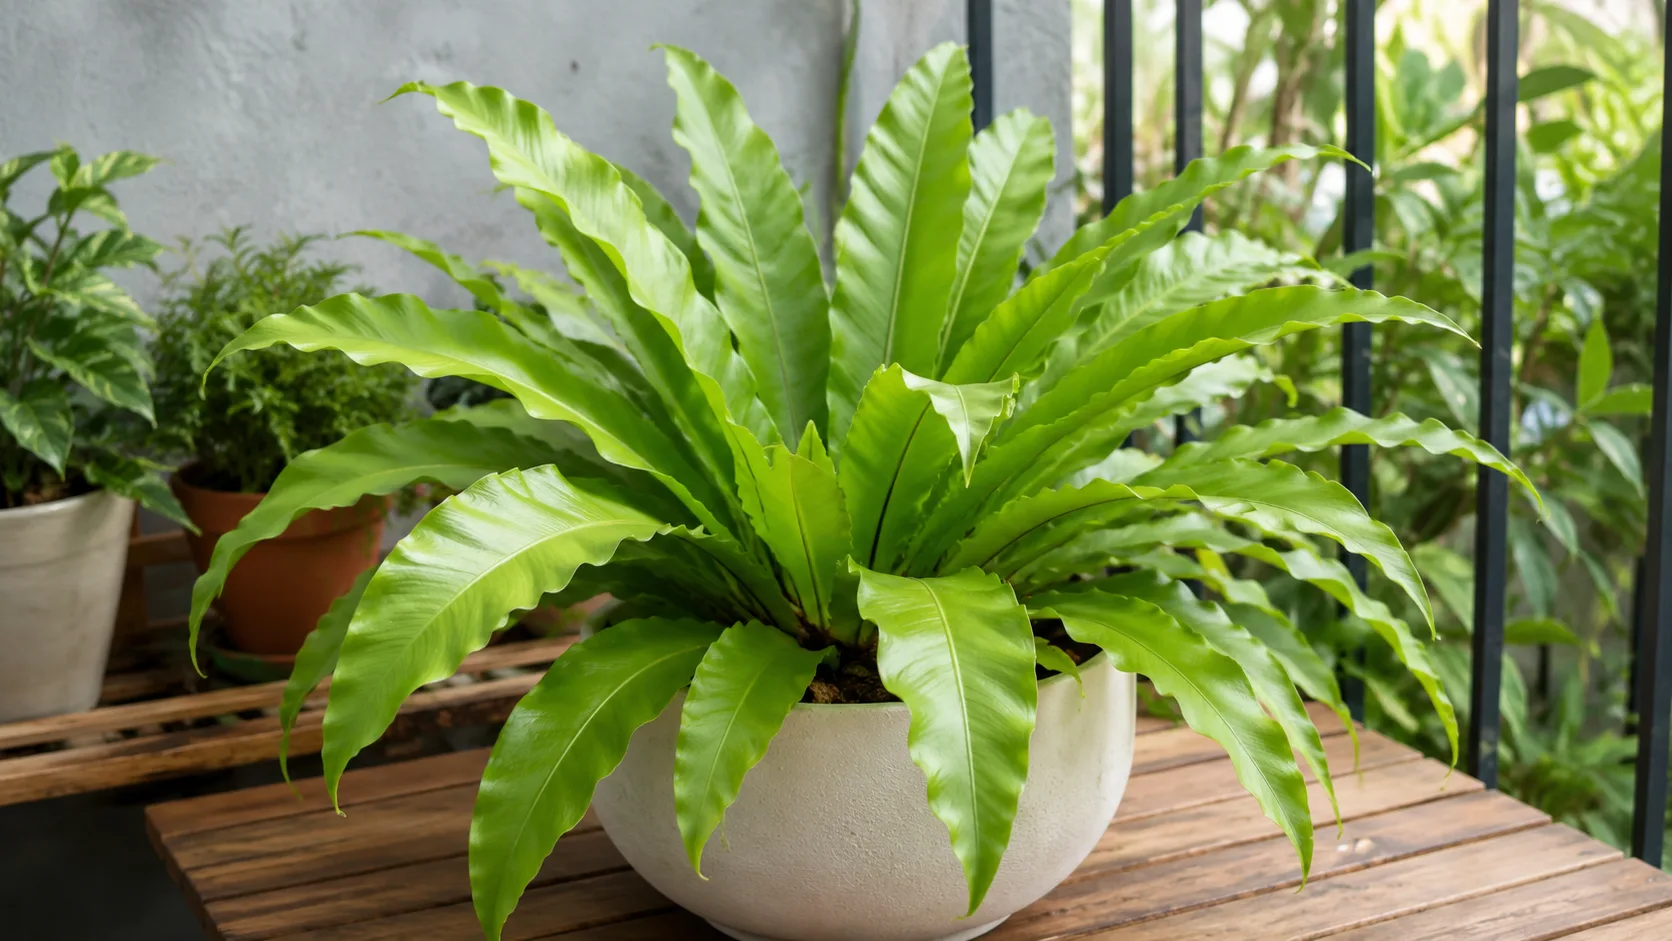
A properly sized humidifier near the plant is usually more consistent than occasional misting. Grouping plants can modestly improve the immediate microclimate, and a frequently used bathroom may be naturally more humid if it also has suitable light. Misting can wet foliage briefly but does not create stable room humidity, and constantly wet fronds with poor airflow can create other problems.
Pebble trays are optional and limited. Use a watertight saucer wider than the pot, add pebbles, keep water below the tops of the stones, and set the pot on the stones rather than in water. If the tray raises humidity only slightly, believe the hygrometer and the plant’s response; do not compensate by keeping the soil soggy.
Prune for Health and Manageability
Prune with a purpose: remove dead or diseased material, reduce the mess of damaged fronds, or make a large plant fit safely indoors. Use clean, sharp scissors or shears and cut a frond at its base rather than shaving every frond halfway back. Half-brown fronds may still contribute energy, and a fresh cut across green tissue can leave an awkward edge.
For a tender fern entering a warm indoor room, light cleanup is usually enough. For a fern entering cool dormancy, a more substantial reduction may be reasonable if the plant is healthy and the remaining crown is protected, but avoid removing more than roughly one-third at once. Never cut into tightly coiled young fronds or the crown simply to make the plant look tidy.
Hardy deciduous garden ferns are a different case. Their old fronds can be cut back in late winter before new fiddleheads unfurl, as the RHS growing guide recommends. That seasonal cleanup should not be copied automatically onto evergreen ferns or tender houseplants.
Stop Fertilizing Until Growth Resumes
Fertilizer does not rescue a fern from cold, low light, dry air, or root damage. If growth has slowed, feeding adds salts to a pot that the plant is not using quickly and can stress roots. Skip routine fertilizer through winter dormancy and resume only when daylight, temperature, and new growth show that active growth has returned.
When you restart feeding in spring, use a balanced fertilizer at the label rate rather than doubling up because the plant looks sparse. Ferns can be sensitive to salt buildup, so good drainage and occasional thorough watering are more useful than a strong dose. If the mix has crusty residue or the plant has been fertilized heavily, flush it with clean water only when the container drains freely.
Troubleshoot Brown, Yellow, or Dropping Fronds
Winter symptoms overlap, so diagnose the pattern and the environment together. A brown tip on a single old frond is different from a whole plant collapsing in wet compost; both are different again from fine webbing under pale leaves.
Brown Tips and Crispy Edges
Brown, crisp tips commonly point toward dry air, uneven watering, salt buildup, or a drying draft. The Connecticut Agricultural Experiment Station links fern tip necrosis with uneven watering and low relative humidity and notes that the damaged tissue can be trimmed after the underlying conditions are corrected.
Start with the root zone: is it bone-dry, constantly wet, or cycling between the two? Then check for a heat vent, radiator, cold draft, direct winter sun, and low humidity. Correct one major stressor at a time, trim only the damaged edge for appearance, and judge success by the condition of new fronds because old brown tissue will not turn green again.
Yellow Fronds or Persistent Wet Soil
Yellowing can follow normal aging, low light, overwatering, cold stress, or root trouble. If several fronds yellow while the pot stays wet, move the fern to brighter indirect light, stop watering until the mix has begun to dry, and confirm that the drainage hole is open. If the soil smells sour or roots are dark and mushy, root damage is more likely than a simple humidity problem.
Do not answer yellow leaves with fertilizer by default. Feed only after the plant is draining, rooted, and actively growing; extra fertilizer in wet, stressed soil makes the diagnosis harder and can add injury.
Sudden Leaf Drop After the Move
Some leaf drop after moving an outdoor fern indoors is a stress response to changes in light, temperature, humidity, and air movement. It does not automatically mean the plant is dead. Remove fully dead fronds, stabilize the location, and wait before making another major change.
If the crown remains firm and new growth is not black or collapsing, give the plant time. If the entire root ball freezes, stays saturated, or dries completely, recovery is less certain. A fern that looks worse after every watering needs a root-zone check, not more encouragement with the watering can.
Check for Pests Before They Spread
Inspect weekly during the first month indoors, especially on the undersides of fronds and in dense centers where pests are easy to miss. Spider mites often leave pale stippling or fine webbing; scale may look like fixed bumps; aphids cluster on tender growth; mealybugs look cottony. A plant can carry a small population outdoors without obvious damage and then become a problem when several houseplants share a warm room.
Isolate the fern at the first credible sign. Rinse what you can, remove heavily infested fronds, and use only a treatment labeled for that plant and pest. Repeat inspections matter because eggs, crawlers, and hidden insects may outlast one cleaning. Avoid broad indoor pesticide advice without checking the label; fern foliage can react badly to products or concentrations that another houseplant tolerates.
Wake Ferns Up and Move Them Outdoors in Spring
Spring recovery starts indoors. As days lengthen, look for new fronds, faster drying, and a plant that is holding foliage rather than shedding it. Increase watering in response to the root zone, not the date, and resume light feeding only after active growth is clear.
Do not move a wintered fern straight from a dim room into bright outdoor sun. Put it outside in deep shade or bright shade for a short period, protect it from wind, and increase outdoor exposure gradually over one to two weeks. The Cooperative Extension answer on waking a potted fern emphasizes acclimating both to outdoor temperatures and to sunlight, and advises keeping the soil damp without making it soggy.
Wait until the frost risk has passed and nighttime conditions fit the species. A tender fern may tolerate a mild spring day and still be damaged by a cold night. When the plant can stay outside comfortably, return it to its intended shaded location, check for pests again, and let new growth replace the winter-damaged fronds.
Conclusion
The safest way to care for ferns in winter is to stop treating “fern” as a single care category. Keep hardy garden ferns outdoors when their species and climate support it, protect tender container ferns before frost, and make the indoor environment stable before trying to perfect the foliage.
If you remember only four rules, remember these: identify the fern, keep tender types frost-free, water by root-zone moisture, and return them to outdoor light gradually. Brown or dropped fronds can be part of the transition; a firm crown, sound roots, and healthy new growth are the better signs that your fern is ready for another season.



