Why You Should Start Planning Your Spring Garden Right Now
Start spring garden planning now: map your light, test soil, choose plants, and build a realistic planting calendar that fits your space and local season.
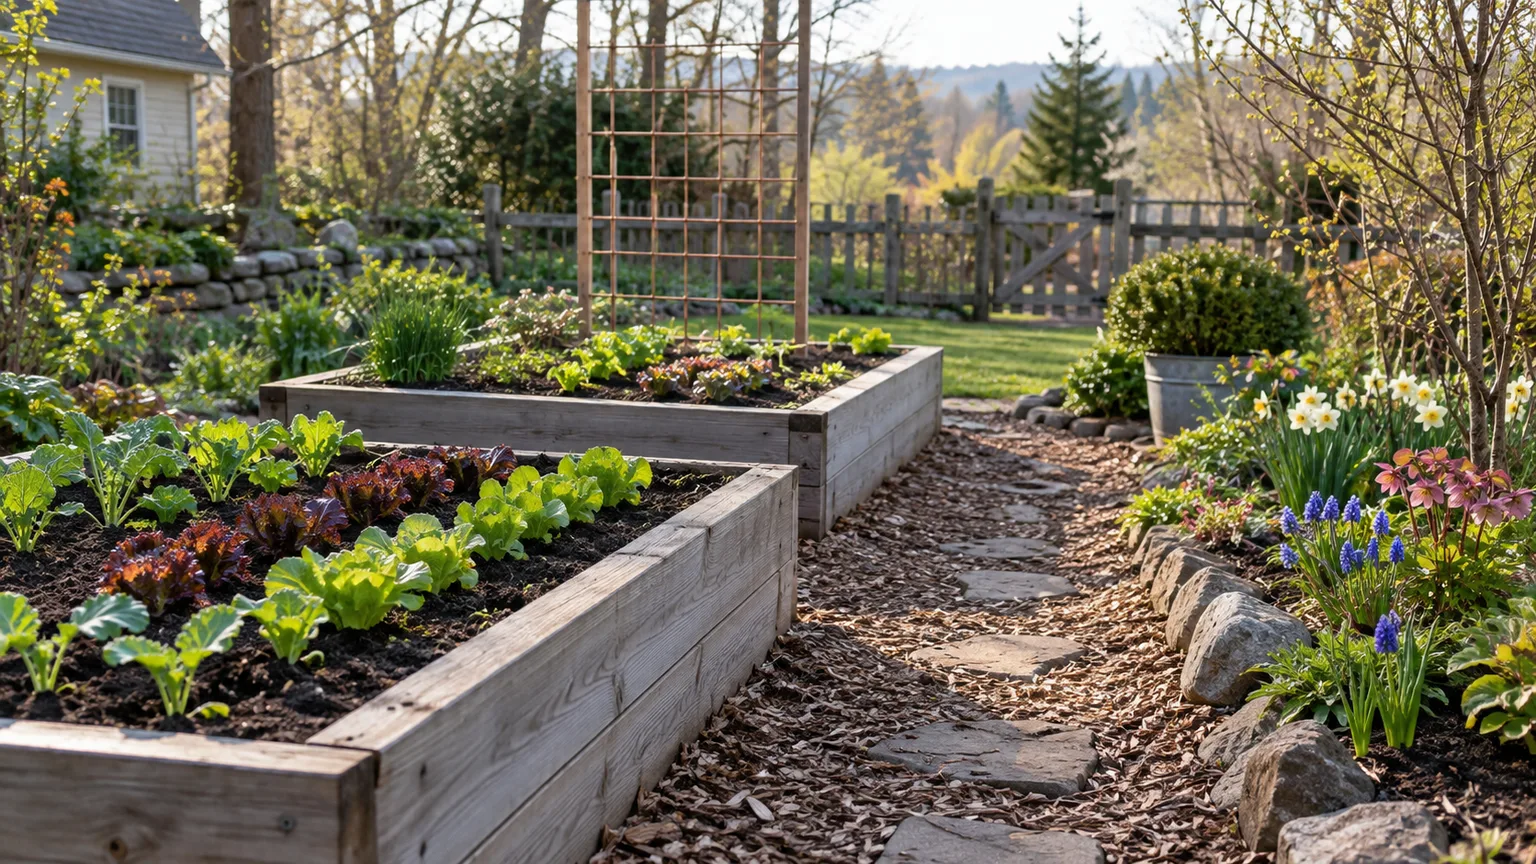
Spring can feel far away until seed packets, workable soil, and the first mild stretch all arrive at once. A little planning now turns that rush into a series of smaller decisions: what you want to grow, where it can thrive, what the ground needs, and when each task makes sense in your area.
You do not need a finished design or a shopping cart full of seeds. Start with observations and a simple sketch. Whether you are growing a few containers, a cutting patch, vegetables for the kitchen, or a mix of all three, early planning gives you time to adjust the idea to your real space and schedule. The calendar in this guide is a planning framework, not a universal set of dates; local climate, elevation, exposure, and weather still matter.
Planning Early Gives You More Options
Starting early is less about doing every garden chore ahead of time and more about preserving choices. When you know what you want and what your site can support, you can compare varieties, check mature sizes, find locally suitable plants, and notice whether you need a soil test or a better route for watering. If you wait until planting weather arrives, you may have to choose from whatever is left or squeeze a layout into a corner you have not measured.
Planning also helps prevent enthusiastic overbuying. A packet may contain far more seed than a small bed needs; a young plant may eventually shade its neighbors; and a low-cost raised bed can become a high-maintenance project if it is too large to reach comfortably. A sketch and a short list let you compare the full commitment before you spend.
Early preparation does not mean starting seeds indoors as soon as possible, digging wet ground, or applying fertilizer “just in case.” Those actions depend on the plant and conditions. The useful early work is mostly thinking, observing, testing when appropriate, and arranging the steps in a sensible order. Penn State Extension’s planning guidance similarly emphasizes choosing crops around household use, space, timing, and the amount of produce a gardener can actually use (Penn State Extension).
Start With What You Want the Garden to Do
Before you choose plants, decide what success would look like. A garden for quick salads has different requirements from a border that offers flowers for cutting, a pollinator-friendly patch, or a few pots near the kitchen door. Naming the purpose helps you filter choices instead of trying to grow every appealing thing in a catalog.
Write one main goal and, if useful, one secondary goal. “Fresh herbs by the kitchen” is more actionable than “a beautiful garden.” “Flowers from late spring into summer” points toward a sequence of bloom times, while “enough tomatoes to eat fresh” asks you to consider sun, support, and how many plants your household will use. If you want several outcomes, rank them. A small garden can do more than one job, but it cannot give every crop unlimited space.
For an edible garden, think about what you like to eat, how often you cook it, whether you can preserve or share a surplus, and how much harvest you can realistically manage. For flowers, decide whether your priority is a long display, cut stems, fragrance, pollinators, or a tidy border. For containers, consider what you can water consistently and where the pots will sit. Those answers shape the plant list and the size of the project.
Set a realistic scope
Estimate the time you can give the garden during an ordinary week, not only on an optimistic free weekend. Include watering, harvesting, weeding, tying plants to supports, and clearing spent growth. A compact bed that is easy to reach can be more rewarding than several sprawling beds that need attention during a busy week.
Choose a manageable first version, then leave room to expand. You might plant one bed well and keep a second area as lawn or mulch until you learn how the light and maintenance feel. A short plant list is also easier to research: check spacing, mature height, harvest or bloom period, and whether a plant is appropriate for your local growing season. This is not a limit on ambition; it is a way to make the first season teach you something useful.
Read Your Site Before Choosing Plants
The same plant can flourish in one part of a yard and struggle a few steps away. Before you settle on varieties, watch the space you might use. Note where the sun falls at different times, how water reaches the area, what happens after rain, and whether a path, gate, hose, or tree root makes part of the site awkward.
Sun is worth recording rather than guessing. On a clear day, check the candidate bed in the morning, around midday, and later in the afternoon. Repeat on another day if trees, buildings, or seasonal shadows make the pattern unclear. Many fruiting vegetables need a notably sunny position, while leafy crops and some flowers tolerate less; confirm the needs of the plants you actually intend to grow. A site that looks sunny before deciduous trees leaf out may become shadier later.
Notice the ground after a soaking rain. Does water drain away, pool for hours, or run down a slope? Is the soil compacted by foot traffic? Where will you fill a watering can or connect a hose? Is there a convenient path to harvest, and can you reach the center of a bed without stepping into it? These observations may lead you to shift the garden, choose containers, improve access, or select plants suited to the conditions rather than fighting the site.
Record sun, water, drainage, and access
Use a notebook or a simple phone sketch with four labels: sun, water, drainage, and access. For sun, mark the rough hours or the parts shaded in morning and afternoon. For water, mark the nearest tap or hose connection and how far you will carry a full can. For drainage, draw low spots and note where runoff travels. For access, mark doors, paths, gates, and the route for bringing in compost or removing garden waste.
Also note less obvious constraints: overhead branches, buried utilities, pets, strong wind, reflected heat, and places where snow or roof runoff lands. If the space is shared or rented, confirm what can be built or planted. The goal is not a professional survey. It is a faithful picture of the site as it behaves, because a plan that ignores real-world friction is likely to be abandoned.
Put the Garden on Paper
A quick scale drawing can expose problems before they become expensive. Measure the area and mark the outline on graph paper, where a square can represent a fixed distance such as one foot or 30 centimeters. Add existing trees, walls, paths, taps, doors, and permanent beds first. Then draw the growing area and leave the paths you will need to move, carry tools, and harvest.
Write down the mature width and height of each planned plant, not just the size of the seedling or transplant. The map should show where taller crops or flowers might shade shorter neighbors, where a trellis will stand, and which plants need support or frequent picking. If you grow in rows, leave enough room for the path and the mature foliage, not just a narrow line for seed. In a small bed, a rough map is still useful because it makes spacing and access visible.
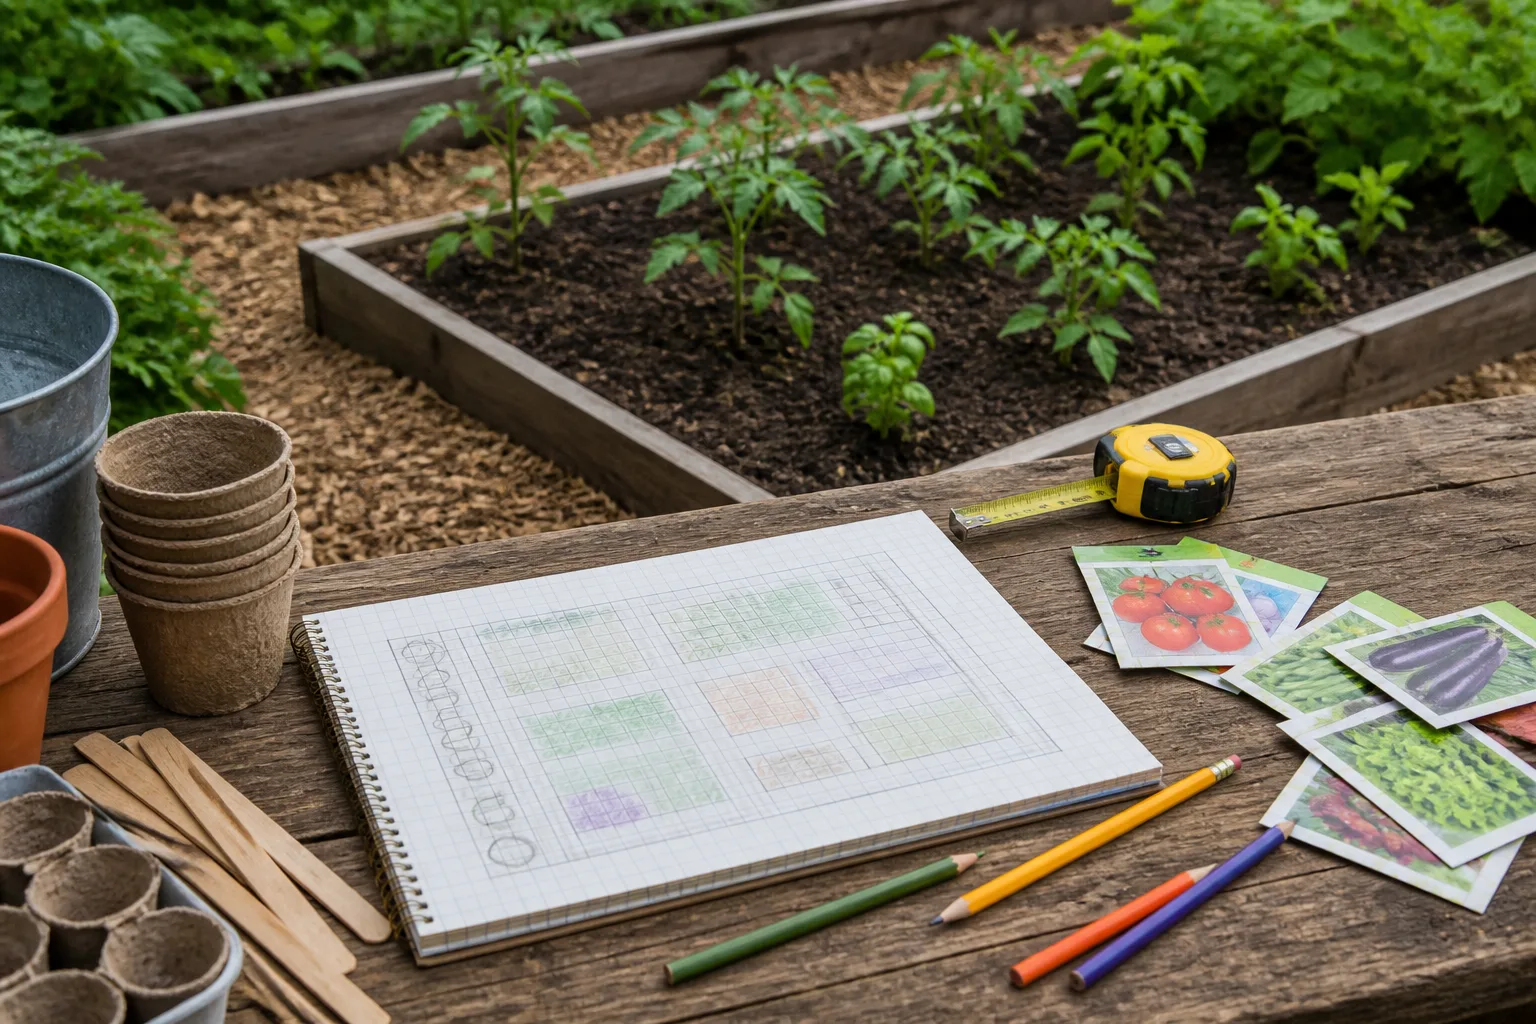
Think of the drawing as a working plan, not a contract. You can revise it when you check seed availability or discover that the site gets more afternoon shade than expected. It is usually easier to change a pencil line than move a mature plant or rebuild a bed.
Match the layout to how you will garden
Beds should be narrow enough that you can reach the middle from a path or edge without standing on the growing soil. The exact width depends on whether you can access both sides; a bed against a wall needs to be narrower than one you can walk around. Leave paths that suit your body, tools, and mobility needs. A wheelbarrow or mobility aid may require wider, firmer routes than a plan intended only for hand weeding.
If you have a small yard, look upward where suitable: a stable trellis can support climbing crops, but check that it will not shade plants that need stronger sun. Containers let you use a patio or doorstep, though they dry out more quickly and require an appropriate container size and drainage. Do not crowd pots simply to fit more varieties; air movement, root space, and ease of watering matter too.
Plan for the chores you will repeat. Put crops you harvest often near a convenient path. Keep a water source within a practical distance. Locate compost or tools where they are accessible without cutting through beds. A garden layout is successful not just when it fits plants on paper, but when it makes routine care easy enough to keep doing.
Plan Soil Work Before Planting
Soil preparation begins with finding out what the site needs, not adding a standard recipe of amendments. If you are using an established bed, consider when it was last tested and whether there is a specific problem. For a new bed, a representative soil test can help guide decisions about pH and nutrients. Follow the instructions of the local lab or Extension service closely; sampling depth, the area represented, and the test requested can affect how useful the result is.
Take samples from the area you intend to manage, and avoid mixing soil from distinct beds or conditions unless the lab says to combine them. Remove surface debris and use clean tools. If the site has visibly different zones, such as a wet depression and a dry raised edge, they may need separate samples. Testing before adding lime, fertilizer, or other amendments gives you a clearer baseline and lowers the chance of applying something unnecessary.
Soil tests have limits. A routine fertility test is not a complete diagnosis of soil structure, drainage, biology, or every possible contaminant. The University of Minnesota Extension notes that soil changes over time and that a lab test is a useful but bounded snapshot; consistent sampling and the right test matter when comparing results (University of Minnesota Extension). If you suspect contamination or have a specialized growing situation, ask the lab or local Extension office which test is appropriate rather than assuming a basic garden test covers it.
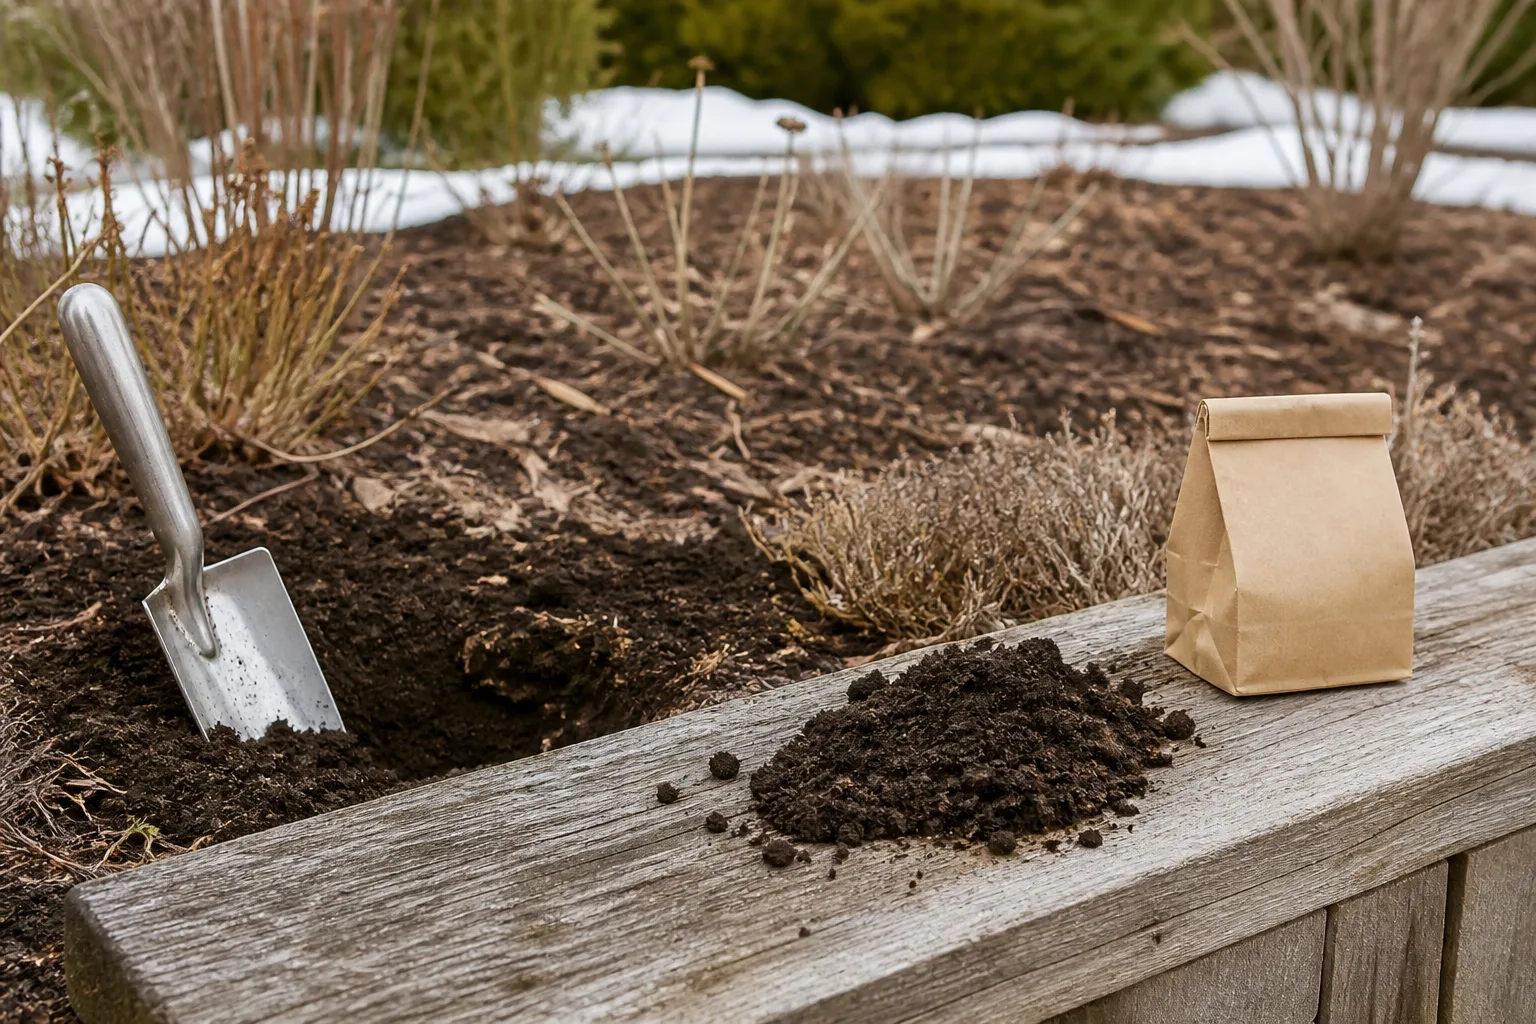
Test before amending
Follow the lab’s recommendation rather than applying lime or fertilizer because a neighbor uses it. More amendment is not automatically better, and an incorrect application can create a new problem or make nutrients less available. If the result calls for action, note the product, amount, application area, and timing in your plan so that you can avoid duplicating it later.
You can also assess soil physically. Is it compacted, crusted, or slow to drain? Does it hold together when moist without becoming a sticky mass? These observations help you identify where to investigate, but they do not replace a nutrient or pH test. Avoid digging or tilling when soil is saturated; working wet ground can damage its structure. If the bed is already planted or the surface is too wet, wait for suitable conditions and use a lower-disturbance approach where appropriate.
For containers, garden-bed test results may not apply to bagged potting mix. Use a growing medium and fertilizer approach labeled for container plants, and make sure pots drain freely. A soil plan should be matched to the growing system rather than copied from a different bed.
Choose Plants by Purpose, Season, and Space
Now turn your goal and site notes into a shortlist. For each plant, record why you want it, its light and water needs, mature size, likely harvest or bloom window, and whether it fits your region. This small amount of research prevents a common mismatch: selecting a plant for its photograph without checking the conditions it needs or the space it occupies.
For vegetables, consider how your household will use the harvest and how much of it a plant may produce. A few plants of a frequently used crop may be more valuable than a long list of vegetables nobody wants to cook. Check whether each crop is better direct-sown, transplanted, or either, and whether it is suited to an early or warmer part of the season in your area. Do not assume that every vegetable benefits from an indoor head start; some are simpler to sow where they will grow.
For flowers, combine practical needs with the effect you want. A cutting garden needs accessible stems and repeat harvest; a border needs a pleasing arrangement at mature size; a pollinator planting benefits from suitable flowers across a longer season. Choose plants adapted to local conditions and make sure the plan includes room for their spread. A mix of heights and forms can look natural, but height and shade still affect neighboring plants.
Design for a staggered season
Avoid choosing every flower or edible crop for the same short window. For flowers, build a sequence that includes early, middle, and later blooms suited to your climate. A single plant may not bloom continuously, so combine species or varieties with different flowering periods and check the expected timing where you live. Epic Gardening’s flower-planning guidance likewise recommends considering site conditions and bloom succession rather than designing around one peak moment (Epic Gardening).
For vegetables, staggered sowing can spread out a harvest of crops that mature quickly, but it is not useful for every crop or climate. Leafy greens, for example, may be sown in small batches when conditions and the seed packet support it; a long-season crop may instead need one well-timed planting and enough room to mature. Think about the likely harvest rate and what you can eat, preserve, or share before planning repeated sowings.
Use crop families as a planning aid if you grow in the same beds year after year. Keeping a simple record of where plant families grew can help you avoid repeating the same group in the same spot and organize the map. Crop rotation is one tool in a broader garden-health plan, not a guarantee against pests or disease. If you only have a small bed, prioritize healthy plants, clean-up, and a workable layout instead of trying to force a complicated rotation scheme.
Build a Calendar Around Frost and Crop Readiness
A planting calendar should describe what to do under local conditions, not promise that a certain date is safe everywhere. In places with winter frost, a local average last-frost date can be a useful reference for organizing warm-season planting, but it is an average, not a forecast. Cold pockets, elevation, proximity to buildings, and year-to-year weather can shift the risk. In frost-free, tropical, or Southern Hemisphere regions, use the locally relevant growing season and climate cues instead of importing a Northern Hemisphere schedule.
Begin with the crop’s instructions and the planting method. Seed packets often state whether to sow outdoors or start indoors, when to do so relative to frost, and a range of days to maturity. That range is a planning estimate, not a guaranteed harvest date; temperature, light, soil, and variety can all affect growth. Local Extension calendars and regional planting plans can help translate general instructions to a specific area. Fine Gardening’s regional plans illustrate why one spring schedule cannot suit every climate (Fine Gardening).
Count backward for seeds and transplants
For a crop you intend to start indoors, take the expected outdoor planting window and count backward by the seed packet’s suggested indoor-starting lead time. Add space for hardening off if the plant needs to adjust gradually to outdoor conditions. Do not start too early simply because a windowsill or grow light is available; a leggy, root-bound transplant can be harder to manage than a healthy seedling started at the right time.
For crops that can be direct-sown, note when the soil and air conditions are appropriate and whether the plant tolerates cool weather. Mark a flexible window rather than a single date. Review the forecast as planting approaches, and wait if conditions are unsuitable. The average last frost is a useful planning anchor, not an instruction to put every crop outside on that day.
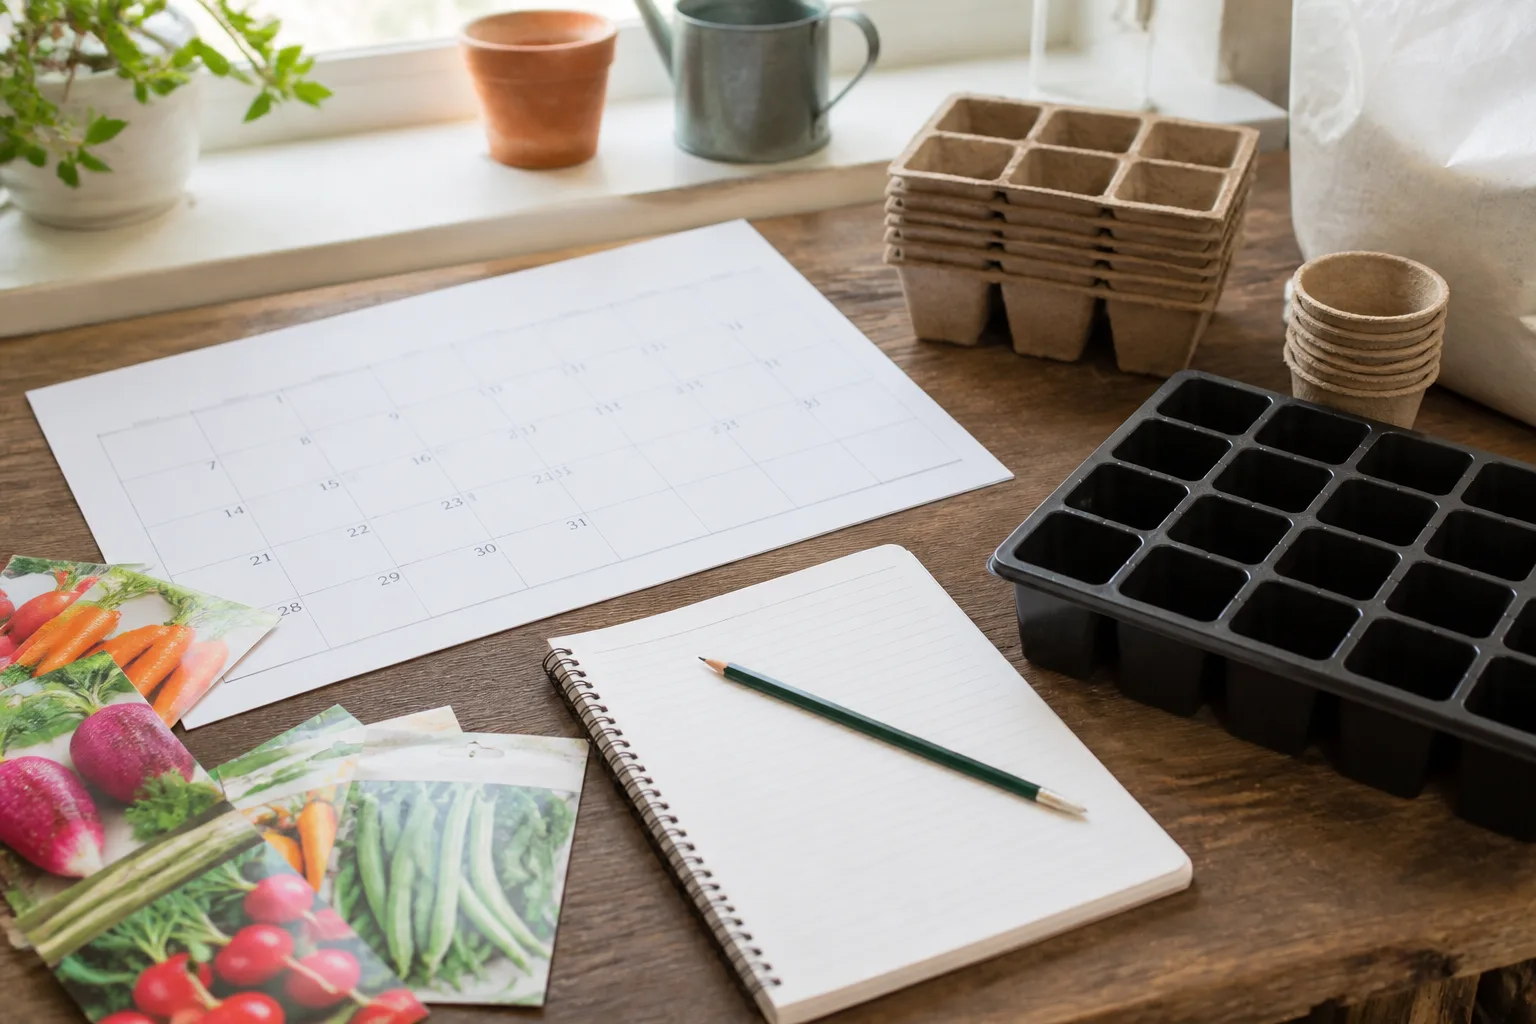
Put key tasks on a calendar: order or check seeds, prepare containers or beds, start only the crops that need indoor sowing, harden off transplants where appropriate, direct-sow suitable crops, and record what you actually planted. Include a little slack. Weather delays are normal, and a schedule that has no flexibility turns ordinary variation into a feeling that the whole garden is behind.
Epic Gardening’s vegetable planning advice also stresses matching the layout and timing to light, crop requirements, and the growing season rather than treating all vegetables alike (Epic Gardening). Use that kind of general guidance alongside a local calendar and the instructions for your chosen variety. If the sources disagree, favor region-specific information and the current conditions at your site.
Order and Prepare Only What the Plan Calls For
Once the plant list and map are reasonably stable, make a simple inventory. Check what seeds, pots, labels, supports, tools, and soil products you already own. Note what is missing and whether you need it before planting or can wait. This step reduces duplicate purchases and lets you prioritize essentials such as a reliable watering method or suitable containers over decorative extras.
When you order seeds or plants, confirm the variety, quantity, maturity, and suitability for your region. A packet’s number of seeds may exceed your plan; see whether you can store the remainder correctly, share it, or choose a smaller packet. For purchased transplants, check that the plant is the variety you intended and that it is healthy. Availability can change, so have a second-choice variety with similar space and season needs rather than rebuilding the entire garden around one unavailable item.
Prepare the site at the right time. Remove debris, repair a loose trellis, clear a path, and arrange compost or mulch if needed. Do not disturb the bed when it is waterlogged, and do not incorporate an amendment without a reason. If your plan includes a new bed, think about the material, soil volume, access, drainage, and safe placement before construction. For a container garden, ensure each pot has adequate drainage and is large enough for the plant’s roots and water needs.
Keep a modest contingency budget for a replacement plant, a missing support, or a soil-test recommendation. Planning is not about buying every possible supply early; it is about knowing which purchases matter, what can wait, and what alternatives you have.
Avoid the Planning Mistakes That Waste Spring
- Choosing plants before checking the site: A beautiful plant list cannot compensate for the wrong light or persistent standing water. Observe first, then choose varieties that fit.
- Treating a frost date as a guarantee: An average date does not predict the weather this year. Use it to plan, then watch conditions and protect or delay vulnerable plants when needed.
- Planting too much for the time available: More beds and varieties mean more watering, harvesting, and troubleshooting. Begin with a size you can care for in an ordinary week.
- Crowding the map: Seedlings look small, but mature plants need room for roots, air flow, access, and sometimes support. Plan from mature dimensions.
- Amending soil by habit: Lime, fertilizer, and compost are not interchangeable fixes. Test where useful, follow local recommendations, and avoid overworking saturated soil.
- Starting every seed indoors: Some plants do better or more easily when sown outside; others may not need a long head start. Follow crop-specific timing rather than equating “early” with “better.”
- Designing for a single peak: A garden chosen for one burst of flowers or one synchronized harvest can leave a long gap. Add suitable succession or variety where it serves your goal.
- Ignoring access and water: A distant hose or narrow path can make daily care frustrating. Include these realities in the sketch before planting.
A Simple 30-Minute Plan to Start Today
You can make a useful first draft in half an hour. Start with five minutes to write your main goal, who will use the garden, and how much time you can give it in a normal week. Keep the goal short. If you are unsure, choose one primary outcome for this season and treat everything else as optional.
Use the next five minutes to select one or two possible locations and note the questions you still need to answer. Over the next few days, observe their sun, water access, and drainage rather than guessing from memory. Put a reminder on your phone if you will not be home at midday. If no in-ground site works, list a patio or container option instead of abandoning the plan.
Spend ten minutes measuring the likely area and drawing the fixed features: paths, walls, trees, tap, and doors. Add a modest bed or a few pots, leaving enough room to reach and water them. You do not need to place every plant yet. Write “check mature size” beside any crop or flower you are considering.
Use the final ten minutes to make a shortlist of three to six plants that support your goal. For each one, write down what you need to verify: light, mature size, local planting window, direct sowing or transplanting, and likely upkeep. Add “soil test?” if you do not know the bed’s history or have a reason to investigate it. The next step is to answer those questions with local guidance and the plant’s own instructions, then revise the map.
That first draft is enough to make planning concrete. You have a purpose, a site to observe, a measured footprint, and a short list—not a rigid blueprint. As new information arrives, update the plan. A flexible garden plan is more useful than a perfect-looking one that cannot adapt to weather, availability, or the way you actually use the space.
Conclusion
Start spring garden planning now by deciding what you want to grow, observing the site, drawing a workable layout, and checking whether the soil needs attention. Then choose plants that fit your purpose, space, and local season, and build a flexible calendar from crop-specific instructions and regional guidance. You do not need to finish everything today. A clear first draft gives you time to make better choices—and makes the busy start of spring feel much more manageable.



