How to Plant Roses, Bare-Root or Container-Grown
Learn how to plant roses from bare-root or container stock, choose the right site and depth for your climate, and water them through their first weeks.
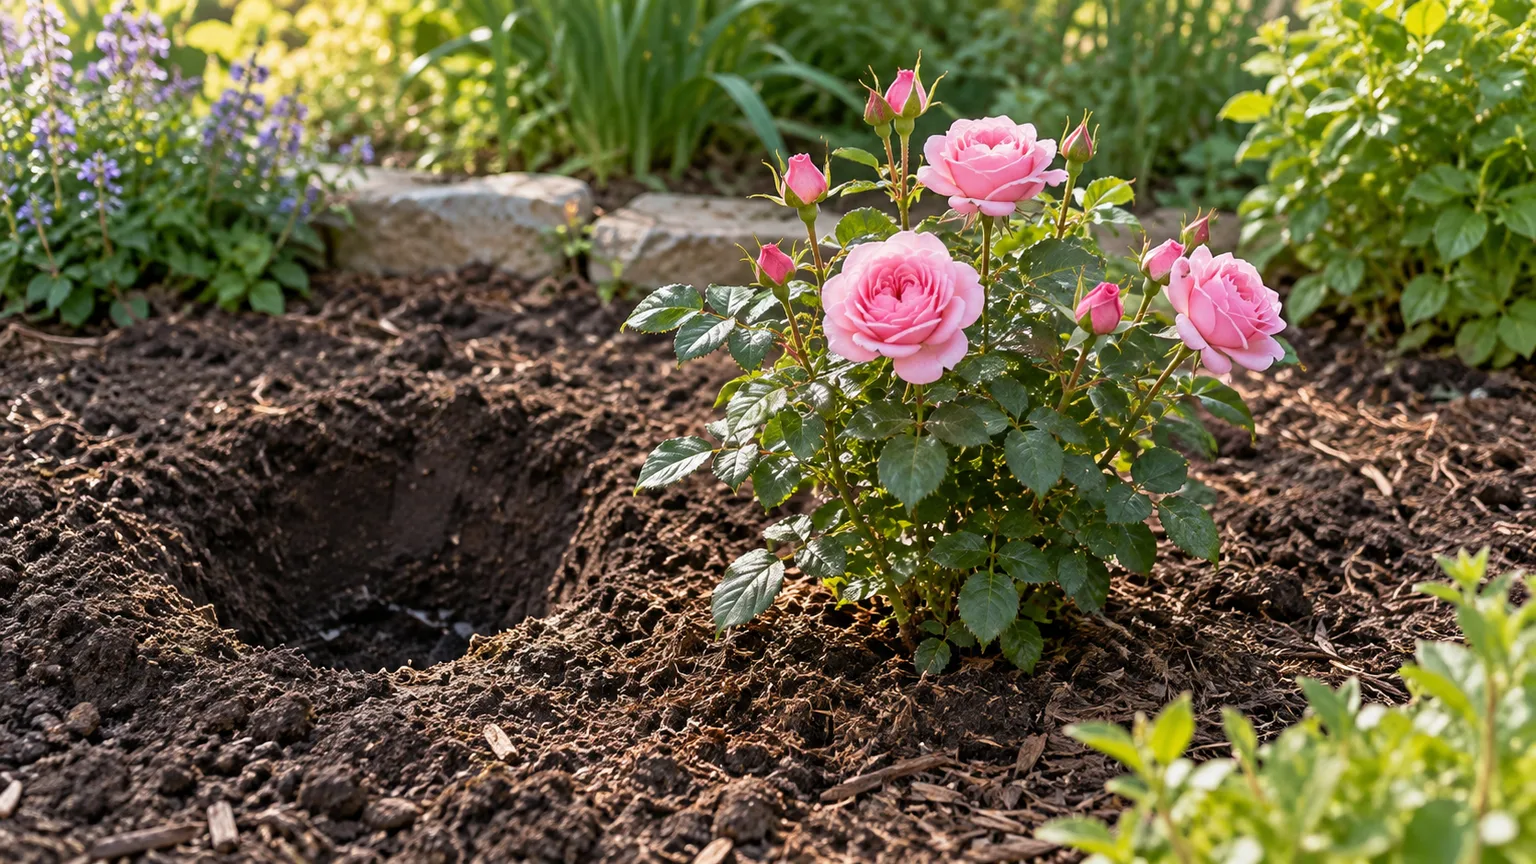
A rose’s first season is decided less by a special fertilizer than by four basics: sound roots, a site that drains, correct planting depth, and steady moisture while new roots move into the surrounding soil. The exact steps depend on whether your rose is dormant and bare-root or already growing in a container—and, for grafted roses, on your winter climate.
Use the nursery label and local growing advice for the cultivar you bought. Rose types vary in mature size, hardiness, and whether they are grafted; the advice that works for a cold-winter garden may be wrong for a warm, humid one.
Before You Dig: Choose a Rose and Site That Fit
Start with the mature plant, not the small pot or dormant canes in front of you. A miniature rose, a broad shrub rose, and a climber need different amounts of space and support. Check the cultivar label for mature height and width, hardiness, disease resistance, and whether it is suited to your region; planting a vigorous climber where only a compact shrub fits creates a pruning problem before the rose has established.
Sun, airflow, and room at maturity
Choose a site with about six hours of direct sun and open air around the foliage. Colorado State and New Mexico State Extension both recommend sunny, well-drained sites, while New Mexico’s guidance notes that in prolonged heat some afternoon protection can help flowers last longer. In very hot regions, morning sun with light afternoon shade may be a better compromise than all-day reflected heat from a wall or paved surface. Colorado State University Extension and New Mexico State University Extension both emphasize matching placement to local conditions.
Do not crowd a new rose between a fence and a large shrub simply because it looks small on planting day. Leave the labeled mature width between roses and nearby plants, then allow additional room if you need to walk in to prune or pick flowers. Good airflow helps foliage dry after rain, and keeping roses out from under tree canopies reduces competition from established roots for water and nutrients. A windy, exposed site can also rock a new plant before it anchors, so use a sheltered location without trapping it in still, damp shade.
Drainage and soil preparation
Roses prefer moisture-retentive soil that still lets excess water drain away. If water routinely stands in the planting area after rain, or the site stays saturated well into the next day, solve that before planting: choose a different bed, build a raised bed, or improve drainage across the planting area. A deeper hole alone cannot correct a compacted layer or a high water table; it may instead act like a basin that holds water around the roots.
Work mature compost or other well-rotted organic matter through a broad area of the bed when the native soil needs help, rather than filling one small hole with a rich, sharply different mix. This makes the transition from nursery soil to garden soil more gradual and encourages roots to explore outward. If your soil is unusually alkaline, salty, or nutrient-poor, use a local soil test before adding lime, sulfur, or fertilizer. Roses are not all planted into identical soils, and adding an amendment because a generic guide names a target pH can create a new imbalance.
If you are replacing a rose that recently died, find out why before reusing the same spot. Drainage trouble, root disease, or repeated rose planting may leave a site unsuitable for a simple like-for-like replacement. The RHS planting guide discusses rose replant disease and recommends replacing soil in the planting area; Fine Gardening also explains why the old plant’s history matters. When the cause is unknown, moving the new rose to fresh soil is often the lowest-risk choice.
When to Plant: Match Timing to Stock and Climate
The right planting day is one when the ground is workable, not frozen or waterlogged, and the rose can establish before the next serious stress. That means the calendar shifts by region and stock form. A dormant bare-root rose has no soil around its roots and must be planted while dormant; a fully container-grown rose has a root ball that can be moved during a longer window but needs careful watering in heat.
Bare-root versus container-grown roses
Bare-root roses are sold dormant with their roots wrapped in moist packing material. They are usually planted in the cool season, often from late fall through early spring in mild regions or in early spring in colder regions. BBC Gardeners’ World Magazine’s bare-root guide likewise advises planting dormant stock promptly and protecting it from frost. Bare-root roses can offer a wider cultivar choice and establish well, but their roots are exposed: plant them promptly after delivery, and do not let them dry while you prepare the bed.
Container-grown roses have been growing in a pot for part or all of a season. They are easier to handle outside the dormant window, but they can be root-bound, stressed from a hot nursery display, or recently potted from bare-root stock. Check that the plant is firmly rooted in the pot and not wilted, loose, or sitting in soggy mix. A pot is not automatically proof of a strong root system.
Seasonal timing without one-size-fits-all dates
In cold-winter regions, plant bare-root roses in early spring when the soil can be worked, then protect tender new growth if a late freeze is forecast. Colorado State Extension favors spring planting for bare-root roses in its climate. In milder climates, dormant-season planting can include late autumn, provided the soil is not frozen and the plant has time to settle before severe cold. The RHS recommends late autumn or late winter to early spring for bare-root roses and cautions against frozen ground.
Potted roses can generally be planted after the last killing frost in cold regions, but avoid transplanting a freshly purchased greenhouse rose straight into harsh outdoor conditions; let it acclimate outside in its container for several days. During hot weather, postpone planting if you cannot reliably keep the root ball from drying, or plant on a mild, overcast day and provide attentive root-zone watering. In Florida, UF/IFAS Extension’s rose guidance describes a much longer planting window than northern extension guidance, illustrating why a local calendar matters. Use the instructions from your regional extension service or reputable nursery rather than treating one month or air temperature as universal.
Step 1: Inspect and Prepare the Rose
Before you dig, check the rose’s canes, roots, and moisture. A healthy bare-root plant feels firm and plump, not shriveled; the roots should be flexible rather than brittle or slimy. Keep bare roots covered until planting. If they look dry, follow the supplier’s directions; Colorado State Extension advises soaking dry bare-root roses overnight but not leaving them submerged for more than 24 hours. Do not soak a healthy plant for days or let it sit in stagnant water.
Remove damaged packing material and trim only roots that are broken, dead, or soft with rot, using clean, sharp pruners. Keep as much healthy root length as the hole can comfortably accommodate. If a rose arrives before the ground is ready, keep it cool and above freezing, with roots protected in slightly moist packing material or a temporary trench; do not leave it in a warm room where it may start growing before it can be planted.
For a potted rose, water the root ball so it is evenly moist but not dripping, then slide the plant from its container while supporting the root ball rather than pulling on the canes. If outer roots circle tightly around the pot, loosen them gently with your fingers or make a few shallow vertical cuts through the outer mat. Do not tear apart a healthy root ball unnecessarily. If the rose came straight from a greenhouse, harden it off outdoors in the pot before planting, especially where sun, wind, and temperature differ sharply from the growing house.
Have gloves, a spade, a garden fork, water, and mulch ready before uncovering bare roots. A straight board, cane, or shovel handle laid across the hole will help you judge the final soil line more accurately than estimating from a deep hole.
Step 2: Dig a Broad Hole and Prepare the Soil
Dig a hole wide enough for roots to spread naturally: roughly twice the width of the bare-root spread or root ball is a useful starting point. Its depth should let the plant sit at the locally recommended level without bending roots upward or forcing the stem base too deep. Extension guides commonly give a hole in the neighborhood of 18 to 24 inches wide for established rose stock, but root size and soil condition matter more than matching a fixed measurement.
Loosen the soil on the sides and bottom with a fork if it is compacted, then return some of the excavated soil as a low mound for a bare-root plant. Do not dig so deeply that loose soil under the roots later settles and lowers the graft union or crown. The plant should rest on firm ground at its intended height, not on a fluffy layer that collapses after the first watering.
Mix compost through the backfill or the wider bed if the soil needs organic matter. Avoid placing a concentrated dose of granular fertilizer, fresh manure, or bone meal directly against new roots. New Mexico State Extension specifically cautions against fertilizer in the planting mix because it can delay growth or injure developing roots. Build fertility with a soil-test-informed bed amendment, then begin routine feeding only after the rose has started active growth and the product label and local advice support it.
Step 3: Position the Roots and Set Planting Depth
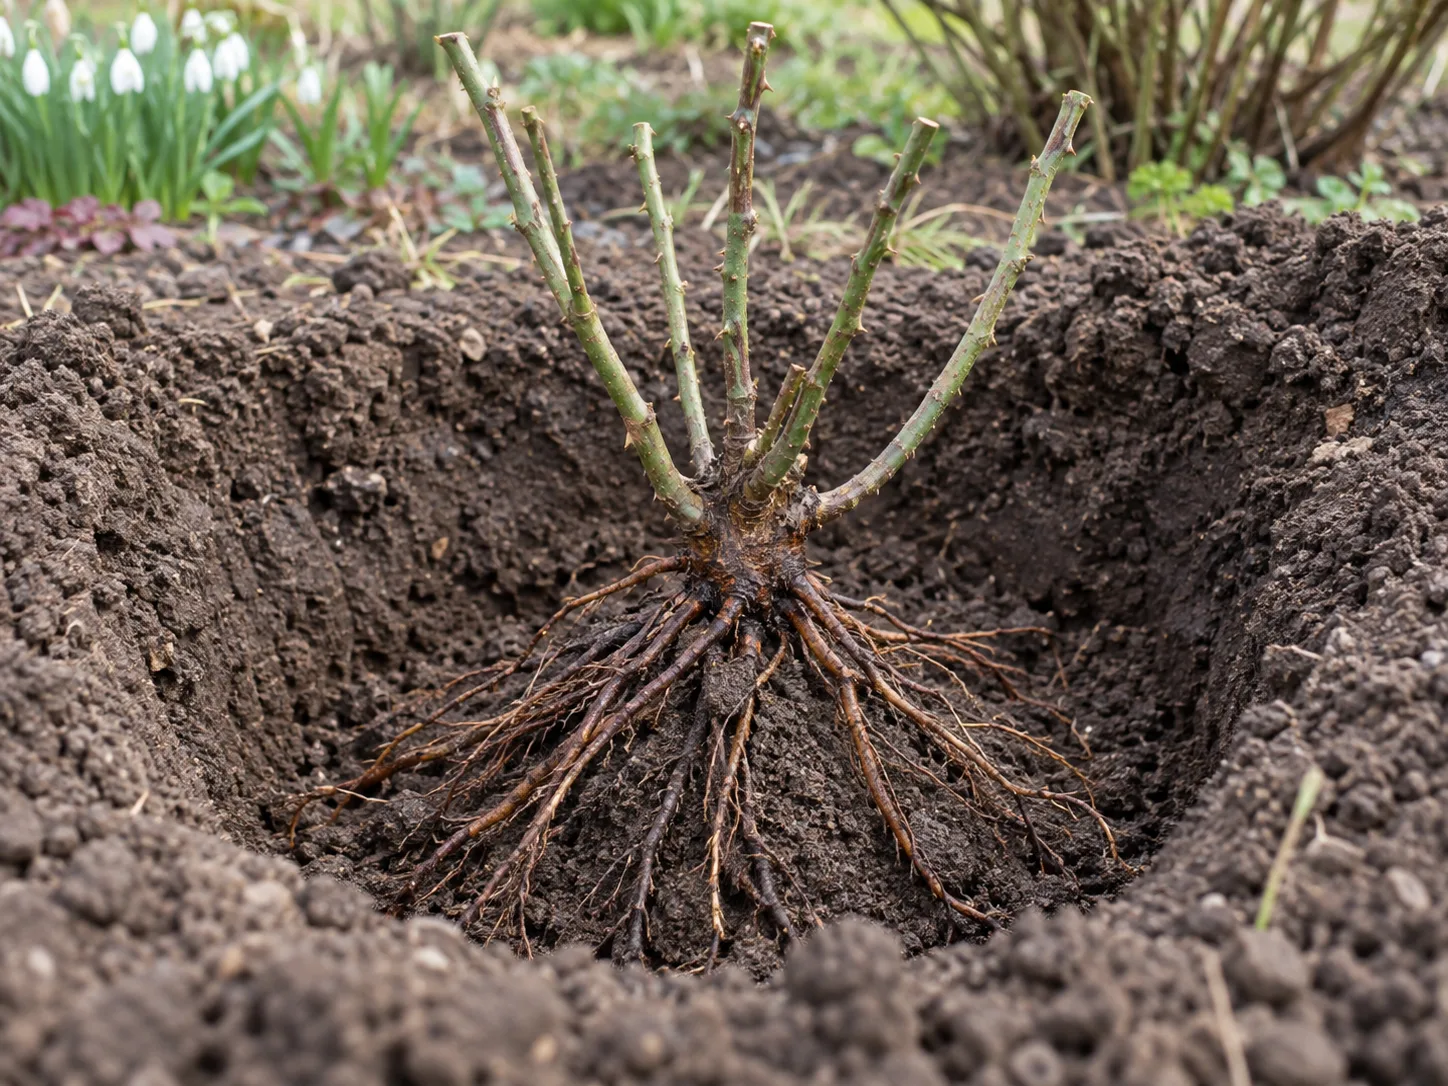
For a bare-root rose, set the plant over the soil mound and fan the roots outward and downward in a natural arrangement. Roots should not curl back toward the crown, fold into a tight bundle, or point straight up the side of the hole. If a root is too long for the hole, widen the hole first; shorten a healthy root only as a last resort and keep as much length as possible.
For a potted rose, set the root ball on firm soil and turn the plant until the best-facing side points toward the path or viewing area. Use the nursery soil line and the graft-union guidance for your region to set height; a root ball that sits too high will expose roots, while one buried too deeply may keep the crown and lower stem wet. Before filling, check the plant from two angles and place a straight edge across the hole so you can see where the finished grade will land.
How deep to plant a grafted rose
The graft union—the swollen joint where the named rose variety joins its rootstock—is the depth question that varies most by climate and local practice. Do not rely on a single universal instruction. Colorado State Extension recommends burying the union about 2 to 4 inches below soil level in Colorado, while New Mexico State Extension describes it at the soil surface in much of New Mexico and 1 to 2 inches below in colder parts of that state. UF/IFAS guidance for Florida says to plant a container rose at its existing depth so the graft remains above the soil, and the RHS advises placing the union at soil level in its climate.
Those recommendations are not numbers to average. Winter cold, humidity, rootstock, and local disease pressure differ, so follow the nursery’s instructions for that particular rose and check a nearby cooperative extension or rose society if guidance conflicts. If you cannot identify the local recommendation, contact the seller before planting rather than burying the union several inches by default. Recheck the height after the first settling water; if the soil drops, gently lift and reset the plant before it roots in place.
Planting an own-root rose
An own-root rose has no graft union: its roots and canes belong to the same cultivar. Set its crown at the depth recommended on the label or by your local extension source, usually close to the nursery soil line. Do not try to bury a nonexistent union. The point is to cover the roots, keep the crown from being exposed, and avoid placing the lower canes under a deep, persistently wet layer of soil.
Own-root roses may recover from winter dieback differently from grafted roses because shoots that regrow from their roots remain the named cultivar. That does not mean every own-root rose is equally hardy; cultivar hardiness and establishment still matter. Ask the nursery whether the plant is grafted if the label is unclear, since planting depth and winter expectations depend on that distinction.
Step 4: Backfill and Settle Soil Around the Roots
Hold the rose upright while you return soil around the roots or root ball in stages. For bare-root plants, work fine soil between the roots with your fingers so large air pockets do not remain, but do not stomp or compact the hole. Firm the backfill lightly with your palms. Heavy tamping squeezes air from the soil and can make it harder for young roots to grow into the bed.
When the hole is about three-quarters full, water slowly so soil settles around the roots. Pause, confirm the rose is still upright and at the intended depth, then finish filling. A slight shallow basin around the plant can hold water while it establishes, but do not create a permanent bowl in a poorly draining site. If the plant sinks below grade, lift it and add firm soil beneath the root mass instead of pulling the canes upward and leaving roots exposed.
For a container-grown rose, loosen only the circling outer roots and backfill around the root ball with native soil amended across the bed as needed. Avoid creating a small pocket of rich potting mix in heavy clay; water can move differently across that boundary and leave the root ball either too wet or too dry compared with the surrounding soil.
Step 5: Water Deeply and Mulch the Root Zone
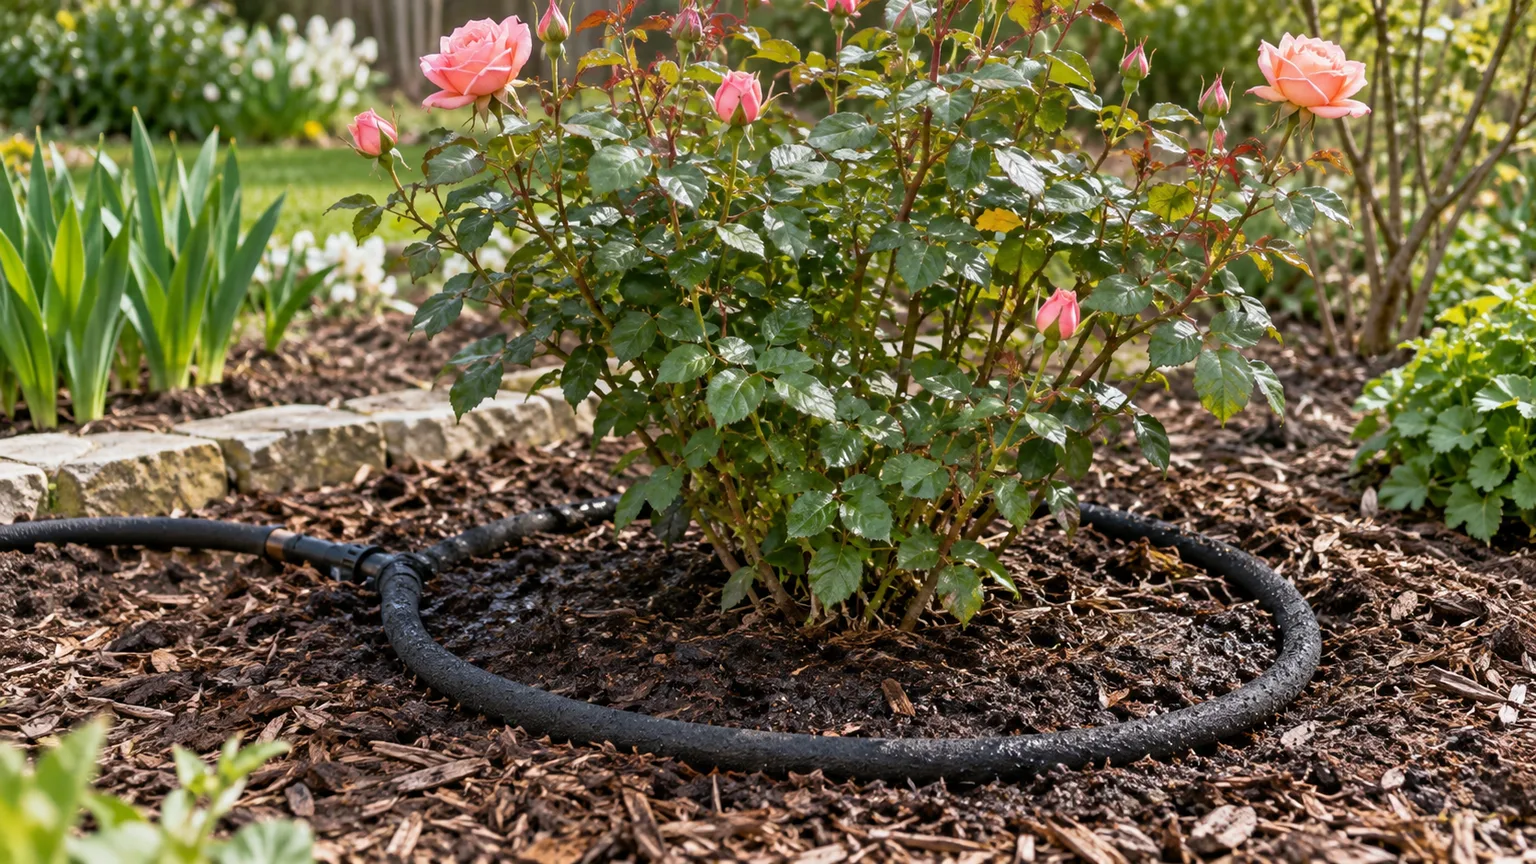
Water the newly planted rose slowly and thoroughly so moisture reaches the full root zone. This first soak settles soil and restores contact between roots and soil; it is not a substitute for checking moisture during the following weeks. If water runs off before soaking in, apply it in two or three slower passes. Keep the hose at soil level rather than spraying foliage, especially in humid climates where wet leaves dry slowly.
Spread a 2- to 3-inch layer of organic mulch over the root area to conserve moisture and limit weeds. Leave a small clear ring around the canes rather than piling mulch against the stems. Thick mulch touching the crown keeps the base damp and can hide settling or damage. In cold regions, winter protection may call for additional local measures, but routine summer mulch is not the same as burying the entire plant.
Care During the First Six Weeks
Check soil moisture every few days at first, then adjust as the rose begins to root. Water when the root zone is starting to dry; do not follow a rigid every-other-day schedule if the soil is already wet. Sandy soil, wind, heat, and a small root system can make the bed dry quickly, while clay, cool weather, or repeated rain can leave it moist much longer. Water deeply enough to reach the roots, then let excess drain rather than giving frequent shallow sips.
Watch for the plant to stay firm through the day and begin producing new growth, but do not interpret a few early leaves as proof that roots are established. A bare-root rose may push buds using stored energy before it has built a strong root system. Keep it evenly moist during that transition, remove weeds that compete at the base, and check that mulch has not slid against the canes. If leaves wilt while the soil is wet, pause watering and investigate drainage or root damage instead of adding more water.
Feeding and pruning during establishment
Do not fertilize a rose simply because it was planted. Wait until it has resumed active growth, then use a rose fertilizer only at the rate on its label and in line with a soil test or local recommendations. Fertilizer formulas and growing seasons differ, so a universal monthly schedule can overfeed a new plant or push tender growth at the wrong time. In regions with a clear winter, stop nitrogen-rich feeding early enough that soft late growth is not encouraged before frost.
Prune out broken or dead canes, but avoid severe shaping cuts unless the plant’s type or supplier instructions call for them. Hybrid teas, shrub roses, climbers, and ramblers do not all flower on the same age of wood. If a bare-root plant arrives with damaged or excessively long shipping canes, make clean cuts according to the nursery’s guidance; do not automatically cut every rose back to the same height. Secure a climbing rose to its support without bending or tying canes tightly while the root system is still settling.
Moving an Established Rose Bush
If you are transplanting a rose that is already growing in the ground, move it during dormancy or the coolest workable period in your climate, rather than during a heat wave or active flowering if you can choose. Water the soil the day before so the root ball holds together. Prepare the new hole first, then dig as wide a root ball as practical and lift from beneath it; dragging the plant by its canes tears roots and damages the crown.
Set the rose at the same locally recommended depth it had before, paying attention to the graft union if it is grafted. Trim broken roots and dead or damaged canes, but do not compensate for root loss with an automatic hard prune that may remove the next season’s flowering wood. Water deeply after moving and keep the soil evenly moist while the plant re-establishes. In hot or windy weather, temporary light shade can reduce stress for a few days, but remove it once the plant is stable so the rose returns to adequate light.
Planting a Rose in a Container
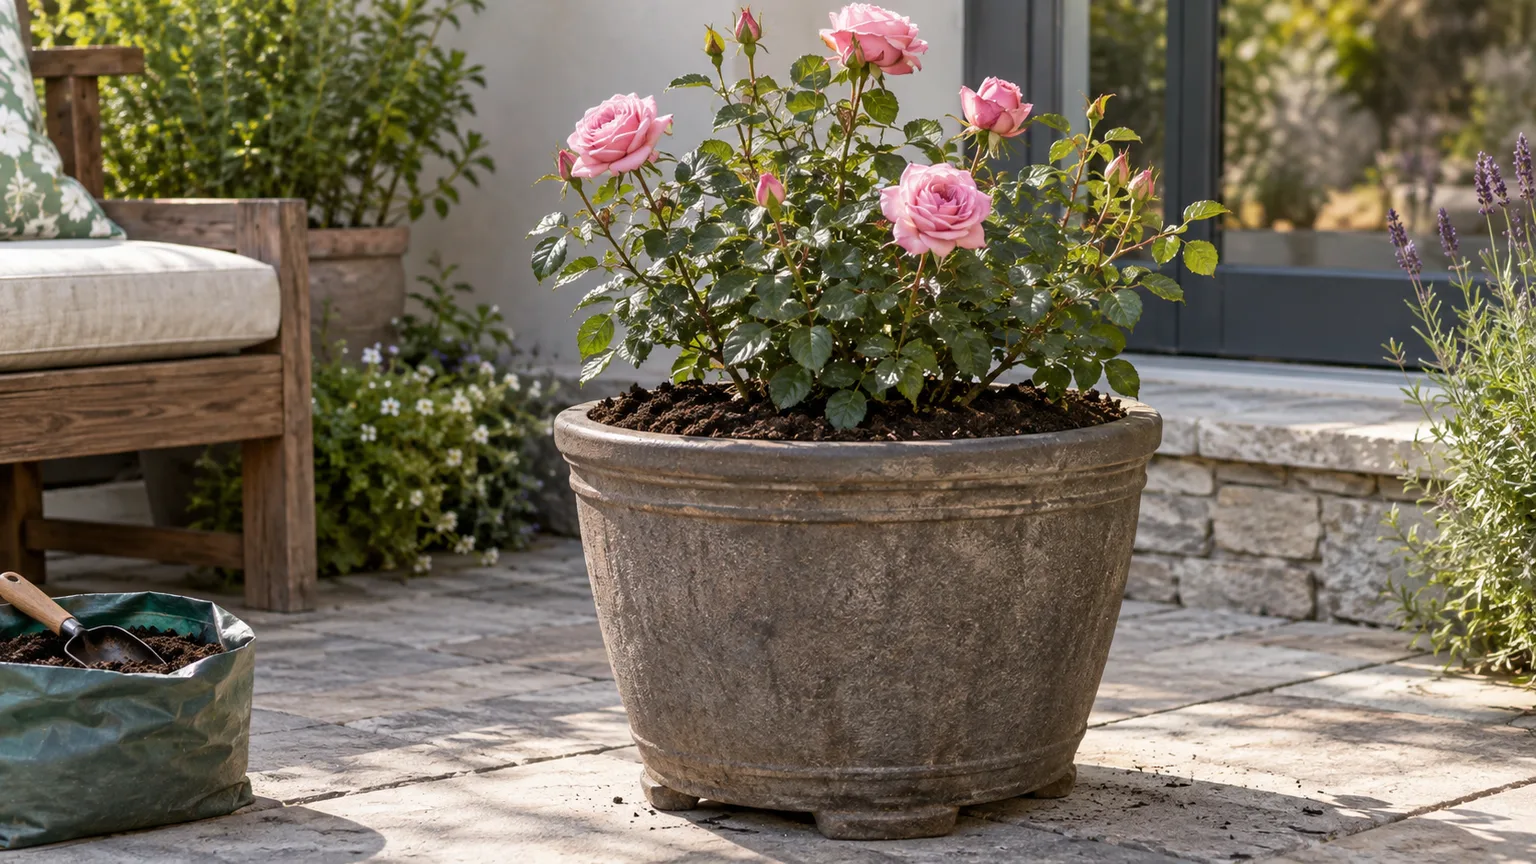
Roses can grow in containers when the variety and container size match. Choose a compact, patio, or miniature rose for a smaller pot; full-size shrub or climbing roses need a much larger, heavier container and more frequent watering. BBC Gardeners’ World recommends a container around 60 centimeters by 60 centimeters for bush, shrub, or climbing roses, a useful reminder that a decorative small pot is rarely a long-term home for a vigorous rose.
Use a pot with unobstructed drainage holes and a quality container mix suited to long-term planting. Do not add gravel at the bottom as a substitute for drainage. Set the plant at the depth advised for its grafted or own-root type, fill around the root ball, and water until excess drains from the base. Raise the pot slightly on feet if it sits on a surface where drainage holes could become blocked. Containers dry faster than garden beds, so check moisture more often in hot, bright, or windy weather and protect the pot from hard freezes where the cultivar or local climate requires it.
Common Planting Mistakes and What to Do Instead
- Putting the rose in a wet pocket: If the site stays saturated, move the plant or raise the bed before planting. A gravel layer at the bottom of one hole will not repair poor drainage below it.
- Letting bare roots dry while digging: Keep roots wrapped or shaded and moist; if they arrived dry, use the supplier’s soak instructions and plant promptly.
- Using one graft depth everywhere: Identify whether the rose is grafted, then use climate-specific nursery or extension guidance. If the plant has already settled too deep, reset it promptly rather than leaving the union buried by guesswork.
- Making the hole deeper than the root system needs: Set the roots on firm soil at final grade. A deep pocket of loose backfill settles and can bury the crown.
- Planting by the current size instead of the mature size: Check the cultivar label and space the plant so air can move around it and canes can reach their eventual width.
- Fertilizing the roots at planting: Keep concentrated fertilizer away from tender roots. Build the bed with appropriate organic matter and feed after active growth begins if the plant and soil need it.
- Watering to a calendar: Check the soil. A rose planted in sandy soil during dry wind may need water sooner than one in cool, heavy soil after rain.
If the new rose wilts, first feel the soil several inches down. Dry soil calls for a thorough root-zone soak; wet soil calls for a pause and a drainage check. If the canes shrivel while the roots remain moist, inspect for dead tissue and contact the nursery with the cultivar and planting date. Changing several things at once—more water, fertilizer, pruning, and shade—makes it harder to identify the actual problem.
Conclusion
Planting roses well is a short sequence, but the order matters: choose a suitable sunny site with drainage, plant at a time that fits the stock and local climate, spread bare roots or set the root ball at the correct level, backfill gently, and water deeply. Then keep the root zone evenly moist while the rose establishes instead of relying on a fixed watering or feeding calendar.
The detail to verify before you cover the roots is the graft union. Regional recommendations legitimately differ, so follow the rose supplier’s guidance and your local extension service rather than borrowing a depth from another climate. Once the plant is in stable soil with room, air, and steady moisture, it can spend its first season building the root system that supports future growth.