How to Propagate Pothos in Water, Soil, and Moss
Root pothos cuttings with clear steps for water, potting mix, or sphagnum moss. Learn where to cut, how long roots take, and when to transplant your new plant.
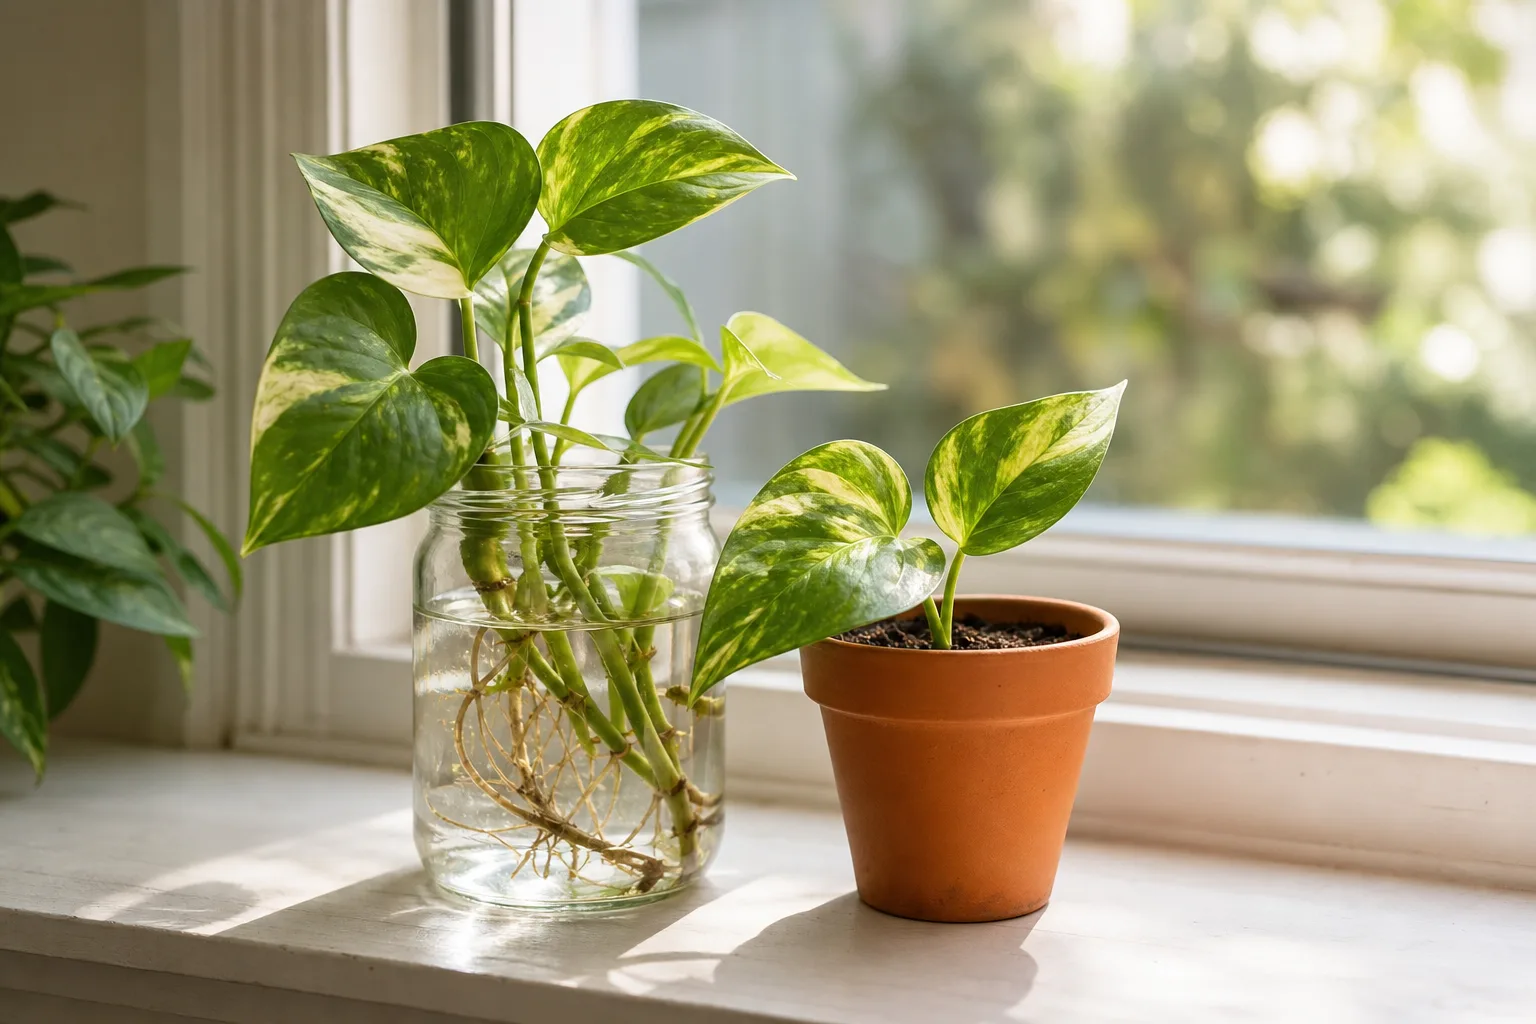
Pothos (Epipremnum aureum) is easy to multiply once you know what to look for: a healthy piece of stem with at least one node. That small joint is where a leaf and often an aerial root emerge; a leaf by itself may stay green for a while, but without a node it cannot grow into a new vine.
You can root a node in water, potting mix, or damp sphagnum moss. The best method depends on whether you want to watch roots form, skip a water-to-soil transition, or already have moss on hand. Below, you’ll find how to choose and prepare a cutting, what rooting progress looks like, and what to change when it stalls.
Quick Answer: Start With a Node
To propagate pothos, cut a healthy vine so each piece contains a node, then place that node in water, moist potting mix, or damp sphagnum moss. Keep any leaves above the medium and give the cutting warm conditions with bright, indirect light. Once it has several roots and begins holding itself in the medium, it can grow on in soil.
Water is the easiest method to monitor because roots are visible; soil is convenient if you want to avoid transplanting; moss is useful when you want a moisture-retentive medium that is not standing water. All three can work, but none can compensate for a cutting without a node or a parent vine that is already declining.
Choose Water, Soil, or Moss
The medium changes how you monitor moisture and how many transitions the new plant must handle. It does not change the basic requirement: the cutting needs a viable node, a leaf to support it, and conditions that let the stem stay hydrated without rotting.
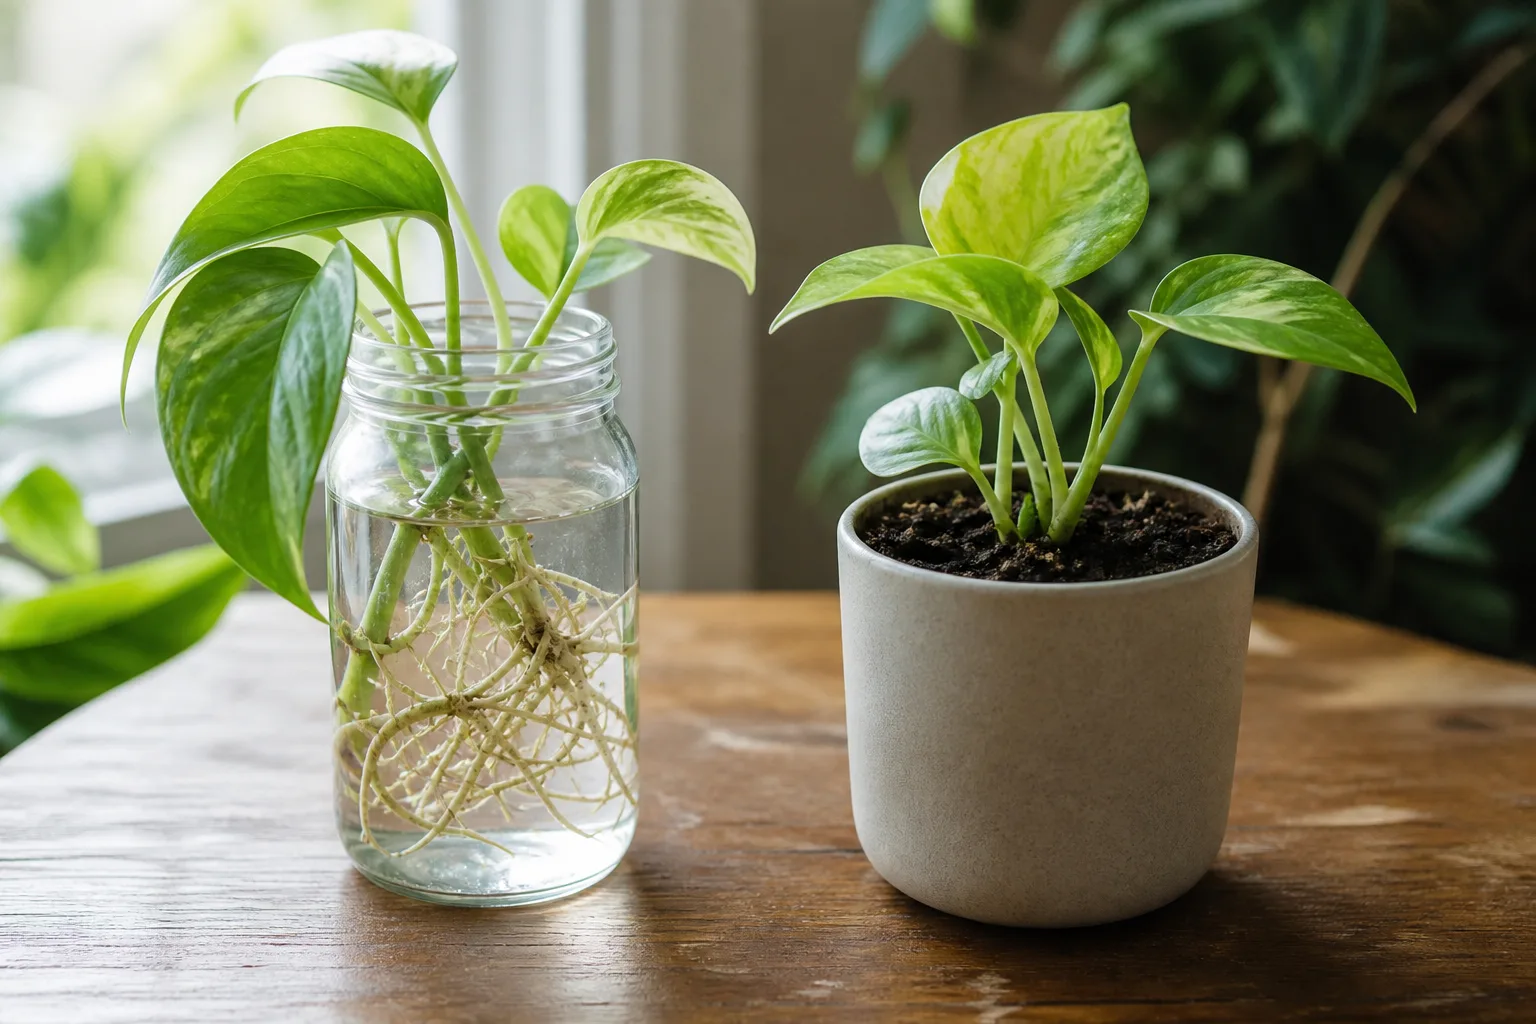
Water: easiest to monitor
Choose water if you are new to propagation or want to see whether roots are forming. A clear glass makes it easy to spot cloudy water, soft stem tissue, and the first roots, although water-grown cuttings will later need to adjust to soil if you want a conventional potted plant.
Soil: simplest transition
Choose soil if you would rather place the cutting directly where it will grow. You cannot see root development, so moisture control matters more: use a small pot with drainage and a loose mix, then keep it lightly and consistently moist rather than wet. Better Homes & Gardens notes that water is often faster to observe while soil-grown cuttings avoid a separate move from water into a pot. (Better Homes & Gardens)
Sphagnum moss: moisture with air around the stem
Sphagnum moss holds water around the node and is easy to inspect in a clear container. It can be a useful middle option if you already have it, but it takes an extra step to remove or loosen the moss when you move the cutting into potting mix. For most homes, water or soil is simpler to source and maintain.
What Makes a Cutting Capable of Rooting?
A node is the joint on a pothos stem where a leaf attaches; it may look like a small raised ring or bump, and it can have a short brown aerial root. The node contains the growing point from which roots and new shoots can develop. Clemson HGIC confirms that pothos stem cuttings can root in either soil or water when at least one node is present (Clemson HGIC), and Penn State Extension describes aerial roots forming at the nodes (Penn State Extension).
Keep at least one healthy leaf attached to each cutting. The leaf continues to supply energy while the cutting establishes roots, but any leaf that would sit underwater, under soil, or buried in moss should be removed so it does not decay in the medium.
A leaf and its petiole are not enough on their own. If you cut off a leaf without the adjoining piece of stem and node, it may remain green temporarily but will not produce a complete pothos plant. When in doubt, take a slightly longer segment that clearly includes the joint rather than a short piece of leaf stalk.
The Royal Horticultural Society lists leaf-bud cuttings, stem-tip cuttings, and layering as pothos propagation options in spring or summer. This guide focuses on stem pieces because they are easy to take while pruning a trailing vine and can be rooted in several common household media. (Royal Horticultural Society)
When to Take Pothos Cuttings
Spring and summer are the easiest seasons because pothos is actively growing and can replace roots and leaves more readily. Penn State Extension recommends stem cuttings during the growing season from spring through summer (Penn State Extension); Better Homes & Gardens likewise notes that propagation can be attempted year-round but tends to be most successful while the plant is growing actively (Better Homes & Gardens).
Indoor cuttings can still root in fall or winter if the parent plant is healthy and the room stays warm and bright. Expect slower progress when days are short or the plant is barely growing, and avoid taking many cuttings from a cold, stressed, recently repotted, or pest-damaged pothos. Wait until it is putting out healthy leaves again.
Gather Tools and Prepare the Medium
You do not need a propagation station. Use clean, sharp scissors or pruners; a clear jar for water; a small pot with drainage for soil; and, if you choose it, sphagnum moss in a clean cup or container. A pencil or chopstick is useful for making a hole in potting mix without scraping the cutting as you insert it.
If you use soil, moisten the mix before planting so it feels evenly damp but does not release water when squeezed. For sphagnum, soak dry moss until pliable, then gently squeeze it until it is damp rather than dripping. Pothos sap can irritate skin, and Penn State Extension notes that pothos contains calcium oxalate crystals; wash your hands after pruning and keep cuttings and discarded leaves away from pets and children.
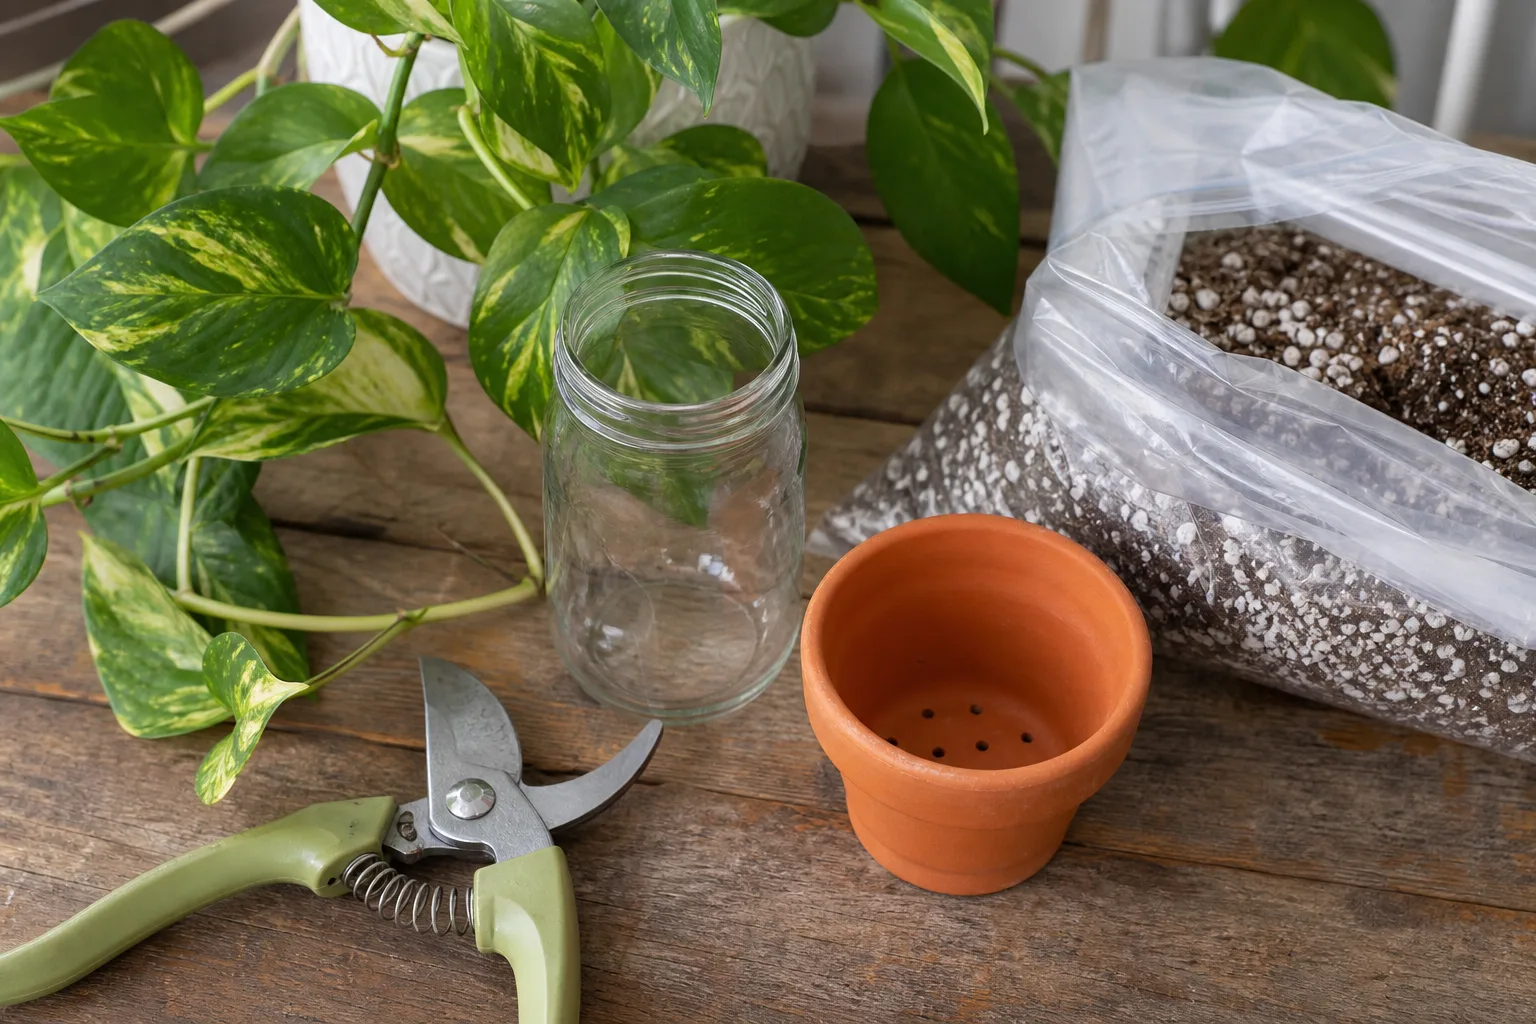
Where to Cut the Vine
Start with a firm, healthy vine that has leaves with normal color and no mushy, blackened, or badly damaged sections. Cut just below a node on the piece you plan to root, so that node stays attached to the cutting. Keep the remaining parent stem long enough to retain leaves and at least one node; a cut made above a node can encourage new growth from the parent vine.
For a fuller pot, make several pieces from a long vine instead of rooting one long length. Leave enough foliage on the parent to keep it growing, and use each section only if it has a visible node and at least one leaf. Better Homes & Gardens also recommends keeping track of the vine’s direction: if a cutting has two cut ends, place the basal end—the end that was closer to the plant’s roots—into the medium.
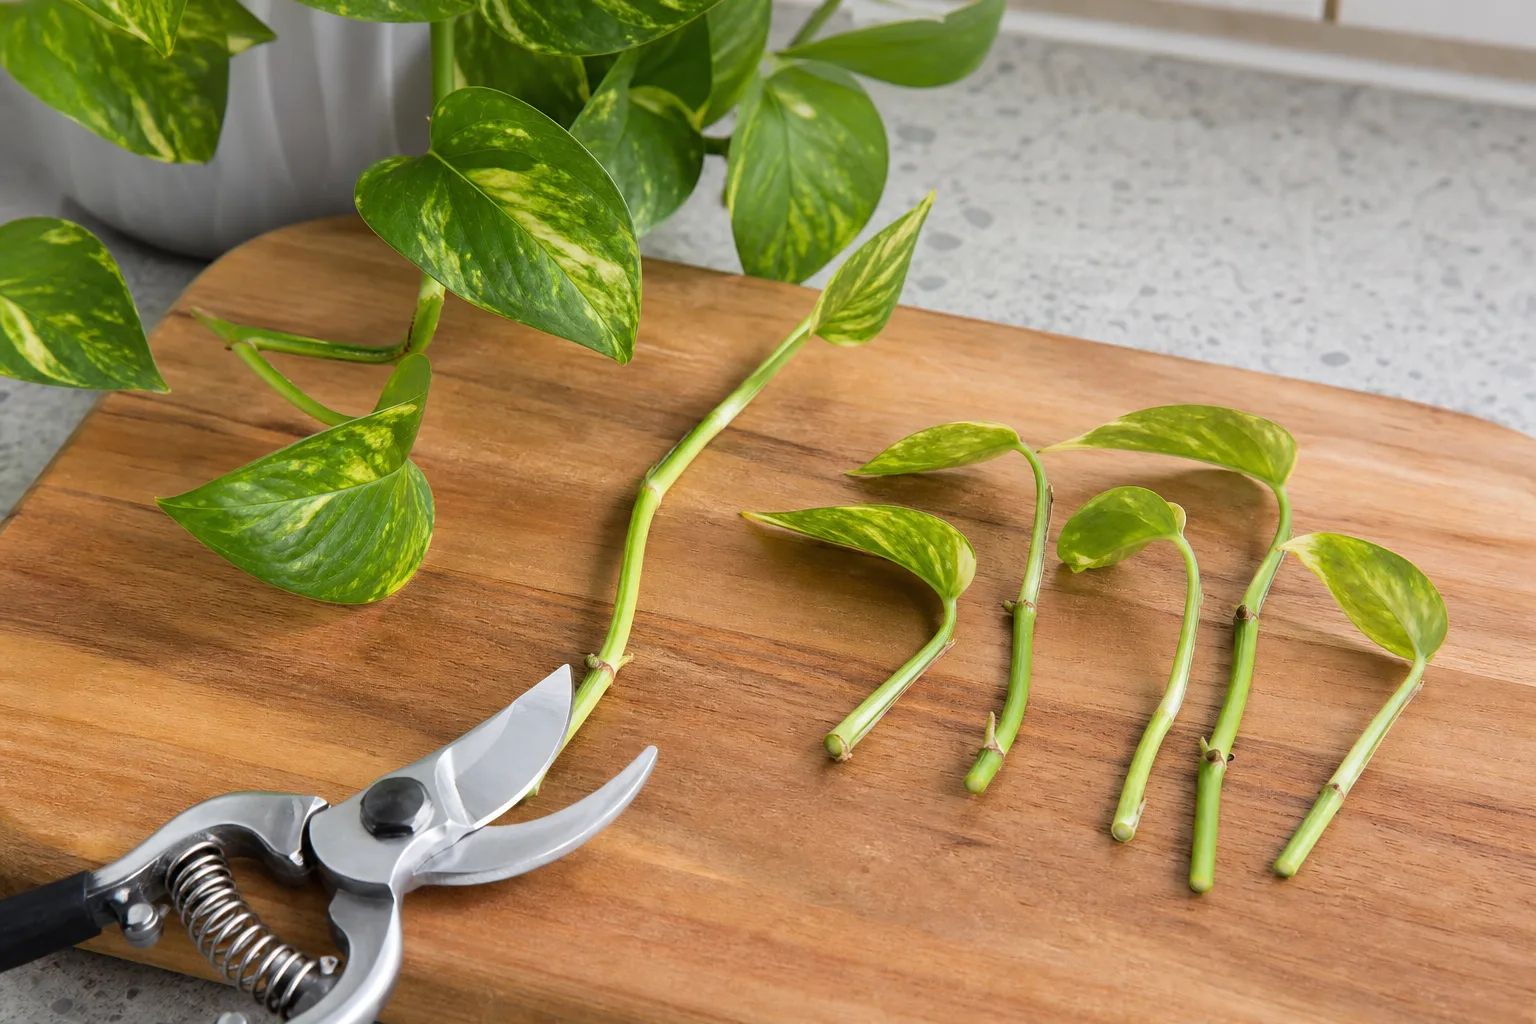
Tip cuttings
A tip cutting includes the growing end of a vine and several nodes behind it. It is the easiest piece to orient because the leafy tip shows which way is up, and it usually includes a healthy leaf or two. Use it when you want one longer, straightforward cutting rather than many short sections.
Single-node cuttings
A single-node section is a short piece of stem with one node and its leaf. It is useful when you want to turn a long bare vine into several plants, but it has less stored stem than a longer tip cutting, so keep the leaf intact and watch moisture closely. Place the node against or just under the rooting medium and keep the leaf above it.
How to Root Pothos Cuttings in Water
Water propagation makes the early stages visible, but clean water and correct leaf placement matter more than the shape of the jar. A narrow vessel can hold cuttings upright, while a wider glass works well for several pieces as long as they are not packed tightly together.
- Fill a clean container with room-temperature water. Submerge the node and the bare stem below it, but keep every leaf above the waterline.
- Place the jar in bright, indirect light. Avoid hot direct sun, which can warm the water and stress the cutting.
- Check the water every few days. Top it up as needed and replace it when it turns cloudy or develops an odor; rinse the vessel if the stem starts to feel slippery.
- Look for pale roots emerging from the node. Do not pull the cutting up to check; lift it only when the roots are visible and long enough to handle a move into soil.
Gardening Know How recommends keeping the node below the waterline while leaves stay dry, and Better Homes & Gardens suggests refreshing water regularly during rooting. (Gardening Know How; Better Homes & Gardens) The exact change interval depends on the container and room, so use clarity and smell as cues rather than treating a calendar day as a guarantee.
How to Root Pothos Cuttings in Soil
Direct-to-soil propagation skips the water-to-soil transition, but you must judge moisture by the mix rather than by visible roots. Use a small container with drainage; a large pot stays wet longer and makes it harder to keep a short cutting evenly moist without saturating it.
Make a hole with a pencil, then insert the cutting so at least one node sits below the surface and the leaf remains above it. Firm the mix gently around the stem so the cutting stands upright, then water enough to settle the medium and let excess drain away. Rooting hormone is optional for pothos; a healthy node and appropriate moisture are more important than adding a product.
Keep the mix lightly moist while roots form, not constantly soaked. If the room is very dry, a loose clear cover can slow moisture loss, but open it daily for fresh air and remove it if condensation stays heavy or the surface develops mold. Gardening Know How advises increasing humidity without keeping the soil wet, and notes that new growth or gentle resistance can signal rooting. (Gardening Know How)
How to Root Pothos Cuttings in Sphagnum Moss
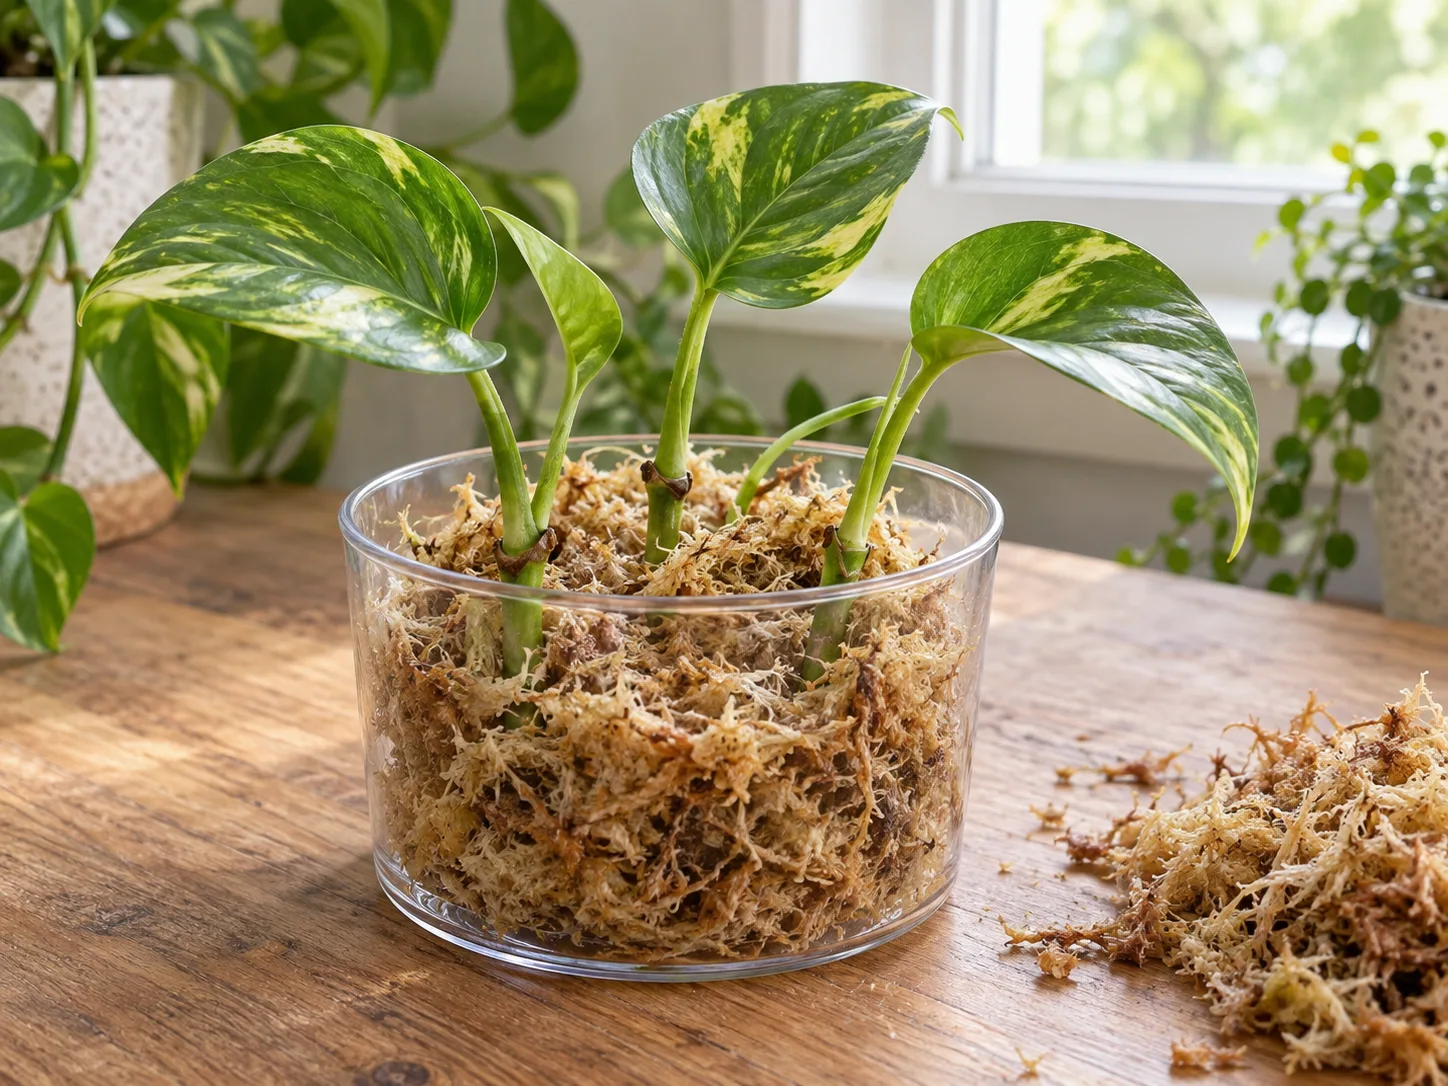
Use clean, rehydrated sphagnum moss rather than a dense, waterlogged clump. The moss should feel cool and damp when squeezed, with no stream of water running out; too much water removes the air spaces that help keep the stem from sitting in stagnant conditions.
Set the node into the moss so it is in contact with the fibers, then arrange the leaf above the surface. A clear container makes it easier to check moisture and root progress. Keep it in bright, indirect light and add a little water only when the moss begins to feel close to dry; do not leave standing water at the bottom.
Once roots are visible and several centimeters long, loosen the moss gently before potting. Some fibers may cling to fine roots, so avoid scraping or tugging hard; a small amount left behind is less damaging than tearing off new roots. If moss dries completely, rehydrate it gradually rather than flooding the container.
When Are Cuttings Ready to Pot?
The first tiny root is proof that the node is responding, not always a sign that the cutting is ready to transplant. For a water- or moss-rooted cutting, wait until it has several roots that are long enough to grip gently—often around 1 to 3 inches (2.5 to 7.5 centimeters)—and ideally some branching. A longer root is not automatically better if it has become tangled or fragile in the jar.
Soil-rooted cuttings are harder to inspect. New leaf growth, a cutting that stays upright, or slight resistance to a very gentle touch can suggest that roots have formed; do not keep tugging because that can tear the new roots. Better Homes & Gardens gives a roughly four-to-six-week window for soil rooting, while Gardening Know How notes that pothos cuttings commonly take several weeks; treat those as ranges, not deadlines. (Better Homes & Gardens; Gardening Know How)
Warmth, light, season, cutting maturity, and the condition of the parent plant all affect speed. A firm cutting that has not rooted after a few weeks may simply need more time, especially in winter. A soft, darkening stem or sour-smelling water is a different problem and should be corrected rather than waited out.
Transplant Water- or Moss-Rooted Cuttings
Choose a pot only slightly wider than the roots and make sure it has drainage holes. Fill it with a well-draining indoor potting mix, position the roots without bending them sharply, and cover the node lightly while leaving the leaf and petiole above the soil. If you are building a fuller plant, you can place multiple cuttings around the edge of one pot rather than putting them all in the center.
Water thoroughly once after planting so mix settles around the roots, then drain the saucer. For the next week or two, keep the mix evenly moist but not waterlogged; water roots have been living in constant moisture and need time to adjust to the different rhythm of a pot. Do not add fertilizer immediately, and do not move the new plant into direct sun while it is settling.
For moss-rooted cuttings, remove loose moss without stripping the roots. If roots are short or fragile, place the cutting in a small pot first and wait for new growth before moving it to a larger decorative container. Avoid burying the leaf or packing soil tightly around the stem.
Aftercare During the First Month
Keep new cuttings warm and in bright, indirect light. Penn State Extension gives average room temperatures of 60 to 80°F (16 to 27°C) for pothos; for propagation, steady warmth and enough light are more useful than a strong fertilizer dose. (Penn State Extension) Turn the pot occasionally if growth leans toward one window.
Check moisture with a fingertip rather than watering on a fixed schedule. The surface can begin to dry between waterings once the cutting is established, but do not let a newly transplanted root ball dry completely in its first days. Resume light feeding only after you see active new growth, and follow the fertilizer label rather than increasing the concentration to hurry the plant along.
If your goal is to fill out the parent pot, root several cuttings and plant them back into the same container once each has a usable root system. This works best when the parent plant is healthy and the pot still drains freely; cramming extra stems into already wet or crowded soil can create more problems than it solves.
Troubleshoot Pothos Propagation Problems
No roots after two or three weeks: If the stem is still firm and green, first check warmth and light, then confirm the node is actually in contact with water, soil, or moss. Give it more time before replacing it; rooting may take several weeks, and cuttings taken during slow winter growth often move more slowly.
Mushy stem or foul-smelling water: Remove the cutting, rinse the vessel, and cut away soft tissue with clean pruners until the remaining stem is firm. Remove any leaf that was underwater, then restart in fresh water with only the node and bare stem submerged. If the rot reaches the only node, that piece is unlikely to recover; use a healthy section from another vine.
Cutting wilts after moving to soil: A little droop can follow transplanting, especially when roots formed in water or moss. Keep the mix evenly moist, provide indirect light, and avoid repeatedly unpotting the cutting to inspect roots. If the stem becomes soft or the soil stays wet for days, improve drainage and trim damaged tissue rather than adding more water.
Leaves yellow before roots appear: One older leaf may yellow as a cutting adjusts, but yellowing across the whole cutting can point to rot, very low light, or a stem that is too weak. Check the node and base of the stem first; do not respond by fertilizing a cutting that has not rooted. Replace it if the node is blackened or mushy.
Only the leaf rooted, but no new vine appears: Check whether a piece of stem and node came with the leaf. A leaf blade or petiole without a node cannot produce a new pothos shoot, so start again with a stem section that clearly includes one.
Conclusion
To propagate pothos, keep one rule in front of you: every cutting needs a node. Choose a healthy vine, cut just below a node, leave a leaf above the medium, and root the piece in water, soil, or damp sphagnum moss according to how you prefer to monitor moisture and handle transplanting.
Do not judge success by the first root or by a fixed number of days. Wait for roots that can survive potting, then give the new plant steady warmth, indirect light, drainage, and careful moisture while it adjusts. If a cutting stays firm, give it time; if it turns soft or smells sour, correct the conditions before taking another piece.