How to Prune a Rubber Plant: A Clear Step-by-Step Guide
Learn when to prune a rubber plant, where to cut above a leaf node, how much foliage to remove, and how to manage milky sap without stressing the plant.
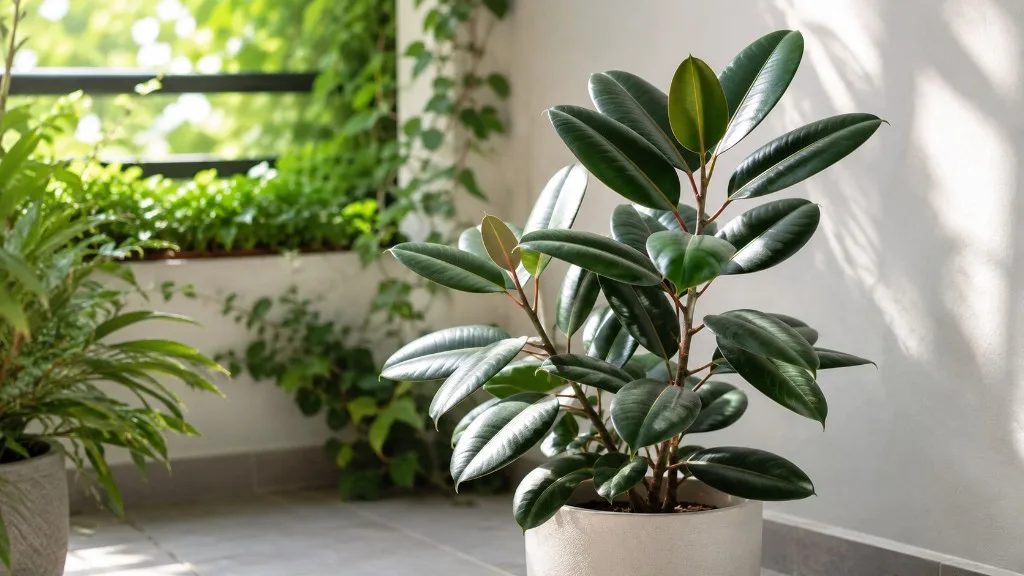
A rubber plant does not need routine pruning to stay alive. You prune it to control height, encourage a fuller outline, remove damaged growth, or keep a heavy stem from leaning into a walkway. Decide which of those problems you are solving before you cut; the right cut for a tall, single-stem plant is different from the right cut for a crowded, multi-stem one.
The basic technique is simple: use a clean, sharp tool and cut just above a healthy leaf node or old leaf scar. The judgment lies in how much to remove and where you want the next growth to appear. A rubber plant may branch below a cut, but the number and timing of shoots are not guaranteed.
Quick answer: cut for a clear reason
For a planned shape change, prune during active growth, usually in spring or early summer indoors, and avoid taking off more than about one-third of the leafy canopy in one session. Remove dead, broken, or diseased stems whenever you spot them, using a clean tool. NC State Extension notes that pruning main branches encourages a bushier rubber plant, while leaving them alone preserves a taller, narrower, tree-like form. (NC State Extension)
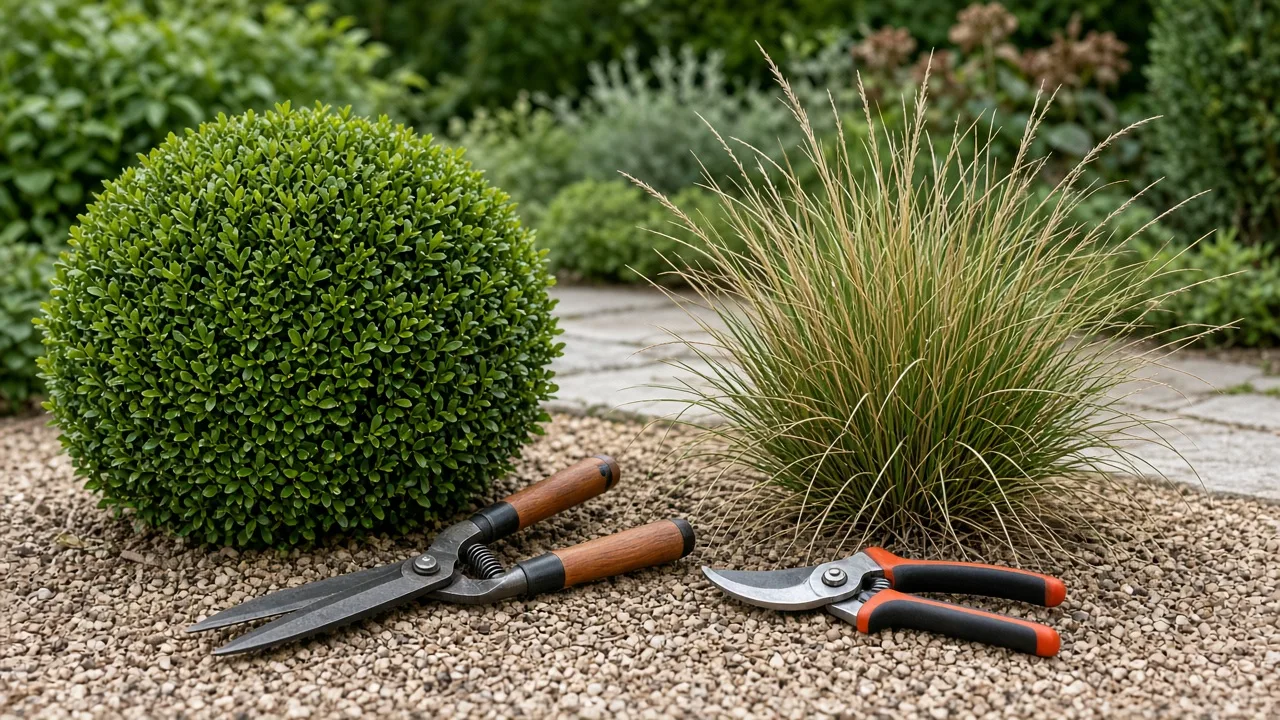
Use bypass pruners for woody stems and sharp scissors only for very thin shoots. Before the first cut, identify a node or leaf scar, then place the blade slightly above it. If you only want to stop a plant from leaning, support the stem first; pruning is not the only way to correct posture.
Choose the shape before you prune
Look at the plant from the room where you usually see it. Is the top too close to a ceiling, is one cane pulling the pot off balance, are branches rubbing together, or is the plant simply taller than you prefer? A specific goal keeps a quick cleanup from turning into an unnecessary hard prune.
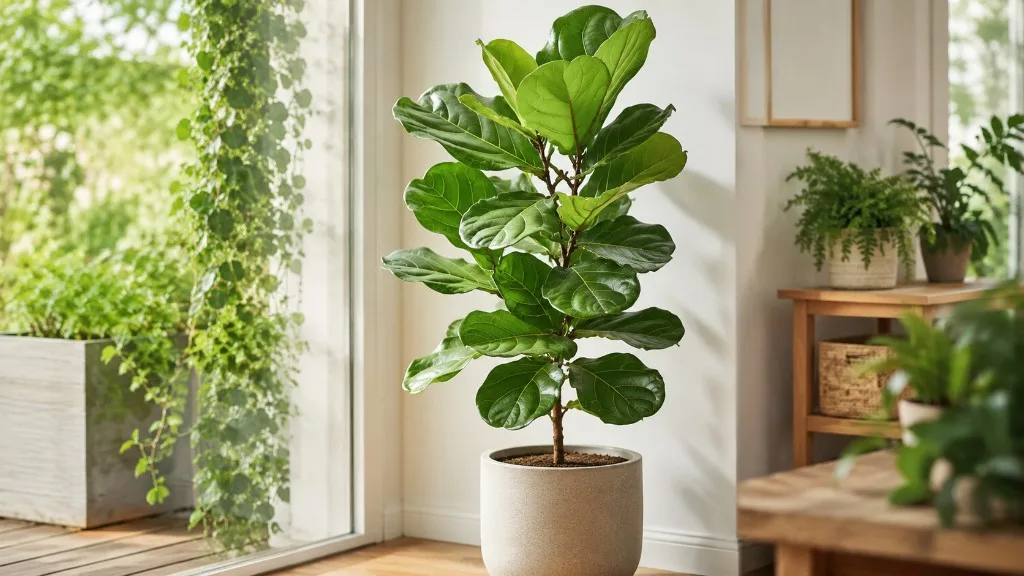
Rubber plants naturally grow with a strong upright leader, and young plants may have few side branches. You can keep that sculptural, single-stem look by removing only damaged or awkward growth. If you want a fuller silhouette, shortening the leader can reduce its dominance and may prompt buds lower on the stem to grow; NC State Extension describes these two outcomes as alternatives, not as a required annual routine.
Also check the pot and light before reaching for shears. A leaning plant may need a heavier container or a stake, while a plant with long bare stretches may be reaching for brighter light. Pruning can improve the outline, but it cannot correct weak growing conditions by itself.
Choose a pruning window by growth, not just the calendar
For substantial shaping, choose a period when the plant is actively growing and has good light—often spring through early summer for an indoor rubber plant. New growth is more likely to follow when the plant has warmth and usable light, and the growing season gives it time to respond before winter’s slower period. Gardening Know How likewise favors late spring or early summer for a faster response, while noting that damaged branches can be removed at other times. (Gardening Know How)
Advice about winter pruning varies. Some guidance favors a dormant period, while other houseplant advice prioritizes active growth; indoor conditions explain much of the difference. If your home is warm and the plant is producing leaves under bright light, the calendar matters less than the plant’s growth. If it is cool, dim, or already dropping leaves, postpone elective reshaping and remove only a genuine hazard or dead stem. (Gardener’s Path; Gardening Know How)
You do not need to wait for spring to remove a snapped branch, a fully dead section, or growth that is rubbing and damaging another stem. Keep those corrective cuts small. Save topping, canopy reduction, and multiple large cuts for a stronger growing window.
Gather tools and protect yourself from sap
Use sharp bypass pruners for a firm cane and clean scissors for a tender shoot. A dull blade crushes tissue and makes it harder to place a neat cut. Wipe soil and residue from the blades before you begin; if you have been cutting diseased growth, clean the tool before moving to healthy stems.
Rubber plants exude milky sap when cut. NC State Extension confirms that even a cut leaf surface can drip sap, and Texas Tech University lists milky sap as a characteristic of the plant. (Texas Tech University) Wear gloves, cover the floor or table, and keep a damp cloth and paper towels nearby. If you are cutting overhead, use eye protection and do not position your face beneath the stem.
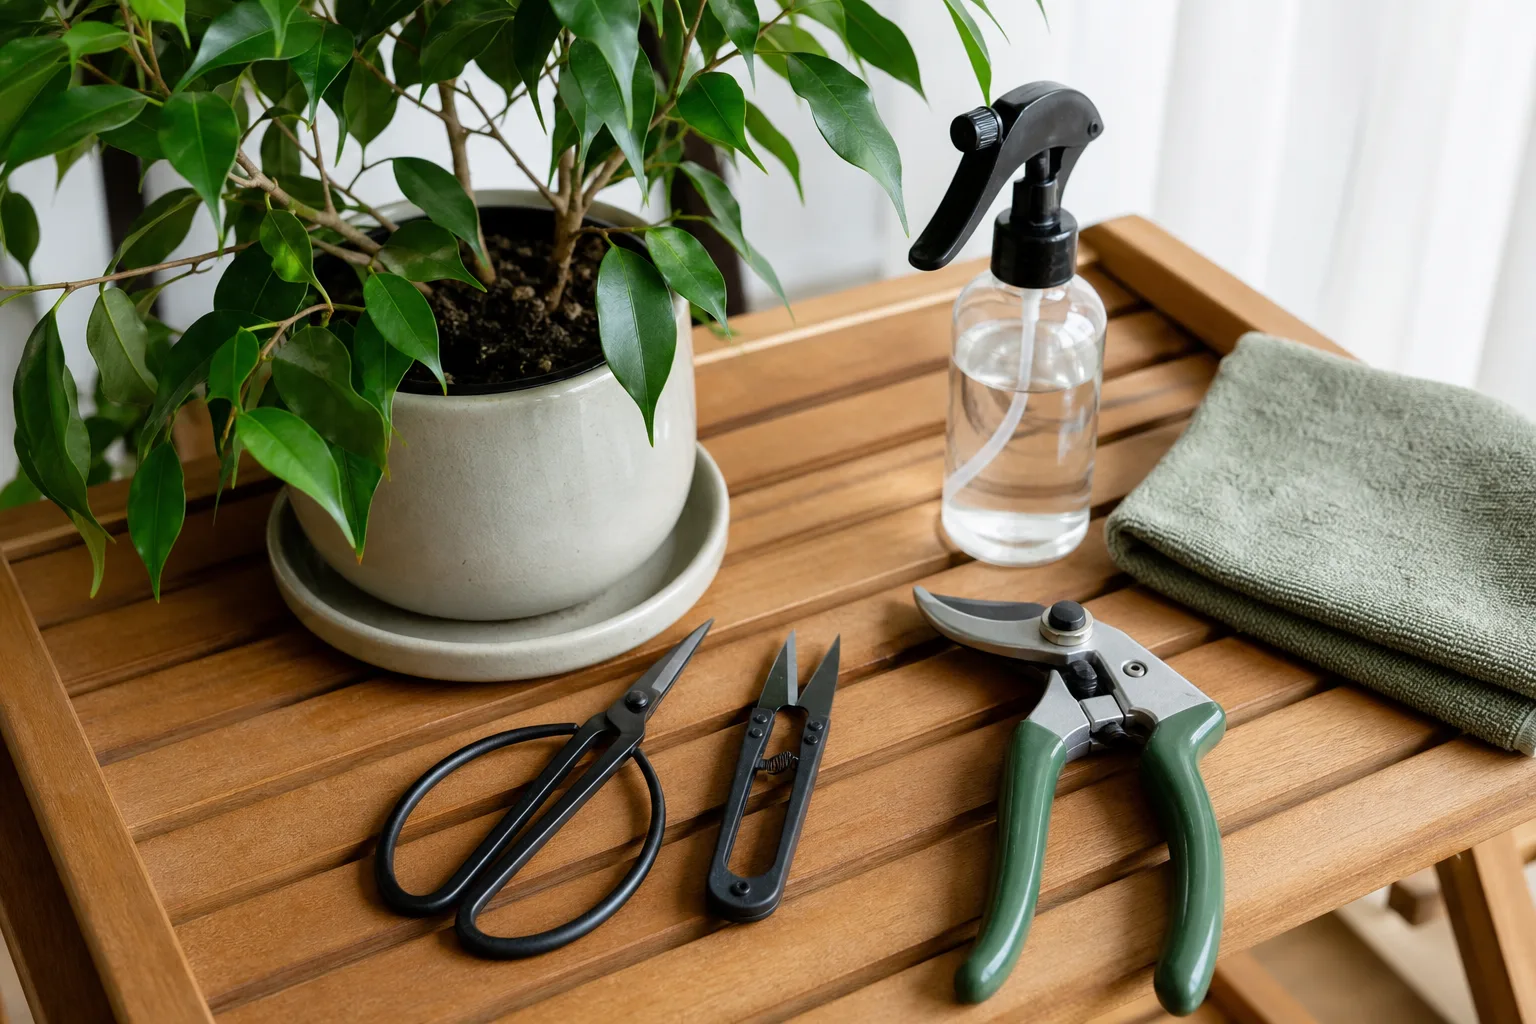
If sap gets on your skin, wash it off with soap and water rather than rubbing it around. Blot drips from the plant and work surface as they appear, then bag the trimmings so pets cannot chew them. Gardener’s Path also recommends gloves and a clean tool because the sap can irritate skin and gum up blades. (Gardener’s Path)
Find the node or leaf scar before cutting
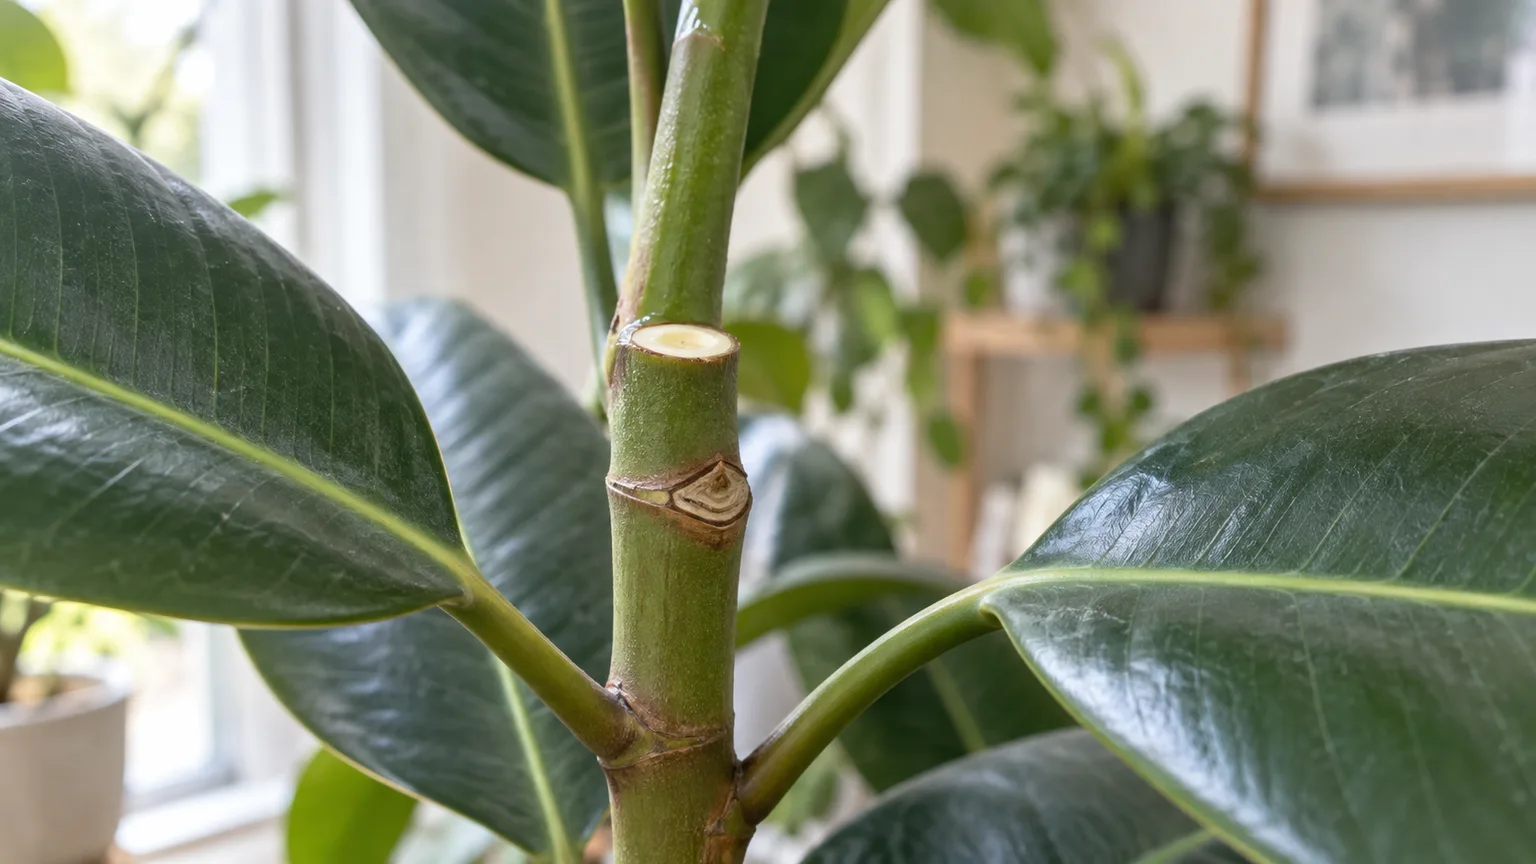
A node is the joint where a leaf stalk attaches to a stem or where a side branch begins. On older bare sections, the leaf may be gone, but its scar remains as a small mark or ring. That joint matters because a dormant bud may be near it; the upper part of a cut stem will not grow onward, so new growth, if it appears, must come from below the cut.
Choose a healthy node below the height you want and make the cut roughly a quarter inch above it. Avoid cutting through the node, which can injure the bud, and avoid leaving a long stub that dries back. A slight angle is fine, but clean placement matters more than achieving a dramatic slant.
When you can, choose a node with a bud or leaf pointing toward the open side of the plant. That gives a potential shoot room to grow. It is a useful preference, not a guarantee: a rubber plant may break bud at another node or take time to respond.
Prune in a calm, deliberate sequence
Move the plant to a stable spot where you can see the full outline. If it is too large to move, protect the floor and rotate the pot slowly rather than reaching across the canopy. Take one small step back between cuts; from a close angle, it is easy to remove more than you intended.
Work in this order: remove dead or damaged growth, correct rubbing or badly directed stems, then make any height cuts needed for your chosen shape. Pause after each significant cut and reassess the plant. This sequence preserves healthy leaves while you decide whether the remaining imbalance actually needs another cut.
Remove dead, damaged, or badly placed growth first
Cut a dead or broken branch back to healthy tissue or to its point of origin, taking care not to nick the main stem. Remove a branch that crosses and rubs another one if the contact is already scarring the bark. A leaf with one brown edge usually does not justify removing an entire healthy branch; trim the leaf only if its appearance bothers you, or leave it to keep contributing green surface.
Wipe sap and plant debris off the blade if they collect there. If a branch is diseased or infested, discard it rather than saving it for propagation, and clean the tool before using it elsewhere. For ordinary shaping, avoid stripping every lower leaf just to expose a clean-looking trunk; those leaves still support the plant.
Shorten a tall stem above a viable node
Pick the height first, then trace down the stem to a node below that point. Make one clean cut above the node; do not keep shaving the stump shorter to force an immediate branch. On a multi-cane plant, stagger the heights slightly for a more natural outline rather than making every stem end at the same level.
Expect the plant to pause while it responds. A cut removes the growing tip, but it does not promise two shoots or instant fullness. The branch response depends on the plant’s vigor, light, season, and the buds available along the stem, so allow time before deciding that the cut failed.
Shape a tall plant differently from a bushy one
For a tall, tree-like rubber plant, keep the main leader and prune only branches that are broken, crowded, or growing into the space around it. If the trunk is sound but wobbly, use a stake or move it away from a high-traffic route; cutting off the leader will change the silhouette and may encourage lateral growth.
For a shorter, bushier plant, top the leader above a node at the height where you want branching to begin. If there are several canes, selectively shorten the tallest one or two instead of cutting all of them at once. Keep enough foliage on each cane to support recovery, and leave some unevenness so new shoots do not all compete at one level.
Older plants can be less predictable after the top canopy is removed. If you like the plant’s existing form, there is no horticultural requirement to force it into a bush. A rubber plant that remains tall and narrow is not poorly cared for simply because it has not branched.
How much foliage can you remove at once?
Use roughly one-third of the leafy canopy as a conservative ceiling for a routine shaping session, not as a precise rule that every rubber plant can tolerate. Gardener’s Path recommends leaving enough foliage for photosynthesis and avoiding a major removal all at once; Gardening Know How allows heavier cuts but also cautions against removing more foliage than needed. The safer choice for a small, stressed, or single-cane plant is to remove less. (Gardener’s Path; Gardening Know How)
Count leaves and leafy branches, not just the number of stems. Removing two branches from a plant with three canes may be far more severe than shortening several shoots on a dense specimen. If you need a large height reduction, divide it into stages and let the plant resume active growth before making the next round of cuts.
Fix a leggy plant with a bare lower stem
First improve the conditions that caused the stretch. Move the plant gradually toward brighter indirect light, keeping it out of harsh afternoon sun if it is not acclimated. Better light supports compact new growth; repeated trimming in a dim corner tends to recreate the same sparse shape.
If the upper canopy is healthy but too high, cut the main stem above a viable node at the height you want. Buds lower on the bare stem may activate, but they may not; the plant cannot put leaves back onto an old section simply because you pruned above it. Give the cut time and keep the plant stable instead of repeatedly lowering the cut in search of buds.
If the lower trunk stays bare, the practical choices are to accept a standard-like form, propagate the healthy top as a separate plant, or use a younger plant with a naturally fuller base. Layering can be considered when you want to root a top section before separating it, but that is a separate propagation technique rather than a pruning requirement.
Can you cut a rubber plant back hard?
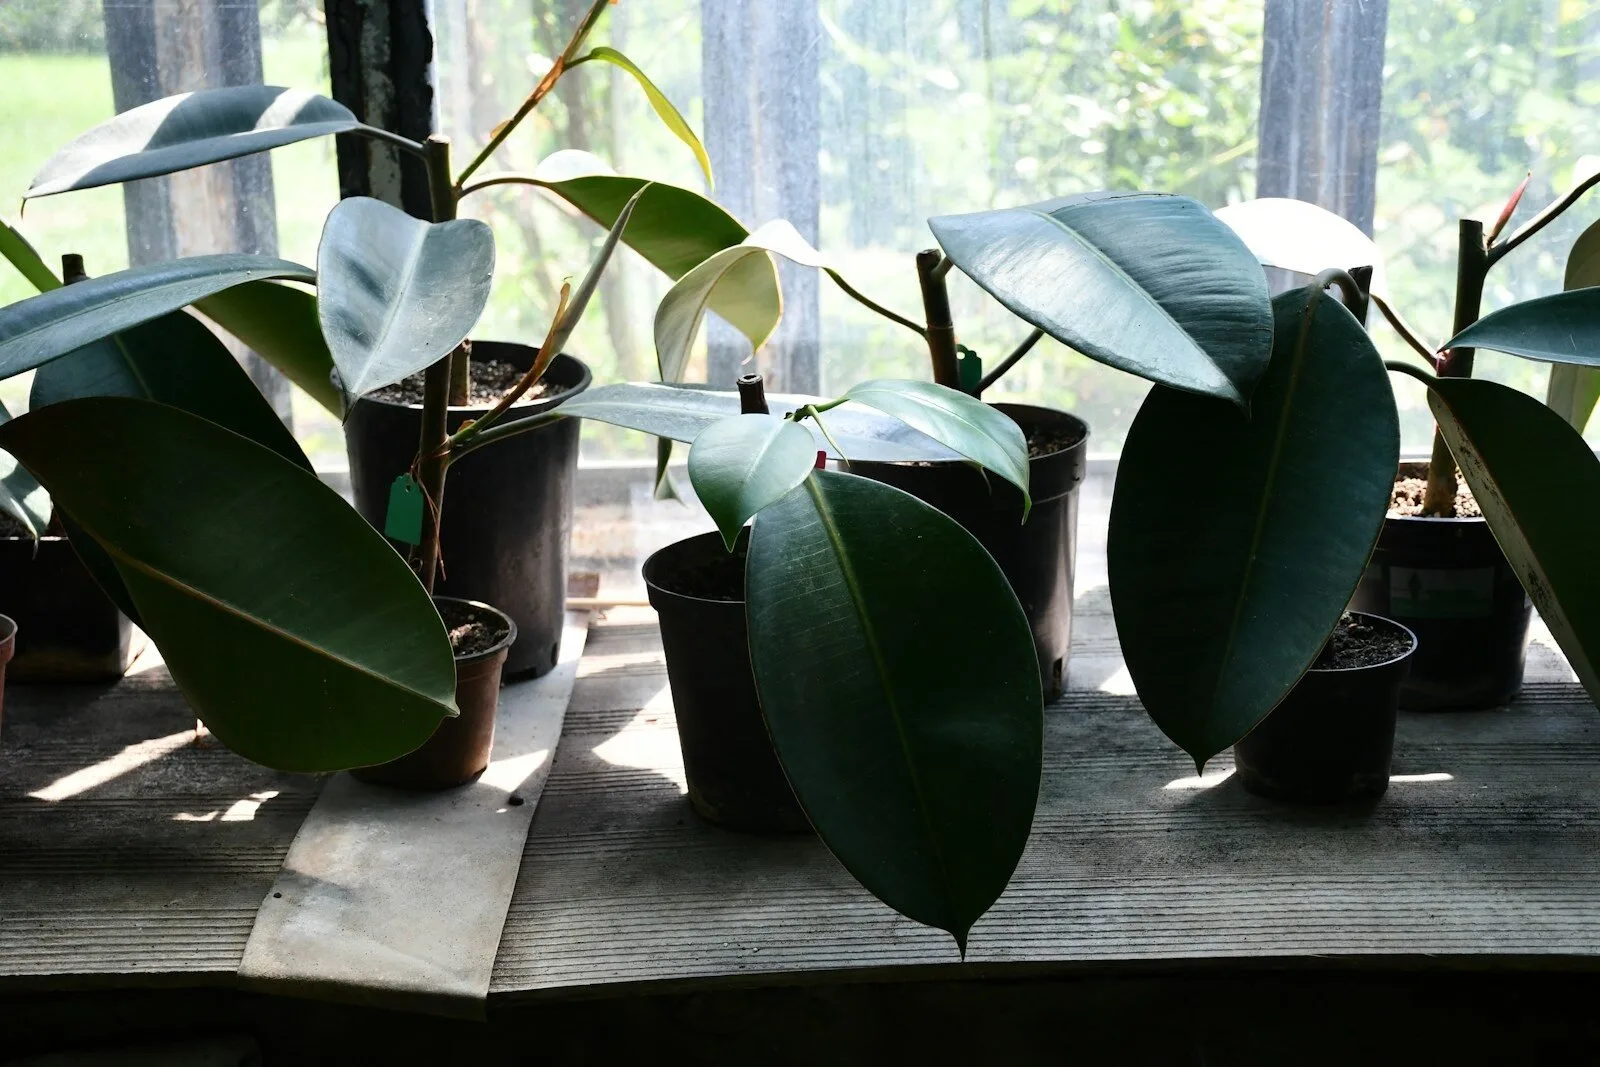
You can shorten a healthy rubber plant substantially, but a severe cut is a bigger gamble than a measured one. It leaves less foliage to support recovery and may expose a weak root system or poor light conditions that were hidden by the canopy. Avoid a hard prune right after repotting, during a pest outbreak, or when the plant is already losing leaves.
For a very tall plant, remove only the amount needed to fit the space in the first session. If that still leaves it too large, wait for stable new growth and reassess. A clean cut at a sensible node is more useful than trying to make the plant match a particular photo in one afternoon.
Root the healthy piece you removed
A healthy tip cutting can be propagated if it includes a node; a leaf by itself is not enough to make a new rubber plant. Keep the clipping only if it is free of pests and damage, and handle its sap with the same care as the parent plant. For a full rooting method, follow the separate rubber plant cutting guide.
Do not take extra material solely to make several cuttings if the parent is already stressed. The most useful propagation piece is usually a healthy section produced by a necessary height cut, not a second round of cuts made to increase the number of starts. You can discard small or leafless trimmings without harming the parent.
Give the plant steady aftercare
Put the plant back in bright, indirect light and keep its location and temperature reasonably steady. NC State Extension notes that rubber plants prefer to remain in one location and do poorly with drafts or cold temperatures. Avoid moving a freshly pruned plant from a dim corner straight into strong sun; acclimate it gradually. (NC State Extension)
Water according to the soil and the pot, not because the plant has been cut. Check moisture before watering and let excess drain; soggy soil does not replace lost leaves or speed bud break. Resume your normal seasonal feeding routine when growth is underway, but do not compensate for pruning with an extra dose of fertilizer.
Wipe away remaining sap once it stops flowing, collect fallen leaves, and leave the cut uncovered. Watch the plant over the next few weeks rather than inspecting the wound every day. The useful signs are firm stems and healthy new growth, not a perfectly dry-looking cut on the first evening.
What to expect after pruning
A rubber plant may look sparse immediately after a cut, especially if you removed the top of a long stem. That is not proof that the pruning harmed it; the next change may be a bud swelling below the cut, a new leaf, or no visible change until conditions favor growth. Resist the urge to add more cuts before the plant has had a chance to respond.
If no new shoots appear
Check the timing and light before making another cut. A plant in low light or a cool winter room can remain quiet, and a cut cannot create growth energy that the plant does not have. Keep care steady through its next active period; do not notch the stem or keep lowering the cut as a first response.
If the stem above the soil is shriveled, soft, or blackening, that is a different problem from a healthy stem that simply has not branched. Remove clearly dead tissue back to firm, healthy growth with a clean tool. If the plant otherwise looks stable, patience is usually safer than repeatedly wounding it.
If leaves drop or stems droop
A few changes after pruning can reflect stress, but leaf drop has several possible causes and should not automatically be blamed on the cut. Check whether the plant was moved, chilled by a draft, overwatered, or left in too little light. NC State Extension specifically notes that rubber plants dislike drafts and cold, and prefer a stable location.
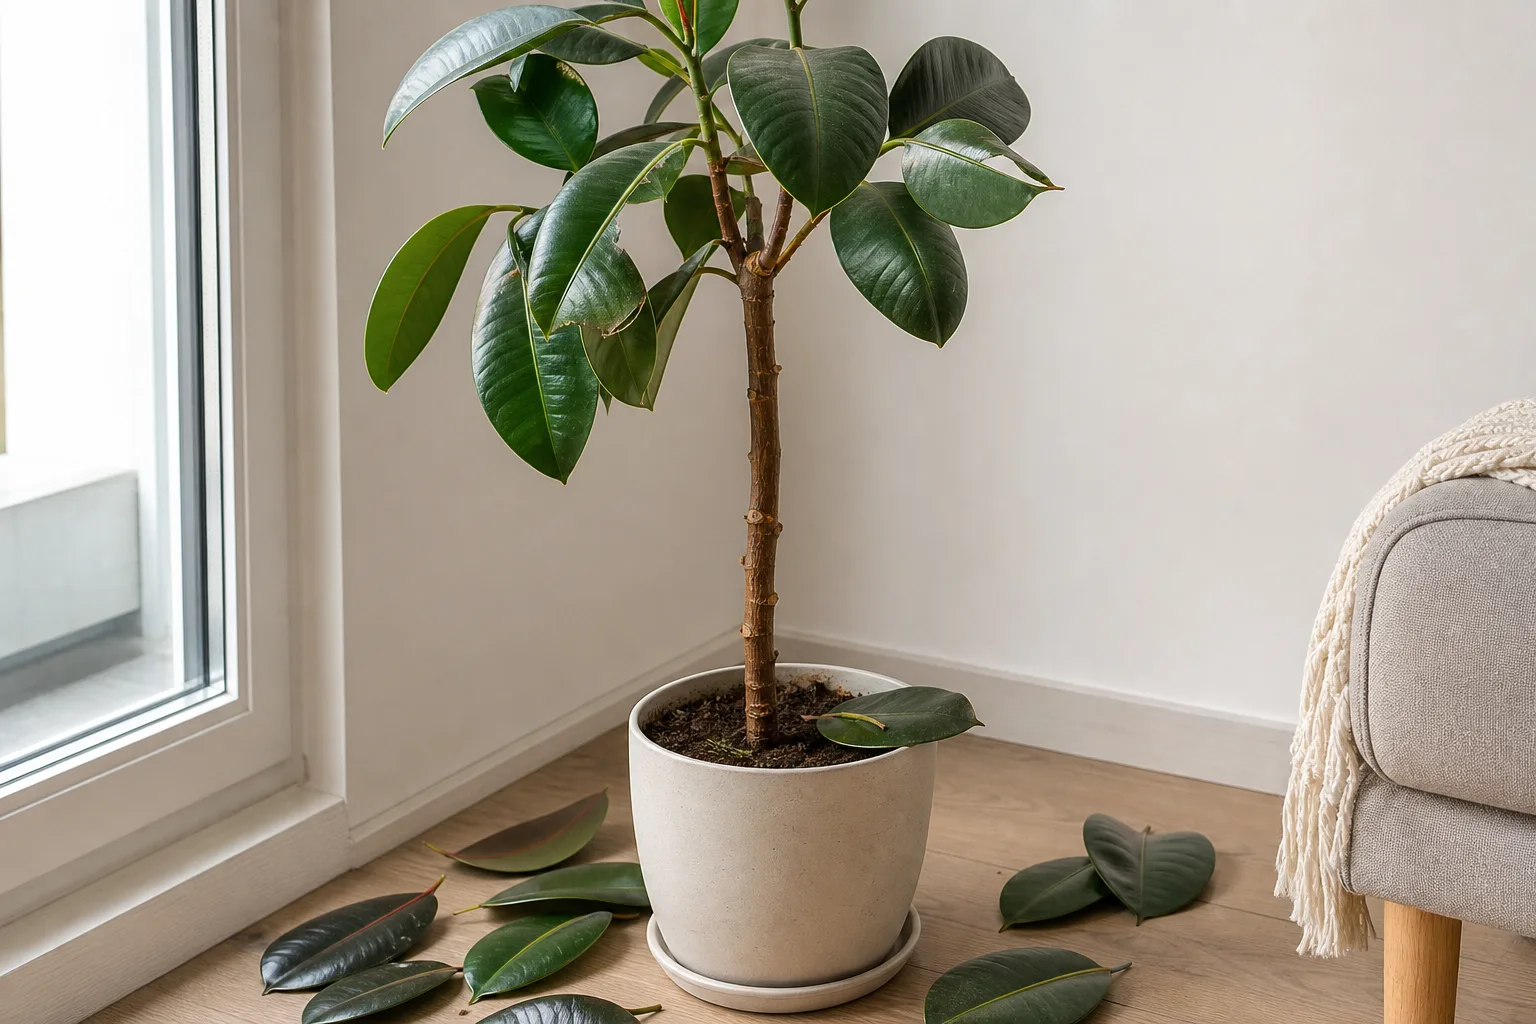
Do not respond by watering on a fixed schedule or moving the plant repeatedly. Check the soil first, remove fallen leaves, and look for pests or stem damage if the decline continues. If the potting mix stays wet for a long time or the stem softens, troubleshoot those conditions separately before pruning again.
Conclusion
Prune a rubber plant to solve a clear problem: height, shape, damaged stems, or crowding. Choose a healthy node, make a clean cut, protect yourself from the milky sap, and leave enough foliage for the plant to recover. For major shaping, active growth and good light offer a practical window; small corrective cuts can wait for no season.
Most of all, judge success by the plant’s next several months, not by how many branches appear right away. A measured cut followed by steady care gives you room to shape the plant again if it needs it.