How to Prune Houseplants: A Clear Step-by-Step Guide
A practical guide to pruning houseplants: choose what to remove, make a clean cut, shape vines and woody stems, and help the plant recover with clear steps.
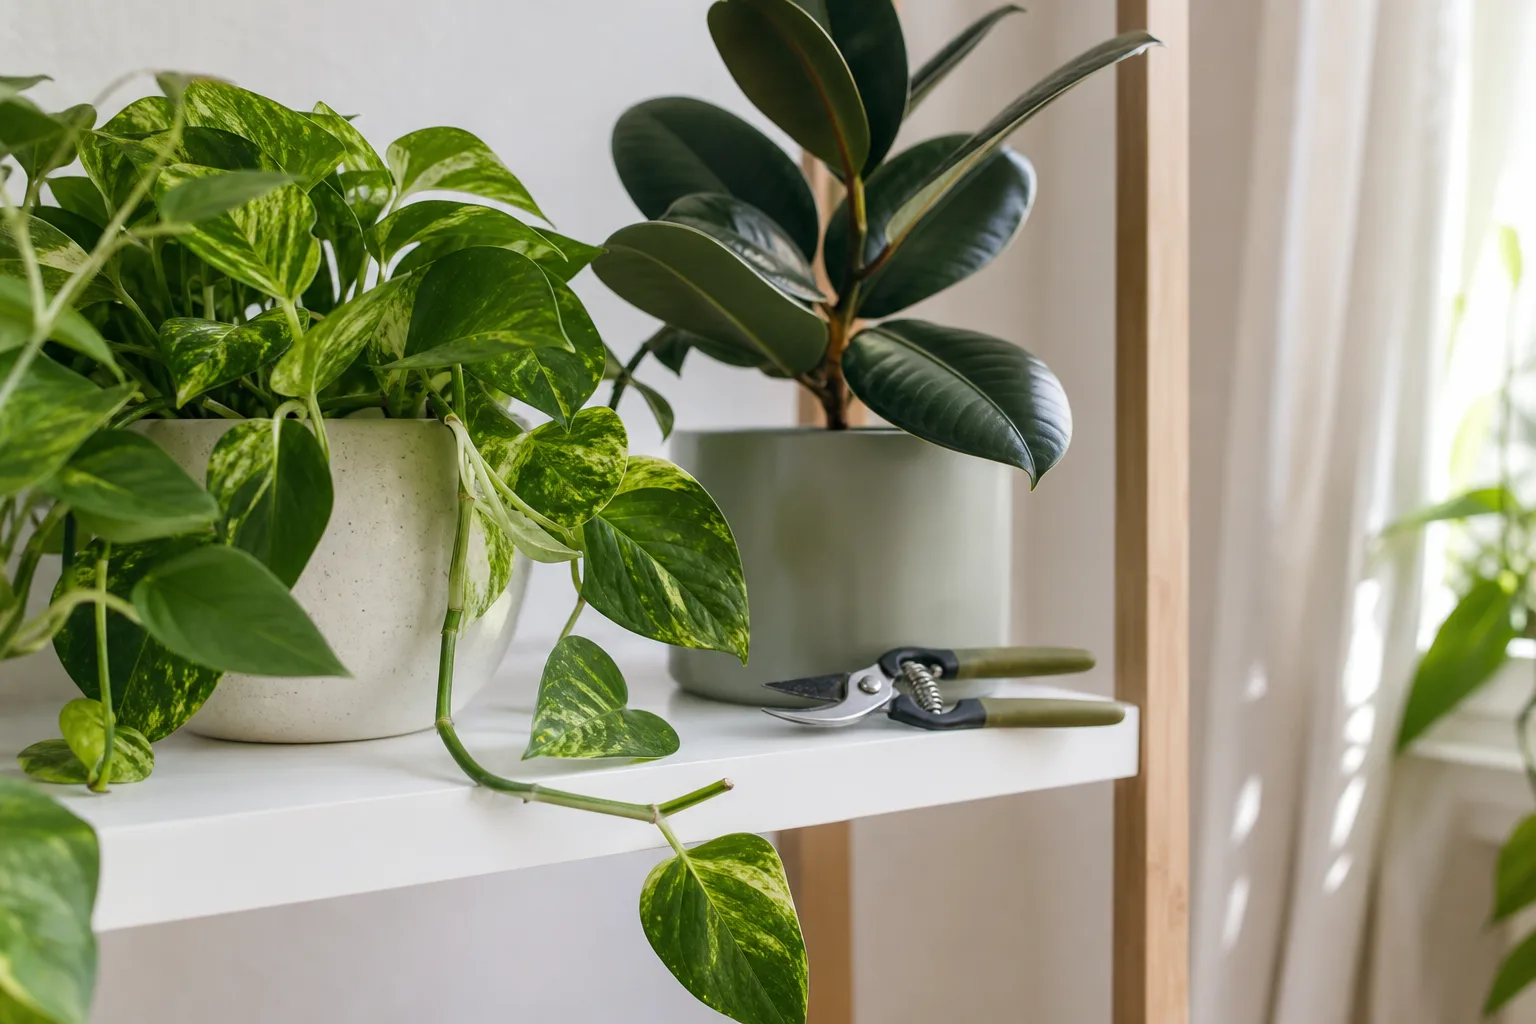
A good pruning cut starts with a decision, not a snip. Are you removing a dead leaf, shortening a vine, encouraging a branch, or taking out damaged growth? Once you know what you want the cut to accomplish, you can choose the right stem and avoid stripping away foliage the plant still needs.
Most established houseplants tolerate occasional pruning, but many do not need a scheduled haircut. The safest approach is to identify how the plant grows, make a few deliberate cuts, and stop to reassess before taking more. This guide covers that process, including when to prune and when a plant’s structure makes cutting back risky.
What pruning does—and when a plant can do without it
Pruning is the selective removal of leaves, flowers, stems, or branches to manage a plant’s size, shape, or growth. It can remove dead or damaged tissue, shorten a vine that has outgrown its space, open a crowded shape, or prompt branching on a plant capable of producing side shoots. A clean cut may also provide a usable cutting for propagation.
Those outcomes depend on the plant. A branching rubber plant or a pothos vine has several growth points that can continue after a tip is removed; a single-crown plant may have only one active growing point. Even among plants with similar-looking stems, growth habits differ, so identify the plant before making a major cut. RHS houseplant guide also treats practices such as removing faded flowers and taking cuttings as plant-specific parts of care, rather than a universal pruning schedule.
Pruning is not a remedy for every unattractive shape. Long spaces between leaves often point to inadequate light; repeated pruning without improving the light can simply produce another stretched stem. Yellowing, drooping, or leaf loss may instead reflect watering, root, temperature, or pest problems. Correct the underlying condition first, then decide whether healthy growth should be shortened.
If a plant is growing well and its size suits the room, leaving it alone is a sound choice. A few old leaves near the base do not automatically mean the plant is unhealthy, and a slightly uneven silhouette does not always need correction. Prune when you have a specific result in mind, not just because a calendar says it is time.
Choose the right time for a cut
For shaping and shortening healthy stems, active growth is usually the easiest time to prune. Many indoor plants resume growth as light and day length increase in spring; depending on the room, latitude, and plant, they may keep growing into summer or early fall. Watch the plant rather than relying on a fixed month: new leaves and lengthening stems are better signs of active growth than the date.
A plant cut while growing can generally replace foliage sooner than one resting in dim winter conditions. If you need to reshape a plant in winter, keep the work light and limit it to a clear need. Removing a broken stem or dead leaf can be done whenever you find it, because keeping decaying material on the plant does not help it. For planned heavy shaping, wait until the plant is healthy and actively growing.
Flowering plants need another timing check: find out whether the flower forms on old or new growth before shortening stems. If you prune a blooming plant, you may remove buds that are still developing. RHS houseplant guide recommends removing faded flowers to prolong new flower production, while extension guidance on deadheading notes that reblooming responses vary by species; a spent-flower trim is not the same as cutting back the plant’s leafy structure.
Exceptions for dead growth, flowers, and species-specific rules
There are a few exceptions worth checking before you cut. The American Orchid Society’s orchid-spike guide explains that some Phalaenopsis and other orchids can flower again from unused nodes, while many genera flower once per spike and should be cut back only after that spike dries. With palms, keep the central growing point intact and remove only fully dead or damaged fronds when necessary. If the plant’s identity or pruning response is uncertain, verify it before removing a healthy crown or flower stalk.
Diseased tissue is different from a routine shape-up. Remove clearly infected or pest-damaged material promptly, bag it if it may carry a pest or disease, and avoid moving the same blade from an affected plant to a healthy one without cleaning it. Penn State Extension’s pruning guidance stresses cleanup of diseased or spent plant material; indoors, that means clearing leaves from the pot surface and work area as well as from the plant.
Gather tools and set up for clean cuts
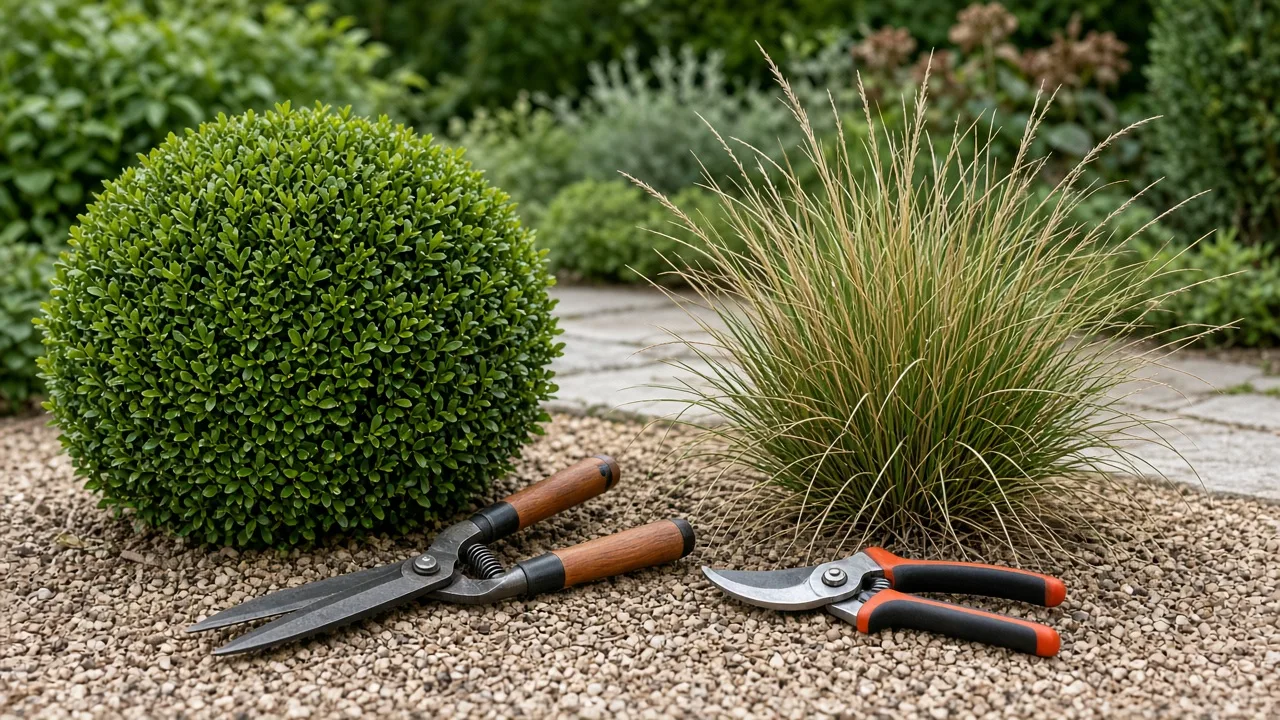
Use a sharp tool that fits the stem. Small precision snips or bypass pruners work for most soft houseplant stems; a clean pair of household scissors can be practical for thin, tender shoots and leaf stems. Choose a tool that cuts through in one motion rather than crushing, folding, or tearing the tissue. For a woody cane, use pruners with enough capacity for that stem instead of forcing small scissors around it.
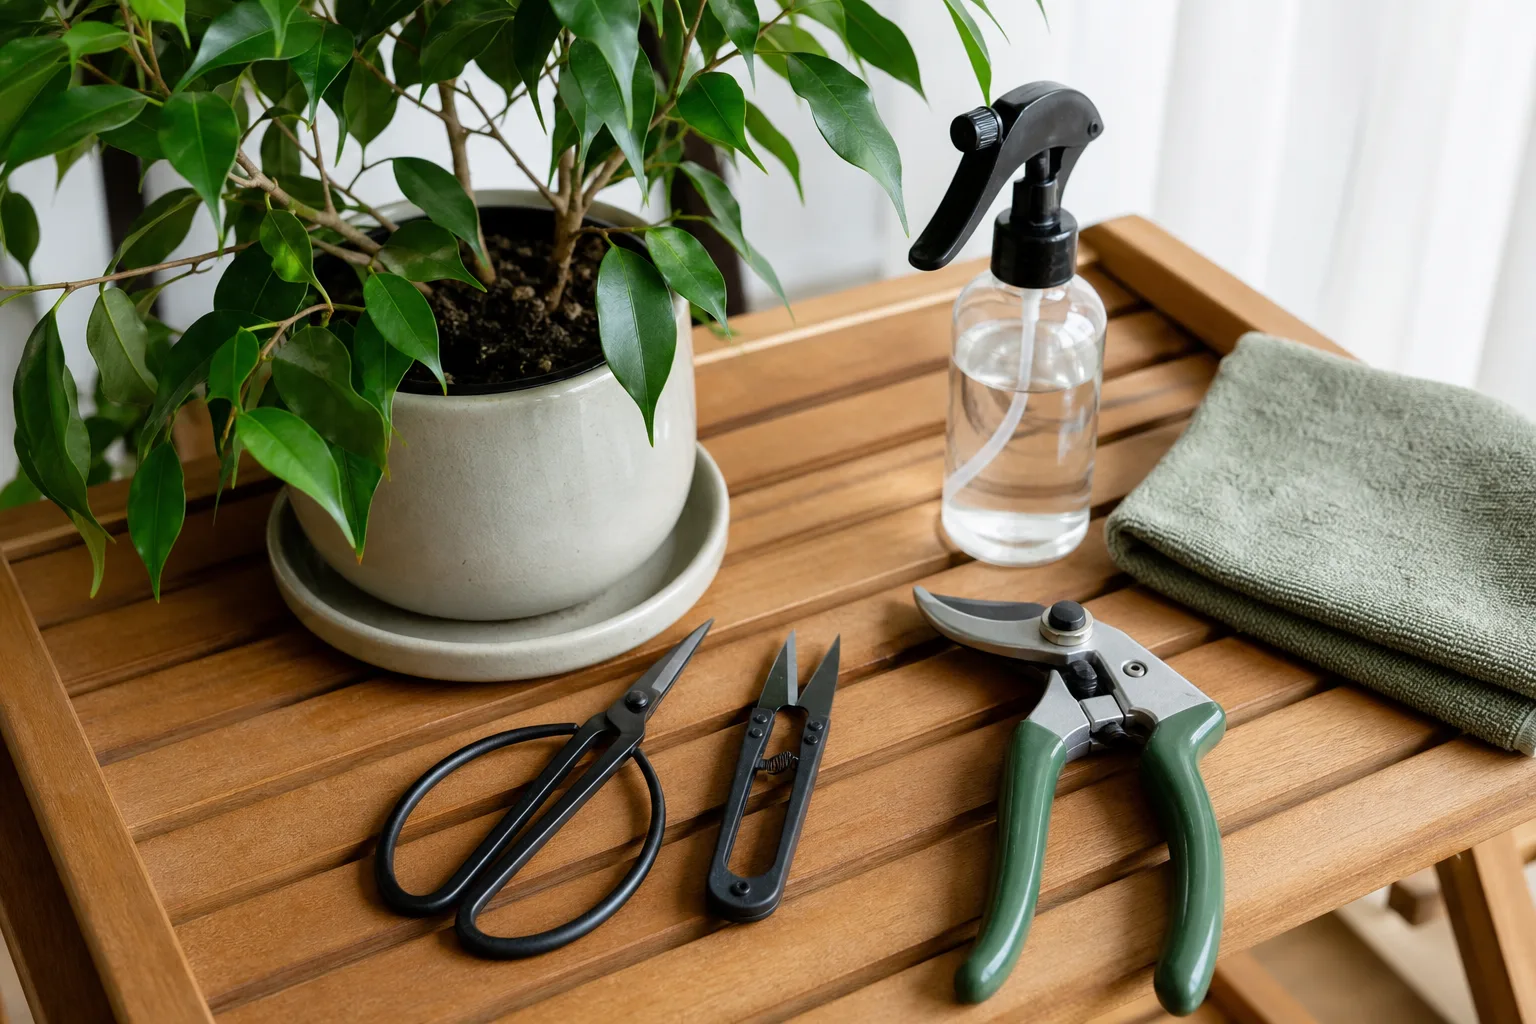
Wipe soil and sap from the blades before starting, and clean them between plants if one has a suspected infection or pest problem. A clean, sharp blade gives you control over where the cut lands; a dull, sticky one can slip or leave ragged tissue. Expert advice collected by Livingetc likewise emphasizes sharp, clean pruners and matching the technique to the plant.
Set out a small container for cut stems and a bag for diseased or badly damaged debris. This is especially useful when pruning several plants at once: it keeps dropped leaves from being mixed into potting soil and makes it less likely that pests hitch a ride to the next plant. Wash your hands after working with unfamiliar plant sap, and keep snips out of reach when you are finished.
Follow a low-risk pruning sequence
Before you cut, turn the pot so you can see the whole plant. Decide on one goal—such as shortening the longest vine or removing dead foliage—and identify the specific stems that serve that goal. If you are unsure, take less than you think you need and wait to see how the plant responds.
Start with dead leaves and spent flowers
Begin with material that is clearly dead, broken, or spent. Remove a leaf by cutting its leaf stalk, or petiole, close to where it joins the main stem without cutting into the stem itself. If only the tip of a leaf is brown, you can trim the dry margin for appearance, but that does not correct the cause of the browning; avoid removing the healthy green tissue unless you have a reason.
For a finished flower, cut the flower stalk at the point recommended for that species. Some plants shed blooms on their own; others hold faded flowers that can be removed. Penn State Extension describes deadheading as removing old flowers to manage seed production and encourage continued blooming in responsive plants; apply that idea selectively to flowering houseplants rather than assuming every indoor species will rebloom after a trim.
Shorten stems to a useful node or branch
A node is the point on a stem where a leaf, bud, or side shoot attaches; the section between two nodes is an internode. On many vines and branching stems, a new shoot can grow from a node below the cut. Choose a node that points toward the direction you want future growth to take, then cut just above it, leaving a small amount of stem rather than cutting flush through the node.
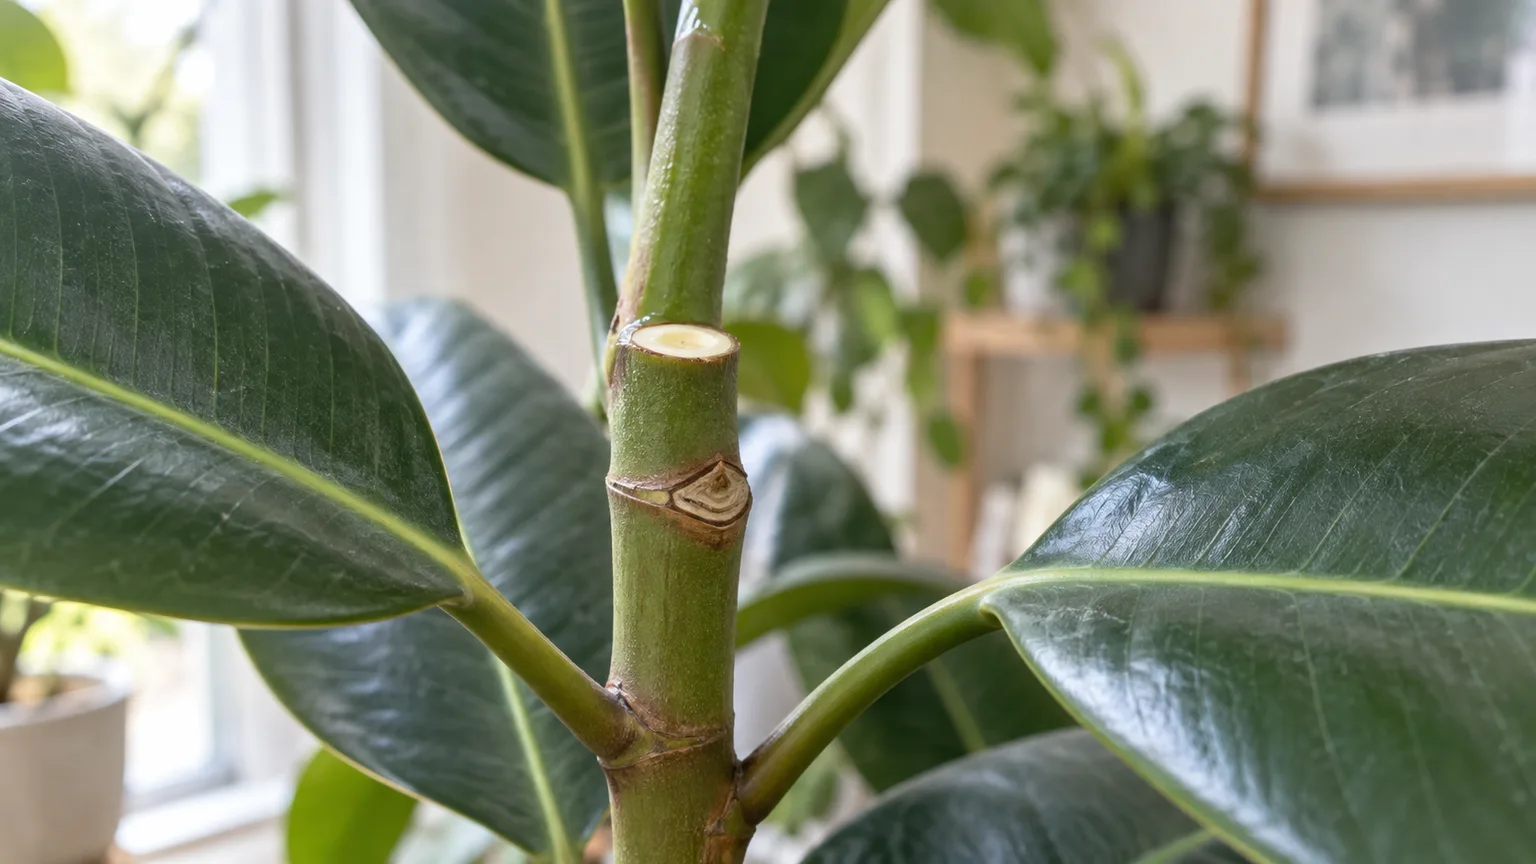
The node is not a guaranteed button that makes a plant branch on demand. Light, season, plant health, and species all influence whether a bud grows and how quickly. Gardener’s Path explains the node and internode anatomy clearly in its pothos pruning guide, and its practical guidance illustrates why vine cuts should be planned around the nodes you leave behind.
For a small tip pinch, remove the soft growing tip above a healthy pair of leaves. This can encourage side growth in plants that branch from lower nodes, but pinching is a shaping technique, not a cure for low light or a universal instruction for every houseplant. If the plant has a single terminal crown rather than multiple stem nodes, do not treat its growing point as an ordinary tip.
Step back before thinning more
After one or two cuts, step back and look at the plant from the front and sides. Compare the remaining outline with your goal: Is the longest vine shorter? Does the center have more breathing room? Is the plant still balanced over its pot? This pause helps prevent the common mistake of pruning until the plant looks sparse from close up.
If you need to remove crossing or inward-growing stems, choose the weaker or less useful one and preserve a healthy replacement. Avoid cutting every stem to the same height unless the species responds well to that approach; uniform shearing can leave an artificial outline and remove many growth points at once. Take another small pass only if the plant still needs it and enough healthy foliage remains.
Match the cut to the plant’s growth habit
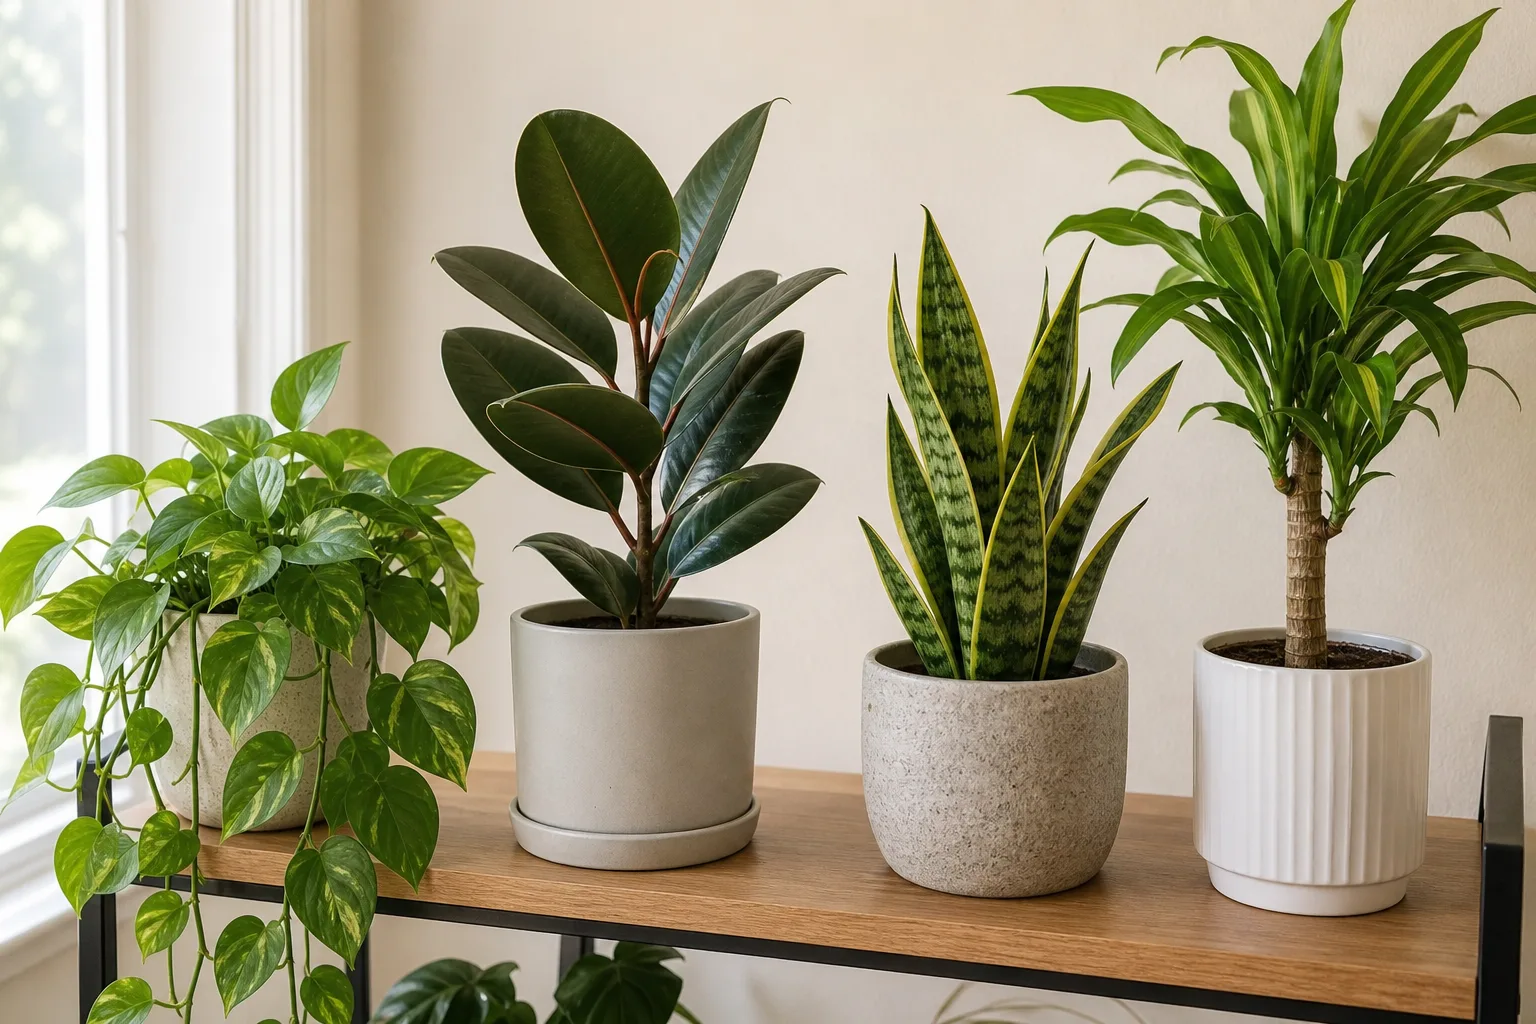
The right pruning method follows the plant’s structure more than its room location. A trailing vine has nodes along long stems, while a rosette plant grows from a compact center and may not replace a removed crown. Identify where new leaves emerge before you decide which part can safely come off.
Vines and trailing plants
Pothos, many philodendrons, and tradescantia can be shortened along individual vines. To reduce length, choose a leaf node on the section that stays on the plant and cut just beyond it. For a fuller-looking basket, spread cuts across several long vines rather than cutting all of them at the same point; this preserves more foliage while giving the plant several possible places to branch.
The relationship between a cut and a node is useful, but do not assume that every long vine should be chopped close to the soil. Keep enough nodes and leaves on each rooted section for the plant to continue growing, and avoid a drastic reset when the plant is already weak. Gardener’s Path notes that pothos can produce fresh growth from nodes and that the time of year affects how quickly a cutback is followed by visible growth.
If a vine is sparse because it stretches toward a window, improve the light and rotate the pot gradually before or after pruning. A fresh cut may make the plant look tidier, but new growth will repeat the same pattern if the conditions that caused the long internodes stay in place. You can also pin a healthy vine to the soil surface to encourage rooting at nodes, depending on the species.
Cane-forming and branching plants
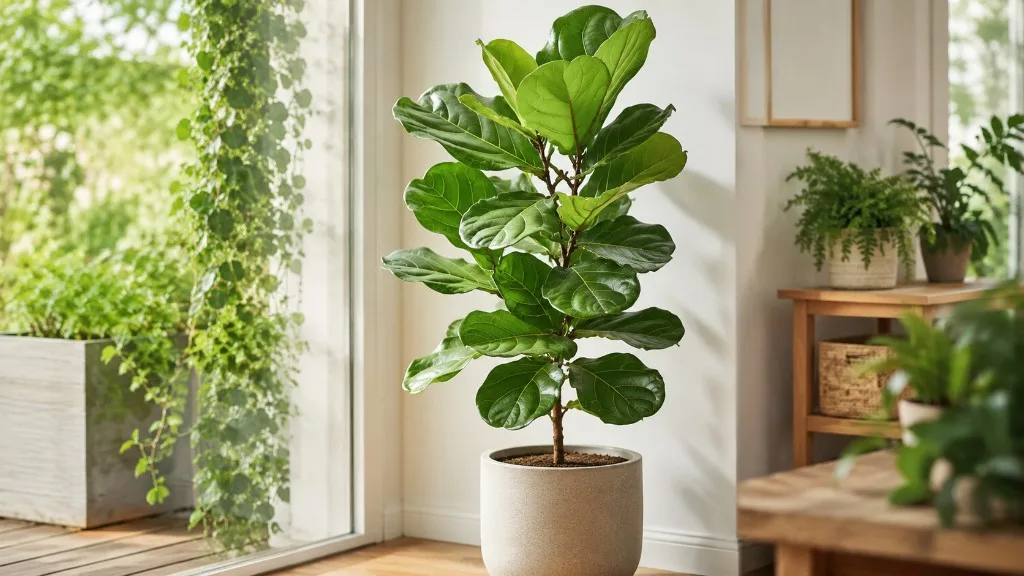
Rubber plants, dracaenas, and some ficus grow from woody or semi-woody stems rather than delicate vines. If you want to reduce height or encourage a side shoot, choose a cut point on a healthy cane where the species can produce new growth. A rubber plant can branch below a cut, but the response is not perfectly predictable; the resulting shape depends on the plant’s condition and where viable buds remain.
Start with one stem and give the plant time to respond before cutting several canes. This preserves leaf area and helps you see which direction new shoots take. On a mature or large specimen, avoid a deep cut made only to force a compact shape quickly; staging the work over more than one growing period is easier for the plant to recover from and easier for you to adjust.
Rosettes, palms, orchids, and protected crowns
Plants with a central rosette or crown—such as many bromeliads and some succulents—make leaves from a central growing point. Removing a brown outer leaf is different from cutting into that center. Trim only the dead portion of an individual leaf when possible, and leave the crown intact unless species-specific instructions say otherwise.
Most palms have one main growing point at the top of the trunk. Cutting off that growing point can prevent further upward growth, so do not top a palm to control its height. Remove a frond only when it is dead or badly damaged, and avoid stripping green fronds simply because they droop; those leaves still contribute to the plant’s growth.
Orchids also need a species-aware approach. After a bloom, the flower spike may be left, shortened, or removed depending on orchid type and spike condition; a healthy green spike on some moth orchids can produce another branch, while a dry brown spike is no longer serving that purpose. If you do not know the orchid type, wait until the spike’s condition is clear and consult reliable care guidance before cutting into living tissue.
How much can you remove at once?
For healthy foliage, use one-quarter to one-third of the plant’s leafy growth as a conservative ceiling for a single session, not as a target. The exact safe amount varies with species, size, health, and growing conditions. A small, vigorous pothos may cope with a more substantial trim than a slow-growing, recently repotted plant in weak winter light.
Dead or diseased material can be removed beyond that rough limit when leaving it would keep a problem on the plant, but do not combine a major cleanup with an aggressive shape cut. If a plant needs substantial renovation, divide the work into stages and let it produce stable new growth between them. Penn State Extension uses a similarly cautious fraction for some perennial pruning methods, but that is not a universal formula for every indoor species.
Pause if the plant looks stressed, if the remaining stem has few healthy leaves, or if you cannot identify a viable growth point below your proposed cut. A plant that has lost roots or suffered severe dehydration may need stable care before shaping. In those situations, remove only dead or broken tissue and reassess after the plant has resumed growth.
Turn suitable cuttings into new plants
A pruned stem is not automatically a viable cutting. For many vining houseplants, the piece needs at least one healthy node; a leaf alone often lacks the stem tissue needed to make a new shoot. Select a firm, healthy section with a node, remove leaves that would sit under water or soil, and keep the original cut clean.
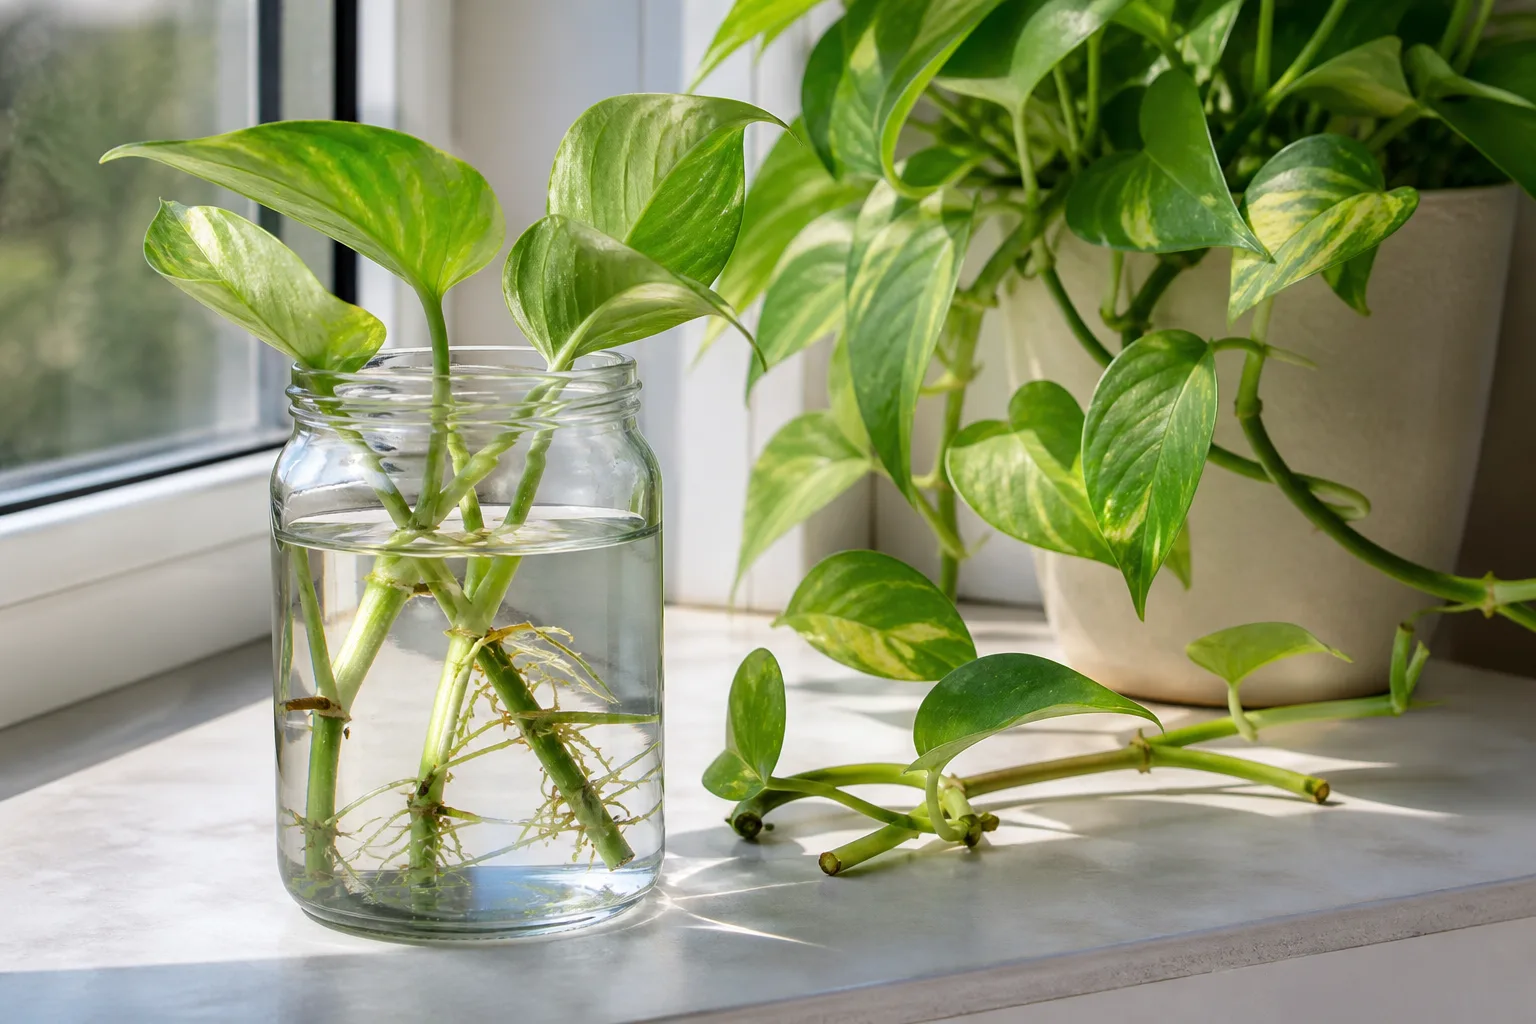
Place a suitable cutting in water or a propagation medium appropriate for the species, with the node positioned where roots can form. Keep it in bright, indirect light and monitor the medium so it does not become stagnant or dry out. The RHS explains that houseplant cuttings can use different plant parts and methods depending on the plant and time of year, so do not assume that a single water-propagation recipe fits every species.
Do not propagate pieces taken from a plant with active pests, rot, or unexplained lesions. A cutting may carry the same problem into a new pot, and a weak segment is less likely to root. If the goal is simply to make a vine fuller, you can also plant rooted cuttings back into the parent pot after they have developed roots, rather than waiting for the original plant to branch.
Help the plant recover after pruning
Return the plant to the light and temperature it already tolerates. A freshly pruned plant does not automatically need more water or fertilizer; check the soil before watering, and avoid trying to force immediate growth with extra feed. Keep routine care steady while you watch for new buds or shoots near the retained nodes.
Do not move a shade-adapted plant directly into harsh sun because it has fewer leaves, and do not mist or soak it as a substitute for proper care. If you removed a large amount of foliage, the pot may dry more slowly because the plant has less leaf area, so use the soil’s moisture and the plant’s needs as your guide. Resist additional cutting until you can see how the plant responds.
A small amount of clear sap from a cut can be normal for some species. Protect furniture, avoid rubbing sap into your eyes, and wash your hands after handling unfamiliar plants. If a cut is crushed or split, make one careful finishing cut with a clean blade; do not keep shaving it back to make the surface look perfect.
Mistakes that create more problems
The biggest mistake is pruning without knowing the plant’s growth point. Cutting a vine above a retained node can leave a site for new growth; cutting through a sole crown or palm growing point can remove the structure the plant depends on. When you cannot distinguish the two, pause and identify the plant before cutting.
Another mistake is removing healthy leaves to treat a symptom without addressing its cause. A brown edge will not stop recurring if the plant remains in unsuitable conditions, and a leggy shoot will not become compact if it keeps reaching for better light. Remove fully dead tissue when useful, but diagnose the pattern before deciding that a larger cut is the answer.
Avoid taking too much at once, making ragged cuts with dull tools, or pruning every stem to the same height. Do not leave diseased debris in the pot, and do not reuse a dirty blade from an infected plant on the next one. Finally, resist the urge to prune in response to every imperfect leaf: occasional blemishes are not a reason to strip a healthy plant.
Conclusion
To prune a houseplant well, decide what the cut should accomplish, identify where the plant can grow again, and remove only as much as that goal requires. Use sharp, clean tools, favor active growth for planned shaping, and treat dead-leaf cleanup differently from a major cutback. Vines and branching stems offer more options than palms, orchids, or plants with a single crown, so check the growth habit before you begin.
Make one pass, step back, and let the plant show you how it responds. When pruning is optional, leaving healthy growth in place is often the best care.