How to Prune Peach Trees: Timing, Cuts and Clear Steps
A step-by-step peach tree pruning guide for young and mature trees, with regional timing, open-center training, fruiting-wood renewal, and common mistakes.
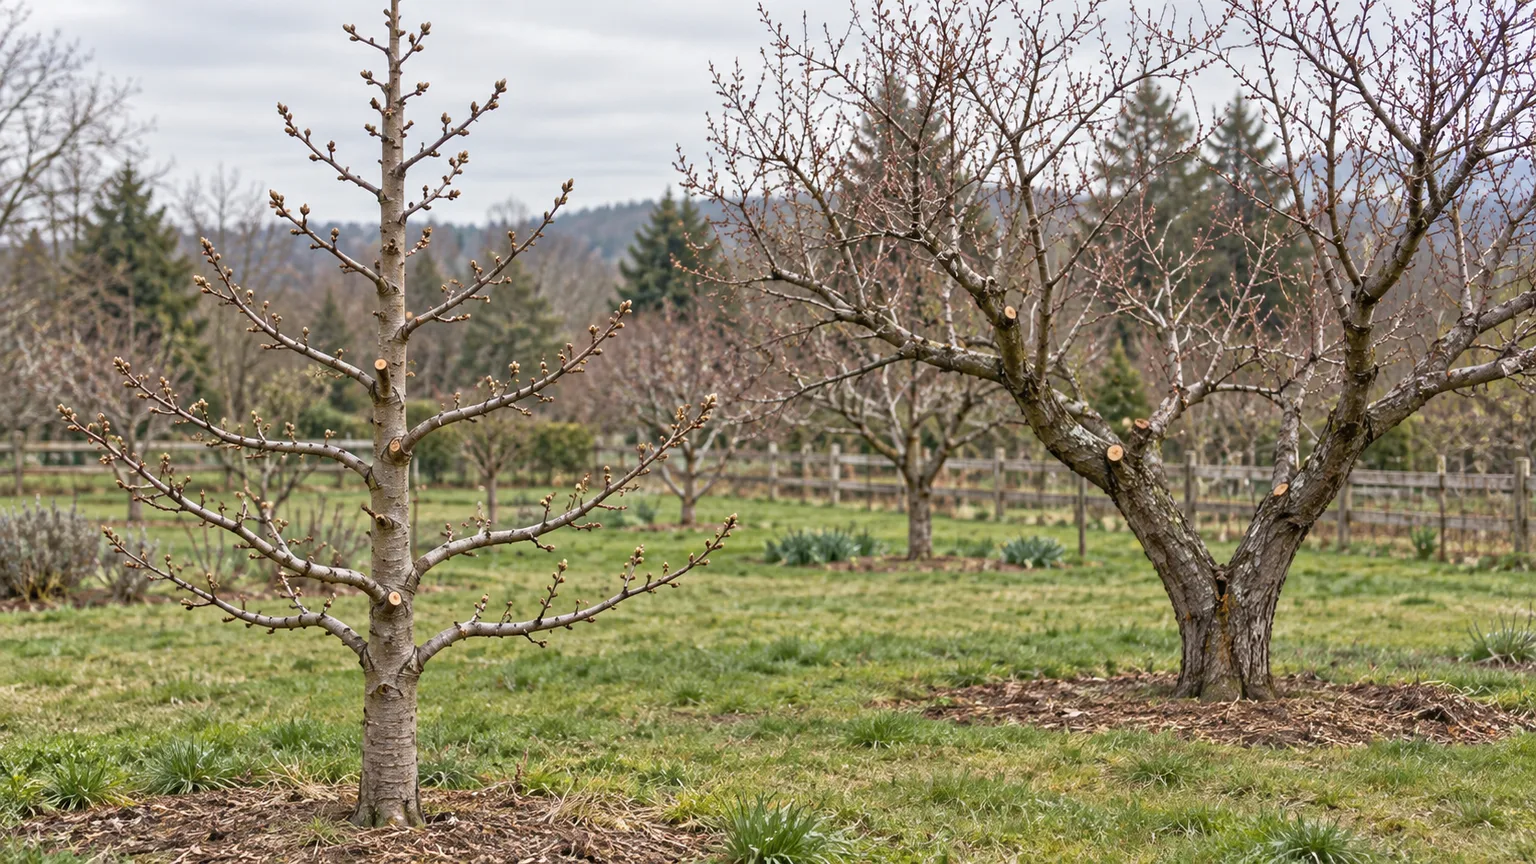
A peach tree needs two kinds of pruning: early training that gives it a strong, reachable framework, and yearly maintenance that replaces branches after they fruit. The aim is not to make the tree look bare. You want light to reach useful one-year shoots, enough leaves to support fruit, and sturdy limbs that can carry a crop without splitting.
Before cutting, identify whether your tree is a freestanding open-center tree, a wall-trained fan, or a naturally narrow cultivar. Those forms do not share one calendar or one pruning pattern. Then check the weather and the tree’s stage: a dry, mild window and visible buds are more useful guides than a date copied from a different region.
Start with tree form and age
Freestanding versus fan-trained trees
Most backyard peaches are standard, freestanding trees, commonly trained to an open center or vase form. Three or four main scaffold limbs radiate outward from a short trunk, leaving the middle open enough for light and air. Penn State Extension describes this as a common form for standard peach trees; it also notes that upright “pillar” cultivars and other growth habits need different treatment, so do not force every peach into the same shape (Penn State Extension’s peach-pruning guide).
A fan-trained peach is different: its permanent branches spread flat against a wall, fence, or wire support. You preserve that framework and replace spent fruiting shoots with new ones that can be tied into open spaces. The Royal Horticultural Society and Gardeners’ World both emphasize summer pruning after harvest for established, fan-trained peaches, while freestanding peaches in the RHS guidance are also pruned after fruiting in summer; this timing reflects the UK disease and training context, not a calendar rule for every climate (RHS peach growing guide, RHS guidance for established fan-trained trees, Gardeners’ World peach guide).
If the trunk is unusually upright and narrow, or the nursery label describes the tree as a columnar or pillar type, look up that cultivar’s recommended form before removing major limbs. Cutting a naturally narrow tree into a wide vase can remove much of its intended structure. If you cannot identify the cultivar, do light corrective pruning first and observe how shoots grow through a season.
Young trees versus fruiting trees
A young tree needs training from the first growing season; waiting until it is three years old to shape it can leave a tall, crowded framework that is harder to fix. The first few years are about selecting well-spaced scaffolds and correcting weak angles. Once the tree has a stable frame and is carrying fruit, the yearly job shifts toward renewing one-year fruiting shoots, preventing shade, and keeping the tree within a height you can manage safely.
A tree that has just arrived from a nursery may already have branches, a heading cut, or a fan framework. Start by looking for its graft union and any nursery cuts, then compare its existing branches with the form it was sold to become. Follow the nursery’s training advice for a named cultivar or rootstock; use the sections below as a decision guide rather than repeating a planting cut that has already been made.
When to prune peach trees
The right pruning window depends on the tree’s form, the climate, and the size of the cuts. In much of the United States, growers do the main structural pruning in late winter or early spring, after the harshest freezes have passed and before growth is far along. Penn State Extension advises delaying dormant pruning until late winter because pruning can temporarily reduce cold tolerance; its Pennsylvania schedule avoids pruning before late February or ahead of forecast low temperatures. Treat that as regional guidance, not a universal date (Penn State Extension).
A light summer pass can remove strong upright shoots that are shading fruiting wood, especially on a tree that grows vigorously. Penn State describes June and July as useful for managing shade and maintaining interior fruiting wood in its region. A summer cut also suppresses vigor more than an equivalent dormant cut because it removes leafy growth; it does not replace the annual inspection and renewal cuts the tree needs.
Use weather and growth stage, not a month alone
Use these signals to choose your window:
- Freestanding tree in a cold-winter region: Wait until the worst winter cold is past and a severe freeze is not in the forecast. In late winter or early spring, inspect the buds and remove the planned amount in stages; if a sharp cold snap is forecast, postpone structural cuts.
- Tree in a mild or wet climate: Check regional stone-fruit guidance for canker and silver-leaf risk. RHS recommends pruning peaches in spring or summer on a dry day, with dry weather expected afterward, and warns against treating them like apples or pears that are commonly winter-pruned.
- Established fan or wall-trained tree: Make the maintenance pass after harvest, while replacement shoots are visible and flexible enough to tie into the framework. Do not cut all young shoots before deciding which ones will take the place of fruited branches.
- Any tree with a broken or hazardous branch: Address the immediate hazard when conditions allow a clean, controlled cut. Save major reshaping for the proper local window.
The useful principle is to separate structural cuts from light-control cuts. Dormant pruning reveals the branch framework and is often the main shaping window in US extension recommendations; summer pruning limits vigorous growth and helps prevent interior shade. In regions where stone-fruit wound infections are a particular concern, local guidance may favor spring and summer cuts instead. The RHS peach guidance recommends choosing a dry spell and explains that its seasonal approach is intended to reduce silver-leaf and bacterial-canker risk (RHS peach growing guide).
Do not prune because a calendar says “spring” if the tree is still exposed to deep freezes, or because the fruit has been picked if autumn rain has begun. A few weeks’ delay is usually less damaging than making extensive cuts immediately before weather or disease pressure that raises the risk of dieback. If you garden in the Southern Hemisphere, shift seasonal labels to your local calendar rather than copying Northern Hemisphere months. If your local Extension service gives a different window for peaches, follow the regional recommendation.
Set up tools and make safe cuts
Use a sharp bypass pruner for small shoots, loppers for branches the pruner cannot cut cleanly, and a pruning saw for larger limbs. A dull blade crushes or tears tissue and makes it harder to control the cut; BBC Gardening’s fruit-tree guidance likewise recommends sharp secateurs and a saw suited to larger branches (BBC Gardening’s fruit-tree pruning guide). Wear eye protection and gloves, clear the ground around the tree, and keep the other hand out of the path of the blade.
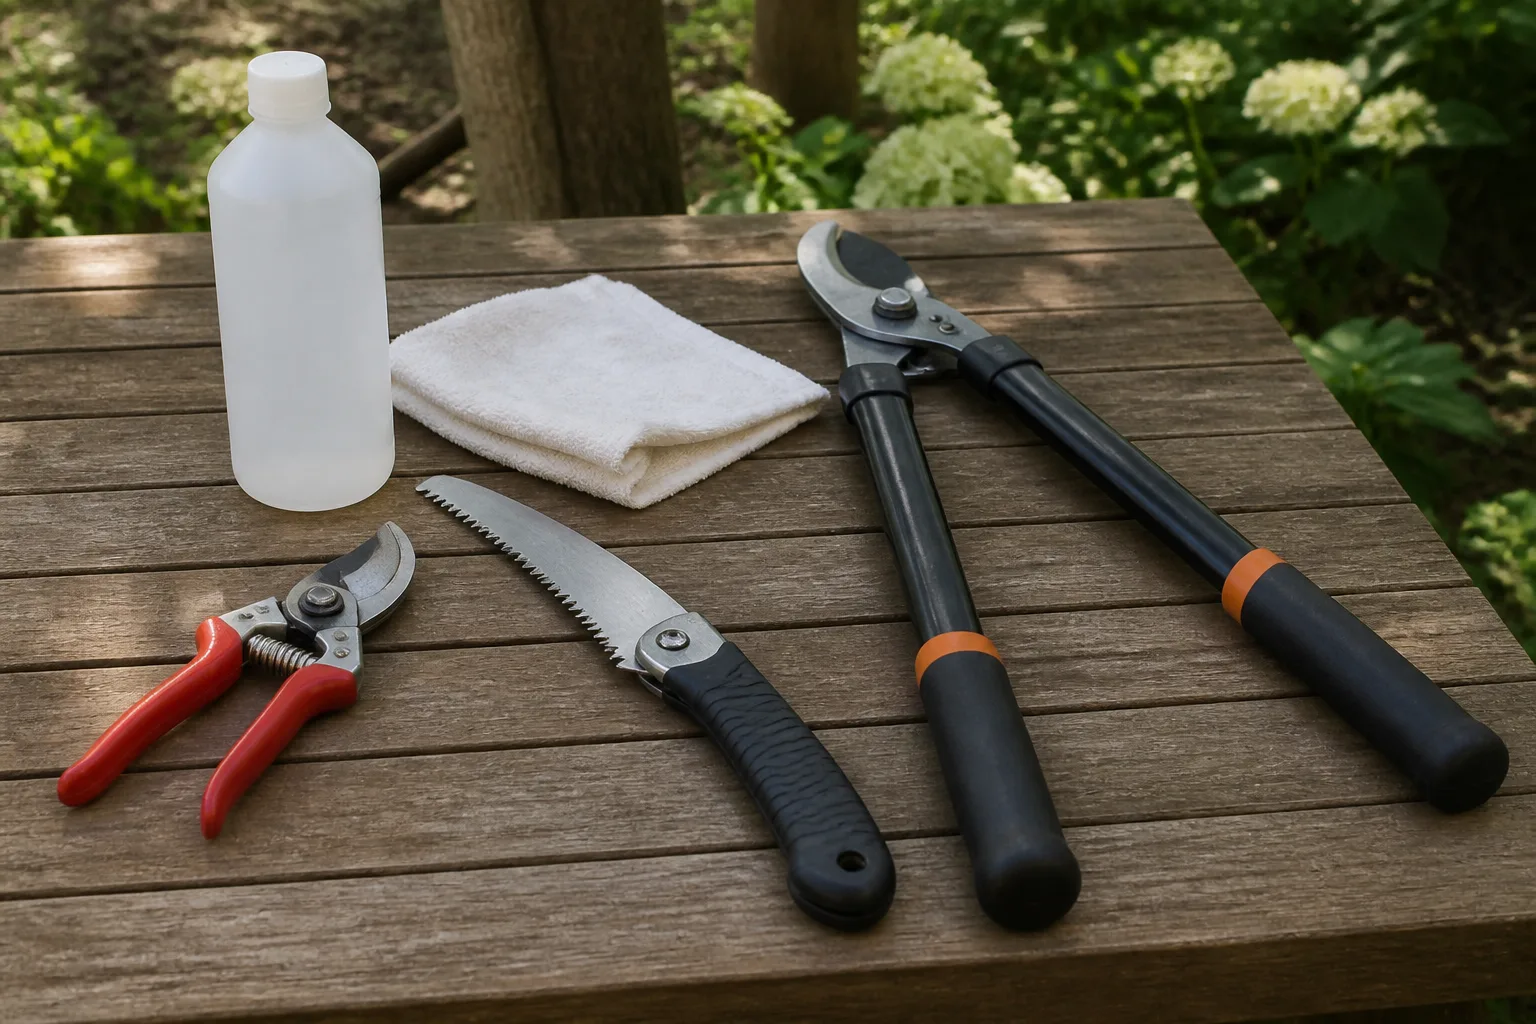
Before starting, decide where the branches will go and how you will collect them. Make the first pass from the ground so you can see the overall shape, then use a stable ladder only for work you can reach without leaning or cutting above your shoulder. If a major limb is overhead, near a structure, or beyond secure reach, stop and hire a qualified tree professional rather than improvising with a pole tool from a ladder.
For a removal cut, cut just outside the branch collar, the slightly raised area where the branch joins its parent limb. Do not leave a long stub, and do not cut flush into the trunk; both approaches make a larger wound than needed. For a shortening cut, choose a healthy outward-facing bud or a suitable side branch, then cut just above it so the new growth has room to grow outward rather than into the canopy.
Remove loose debris as you go so you can see which branches remain and avoid repeatedly cutting the same area. If you see a canker, dead bark, or suspicious dieback, note where it begins and check local disease advice before pruning through healthy wood. A single picture of the affected branch and its attachment can help a local Extension office assess whether routine pruning is enough.
Read the wood before pruning
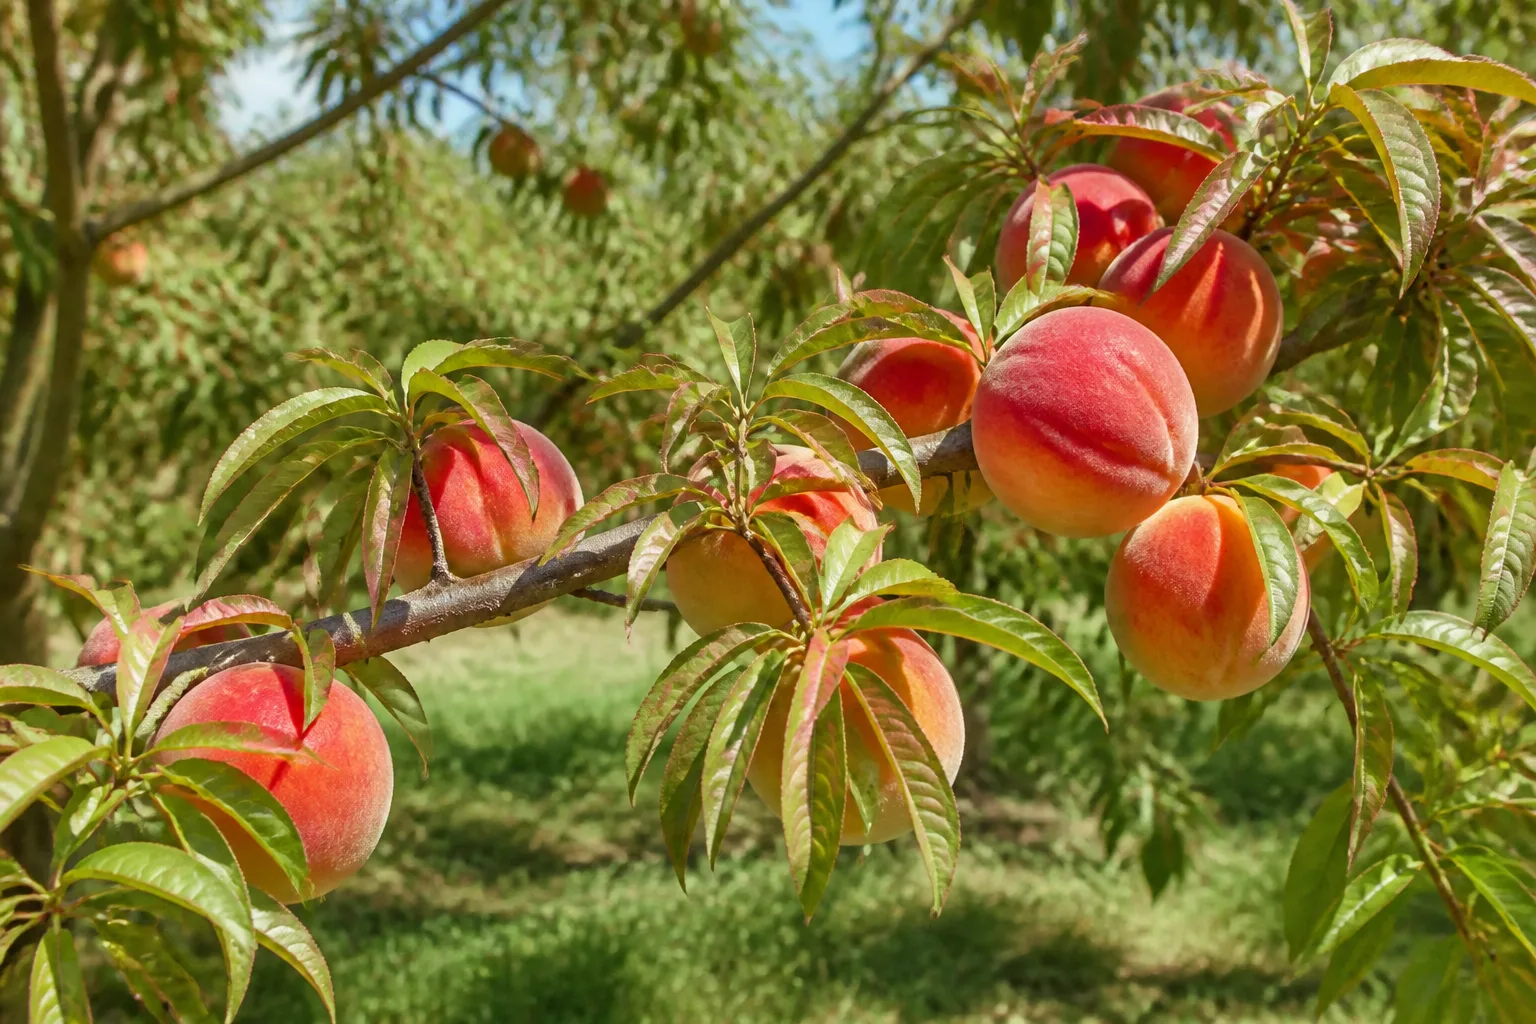
Peaches produce most of their fruit on one-year-old shoots—growth made during the previous season. After those shoots fruit, they become older wood; a mature tree needs replacement shoots each year so fruiting does not migrate only to the far ends of long branches. NC State Extension highlights this difference between stone fruit and apples or pears, which bear on older wood or spurs, and stresses that peaches need adequate new growth to carry a crop (NC State Extension’s tree-fruit chapter).
Start by locating the branch’s connection to the scaffold and trace it outward. Older, previously fruited wood is often thicker or grayer and may carry old fruiting scars; last year’s shoot is usually smoother and more flexible, but color varies by cultivar and weather. Use the shoot’s age, position, vigor, and bud pattern together rather than relying on color alone.
Recognize one-year fruiting shoots
A useful peach fruiting shoot is often pencil-thick, about 12 to 24 inches long, and has plump flower buds along much of its length. Penn State Extension describes 12- to 24-inch shoots as a desirable fruiting size in its pruning guidance, though the ideal length varies with cultivar, vigor, and growing conditions. Very short shoots tend to carry smaller fruit, while very vigorous upright shoots can shade the tree and may have little useful fruiting wood near their base.
Look closely at the nodes, the points where leaves and buds attach. Peach shoots can carry rounder, plumper flower buds beside smaller, pointed leaf buds; the leaf bud is what can produce a shoot to extend or renew the branch. If most of a branch is gray, bare, or already fruited, keep a healthy younger shoot near its base as the replacement and remove the old section back to that shoot.
Do not remove every branch that points upward. A young, unbranched shoot with good flower buds can be retained if it occupies an open part of the canopy and will not compete with a scaffold; the weight of fruit can pull some upright shoots downward. The problem is usually the vigorous, clustered, shaded growth that crowds the center, not every vertical branch by definition.
Train a young peach tree to an open center
The open-center form suits many standard peaches because it distributes bearing branches around a short trunk and keeps the center open to light. Start with three or four scaffold limbs that are spaced around the trunk, point outward, and attach at a broad angle. Leave enough vertical separation that the limbs do not emerge as a tight ring, and remove a competing central leader once the chosen framework is clear.
Penn State’s open-center guide describes selecting a small number of wide-angled scaffolds and keeping the canopy low enough for maintenance. Exact scaffold height depends on the tree’s size, where the nursery’s branches sit, and how you mow or harvest; a home grower should choose a framework that supports fruit but remains reachable from the ground whenever possible. A peach tree can be trained to two strong main limbs in some systems, but only use that form when the tree’s growth habit or local training plan calls for it.
The first growing season
At planting, remove broken or badly placed branches and establish the intended height and scaffold pattern according to the tree’s form. If you have an unbranched whip, many regional recommendations call for a heading cut that encourages side branches below it; the exact height differs by nursery stock and goal. Do not automatically cut a branched tree down to the same height as a whip, because it may already have usable wide-angled limbs.
As new shoots grow, select a few well-spaced candidates for scaffold limbs. Keep branches with broad attachments and outward direction; remove shoots that grow into the center, point sharply downward, or compete at the same spot. If a good branch is too upright but still flexible, a spreader or soft tie may help open its angle gradually; do not force a brittle branch into position.
Make small, well-timed corrections rather than stripping the young tree. Penn State Extension recommends summer training in the first years to remove low trunk shoots and guide scaffold direction, which can reduce the amount of severe dormant correction later. Inspect the tree several times as it grows because a shoot that looked useful in spring may become a vigorous competitor by midsummer (Penn State Extension).
Years two and three
Keep the selected scaffolds dominant. Remove shoots that compete with them, grow toward the center, or form a weak, narrow crotch, and shorten only where a cut will direct a branch into open space. Leave well-positioned fruiting shoots along the scaffolds so the tree can begin bearing without sacrificing its framework.
By the third season, you should be able to see the tree’s permanent shape: a low trunk, a small set of strong outward limbs, and no dense central leader. Avoid large heading cuts that produce a flush of upright watersprouts. If the structure is not balanced, correct one or two limbs this year and revisit the rest next season instead of removing so much wood that the young tree responds with a thicket of vegetative shoots.
Prune a mature peach tree step by step
Choose a dry day in the pruning window suited to your region. Stand back and identify the scaffold branches, the tallest reachable height, the center of the canopy, and the younger shoots you want to preserve before making the first cut. A deliberate order helps prevent a common mistake: opening the tree so aggressively at the start that there is not enough useful fruiting wood left to finish the job.
- Remove clear hazards and dead wood. Cut out broken, dead, or severely diseased branches to a healthy point. If a large branch shows extensive canker or the trunk is compromised, pause and ask a local Extension service or arborist for a diagnosis before removing major framework limbs.
- Take out basal suckers and rootstock shoots. Remove shoots arising from the rootstock below the graft union and low shoots that will rub the trunk or interfere with access. Small suckers can be removed at their origin; do not leave stubs that continue to sprout.
- Open the center selectively. Remove a competing upright leader, branches growing inward, crossing limbs that rub, and crowded watersprouts. Make a thinning cut at the branch origin or reduce a branch to a well-placed side shoot; do not simply shear the outline into a ball.
- Keep fruiting wood in the canopy. Retain healthy one-year shoots of moderate vigor that are spaced around the scaffolds and receive light. Remove spent sections back to a younger replacement shoot when one is available, leaving enough new shoots to carry next year’s crop.
- Control height and reach. If a scaffold is too tall, reduce it to a lower outward-growing side branch rather than cutting across a thick limb at an arbitrary point. Work one scaffold at a time and preserve an even, open outline.
- Stop and reassess. Walk around the tree and look through the center. You should see scattered light and open pathways, not a bare trunk surrounded by a thin shell of leaves. If you have already removed several large branches, do not keep cutting just to make the tree symmetrical.
After the dormant pass, inspect again in early summer. Remove vigorous vertical shoots only where they shade productive wood, then leave enough leafy growth to support the fruit. Penn State Extension notes that summer removal of upright shoots can protect lower fruiting areas from shade; removing every new shoot would defeat that purpose by reducing the tree’s productive leaf area (Penn State Extension).
Choose cuts for the result you want
A thinning cut removes a branch or shoot where it originates, at its junction with an older limb or trunk. It is the better choice for taking out a crowded branch, opening a shaded area, or removing an unwanted watersprout without provoking as much new growth near the cut. Penn State Extension describes thinning cuts as useful for reducing excess shoots and renewing fruiting wood.
A heading cut shortens a shoot and leaves several buds below the cut. It encourages branching near the cut and can be useful while establishing a young framework or redirecting a branch to a suitable outward bud. On a mature peach tree, repeated heading can stimulate a cluster of vigorous new shoots, so use it sparingly and only when the new growth has a clear place to go.
Avoid a large bench cut unless it is necessary to redirect a badly positioned branch to a suitable side branch. A flat, arbitrary cut on a vigorous limb can prompt upright water sprouts below it and leave the canopy denser than before. When shortening a branch, cut back to a lateral that is large and well positioned enough to take over, not to an undersized twig that cannot support the branch above it.
Renew a neglected tree without losing the whole crop
A neglected peach tree may have a tall central mass, crowded interior, bare lower limbs, and fruiting growth only at the branch ends. Do not try to correct all of that in one afternoon. Heavy pruning can remove much of the next crop and stimulate vigorous watersprouts, so restoration is safer as a staged project over multiple seasons.
In the first year, remove dead and broken wood, a few major branches that block light, and growth that creates an immediate safety or access problem. Preserve as many healthy one-year shoots as you can. Choose the next large branch to remove only after you can see how the remaining canopy responds and where new shoots develop.
In the second season, select replacement shoots growing in useful directions, then remove another limited portion of the crowded top or older fruited wood. Penn State Extension explains that cutting older trees back to good side limbs can stimulate new growth, but this kind of renewal reduces the following crop because it removes bearing surface. If the trunk is decayed, major limbs are failing, or the tree has little healthy growth, compare the cost and risk of restoration with planting a new tree in a suitable site.
Do not apply a fixed percentage rule to every tree. Tree age, vigor, the amount of dead wood, and the climate all change how much a peach can tolerate; take out only the wood that serves a clear purpose and stop while the tree still has a balanced canopy. NC State Extension warns more generally that over-pruning and heavy heading can push fruit trees toward excessive vegetative growth, a useful reason to stage corrective work rather than treat a neglected tree as a one-cut renovation project (NC State Extension).
Balance pruning with fruit thinning
Pruning determines how many fruiting shoots and flower buds remain; fruit thinning determines how many of those flowers become fruit the tree carries to harvest. Neither task can fully replace the other. A peach tree can flower heavily on retained one-year shoots and still need fruitlets removed after set, especially when branches are young or the crop is crowded.
Once the fruitlets have set and are large enough to handle, remove damaged, misshapen, and tightly clustered fruit first. NC State Extension recommends spacing remaining peaches about 6 to 8 inches apart along a branch; this reduces the risk of a crowded crop producing small fruit or bending and breaking limbs. The appropriate load depends on cultivar, tree vigor, water availability, and whether frost damaged part of the blossom crop, so judge the branch as well as the distance (NC State Extension’s fruit-thinning guidance).
When pruning, leave a moderate supply of well-lit shoots rather than trying to predict every fruit that will mature. Then thin fruit after you see what has set. If you had a light bloom or a late frost, do not remove fruiting wood aggressively and then thin the few remaining fruits again; if a young scaffold is bending under the crop, support or thin it before the branch splits.
Common pruning mistakes and how to correct them
Pruning too early before a hard freeze can expose recently cut tissue and make the tree less cold-tolerant for a time. If you have not begun and a severe freeze is forecast, wait. If you already made cuts, avoid adding more stress, and assess dieback only after buds begin to grow rather than removing branches based on winter appearance alone.
Removing all upright growth can strip out useful fruiting wood along with vigorous watersprouts. Decide by position and vigor: remove shoots that crowd the center or shade lower branches, but keep a well-placed shoot with flower buds if it is part of the renewal plan. A peach does not need a perfectly empty center; it needs enough light to reach the productive zone.
Cutting every one-year shoot leaves little wood for the next crop. Before removing a branch, look for a younger shoot near its base that can replace it. Conversely, keeping all old fruited wood year after year pushes the fruiting zone outward and can leave the interior bare; replacement is part of routine maintenance, not an emergency renovation reserved for old trees.
Making large cuts in wet weather can increase wound exposure to diseases in regions where stone-fruit infections are a concern. The RHS recommends a dry day and a period of dry weather after pruning in its peach guidance. If your area has a history of canker or silver leaf, consult local Extension advice before cutting, particularly on an older fan or when removing a large limb.
Using the same rule for every peach ignores growth habit and training system. A standard tree, a wall-trained fan, a dwarf patio peach, and a pillar-form cultivar may all need different pruning intensity. If you do not know what was planted, identify the form before cutting hard and preserve more healthy structure until you can observe a full season.
Trying to fix height with a flat top cut creates a row of vigorous shoots and does not make a stable low framework. Reduce a tall branch to an outward side branch and do only a few such reductions in one season. If the only way to reach the canopy is to climb unsafely or cut a large limb from a ladder, use a professional rather than turning a pruning task into a fall risk.
Conclusion
Pruning peach trees works best when you treat it as a yearly cycle of training, light management, and shoot renewal. First identify the tree’s form, then choose a dry window that fits your region and wait out severe cold before making structural cuts. A young tree needs a strong set of scaffolds; a mature tree needs healthy one-year fruiting shoots, an open but leafy canopy, and gradual removal of spent wood.
Make each cut for a reason: remove hazards, improve light, renew a branch, or keep the canopy within reach. Save useful new growth, avoid heavy heading, and thin the fruit after set if the crop is crowded. If the tree is badly neglected or its structure is unsafe, take the time to restore it in stages or get local help; a smaller, deliberate job usually leaves a better framework for next year.



