How to Put Lights on a Christmas Tree the Easiest Way
Learn the easiest way to put lights on a Christmas tree, with a vertical zigzag method, strand-count guide, wire-hiding tips, and safety checks.
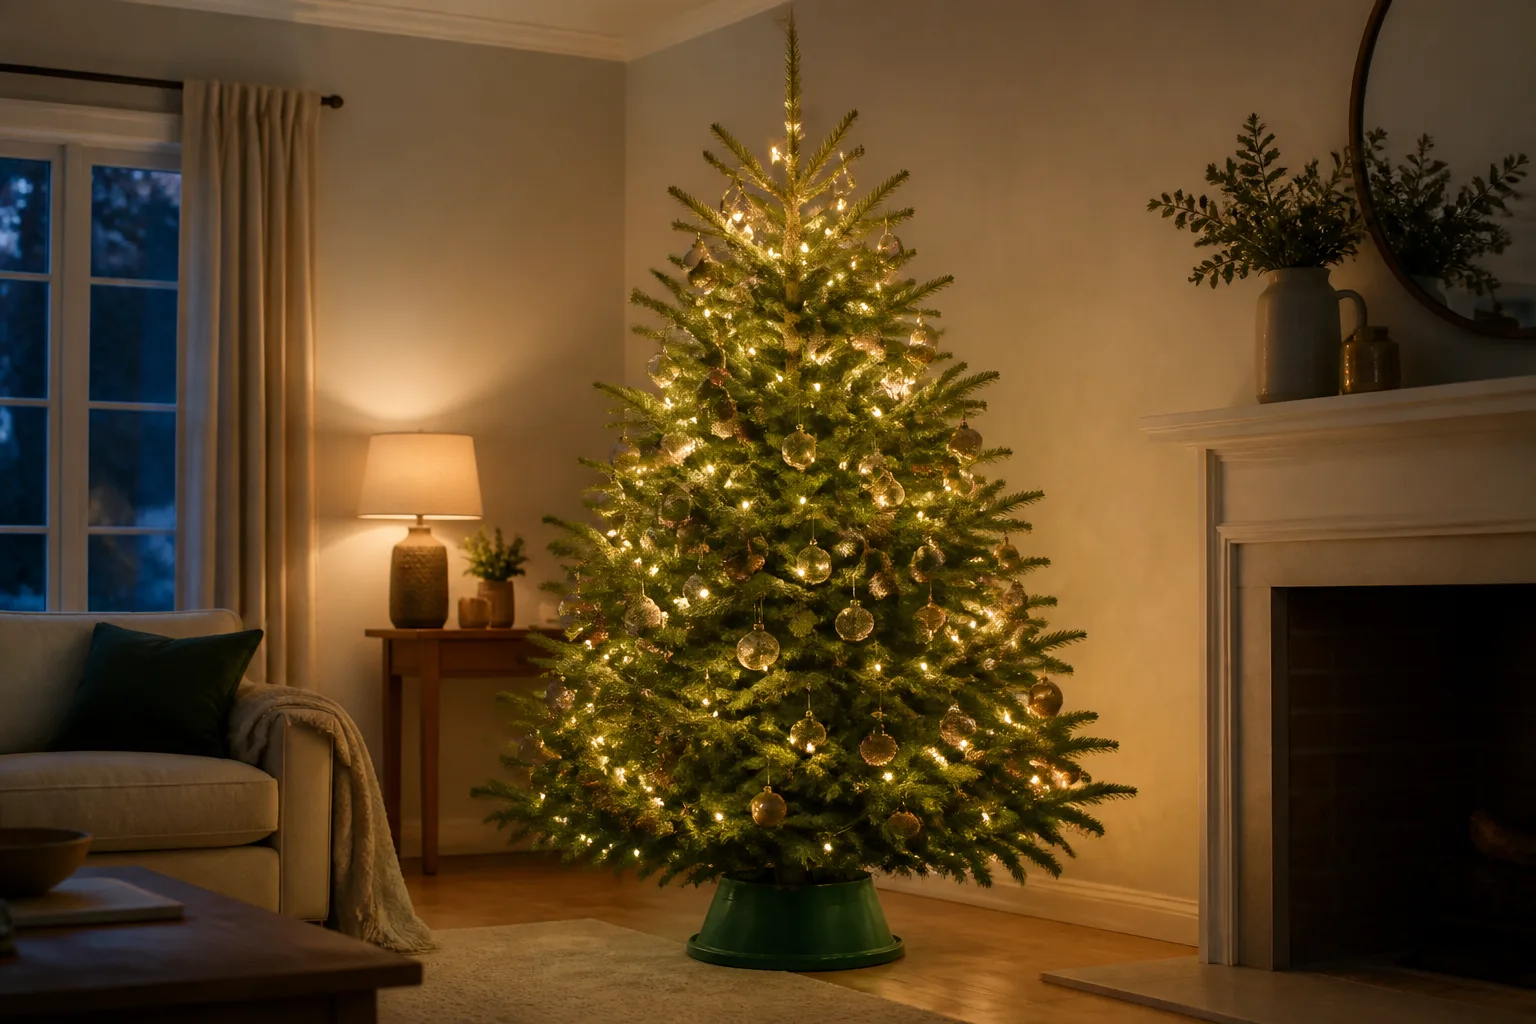
Quick answer: use a vertical zigzag for the fastest even glow
The easiest way to put lights on a Christmas tree is usually the vertical zigzag method: divide the tree into tall sections, run a strand up and down one section, and weave the bulbs between the trunk and branch tips. It avoids repeatedly circling the tree, makes dark spots easier to correct, and lets you remove one vertical section without unwrapping the entire display.
There is one important qualification: “easiest” depends on the tree and the plug. For a typical indoor tree, start near the outlet at the bottom and work upward in vertical sections. If your strand has a connector or lead that is designed to sit at the top, reverse the direction. The goal is a clean, reachable connection at the back of the tree—not a rule that leaves an extension cord dangling from the topper.
Choose between the vertical and spiral methods
Both methods can look polished. The right choice is the one that matches the tree’s shape, the amount of time you have, and whether you want a quick seasonal setup or careful branch-by-branch control.
| Feature | Vertical zigzag | Horizontal spiral |
|---|---|---|
| Best for | Speed, artificial trees, easy repairs | Beginners, irregular real trees, classic coverage |
| Direction | Up and down through tall sections | Around the tree from base toward the top |
| Visual effect | More inner glow and distinct columns | Traditional, continuous wrap |
| Wire visibility | Can show if left on the surface | Easier to bury in each branch |
| Fixing a dark area | Move one section or add a short strand | Rework a loop or nearby branch run |
When the vertical method is the better choice
Choose vertical lighting when you want to finish quickly, when the artificial tree has clear hinged branch layers, or when you expect to adjust the ornaments after the lights are in place. Each section acts like a manageable lane. You can pull a few bulbs toward the front for sparkle, push others toward the trunk for depth, and see the effect without walking around the whole tree after every adjustment.
The vertical layout also makes replacement less frustrating. If a strand fails and the problem is isolated to one lane, you can unplug that section and replace it without dismantling every loop on the tree. The trade-off is that the wires can be more visible, especially before ornaments cover them, so the weaving step matters.
When the spiral method is easier
Use the horizontal spiral when you are lighting a real tree with unpredictable branch spacing, when you want the most traditional look, or when your strand’s plug and end connector make a bottom-to-top wrap natural. The continuous route follows the tree’s changing width and can be easier to judge on a full, asymmetrical evergreen.
The spiral method is not automatically less professional. Work from the base upward, keep the cord close to the trunk rather than tossing it over branch tips, and vary the depth of the bulbs so the tree glows from inside as well as at the edge. A slower method is often the easiest method when it prevents a second installation later.
Estimate bulbs and strands before you start
Use about 100 bulbs per foot of tree height as a starting point, then adjust for branch density, bulb spacing, the method you choose, and how bright you want the finished tree. That means roughly 400 bulbs for a 4-foot tree, 600 for a 6-foot tree, 700 for a 7-foot tree, and 800 for an 8-foot tree. These are starting estimates, not an electrical permission slip or a promise of a particular look.
| Tree height | Starting bulb estimate | What may change the number |
|---|---|---|
| 4 feet | About 400 | A tabletop tree may need fewer visible bulbs; a dense tree may need more. |
| 6 feet | About 600 | Vertical sections can look full with fewer visible passes on the back. |
| 7 feet | About 700 | Wide lower branches and a bright display may call for extra coverage. |
| 8 feet | About 800 | Check ladder safety and the manufacturer’s connection limit before adding strands. |
Count bulbs and strand length separately. Two 100-bulb strings can have different spacing and total cord length, so a bulb count alone will not tell you whether the last plug reaches the outlet. Lay the strands on the floor, read the package for the lighted length, and leave a little slack for the path from the outlet to the tree.
For the vertical method, plan by sections rather than trying to force one strand to cover the entire tree. A six-foot tree might be divided into three to five front-facing lanes depending on fullness and strand length. If the tree is against a wall, you may light the visible three-quarters more densely than the hidden back, but do not leave a reachable damaged or loose connection behind it.
Prep the tree, lights, and outlet
Fluff an artificial tree completely before lighting it. Open each branch tier and pull inner tips outward so you can see the trunk area; lights placed on a compressed tree will look sparse once the branches are opened. For a real tree, let the branches settle after transport, make sure the stand is stable, and keep the tree away from fireplaces, radiators, heating vents, and other heat sources.
Put the tree close enough to the outlet that the cord will not cross a walkway. If you need an extension cord, use one rated for the intended location and load, inspect it for cuts or fraying, and keep it behind the tree where it will not be pinched by furniture. Do not solve a short cord by stretching it tight across a room.
Gather a low step ladder or platform if the tree is tall, a timer or smart plug if you want automatic shutoff, and a few purpose-made clips if the branches will not hold the wire. Avoid nails, staples, and sharp improvised fasteners. If children or pets can reach the lower branches, keep plug connections and excess cord behind the tree and choose a layout that does not create a loop they can pull.
Test every strand before hanging it
Plug in each strand while it is still on the floor. Check every section of bulbs, the plug, the end connector, and any inline controller. Testing first prevents the classic mistake of discovering a dead half-string after it has been woven through the upper branches.
With the strand unplugged, inspect for broken or cracked sockets, frayed insulation, bare wire, loose connections, melted plastic, or a plug that feels damaged. The U.S. Consumer Product Safety Commission’s holiday decorating guidance says to throw out damaged sets, use lights tested by a nationally recognized laboratory, and check extension cords for condition and intended use. Do not attempt a decorative repair with electrical tape if the conductor or socket is compromised.
Read the package before connecting strands. Follow the manufacturer’s maximum number of connected sets and the replacement-bulb specification; do not assume that a low-wattage LED string makes every connection combination safe. Current CPSC holiday guidance specifically warns against connecting more than three sets of incandescent lights and against overloading electrical outlets.
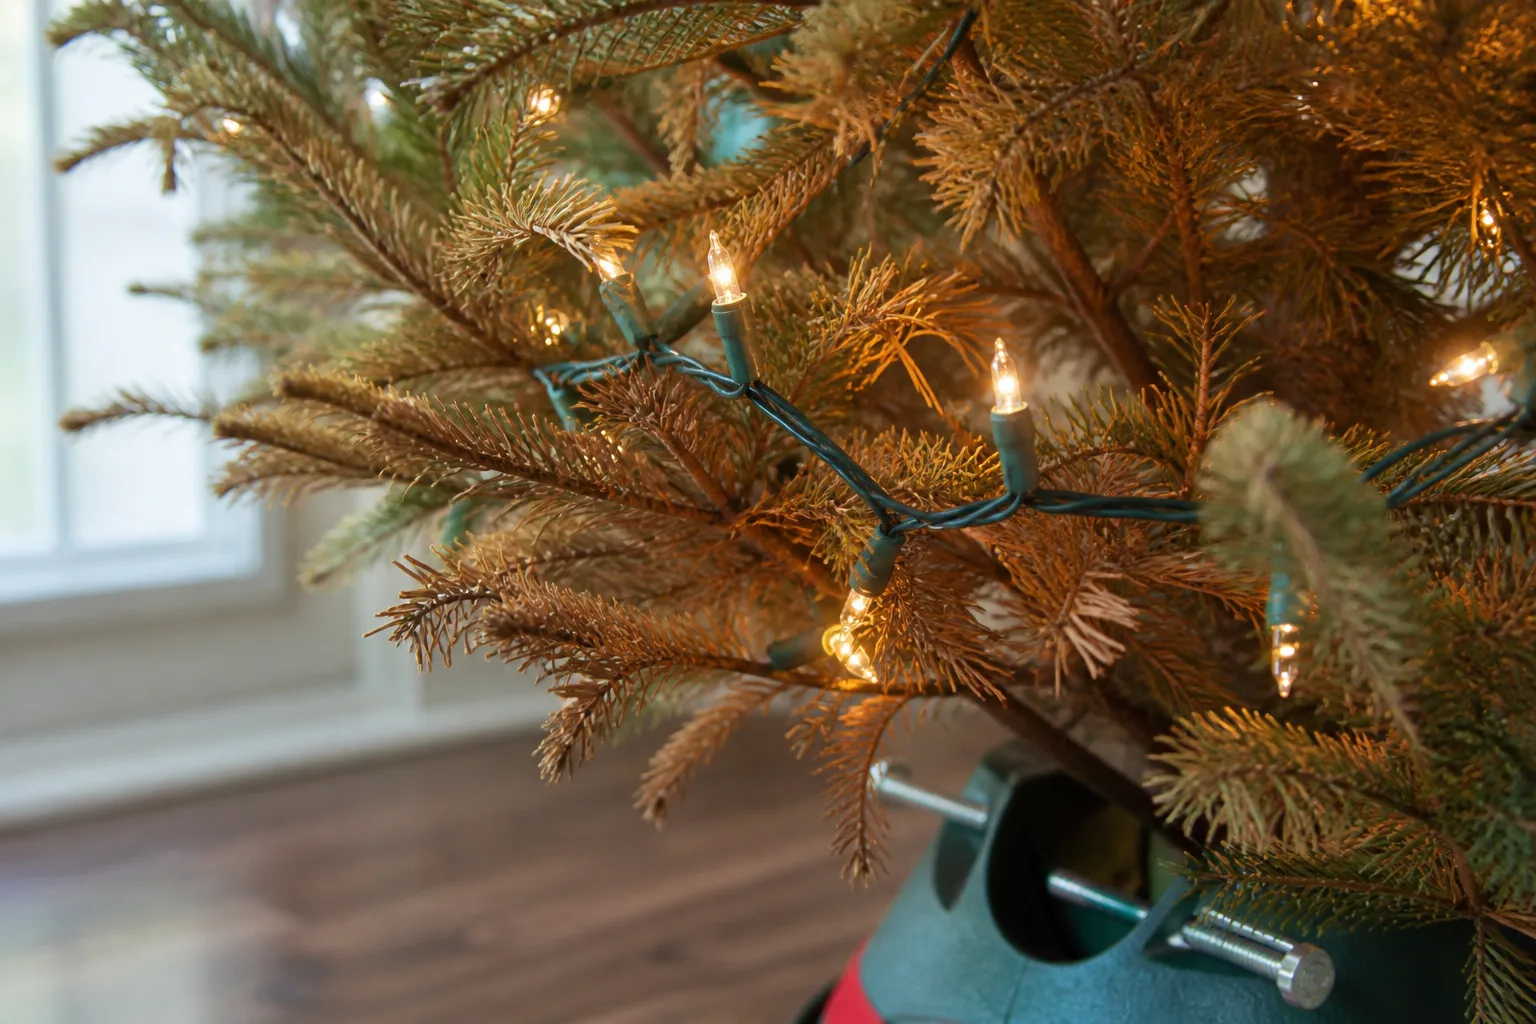
Use the vertical method step by step
The vertical method is easiest when you treat the tree as a series of narrow, slightly overlapping panels rather than one giant cone. Keep the strand relaxed. Bulbs should sit where you can see them, while the wire rests in the branch structure instead of pulling hard against it.
Divide the tree into working sections
Stand in front of the tree and imagine three to five vertical sections from the top point to the widest lower branches. A slim tree may need three; a broad, full tree may need five or more. If the tree will sit in a corner, make the visible front and sides your first priority, but leave enough light to make the silhouette look finished from the room’s normal viewing angles.
Start the first strand at the bottom near the trunk, close to the outlet or extension-cord connection. Leave only the amount of slack needed to hide the lead behind the tree. Run the strand upward through the first section, then back down through the adjacent strip. If your strand’s connector is at the top and the manufacturer’s instructions require that orientation, begin at the top and work down; the section pattern is more important than the direction.
The vertical method is often described as “zigzag,” but it should not create a tight ladder of straight wires on the surface. The strand should travel in and out of the branches so bulbs land at different depths. That is what creates dimension instead of a flat outline.
Weave from the trunk to the branch tips
On the upward pass, begin near the trunk, bring the strand toward a branch tip, then return it toward the center before moving to the next branch. On the downward pass, use the neighboring branch run. Keep the columns roughly even, but do not measure every gap with a ruler; the tree’s natural branch tiers should decide where a bulb belongs.
As you work, place some bulbs about halfway between trunk and tip and let a smaller number sit near the outer tips. Inner bulbs create the glow that makes the tree look lit from within, while outer bulbs outline the shape and catch ornaments. This inside-out approach is also recommended in practical guidance from Martha Stewart’s tree-lighting experts and Real Simple’s professional decorating guide.
Do not bury every bulb deep in the tree. If the lights disappear when you step back, bring a few forward; if the tree looks like a glowing outline with a dark center, move several bulbs inward. Keep the wire loose enough that the branch tips are not bent sharply and the sockets are not pressed against a hot bulb or pinched between rigid parts.
Connect strands and fill the final gaps
When the first strand ends, connect the next only if the packaging allows that connection. Keep each connector at the back or inside the tree, but leave it accessible enough to unplug later. If a connector hangs in a visible dead zone, tuck it behind a sturdy branch rather than wrapping it tightly around the trunk.
Continue section by section, overlapping the edge of the previous lane slightly so the tree does not develop dark vertical seams. Stop when the whole tree has a calm, even glow. It is usually better to move ten bulbs from a bright area into a dark area than to add a whole new strand immediately.
Turn off the room lights and take three steps back. Look at the tree from the doorway, the sofa, and any side angle guests will see. Mark the dark areas mentally, unplug the affected strand if you need to move the wire, and adjust one section at a time. Never rearrange bulbs or replace bulbs while the string is energized.
Use the horizontal method when you need branch-by-branch control
For a spiral, start at the bottom near the outlet and work upward in a loose, irregular wrap. Do not make perfect rings around the tree. Instead, push part of each loop toward the trunk, bring part toward the branch tips, and vary the depth as the tree widens and narrows.
On each pass around the tree, look for a branch that is hiding the wire or creating a hole. Thread the cord behind that branch and bring only the bulbs into view. When the strand ends, connect the next at the back if permitted, then continue upward. Keep the plug and connection from resting against a heat source or dangling where it can be snagged.
The horizontal method takes longer because you circle the tree repeatedly, but it can be forgiving on a real tree with uneven tiers. If the branches angle in different directions, a spiral follows those changes more naturally than a strict vertical panel. It also lets you handle one branch at a time when the tree will be viewed from every side.
Hide wires while creating depth
The most convincing tree lighting has at least two depths: light near the trunk and light near the outer branch tips. If every bulb sits at the edge, the tree can look like a bright cone with a hollow center. If every bulb sits deep inside, the branches may swallow the glow once ornaments are added.
Work from the inside out. Tuck the main wire into the branch structure, then pull individual bulbs forward only where they need to be seen. A small branch can hold a loose wire in place, but do not force a brittle branch over the cord or wrap the wire so tightly that it strains the insulation.
Leave space for ornaments. The lights go on before garland, ribbon, and baubles, but the final test should happen after the tree is decorated too. A large ornament may cover a cluster of bulbs; move the cluster to the side rather than placing another strand directly on top of it. When the wire is still visible, use a matching clip or twist tie designed for decorating, not a metal staple.
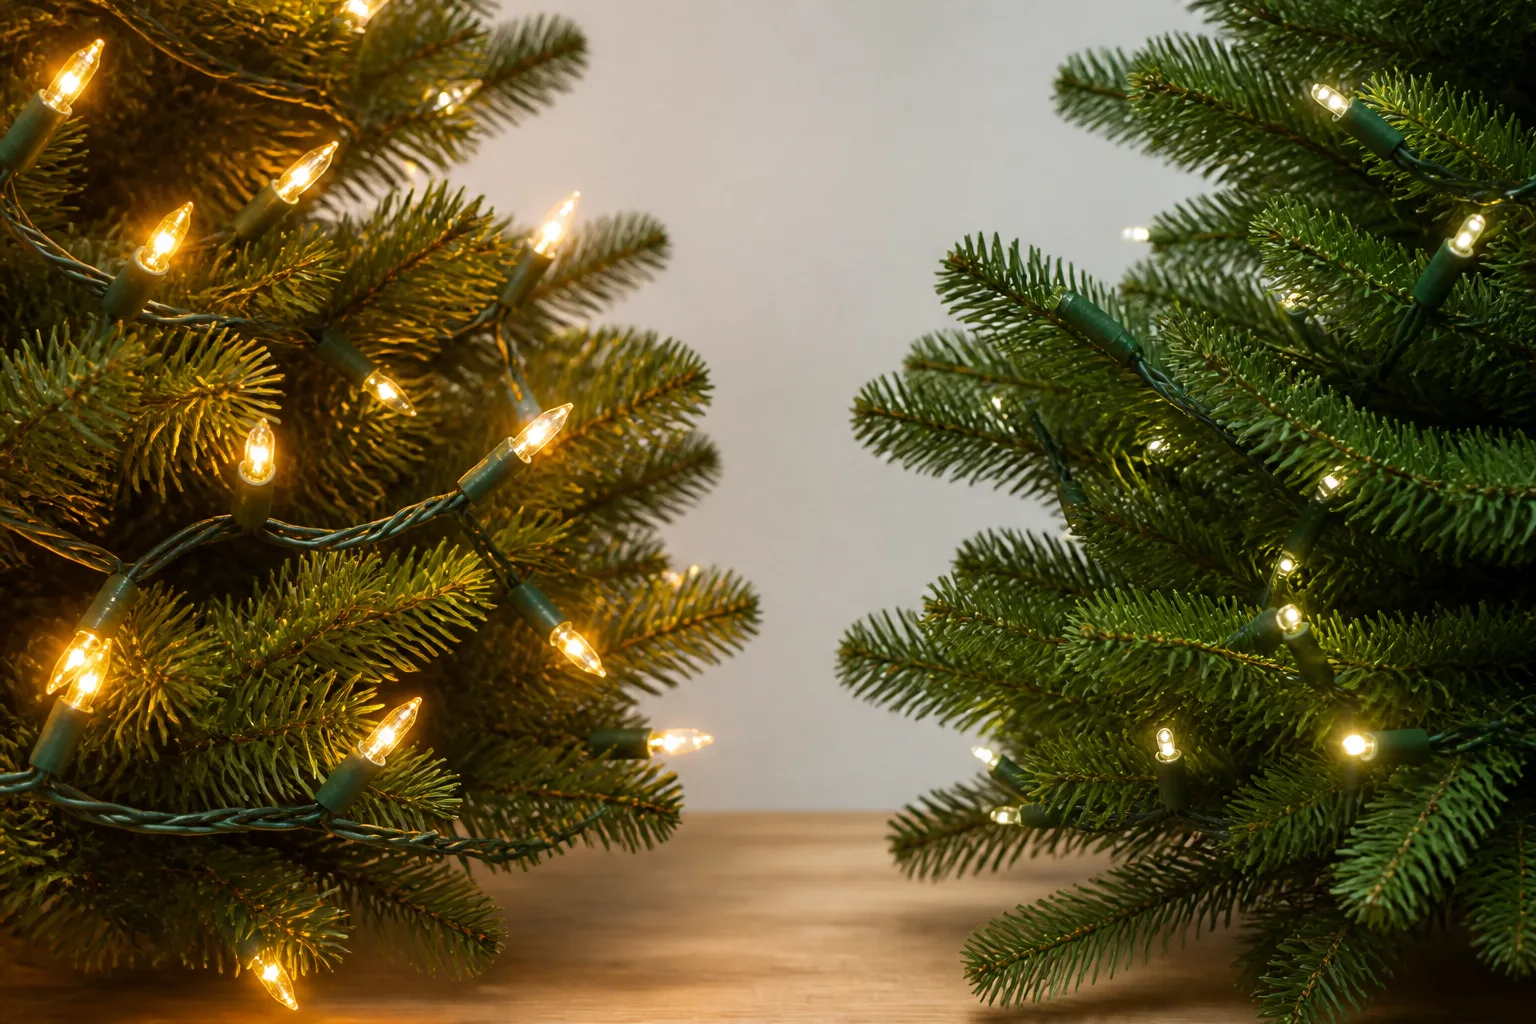
Adjust the method for real, artificial, and pre-lit trees
Real trees: Let the branches settle, keep the stand filled according to the tree seller’s care instructions, and check water levels regularly. A fresh, hydrated tree is still combustible, so lighting does not replace sensible placement. The NFPA’s Christmas-tree fire research found that electrical distribution or lighting equipment was involved in 44 percent of home Christmas-tree fires in its 2016–2020 analysis, while electrical failure or malfunction was a contributing factor in 34 percent. Those figures are a reason to inspect and shut off lights, not a reason to skip a careful display.
Artificial trees: Fluff each hinged section first. Vertical lanes work especially well because the branch tiers give you natural places to run the strand between the center and outer tips. If the tree is labeled fire resistant, treat that as increased resistance, not as permission to ignore damaged cords, heat sources, or manufacturer limits.
Pre-lit trees: Turn on the built-in system and learn which plug controls each section before adding anything. Add a separate strand only to fill a deliberate gap or change the color temperature, and keep the original wiring accessible. Do not remove built-in lights, cut their wiring, or assume that layering more lights means the tree can support unlimited connections.
Metallic trees: Do not use electric lights on a metallic tree. CPSC warns that a fault can energize the metal and create an electric-shock hazard. Use a lighting approach specifically intended for that product, such as a separate light source positioned away from the metal, and follow the tree’s instructions.
Outdoor trees: Use only lights and extension cords labeled for outdoor use, protect connections from moisture, and plug outdoor displays into GFCI-protected receptacles. NFPA’s holiday-lighting guidance recommends inspecting lights and cords for physical damage and paying attention to approved listing marks and GFCI protection. Indoor-only lights do not become outdoor-safe because they are placed under a porch.
Fix dark spots, dead sections, and uneven brightness
Dark spot near the trunk: Move two or three bulbs inward on the next pass. If the wire is already tight, unplug the strand and loosen a short section rather than pulling the whole lane.
Bright outline but dull center: You are lighting the branch tips only. Push selected runs back toward the trunk, then bring a few bulbs forward so the depth looks intentional.
A whole vertical lane is dark: Unplug the set and test it on the floor. If the strand is damaged, has a loose connection, or still fails after the manufacturer’s permitted bulb replacement, discard it. Do not keep a suspect strand in the tree because only a few bulbs are out.
One bulb is out: Unplug first, then follow the set’s instructions for a replacement bulb with the correct rating. If multiple bulbs are dark, the plug is warm, plastic is melting, or the strand flickers when moved, stop using the set rather than repeatedly changing bulbs.
The wire shows between every column: Move the wire deeper into the branch layers and vary the zigzag width. Add ornaments after the lighting is even; do not use decorations as the only way to hide a cord that is poorly placed.
The last connector will not reach: Stop and re-plan the section. Use a rated extension cord or a different strand layout if the product instructions allow it. Never stretch a cord, run it under a rug, or leave a connection across a walkway.
Finish with a safety check
Before decorating around the lights, confirm that the tree is stable, the cord is not a trip hazard, and no bulb or connector is pressed against a heat source. Keep the tree away from fireplaces, radiators, and heating vents. If you use a ladder, keep it on level flooring and ask another adult to steady it; do not lean sideways from the top step.
Use lights tested by a recognized testing laboratory and choose the indoor or outdoor rating that matches the location. Follow the package limit for connected sets, especially if using incandescent lights. Avoid mixing strands with incompatible controllers or replacing a bulb with one that has a different rating.
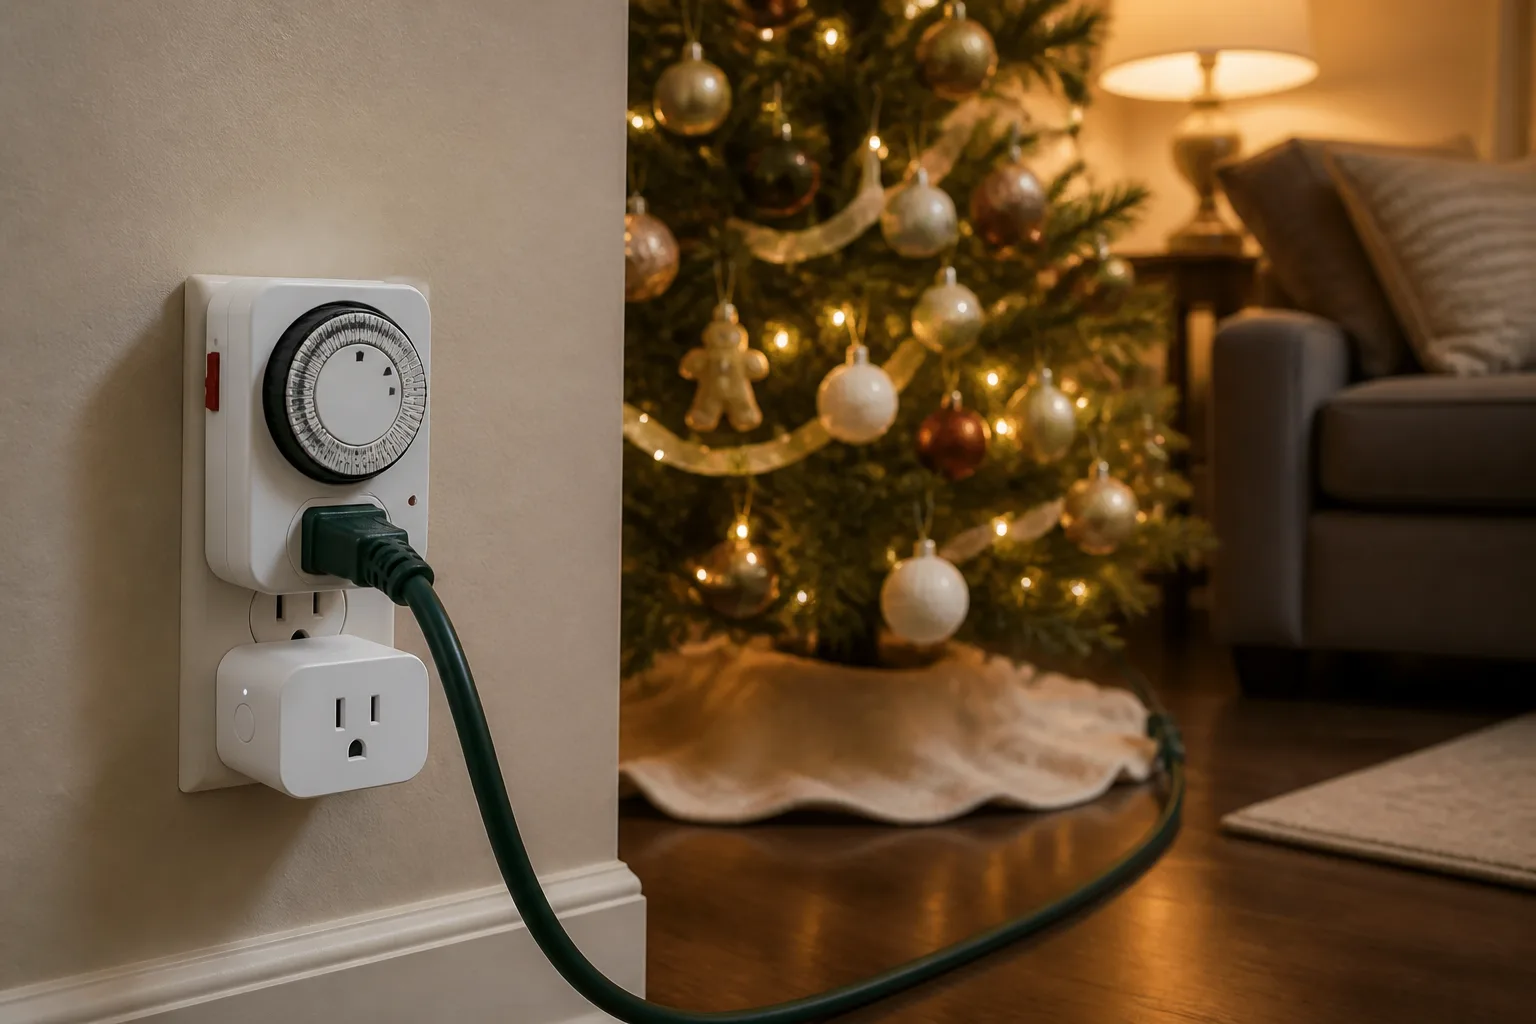
Turn the lights off before going to bed or leaving home. A timer or smart plug can automate that habit, but it does not replace a damaged-cord inspection or a check that the outlet and connections are suitable. For outdoor lights, test the GFCI and keep every connection protected from rain and standing water.
The NFPA’s latest Christmas-tree safety release notes that 35 percent of U.S. home fires involving Christmas trees occur in January and recommends prompt removal after the season. That is a useful reminder that the safest lighting plan includes a take-down date, especially for a real tree that is drying out.
Remove and store the lights for next year
Unplug by gripping the plug, not by pulling the cord. Remove ornaments and garland first so they do not snag the wires, then unwind the lights in the reverse order of installation. For vertical lighting, take down one lane at a time; for a spiral, work from the top toward the base while supporting the strand so it does not drag through the branches.
Inspect each string again as you remove it. Discard sets with loose connections, broken sockets, cracked or bare wires, melted sections, or recurring failures. The NFPA’s post-holiday guidance recommends checking strings as they are packed, wrapping them around cardboard or a reel, and storing electrical decorations in a dry place away from children and pets.
Wrap each strand separately, label it by length or location, and keep replacement bulbs with the set they fit. Do not compress lights into a tight ball. A flat reel, cardboard strip, or divided storage box reduces knots and makes next year’s testing routine faster.
Conclusion: light the tree for the way you actually use it
For most indoor trees, the vertical zigzag is the easiest starting point: test the strands, begin near the outlet, work in tall sections, weave from trunk to tips, and adjust after stepping back. Choose the spiral when a real tree’s irregular branches make sectioning awkward or when you prefer a classic continuous wrap.
The best-looking display is not the one with the most bulbs. It is the one with even depth, reachable connections, a safe power plan, and a clear shutoff routine. When you inspect every strand, respect the product limits, keep a real tree hydrated and away from heat, and store the lights carefully, decorating becomes a short setup instead of a yearly tangle.



