How to Remove Grass in 3 Steps: Choose the Right Method
Learn how to remove grass in 3 steps: plan the finished surface, choose a method for your timeline, then prepare the ground and stop turf from creeping back.
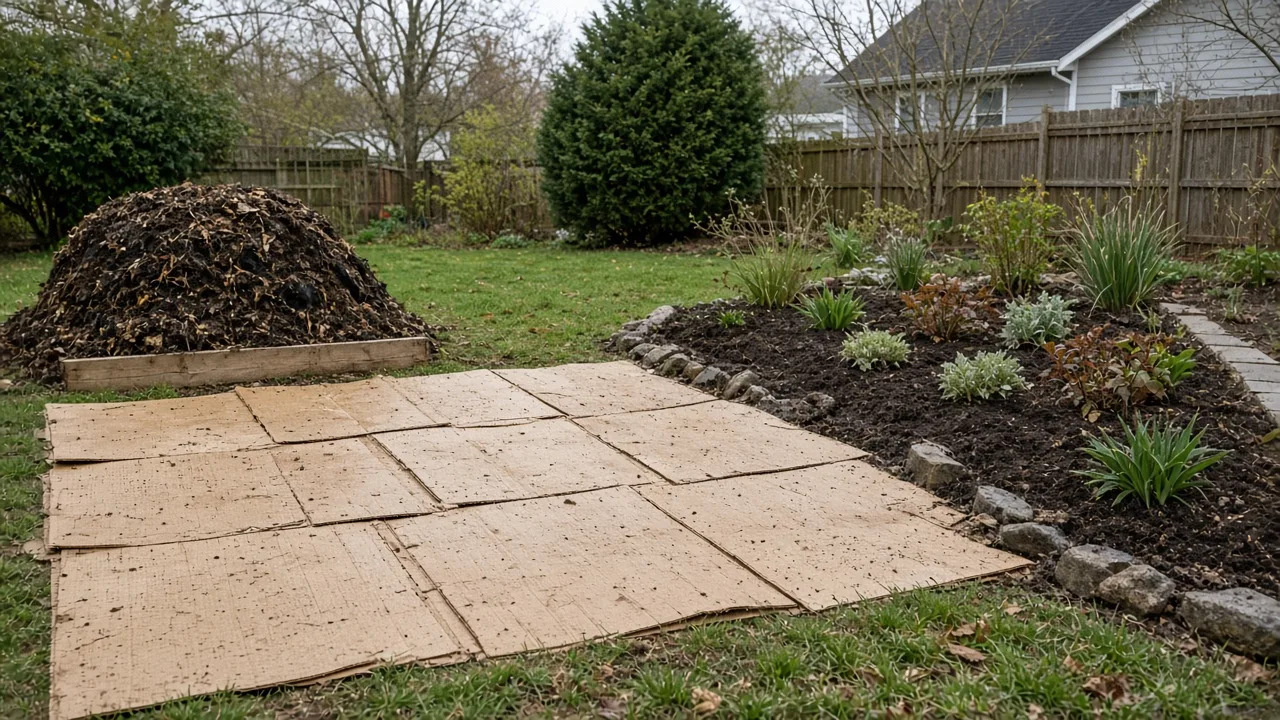
The right way to remove grass depends on what the space will become and how soon you need it ready. A small patch for a path can be cut and lifted in an afternoon; a future garden bed may be easier to cover for several months; and a large lawn that will become gravel needs careful grading after the turf is gone. Choose the method before you start moving soil, and you can avoid doing the same work twice.
Use this three-step sequence: plan the finished surface, remove the turf with a method that fits your area and deadline, then prepare and monitor the exposed site. The green blades are only part of the job. Grass can survive in its root mat or creep in from the edges, while over-digging can strip away useful topsoil. The goal is not simply bare ground; it is a stable, usable surface with a realistic plan for regrowth.
Step 1: Define the finish line before removing turf
Start by deciding what replaces the lawn. A planting bed needs a soil surface that can support roots; a walkway or gravel area needs a stable base and planned drainage; a low-water yard might keep some lawn and convert only the unused sections. This decision controls removal depth, timing, and whether it is acceptable to leave the grass in place beneath a temporary cover.
Match site preparation to what will replace the grass
For a small bed or a few planting pockets, removing the sod gives immediate access and lets you adjust the soil where each plant will grow. If the new bed is broad and planting can wait, sheet mulching can suppress turf while organic material breaks down. Penn State Extension describes the bed resting for a few months and says four to six months is usually sufficient; in its northeastern example, fall installation allows the bed to rest over winter for spring planting. That is a useful planning range, not a promise that every grass dies on a fixed date (Penn State Extension’s sheet-mulching guidance).
For pavers, a shed pad, or gravel, smothering is only one phase: the finished surface may require excavation, compacted base material, and a slope that moves water away from buildings. Removing turf does not automatically create that base. Measure from nearby thresholds and paving before you cut so the final surface does not end up too high, too low, or funneling runoff toward a foundation.
You may not need to remove every square foot of grass. Penn State Extension describes several turf alternatives, including native meadows, no-mow grasses, and mixed plantings; it also advises checking local ordinances before establishing a meadow. A smaller conversion can protect play or walking areas while reducing the footprint that needs removal (Penn State Extension’s turfgrass alternatives).
Mark the footprint, grade, and hazards
Lay a garden hose along a curved bed edge or use stakes and string for a straight boundary. Walk the outline from the house and yard so the shape makes sense from both viewpoints, then mark it where the line will remain visible. Keep a strip of accessible working room around existing shrubs, tree trunks, drains, and irrigation equipment instead of cutting right up to them.
Observe the area after rain or irrigation. Note where water stands, where it runs quickly, and whether the soil is compacted. A new bed can be harmed by runoff even if you remove the grass perfectly, and a gravel area can become a puddle if the grade is ignored. If the site is persistently wet, address the drainage cause before layering soil or mulch over it.
Before digging, locate buried utilities and shallow irrigation lines. In the United States, request a utility locate through 811 before excavation; elsewhere, use the local service for marking underground lines. A spade is a hand tool, but it can still damage a shallow cable or pipe (Call811’s before-you-dig guidance). Flag sprinkler heads and lighting wire and use a trowel near any line you cannot identify.
Test the soil near the area you plan to plant rather than adding a generic pile of compost or fertilizer. The right amendment and planting depth depend on the intended plants and existing soil. If the lawn has an unknown chemical history or the future bed will grow food, a local soil test can give you more useful direction than trying to correct the site by guesswork.
Step 2: Choose a removal method that fits the deadline
Compare methods by four things: area, time available, physical effort, and how much soil disturbance the next project can tolerate. “Easiest” changes with the deadline. Sheet mulch involves little lifting but needs months; hand cutting can clear a small patch now but is strenuous; a sod cutter saves time across open ground but is a machine that must be operated and unloaded safely.
| Method | Best fit | When the site may be ready | Main trade-off |
|---|---|---|---|
| Hand-cut sod | Small patch; immediate access | Same day, after raking and any needed grading | Labor and some soil move with the turf |
| Sod cutter | Larger, open area; quick clearance | Same day, after cleanup and surface preparation | Rental, handling, and heavy sod disposal |
| Sheet mulch | Future garden bed; no hurry | Usually months; Penn State gives four to six months as a typical rest | Seams and edges need to stay covered |
| Solarization | Sunny site during a hot season | Several weeks or longer, depending on conditions | Climate-dependent; clear plastic is not a general-purpose tarp |
High Country Gardens and American Meadows compare removal approaches by project size, time, equipment, and effort. That is the useful way to make this decision: consider the whole job, including cleanup and next use, rather than choosing the method with the shortest headline timeline (High Country Gardens’ lawn-removal methods; American Meadows’ planting-preparation guide).
Lift sod by hand for a small, urgent area
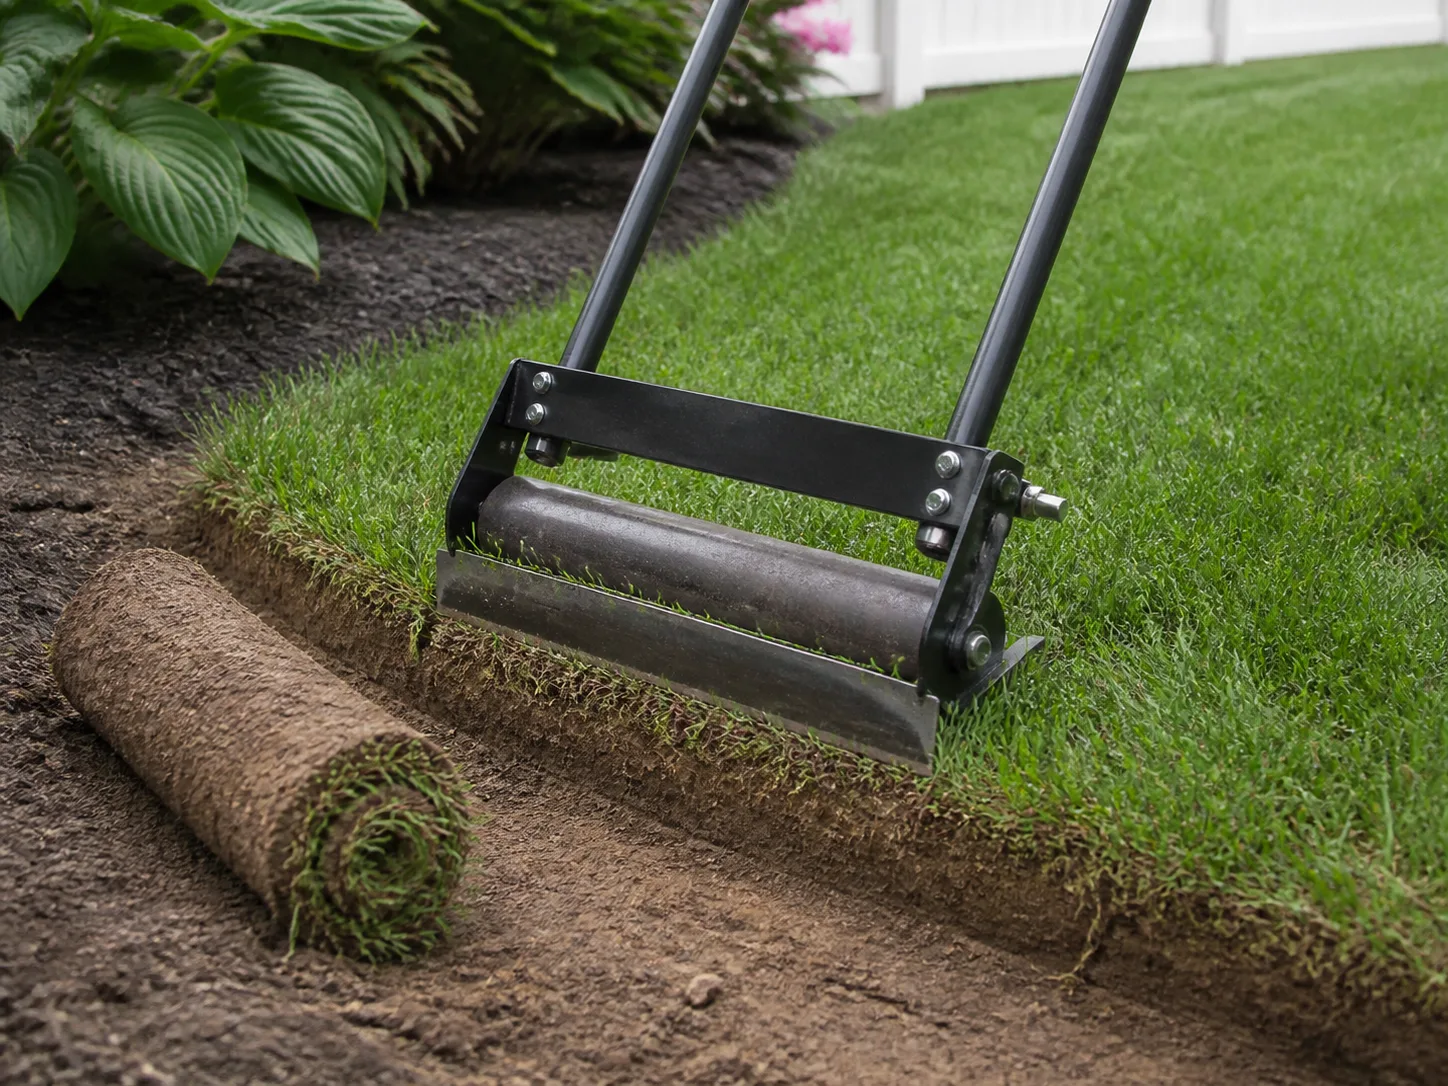
Hand removal works well for planting pockets, narrow borders, and small patches where machinery would be awkward. Mow the turf if needed, then cut it into manageable strips or squares with a sharp flat-bladed spade. Make a clean perimeter cut first so the remaining lawn has a defined edge, then slide the blade under the root mat with short, controlled strokes.
Keep the blade shallow enough to remove the roots and thatch without lifting a thick layer of good soil. If the sod is hard to separate, recut underneath instead of levering up a heavy block. Turn each piece over and shake or scrape loose earth back onto the site; this keeps the load lighter and preserves topsoil. A wheelbarrow or tarp should be close enough that you are not carrying wet turf across the yard.
Work in sections you can safely lift. Wet sod is heavier, while very dry or compacted ground can make a spade bind and slip. Wear sturdy shoes and gloves, keep hands clear of the blade, and stop when tiredness makes your footing or cuts less controlled. For a patch larger than you can manage comfortably, a sod cutter or staged sheet mulch is more sensible than trying to finish it in one exhausting session.
Use a sod cutter when the area is larger
A rented sod cutter can remove turf more evenly than hand digging across a broad, relatively open lawn. It is useful when you need a bare surface quickly and can handle the rolls or strips it produces. Check the rental instructions, confirm the machine suits the slope and soil, and identify irrigation heads, cables, tree roots, and buried lines before starting.
Make a short test pass and inspect how much soil comes up with the grass. Adjust the cutting depth so the blade removes the root mat without stripping an unnecessary layer of topsoil. Keep hands and feet away from the blade and follow the machine’s operating instructions; a powered cutter is heavy and can be difficult to steer around curves, roots, and narrow borders.
Plan disposal before cutting. Sod rolls are awkward and may be heavy, especially when moist. Clean pieces can sometimes be reused on another part of the property if they are laid onto prepared soil and watered promptly. Turf containing aggressive runners or weeds should not be casually spread elsewhere. Check local green-waste rules, and avoid placing live turf into a cool compost pile where it might survive.
Sheet mulch where waiting improves the bed
Choose sheet mulching when the future surface is a planting bed and you can leave it resting. Mow the grass short, remove plastic tape and staples from corrugated cardboard, and overlap the sheets enough that no light reaches the seams. Penn State Extension’s demonstration uses overlaps of about eight to ten inches, wets the material while laying it, and covers the cardboard with four to six inches of natural mulch. It notes that the bed should rest for a few months before planting (Penn State Extension).
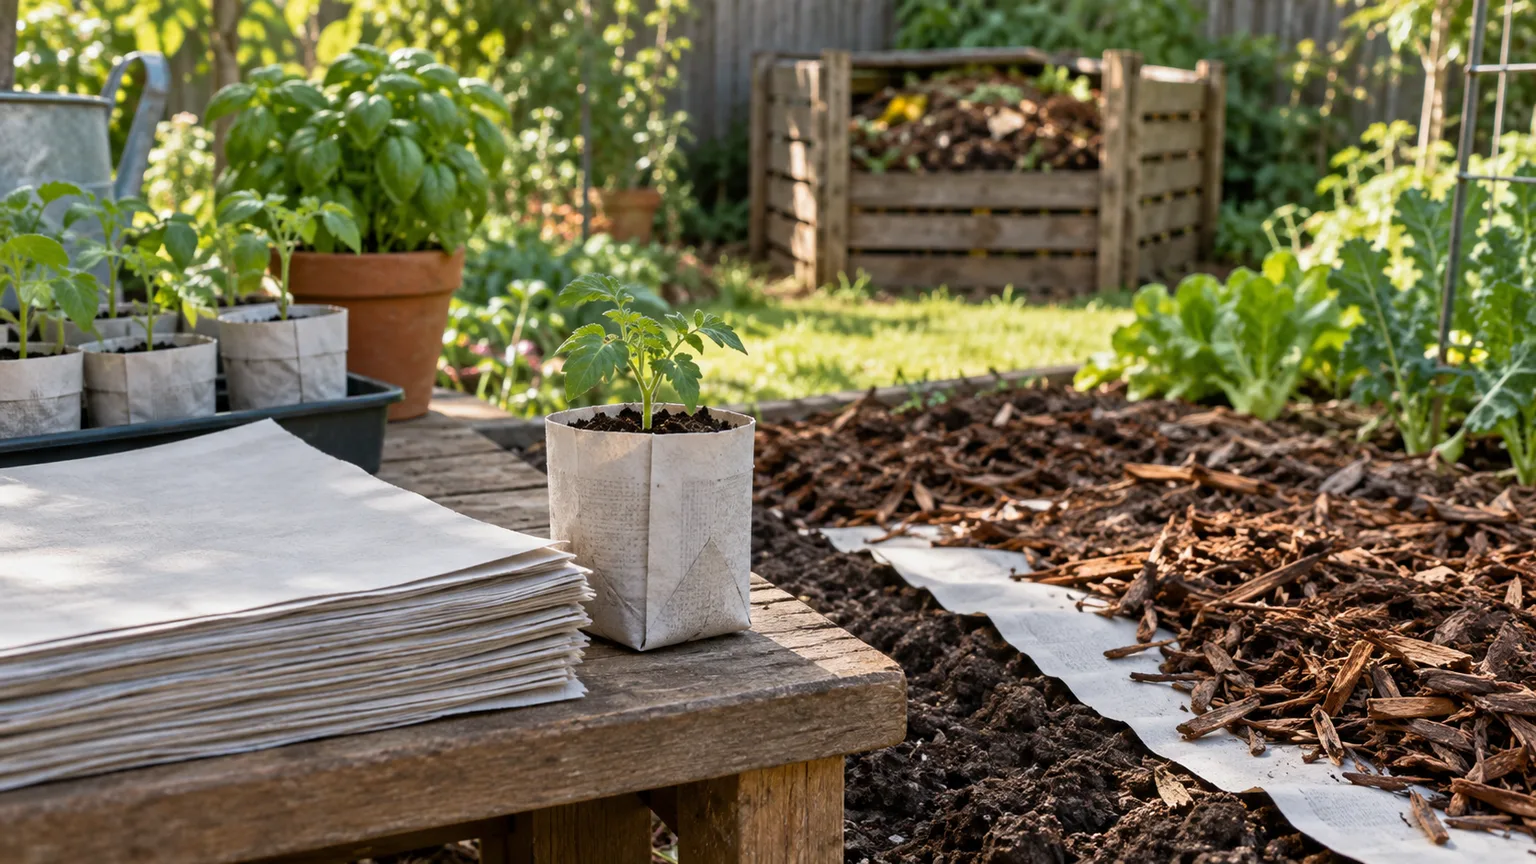
Use plain cardboard or newspaper without glossy inserts, and keep the layers damp while you work so they settle rather than shifting in the wind. Tuck edges into the bed boundary where practical. Choose clean mulch that suits the garden; leaves, pine needles, grass clippings, bark, and wood chips are among Penn State’s examples. The material will settle as it decomposes, so do not assume that the initial depth remains unchanged.
The key to success is complete coverage, not simply piling material on top. If the sheets separate, turf can continue growing through a light gap. Check the perimeter after wind and heavy rain, and patch exposed seams before grass has time to reestablish. When planting, pull the mulch aside and set roots into soil, not into a loose layer of wood chips or leaves. If you need a bed ready this week, this is the wrong method for that deadline.
Solarize only when sun and season cooperate
Solarization traps solar heat beneath clear plastic placed over prepared, moist soil. It depends on sunny weather and adequate heat reaching the soil, so it is most practical during a reliably hot period. An opaque tarp or cardboard blocks light; clear plastic is used for heating. They are different methods and cannot be swapped without changing the mechanism.
Before solarizing, mow and clear debris that could lift or puncture the cover, moisten the ground, and seal the plastic edges as directed by a reliable regional extension guide. Keep the sheet in place for the full recommended period for your climate and target plants, then inspect a test area before planting. In cool or cloudy seasons, beneath dense shade, or when the site needs immediate use, solarization can disappoint. A failed cover period may leave living turf and a bare-looking surface that is not truly ready.
If you are considering solarization to suppress weeds or soil pests as well as grass, check the method’s regional limits; heat penetration and effects vary with the site, soil moisture, season, and target. Do not assume it will eliminate every perennial root or seed. Where you cannot provide the required sun and time, cut the turf or use a well-maintained opaque cover instead.
Treat herbicide as a label-led last option
Some homeowners consider a nonselective herbicide for an area of persistent turf, but it can injure any desirable plant it contacts. The product label determines where and how a specific product may be used, the required protective measures, and when people can re-enter or replant. Follow that label exactly and local rules; do not increase a rate or mix household chemicals in an attempt to speed results.
For a small home-garden conversion, mechanical removal or a properly maintained cover often offers a more direct route without adding pesticide decisions to the project. If a persistent invasive grass makes chemical treatment seem necessary, identify the grass first and consult a local extension office or licensed applicator about an appropriate, legal plan. Avoid spraying near desirable plants, water, or a windy boundary, and do not assume a treated lawn is ready for new planting until the label says so.
Step 3: Finish the site and keep grass from returning
Once the turf is removed or has died under a cover, inspect the surface before planting or installing a hardscape. Rake away loose roots, thatch, stones, and debris. Look for green crowns or runners, especially at edges and sprinkler heads. A site that looks brown on top may still contain living roots, so a short inspection now can prevent a patch from spreading through a new bed.
Clear survivors without overworking the soil
For hand-cut turf, pull or dig visible roots and grass crowns. For smothered areas, uncover a small test patch first; if live growth remains, replace the cover and give it more time or remove the survivors directly. Do not rototill automatically just because the surface looks uneven. Tilling can chop turf into fragments, disturb soil, and bring buried weed seeds closer to the surface; it also adds work if you only need planting holes or a mulched bed.
Level only as much as the next use requires. For a planting bed, loosen compacted spots where roots will go and keep the surface covered with mulch or plants. For a lawn replacement with seeded meadow or groundcover, prepare the seedbed according to the chosen plants’ requirements. American Meadows emphasizes clearing competing grass and weeds and preparing a suitable seedbed before sowing; Penn State Extension also describes meadows as an alternative that needs a plan for establishment and periodic management (American Meadows; Penn State Extension).
Prepare the ground for a bed or hardscape
For a planting bed, use a soil test or the plant’s specific growing requirements to decide whether to add compost or another amendment. More compost is not always better: native plants adapted to lean soils can grow poorly or be crowded out by vigorous weeds if the bed is over-enriched. Preserve the soil you already have, improve only what needs improvement, and make sure water can drain in a way that suits the plants.
For gravel or paving, confirm the excavated depth and base layers required by the surface you plan to install. Landscape fabric is not a substitute for a stable base or a correctly graded site. Keep the finished level below adjacent doors and siding, and maintain drainage away from the house. If the site is sloped or a retaining edge is involved, use the relevant hardscape specifications or a professional rather than guessing at a cut depth.
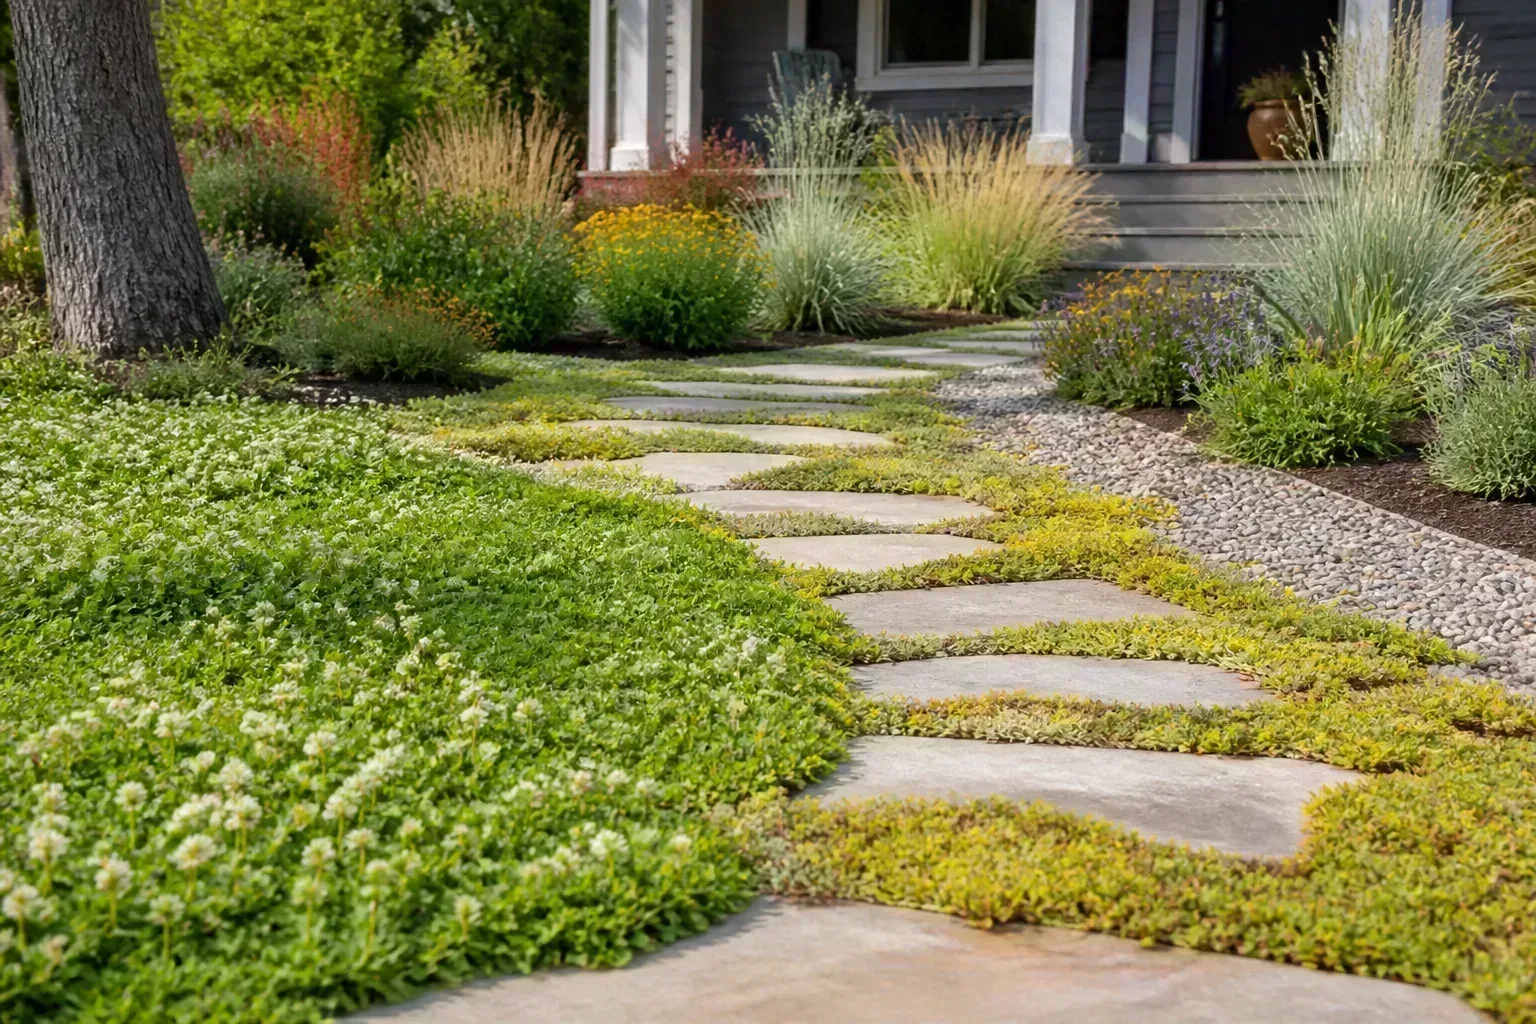
Watch and maintain the boundary
Grass often returns first where the new bed meets the old lawn. Keep that edge visible and easy to inspect. A clean-cut trench, an appropriate physical border, or a maintained mowing strip can make encroachment easier to catch, but no edge removes the need to check for runners. Pull new shoots while they are small, remove the connecting runner where possible, and close any gap in mulch or cardboard.
Check the bed weekly or every other week during the first active growing season, then adjust based on what you see. If one patch repeatedly returns, identify whether it is spreading by surface runners or underground rhizomes; removing only the top growth will not solve a persistent source. Keep new plants watered according to their needs while they establish, and avoid letting the soil remain bare where weeds can seed.
Adapt the plan to spreading grass, slopes, and trees
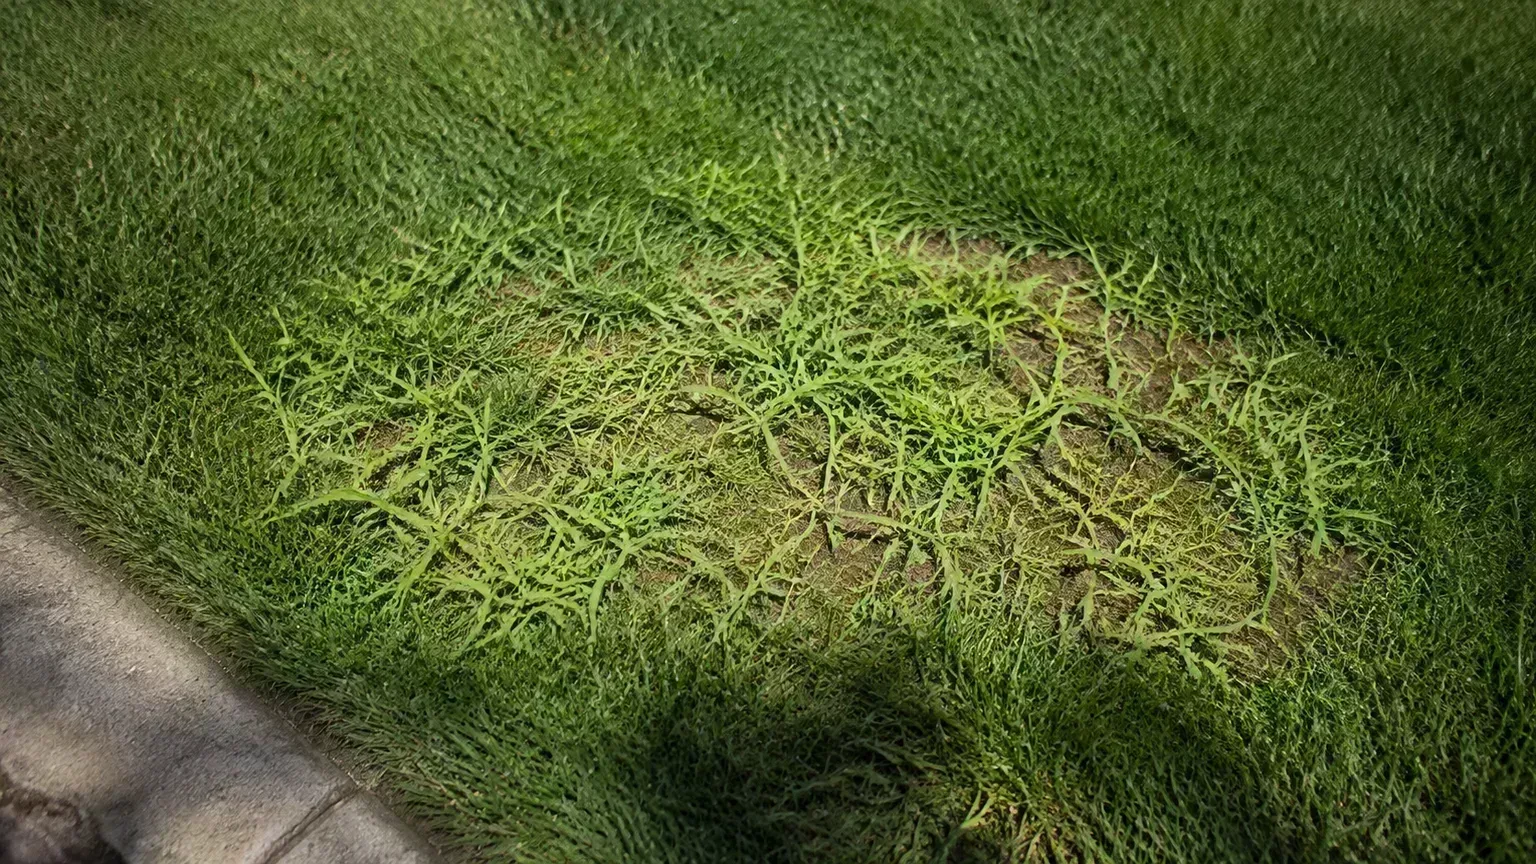
Ordinary lawn turf and aggressive creeping grasses do not respond identically. A dense root mat may lift cleanly, while a spreading grass can send runners beyond the visible patch. If you do not know what is growing, take a sample with leaves and roots to a local extension service or knowledgeable nursery before selecting a one-time removal method.
Give runners and rhizomes extra follow-up
When grass spreads through runners or rhizomes, widen your inspection beyond the visible green edge. Sheet mulch must overlap beyond the boundary, remain weighted, and be checked for growth at seams. With sod cutting, inspect the edge and soil for fragments; with hand digging, remove roots and watch for new shoots. A single pass is less reliable when the grass can creep in again from the surrounding lawn.
On slopes, consider erosion before removing cover. A large bare patch can wash during a storm, and heavy sod-cutting equipment can be difficult to control. Work in manageable sections, keep soil covered as each section is finished, and do not place a loose mulch layer where runoff will carry it downhill. Around mature trees, avoid cutting major roots or changing grade against the trunk; use a lower-disturbance method where feasible and protect the root zone.
Avoid the mistakes that make removal harder
The most expensive mistake is choosing a method by its advertised speed without accounting for the rest of the project. A sod cutter removes turf quickly, but the sod still has to go somewhere. Cardboard is low-labor, but it is not an overnight fix. Solarization may be useful in the right hot, sunny window, but clear plastic in a cool shaded yard will not reproduce those conditions.
Do not remove several inches of soil unless the planned path, patio, or planting design calls for it. The root mat is relatively shallow; extra digging creates a lower bed, moves useful topsoil, and increases disposal. Do not till first and ask questions later: a rotary tiller may break sod into pieces without actually removing the living plants. Do not assume that burying sod in a damp pile or placing a thin layer of mulch over grass will kill every root.
Avoid gaps around the edges of sheet mulch, leaving a tarp loose in wind, and planting into mulch instead of soil. Do not put off drainage or utility checks until after the area is bare. Finally, do not expect grass removal to be permanent without follow-up. The lawn beside the project is still alive, and the first small shoot at the border is easier to remove than a runner established underneath new plants.
Conclusion
Remove grass in three deliberate stages: decide what the finished area must do, choose a removal method that matches your time and site, and prepare the ground while watching for regrowth. Hand-cut a small urgent patch, rent a sod cutter when a large open area must be cleared quickly, or sheet mulch a future bed if you can wait for the process to work. Reserve solarization for the right hot, sunny conditions, and treat herbicides as a product-label decision rather than a shortcut.
Mark the boundaries and buried hazards before digging, take only the soil the project needs, and finish the newly exposed area promptly. When method, timing, and aftercare fit the next use of the yard, you remove less material, avoid unnecessary effort, and give the replacement planting or surface a sound start.



