How to Store Gladiolus Bulbs for Winter
Store gladiolus bulbs (corms) for winter with a practical guide to digging, curing, sorting cormlets, choosing a cool spot, and preventing rot.
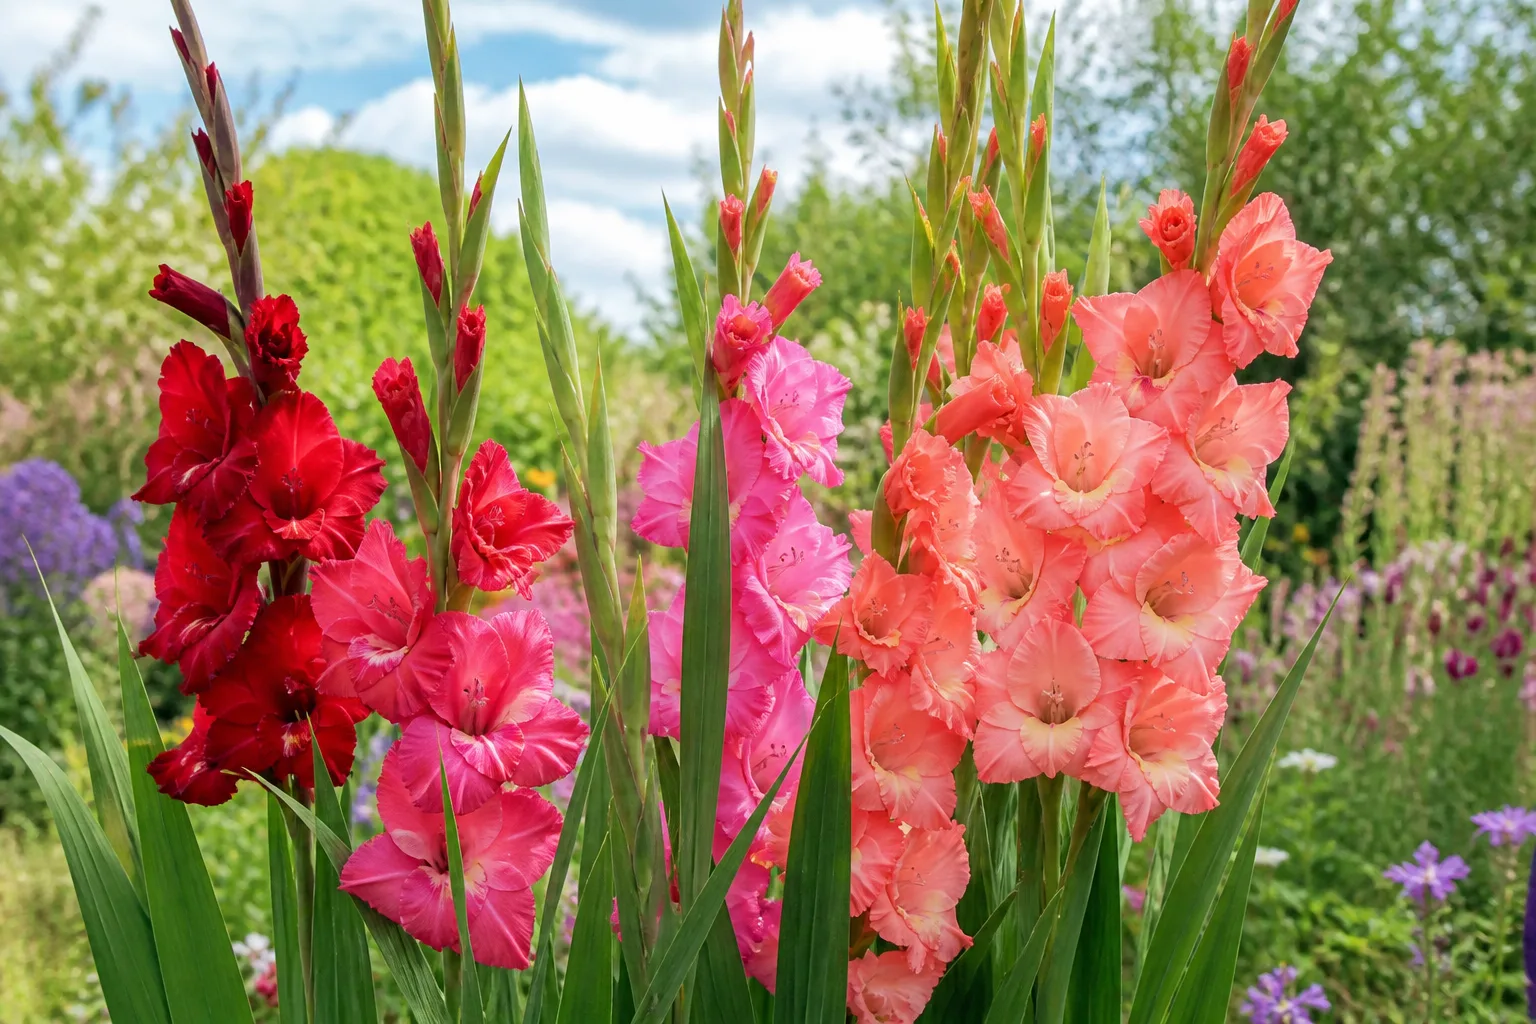
Gardeners often call them gladiolus bulbs, but the rounded structures you lift in fall are corms. In cold-winter areas, most familiar tall garden glads are treated as tender plants: after the foliage has matured, you lift the corms, dry them, remove the spent corm underneath, and store the firm replacements somewhere cool and ventilated until planting weather returns. The goal is to keep them dormant without letting them freeze, rot, or shrivel.
The sequence matters more than a single magic temperature. Dig too early and the new corm may not have finished storing energy; leave it in cold, wet ground too long and frost injury or decay can make it unusable. Then, during winter, a sealed plastic tub or forgotten damp bag can undo careful digging. Here is a practical way to judge timing, handle the corms, and check them before spring.
The short answer: dig, cure, sort, and store dry
Wait until gladiolus foliage is yellowing or brown and the plant has finished its season, then lift the corms before a hard freeze or prolonged wet weather damages them. Let soil dry so you can brush it away, cure the corms in a warm, dry place with moving air for about two to three weeks, and remove the shriveled old corm from the base of each firm new one. Pack the replacements loosely in a breathable container and keep them dark, dry, and cool, generally around 35–45°F (about 2–7°C), checking them at least monthly.
That range is a useful starting point, not a guarantee for every cultivar or storage room. University of Wisconsin–Madison Extension recommends storage at 35–45°F, while Purdue Extension describes storing gladiolus corms around 35–40°F; both stress avoiding freezing and keeping the corms dry. If you have a cultivar sold as hardy for your climate, or garden in a mild region where glads can remain outdoors, check local plant-specific advice before automatically digging every corm (Wisconsin Extension’s tender-bulb storage guide; Purdue Extension’s gladiolus guidance).
What you are storing: a corm, not a true bulb
A gladiolus corm is a compact, solid underground stem with a growing point and stored food. A true bulb, such as a tulip bulb, is layered; a corm is more like a solid swollen stem. Knowing the difference helps explain the fall cleanup: the corm you planted is depleted over the growing season, and the plant forms a newer replacement corm above it. Small cormlets may form around the base as well.
In everyday gardening, “gladiolus bulbs” is common and understandable. On the plant itself, though, the old and new corms can look like a stack, and the old one should not be mistaken for next year’s planting stock. The replacement corm is usually the firm, plump part worth keeping; the lower, older corm shrivels as the season ends. A cormlet is a separate, much smaller structure that can be saved and grown on, but it generally needs more than one growing season before it reaches flowering size (Purdue Extension; Melinda Myers’ guide to storing gladiolus corms).
Choose the right time to dig
Use the plant’s condition and the weather together instead of circling one date on the calendar. The right time can vary with planting date, cultivar, local frost pattern, and how quickly your soil becomes cold or waterlogged. Extension guidance commonly places digging after foliage has matured and around the first frost period, while warning gardeners not to leave frost-damaged corms sitting in the ground for long.
Wait for the foliage to mature
After flowering, leave the green leaves in place. They are still gathering energy and moving it into the replacement corm. If you cut or pull the foliage while it is healthy and green just because the flower spike has faded, you can interrupt that process and end up with a smaller corm that has less stored reserve. Remove spent flower spikes if you like, but keep the leaves until they yellow or brown naturally.
When most foliage has yellowed, the plant is signaling that the growing season is winding down. That is a better cue than the end of flowering by itself. If your plants are still green and a brief light frost is forecast, you may have time to let them finish; if leaves have been killed by frost, do not leave the corms in damp ground for weeks. Wisconsin Extension advises digging tender bulbs soon after frost kills foliage because damaged tissue can become an entry point for rot organisms.
Use frost as a warning, not a date on the calendar
The “first frost” is not identical to a hard freeze in the soil. A light frost on foliage may leave the ground around a corm relatively mild; a sustained freeze, repeated cold wet conditions, or heavy frost that kills the leaves creates a greater reason to act. Look at your forecast and the soil, then dig on a workable day when the bed is not waterlogged.
If a hard freeze is forecast before the foliage has yellowed, protecting the bed briefly may buy time, but do not risk leaving tender corms through a damaging freeze just to wait for perfect foliage color. Lift them carefully and accept that immature corms may store less reliably. In a mild-winter area, or where the cultivar is described as hardy, the decision can be different; local extension or a knowledgeable regional nursery can tell you whether that specific gladiolus can stay in the ground. The generic storage approach is mainly for gardeners who grow tender glads in climates where winter cold threatens the corms.
Lift corms without cutting or bruising them
Choose a dry day if possible. Start with a garden fork or spade several inches away from the stems and loosen the soil around the clump before lifting from beneath. A fork tine driven straight beside the stalk can slice into the corm, so keep the tool away from the plant’s base and raise the soil gradually. If the ground is heavy, loosen from more than one side rather than pulling hard on the stems.
Shake loose soil gently and support the corms as you lift them. Avoid knocking them against a hard surface, scraping away their outer covering, or washing them under a hose. Bruises and cuts create damaged tissue that can decay in storage, and water adds moisture that must later be removed. If several cultivars grow together, lift and label each group separately as you work; it is much easier to keep colors and varieties straight before the corms are mixed on a bench.
Do not worry if a little soil remains attached at first. Set the clumps in a single layer in a dry, airy place until that soil crumbles, then brush it off with your fingers or a soft brush. Purdue Extension notes that corms can be dried briefly after digging before the longer curing period; the practical point is to handle them gently and avoid putting wet soil-covered corms straight into a storage bag (Purdue Extension).
Clean and sort the corms while they are dry
After loose soil has dried, sort corms over a tray or newspaper so you can see their condition. Keep firm, sound replacement corms. Discard any that are soft, leaking, badly cut, deeply discolored, or visibly rotting; one decaying corm can make a closed container damp and put nearby corms at risk. A small superficial mark is different from a soft, spreading lesion, but when in doubt, separate a questionable corm and monitor it rather than storing it against the healthy ones.
Trim foliage and separate the old corm
Use clean pruners or scissors to trim the dry stem, leaving a short stub rather than tearing it away from the corm. The exact top length varies among extension instructions; avoid cutting into the corm itself. After curing, the spent mother corm at the base should be dry and easy to snap or rub off. Remove it then, rather than forcing it off while the corm is fresh and easily damaged. Keep the newer replacement corm above it.
The distinction matters because the old corm is not a second healthy bulb to plant. It has supplied energy to the current plant and is depleted, while the replacement corm matured above it. If the old part clings tightly before curing, leave it attached and return to it later. Pulling aggressively can injure the base of the new corm, where roots and growth begin.
Save sound cormlets separately
Tiny cormlets are easy to overlook among the soil crumbs. Separate firm ones and place them in a labeled paper envelope or mesh pouch of their own; do not mix them with full-size corms, since they dry out faster and can disappear in a pile of larger pieces. Cull soft or moldy cormlets, too. The smallest material may not be worth saving if it is damaged or shriveled beyond recognition.
Cormlets are a low-cost way to increase a planting, but they are a patient gardener’s project. Purdue Extension explains that small cormels need additional growing seasons to reach flowering size. Plant them in a nursery row or pot where you can protect and find them, rather than expecting them to flower beside mature corms the next summer. Label both the variety and year so you know what is growing and how long it has been in the nursery bed.
Cure corms before winter storage
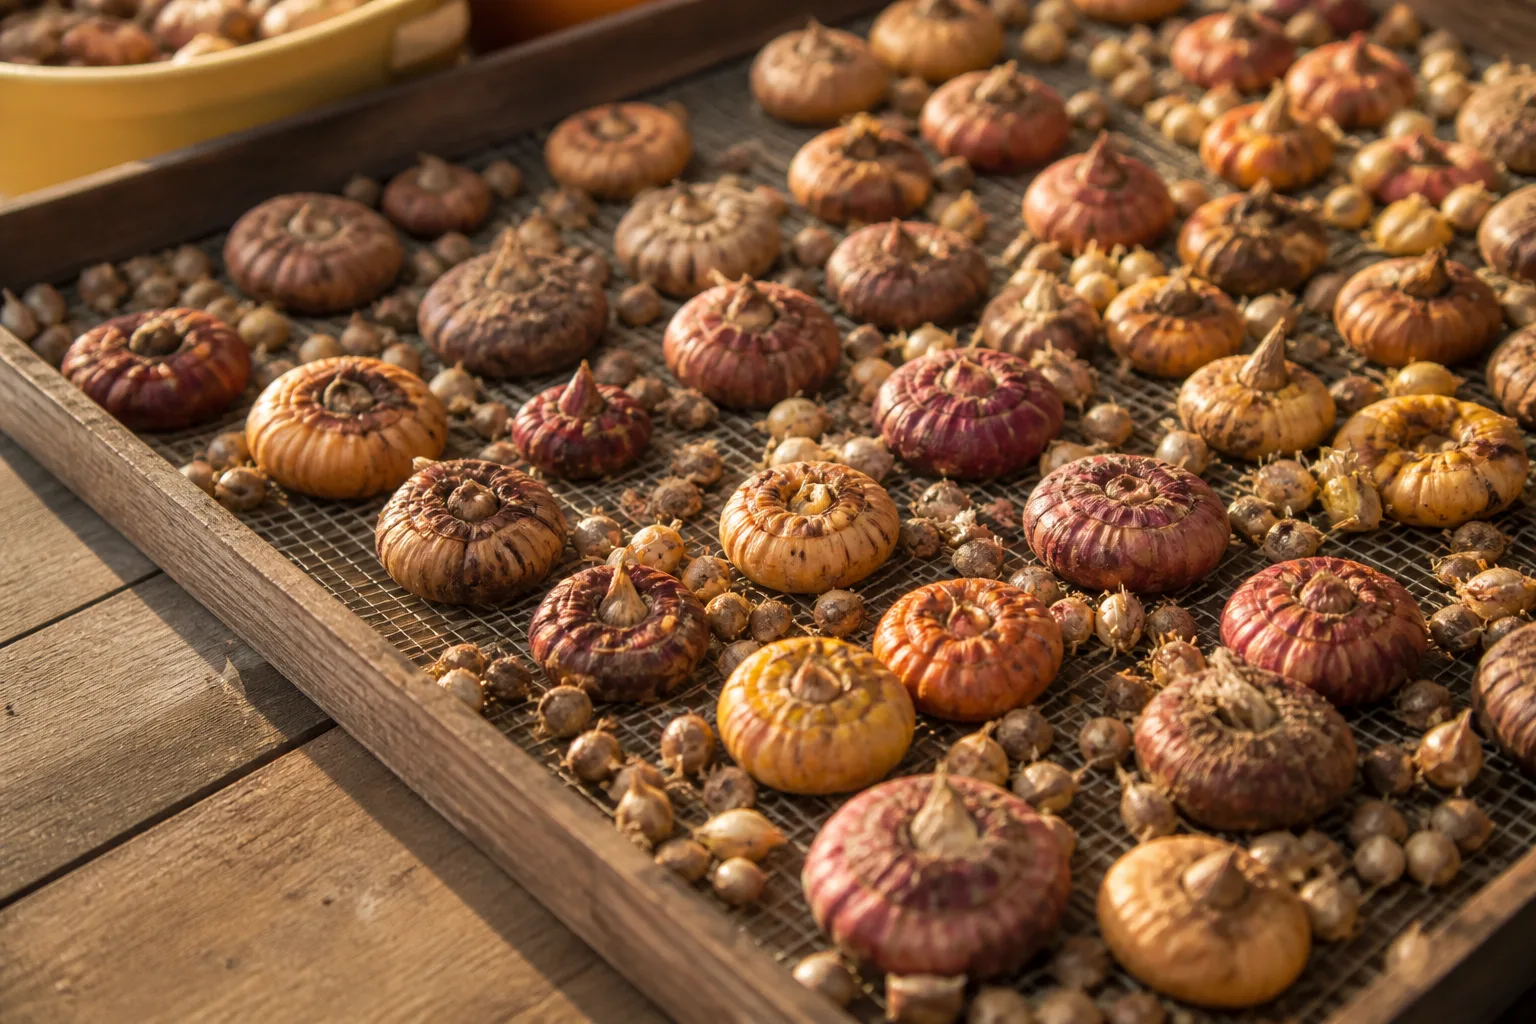
Curing is a drying and maturation period, not the same thing as winter storage. Spread the cleaned corms in a single layer on a screen, mesh tray, or shallow open box in a dry place with good airflow. Keep them out of direct, scorching sun and away from rain, condensation, and stagnant humid air. Turn them every few days if the tray is crowded or the underside stays damp, and keep cormlets separate so they do not get lost.
Plan on roughly two to three weeks for curing, though weather and room conditions affect how quickly the outer surface dries. Gardening Know How also recommends a warm, ventilated cure of around two to three weeks; Melinda Myers describes curing corms in a warm, dark, dry location. Do not rush them from a damp garden bed into a cool cellar: the outer surfaces need to dry first so the storage phase starts with firm, dry material rather than trapped moisture (Gardening Know How’s gladiolus storage guide; Melinda Myers).
Why curing temperature recommendations differ
Extension sources do not give one universal curing temperature. Wisconsin Extension recommends curing gladiolus corms for about three weeks in a dry, ventilated place around 60–70°F, while Purdue Extension describes a warmer cure around 80–85°F for two to three weeks. Gardening Know How gives a range between those figures. That is a genuine difference in guidance, not a reason to combine the numbers into a false exact rule (Wisconsin Extension; Purdue Extension; Gardening Know How).
The shared conditions are more consistent: dry air, ventilation, protection from rain and direct sun, and enough time for the corms to cure. Follow the temperature and duration recommended by your local extension service when it gives a specific method for your region. If you do not have that advice, choose a stable, comfortably warm, dry room with airflow; do not put the corms on a heater or somewhere temperatures swing sharply. Keep this curing space distinct from the cooler place where the corms spend winter.
Store corms cool, dry, dark, and ventilated
Once cured, store only clean, firm corms. Most practical extension guidance places gladiolus corms in a cool location around 35–45°F and cautions against freezing. A dark basement, cool closet, or temperature-stable cellar may work if it stays dry and has some air circulation. A garage can be suitable in some climates but risky in others if it freezes; check the actual temperature where the container sits rather than assuming the room is protected.
Humidity is a balance. Damp air, condensation, or wet packing promotes mold and decay; extremely dry air over a long period can shrivel the corms. Wisconsin Extension gives about 50% relative humidity as a useful storage target for tender bulbs, but most home gardeners do not have humidity control. They can still reduce risk by choosing a dry, stable space, keeping corms out of airtight packaging, and checking them regularly.
Choose a container and location
Use paper bags, mesh bags, open cardboard boxes, or shallow trays that allow air exchange. Lay corms in a loose layer or separate them with dry paper so they are not pressed tightly together. Do not seal them inside plastic zipper bags or a lidded plastic tub; trapped moisture and condensation can turn a small soft spot into a mold problem. If using a box, leave it open or loosely covered in a way that does not block airflow.
Keep each cultivar in its own labeled container or compartment. Write the name, flower color if known, and year lifted on a durable tag, then place a second label inside in case the outside one falls away. Store cormlets separately and mark them clearly. These small steps are especially useful if you lift several colors or share corms with friends; once all the foliage and flowers are gone, an unlabeled corm rarely tells you which variety it was.
Avoid places near ripening fruit or vegetables if they create moisture or odor, and do not store corms where household chemicals, pests, or leaks could contaminate them. A refrigerator is generally not the first choice for gladiolus corms: it can be humid, cramped, and vulnerable to condensation when items are moved in and out. Use a refrigerator only if a reliable local source specifically recommends it and you can control moisture and temperature; a dry, cool, ventilated storage area is simpler for most gardeners.
Inspect monthly and respond to changes
Put a reminder on your calendar to inspect corms about once a month. Look and feel for softness, wet spots, spreading mold, and unusually strong musty or rotten odors. Remove a decaying corm promptly and check the pieces that touched it; wipe the tray dry and improve airflow before returning sound corms. Do not simply close the container again and hope the problem stops.
Some surface drying during winter is different from a corm collapsing into a brittle husk. If several corms are shriveling, the room may be too warm or too dry; move them to a cooler, more stable place and review the packing. If the container is damp, dry the corms again in a ventilated area before storing them loosely. Avoid spraying water directly onto stored corms or packing them in wet material. The goal is to maintain dormant, firm corms—not to encourage growth indoors.
Troubleshoot rot, mold, and shriveling
Use condition rather than appearance alone to decide what stays. A healthy cured corm should feel firm and dry, with its papery outer covering intact. A slightly rough outer tunic or a dry mark does not automatically mean the corm is dead. A corm that is soft, wet, badly sunken, actively moldy, or foul-smelling is a poor candidate for storage and should be removed so it does not compromise the rest.
If white or gray surface growth appears, separate affected corms and check whether the material is loose dust or active fuzzy mold. Do not brush spores around a tray of healthy corms; isolate and discard clearly rotting pieces, clean and dry the storage surface, and increase ventilation. If the corm is still firm and the mark is small, keep it apart and recheck soon. Extension publications may mention fungicide dusting, but that is not a substitute for sorting, drying, and sanitation, and it should never be treated as mandatory. If you consider a pesticide, use only a product labeled for that crop and situation and follow its label and local regulations; many home gardeners can avoid that decision by discarding diseased stock.
If corms repeatedly rot, revisit the sequence rather than changing only the storage temperature. They may have been lifted from saturated soil, cut by a fork, packed before curing, or stored in an airtight container. If they repeatedly shrivel, the location may be too warm or too dry, the corms may have been immature, or small cormlets may have dried out faster than full-size corms. Write down the room temperature and what you observe; even a simple record helps you adjust the setup next autumn.
Replant saved corms in spring
Wait until the ground is workable and the danger of severe cold has passed for your area before planting stored corms. Before planting, sort them once more. Use firm, sound corms; discard soft or moldy ones. Remove any loose remains of the old corm if they were not separated after curing. If a corm has begun to sprout in storage, keep it from being crushed and plant it when outdoor conditions are suitable rather than leaving it in a warm room to make weak growth.
Plant full-size corms in a sunny, well-drained site at the depth and spacing recommended for your cultivar or by local extension guidance. Set the growing point upward, backfill, and water the soil after planting. Do not plant into cold, saturated ground simply because the calendar says spring; corms need a site that will not sit wet. Keep your labels with the planting so you can compare performance and save the best varieties again at the end of the season.
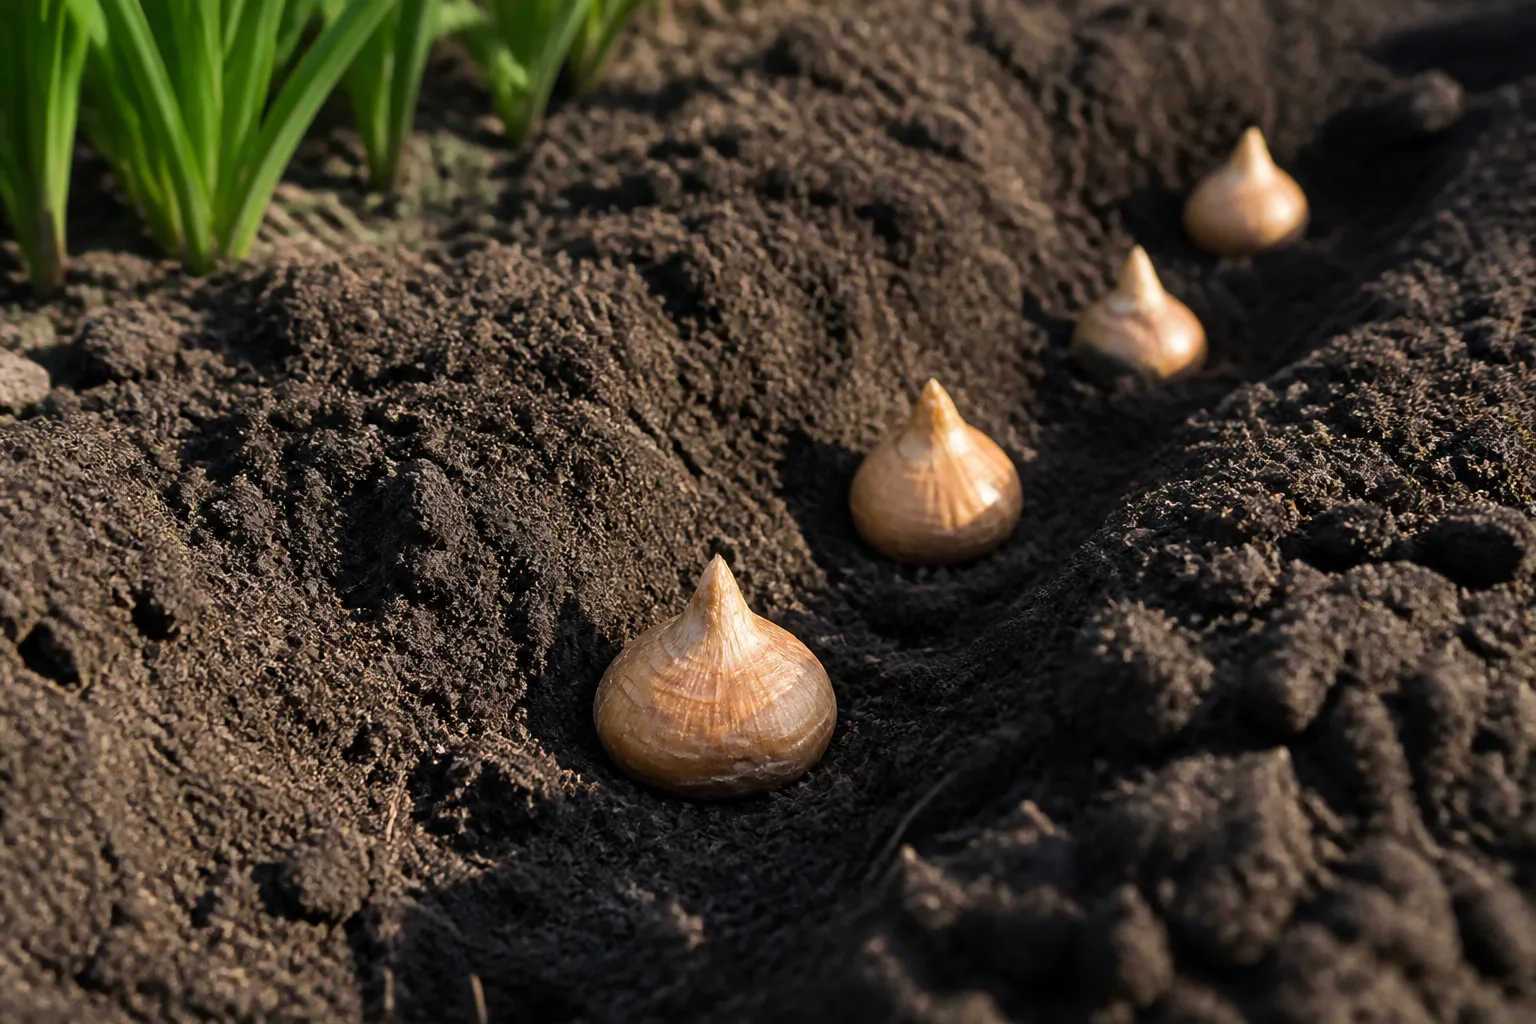
Cormlets can go into a separate nursery row or a pot with drainage, where you can track them and avoid disturbing them while cultivating around the mature glads. They need patient care and may take a few seasons to reach flowering size. If they have not bloomed after one summer, that is not proof they failed; judge them by whether they stayed firm, produced foliage, and grew in size. Keep the small planting marked and let the plants complete their cycle before digging again.
Conclusion
For gladiolus grown in a cold-winter region, successful storage starts before you pick up a fork: let foliage mature, then lift the corms before a damaging freeze or prolonged wet conditions. Handle them gently, dry-brush soil away, cure them in a ventilated place, remove the spent old corm, and save only firm replacements and sound cormlets.
Keep the cured corms dark, dry, and cool—commonly around 35–45°F—inside breathable storage, and inspect them about monthly. Since trusted extension sources differ on exact curing temperatures, follow local guidance when available and focus on the shared essentials of warmth, dryness, airflow, and time. Label everything now, and you will have a much easier job deciding what to plant when spring returns.



