How to Remove Rust From Stainless Steel Safely
Remove rust stains from stainless steel with a gentle, grain-aware method. Learn to tell surface marks from pitting, what to avoid, and how to prevent them.
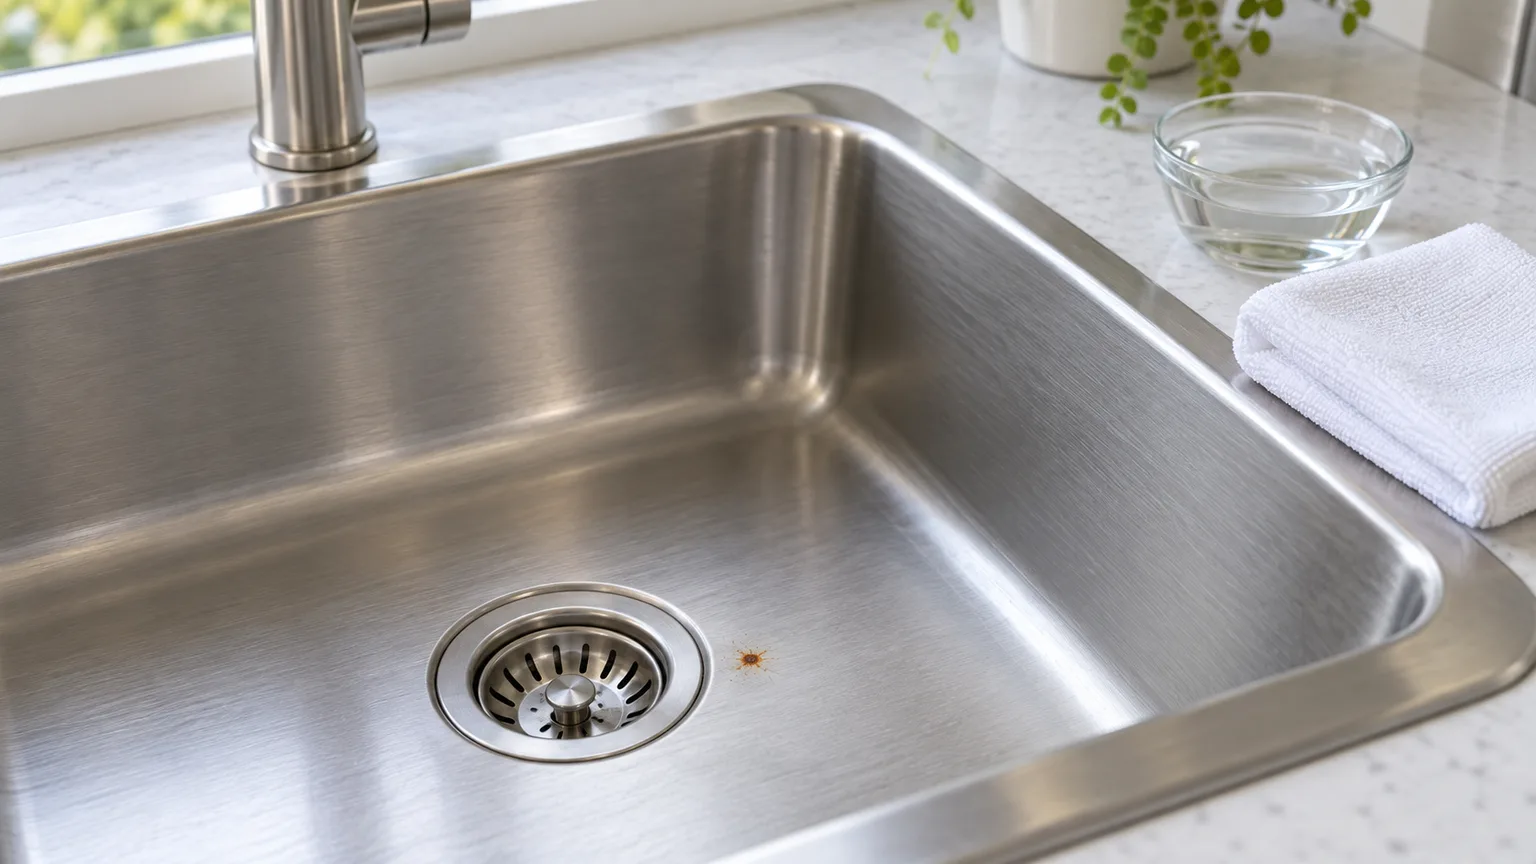
A small orange mark on a stainless-steel sink often looks worse than it is. It may be rust transferred from a cast-iron pan, a steel can, or a piece of carbon-steel wool rather than corrosion spreading through the stainless surface. Start with mild soap and water, a soft cloth, and a light touch; if the mark is a shallow deposit, that may be enough.
Before choosing a stronger cleaner, note the grain and whether the mark is flat. A flat stain that wipes away is different from a rough, recessed pit, and an abrasive cleaner can turn a removable mark into a finish problem. Begin with diagnosis and choose the gentlest step that matches what you see.
Why Stainless Steel Gets Rust Marks
“Stainless” means corrosion-resistant, not immune to every stain or form of corrosion. Stainless steel relies on a very thin chromium-rich passive film at its surface; when conditions damage or overwhelm that layer, corrosion can occur. Orange marks can also come from iron particles sitting on or embedded in the surface. In a damp sink, those particles rust and leave a stain even when the underlying stainless steel is still sound.
The British Stainless Steel Association (BSSA) notes that rust marks on stainless surfaces are often caused by small carbon-steel particles from wire wool or scouring pads, and can appear on sinks made from other materials too. The Australian Stainless Steel Development Association (ASSDA) describes how transferred carbon-steel particles can rust and, if left in chloride-rich conditions, contribute to pitting. Those explanations matter because removing loose iron transfer is not the same repair as restoring damaged metal. (BSSA cleaning guidance; ASSDA contamination guidance)
Common triggers include a wet cast-iron pan left in the sink, rusty water dripping from a can or tool, residue from a carbon-steel scouring pad, and salt or bleach left on the surface. An orange spot alone does not tell you which cause is present. Use the appearance and response to a gentle clean as clues, not as a definitive corrosion diagnosis.
Diagnose a Transfer Stain, Surface Corrosion, or Pitting
Before choosing a cleaner, rinse away loose debris and inspect the spot in bright, angled light. Do not scrape it with a knife, pin, or fingernail; that can scratch the finish and does not reliably reveal what is happening beneath the mark. Look for whether the discoloration sits on top of the metal, follows a scratch, or forms a small hollow.
| What you see | Likely interpretation | Sensible next step |
|---|---|---|
| A flat orange smudge that lightens with soap and a soft cloth | Loose residue or transferred iron is plausible | Continue with gentle cleaning, rinse, and dry |
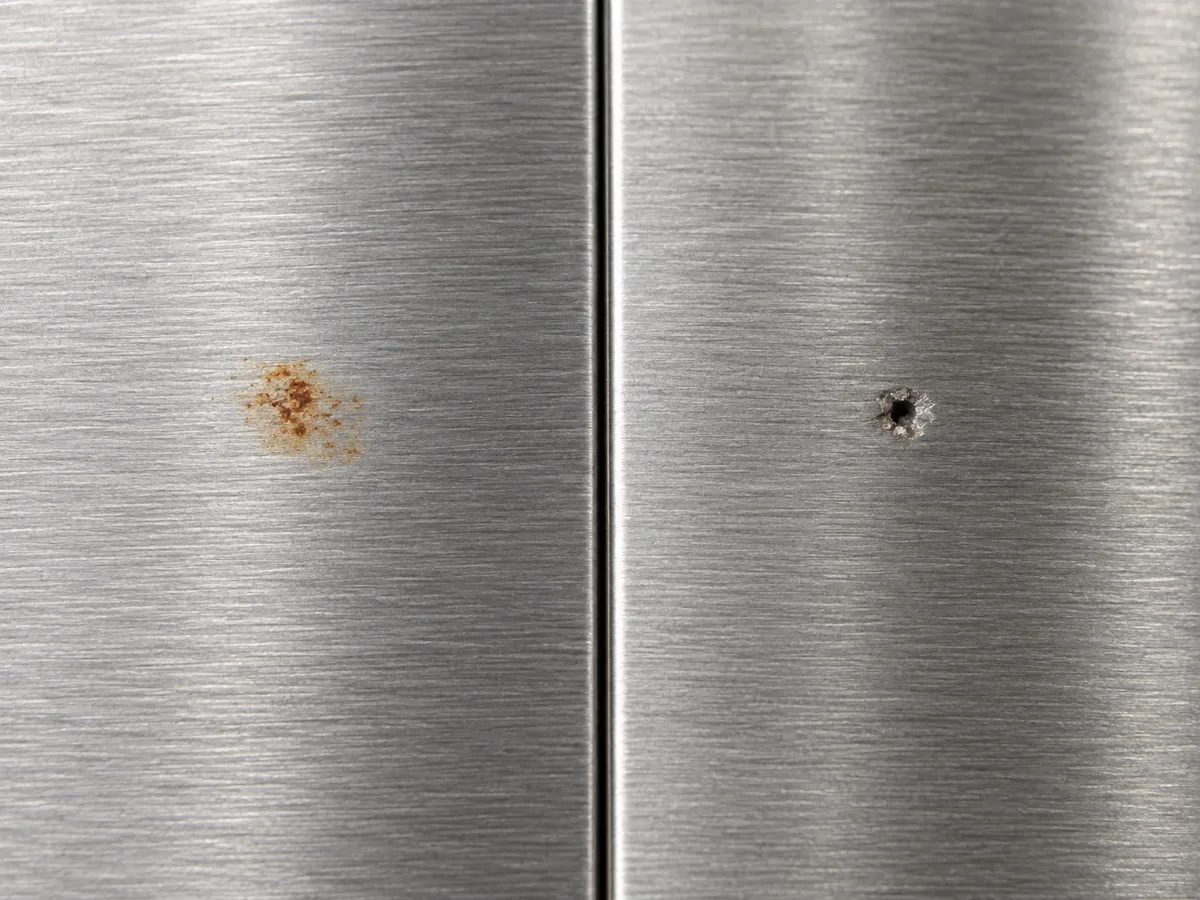
| A mark that returns after cleaning or has a rough, recessed center | Pitting, a damaged finish, or continuing contamination is possible | Stop abrasive treatment; photograph it and ask the appliance maker or a stainless-steel specialist |
| A broad brown film near salt, bleach, or coastal exposure | Repeated chloride exposure or surface contamination may be involved | Remove residue gently and investigate the source; recurring damage needs assessment |
Quick visual clues and what they can—and cannot—tell you
A surface deposit tends to feel smooth under a cloth and may transfer color to it. Pitting is a physical depression: light catches its edge differently, and the cavity remains after the surrounding discoloration is wiped away. Deep scratches, coating wear, and heat discoloration can resemble corrosion, so do not diagnose the alloy or the depth of damage by color alone.
If the area is a food-contact surface, has many pits, is spreading, or keeps rusting after the source is removed, skip home experiments. A professional can determine whether it is contamination, finish damage, or active corrosion and whether restoration is appropriate. For a new appliance, the manufacturer’s care manual takes priority because some “stainless” doors have a protective coating or special finish. (Good Housekeeping’s stainless-steel care guidance)
Before You Clean: Check the Finish and Gather Supplies
Find the surface’s grain: brushed stainless usually has fine lines running in one direction. Wipe a clean, dry microfiber cloth lightly across a hidden area in each direction; the direction that feels smoother and leaves less drag is usually the grain. Better Homes & Gardens advises wiping with the grain because rubbing across it can make scratches more noticeable. If the surface is mirror-polished, patterned, coated, or marked “fingerprint resistant,” use the maker’s care instructions instead of guessing. (Better Homes & Gardens stainless-steel cleaning guide)
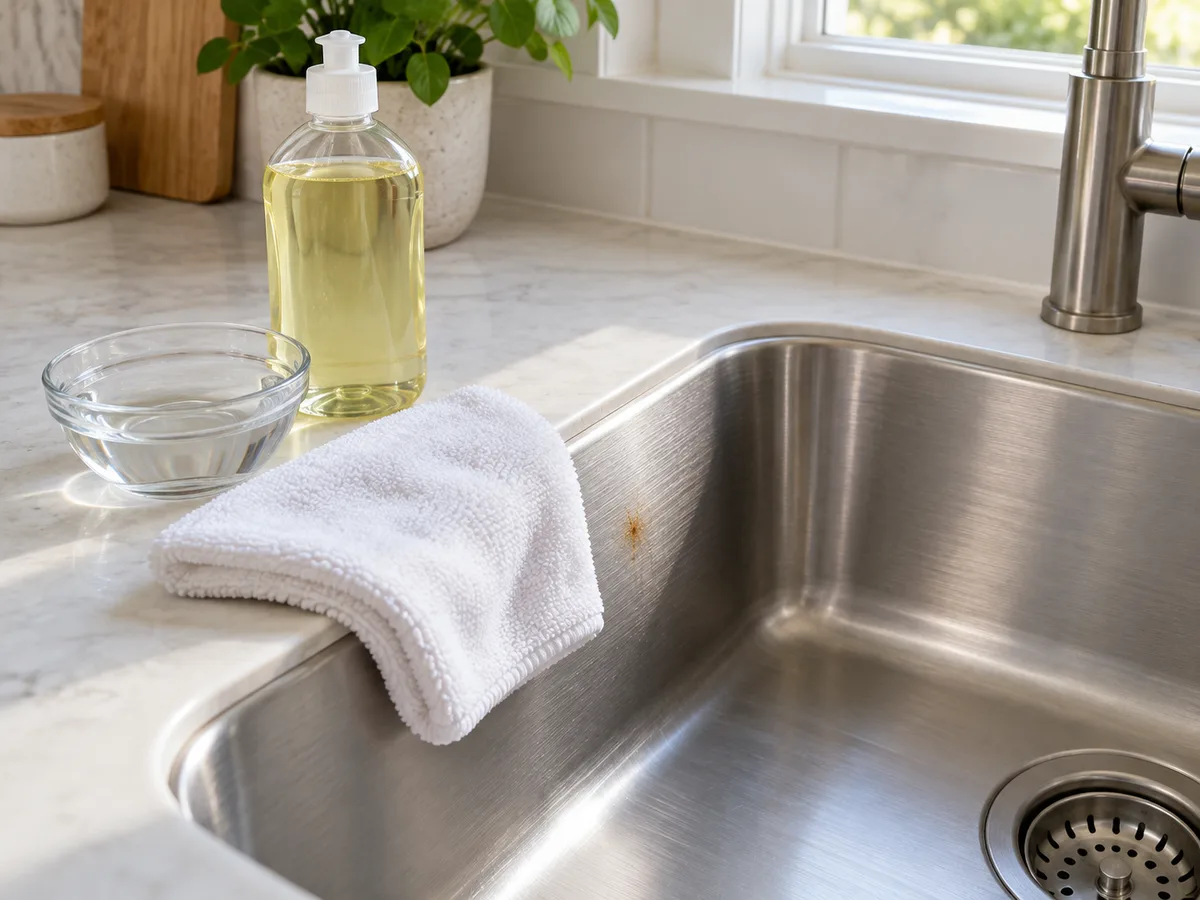
Gather warm water, a few drops of mild dish detergent, two clean soft microfiber cloths, and a soft non-scratch sponge if the cloth alone is not enough. Keep the cloths free of grit and iron residue; a cloth used on a rusty tool, steel pan, or steel wool can transfer particles back onto the surface. Work on a cool surface, protect nearby wood or stone from cleaner, and test any product on a small hidden spot first.
Safest Method for a Light Rust Stain
For a small, recent mark on an uncoated sink or surface, use the basic cleaning sequence first. Stainless-steel industry guidance says warm water with soap or mild detergent is usually adequate for domestic surfaces; for light rust staining it recommends a mild, non-scratching cleaner applied with a soft cloth or sponge, followed by a clean-water rinse and drying. (BSSA cleaning methods)
- Remove the cause. Lift out the rusty pan, can, rack, or tool and set it somewhere dry. If the mark came from a wet object, clean its contact point and check for another spot nearby.
- Wet the cloth, not the whole appliance. Add warm water and a drop of dish detergent to a clean microfiber cloth. On a sink, you can work directly over the basin; on an appliance door, keep liquid away from seams, controls, vents, and electrical openings.
- Wipe with the grain. Use light pressure and short overlapping passes. Do not scour in circles or press harder just because the mark is orange; pressure can dull the directional finish without removing embedded iron.
- Rinse away cleaner and loosened residue. Use a second cloth dampened with clean water. For a sink, rinse the area rather than leaving detergent or cleaner residue to dry on it.
- Dry completely. Buff gently with a clean lint-free cloth, following the same grain. Recheck in angled light once dry; a wet surface can hide both remaining discoloration and fine scratches.
If the mark fades, repeat the same gentle pass once rather than switching immediately to a harsher cleaner. Stop if the color does not change after a careful clean, if the surface starts looking dull, or if you can feel a pit or scratch. A useful rule: make the next attempt only when you can explain why it is both more targeted and still compatible with that finish.
If Soap and Water Do Not Lift the Mark
Check the owner’s manual or care page before using a stronger cleaner, especially on a refrigerator, dishwasher, or range with a fingerprint-resistant finish. Good Housekeeping also cautions that stainless finishes can have protective coatings and recommends checking the appliance maker’s cleaning directions first. If the manual permits it, choose a product explicitly labeled for stainless steel and rust staining, and follow its label exactly. Do not assume that a product safe for a bare stainless sink is safe for coated appliance trim or a cookware interior.
For a food-contact sink or pan, choose a cleaner whose label allows that use, then rinse the surface thoroughly with potable water and dry it. Do not leave an acidic or chemical cleaner sitting longer than its instructions specify. A specialist stainless-steel association lists oxalic- or phosphoric-acid treatments for certain localized iron-contamination cases, but these are not casual kitchen recipes: concentration, contact time, neutralizing or rinsing instructions, nearby materials, and finish all matter. Do not mix or improvise acids at home; if a product label does not clearly cover your surface and use, stop and ask the manufacturer or a qualified restorer. (BSSA cleaning methods)
A tested stainless-steel cream may be appropriate for light discoloration if the surface’s care instructions allow it. Use the softest applicator the label recommends, a tiny amount, and a small test area; remove all residue with clean water. Avoid abrasive pastes and powders on polished or coated surfaces. BSSA cautions that some abrasive additions can scratch polished steel and that trialing a cleaner on an inconspicuous area helps confirm the finish remains acceptable.
Cleaners and Tools to Avoid
Do not use steel wool, wire wool, or a carbon-steel brush on stainless steel. The problem is not only that these tools can scratch: tiny iron fragments can remain behind and rust later. The BSSA specifically warns against carbon-steel wool and pads previously used on carbon steel for localized rust stains. If a brush is ever needed, use one intended for stainless steel and keep it dedicated to that material; for routine home cleaning, a clean microfiber cloth is safer. (BSSA cleaning methods)
Avoid scouring pads, abrasive powders, knife blades, and hard scrapers unless the manufacturer explicitly approves a method for that exact finish. A scratch can change the appearance, collect residue, or expose the surface to conditions that make later staining more likely. Never try to erase a tiny orange mark by sanding, polishing, or scrubbing an entire appliance panel; directional finishes can become patchy when an area is worked differently from the surrounding grain.
Keep chlorine bleach and other chloride-containing cleaners away from stainless steel as a rust-removal shortcut. BSSA warns that hypochlorite bleach can cause staining and pitting, particularly when concentrated or left in contact; it also cautions against hydrochloric-acid cleaners. Ordinary household salt is chloride too, so do not leave a salty paste or brine sitting on the steel. Rinse spills promptly, and do not use a “rust remover” unless its label identifies stainless steel as a compatible surface.
Baking Soda, Vinegar, Lemon, and Salt: What to Know
A pantry ingredient is not automatically gentler or more reliable than a labeled cleaner. Baking soda can act as a mild abrasive, so a dry scrub or gritty paste may scratch a polished or coated surface. If the appliance maker permits it and you choose to try a damp baking-soda paste on an uncoated sink, test a hidden area, use a soft wet cloth with almost no pressure, rinse completely, and stop at the first sign of dulling. It is a cautious trial, not a guaranteed rust-removal treatment.
Vinegar and lemon juice are acidic, while salt can leave chloride against the surface. A brief, label-approved cleaner is different from leaving a strong homemade mixture in contact for hours; avoid long soaks and salt-acid pastes. Better Homes & Gardens discusses vinegar and baking soda for general stainless-steel cleaning, but BSSA’s stainless-specific guidance warns that concentrated salt/vinegar mixtures can promote pitting over time. When a mark needs more than gentle detergent, a cleaner formulated for stainless steel and used as labeled is easier to control than an improvised combination. (BSSA cleaning methods; BHG cleaning guide)
Potato, cream of tartar, lemon-and-salt, and other viral recipes are poor first choices for a finish you want to preserve. They do not help identify whether the mark is a transfer deposit or a pit, and gritty particles or extended acidic contact can create a second problem. If a recipe requires rubbing harder, adding more salt, leaving an ingredient overnight, or combining products, skip it.
Why Chlorine Bleach Is Not a Rust Remover
Bleach is the wrong tool for a rust mark: it does not remove transferred iron safely and can stain or pit stainless steel if it splashes, concentrates, or remains on the surface. Do not use bleach on stainless steel just because the area is in a sink or kitchen. If bleach has accidentally contacted the surface, rinse it promptly with plenty of water, then dry; do not add vinegar or another cleaner to “neutralize” it.
Never mix household bleach—or any disinfectant—with another cleaner. The CDC warns that mixing can release vapors that are dangerous to breathe. Keep products in their original containers, use one cleaner at a time, ventilate when a label calls for it, and follow the product directions. (CDC bleach safety guidance)
Adjust the Method for Sinks, Appliances, and Cookware
Sink or work surface
A sink is exposed to wet pans, food salts, cleaning products, and metal utensils, so remove the source first and rinse the basin well. Work on a small area, follow the grain, and rinse away both detergent and any stainless-safe stain remover. Do not soak a sink overnight in bleach or leave a bowl of salt, brine, acidic cleaner, or wet steel utensils sitting in the basin; lingering contact is the avoidable part of the problem.
If a rust-colored mark appears on porcelain, a plastic drainboard, and the steel basin where the same object rested, that pattern supports transferred rust from the object rather than a failure unique to the stainless surface. It is a clue, not proof. Check the underside of the can, pan, rack, or faucet component and dry or replace the source so it does not make another mark.
Appliance exterior and cookware
On refrigerator and dishwasher doors, identify whether the finish is coated or brushed before using any polish, cream, or paste. Wipe with a damp cloth rather than spraying cleaner directly onto the panel; liquid can run into seams, electronics, and handles. For a recurring spot beneath a dispenser, at a seam, or near a damaged edge, ask the manufacturer whether it is a finish defect, residue, or corrosion before polishing.
For pots and pans, prioritize the cookware maker’s instructions and food-contact labeling. Use only a cleaner permitted for cookware, rinse thoroughly, and dry before storing. Do not use automotive products, penetrating oils, or industrial acids on cooking surfaces. If the stain is inside a pan and does not respond to the approved cleaning method, contact the manufacturer instead of experimenting with a stronger product.
Stop Rust Marks From Returning
Remove the source and reduce the time moisture and residue sit on the metal. Dry a sink after heavy use, wipe up salty or acidic spills, and do not leave cast-iron cookware, steel cans, wire baskets, or damp scouring pads on stainless steel. Rinse off detergent and cleaning-product residue rather than letting it dry into a film. Routine cleaning with a soft cloth and mild detergent is usually enough for household stainless steel. (BSSA cleaning guidance)
Use separate cloths and pads for carbon-steel cookware, outdoor tools, and stainless surfaces. A cloth can carry tiny iron fragments even when it looks clean, so laundering or replacing a contaminated pad is safer than reusing it on a sink. Keep salt, bleach, and other chloride products from dwelling on the surface; coastal fixtures may need more frequent rinsing because salt deposits are harder to avoid.
After cleaning, inspect the area when dry. If the stain reappears in exactly the same place, look for a hidden source such as a rusty hinge, screw, rack foot, drain part, or repeated splash. Treating the visible mark without removing its source usually means repeating the same cleanup.
When to Stop DIY Cleaning and Call a Professional
Stop if a mark is recessed, rough, spreading, or accompanied by pinholes or a change in the finish. Also stop if a compatible stainless-steel cleaner used according to its label does not improve the mark, if the mark returns quickly, or if the appliance panel is coated and the manual does not authorize stain removal. More force or stronger acid can make both the appearance and the repair more difficult.
For a broad or recurring stain on a fixed fixture, ask the manufacturer, installer, or a stainless-steel restoration specialist to identify the alloy, finish, and likely cause. Industrial pickling and passivation can involve strong acids and controlled handling; they are not appropriate do-it-yourself kitchen treatments. A qualified restorer can decide whether the surface needs cleaning, refinishing, or replacement and can blend a brushed finish more evenly than spot-scrubbing can.
Conclusion
For a light rust mark on stainless steel, start with mild detergent, warm water, a clean microfiber cloth, and strokes that follow the grain. Rinse and dry the area, then reassess it before choosing anything stronger. If a labeled stainless-steel cleaner is needed, test it discreetly and follow its instructions; do not use bleach, steel wool, carbon-steel brushes, or mixed cleaners.
A flat orange mark may be transferred iron, while a pit or recurring rough spot may be actual surface damage. Remove the source, keep salt and moisture from lingering, and stop when the surface is recessed or the finish is changing. That careful sequence protects the metal and helps you avoid turning a small stain into a larger repair.