How to Start Seeds Indoors: Complete Guide
Learn how to start seeds indoors with frost-date timing, grow-light setup, watering rules, and a hardening-off plan so seedlings transplant strong—not leggy.
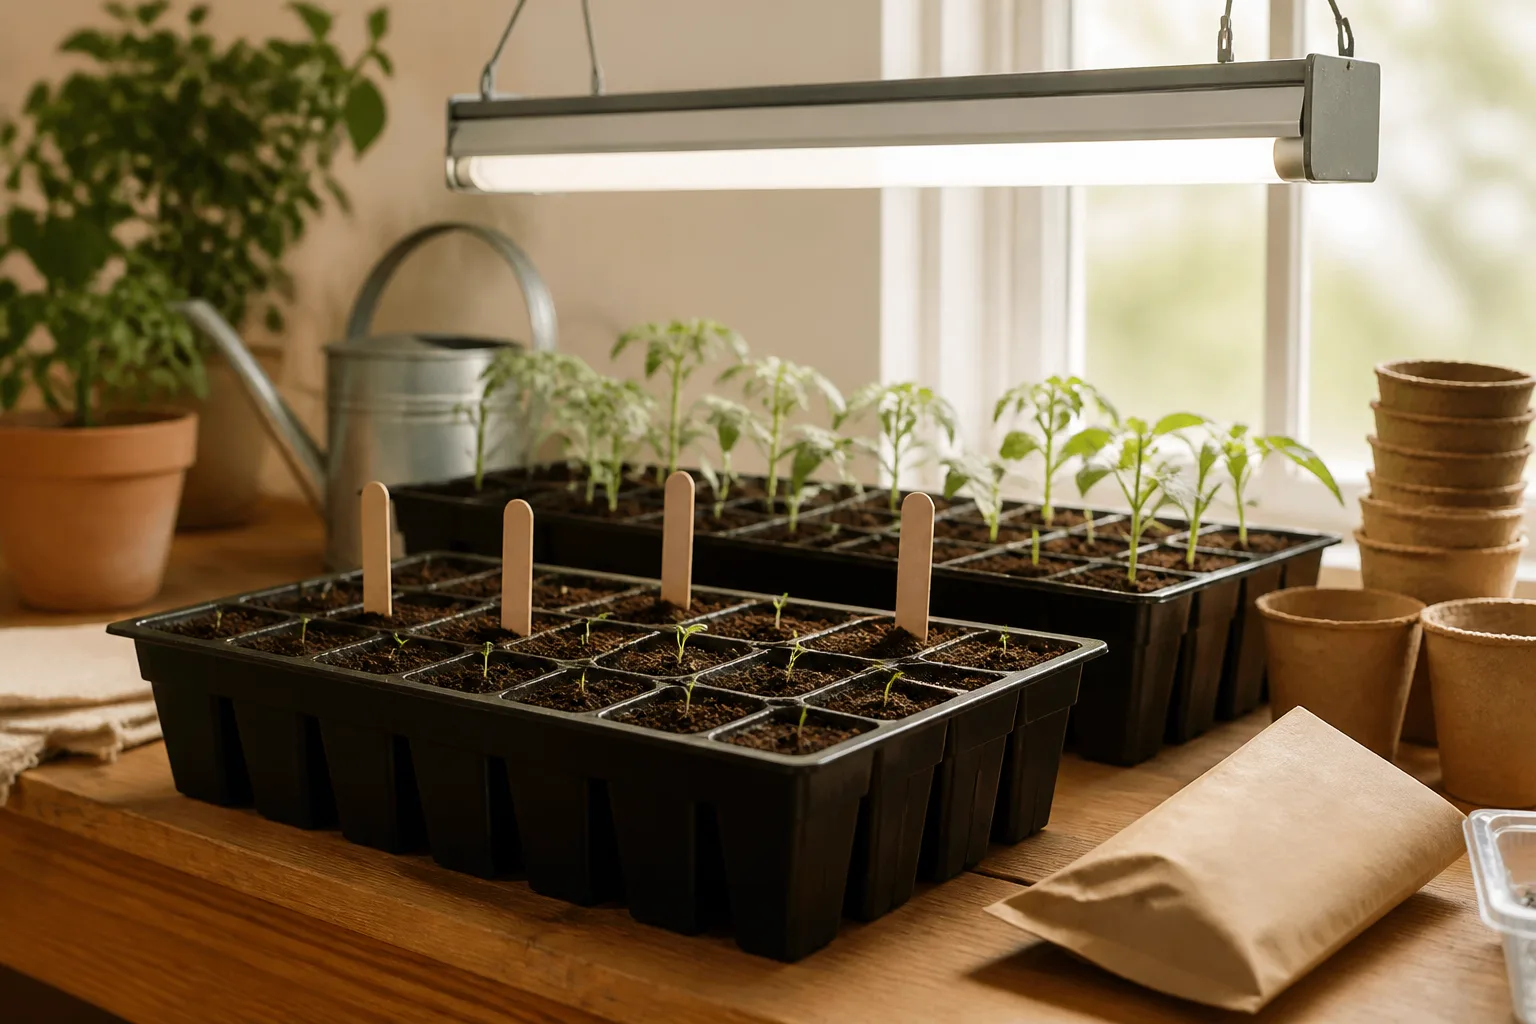
Starting seeds indoors is one of the highest-leverage skills in home gardening. A single packet can produce dozens of plants for the cost of one nursery flat, and you gain access to varieties that never show up on a garden-center shelf. The catch is that indoor seed starting has two distinct jobs—germination and seedling growth—and they want different conditions. Mix those phases up, start too early, or skip hardening off, and you end up with pale, stretched plants that collapse the first windy afternoon outdoors.
This guide walks through the full workflow: deciding what to start indoors, building a calendar from your last frost date, reading seed packets, setting up trays and lights, caring for seedlings through transplant size, and hardening them off safely. If you already grow from seed occasionally, the timing tables and troubleshooting section are where most trays get saved.
Why Start Seeds Indoors (and When You Shouldn’t)
Indoor starting buys time in short-season climates and choice everywhere else. Tomatoes, peppers, eggplants, and many flowers need weeks of indoor growth before outdoor soil is warm enough. Colorado State University Extension notes that starting indoors four to eight weeks before your average frost-free date is standard for many annuals, while sowing too early produces spindly, overcrowded plants that lack sufficient light.
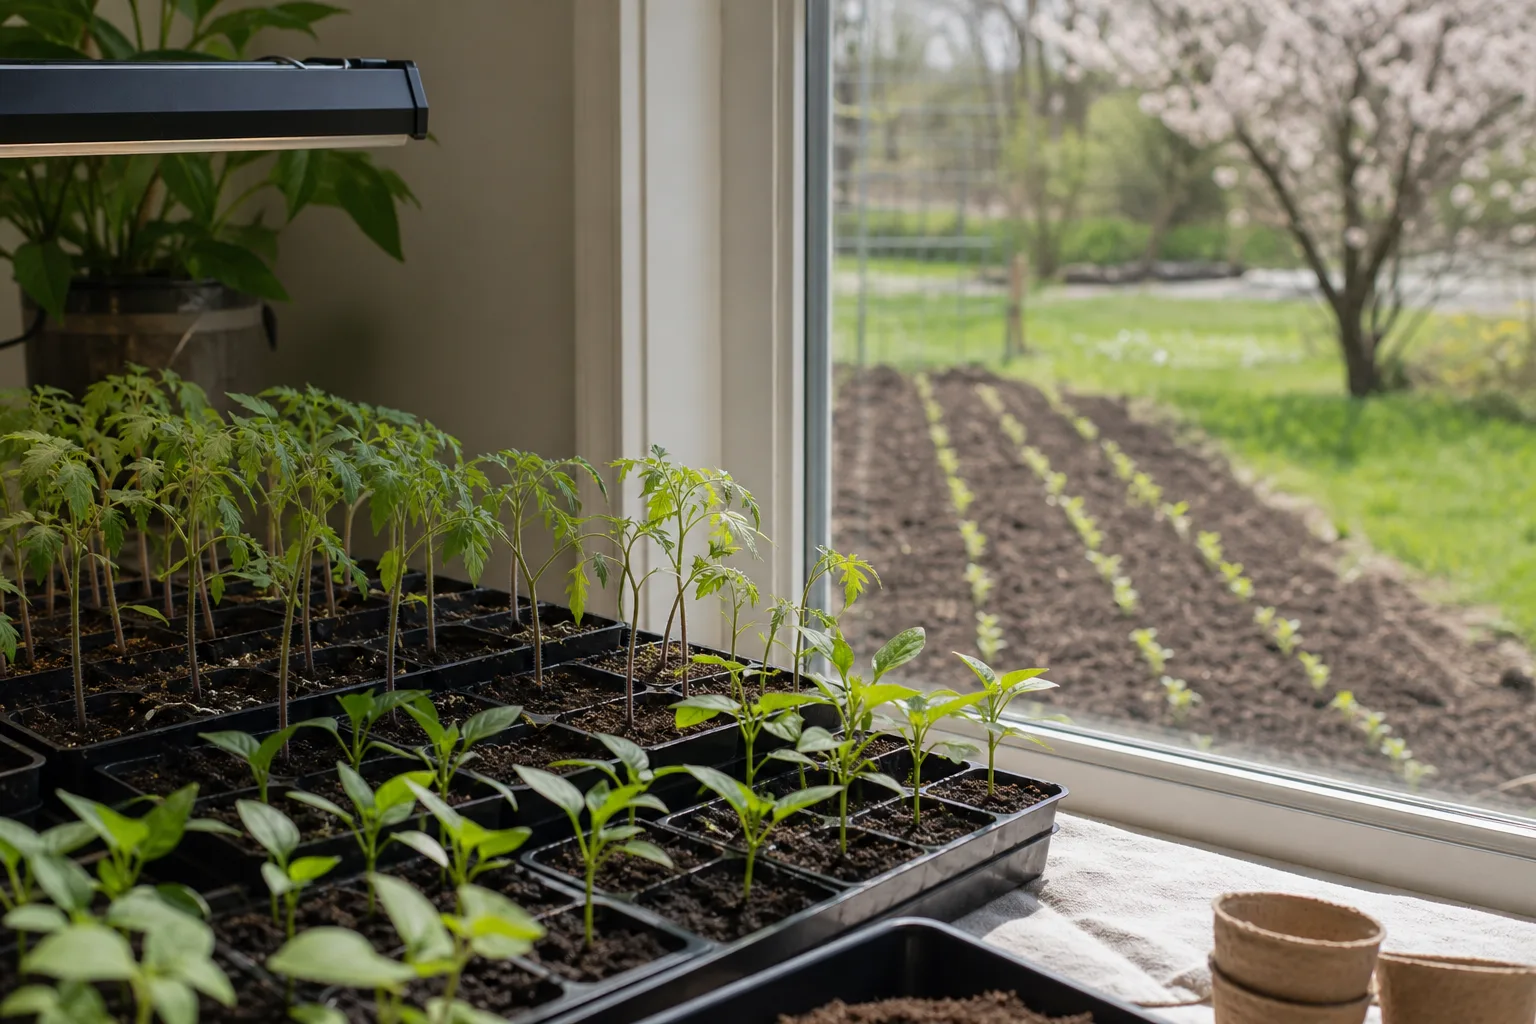
Indoor starting also lets you stagger crops so everything does not hit the garden on the same weekend. Penn State Extension points out that gardeners can schedule separate sowing dates when days-to-germination differ but you want a coordinated bloom or harvest window.
The trade-off is labor. Trays need daily checks, reliable light, and a hardening-off period before transplant. Penn State Extension lists real disadvantages: weak seedlings from poor light, disease susceptibility in crowded trays, uneven germination, and the time required for diligent care. Indoor starting pays off when you want specific varieties, larger plant counts, or an earlier harvest—not when a crop germinates quickly outdoors with less fuss.
Crops worth starting indoors
Start indoors when a crop needs a long runway, slow germination, or warm soil you cannot provide outdoors in early spring:
- Tomatoes and peppers — heat-loving; six to ten weeks indoors is typical.
- Eggplant and basil — cold-sensitive; benefit from a head start.
- Broccoli, cabbage, cauliflower, and kale — cool-season transplants that tolerate light frost once hardened off.
- Onions and leeks — tiny seeds and slow early growth reward indoor sowing.
- Slow flowers — petunias, snapdragons, lobelia, impatiens, and many bedding annuals listed in extension timing charts.
If you are growing flowers from seed for the first time, pairing this guide with a focused list like our easiest flowers to grow from seed helps you pick forgiving varieties while you learn the tray routine.
Crops better direct-sown outdoors
Some plants hate root disturbance or germinate so fast that indoor starting adds risk without reward. Direct-sow these in prepared garden soil once conditions match the packet:
- Root crops — carrots, beets, radishes, turnips, and parsnips.
- Beans and peas — large seeds; transplant shock outweighs any indoor advantage.
- Corn — shallow roots and quick outdoor germination in warm soil.
- Fast annual flowers — zinnias, cosmos, sunflowers, and nasturtiums often perform better sown where they will grow, especially when outdoor soil has warmed.
Cucumbers, melons, and squash can be started indoors three to four weeks before transplant, but many gardeners direct-sow them because the plants outgrow small cells quickly and resent root handling. If you do start them indoors, use deep pots and transplant young—before roots circle the container.
Build Your Seed-Starting Calendar From Frost Dates
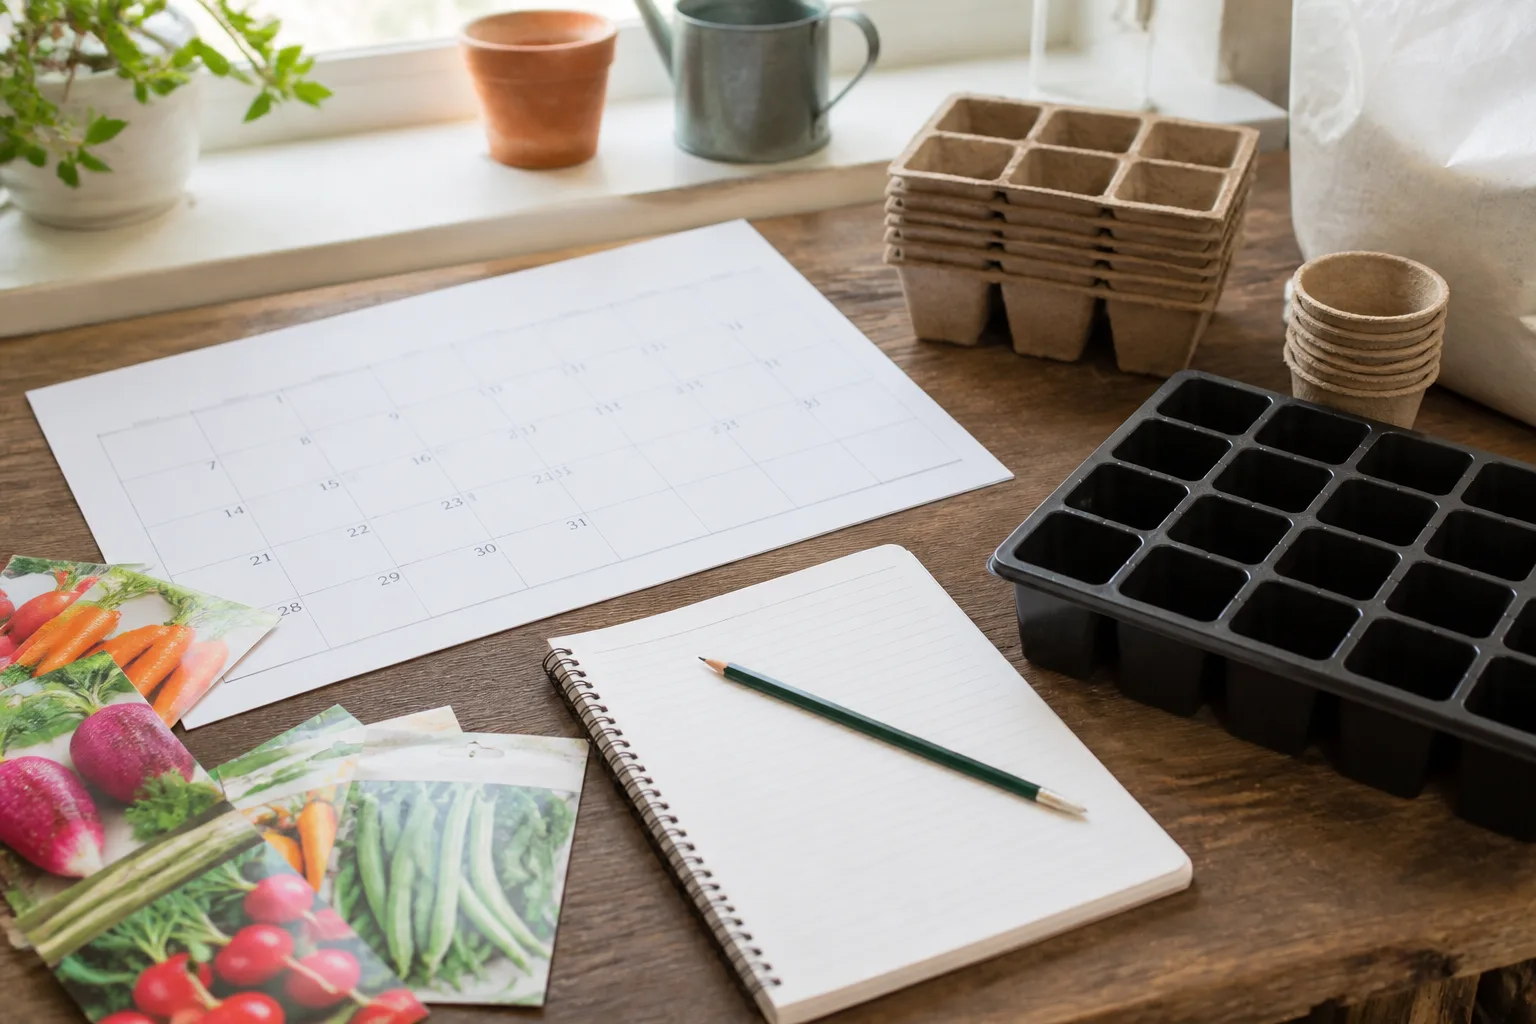
Your average last frost date is the anchor for spring sowing. It is a long-term average, not a guarantee; late cold snaps still happen. Find the date through your local cooperative extension office or a reputable regional almanac, then treat every packet’s “start indoors X weeks before last frost” line as a personal sowing appointment.
How to calculate sowing dates
Work backward in four steps:
- Mark your average last frost date on a calendar (for example, May 15).
- Read each packet for weeks-before-transplant or weeks-before-last-frost guidance.
- Count backward that many weeks to get the sowing date.
- Add seven to fourteen days for hardening off before you expect to plant out—your indoor timer should end with sturdy plants, not seedlings still on the windowsill when frost passes.
Also note soil temperature, not just air temperature. Peppers and basil want warm soil at transplant; broccoli can go out earlier. Our when to plant vegetables guide complements this calendar if you are balancing multiple crops in one garden.
Weeks-before-frost cheat sheet by crop
Use the packet first. When it is silent, this table is a practical starting point compiled from extension timing ranges and common garden practice:
| Crop | Weeks before last frost (indoor start) | Notes |
|---|---|---|
| Onions, leeks | 10–12 | Slow early growth; sow early |
| Peppers, eggplant | 8–10 | Heat for germination; slow to size up |
| Tomatoes | 6–8 | Transplant after soil warms |
| Broccoli, cabbage, kale | 6–8 | Hardy once hardened off |
| Lettuce, head types | 4–6 | Fast grower; do not start too early |
| Basil | 6–8 | Cold-sensitive at transplant |
| Marigolds, zinnias (if starting indoors) | 4–6 | Often direct-sown instead |
| Petunias, snapdragons | 8–10 | Slow from seed |
| Cucumbers, squash, melons | 3–4 | Pot up quickly; transplant young |
Starting too early is one of the most common mistakes. Oversized seedlings spend extra weeks in small cells, become root-bound, and turn yellow or leggy chasing light. A smaller plant sown at the right time almost always outperforms a stressed giant started in February.
Read the Seed Packet Like a Grower’s Brief
The back of a seed packet is a technical brief, not decoration. Before you open the mix bag, scan for:
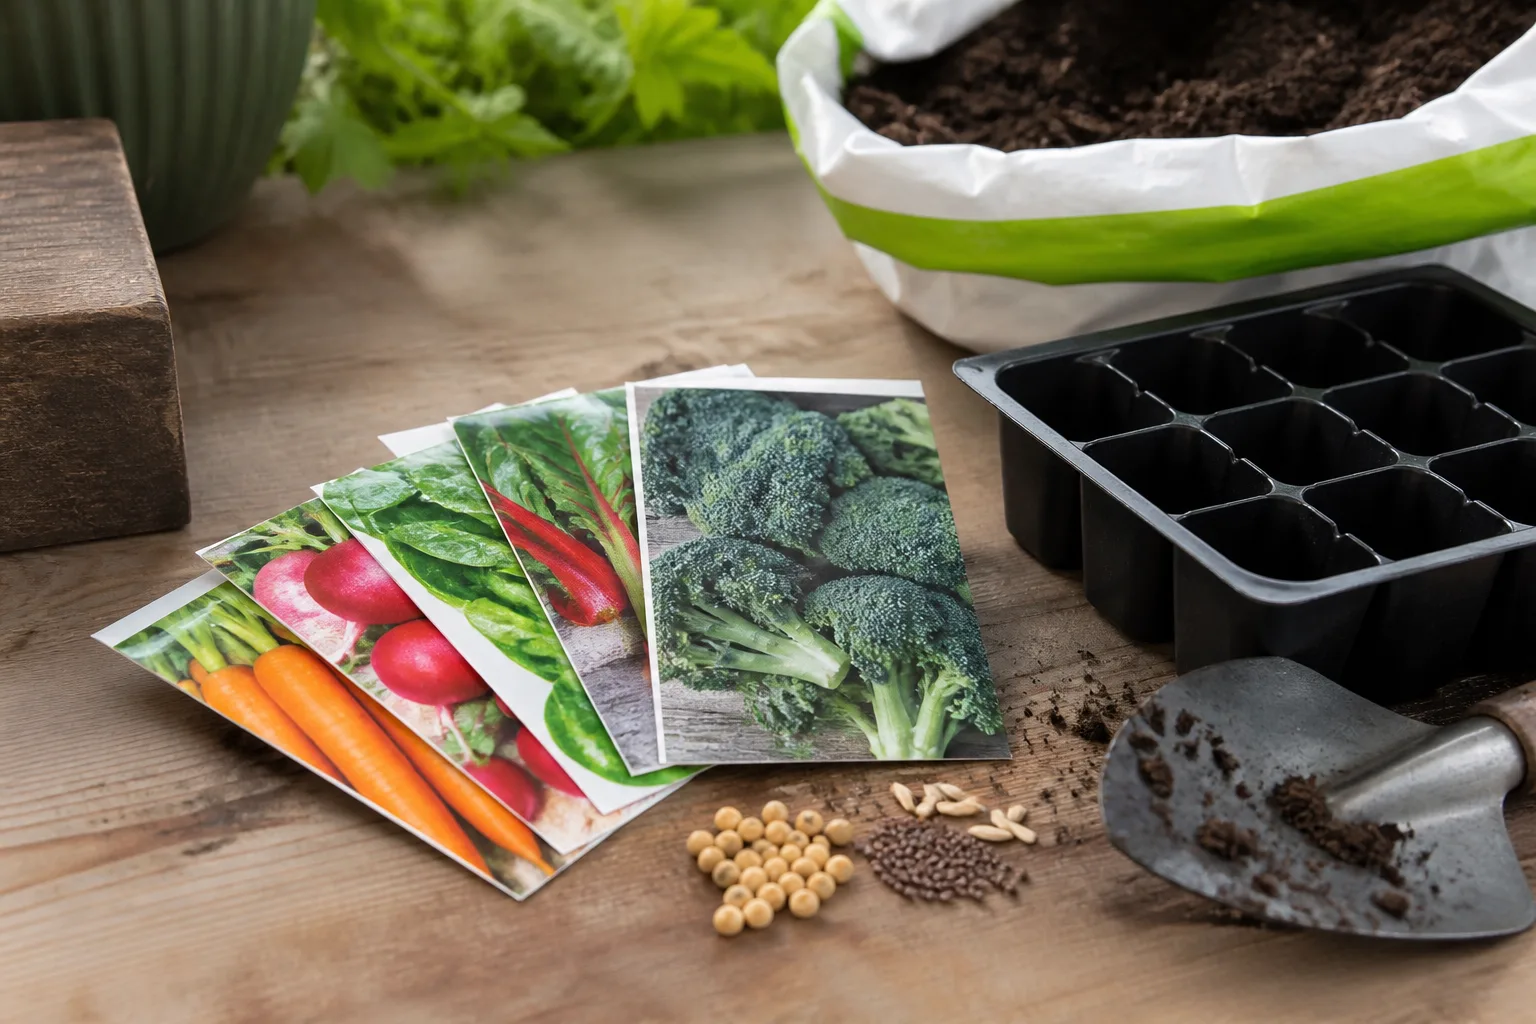
- Indoor vs outdoor start — some varieties are indoor-only in cold climates.
- Days to germination — tells you how long to keep the dome on and when to worry.
- Days to maturity — harvest or bloom timing from sowing or transplant; critical for tomatoes if you want July fruit.
- Planting depth — overrides generic rules.
- Light for germination — some seeds need darkness; others (lettuce, snapdragons) need light and should sit on the surface.
- Packed-for year — old seed can work but germination drops; Colorado State University Extension recommends fresh seed for predictable results.
If the packet says “thin to one plant,” plan to sow two or three seeds per cell and remove extras after germination rather than betting on 100 percent sprout rates.
Gather Supplies Without Overbuying
You do not need a greenhouse to start seeds indoors. You do need drainage, sterile mix, labels, warmth for germination, and strong light for seedlings.
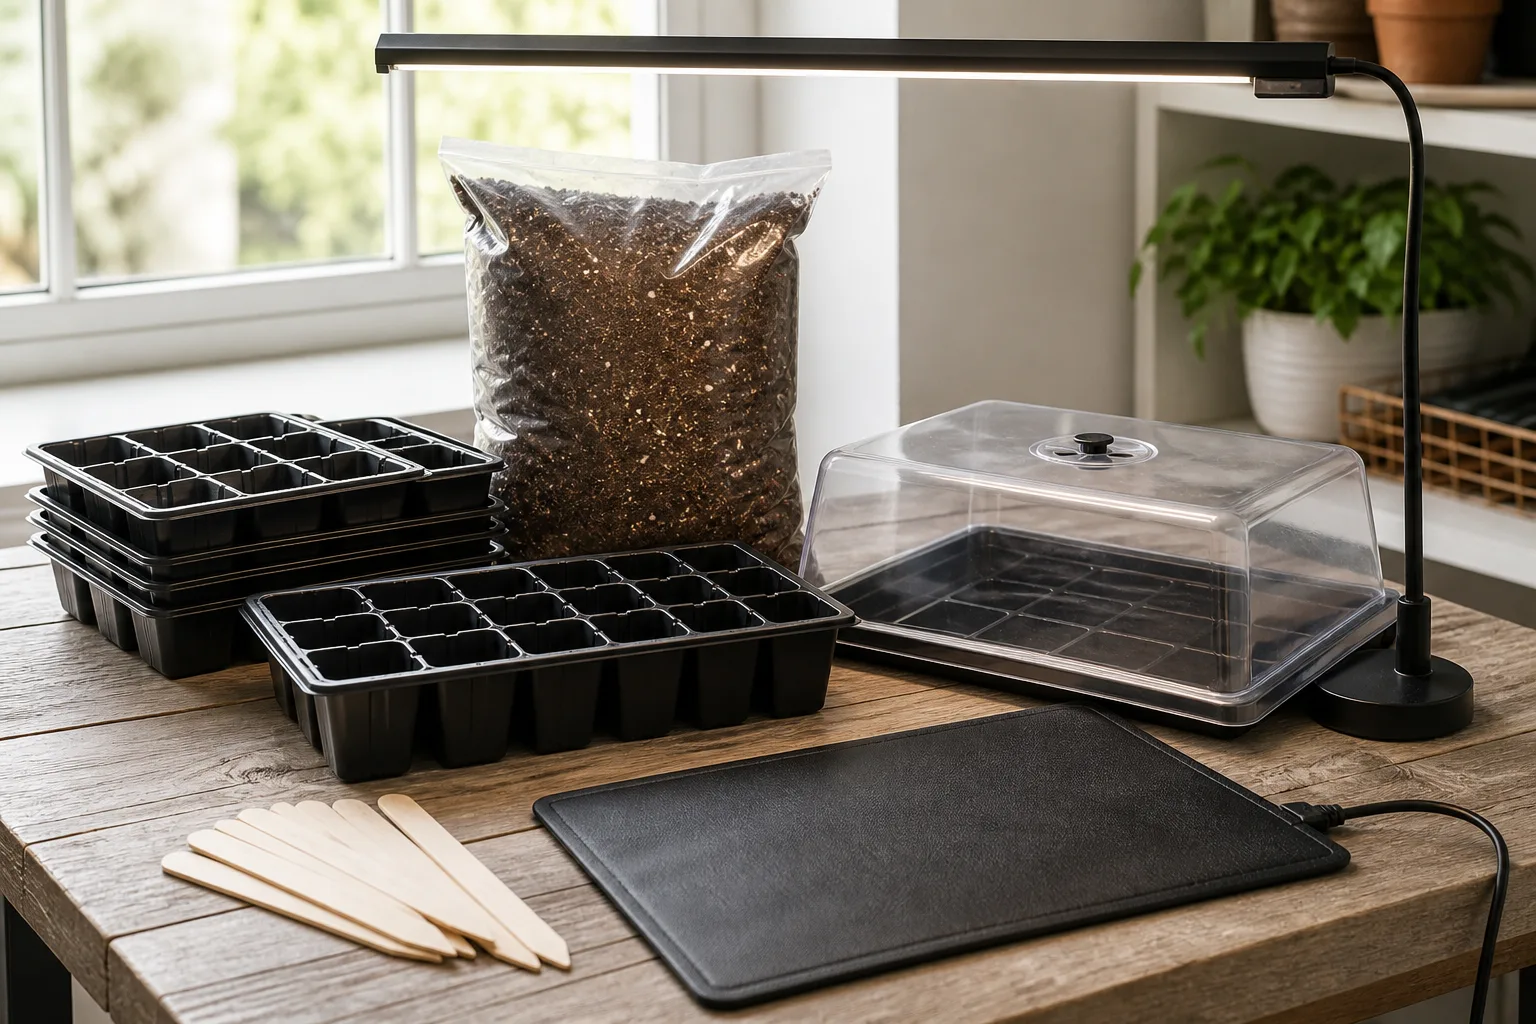
Containers, mix, and labels
Containers: Cell trays with drainage holes are the easiest entry point. Individual cells reduce root tangling when it is time to pot up. Recycled yogurt cups work if you punch drainage holes—avoid waterlogged bottoms.
Mix: Use a seed-starting mix or fine soilless potting medium, not garden soil. Outdoor soil compacts in trays, carries weed seed, and can harbor pathogens that cause damping-off. Pre-moisten mix to the consistency of a wrung-out sponge before filling trays. Penn State Extension recommends filling containers about three-quarters full, leveling, and firming gently without packing air out of the mix.
Labels: Label before you sow. Popsicle sticks and waterproof markers are enough. Once cotyledons appear, many seedlings look identical.
Heat mats, domes, and grow lights
Humidity domes or loose plastic raise moisture during germination. Remove them as soon as sprouts appear—trapped humidity after emergence invites fungal problems.
Heat mats speed germination for peppers, eggplants, and other warm-soil crops. Penn State Extension cites 65°F to 75°F as a general optimum germination range and recommends mat thermostats rather than uncontrolled heat sources. Once seedlings are up, warmth matters less than light.
Grow lights are the upgrade that most improves results. A south window rarely delivers enough intensity for stocky growth. Colorado State University Extension warns that starting too early without sufficient light produces spindly plants. Simple fluorescent shop lights or LEDs work; place them 2 to 3 inches above foliage and run them 12 to 16 hours daily on a timer. For a deeper dive on spectrum, distance, and timers, see our grow lights complete guide for indoor plants.
Step-by-Step: Sow, Cover, and Label
- Pre-moisten mix in a bucket. Stir until evenly damp with no dry clumps.
- Fill trays two-thirds to three-quarters full. Tap gently to settle; do not compress.
- Sow at packet depth. A useful default when depth is missing: cover seeds to about two to four times their diameter. Tiny seeds may need light only—press them into the surface and barely dust with mix or vermiculite.
- Mist the surface after sowing to settle seed contact without washing seeds into one corner.
- Cover with a dome until germination. Move the tray to a warm spot (top of a refrigerator works in a pinch; a mat is better for peppers).
- Label every row or cell with plant name and sowing date.
Sow two to three seeds per cell for most crops, then thin to the strongest seedling later. For expensive hybrid seed, you can sow one per cell and accept lower germination—or sow extras in a spare row.
Germination Phase: Warmth, Moisture, and Humidity
Germination is the “keep it warm, keep it evenly moist, do not blast it with light yet” phase—unless the packet says the seed needs light to sprout.
Temperature: Most vegetable and flower seeds germinate best between 65°F and 75°F soil temperature. Cool-season crops like cabbage may germinate at the lower end; peppers often appreciate the upper range or a heat mat.
Moisture: The mix should stay consistently damp, never soggy. Water with a fine mist or bottom-water by setting the tray in a shallow dish of water for ten to twenty minutes until the surface darkens, then drain thoroughly.
Humidity dome: Keep the dome on until you see the first green loop of stem—then remove it the same day. Leaving plastic on after emergence is a fast track to damping-off and leggy stretch.
Patience: Many seeds sprout in 5 to 14 days; peppers and parsley can take longer. If nothing appears after the packet’s germination window, check warmth and moisture before assuming dead seed.
Seedling Phase: Light, Water, and Airflow
Once cotyledons—the rounded seed leaves—open, the job changes. Seedlings now need bright light, slightly cooler air, and careful watering.
Move trays directly under grow lights the day sprouts appear. Raise lights as plants grow, keeping them a few inches above the top leaves. Without enough intensity, stems stretch and weaken within days.
Watering: Shift toward bottom-watering when possible. Wet foliage in crowded trays encourages fungal disease. Let the top of the mix lighten between waterings, but do not let seedlings wilt repeatedly.
Airflow: A small fan on low across the room strengthens stems and reduces stagnant humidity. You are not trying to simulate a windstorm—gentle movement is enough.
Feeding after true leaves appear
Seed-starting mix is low in nutrients by design. Wait until the first true leaves—the ones that look like the mature plant—before feeding. Then apply a water-soluble fertilizer at half the label strength every two weeks. Overfeeding burns small roots and produces salt crust on the mix surface.
Thinning, potting up, and root-bound warnings
Thinning: When seedlings have one or two true leaves, snip extra plants at soil level with scissors. Pulling duplicates can disturb the roots of the keeper.
Potting up: If roots circle the cell bottom or the plant is more than two to three times taller than the pot is deep, move it to a 3- to 4-inch container with regular potting mix. Penn State Extension notes that larger cells delay the need to pot up, while small cells demand quicker moves.
Root-bound warning: Seedlings that are root-bound, yellowing, and still weeks from transplant date are a sign you started too early or need larger pots—not that you should rush them outdoors into cold soil.
Troubleshooting Leggy, Yellow, or Damping-Off Seedlings
| Symptom | Likely cause | First fix |
|---|---|---|
| Tall, pale, leaning stems | Insufficient light | Move under brighter lights closer to foliage; increase hours |
| Yellow lower leaves | Hunger or overwatering | Feed half-strength if true leaves present; improve drainage |
| Collapse at soil line | Damping-off fungus | Remove affected plants; reduce humidity; improve airflow; bottom-water |
| Purple-tinged leaves | Cool temps or phosphorus stress | Warm the tray slightly; verify light and mild feed |
| Mold on mix surface | Overwatering + poor airflow | Scrape surface mold; water less; run fan |
Damping-off kills seedlings overnight. Prevention beats cure: sterile mix, do not overwater, remove domes promptly, and avoid reusing contaminated trays without washing with hot soapy water and a dilute bleach rinse.
Harden Off Before Transplant Day
Seedlings grown indoors are tender. Hardening off gradually exposes them to sun, wind, and temperature swings so transplant shock does not stall growth.
Plan 7 to 14 days before planting out:
- Days 1–2: Place trays in shade outdoors for one to two hours, then bring inside.
- Days 3–5: Increase outdoor time by an hour or two daily; introduce morning sun.
- Days 6–8: Move toward the final garden location—full sun for sun-lovers, afternoon shade for lettuce.
- Final nights: Leave plants out overnight only when lows stay above about 50°F (and your crop tolerates that temperature).
Colorado State University Extension recommends reducing watering slightly during hardening while avoiding wilt. Cloudy, calm transplant days beat blazing midday sun.
When Seedlings Are Ready for the Garden
Transplant when all three line up:
- Weather: Last frost has passed for tender crops; cool-season crops can go out earlier if hardened off.
- Size: At least two to four true leaves and a stocky stem—not a stretched vine leaning on its neighbor.
- Soil: Garden soil is workable, not waterlogged; warm crops want soil warming, not just air warming.
Water seedlings well before and after transplanting. Plant at the same depth they grew in the pot unless the crop benefits from deeper planting (tomatoes are the classic exception). Avoid transplanting in the hottest afternoon glare if you can choose morning or evening instead.
Conclusion
Starting seeds indoors rewards planning more than fancy gear. Anchor your calendar to the last frost date, read each packet, and treat germination (warm, humid, low light) and seedling growth (bright light, airflow, modest feeding) as separate phases. Sow in sterile mix, remove humidity covers the day sprouts appear, keep lights close, thin ruthlessly, pot up before roots coil, and harden off for at least a week before garden planting.
Most failed trays trace back to three fixable errors: starting too early, watering too much, or skipping grow lights. Correct those and seed starting becomes repeatable—cheaper than buying transplants, broader in variety, and genuinely satisfying when the first home-grown tomato sets fruit on a plant you nursed from a speck of seed.



