Damping Off: Symptoms, Treatment, and Prevention
Damping off kills seedlings just after germination. Fungi attack the stem base, causing pinching, browning, and sudden collapse. It spreads fastest when trays stay humid, overcrowded, and wet on the surface. Prevention beats cure: use clean trays and mix, avoid overwatering, remove humidity domes promptly after sprout, and improve airflow with a gentle fan. Discard affected cells early so spores do not spread to healthy seedlings in the same flat.
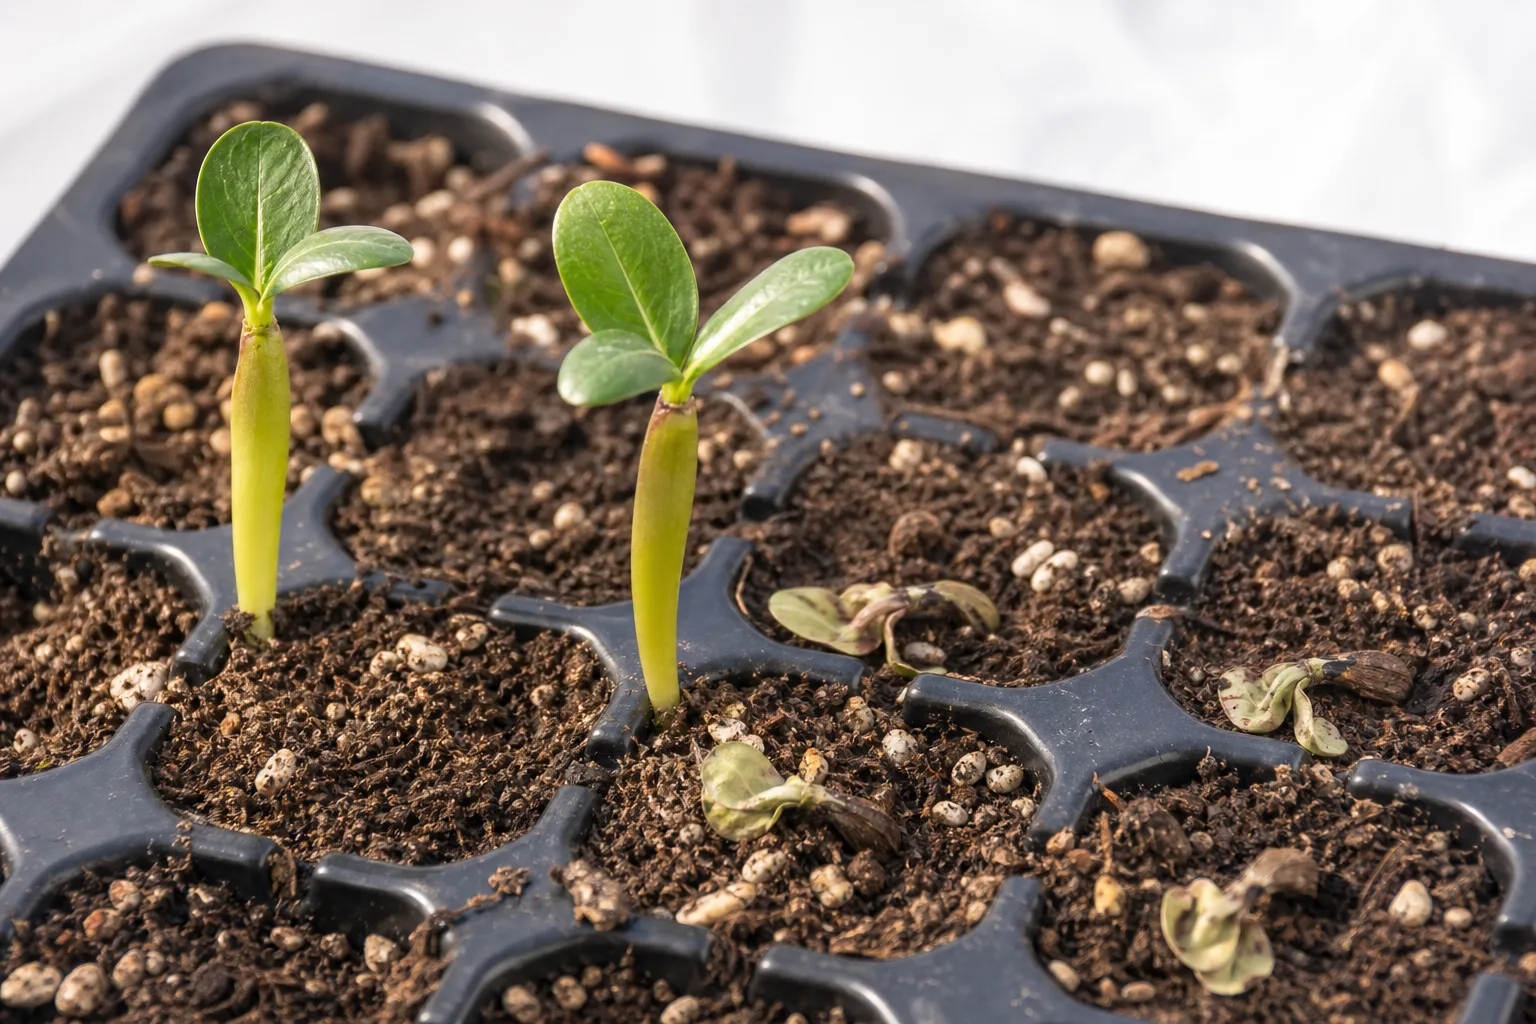
Damping Off on Houseplants
Still unsure?Match your symptoms to the most likely problems in under a minute.Run diagnosis →Understand and fix damping off
Damping off kills seedlings just after germination. Fungi attack the stem base, causing pinching, browning, and sudden collapse. It spreads fastest when trays stay humid, overcrowded, and wet on the surface. Prevention beats cure: use clean trays and mix, avoid overwatering, remove humidity domes promptly after sprout, and improve airflow with a gentle fan. Discard affected cells early so spores do not spread to healthy seedlings in the same flat.
Overview
Damping off kills seedlings just after germination. Fungi attack the stem base, causing pinching, browning, and sudden collapse. It spreads fastest when trays stay humid, overcrowded, and wet on the surface.
Prevention beats cure: use clean trays and mix, avoid overwatering, remove humidity domes promptly after sprout, and improve airflow with a gentle fan. Discard affected cells early so spores do not spread to healthy seedlings in the same flat.
How to identify it
- Look for spots with halos, powdery coating, or water-soaked margins
- Check if damage spreads over days vs stays static
- Note whether leaves were recently misted or watered overhead
- Inspect multiple plants in the same room for similar patterns
- Smell soil-sour odor suggests rot rather than surface disease alone
When to worry
Rapid defoliation, soft mushy stems, or spots enlarging daily mean isolate immediately and trim affected tissue.
Common causes
Water sitting on leaves overnight
Overhead watering and late-day misting keep foliage wet for hours-the perfect environment for leaf spot and mildew.
Poor airflow between plants
Crowded shelves and closed rooms trap humidity around leaves and speed up Damping Off.
Infected tools or splashing water
Pruning with dirty shears or reusing drip trays without cleaning spreads pathogens plant to plant.
Weakened or stressed plants
Plants recovering from repotting, low light, or root issues are more susceptible to infection.
Step-by-step fix
Isolate affected plants
Move sick plants away from healthy ones until active spread stops.
Remove infected leaves
Cut off heavily spotted or mushy foliage with clean scissors. Dispose in trash, not compost indoors.
Improve airflow and watering technique
Space plants out, run a fan on low, and water at soil level without wetting leaves.
Apply fungicide if fungal disease is confirmed
For powdery mildew or leaf spot, use a houseplant-safe fungicide per label. Bacterial issues may need removal rather than spray.
Avoid fertilizer until recovery
Let the plant stabilize. New healthy growth confirms your changes are working.
Prevention tips
- Water at the soil line, not over leaves
- Provide spacing and gentle airflow in plant rooms
- Sterilize pruning tools between plants
- Quarantine new plants before mixing collections
- Document which leaves show symptoms first and whether the soil is wet, dry, or compacted before changing multiple variables at once.
- Isolate newly affected plants for two weeks when pests or fungal issues are suspected so problems do not spread through the collection.
- Match your fix to the most likely cause from the diagnosis table instead of fertilizing, repotting, and spraying on the same day.
Common mistakes
- Misting diseased leaves hoping humidity helps
- Leaving fallen infected leaves on soil surface
- Treating bacterial rot with fungicide only
A seedling that narrows at the soil line and falls over is unlikely to stand back up. Damping off attacks during the most vulnerable stage of growth, either killing a germinating seed before it emerges or rotting the stem and roots soon afterward. The practical goal is to protect unaffected seedlings, remove pathogen sources, and correct the conditions that let disease move through a tray.
Several organisms can cause the same syndrome. University of Minnesota Extension identifies Rhizoctonia and Fusarium fungi and the water mold Pythium among the most common causes (damping-off pathogens). Appearance usually supports a damping-off diagnosis, but it does not reliably identify which organism is present.
This guide is a source-reviewed synthesis rather than a report of a controlled seed-starting trial. Numeric temperature and light ranges are general indoor-production references; the seed packet or crop-specific Extension guide should govern exact germination conditions. The photographs show representative stem collapse and constriction, not a laboratory-confirmed organism.
What Damping Off Is
Damping off is a disease complex of seeds and young seedlings. In pre-emergence damping off, a seed or newly germinated root rots below the surface, leaving a gap in the tray. In post-emergence damping off, the stem becomes water-soaked and constricted near the media line, then the seedling collapses.
Older plants with mature leaves and established roots are generally less vulnerable to classic damping off, although related pathogens can cause root or crown rot later. Minnesota Extension describes a critical susceptible period between planting and seedling maturity and warns that affected seedlings rarely become vigorous plants.
Recognize Damping Off
Look for a pattern rather than one failed seed. A cluster of empty cells, seedlings emerging weakly, or several stems pinched at the same height suggests a shared media or moisture problem. Disease can move through connected wet mix or shared irrigation water, so neighboring losses may expand over days.
The damaged stem often looks thin, translucent, gray, tan, or brown. Roots may be missing, stunted, or marked by sunken gray-brown lesions. Under high humidity, delicate white web-like growth may appear around the media surface, but visible mold is not required.
Pre-Emergence Signs
Poor germination has many causes, so first confirm seed age, sowing depth, temperature, and species-specific germination needs. When seeds swell or crack but become soft and brown before shoots emerge, disease is more plausible. Dig up only a few representative cells; repeated disturbance can injure healthy sprouts.
Minnesota Extension explains that damping-off organisms thrive in cool, wet conditions and that slow germination increases the period of vulnerability (conditions favoring damping off). A tray kept wetter than necessary at below-optimal temperature therefore carries overlapping risks.
Post-Emergence Signs
The characteristic post-emergence seedling has a threadlike constriction at or just below the media surface. The upper stem may remain green briefly, but the damaged base cannot support it. Cotyledons can become water-soaked, gray-green, and then brown.
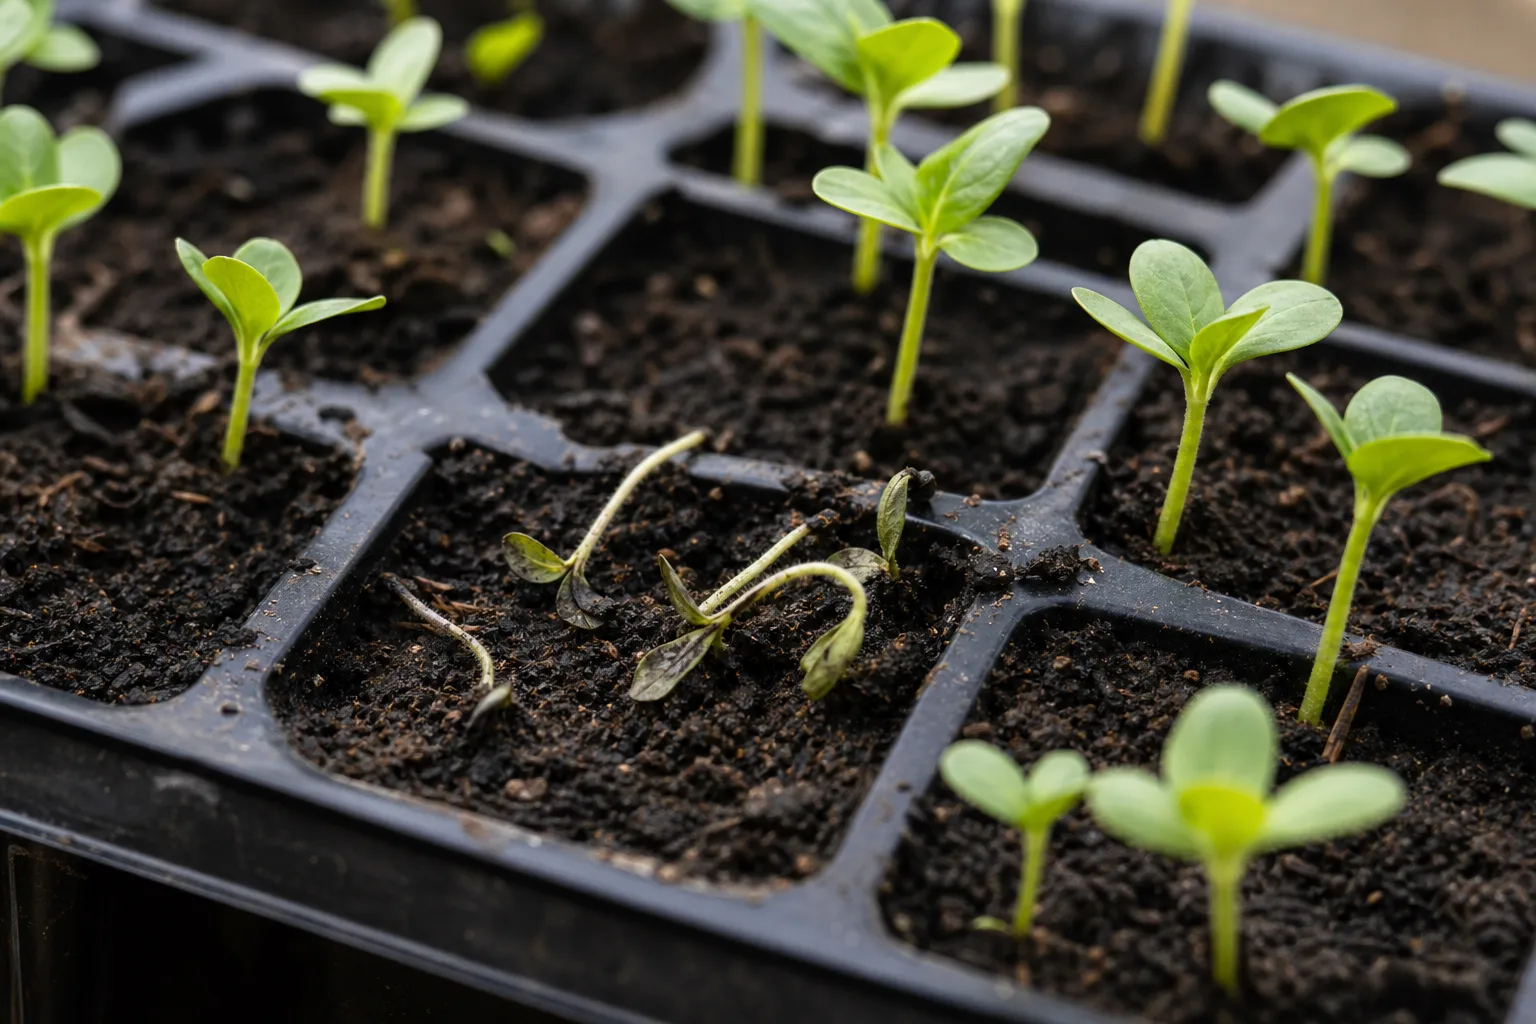
The soil-line constriction separates damping off from a merely leaning or light-starved seedling.
Do not confuse the final collapse with ordinary wilt. A dry seedling may bend because cells lose turgor, then recover after careful watering if roots and stem remain intact. A damped-off stem is structurally rotted and does not rebuild.
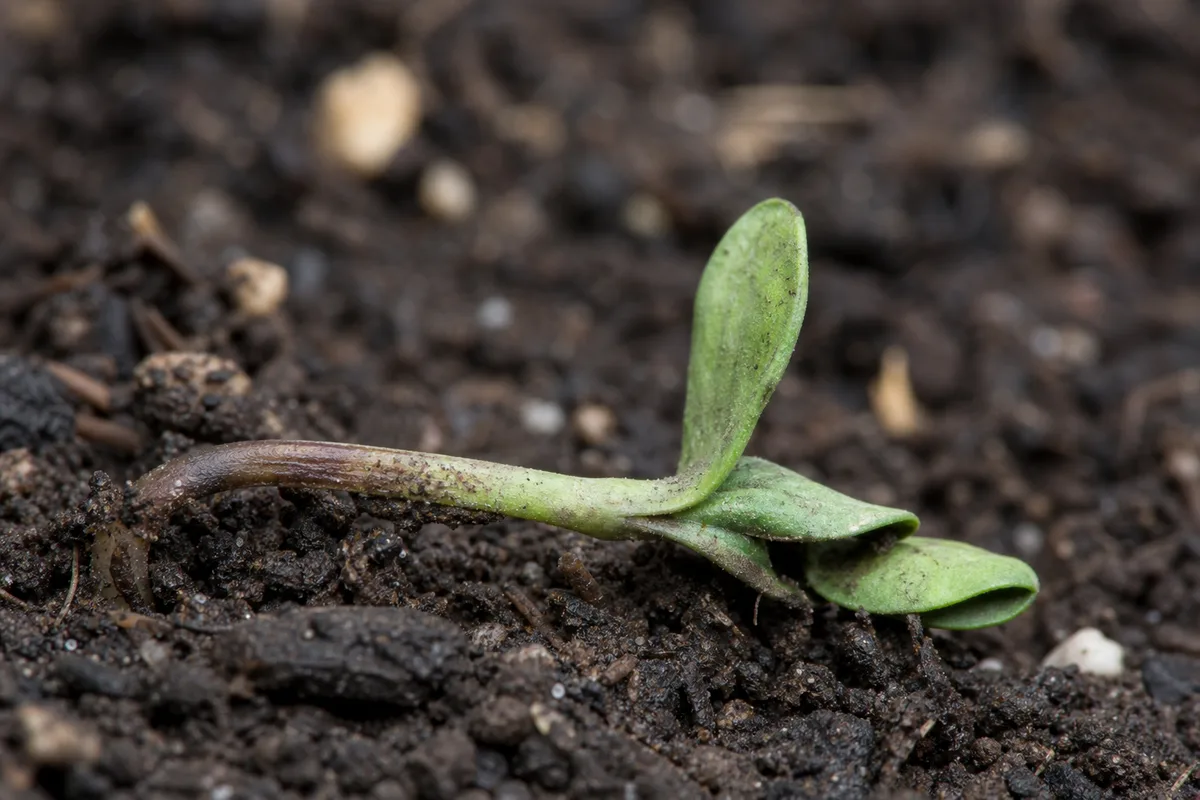
A close view shows the pinched, discolored base that makes recovery unlikely.
Problems That Look Similar
Leggy seedlings lean because insufficient light has produced long, weak stems, but the stem diameter remains relatively continuous. They may bend toward a window rather than fall from a dark lesion at the media line. Minnesota Extension attributes legginess to low light and recommends bright, consistent lighting close to seedlings (seedling troubleshooting).
Heat injury, fertilizer salts, underwatering, herbicide contamination, and physical damage can also kill seedlings. Salt injury tends to affect roots and leaf margins without a classic pinched base. A cutworm severs stems more cleanly; gnats may be present because media is wet but adult flies alone do not prove damping off.
Damping Off vs Legginess and Water Stress
| Evidence | Damping off | Legginess | Water stress |
|---|---|---|---|
| Stem base | Pinched, dark, soft, water-soaked | Intact but long and thin | Intact |
| Pattern | Expanding losses in wet tray | Many seedlings stretch toward light | Cells dry or wilt with moisture pattern |
| Recovery | Collapsed seedlings rarely recover | Can improve with light and support | May recover if roots remain healthy |
| Main response | Remove losses, correct disease conditions | Increase usable light | Correct watering |
A magnified soil-line inspection resolves many cases. When rare seedlings or repeated commercial losses are involved, submit affected and healthy seedlings with media to a diagnostic laboratory.
Why Damping Off Develops
The pathogens persist in soil, media residue, plant debris, and contaminated equipment. Disease becomes severe when susceptible seedlings grow slowly in wet, cool, poorly lit conditions. High fertilizer salts can further slow roots and increase vulnerability.
The “disease triangle” is useful here: a pathogen, a susceptible seedling, and favorable conditions must coincide. You cannot make a seedling mature instantly, but you can reduce inoculum and keep moisture, temperature, and light within the crop’s healthy range.
Pathogens, Moisture, and Slow Growth
Saturated media keeps oxygen low and creates connected water films through which some pathogens spread. Yet letting germinating mix become bone dry is not a safe correction. The target is evenly moist, well-aerated media—not soggy cells or alternating drought and flooding.
Minnesota Extension recommends pots with drainage, clean warm water, and mix kept moist rather than soggy. Its reviewed guidance suggests bottom heat around 70–75°F for indoor production, but seed germination needs vary by species, so use crop-specific temperatures and a thermostatically controlled mat (seedling management).
How Contamination Enters a Tray
Garden soil, reused potting mix, dirty trays, tools, hands, hose ends, and contaminated seeds can introduce organisms. Minnesota Extension advises new potting mix and clean or disinfected containers rather than garden soil, which may carry low populations into warm, wet seed-starting conditions.
Shared runoff links cells. Water that has contacted an affected tray should not be poured into another. Clean watering heads and keep them off dirty floors.
Act When Seedlings Collapse
Move the tray away from other seedlings and stop overhead misting that splashes media between cells. Remove collapsed seedlings plus a small amount of surrounding mix with a clean spoon, then bag them. Do not compost heavily diseased material in a cool household pile.
Lower excess humidity while maintaining crop-appropriate warmth. Remove a clear dome once seedlings emerge unless the crop specifically needs it; trapped condensation keeps stems wet. Provide light immediately after emergence.
Use a four-step first response: isolate the tray, remove collapsed seedlings, empty shared water, and inspect every remaining stem at the media line. Keep the tray only when losses are limited and survivors have firm, continuous stems. Resow in cleaned equipment when collapse advances through adjacent cells, the media cannot be drained evenly, or most seedlings show a pinched base. This threshold prevents repeated handling of a failing tray from exposing new sowings.
Remove Losses and Protect Survivors
Collapsed seedlings rarely survive to become vigorous plants, according to Minnesota Extension. Remove them instead of propping them upright, because necrotic tissue can support more pathogen growth. Do not drench the entire tray with an unlabeled home remedy.
Space or thin dense seedlings so leaves and stems dry. Apply gentle airflow across the growing area, not a strong fan aimed at contaminated debris. Water from below only long enough to moisten the root zone, then discard leftover tray water.
Decide Whether to Save the Tray or Resow
If one or two separated cells are affected and the remainder have firm stems, improving conditions and close monitoring may preserve the tray. If losses form a rapidly expanding patch, most media stays saturated, or several trays share runoff, resowing in clean equipment may save more time and seed.
For expensive or irreplaceable seed, contact an Extension diagnostician before discarding everything. Preserve the pattern and submit intact symptomatic seedlings rather than only dried remnants.
Reset the Growing Conditions
Check the actual media temperature, not room temperature. Minnesota Extension notes that container mix can be cooler than indoor air and that bottom heat can speed germination and reduce damping-off risk (starting seeds indoors). Avoid overheating, and never place a non-waterproof heating device beneath wet trays.
Place lights close enough and operate them long enough for the crop and fixture, while preventing leaf heat. Good light promotes compact growth and faster establishment. Air movement should be gentle enough that seedlings barely move.
Manage Water, Warmth, Light, and Air
Water based on cell moisture and seedling size, not a fixed daily schedule. Small seedlings use little water, and large reservoir trays can stay saturated. Ensure every cell drains and empty standing water after uptake.
Minnesota’s guidance recommends 12–16 hours of grow-light exposure for indoor seedlings and delays fertilizer until several true leaves have formed (damping-off prevention). Treat those as general production guidelines and adjust for the species and lighting system.
Clean Equipment and Start With Fresh Mix
Discard contaminated mix. Scrub trays and tools first to remove organic matter, then use a disinfectant labeled for the material and purpose. Minnesota Extension gives a 10% household bleach soak for 30 minutes as one method, but household bleach concentrations vary; follow current product-label dilution, contact-time, rinsing, ventilation, and protective-equipment directions.
Never mix bleach with ammonia, vinegar, acids, or other cleaners. Use fresh, sterile or pathogen-free seed-starting mix. A commercial soilless mix offers consistent porosity and avoids introducing garden soil organisms.
Monitor the Surviving Seedlings
Inspect stem bases daily for several days, then at regular intervals. Stable firm stems, new true leaves, and roots holding the plug together indicate progress. Another pinched stem means the outbreak remains active or the conditions are still favorable.
Do not fertilize merely because growth paused during stress. Wait for healthy true leaves and follow crop and mix guidance; many seed-starting products already contain nutrients.
Build a Prevention Routine
Start with reputable seed, clean hands, clean equipment, divided cells, drainage holes, and fresh mix. Sow at the correct depth and temperature so germination is prompt. University of Minnesota recommends individual containers where practical because tangled roots can be injured during later transplanting (seed-starting containers).
Label trays with sowing date and crop, log watering, and inspect daily. Remove domes at emergence, provide reliable light, and avoid crowding. These habits do more than any unproven dusting of cinnamon, chamomile, or kitchen ingredients.
Build the setup before sowing. Test that every cell drains, the tray sits level, lights can be adjusted as seedlings grow, and the heat mat thermostat measures media rather than warm air above it. Run the system with moist mix for a day and note how quickly outer and center cells dry. Uneven drying often leads growers to flood the entire tray for a few cells that needed water.
Sow crops with similar temperature and emergence needs together. A heat-loving pepper and a cool-germinating flower may not thrive under one dome and watering schedule. Separate batches make it easier to remove humidity covers at the right time and reduce water once each crop emerges.
Seed depth affects disease risk indirectly. Seed sown much too deep takes longer to reach light and spends more time as vulnerable tissue in moist media. Seed left exposed may dry before germination. Follow species-specific depth, and press fine seed into contact only as recommended rather than burying everything under the same layer.
Domes are germination tools, not permanent seedling homes. They reduce evaporation before emergence, but droplets running down the lid can maintain wet stem bases afterward. Vent as green shoots appear and remove the cover according to crop needs. Wipe spills from the outer tray instead of letting cells sit in a shallow reservoir.
Airflow must remain gentle. Strong air can desiccate tiny plugs, bend seedlings, or spread dry contaminated debris. Place a small fan so foliage barely moves and confirm that edge cells do not dry much faster than the center. The goal is mixing air and shortening surface wetness, not creating wind stress.
Light should be measured at seedling height when possible. A bright-looking room can still provide little usable light at the tray, encouraging slow, stretched growth. Keep the fixture at the manufacturer’s safe distance, raise it as seedlings grow, and use a timer for consistency. Do not plug a heat mat into the light timer if the crop needs continuous root-zone warmth.
Watering by pot color or surface appearance alone can mislead. Peat-based mix may look dry on top while the lower plug remains saturated, and a light mist can darken the surface without reaching roots. Lift a representative cell pack, inspect a side plug, and learn the weight difference between evenly moist and waterlogged media.
When bottom watering, add a shallow amount and watch uptake. Remove the tray after the root zone is moist rather than leaving it in water indefinitely. Do not move a tray from a diseased bench into a shared reservoir. Capillary mats and flood tables can distribute water efficiently, but they can also connect containers if sanitation is weak.
Fertilizer timing matters because seedlings carry reserves and many mixes already contain nutrients. High soluble salts can injure young roots and slow growth, increasing vulnerability. If feeding is required after true leaves develop, use crop and product guidance, measure accurately, and occasionally check that salts are not concentrating because of evaporation.
Thinning prevents a dense canopy but can wound neighboring stems if seedlings are pulled. Snip unwanted seedlings at the media line with clean scissors when roots are intertwined. Dispose of thinnings and any seed coats or leaves that remain wet on the surface.
Keep pets, food preparation, and dirty garden tools away from the sowing bench. Soil on a reused label or dibber can defeat an otherwise clean setup. Store cleaned trays dry and protected from splash. “Sterile mix” does not keep itself clean after an open bag sits on a greenhouse floor or receives a dirty scoop.
If a tray fails, document the pattern before cleaning it. Edge losses may indicate drying or heat; a wet center patch can implicate drainage; random gaps may relate to seed quality. A wave of constricted stems spreading through adjacent cells is more characteristic of damping off. This distinction prevents treating every germination disappointment as infection.
Resowing immediately into the same room can work if contaminated material is removed and the setup is reset. Do not place the new tray beneath a shelf dripping from the old one. Clean the bench, evaluate airflow and temperature, use fresh mix and seed when possible, and change the watering practice that maintained saturation.
Commercial fungicidal seed treatments exist for particular crops and pathogens, but they are not universal home remedies. Treated seed instructions and legal restrictions vary. Do not wash, abrade, or handle treated seed contrary to its label, and never improvise a pesticide drench in an occupied home.
Surviving seedlings should be hardened off only after they are actively growing. Moving stressed plants abruptly into direct sun, wind, or cold can cause a second collapse that obscures whether disease was controlled. Increase outdoor exposure gradually according to crop guidance and keep plugs moist but drained during the transition.
Keep germination batches small enough that each drainage zone can be inspected and isolated. One large communal flat can turn a single wet area into a connected disease pathway, while divided cells make it easier to remove local losses and adjust moisture. For rare seed, sowing across two independently cleaned trays avoids placing the entire batch under one equipment or watering failure.
Check sowing density before blaming humidity alone. Crowded stems shade the media surface, restrict airflow, and make selective removal difficult. Use the spacing on the seed packet or crop guide, and transplant or thin at the appropriate stage. Do not keep weak extras pressed together merely because every seed germinated.
Manage algae and surface mold as warning signs rather than diagnoses. Green film indicates persistent light and moisture at the media surface; harmless saprophytic growth can colonize organic material without causing damping off. Both tell you to reassess watering and airflow, but only the characteristic stem and root damage supports damping off.
Fungus gnats deserve the same distinction. Adults often appear where media stays wet, and larvae may damage tender roots or carry organisms in some systems. Yellow cards can monitor adults, but they do not correct saturated media or revive collapsed seedlings. Address drainage, sanitation, and any labeled biological or chemical control as separate parts of an integrated plan.
Temperature must be stable as well as suitable. A sunny windowsill can overheat by day and chill at night, slowing roots despite a warm room average. Measure at media level during both periods. Insulate trays from a cold stone sill or move them to a controlled shelf rather than compensating with excess water.
Avoid transplanting during an active wave of collapse unless moving firm seedlings is the only salvage option. Handling can wound roots and carry contaminated mix. If you must rescue unaffected cells, lift intact plugs with clean tools, avoid shaking soil, move them into fresh separate containers, and isolate them while you monitor.
When the season ends, discard cracked trays that cannot be cleaned. Scratches and seams retain debris, and the low replacement cost may not justify uncertain sanitation. Durable equipment should be washed, disinfected, rinsed if required, dried completely, and stored off the floor in a clean area.
Conclusion
Damping off is most recognizable when young stems become water-soaked and threadlike at the media line, then collapse. Empty cells can represent pre-emergence disease, but seed quality, sowing depth, and temperature must also be checked. The exact pathogen cannot be determined from appearance alone.
Remove collapsed seedlings, isolate the tray, reduce saturation and condensation, provide crop-appropriate warmth and light, and protect survivors from shared runoff. If losses continue, resow in cleaned equipment with fresh mix. Prevention—clean inputs, drainage, measured moisture, prompt growth, and daily inspection—is far more reliable than trying to revive a stem that has already rotted through.
Plants commonly affected
These houseplants often struggle with damping off. Open a care guide or plant-specific troubleshooting page for tailored fixes.
 Medium
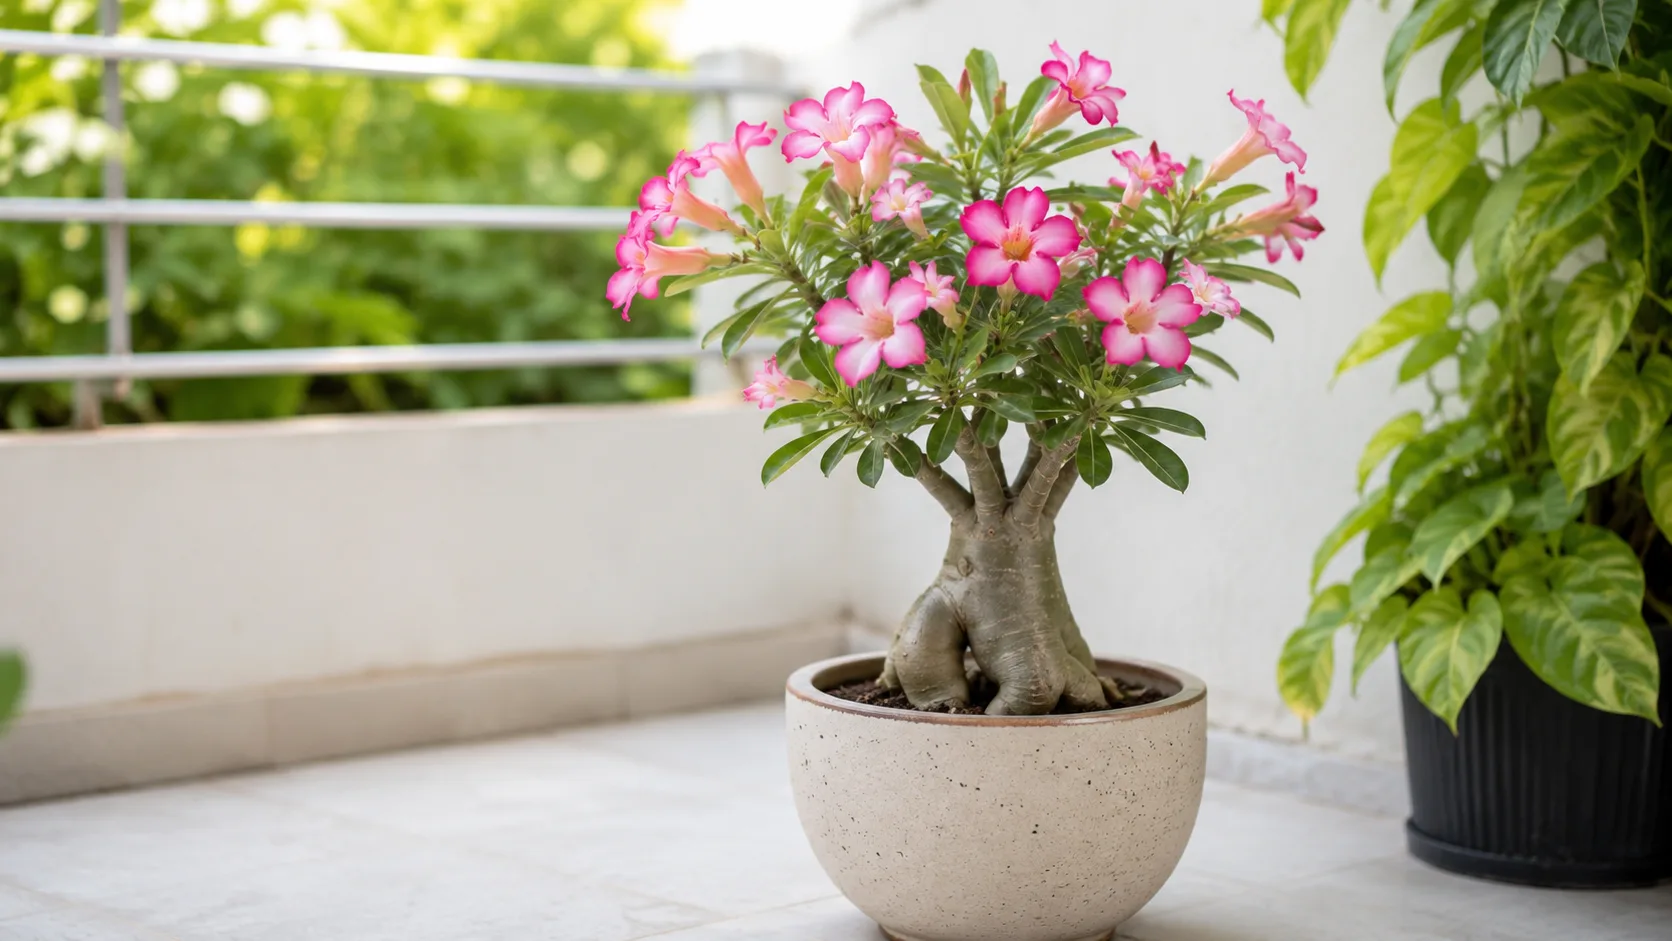
Adenium
Likely causeSeedlings topple at the soil line when trays stay wet and lack airflow after germination.
Quick fixRemove collapsed seedlings, improve ventilation, let mix dry, and use fast-draining seed-starting medium.
 Medium
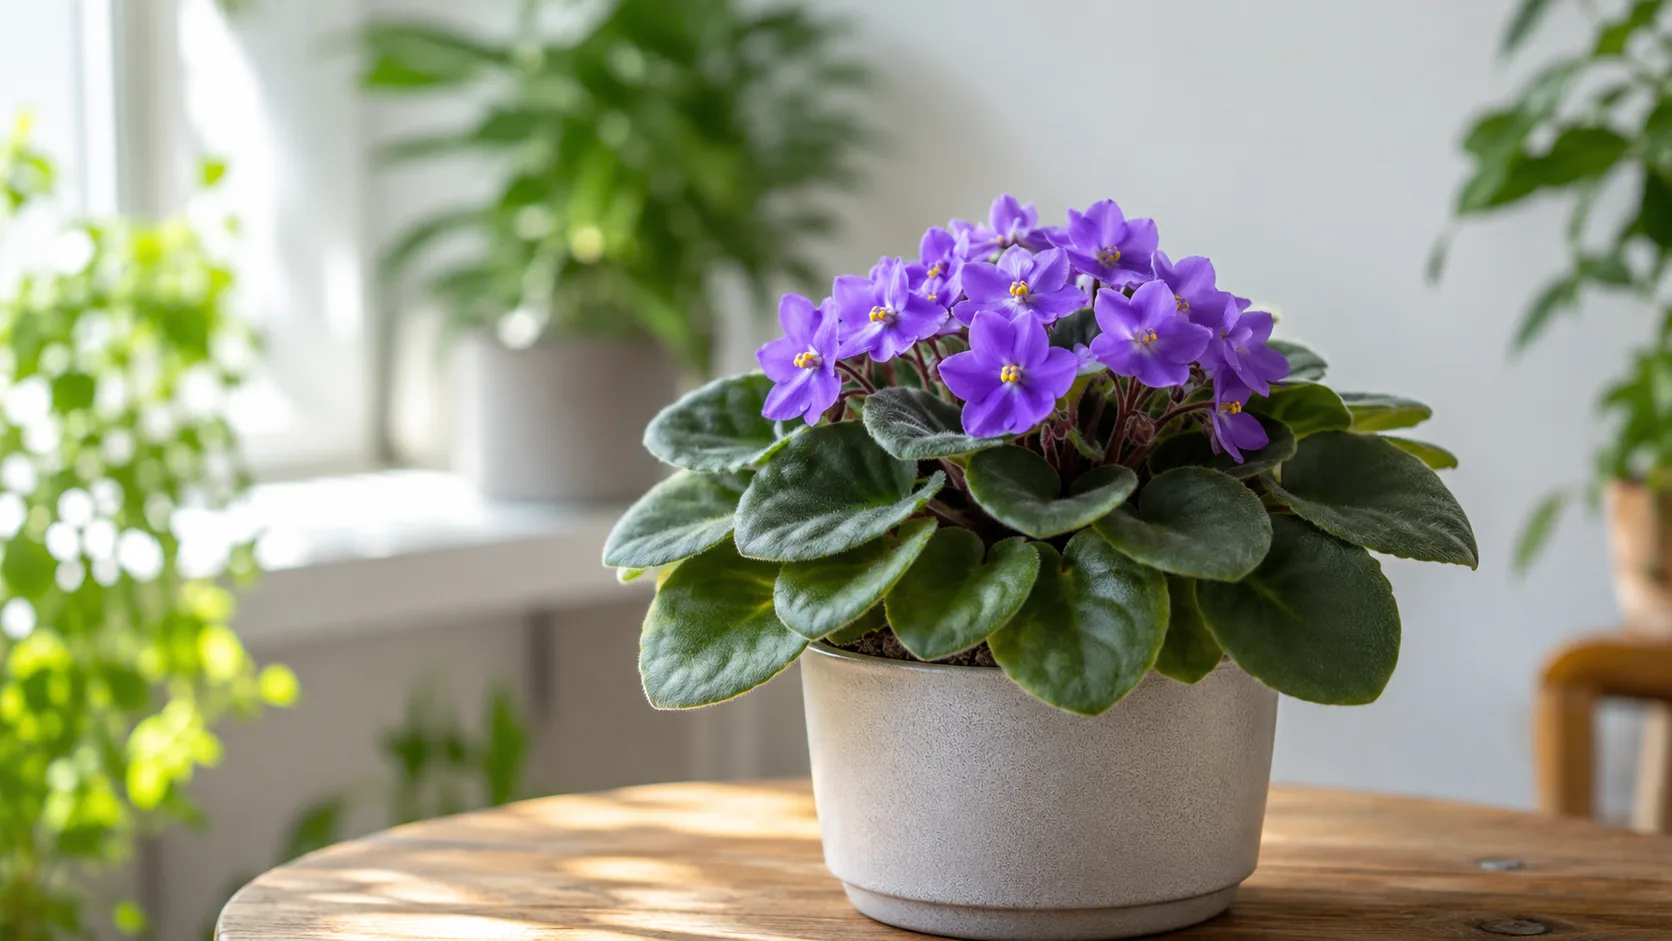
African Violet
Likely causeDamping Off on African Violet: If your African Violet seedlings have this symptom, they are probably suffering from Damping Off.
Quick fixInspect African Violet, confirm damping off matches your symptoms, then adjust care or treat per authoritative guides.
 Medium
Lavender
Likely causeJan 26, 2025 · It seems like the lavender plants I've just received are experiencing damping off . Is this due to temperature, and should I have kept the plants heated or are they shipped ready to go outside?
Quick fixConfirm diagnosis on your Lavender, then address the most likely care or pest factor described in current extension guidance.
 Medium
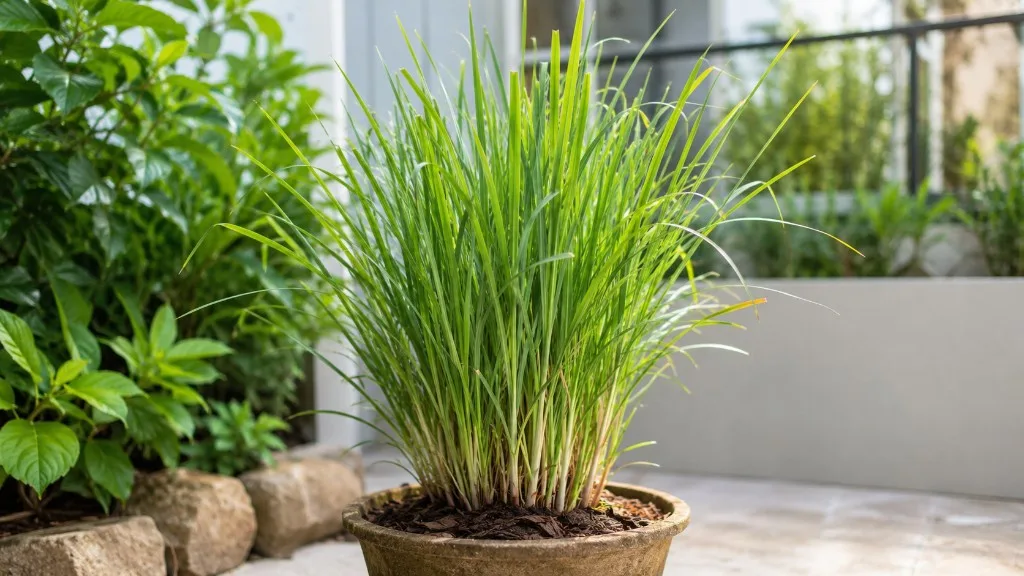
Lemongrass
Likely causeJan 22, 2026 · Overwatering saturates the soil, displacing oxygen and making roots susceptible to rot and diseases like damping off . Watering from the bottom allows the soil to wick up moisture without disturbing the young plants.
Quick fixConfirm diagnosis on your Lemongrass, then address the most likely care or pest factor described in current extension guidance.
 Medium
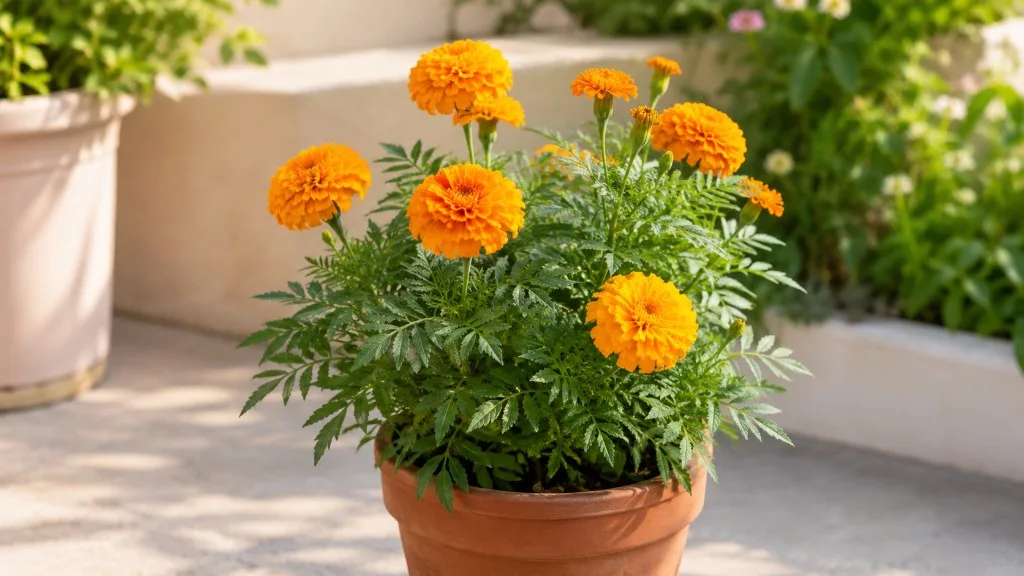
Marigold
Likely causeDamping Off is mostly a disease of indoor seed raising. Growing your seedlings in a well ventilated, cool greenhouse will produce far fewer problems with Damping Off . However, if your climate dictates that you start your seedlings inside t
Quick fixConfirm diagnosis on your Marigold, then address the most likely care or pest factor described in current extension guidance.
 Medium
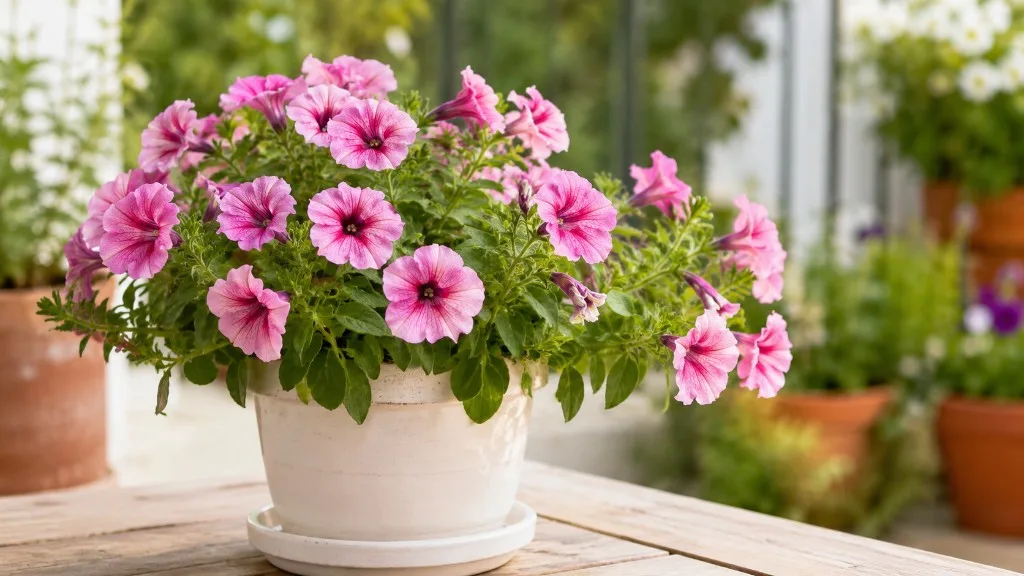
Petunia
Likely causePythium, Rhizoctonia, or Fusarium attack petunia seedlings in cold, wet, poorly drained seed-starting mix.
Quick fixUse sterile mix, surface-sow without covering seeds, and let the medium dry slightly between waterings.
 Medium
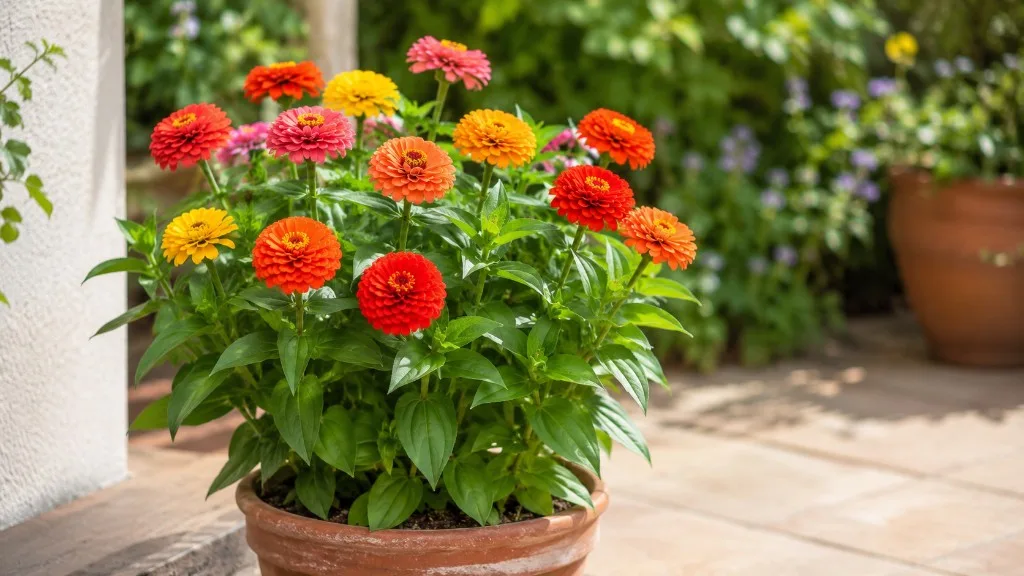
Zinnia
Likely causePythium and Rhizoctonia kill zinnia seedlings in cool wet seed-starting mix.
Quick fixUse sterile mix, bottom-water only, and provide heat mat for rapid germination.